Introduction
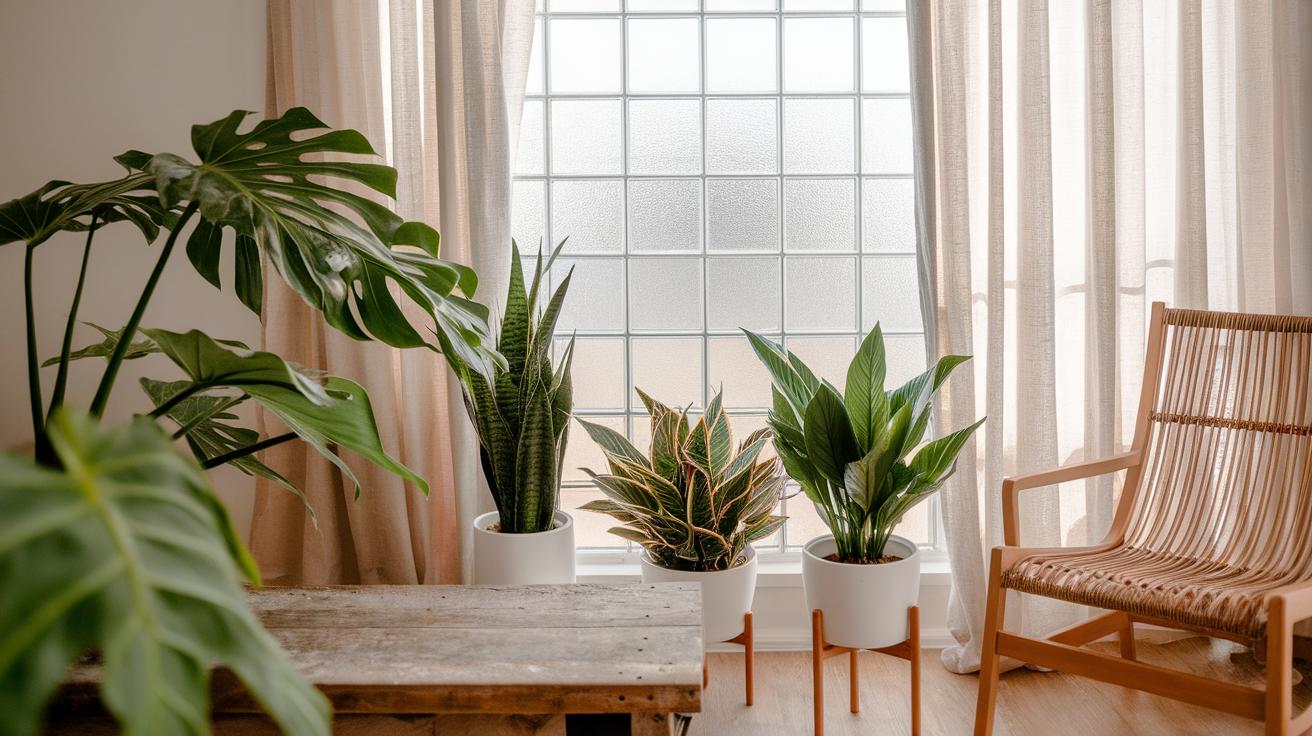
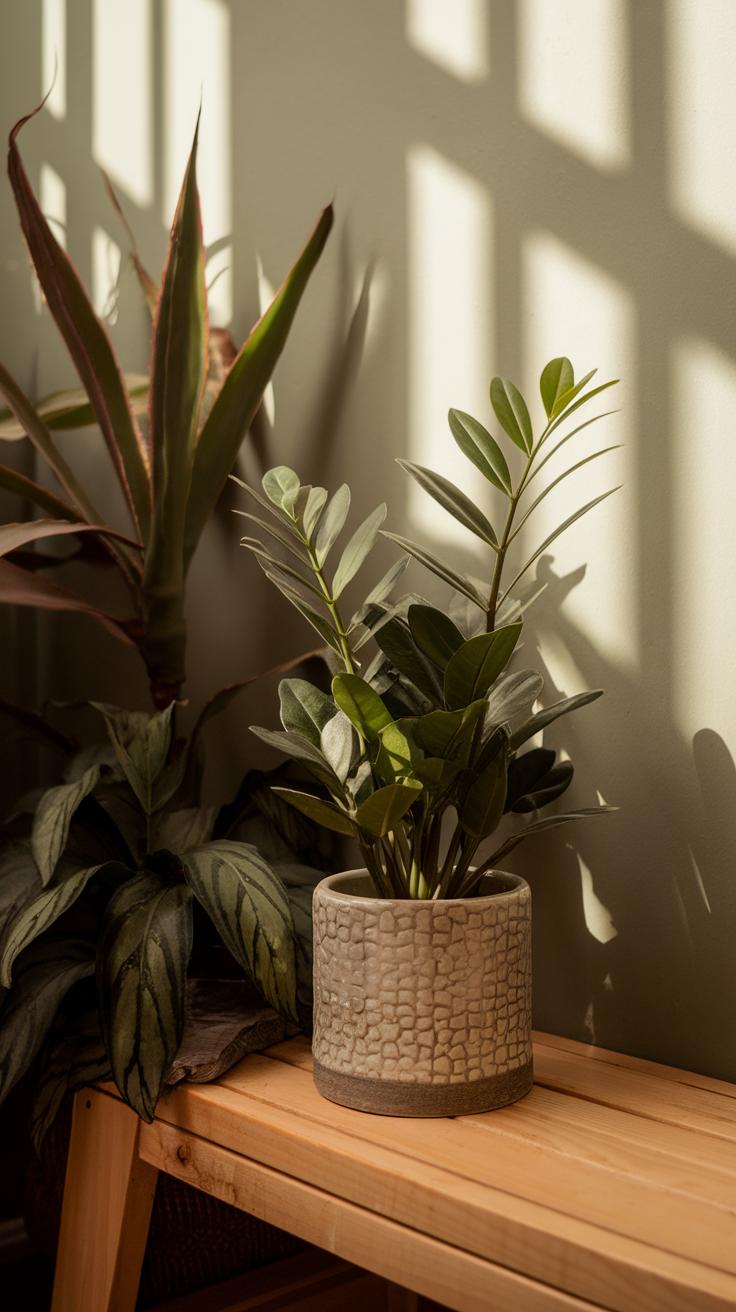
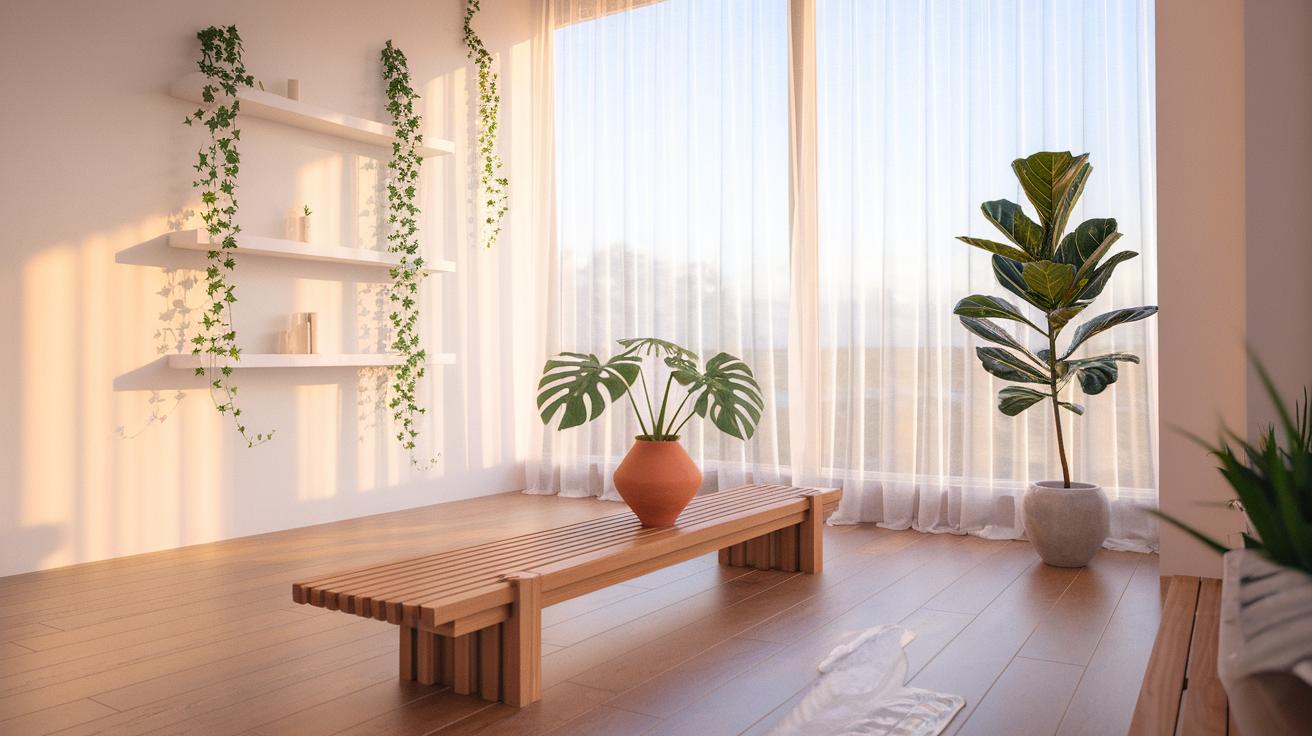
Indoor plants bring life and freshness to your home while improving air quality. They add color and a sense of tranquility, no matter the style of your living space. Not all indoor areas receive the same amount of sunlight, so choosing the right plants matters. Low light indoor plants are perfect if your home does not get strong, direct light. These plants can thrive in shaded corners and rooms without windows.
Understanding the specific needs of plants that survive in low light helps you keep them healthy. This guide covers important factors such as choosing suitable plant species, potting, watering, and care habits. You will learn how to create the best environment for your indoor plants to thrive even in low light conditions. Let’s explore practical steps for a green home with low maintenance plants.
How Light Affects Indoor Plants
Light plays a key role in the growth and health of your indoor plants. Without enough light, plants cannot perform photosynthesis, the process that converts light into energy. Chloroplasts within the plant cells capture sunlight and use it to make food. This food fuels the plant’s development and overall vigor.
Direct light comes straight from the sun or a strong artificial source. It is intense and can sometimes burn delicate leaves. Indirect light reaches plants after being reflected or filtered through curtains or walls. It is gentler but still provides enough energy for many houseplants. Low light refers to areas that receive minimal natural sunlight, like rooms with shaded windows or corners away from windows.
Some plants survive well in low light because of their origin. They evolved in shaded environments, such as forest floors. Their leaves adapt to capture limited light, allowing them to thrive where other plants struggle. Have you noticed how your low light plants still grow, even without bright sun? That’s their natural strength at work.
Understanding Light Types
Direct light shines straight onto a plant. A south-facing windowsill often offers direct sunlight. If your plant’s leaves look scorched or pale, they might be getting too much direct light.
Indirect light is softer and found near east or west-facing windows. Light bounces off walls or passes through sheer curtains before hitting the plant. Most common houseplants do well in these spots.
Low light areas have very little natural light. They often include rooms without windows or spots far from light sources, such as hallways or shaded corners. Even in these places, light intensity and how long it lasts through the day matter. Measure light with a simple light meter or observe how your plant responds over time to find the best placement.
Plant Adaptations to Low Light
Plants that grow in low light increase the number of chloroplasts in their leaves. This helps them capture every bit of available light for photosynthesis. Their leaves may be larger and thinner to maximize light absorption.
Many houseplants come from forest understories, where thick tree canopies block direct sunlight. These plants learned to survive under dim conditions. For example, the cast iron plant naturally grows beneath other trees and tolerates shade without suffering.
Knowing these adaptations helps you choose plants suited for your home’s lighting. Ask yourself which plants match the light you have. Understanding their original environment guides you in recreating the right conditions, so your plants stay healthy even in less sunny spaces.
Choosing Indoor Plants That Thrive in Low Light
You can create a green space even in rooms with limited sunlight by choosing plants adapted to low light. Such plants often have slow growth rates, allowing them to survive with less energy from light. They tend to have large, broad leaves that capture more of the weak light available. Some store water in thick leaves or stems, helping them endure longer periods between watering.
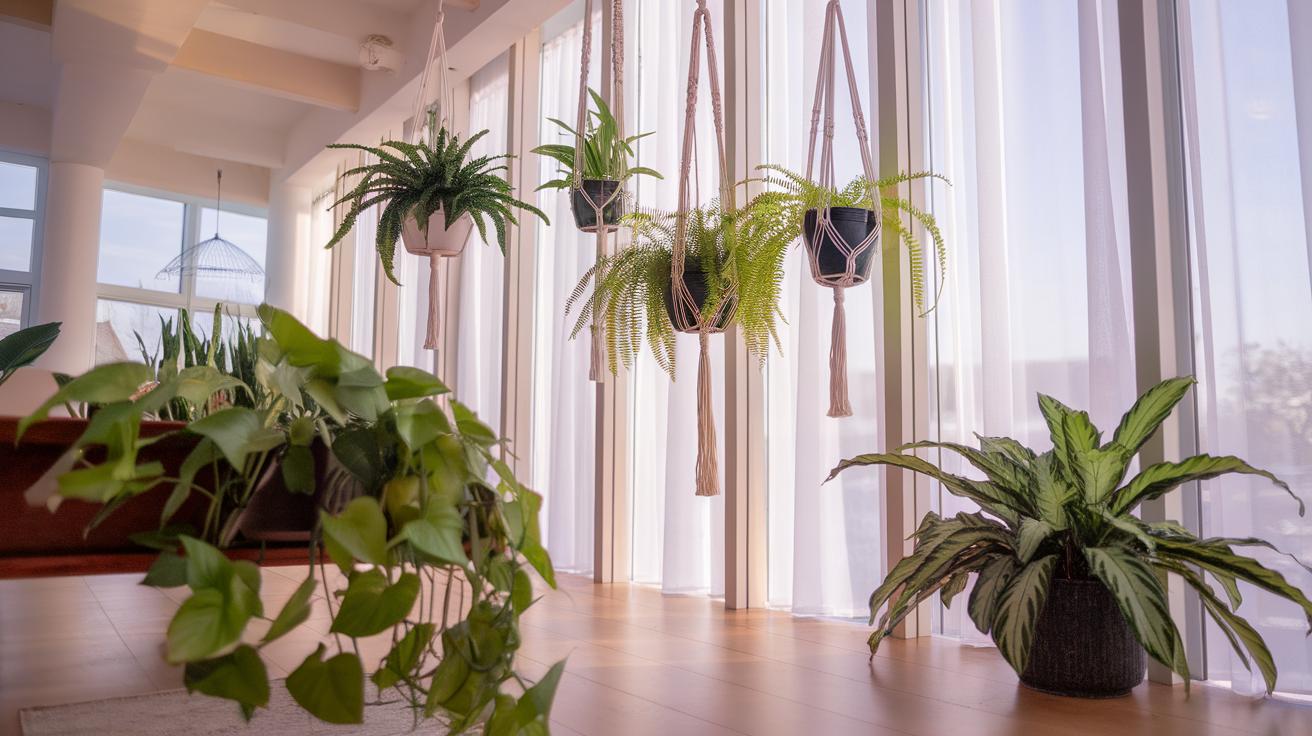
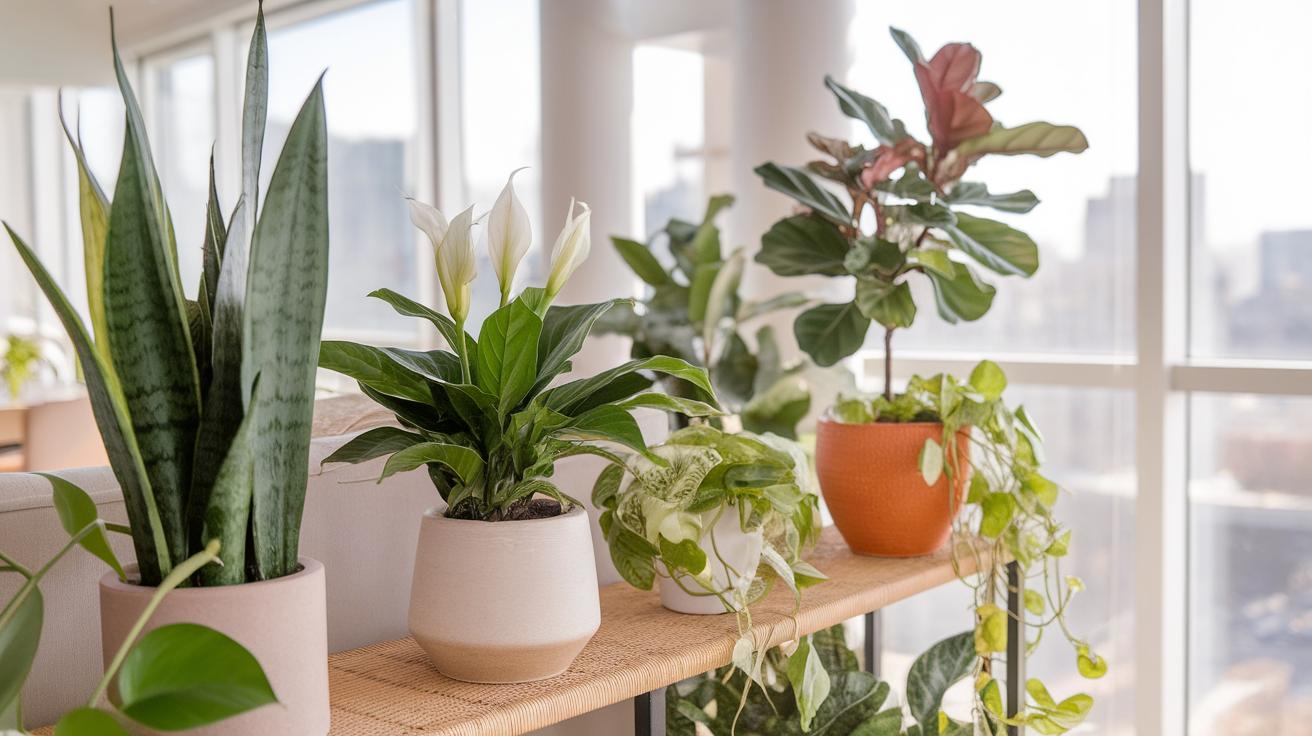
Snake plants, with their upright, thick leaves, need little light and water. Pothos plants climb or trail, using their large, heart-shaped leaves to gather light efficiently. The ZZ plant stores water in its thick stems and leaves, thriving even after missed waterings. Ferns tolerate shade by using finely divided leaves that catch diffuse light well.
Choosing plants with these traits lets you bring greenery to low light corners without extra effort. What space in your home could use a touch of greenery that won’t demand constant care?
Traits of Low Light Plants
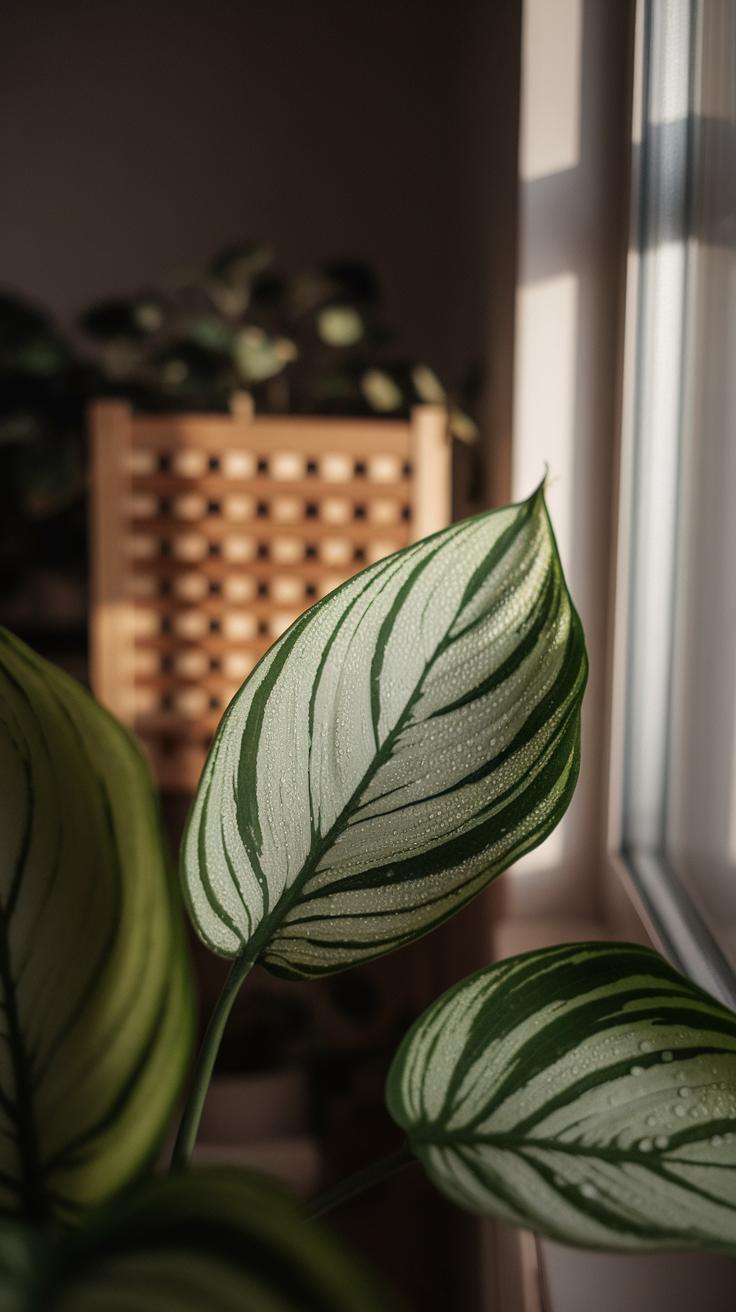
Leaves are key to surviving in low light. Bigger leaves offer more surface area to catch scarce light. Some plants have thick, waxy leaves that hold water, reducing water loss when light is low and evaporation drops. Dark green leaves contain more chlorophyll, which helps make the most of weak light.
Plants adapted to low light often grow slowly, conserving energy needed for survival. This slow growth means less frequent pruning and feeding. Water retention abilities also help these plants survive in less active photosynthesis periods. Understanding these traits can help you identify which plants will thrive in dim rooms.
Top Low Light Indoor Plants for Beginners
Start your indoor garden with easy plants like snake plant, pothos, ZZ plant, and spider plant. These tolerate low light and need minimal care. Snake plants require watering only when soil is dry. Pothos grow quickly but adapt well to shady spots. The ZZ plant can survive weeks without water, making it tough to kill. Ferns prefer humid conditions but handle indirect low light well.
These plants are widely available at garden centers and online. Their hardiness and low maintenance make them ideal for beginners. Which of these could fit your daily routine and space the best?
Potting and Soil Requirements for Indoor Plants
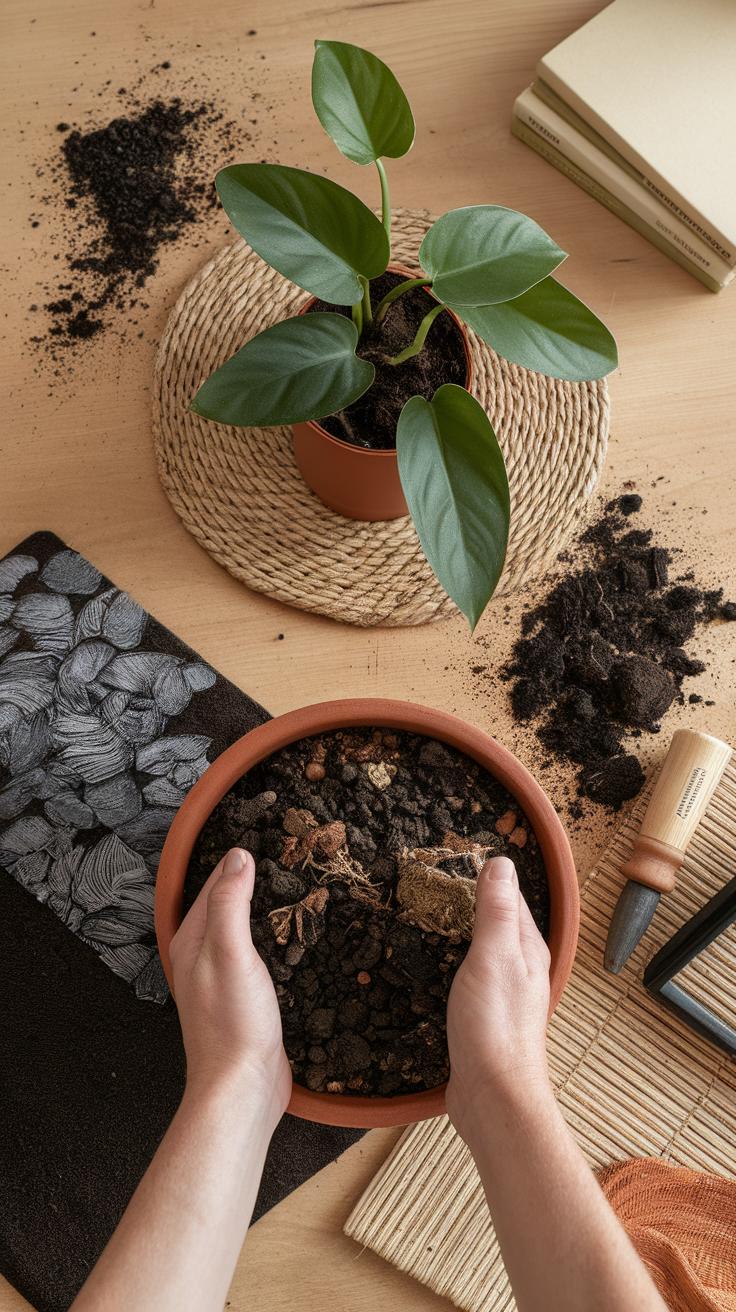
Your choice of soil and pot strongly influences how well low light indoor plants grow. These plants often face slower water evaporation and less sunlight, making soil drainage and aeration critical. Soil that holds too much water can cause roots to stay wet and rot. Roots need air just like leaves, so your soil must allow oxygen to reach them. When soil compacts, roots struggle to breathe, leading to poor plant health.
Pick pots with drainage holes to ensure excess water can escape. Without these holes, water pools at the bottom, inviting root rot. The right pot size matters too. Avoid pots that are much larger than the root ball, as they trap excess moisture. Using a slightly bigger pot helps, but extreme size differences risk drowning roots. Consider using a cache pot or double pot setup. This lets you control how much water the plant receives and prevents overwatering.
Ideal Soil Mix Components
Peat and coir serve as the base of many indoor soil mixes. They hold moisture but do not remain soggy. Peat offers good water retention, while coir promotes aeration and is more sustainable. Adding vermiculite helps keep soil loose and retains some moisture without waterlogging. Perlite improves drainage by creating air pockets around roots. Together, these components balance water retention with drainage.
For example, a mix of equal parts peat or coir, vermiculite, and perlite creates a soil that holds enough moisture but drains well. This mixture helps avoid soggy roots, especially important for low light plants that don’t dry quickly. When you make your own soil blend, think about how often you water and how your plant responds. Adjust the ratio to keep roots healthy and happy.
Choosing the Right Pot
Selecting the right pot can prevent many problems for indoor plants. Pots should be slightly larger than the root system to allow room for growth without letting the soil stay overly wet. Clay pots absorb moisture and allow soil to dry faster, which can benefit plants prone to root rot. Plastic pots hold moisture longer and are lighter, but you must be extra careful with watering.
Using cache pots or double pots lets you remove the inner pot for watering or check excess water at the bottom. This method gives you more control, preventing overwatering issues common in low light plants. Think about where you place your plant—pots with heavier materials stay stable near windows or high shelves, while plastic pots are easier to move.
Do you notice water sitting in the bottom of your pot after watering? That’s a sign to check drainage and pot choice. Small changes in soil and pot setups can improve your plant’s health noticeably, especially in low light rooms.
Watering Techniques for Plants in Low Light
Indoor plants in low light need less water than those in brighter spots. With less light, plants slow their growth and use water more slowly. Giving water too often can cause the soil to stay wet too long and lead to root rot. Watering too little makes plants dry out and wilt.
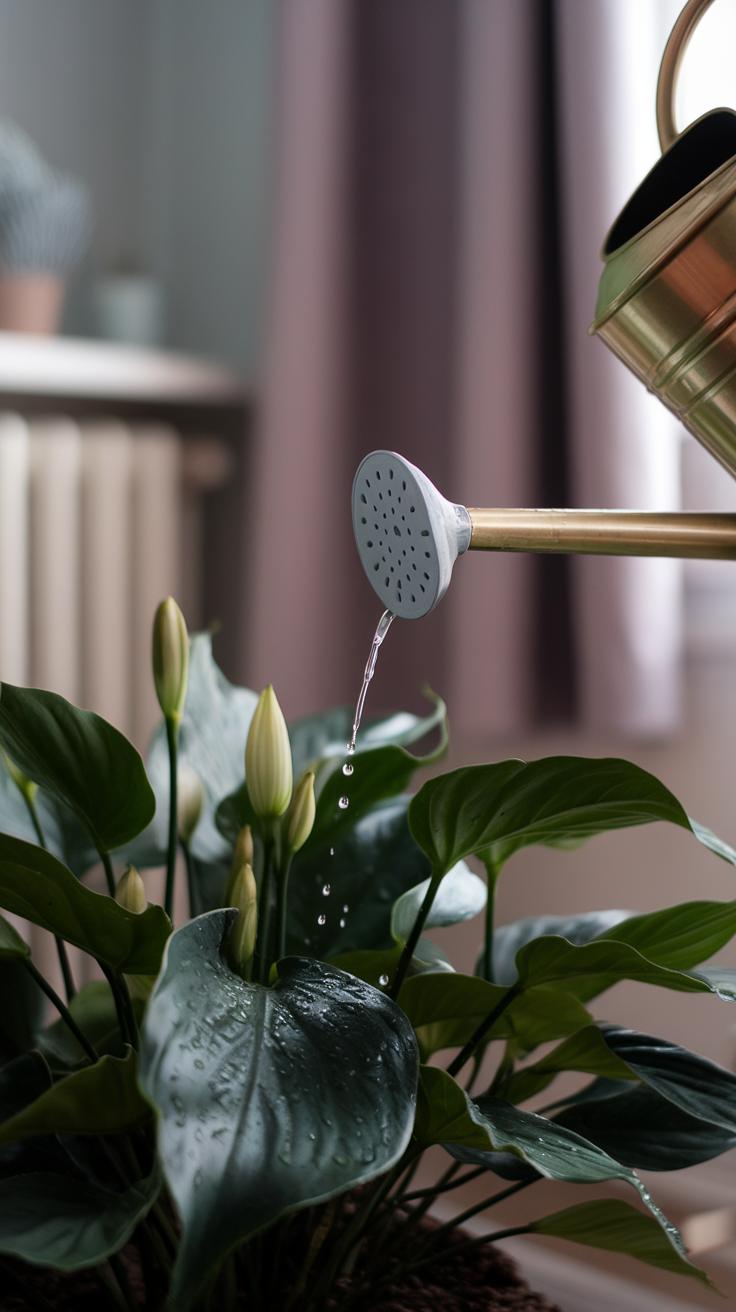
Check your plants by touching the soil. If the top inch feels dry, it’s time to water. Use pots with drainage holes to avoid water buildup. When you water, pour enough so it drains from the bottom, ensuring roots get moisture without sitting in water.
Signs of underwatering include drooping leaves and dry soil. Overwatering shows as yellowing leaves, mushy stems, and a sour smell from the soil. If you spot these signs, adjust your watering habits quickly. Would your plant prefer a drink now or a few more days to rest its roots?
How Light Influences Water Needs
Light levels affect how much water plants use. Lower light means less energy for photosynthesis. The plant grows slower and pulls water from the soil at a slower rate. This also means water evaporates from the soil less quickly.
When your plant receives low light, reduce how often you water. Instead of a regular schedule, check the soil moisture first. Watering every week might work in bright rooms but be too often in dim areas. Adjust watering frequency instead of quantity.
Observe your plant’s reaction. Is the soil staying damp for too long? Slow down watering. Are leaves wilting? It might be time for a good soak. How often have you thought about light before watering? This connection can save your plant’s health.
Detecting Watering Issues
Root rot is common when plants get too much water. Look for soft, blackened roots or a bad smell from the soil. Leaves may turn yellow and fall even if the soil feels wet. Dehydration causes dry, crispy leaf edges and a droopy appearance.
To avoid problems, water only when the soil is dry at least an inch down. Use well-draining soil to help excess water leave the pot. Avoid leaving your plant in a saucer full of water after watering.
Try lifting a pot before and after watering to learn how heavy it feels with moist or dry soil. This simple check helps you avoid watering mistakes. Have you ever lifted a pot to sense if your plant needs water? Paying attention this way builds better care habits.
Humidity and Temperature Essentials
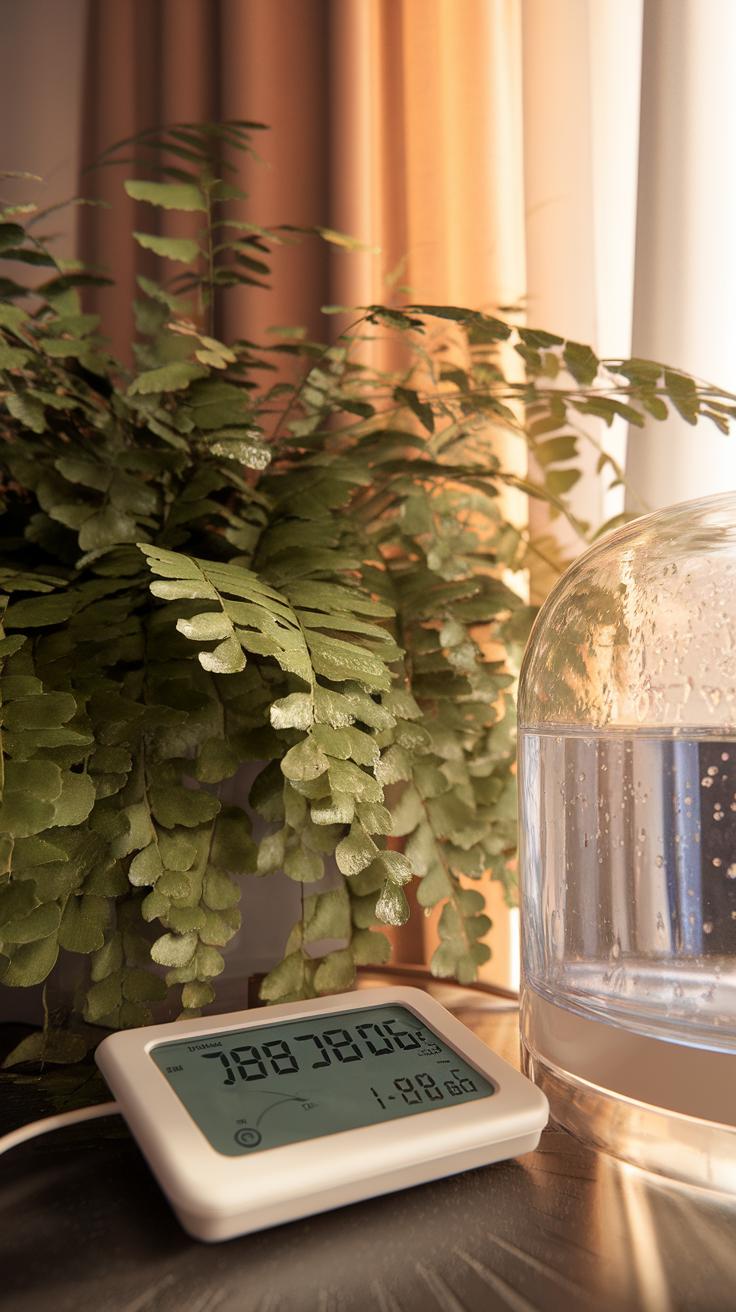
Most low light indoor plants come from tropical or semi-tropical regions where humidity and temperature play a big role in their health. You want to keep humidity levels between 40% and 60% for plants like snake plants, pothos, and peace lilies to grow well. Humidity that is too low can cause leaf edges to brown and stunt growth. Too high, and mold or fungal problems may appear.
Temperature matters just as much. Many low light plants prefer steady warmth between 65°F and 80°F. Sudden drops below 55°F or exposure to cold drafts can shock the plants, causing yellow leaves or slowed growth. Heat sources like radiators or heaters can dry the air and harm foliage, so placing plants away from them helps maintain balance.
Have you noticed your plant’s leaves curling or dropping? Checking humidity and temperature might reveal the cause. Adjusting these conditions encourages your low light plants to not just survive but thrive in your home environment.
Maintaining Humidity Indoors
You can raise indoor humidity in simple ways. Misting leaves with water now and then adds moisture directly to the plant surface. Using a spray bottle is quick, but mist only lightly so leaves stay damp without staying wet for hours. Overly wet leaves invite pests.
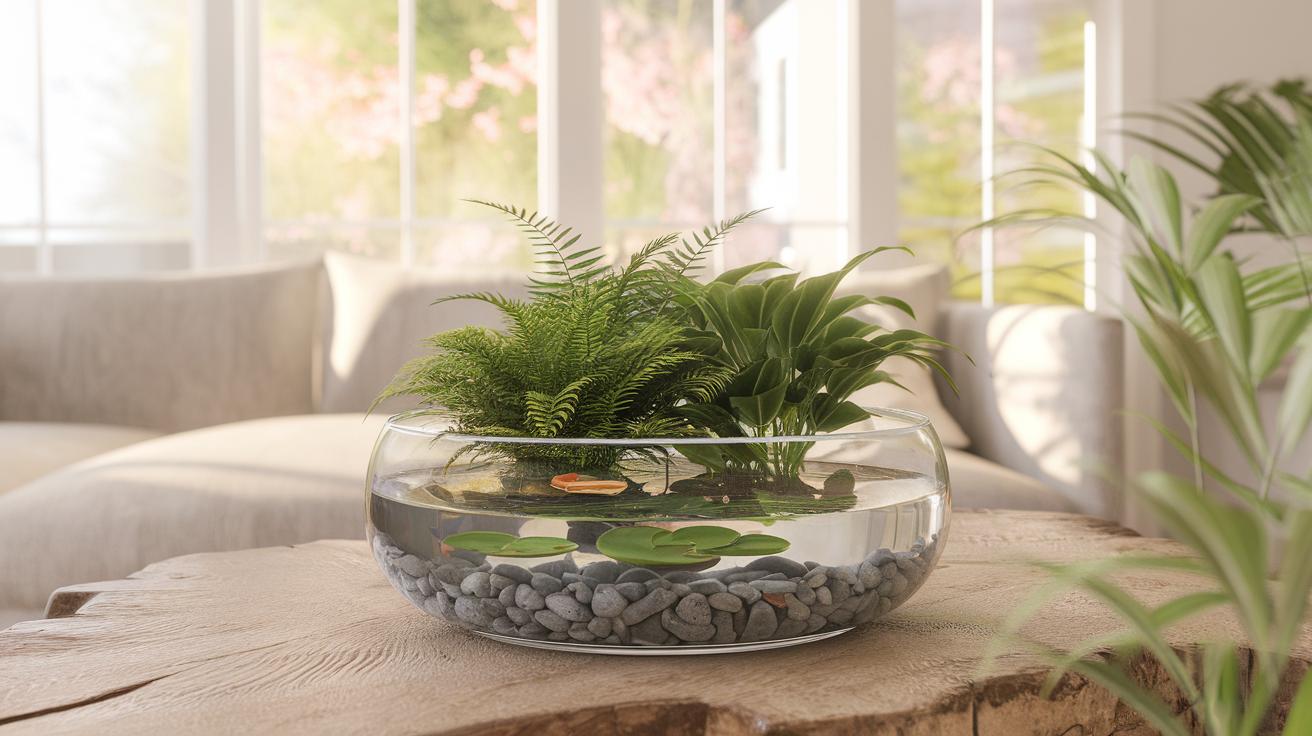
Another effective method is placing water trays or bowls near your plants. As water evaporates, it increases humidity around them. Add pebbles under the pots to keep roots from sitting in water while still benefiting from the extra moisture.
Grouping plants together also creates a micro-humid zone since they release moisture during respiration. Do you have a small cluster of plants? Notice how the air feels more humid there compared to isolated ones.
Temperature Ranges Plants Prefer
Tropical plants like philodendrons and monsteras do best in room temperatures ranging from 65°F to 80°F. Semi-tropical ones, such as snake plants, can tolerate slightly cooler nights but still prefer above 60°F. Avoid sudden temperature swings that stress plants.
Keep plants away from cold drafts near windows or doors, especially during winter. Hot air from vents or heaters dries out the air quickly and may scorch leaves. Placing plants in stable spots where temperature stays consistent reduces the risk of damage.
Have you checked if a draft or heat is near your plant’s usual spot? Moving it just a few feet can improve its health and growth significantly.
Fertilizing Your Indoor Plants
Low light indoor plants need the right nutrients to stay healthy and grow steadily. These plants use nutrients more slowly than those in brighter light, so overfeeding can cause harm. Understanding what nutrients your plants need helps you avoid fertilizer buildup and keep leaves vibrant.
Macronutrients like nitrate, phosphate, and potassium play key roles. Nitrate supports leaf and stem growth. Phosphate helps roots develop and boosts energy use. Potassium strengthens the plant’s ability to fight stress and disease. Micronutrients such as iron and zinc are vital too. Iron keeps leaves green by aiding chlorophyll production. Zinc helps with enzyme function and leaf health.
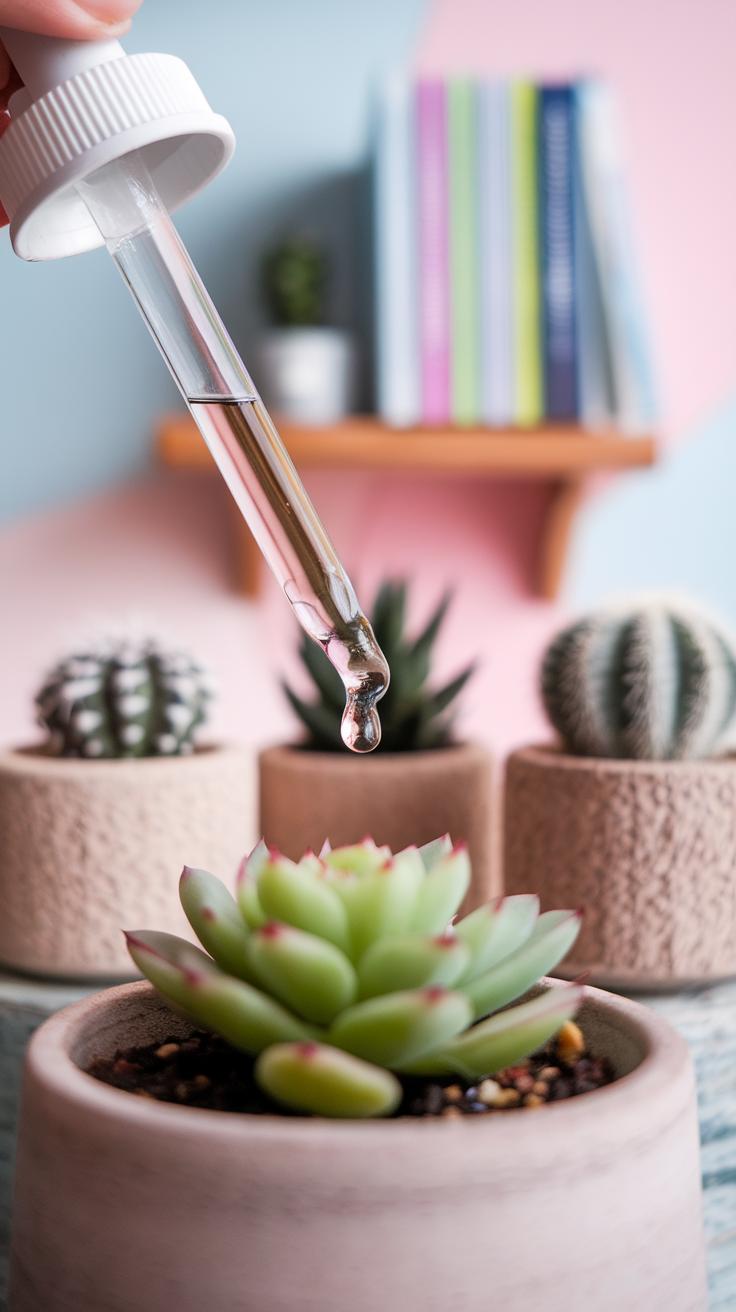
Choosing a balanced fertilizer with both macro and micronutrients ensures full nutrition. Slow-release or liquid fertilizers work well for low light plants. You might ask how often to feed your plants. A good rule is every 6 to 8 weeks during growing seasons, with less or none in winter. Use half the recommended dose to prevent salt buildup in soil. Feeding on moist soil avoids root damage.
Essential Plant Nutrients
Nitrate is the main nitrogen source that plants use for leaf growth and green color. When your plant’s leaves look pale or small, it might need more nitrate. Phosphate supports strong root systems and helps your plant absorb energy from light, even in low-light situations.
Potassium helps maintain water balance and strengthens the plant against stress from dry air or temperature changes. It also improves overall plant health and boosts disease resistance. Iron is crucial for keeping leaves green by supporting chlorophyll formation. If you see yellowing between veins, it could be an iron deficiency.
Zinc helps activate enzymes that assist in growth and leaf development. Without enough zinc, new leaves can be small or misshapen. Feeding your plants with these nutrients in balance supports their health and appearance in low light indoor settings.
Fertilizer Application Tips
Applying fertilizer correctly prevents damage. Low light plants grow slowly, so they need less frequent feeding than sun-loving ones. Feed every 6 to 8 weeks when your plant shows signs of active growth, usually spring and summer.
Use liquid fertilizers diluted to half strength for regular feedings. This method delivers nutrients quickly and reduces risk of buildup. Slow-release pellets can also work but choose formulas made for indoor plants.
Avoid fertilizing if your plant’s soil feels dry or the plant looks stressed. Water first, then fertilize to help nutrients absorb better. Flush the soil once or twice a year with plain water to wash out excess salts and prevent root burn.
How do you know if your feeding routine works? Watch for new leaf growth and vibrant leaf color. If leaves turn brown or drop, cut back on fertilizer or increase watering. Regular monitoring lets you adjust feeding for your plant’s unique needs.
Common Issues with Low Light Indoor Plants
Low light indoor plants often show signs of stress that can disrupt their growth. Yellowing leaves usually mean the plant isn’t getting enough light or is overwatered. Drooping leaves may signal underwatering or root problems. Slow growth can result from weak light or poor soil quality.
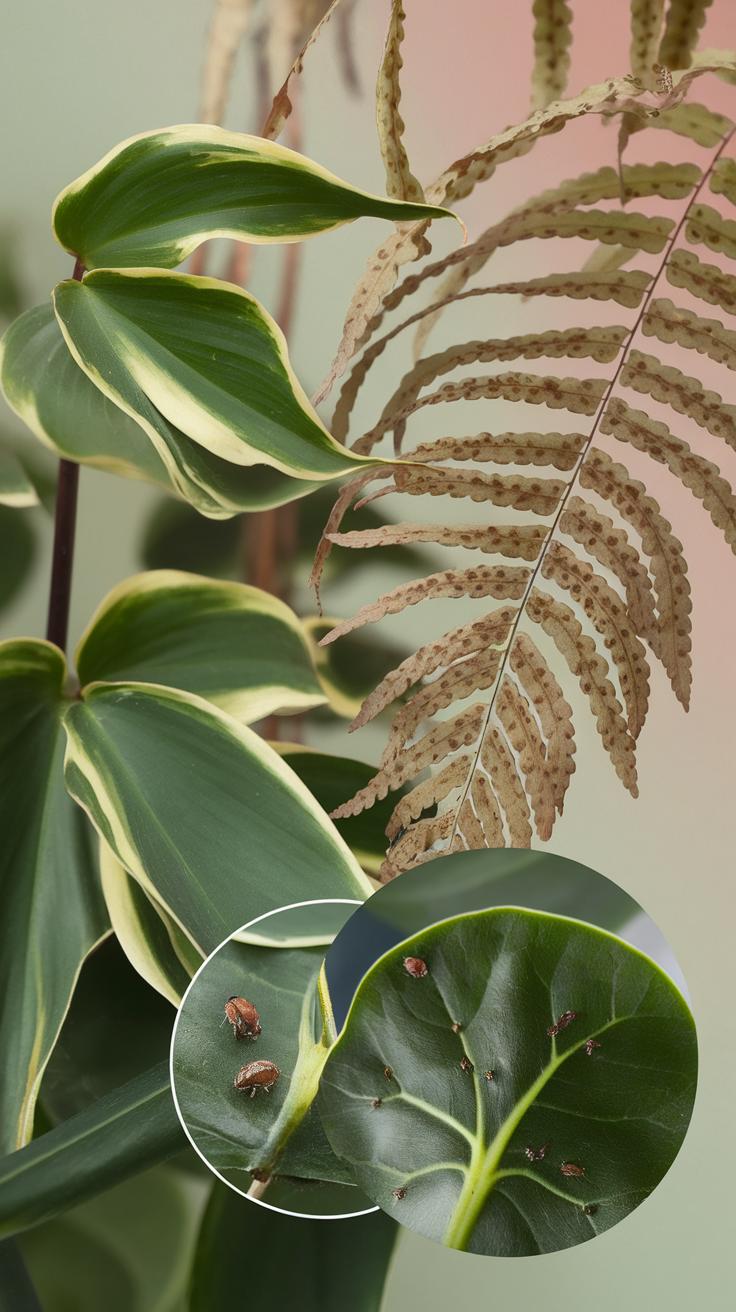
When you notice these problems, ask yourself if the plant is near a natural light source or if you have watered it properly. Overwatering holds moisture and causes root rot, while underwatering leaves the plant thirsty. Pests such as spider mites or scale insects also cause leaf damage and stunted growth. Checking for tiny webs or sticky spots can help you spot infestations early.
You can improve your plant’s condition by adjusting light exposure or changing your watering routine. Are you watering consistently enough without drowning the roots? Simple changes often help low light plants bounce back and thrive.
Recognizing Symptoms of Stress
You can spot stressed indoor plants long before damage spreads. Look at the leaves and stems for subtle color shifts. Pale or yellow leaves show nutrient or light shortages. Feel the leaves; limp or brittle textures point to water issues.
Check new growth carefully. Slow or stunted shoots suggest the plant struggles to adapt. Browning edges and spots often mean disease or pests. Touch the soil—dry or soggy conditions signal watering problems. Do not ignore wilting or curling leaves; these are early cries for help.
Ask yourself: What changed recently in the plant’s environment? Identifying small signals quickly can save time and prevent bigger problems. Consistent checks make caring for low light plants easier and more successful.
Pests and Diseases Preventive Measures
Common pests like aphids, spider mites, and mealybugs attack low light indoor plants by feeding on sap and weakening leaves. You should inspect your plants regularly to find these invaders early. Use a soft cloth dipped in soapy water to wipe them off gently.
Natural sprays made from diluted neem oil or insecticidal soap can control pests without harming your plant or indoor air quality. Keeping the leaves clean and dust-free helps plants breathe and reduces pest hideouts.
Good air circulation lowers humidity and stops mold or fungal diseases from spreading. Avoid overcrowding plants and open windows occasionally. Clean pots and trays catch fallen debris that attracts insects. Can you create a space where your plants stay dry and aired out? This simple step reduces many common issues before they start.
Acclimating Your Plants to Indoor Conditions
When moving a plant from a nursery or outdoors to a low light indoor setting, sudden changes can stress it. Plants need time to adjust to new light and humidity levels to avoid shock.
Start by placing the plant in a brighter indoor spot before moving it to low light areas. This reduces the shock of dropping from full sun or strong nursery lights to dimmer rooms. Keep the plant away from drafts and fluctuating temperatures during this phase.
Adjusting your watering is important too. Many plants need less water as they acclimate indoors because evaporation slows down. Monitor the soil moisture carefully, and only water when the top inch feels dry.
Taking these steps helps your plant settle smoothly into its new environment and lowers the risk of leaf drop or wilting. How often do you check your plant after bringing it home? Watching closely in those first weeks can make a big difference in its health.
Step-by-Step Acclimatization Process
Begin by placing your new plant near a window with filtered light for about three days. Avoid putting it directly in the sun. After that, move it to a slightly dimmer spot for another three to five days.
Reduce watering gradually. Water the plant fully at first, then decrease the frequency by about 25% each week. Check the soil before watering to prevent overwatering, which is common during adjustment.
Keep temperature and humidity steady. Avoid sudden drafts and fluctuate between warm days and cooler nights smoothly to mimic outdoor conditions. Once the plant thrives in medium light, move it to low light slowly, over one to two weeks.
Have you noticed how small changes in care affect your plant’s comfort? Patience during this process helps avoid shock and encourages steady growth.
Signs of Successful Acclimation
Look for new leaf growth. Fresh leaves with firm, vibrant color show the plant has settled in. Leaves that remain healthy and don’t yellow or drop indicate proper adjustment.
New stems or shoots are positive signs that the plant uses its energy well despite reduced light. Slow growth is normal but should not come with wilting or brown spots.
Check the soil moisture regularly. If the plant’s roots stay firm and it holds water without rotting, you know watering is balanced. Also, observe the plant’s posture—upright and sturdy leaves mean comfort.
What changes do you see week to week? Tracking these signs helps you decide if you need to alter light placement or watering. Caring carefully during acclimation sets the stage for a strong, thriving indoor plant.
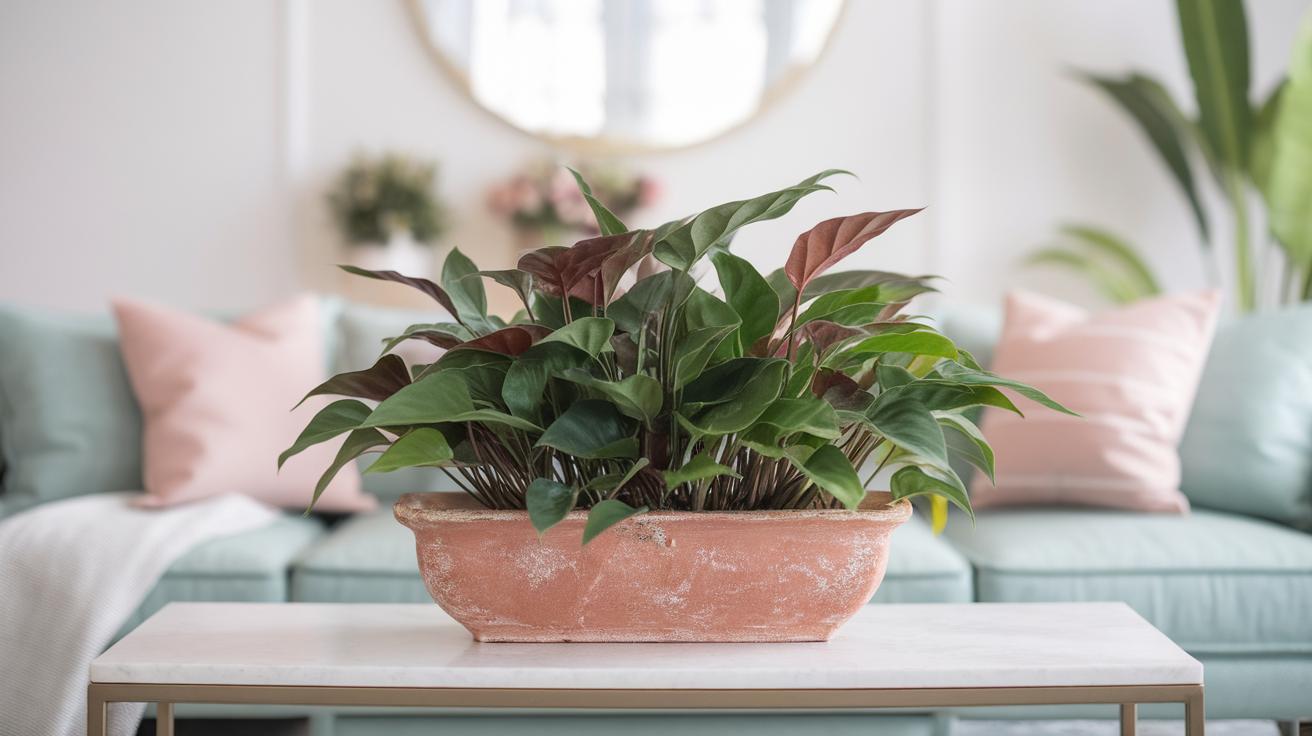
Arranging Plants for Maximum Benefits and Aesthetics
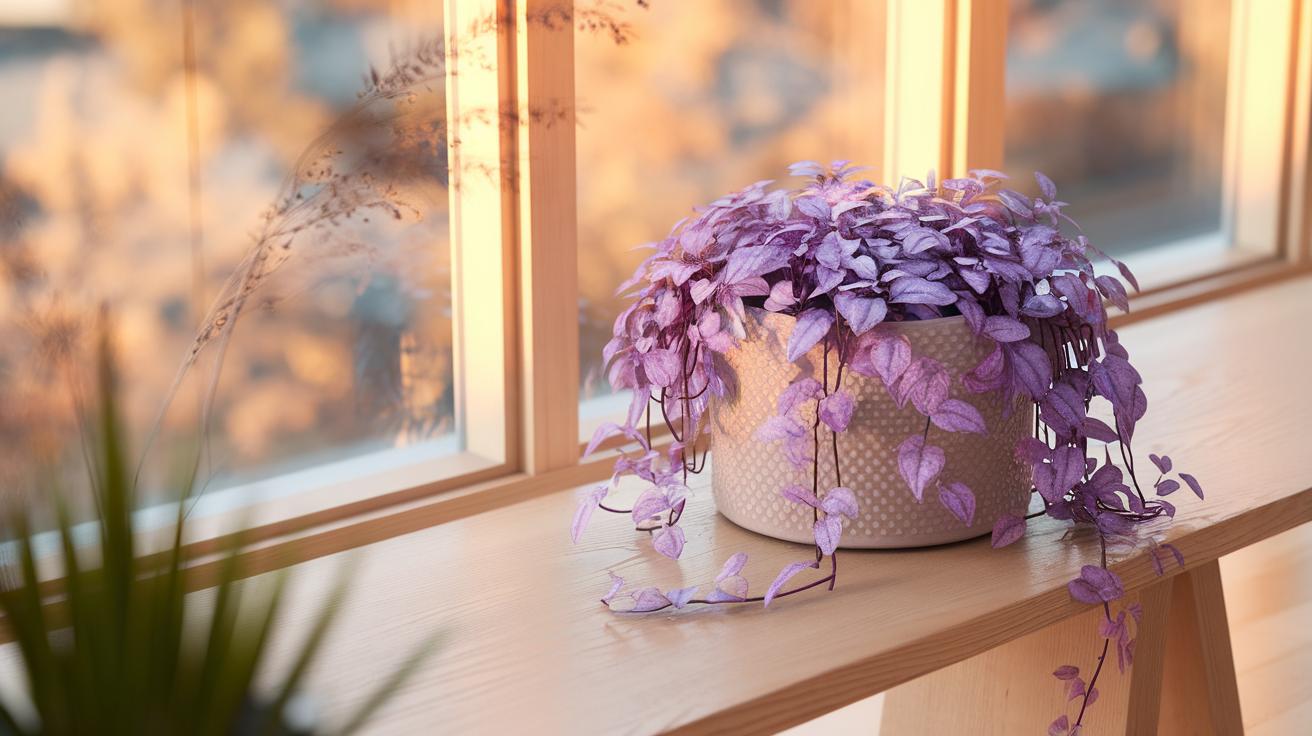
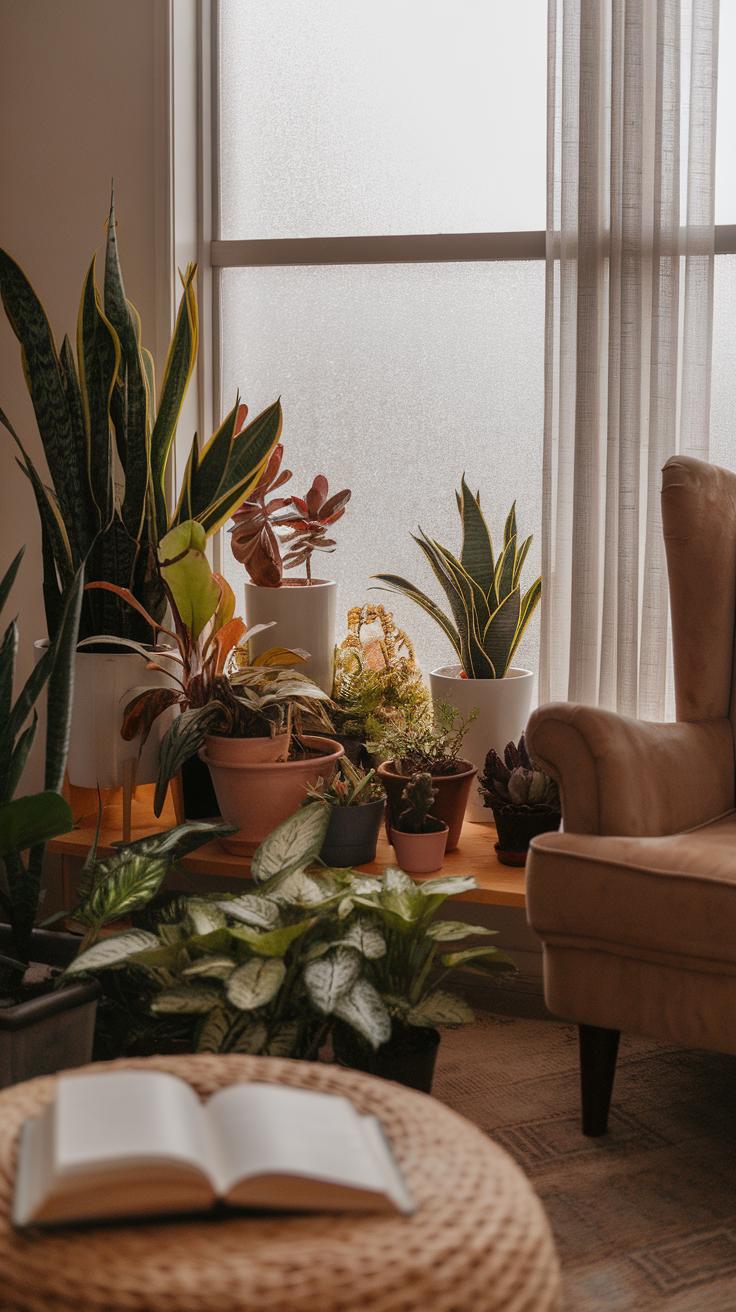
Placing your plants thoughtfully can improve their health and make your space more inviting. Look for spots where light spreads evenly, such as near shaded windows or open corners. Low light plants do best where they get indirect light without harsh sun. Shelves near windows work well because they catch scattered light throughout the day.
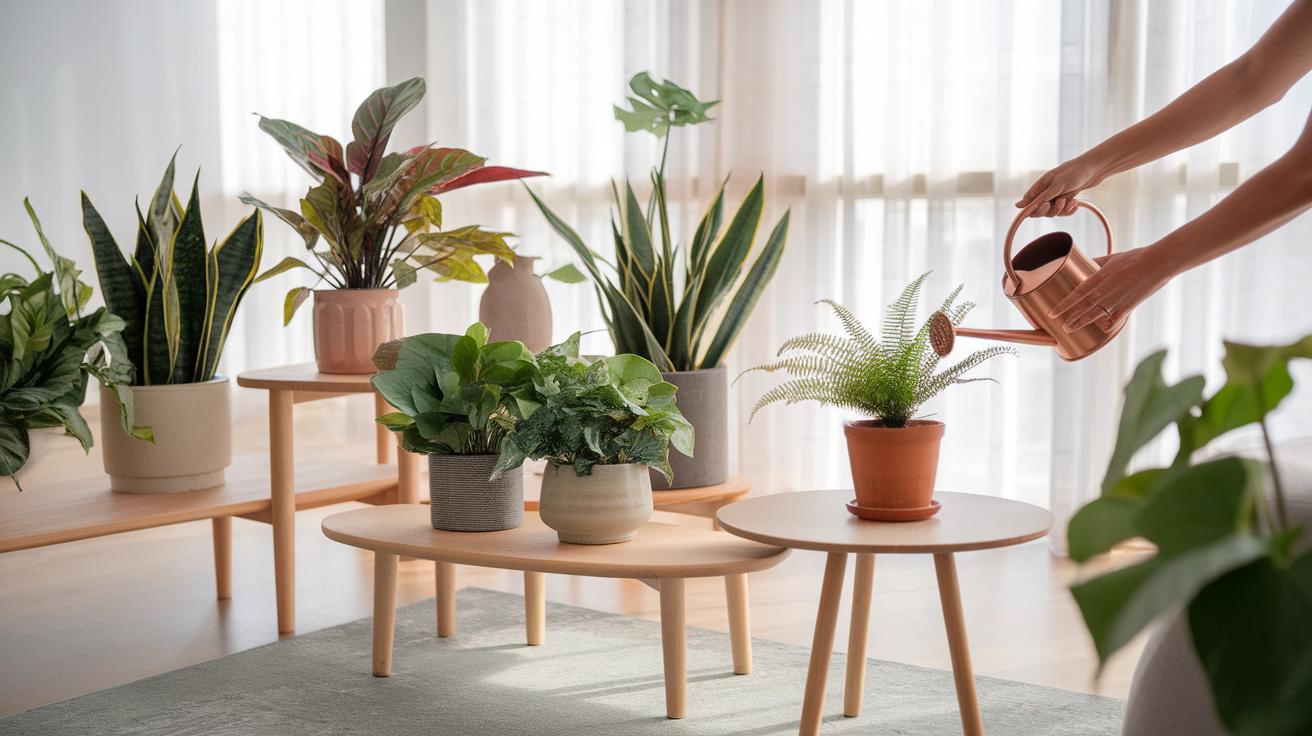
Group plants with similar water and light needs to simplify care. Leave enough space between them to allow airflow and growth. Place taller plants at the back or corners and smaller ones in front so each plant gets some light and is visible. Make sure pots don’t block windows or light sources.
Best Indoor Placement for Low Light Plants
Choosing the right spot depends on how light moves inside your home. Observe where sunlight fades or stays soft for most of the day. Dark corners behind furniture often have just enough light for varieties like pothos or snake plants.
Shaded east or north-facing windows bring gentle morning or afternoon light. Shelves two to three feet from windows capture indirect light well. Avoid placing low light plants in completely dark rooms; these spots can stunt growth. Watch your plants closely to see if they lean or stop growing—this signals a need for adjustment.
Creating Attractive Plant Displays
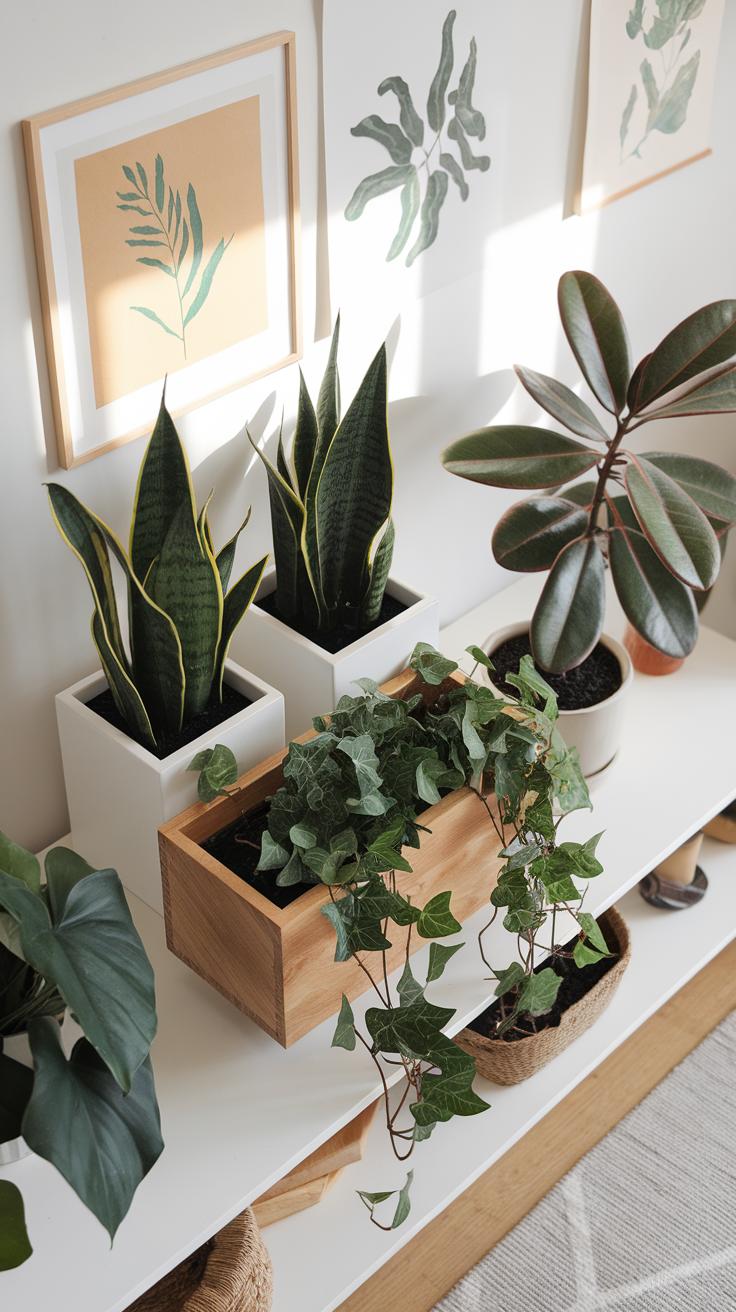
Mix different leaf shapes and plant sizes to keep your collection interesting. Combine broad-leaf plants, like philodendrons, with slender types such as ferns. This contrast adds depth and texture to your display.
Use pots in varying colors and finishes, but keep the overall palette consistent to avoid clutter. Try neutral tones with occasional pops of green or earth colors to connect with the plants. Arrange plants by height, tallest in back, shortest in front. Adding trailing plants on shelves or stands can soften edges and fill empty spaces.
Ask yourself how you want your plants to make you feel daily. Do you prefer a calm, green retreat or a lively, layered corner? Adjust placements and pairings until your space feels balanced and rewarding.
LongTerm Care and Enjoyment of Your Indoor Garden
Your indoor plants need ongoing attention to stay healthy and vibrant. Paying close attention to their condition helps you catch problems early. Observing leaf color, soil moisture, and growth patterns guides your care decisions. How often do you check your plants’ leaves or soil? Small actions can keep your garden thriving for years.
Indoor gardening benefits more than just your home’s look. It improves air quality and can reduce stress. Taking time daily to care for your plants promotes mindfulness. When you notice new growth or blooms, it brings real satisfaction. How does your plant care routine affect your mood?
As your plants grow, their needs evolve. They might require more water, a larger pot, or more light. Adjust your care plan based on what each plant signals. Keep learning from your plants and let their changes guide your care. This ongoing dialogue between you and your garden makes indoor gardening rewarding.
Routine Care Practices
Daily check your plants for dry soil or drooping leaves. Water only when the top inch of soil feels dry to the touch. Early morning is the best time to water. Wipe dust off leaves regularly to help them absorb light better.
Weekly prune dead or yellowing leaves to encourage new growth. Look for pests or unusual spots on leaves. Monthly, feed your plants with a balanced fertilizer suitable for indoor species. Also, rotate pots slightly to keep plants growing evenly toward the light source.
Adapting as Your Plants Mature
Young plants need less water but more careful attention to light placement. As roots fill their pots, watch for slowed growth—this is a sign to repot. Moving to a larger container gives roots room and refreshes nutrient supply.
Plants might tolerate low light when small but can need brighter spots as they mature. You may need to move them closer to windows or use artificial grow lights. Adjust watering habits too, since bigger plants often use water faster. How often do you re-evaluate your plant’s space and needs?
Conclusions
Bringing low light indoor plants into your home is achievable with the right choices. These plants adapt well to indoor environments with limited sunlight. You can enhance your living space by selecting species that naturally grow under shaded conditions. Caring for these plants involves regular watering but not overwatering, proper soil, and attention to humidity and temperature.
Growing indoor plants in low light is not complicated if you understand their unique needs. This knowledge helps you avoid common issues like root rot and nutrient deficiencies. Building a green space inside with low light plants brings lasting benefits. Are you ready to transform your darker corners into lively, healthy areas?