Introduction
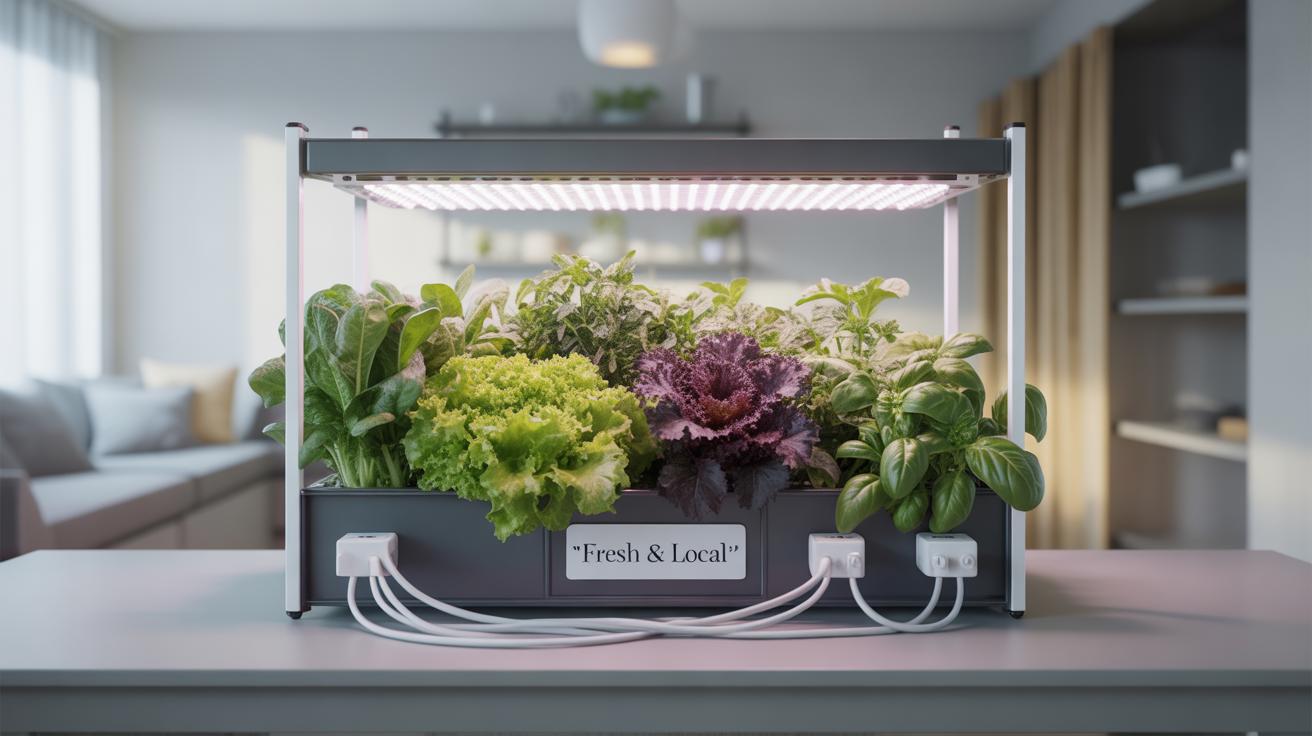
Vertical farming offers a practical way to grow leafy greens and herbs right in your home. This method uses stacked layers or racks to maximize space, allowing you to have fresh produce all year round without needing a garden. You can grow what you love, control the environment, and reduce waste.
In this article, you will learn how to set up simple racks for vertical farming specifically for leafy greens and herbs. We’ll cover everything from choosing the right plants to practical setup tips, helping you take control of your fresh food supply in a fun and efficient way.
Understanding Vertical Farming
What is Vertical Farming
Vertical farming means growing plants in stacked layers rather than spreading them out horizontally. It’s not exactly brand new—people have experimented with layered growing for decades—but with recent technology, it’s gaining ground, especially at home. Imagine shelves filled with trays of leafy greens and herbs that stack upwards instead of sprawling across a garden bed. That’s the basic idea.

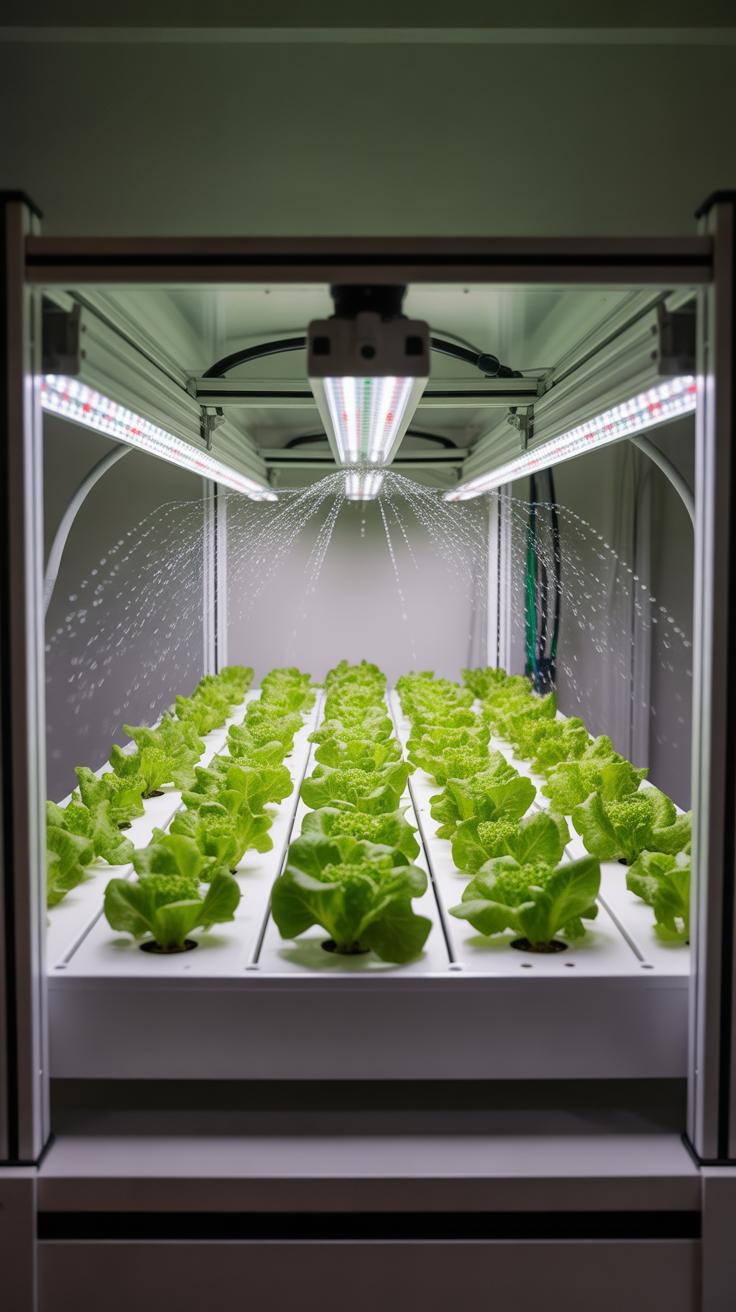
This way of farming depends on controlled environments. Temperature, light, humidity—they all get managed carefully, often with LEDs and automated systems, to mimic ideal conditions. The plants don’t grow outside in soil; sometimes hydroponics or aeroponics systems supply nutrients directly. It might feel a bit like science fiction at first, but really it’s a practical technique to grow more food in less space.
Why Choose Vertical Farming at Home
For home growers, vertical farming offers several perks. First, it saves space—especially useful if you live in a small apartment or have limited backyard area. Instead of sprawling gardens, you get compact racks with multiple layers.
Then there’s the chance to grow food year-round. Outdoor gardens depend on seasons and weather changes, but a vertical rack with proper lighting lets you harvest fresh greens and herbs even in winter. Freshness improves because you pick just what you need, close by, reducing trips to the store and spoilage.
But, it’s not all straightforward. You need some equipment and patience to get the environment right, and sometimes the initial setup can feel a bit overwhelming. Still, many find the learning curve worthwhile given the steady supply of homegrown greens.
Choosing the Right Leafy Greens and Herbs
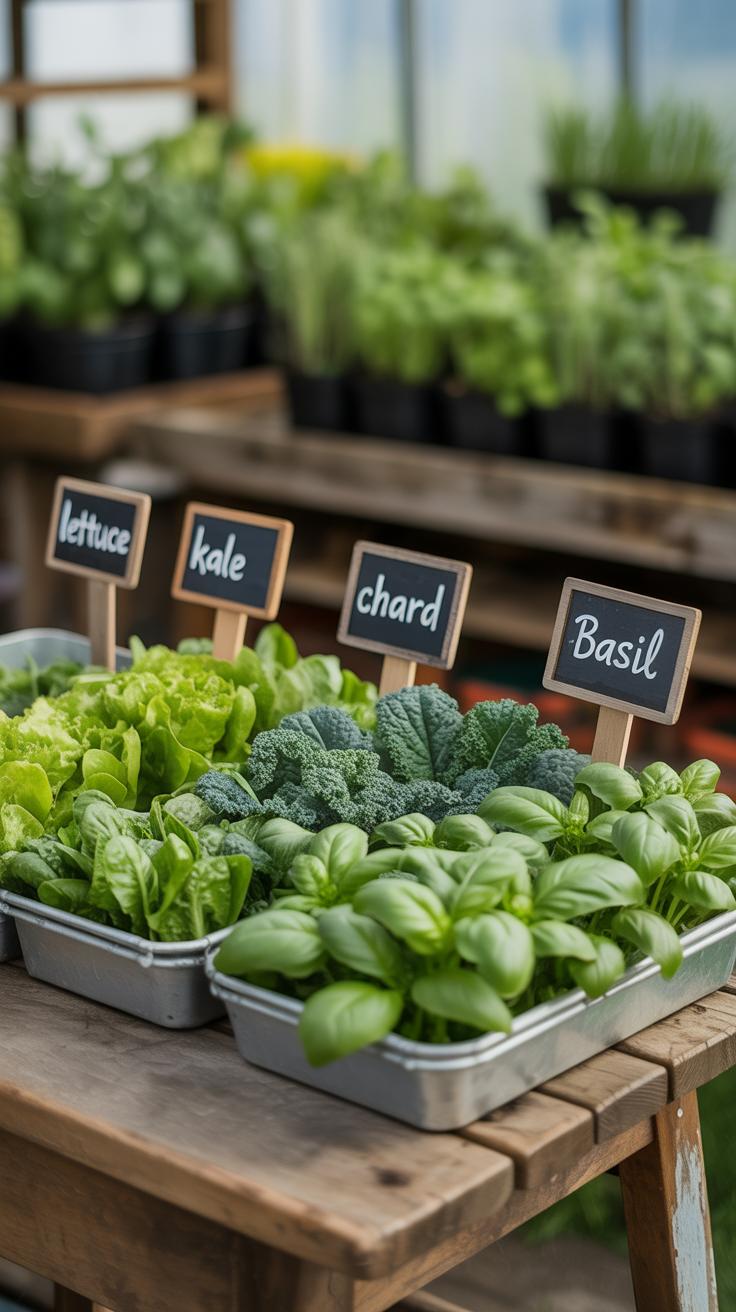
Picking plants for your vertical farming rack can feel a bit tricky at first. But some greens just tend to do well in these setups, especially when space is limited and you want easy care. Leafy greens like lettuce, spinach, and kale are popular choices. Lettuce is fast-growing, doesn’t need too much light, and adapts well to vertical layers. Spinach might take a bit more patience, but it thrives in cooler conditions and smaller spaces, making it a good pick. Kale can be a bit fussier but offers a hearty option if you want something a little tougher.

When it comes to herbs, you want varieties that don’t crowd each other or get too tall. Basil is a classic—it grows quickly, smells great, and loves a spot with bright light. Parsley is forgiving and stays relatively compact, so it fits nicely on racks. Mint grows vigorously and can spread fast, so keeping it separated helps, but it does well overall. These herbs usually don’t need too much fuss, which is why I think beginners find them encouraging.
So, what do you want to prioritize? Quick harvests? Flavor diversity? Maybe a mix of both? Leafy greens and herbs for vertical racks should be manageable but rewarding. Experiment a little—you might find your own favorites that challenge the typical advice or even surprise you with how well they grow up there.
Setting Up Your Vertical Farming Rack
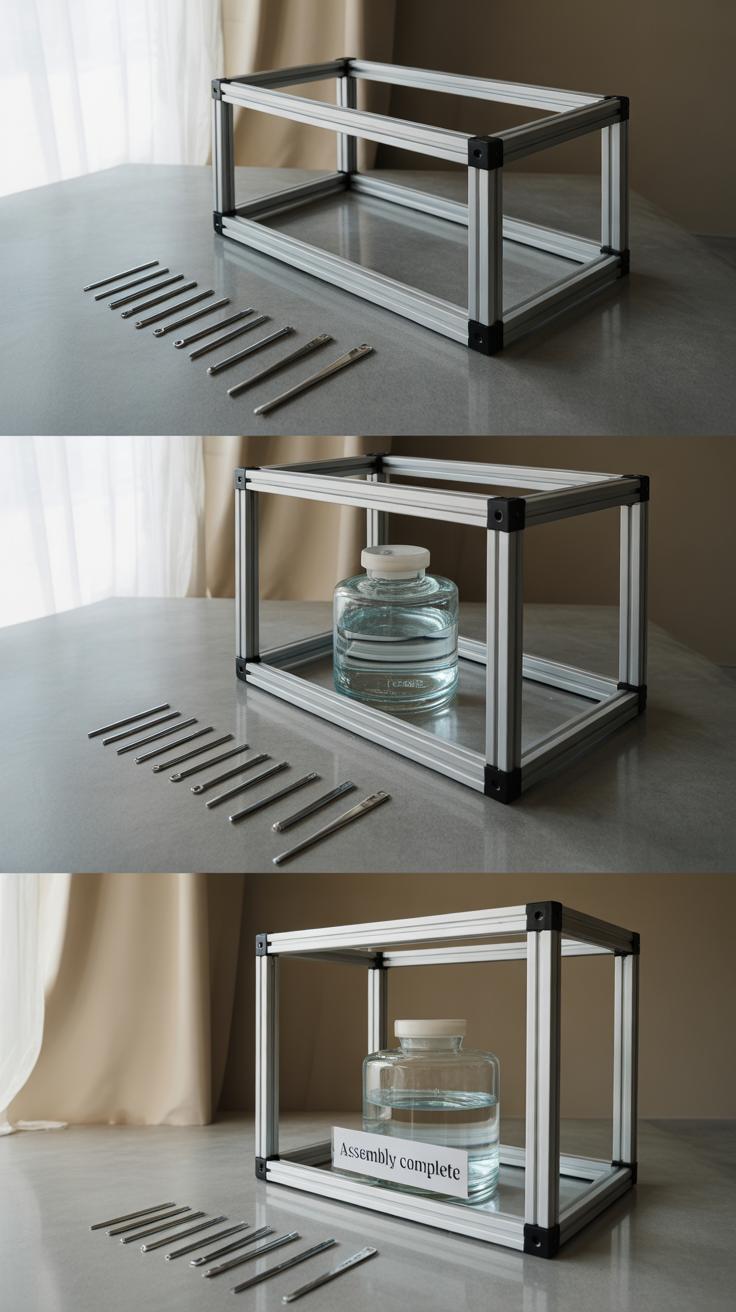
You can either build your own rack or buy one tailored for growing leafy greens and herbs. Simple racks are often straightforward to assemble and don’t require fancy tools, which is good if you want something quick. When thinking about size, aim for racks about 4 to 6 feet tall and 2 feet wide. This fits nicely in most indoor spaces without overwhelming the room. Depth-wise, 1 to 1.5 feet is usually enough to hold containers and allow airflow.
Arrangement matters too. Try spacing the shelves 12 to 15 inches apart; it leaves room for plants to grow without feeling cramped. You might want to stagger shelf heights if you have a mix of greens and slightly taller herbs. Oh, and don’t crowd it all in one corner. Air circulation helps prevent mold and pests, so a little breathing room around the rack goes a long way.
Materials and Rack Design

Wood and metal are the most common choices here. Wood racks feel warmer and more natural but can catch water and might warp over time, especially if you forget to wipe spills. Metal racks, often made of steel or aluminum, handle moisture better but might get cold or look industrial. I’ve found simple powder-coated metal frames with wooden shelves strike a decent balance.
Look for racks with guard rails or lips on the shelves so containers don’t slip off. Adjustable shelves can come in handy. Not every plant needs the same height or light. Also, think about how sturdy the rack feels—is it stable enough to hold several pots filled with moist soil or growing medium? Wobbly racks aren’t fun when you’re dealing with live plants.
Location and Space Setup
Finding the right spot can be tricky indoors. Your rack needs consistent, bright light, so near a south-facing window is ideal if you have one. If natural light is limited, consider spaces where you can add grow lights without hassle. The rack should fit comfortably without blocking walking paths or crowding other furniture.
Keep humidity and temperature in mind. Kitchens and sunrooms often work well because they’re warmer, but too much humidity can cause problems if air doesn’t circulate. Somewhere with a power outlet nearby lets you plug in lights or small fans easily. I once placed my rack in a cozy nook only to realize the spot got too dark halfway through winter—that was less than ideal.
Overall, think practically about how the rack fits your daily routine and home layout. You want your greens handy, not hidden away or a hassle to reach. What kind of setup would make you want to check on your plants every day?
Choosing the Growing Medium and Containers

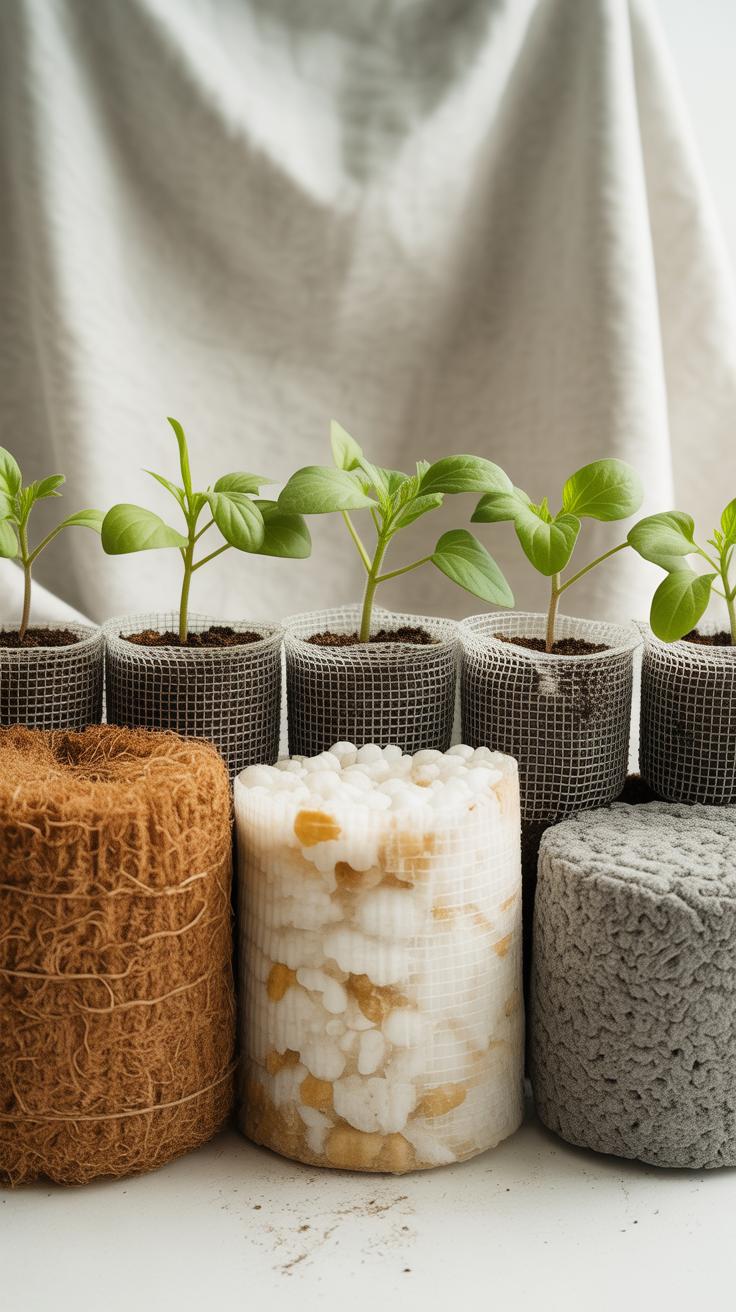
When setting up your vertical farm, picking the right growing medium is crucial. You’ll find two main paths: soil or soilless systems like hydroponics. Soil feels natural—full of nutrients and microorganisms which help plants thrive. But it can be messy, heavy, and tricky to manage water drainage on vertical racks.
Hydroponics, meanwhile, uses nutrient-rich water instead of soil. It’s cleaner and often faster for plants to grow. Yet, it demands more setup, like pumps or reservoirs, and you must keep an eye on nutrient levels closely. Sometimes, it seems a bit more technical than I’d expect for a simple home setup.
If you aren’t keen on pure soil or full hydroponics, options like coco coir or perlite mix in trays work pretty well. They offer better drainage and less weight. Plus, they strike a balance—you get the feel of soil without some of the bulk.
Now about containers: You want something sturdy but space-savvy. Small pots fit nicely but can add up in weight. Shallow trays suit leafy greens well, letting roots spread horizontally, while grow bags offer flexibility and breathability.

Think about fitting containers on your racks without overcrowding. A mix might even be best—trays for lettuce, pots for herbs. What suits your space and how much effort you want to put into watering and maintenance will guide your choice.
Lighting Your Vertical Farm
Light is, without a doubt, one of the most critical factors for growing healthy leafy greens and herbs indoors. Plants rely on light to photosynthesize, which means turning light into energy they need to grow. Without enough light, your greens will stretch out awkwardly, turn pale, or just fail to thrive. But finding the right balance can be tricky, especially indoors. Too little light? Your plants will struggle. Too much? Well, that can cause stress or even burns, though it’s less common with controlled LED setups.
Types of Light Plants Need
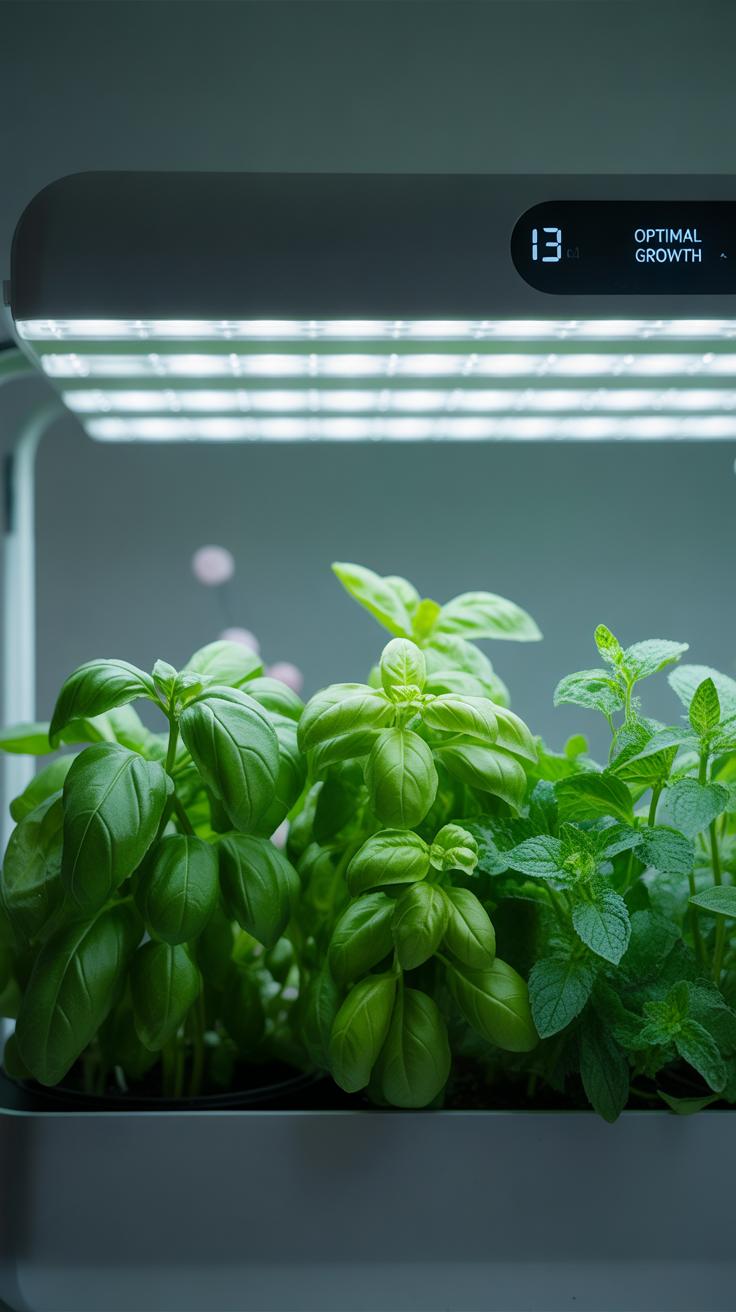
Leafy greens and herbs mostly thrive under blue and red light spectrums. Blue light encourages compact, leafy growth, while red light can stimulate flowering and overall biomass. For what you’re doing—growing fresh greens—a mix weighted towards blue might be best. Light intensity also matters: they don’t require the full sun-level brightness, but somewhere near 200 to 400 micromoles per square meter per second works well.
Natural light from a nearby window can be enough if your racks are positioned carefully and the sun is consistent. Still, windows alone rarely provide reliable intensity or the right spectrum, especially in less sunny seasons. That’s when artificial lighting proves useful.
Using LED Grow Lights

LED grow lights have become quite affordable and are the go-to choice for home vertical farms. When selecting LEDs, look for full-spectrum or ones that specify a mix of blue and red light tailored for greens. You don’t want just a white bulb or standard lamps—they often don’t cover the right wavelengths effectively.
Setting them up means positioning your lights about 12 to 18 inches above the plants, adjusting distance based on the intensity and heat output of the fixture. Many people experiment a bit here—too close can sometimes cause leaf curling, too far means less growth. A timer helps, usually running lights for 12 to 16 hours daily mimics natural cycles well.
One tip I found useful is staggering lights across rack levels so every plant gets uniform exposure. Shadows can sneak in and slow growth on lower shelves otherwise. Also, keep an eye on the light’s heat; some LEDs are cooler than others, and if your plants start drying out too fast, it might be time to tweak the setup.
Watering and Nutrient Management
Watering plants in vertical racks can be tricky at first—you want to make sure each level gets enough without drowning the lower ones. Generally, leafy greens and herbs prefer consistent moisture, but not soggy roots. Check the topsoil daily; if it feels dry an inch down, it’s time to water. But be careful—overwatering can cause roots to rot or invite mold. I found that using a spray bottle or drip system helps distribute water evenly and reduces water pooling.

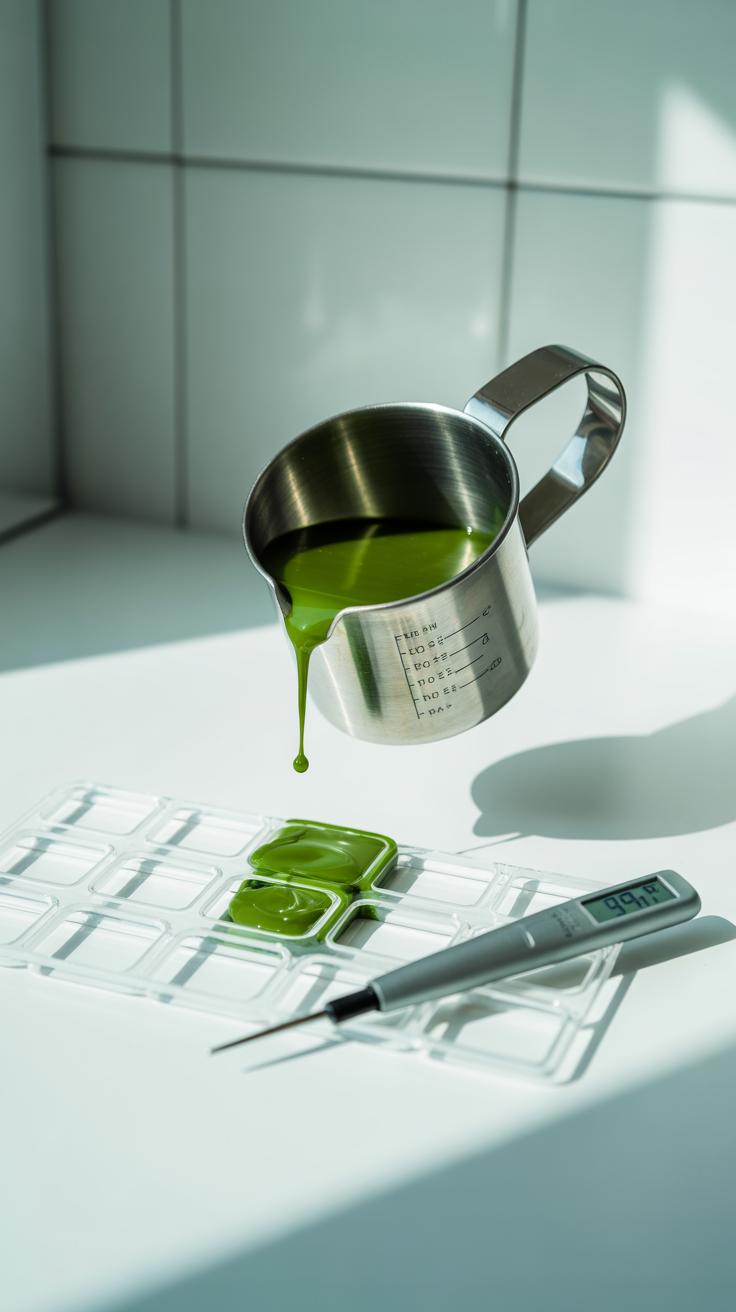
When it comes to nutrients, the choice depends on what you prefer and how “hands-on” you want to be. Organic fertilizers like compost tea, liquid seaweed, or fish emulsion work well and improve soil health over time. On the other hand, simple commercial liquid fertilizers specially formulated for leafy greens and herbs provide a quick nutrient boost. Feeding your plants every two weeks usually suffices, but watch for signs of nutrient deficiency—yellowing leaves, slow growth—and adjust accordingly.
Some gardeners experiment with adding fertilizer directly into the watering can, but I’ve noticed it’s better to water first, then feed, to avoid fertilizer burn. Also, because vertical racks often have less soil volume, nutrients can wash out faster, so patience and small, regular feedings tend to work better than large doses.
Do you find your plants thriving more with organic or commercial nutrients? It might take some trial and error, but your leafy greens will thank you either way. Just keep an eye on soil moisture and nutrient levels—you’ll catch the balance eventually.
Pest and Disease Control
When growing leafy greens and herbs on your vertical racks at home, pests can sneak in quietly and cause trouble before you notice. Common indoor pests include aphids, tiny and often green or black bugs that cluster on new leaves. Spider mites might show up too, especially if the air feels dry—they leave tiny webs and cause leaves to look speckled or dusty. You might also catch whiteflies fluttering around or small caterpillars nibbling on leaves.

How do you know if pests are present? Look closely for curled or yellowing leaves, sticky residue, or tiny moving dots. Sometimes spotting these signs early can save you hours of trouble later.
Using harsh chemicals isn’t really ideal indoors. Instead, try gentle, natural methods like spraying neem oil diluted with water. Neem disrupts pest feeding and growth without hurting your plants or the environment. Insecticidal soaps also work well, breaking down the pests’ exoskeletons. Another tip: introducing a mild garlic or chili spray can deter pests, though the scent might be strong for some people.
Removing pests manually, by wiping leaves or using a strong water spray, helps too. Occasionally, just increasing airflow or adjusting humidity discourages mites. It’s a bit of trial and error, but non-toxic options keep your vertical farm safe and your greens fresh. Are you ready to check your leaves closely today?
Harvesting and Maintaining Your Vertical Farm
When to Harvest Your Greens and Herbs
You’ll know your leafy greens and herbs are ready to harvest when their leaves look full but still tender—often just before they start to yellow or wilt. For many herbs like basil or mint, picking when the plants are about 6-8 inches tall usually works well. It’s best to harvest early in the morning when the flavors are most concentrated, though some people prefer midday. Sometimes, waiting until you see tiny flower buds can mean the herbs are at their peak flavor, but other times, that stage might make leaves taste bitter.
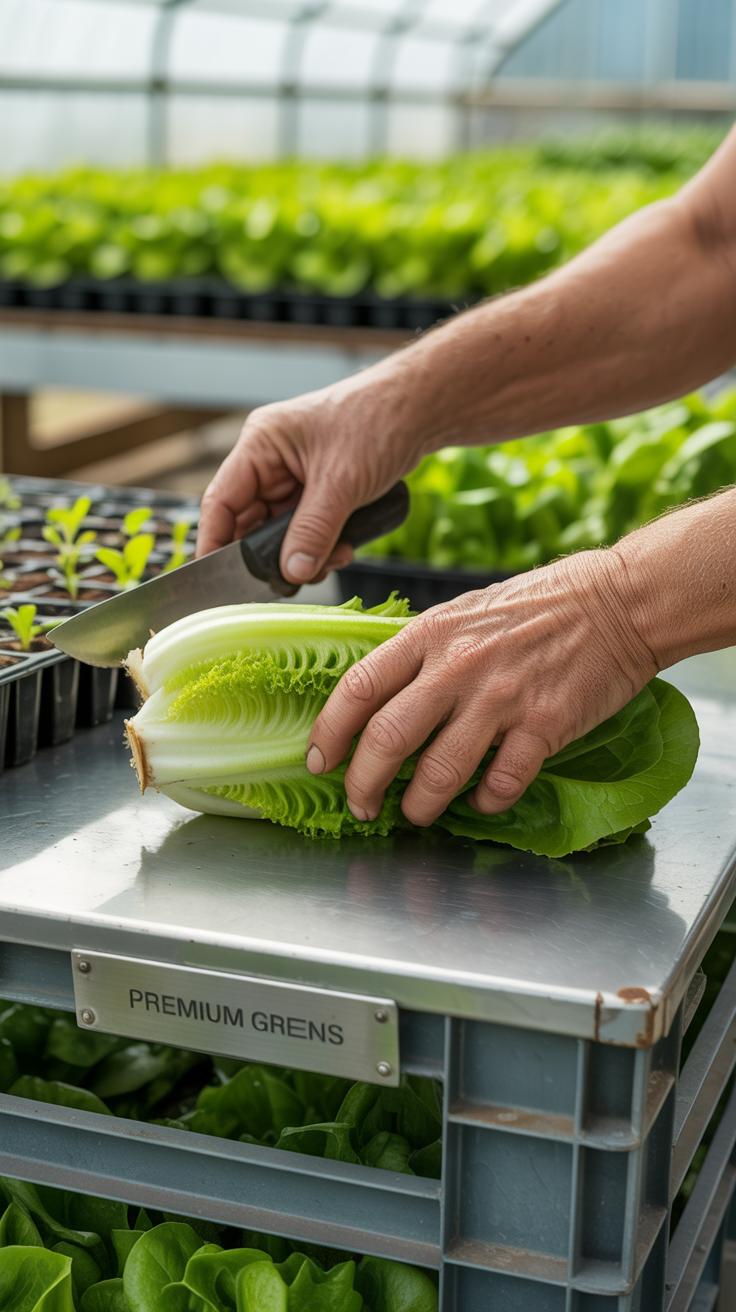
Cut your greens carefully with scissors or a sharp knife, snipping just above a leaf node or stem junction rather than pulling whole leaves off. This approach encourages new growth, letting you keep harvesting over several weeks. If you pick too close to the base, the plant might slow down or even die back. With leafy greens like lettuce, try “cut and come again” techniques—taking outer leaves first and leaving the center to continue growing.
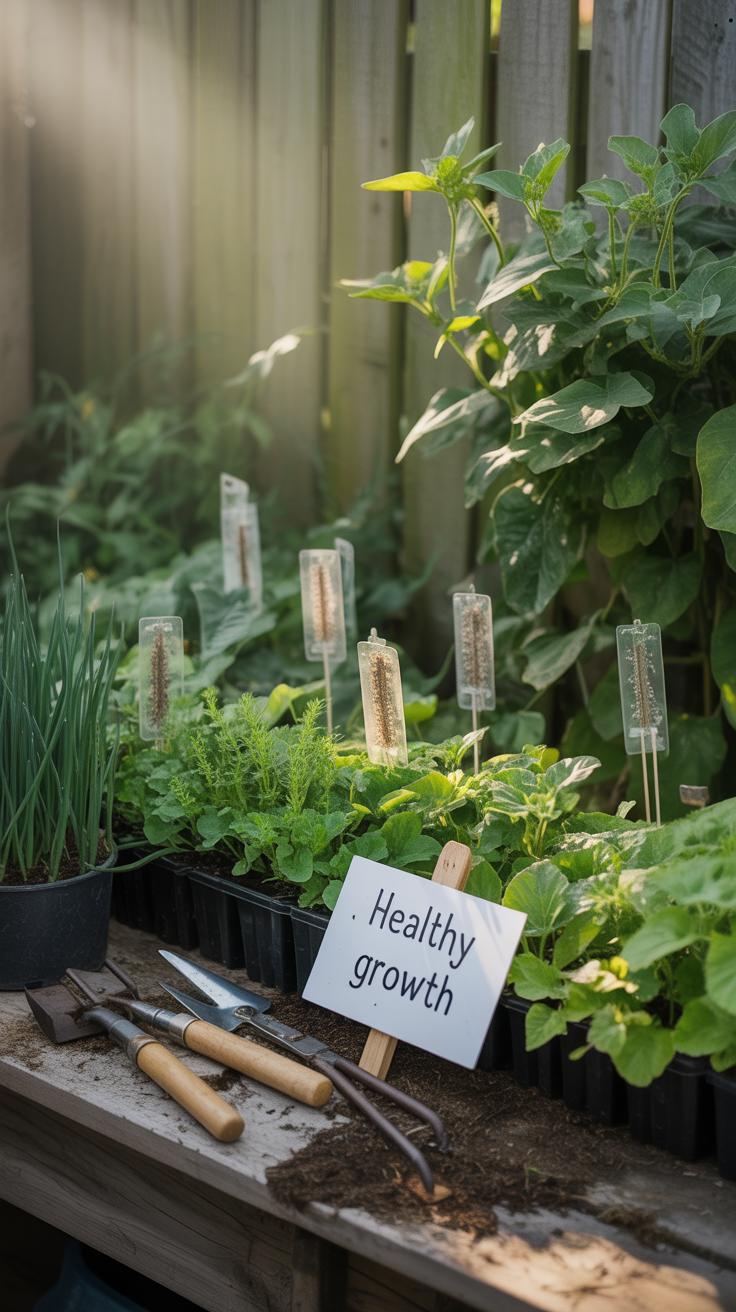
Keeping Your Vertical Farm Healthy
Maintaining your vertical setup means more than just watering regularly. You’ll want to check the racks often for any signs of wear or rust, especially if you use metal, since moisture can build up and cause damage. I’ve had to repaint a rack after a humid summer to keep it solid and safe for plants.
Cleaning the vertical farm setup every few weeks helps prevent mold and bacteria buildup. Rinse pots or trays, wipe down surfaces, and remove any fallen leaves or debris. It might feel like extra work, but skipping it can lead to quick problems.
Don’t forget to rearrange plants occasionally. Some spots get more light or airflow, so moving trays or pots around can help balance growth. Pay attention to crowded areas where plants may compete for light, which can stifle growth or invite pests. Lastly, keep an eye on the health of each plant—drooping leaves, discolored stems, or slow growth could mean it’s time to trim back or replace that plant.
Conclusions
Vertical farming with simple racks can help you grow fresh greens and herbs efficiently in your home. By using vertical space, you increase your plant yield without needing large areas. This approach supports healthy eating and reduces your grocery trips.
As you gain experience, you can adjust light, water, and space to make your system better. Starting with leafy greens and herbs is easy and rewarding. Give vertical farming a try to enjoy convenient, home-grown produce.


