Introduction
Starting a veggie garden from seeds indoors is a smart way to fill your garden beds without spending too much money. When you start seeds inside, you can give plants a strong start, protect them from harsh weather, and extend your growing season. Many gardeners find that beginning with seeds indoors helps them have a fuller, healthier garden later in the season.
This article shows you how to start seeds indoors for your veggie garden on a budget. You’ll learn why indoor seed starting helps your garden, how to do it without breaking the bank, and the best tips to grow your veggies strong and ready for the outdoor garden beds.
Why Start Seeds Indoors For Your Veggie Garden
Starting your vegetable seeds indoors can save you quite a bit of money compared to buying nursery plants later. Seeds themselves are usually cheaper, and you get to grow more plants with a single packet. That alone might be reason enough for many gardeners to try it.
Besides cost savings, starting indoors really stretches your growing season. Outside, you’re at the mercy of the weather and frost dates. Indoors, you can begin weeks earlier, sometimes even a month or more before it’s safe to plant outside. That means more time for your crops to mature and more harvests overall.
Think about those tender seedlings needing warmth and calm conditions that are hard to find outdoors early in spring. Indoors offers a controlled environment where you can avoid cold snaps, strong winds, or early pest invasions that would damage fragile plants.
Watching seeds sprout on your windowsill or under a grow light feels quite rewarding. Plus, it gives you a better chance to nurture and harden off plants before they meet the rougher outside world. Have you noticed sometimes outdoor seedlings just don’t survive—starting inside reduces that risk.
Are you curious if your garden could use a longer season? Starting seeds indoors might be the way to find out, and it can be quite a game changer for a veggie garden run on a budget.
Protecting Young Plants From Weather
Starting seeds indoors shields young plants from early-season weather that can be harsh. Cold mornings, sudden gusts of wind, or unexpected rainstorms stress seedlings, slowing their growth or killing them outright. Inside, you control temperature and humidity, so seedlings stay comfortable.
It’s not just the weather—starting indoors also helps keep pests at bay. Fungus gnats, slugs, and other critters can ravage young plants in the soil before they’re even out of the ground. Indoors, you can monitor and manage pests more easily until your plants are bigger and hardier.
Do you ever worry about losing a whole batch of seedlings to freak weather events? Indoor starting acts like a soft buffer, giving plants the chance to grow strong before facing those outdoor pressures.
Getting A Head Start On Growing Season
Indoor seed starting lets you begin growing at your own pace, independent of the calendar outside. This means you can transplant healthy seedlings directly into the garden as soon as weather permits. That’s a crucial advantage in regions with short summers.
By getting plants several weeks older before they hit the soil, you also reduce the time spent in the garden just waiting for seeds to sprout and grow. That translates to an earlier, sometimes much earlier, harvest. More veggies on your table sooner definitely feels like a win.
It might even encourage you to try crops that typically don’t do well in your zone because you extended their season indoors first. Have you ever thought about growing tomatoes or peppers that ripen late? Starting indoors opens that door.
Choosing The Right Seeds For Indoor Starting
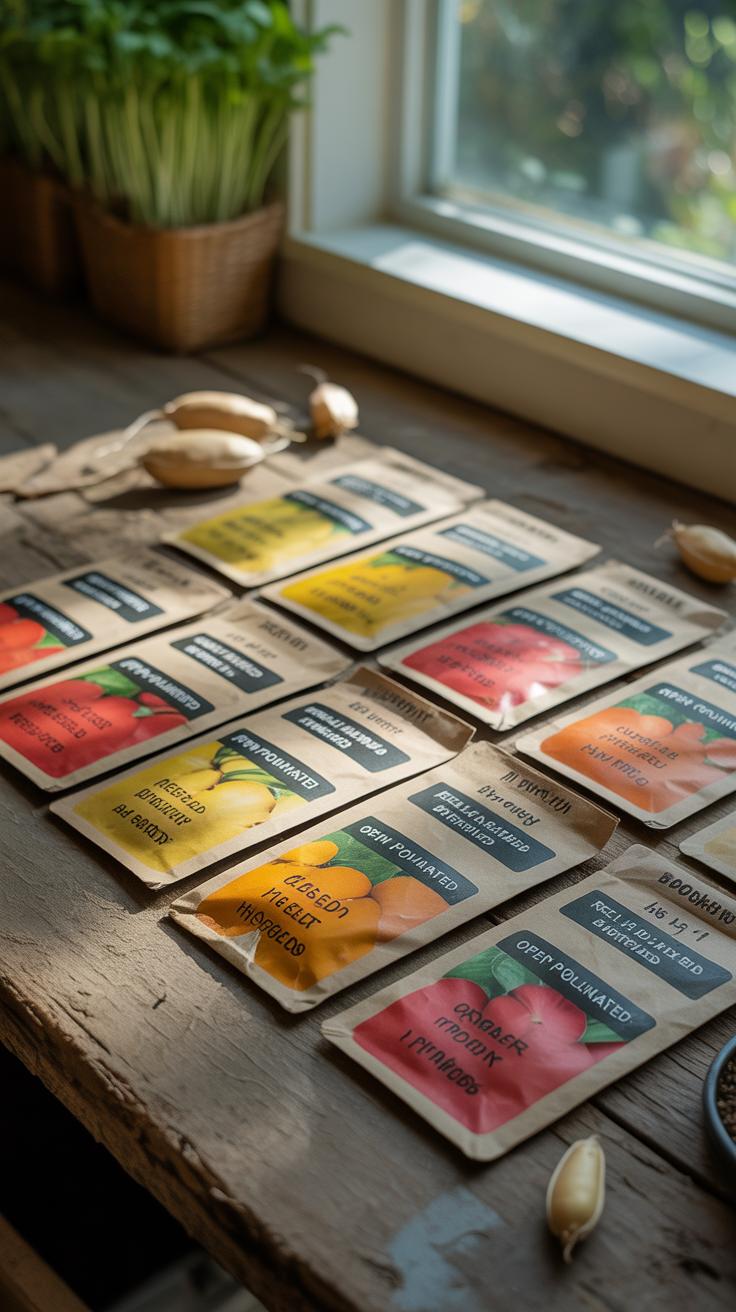
Vegetables That Thrive Indoors
Not all vegetable seeds are equally suited for indoor starting. Some love the controlled environment and produce strong seedlings to transplant later. Think of tomatoes, peppers, and eggplants—they respond well to warmth and steady light indoors, giving you a head start before outdoor planting.
Leafy greens like lettuce and kale also do well inside. They sprout quickly and can handle being moved outdoors after a few weeks. Herbs such as basil, parsley, and thyme prefer indoor starts, too, because they need gentle care early on.
If you want to grow more and save money, start with these crops indoors. They stretch your season and space without being too fussy about conditions.
What Seeds To Avoid Starting Indoors
On the other hand, some seeds don’t thrive inside and actually prefer direct sowing outdoors. Root vegetables like carrots and radishes usually hate transplanting—I’ve seen too many fail after moving them from pots to soil.
Beans and peas are another example. They grow fast and establish better when planted directly in the garden. Trying to start those indoors often wastes time and space, since they don’t like disturbed roots.
Then there’s corn, which grows quickly and requires a lot of room. Indoors, it’s almost impossible to mimic the conditions it needs early on. So, direct sowing tends to work better.
Choosing seeds with these preferences in mind avoids frustration. Give your seedlings a better chance by picking what suits indoor growing, and save the rest for direct garden planting.
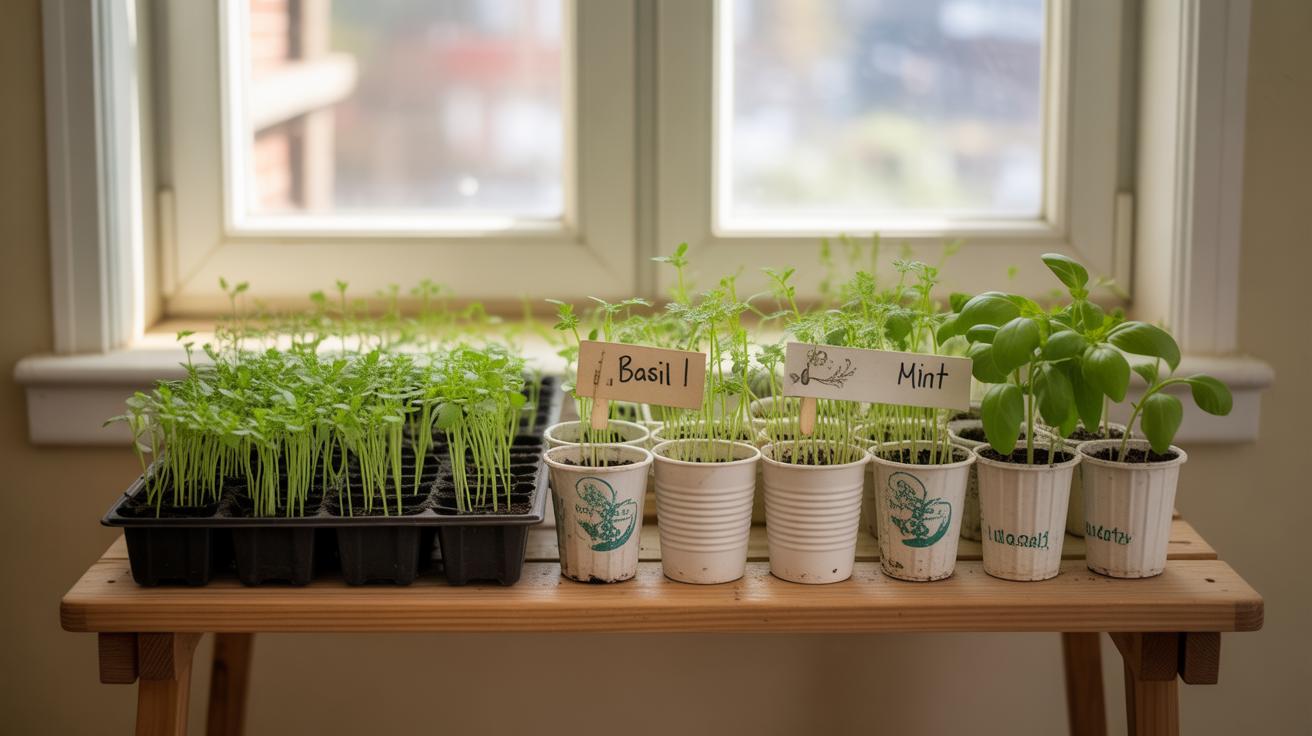
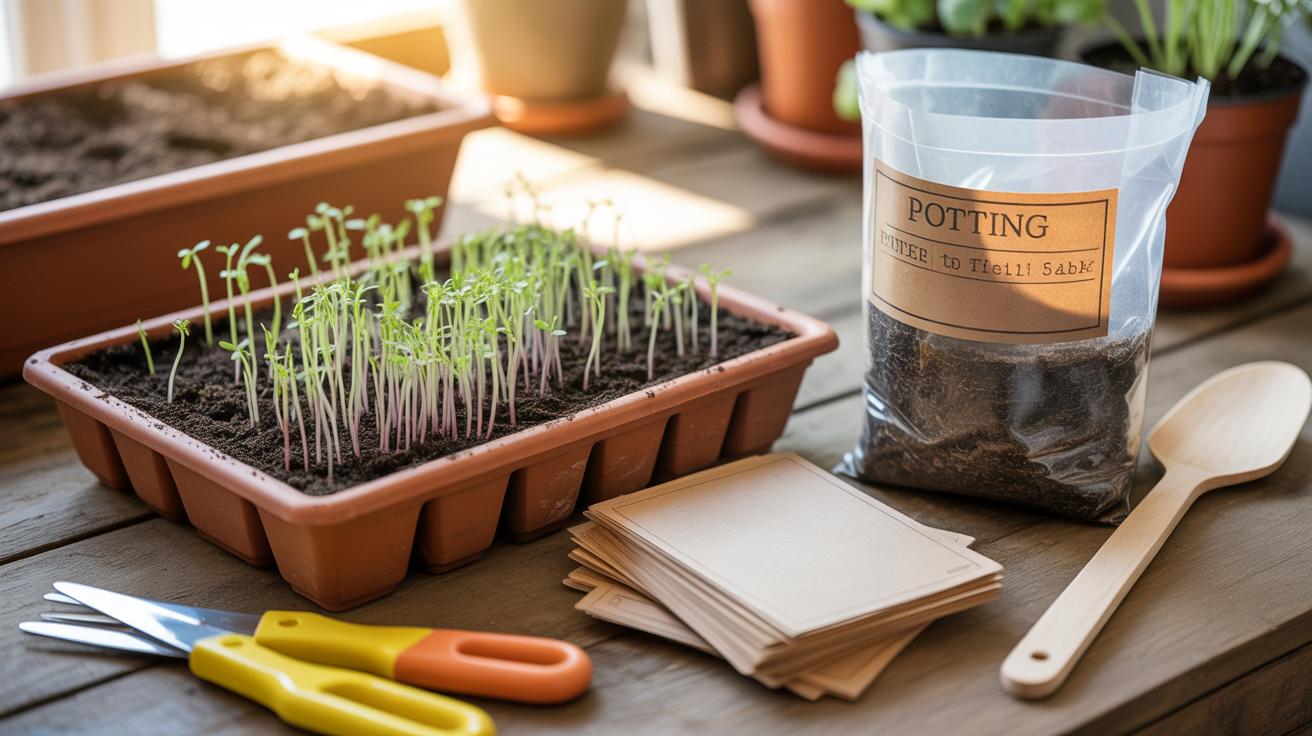
How To Prepare Seed Starting Containers On A Budget
Starting your veggie seeds indoors doesn’t require fancy setups or expensive gear. You can actually get by with quite a few low-cost or recycled containers found right at home. Think about items you might toss out after a meal or clean out from the recycling bin—those can work surprisingly well.
For example:
- Egg cartons—cardboard ones break down over time and are easy to cut apart.
- Takeout containers with lids—just punch a few holes for drainage.
- Yogurt cups or small plastic tubs—wash them thoroughly before use.
- Used paper towel rolls—stand them upright in a tray and fill with soil.
These containers might need a bit of tweaking, like adding drainage holes or a tray beneath to catch water. But they serve the same basic purpose without costing you much, if anything.
If you’re looking for something a little more structured but still budget-friendly, some commercial seed starting kits come in around reasonable prices. When choosing one, look for kits that include reusable trays and clear lids—these help with moisture control. Also, consider ones that use recycled plastic or biodegradable materials to avoid extra waste. Sometimes buying a kit can save time and hassle, especially if you’re new to indoor gardening.
What’s interesting is how flexible seed starting can be. You might start with a flimsy yogurt cup one year, only to discover you prefer sturdier trays later. And that’s okay. The key is to find something that suits your space and budget, then experiment.
Selecting The Best Soil For Seed Starting
Why Use Seed Starting Mix
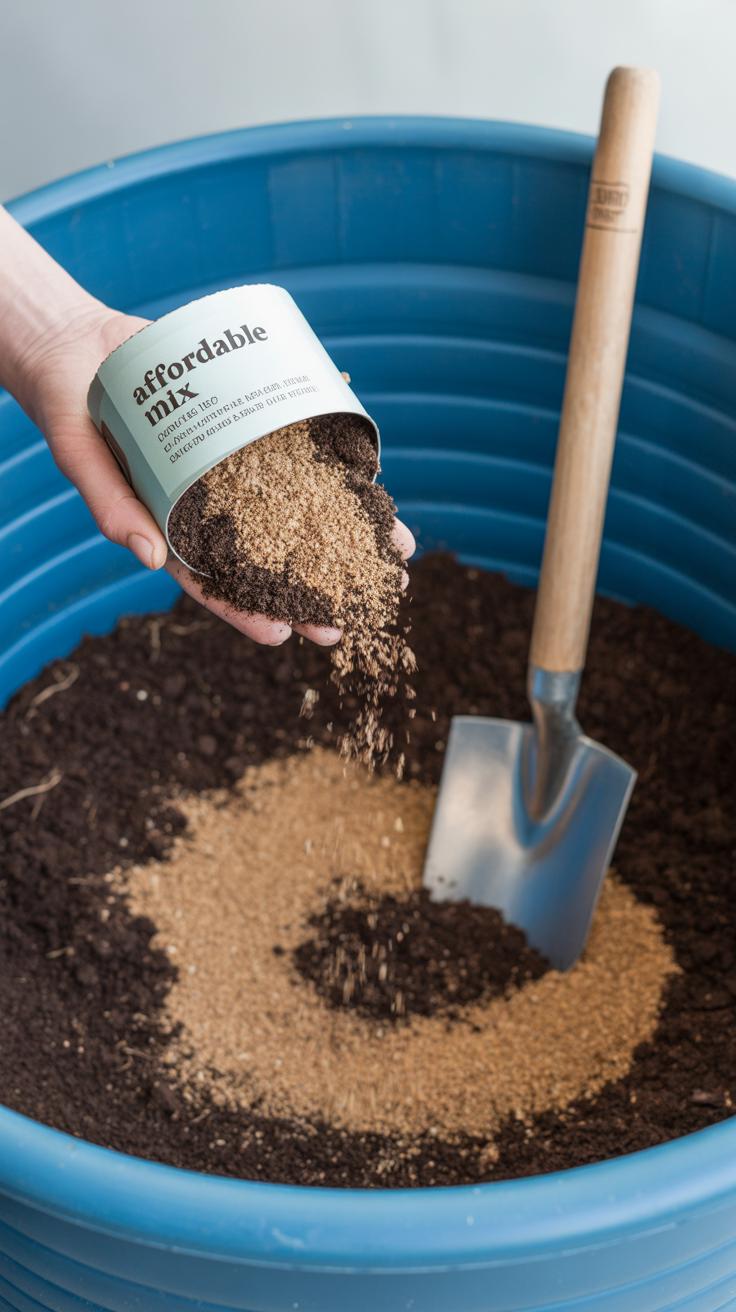
Regular garden soil often feels like the go-to choice, but when starting seeds indoors, it just doesn’t cut it. Seed starting mix is lighter, finer, and drains better. This helps young seedlings develop tender roots without drowning or getting stressed. Unlike garden soil, which can contain weed seeds, pests, and heavy clay, seed starting mix creates a clean, controlled environment for seed germination.
Think about it—seeds need moisture but not soggy conditions, and they crave good air circulation around their roots. Seed starting mixes typically include materials like peat moss or coconut coir and perlite, which balance moisture retention with drainage. This is why seedlings tend to sprout faster and stronger in these mixes compared to soil that’s more compact and prone to holding water.
Making Your Own Soil Mix At Home
Buying seed starting mix can add up, especially if you plant a lot of seeds or start them yearly. But you can actually make your own mix with a few simple ingredients from around the house or garden. Here are a couple of easy recipes that I’ve tried—and honestly, they worked just fine.
- Basic Mix: 2 parts coconut coir or peat moss, 1 part perlite, 1 part vermiculite. This combo keeps things airy but moist.
- Simple Soil-Like Mix: equal parts compost, coconut coir, and vermiculite. It’s richer but still drains well.
- Budget Friendly: sifted garden soil mixed with some sand and compost in a 2:1:1 ratio. It’s not perfect, but better than straight garden soil.
Sometimes I get impatient and skip sieving the garden soil—I know, not ideal. But if you do sift it and mix carefully, it can really work in a pinch. Making your own mix might take a few tries to get the feel for texture and moisture, but it’s worth it when you save money and control what your seeds grow in.
Have you ever thought about what the first root experiences when it breaks open? The soil’s texture and moisture feel basically shape its start. That’s why seed starting mix isn’t just another gardening fancy—it’s a small step that pays off with bigger and better plants down the road.
Planting Seeds Correctly Indoors

Planting seeds indoors isn’t just about dropping them into soil and waiting. The depth and spacing can make a surprising difference to how well your seedlings grow. For most seeds, a simple rule is to plant them about two to three times as deep as their size. Tiny seeds like lettuce or basil barely need covering—just a light dusting of soil. Bigger seeds, such as beans or peas, go deeper, about 1 inch or so. If you plant too deep, seeds may struggle to break through the soil; too shallow, and they dry out quickly.
Spacing also matters. Even indoors, seedlings need room to avoid crowding. It’s tempting to cram as many as possible into one tray, but seedlings will compete for light and nutrients, often becoming weak. For small seeds like carrots, spacing them about 1 to 2 inches apart works, while larger seeds like tomatoes need 2 to 3 inches. When in doubt, lean toward giving more space.
Watering seeds is tricky. Pouring water directly can wash away seeds or cause muddy messes. I find using a spray bottle or gently misting the surface works best. Another way is to water from below, setting your seed trays in a shallow dish of water and letting the soil soak it up gradually. This avoids drowning the seeds and keeps moisture even. Too much water is as bad as too little—you want soil moist but never soggy.
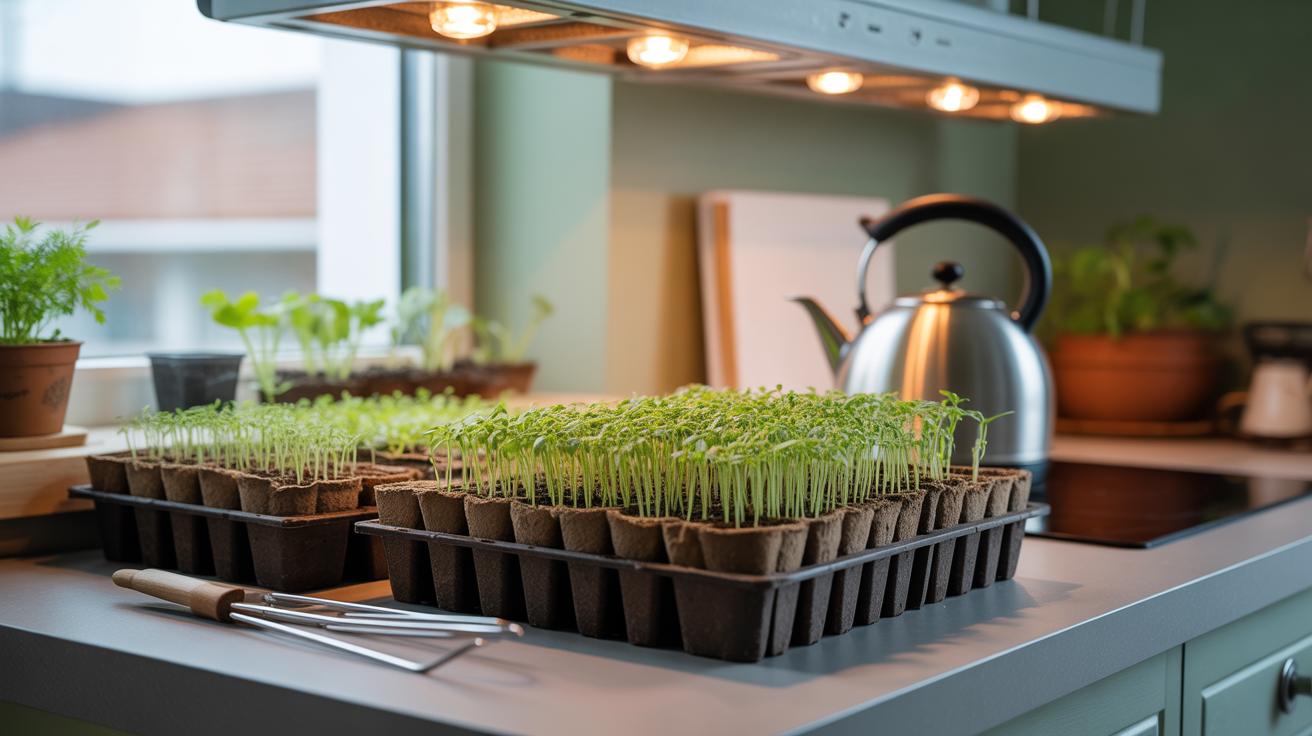
Providing Light And Warmth For Seedlings
Getting enough light and warmth for your seedlings indoors can be trickier than it sounds, especially when you’re watching costs. Seedlings need light to grow strong and warmth to stay active, but layering on expensive equipment right away isn’t always necessary.
Using Natural Sunlight Effectively
Start by placing your seed trays as close to south- or west-facing windows as possible—that’s where sunlight tends to be strongest during the day. Even east-facing windows can work if you rotate the trays regularly to prevent seedlings from leaning toward the light. Think of it this way: the sunnier, the better, but keep an eye on temperature swings near drafty windows.
If your window light is weak or inconsistent, try setting seedlings on a reflective surface like aluminum foil or whiteboards to boost the brightness around them. Sometimes just shifting containers a few inches can make a noticeable difference. Personally, I found that adding a mirror nearby reflected extra light onto the plants without costing a dime.
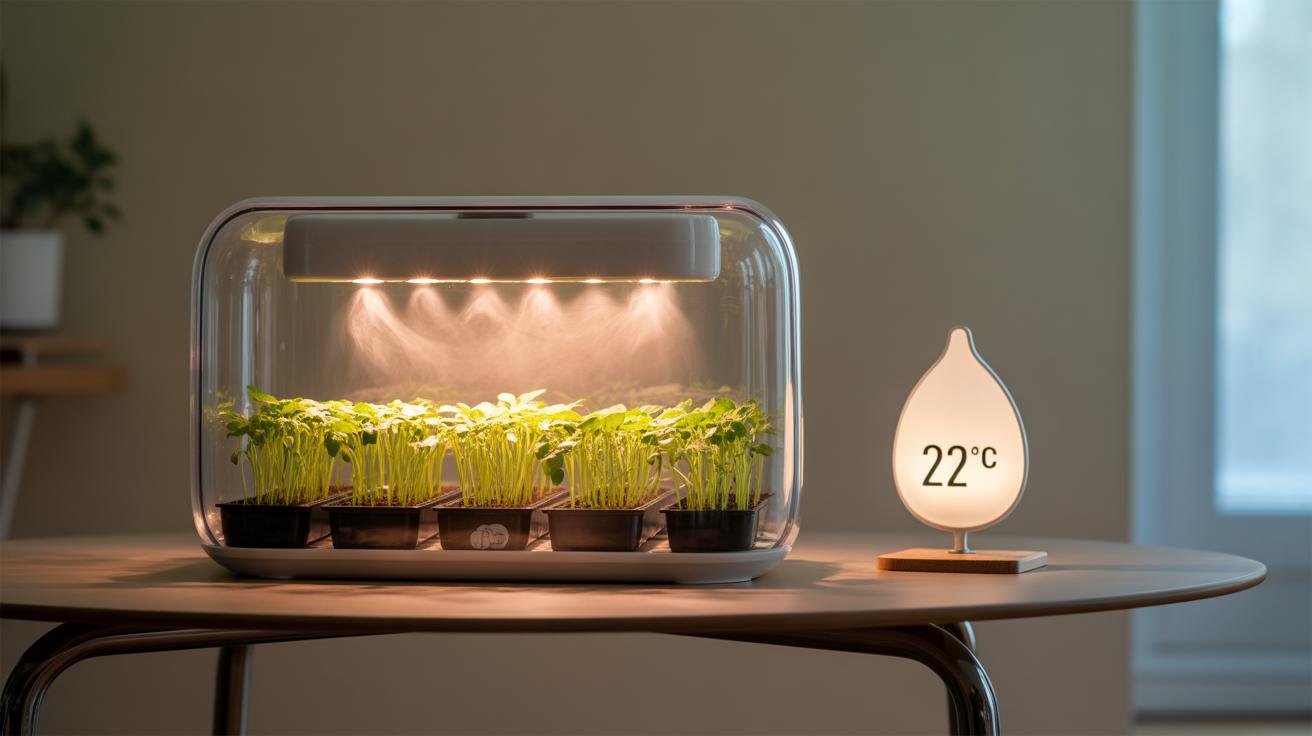
Affordable Grow Light Options
If natural light isn’t cutting it, inexpensive grow lights are available that won’t break the bank. LED shop lights can be found at hardware stores for under $30 and consume very little electricity. Fluorescent tubes or compact fluorescent bulbs are another cheap option—these produce enough light for seedlings if positioned 2-4 inches above.
Using grow lights on a timer can help mimic natural daily cycles. Aim for about 12-16 hours of light a day. It might feel odd at first, but turning the lights on and off automatically keeps things consistent without much effort. Also, keep the lights close but not too close: too near and you risk scorching; too far and seedlings stretch weakly.
Low-cost doesn’t mean ineffective; with a little tweaking and observation, your seedlings can thrive under modest conditions. So, experiment with natural sunlight first, then supplement thoughtfully with affordable lighting when needed—and watch your young plants respond.
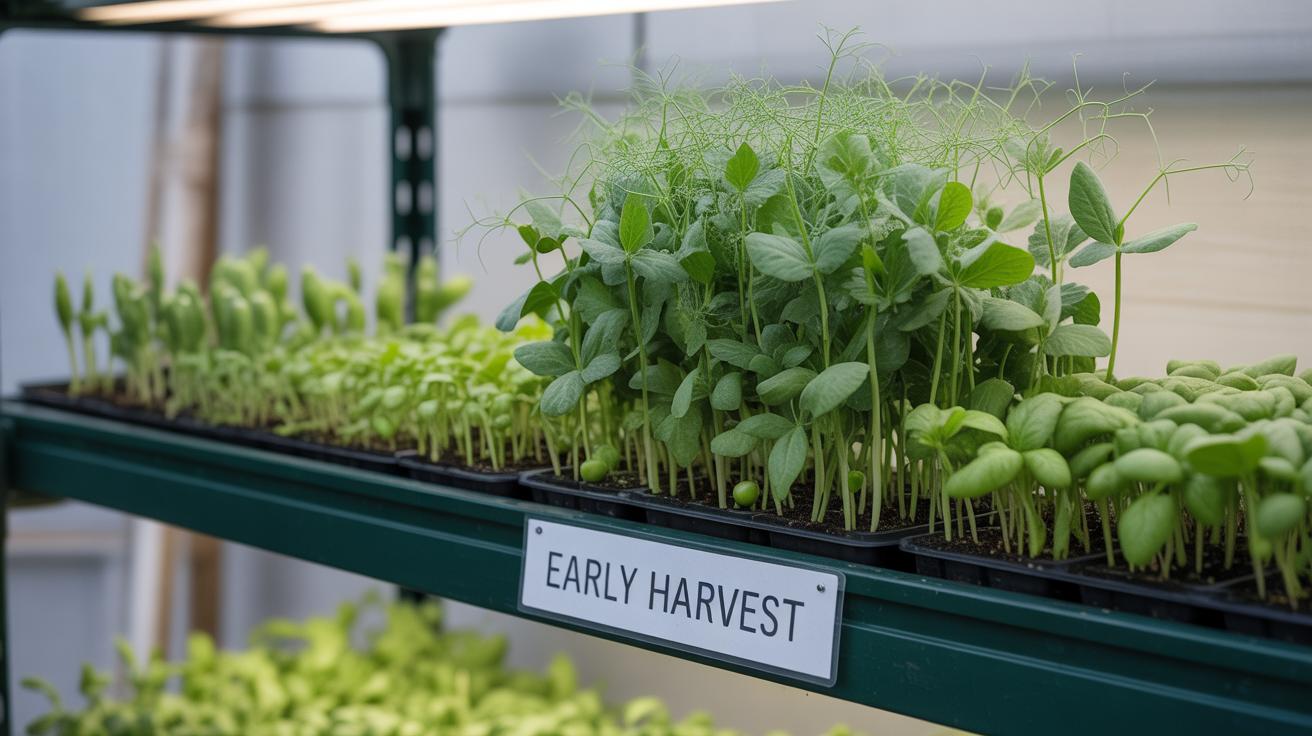
Caring For Seedlings Until Transplanting
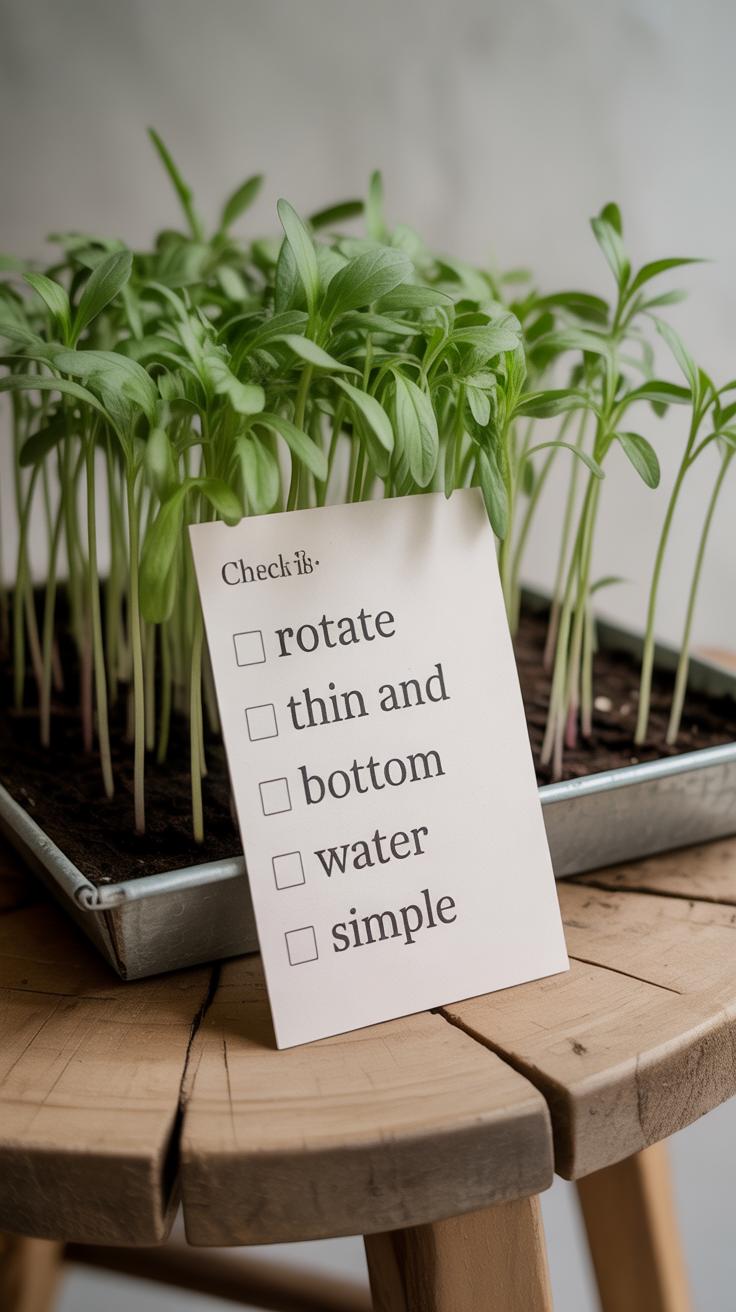
Watering seedlings can be tricky. You don’t want to drown the tiny roots, but leaving them dry even for a day can stunt growth. A good rule is to check the soil daily—when the top feels just barely dry, it’s time to water. Use a gentle spray or a watering can with a fine spout. Pouring water too hard can easily wash away delicate seedlings or compact the soil.
Feeding seedlings works differently than mature plants. They need gentle, diluted fertilizers—nothing stronger than a quarter-strength liquid feed. I’ve found that too much fertilizer early on makes plants leggy or causes leaf burn. Slow and steady is better, feeding once every one or two weeks is usually fine.
Thinning is another task you shouldn’t skip. When multiple seeds sprout in one spot, remove the weaker ones so the strongest have space to grow. It’s tempting to keep them all, but crowding can cause poor air circulation and invite disease.
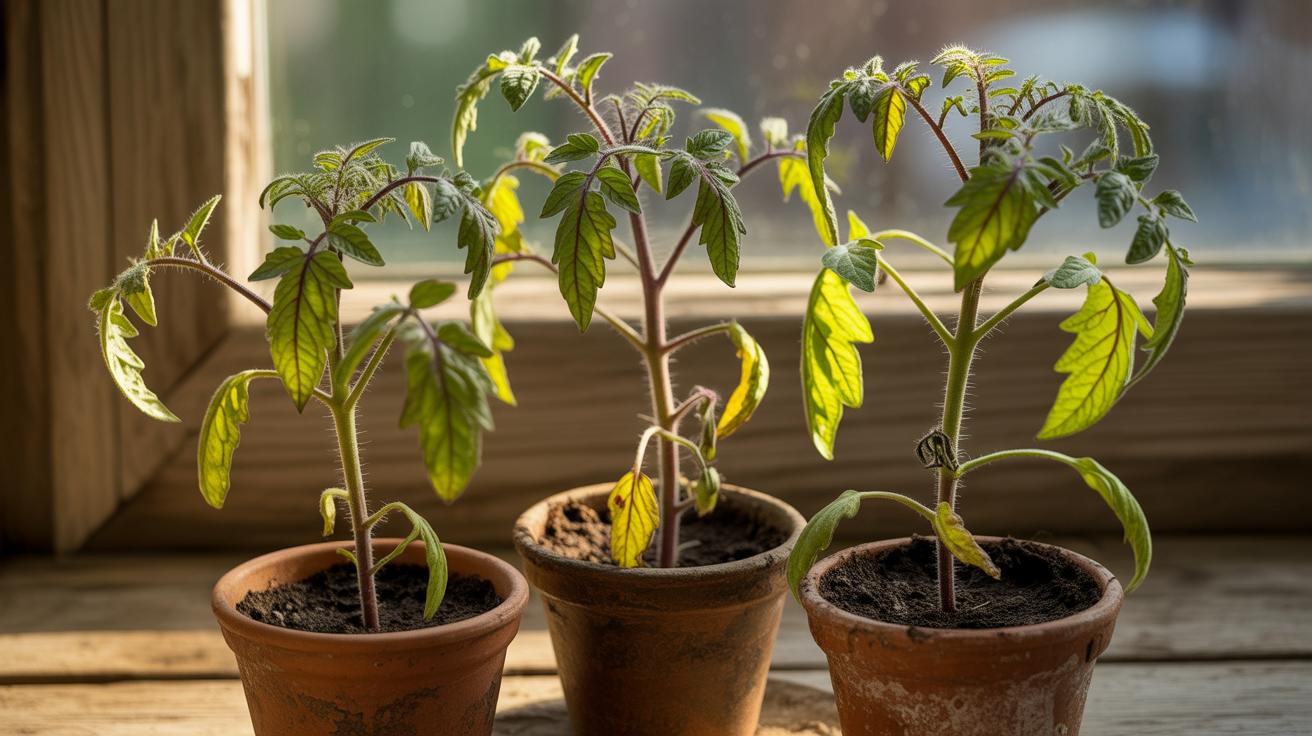
Speaking of diseases, damping-off is the most common culprit indoors. It’s a fungal issue that causes seedlings to collapse suddenly. Watch for thin, blackened stems near the soil line. To prevent it, avoid overwatering and improve airflow by gently fanning the trays or keeping a small fan nearby. I’ve battled damping-off a few times, and it’s frustrating how quickly it can wipe out your hard work.
Watch for yellow or misshapen leaves, too—these might indicate nutrient stress or pests. Aphids and fungus gnats can sneak in, especially in moist conditions. Blast aphids off with a steady water spray or wipe leaves gently. Fungus gnats usually fade with less water or sticky traps.
Do you inspect your seedlings daily? It might seem overkill, but catching troubles early saves a lot of headaches later. I often find small problems if I keep a close eye. It feels a bit like babysitting, but caring this closely means your seedlings stand a better chance once they hit the garden beds.
Hardening Off Seedlings Before Planting Outdoors
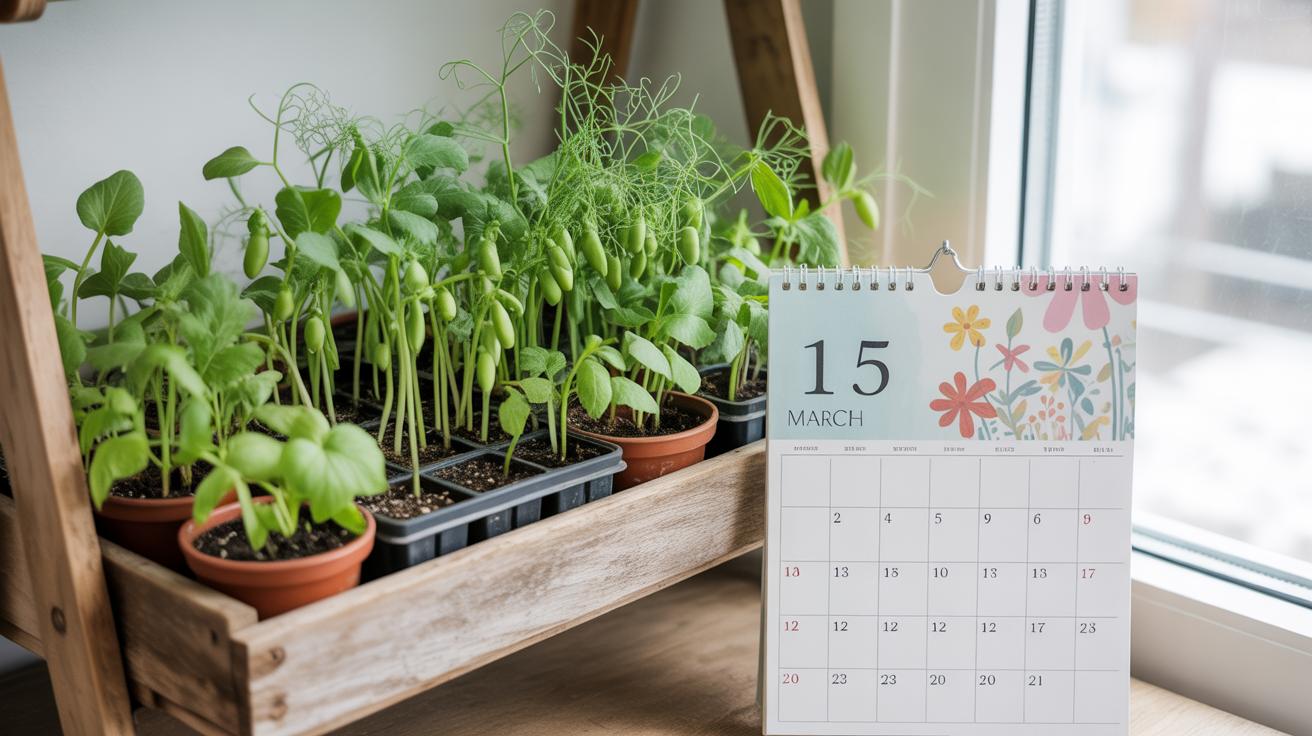
Hardening off is the process of gradually introducing your indoor-grown seedlings to the harsher outdoor environment. It helps toughen them up so they don’t get shocked or damaged when moved to your garden beds. You might think seedlings can just be moved outside straight from their warm, protected spot—but that often backfires. The sun, wind, and fluctuating temperatures can stress or stunt them if they aren’t prepared.
The purpose of hardening off is to allow seedlings to adjust slowly to these conditions. This means exposing them to outdoor light, temperature changes, and breeze bit by bit over several days, typically a week or two. Doing this right often leads to stronger plants that settle quickly once planted.
Here’s a simple schedule you can try:
- Day 1-2: Place seedlings in a shaded spot outdoors for 1-2 hours, then bring them back inside.
- Day 3-4: Increase time outside to 3-4 hours, adding a little sun exposure, but still avoiding harsh midday light.
- Day 5-7: Let them stay out longer, including some direct sun for an hour or two. Watch for signs of wilting.
- Day 8-10: Leave seedlings outside overnight if temperatures stay mild. Make sure they’re sheltered from strong winds.
Keep an eye on weather changes; if it turns too cold or rainy, shorten their outdoor time or bring them in. Also, watering both before and after hardening off days helps prevent stress. Now, I’ve had some seedlings look fine one day and then droop the next, suggesting conditions can be tricky—patience really pays off here.
Planting Seedlings In Your Veggie Garden Beds
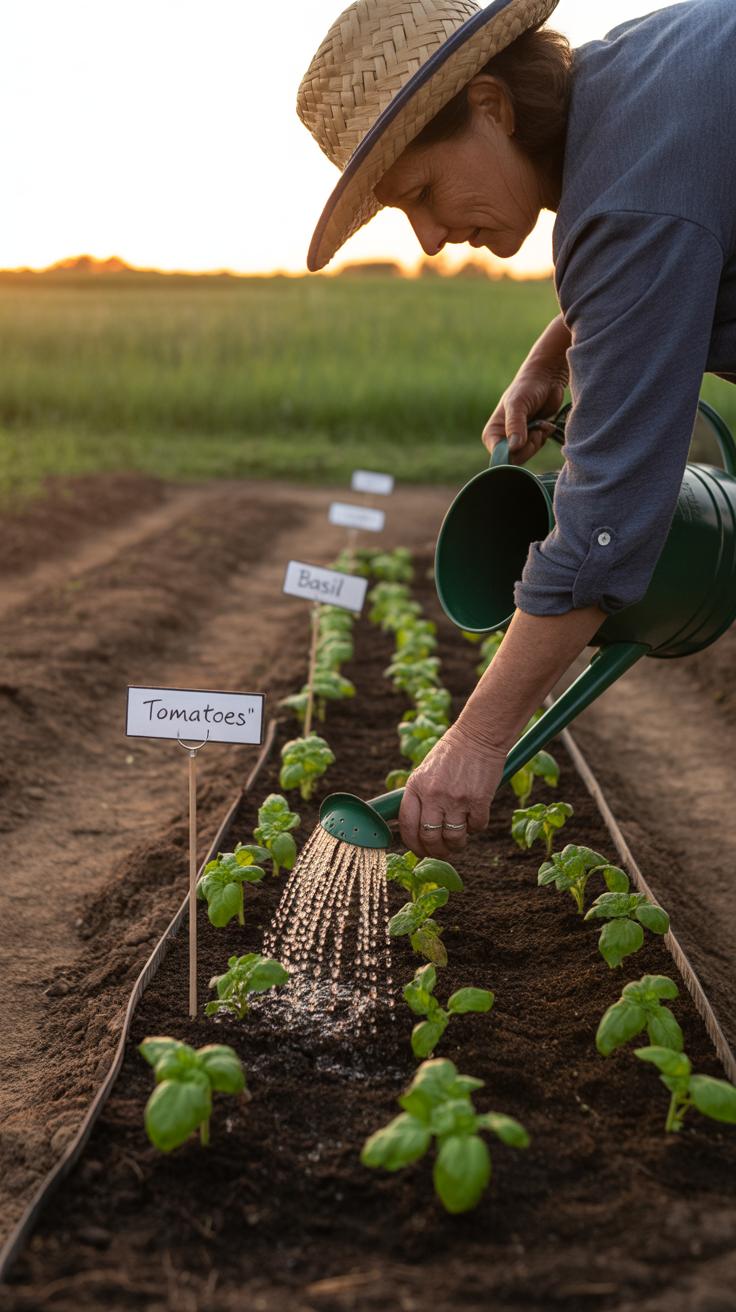
Preparing Your Garden Beds
Getting your garden beds ready for seedlings means more than just clearing weeds. You’ll want to loosen the soil—not too deeply, maybe six to eight inches—and break up any clumps. If your soil feels heavy or sticky, mixing in some compost or aged manure can help improve texture and add nutrients.
Think about how much space each plant will eventually occupy. Crowding seedlings can stunt growth, so it’s better to give them room to spread out. Mark rows or patches roughly to keep things organized, but don’t stress if it isn’t perfect. Sometimes, seedlings are forgiving and fill odd spaces well.
Also, consider moisture. Beds that drain poorly can drown young roots, so you might want to mound the soil in raised beds or add organic matter to improve water flow. The goal is a bed that feels loose, fertile, and ready to hold your seedlings firmly without suffocating them.
Transplanting Tips For Healthy Growth
When moving seedlings from their indoor trays, first handle them gently. Avoid tugging at the stem; it’s best to lift from the root ball or soil clump. Plant your seedlings slightly deeper than they grew indoors, especially for tomatoes or peppers—they can develop stronger stems this way.
Spacing matters—not just for comfort, but also to avoid disease and give roots enough room. For leafy greens, closer spacing works, but for bigger plants like squash, give plenty of elbow room. It’s not always clear-cut; sometimes, a little crowding encourages sturdier plants, but too much can cause slow growth.
Watering right after transplanting is critical. Use a gentle stream or a watering can with a fine rose to avoid washing soil away. Keep the soil moist in the following days but not soggy—you don’t want roots sitting in water, though that’s easier said than done. Observing your seedlings daily will tell you if you’re on track or need to adjust.
Conclusions
Starting seeds indoors is a cost-effective way to boost your veggie garden. It lets you grow more plants with less money spent on buying seedlings. Plus, you get to watch your plants grow from the very beginning, which helps you learn and connect with your garden better.
With the steps shared, you can now start seeds indoors successfully using everyday items and simple techniques. Your garden beds will fill up with healthy plants, and you will save money for other garden needs. So, grab your seeds and start growing your veggie garden indoors today.


