Introduction
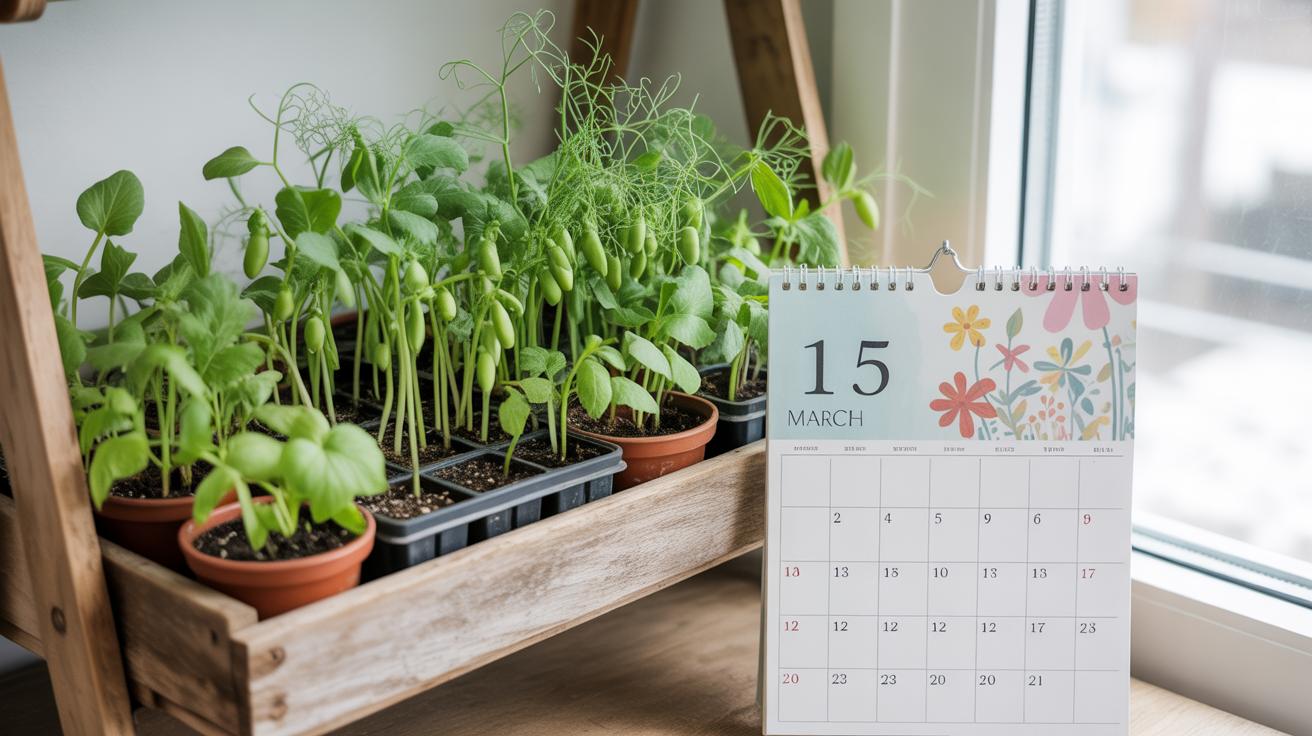
Starting a vegetable garden indoors is a smart way to get an early jump on the growing season. When you start your plants inside, you can take advantage of a longer planting window in the spring. This helps you grow more vegetables by extending the time plants have to mature. Many gardeners often miss this opportunity and plant only when the outdoor soil is warm enough, which cuts the growing season short.
In this article, you will learn how to start your veg garden indoors successfully. We explore reasons why this method works, the materials you need, and the best practices to move your seedlings outdoors safely. Follow these simple steps to make the most of your spring garden and enjoy fresh vegetables earlier in the year.
Understanding Indoor Vegetable Gardening
Indoor vegetable gardening means growing your plants inside, usually in pots or seed trays, instead of directly outdoors. This method lets you kick off your garden before the weather outside gets warm enough for planting. It’s a way to stretch out the growing season, especially in places where spring can be a bit unpredictable or short.
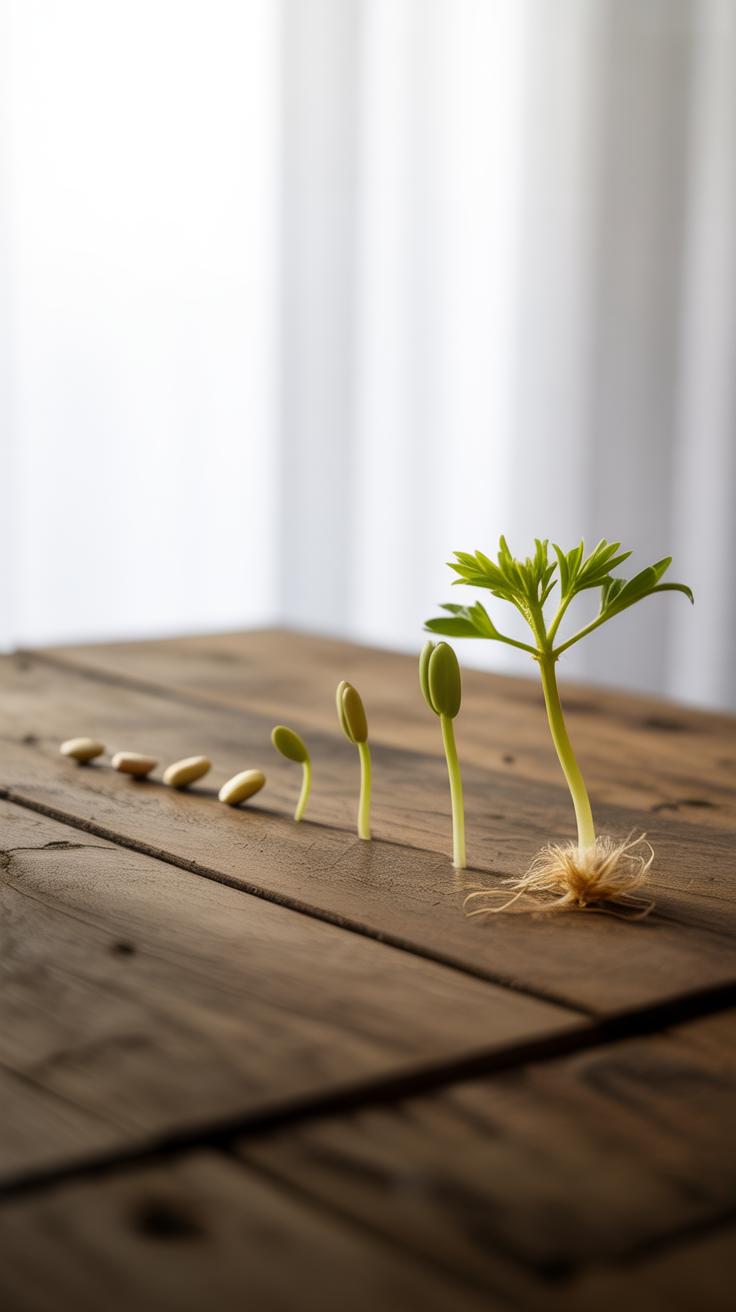
Think of it like this: you start your seeds in a cozy spot inside, where temperature and moisture are easier to manage. Then, once the outdoor soil is ready and conditions are better, you move your young plants outside. For beginners, this might seem like a lot, but it really just involves planting seeds in a container filled with soil or a special seed-starting mix, giving them light and water, and waiting for them to sprout.
What is Starting Seeds Indoors
Starting seeds indoors means placing vegetable seeds into small pots or trays filled with soil before planting them outside. Gardeners often do this because it gives their plants a little time advantage—a head start. Instead of waiting for spring fully to arrive, seeds begin to grow in a controlled, warm environment inside, increasing chances for healthier, stronger plants.
It’s a simple process but requires some attention: keep the soil moist, maintain a steady warmth (around room temperature or a bit warmer), and provide enough light, either from windows or grow lights. You watch them closely, help them grow leaves, and later transplant them when they’re ready. It’s like preparing your plants for the real world, slowly but surely.
Benefits of Indoor Start for Your Veg Garden
Starting seeds indoors offers a handful of practical advantages:
- Control Over Growing Conditions: You can adjust light, temperature, and moisture, which means your seeds won’t be at the mercy of cold snaps or dry spells.
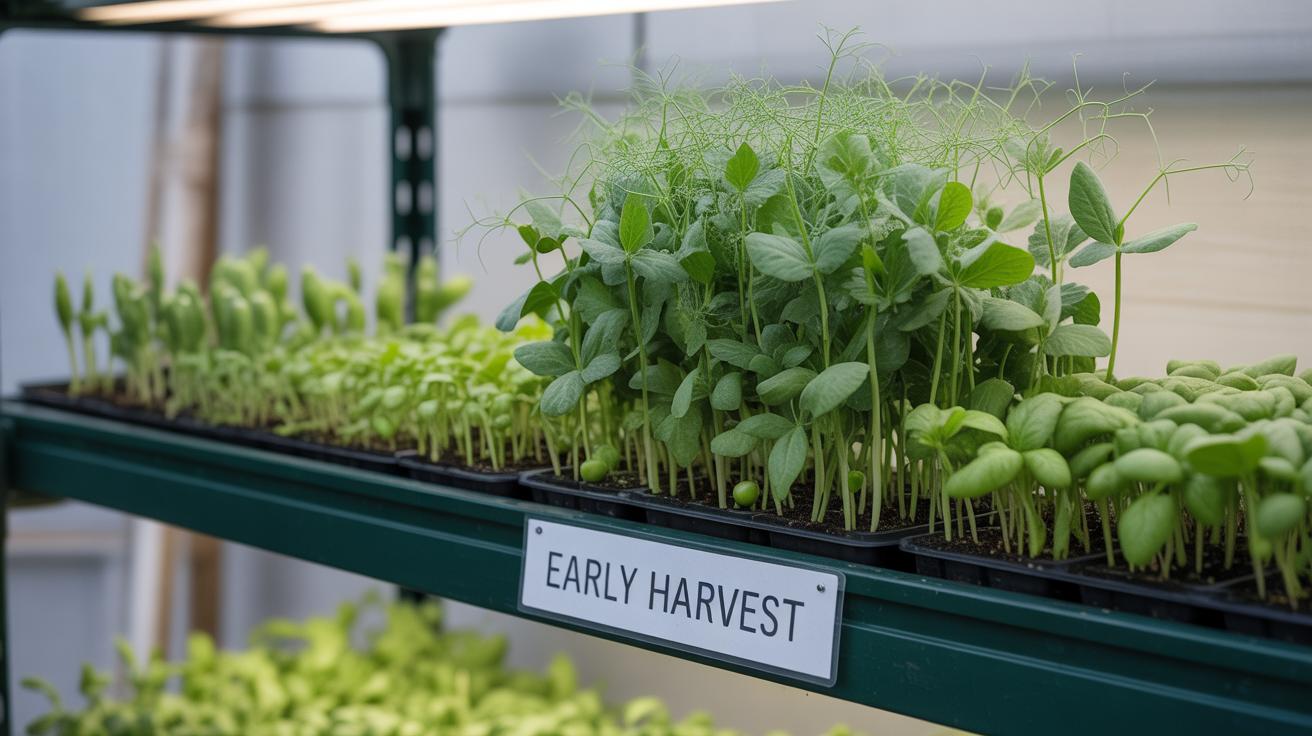
- Earlier Harvests: Since plants get a jump on growth, you can expect to pick veggies sooner than if you planted directly outdoors.
- Extended Planting Window: You don’t have to wait for the official last frost date. Seeds start growing before it, giving you more time to enjoy your garden.
- Better Germination Rates: Seedlings raised indoors often have fewer pests and diseases compared to outdoor sowing, which boosts survival.
- Space Savings Outside: When seedlings are ready, you can plant out a neat row of robust plants instead of thin, sporadic seeds scattered in the soil.
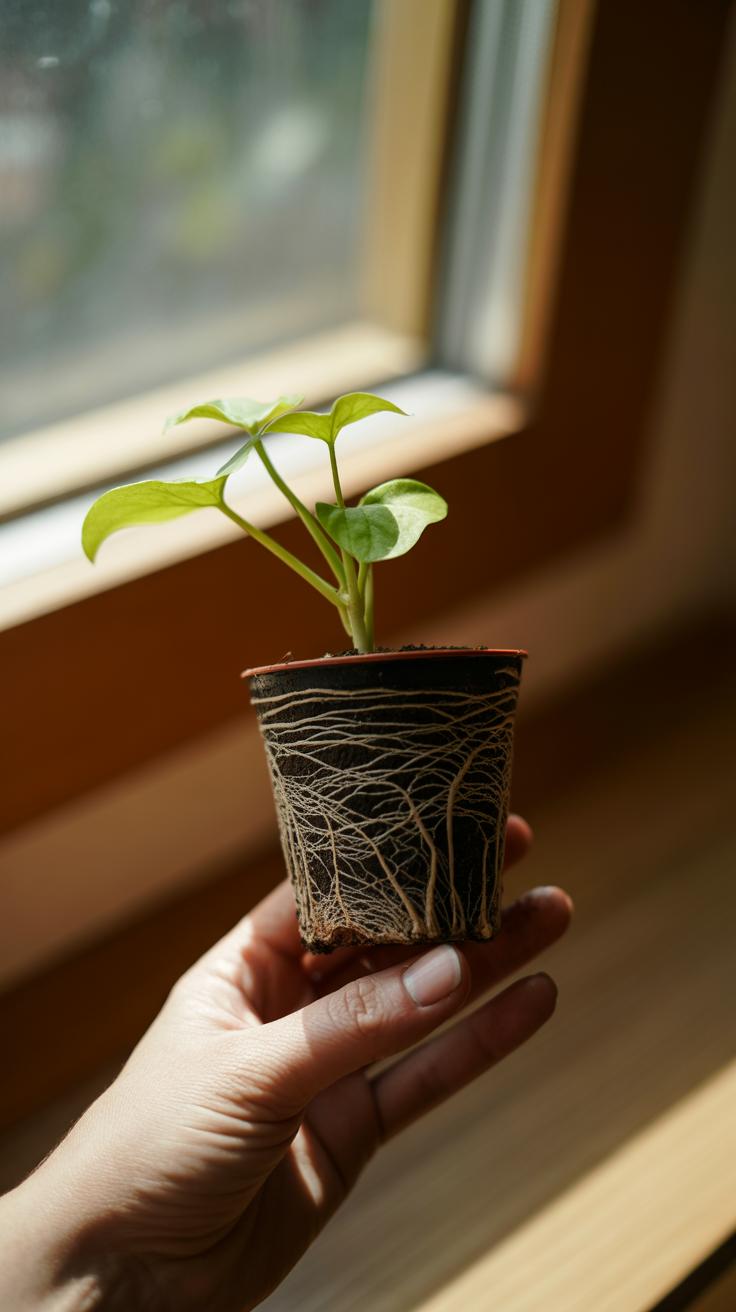
Tinkering with indoor seed starting took me some trial and error, but seeing those first sprouts pop up indoors gave me confidence. It feels like giving your garden a small boost, and that’s what the whole point really is—getting some growth underway while spring is still waking up.
Selecting the Right Seeds for Indoor Starting
Types of Vegetables to Start Indoors
Not all vegetable seeds are equally suited to indoor starting. Some thrive with the controlled warmth and protection, while others might just sulk or struggle without direct garden soil. Generally, you want to pick seeds that take a long time to mature or need a head start to beat the seasonal clock.
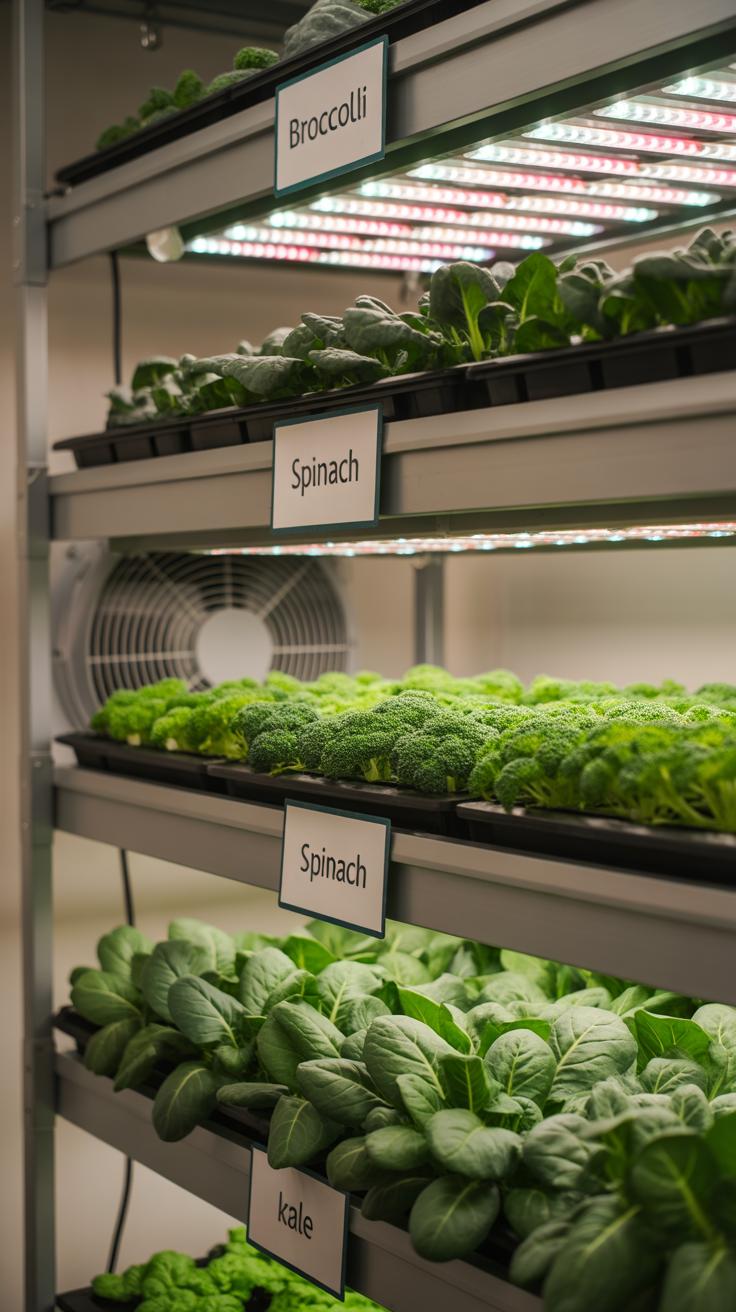
Vegetables like tomatoes, peppers, eggplants, and broccoli do really well indoors. Their seeds benefit from warmth and steady conditions, which help them germinate faster than outdoors. Leafy greens, such as kale and Swiss chard, also respond well, though some gardeners find their growth indoors a bit slower.
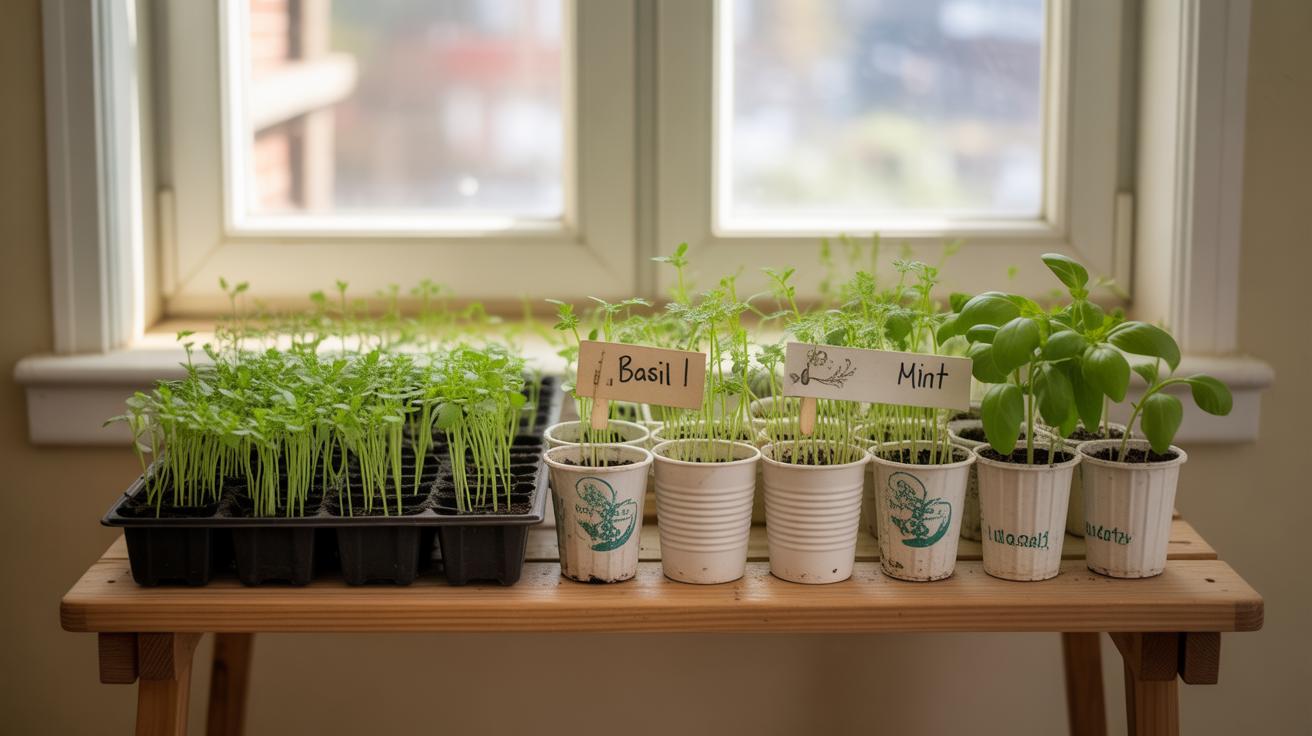
Onions and leeks make good candidates too, giving you a longer growing window when planted indoors. And then there are herbs — basil, parsley, and oregano have a knack for growing neatly inside before moving outdoors.
Avoiding Mistakes in Seed Selection
One common slip is picking fast-growing crops like radishes or beans for indoor starting. They tend to do fine direct sown outside, so starting them inside can actually delay harvesting. Also, some seeds require cold stratification or very specific conditions to sprout, so blindly choosing any seed without checking its needs might leave you disappointed.
Beginners sometimes grab large packets assuming more variety is better, but it’s smarter to focus on a few seeds suited for indoor conditions. Also, choosing hybrid seeds when you’re not after specific traits can be tricky since some hybrids don’t produce consistent offspring if you plan on saving seeds.
Have you ever wondered if you’re overcomplicating seed choice? Sometimes, sticking to tried-and-true types—something you already enjoy growing and eating—can be the simplest, most satisfying approach.
Gathering Materials Needed for Indoor Gardening
Choosing Containers and Soil
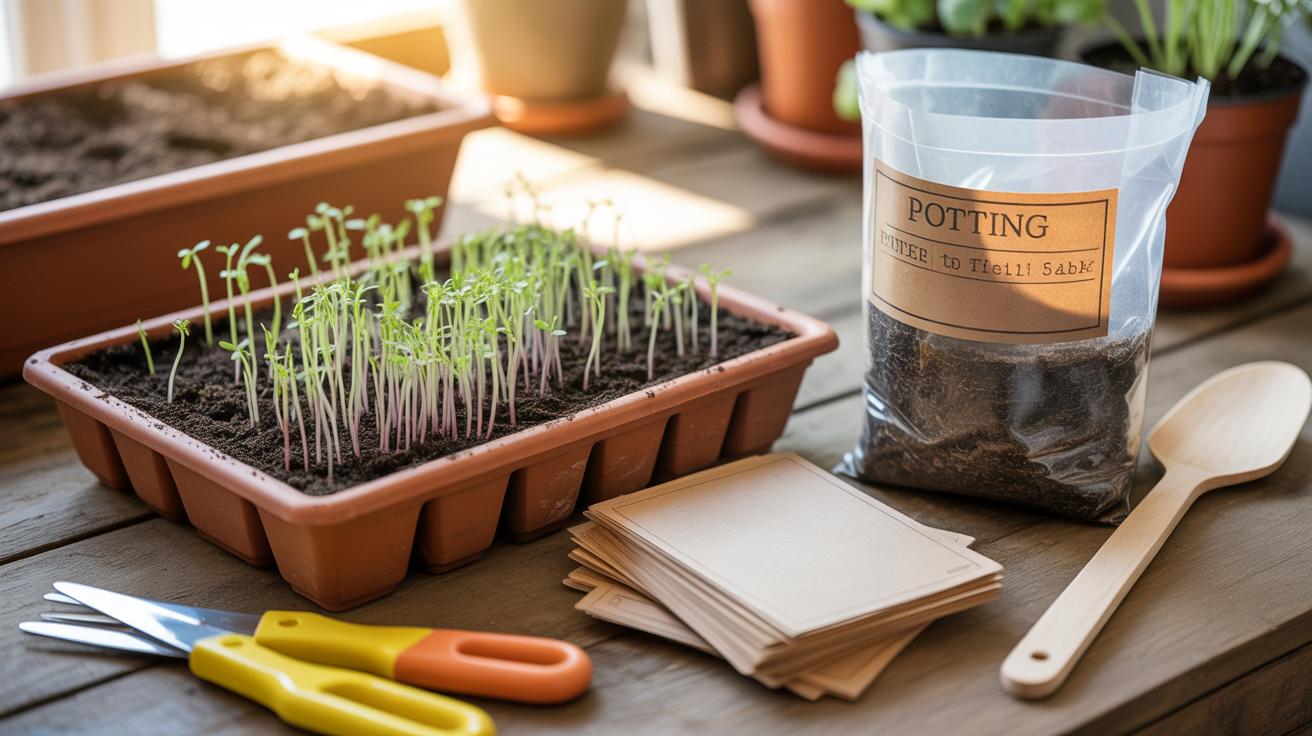
Picking the right containers can feel more complicated than it actually is. You could go for traditional plastic seed trays, which are cheap and stackable, or try biodegradable pots made from peat or coir—they break down when you plant seedlings outdoors, which can be handy. I once used recycled yogurt cups, and while not ideal, they worked in a pinch. Drainage is key, so whatever container you choose, make sure it has holes or you risk soggy roots.
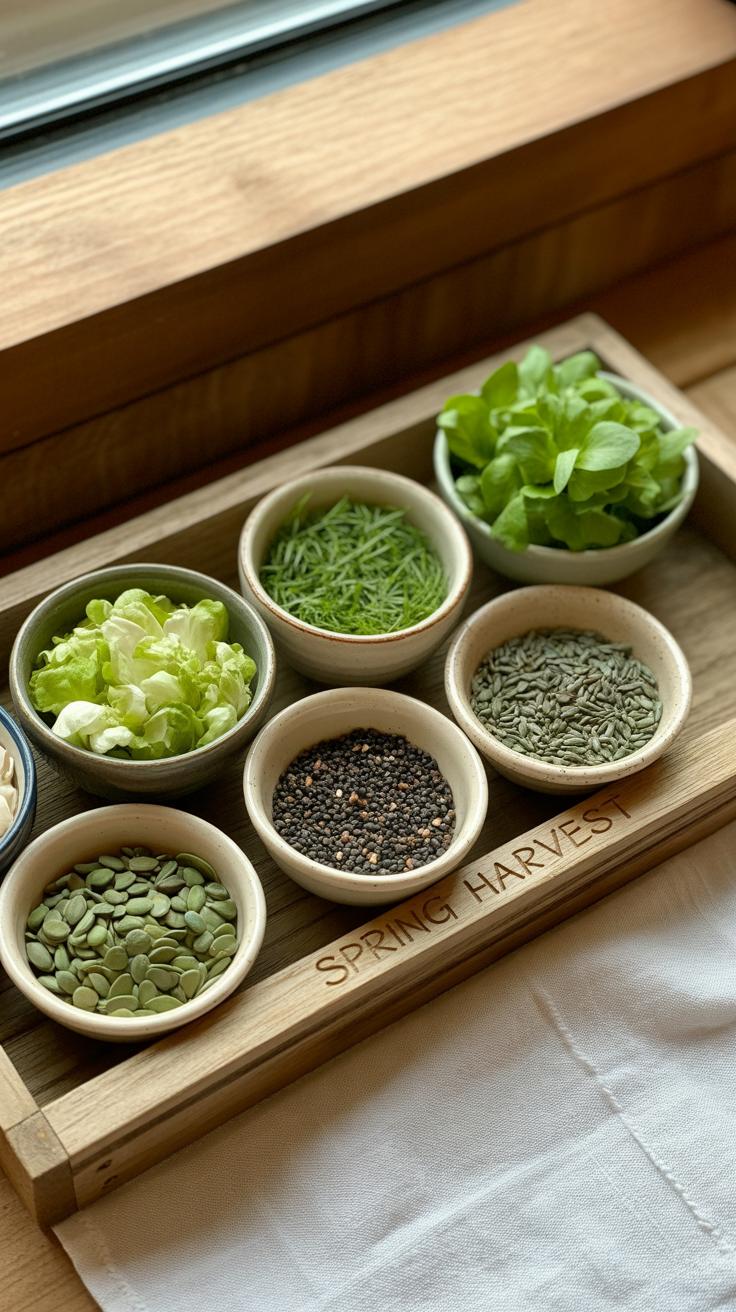
When it comes to soil, skipping regular garden dirt is best. Seed-starting mix is lighter and drains better, helping fragile roots breathe. It’s usually a blend of peat moss or coconut coir, vermiculite, and perlite. Avoid heavy potting soil because it can retain too much water and cause damping off—a fancy name for seedlings just dropping dead, which nobody wants. You might experiment a bit to find a mix that feels right, especially if you want to tweak moisture retention.
Providing Proper Light Sources
Light can make or break your indoor garden. A sunny windowsill might sometimes be enough, but many windows don’t get consistent or strong light—especially in early spring. Seedlings need about 12 to 16 hours of light daily to grow strong stems and healthy leaves.
Many gardeners turn to artificial lights. Fluorescent tubes or LED grow lights are popular—and LEDs tend to use less energy and run cooler, which can be a plus. You’ll want to position lights a few inches above the seedlings and adjust as they grow to avoid legginess or burning. Timer switches can help keep the light schedule steady, so you don’t have to remember turning lights on and off. Still, some folks prefer natural light and keep rotating seedlings throughout the day. It depends on what fits your space and routine.
StepbyStep Guide to Starting Your Seeds Indoors
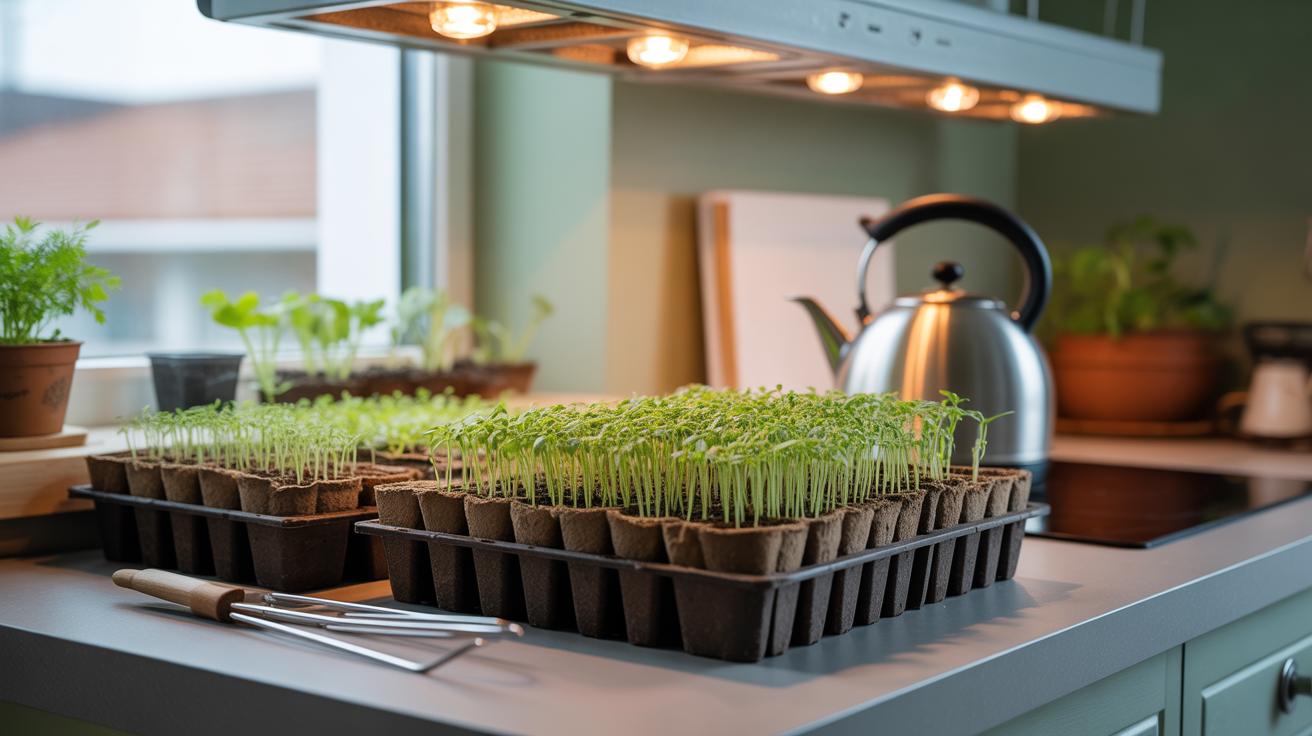
Starting seeds indoors takes some careful attention, but you can get the hang of it fairly quickly. Begin by filling your containers with a light, well-draining growing medium—avoid dense garden soil, which can suffocate young roots. Press the soil lightly; firm enough to hold moisture but loose enough for roots to push through.
Plant seeds at a depth about twice their size—smaller seeds like lettuce stay near the surface, while larger ones like beans get buried deeper. Keep some space between seeds to avoid overcrowding, which can stunt growth or increase disease risk. For example, pepper seeds might be spaced an inch apart, while carrots need a little more room.
Once planted, water gently to moisten the soil without flooding. Using a spray bottle works well here. Think of it as waking the seeds gently rather than shocking them. Place trays in a warm spot, since most seeds prefer 65 to 75 degrees Fahrenheit to get going.
Every day, check moisture levels—soil should feel damp but not soggy. Too much water encourages mold; too little will dry seedlings out fast. Also, watch for any signs of weak stems or yellowing leaves. If things look off, adjusting light or watering might help, though sometimes seedlings just have their own pace.
Growing indoors means you get to monitor progress closely. I often find myself surprised by how fast some seeds sprout—sometimes in just a few days. But patience plays a role, too. Not every seed behaves the same way, and that’s okay.
Managing Indoor Conditions for Seedlings
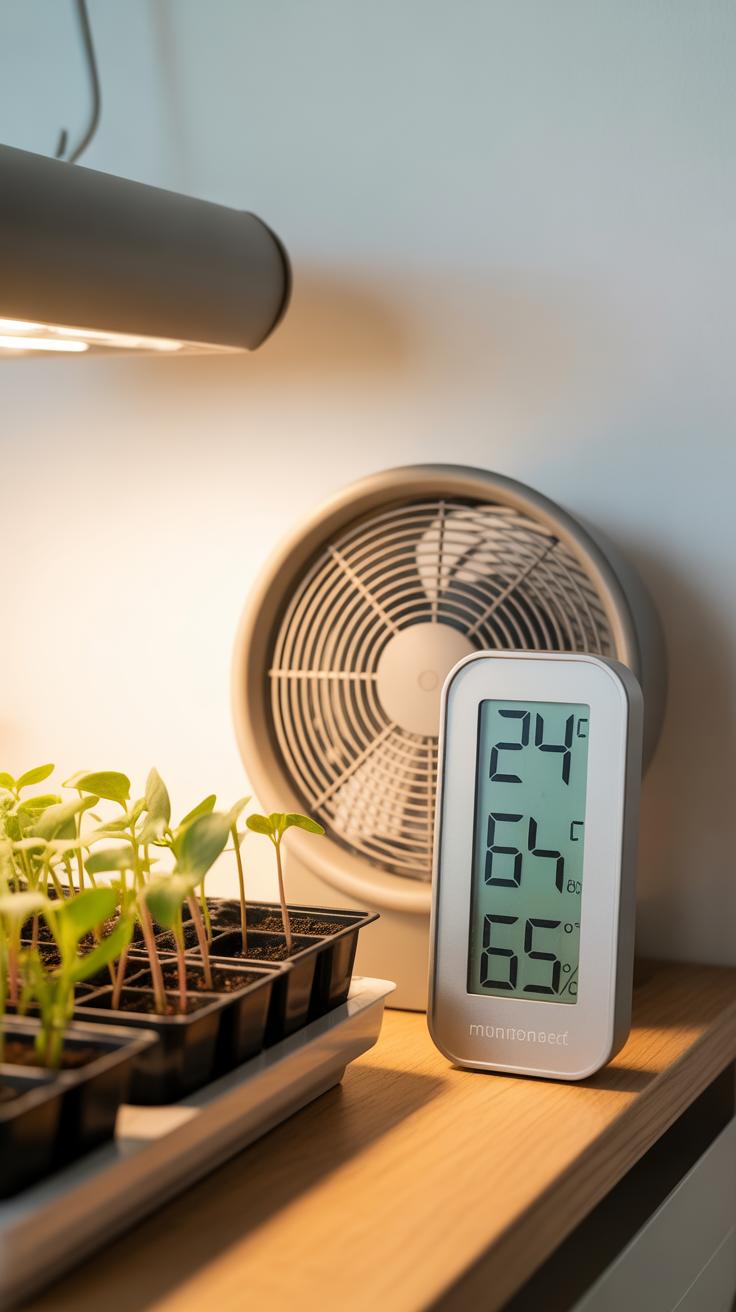
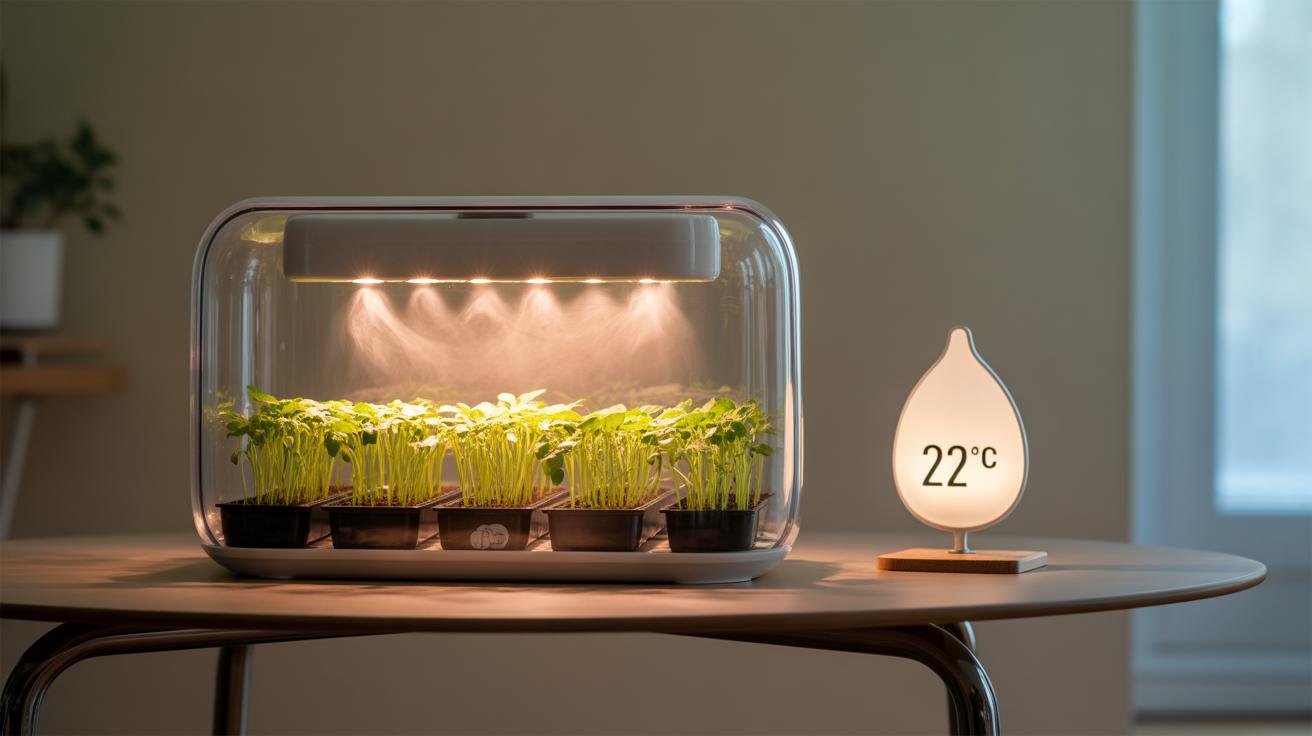
Keeping your seedlings healthy indoors means paying close attention to temperature and moisture. Seeds germinate best around 65 to 75 degrees Fahrenheit, though some veggies prefer it a bit warmer or cooler. You might notice that too cool or too warm can slow things down or make them weak.
Humidity plays a tricky role. Too dry, and seedlings wilt; too wet, and fungus problems pop up. A humidity dome or regular misting can help keep moisture steady without drowning the soil. I’ve found that setting trays on a shallow water-filled tray raises humidity just enough without overdoing it.
When it comes to watering, overwatering is a common slip-up. Seedlings need moist, not soaked, soil. Let the top layer dry between watering, but don’t let roots stay bone dry either. I sometimes switch between watering and letting the soil breathe, depending on how fast it dries.
Damping off is a real concern—this fungal disease can take seedlings down fast. Signs include stems thinning and falling over. To prevent it, ensure good air circulation around trays, avoid chilling drafts, and clean containers before use. I use a fan on low nearby to keep air moving. It might feel a bit fussy, but it’s worth the trouble to keep your seedlings standing strong.
Recognizing When Seedlings are Ready to Transplant
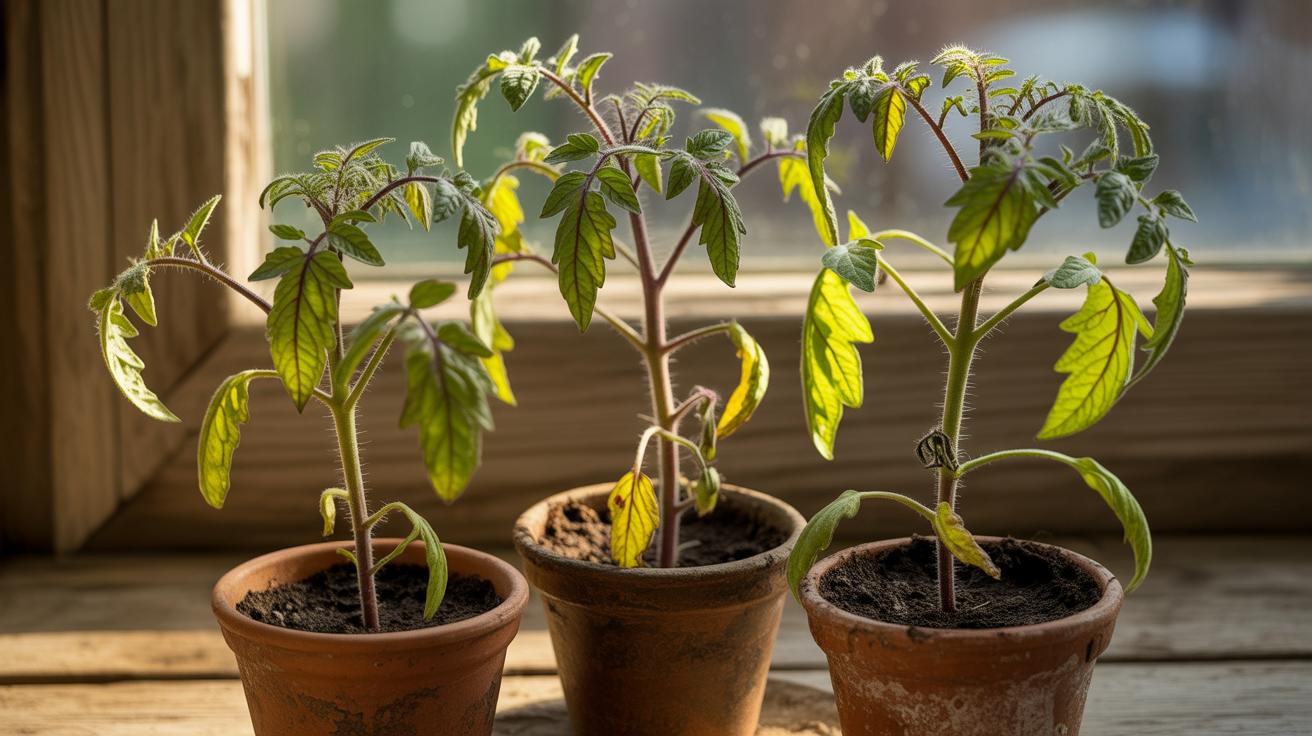
One of the trickier parts of indoor seed starting is knowing when to move your seedlings outdoors. The size and leaf count can help, but there’s no one-size-fits-all rule. Typically, you want to see at least two to four true leaves beyond the initial seed leaves. Those true leaves signal the plant has begun real growth and can handle more demanding conditions.
But size matters too. If the seedlings look sturdy, not spindly or stretched out, that’s usually a good sign. They should be around two to three inches tall, though some plants like tomatoes might tolerate slightly taller seedlings. If the stem is thick enough to support the plant without bending under its own weight, you might be ready.
Timing the transplant depends on more than just the seedling’s look. Outside temperatures and soil conditions are crucial. It’s tempting to move them out as soon as possible, but cold nights or wet soil can shock young roots. A good rule is to wait until the danger of frost has passed and the daytime soil temperature is stable—usually above 50°F for most veggies.
Have you ever rushed to move seedlings outdoors only to see them wilt or stall? It’s frustrating. Waiting for the right moment, even if it means a few more weeks indoors, often pays off with stronger, more productive plants.
Hardening Off Your Seedlings Before Moving Outdoors
Hardening off means slowly toughening your indoor-grown seedlings to survive outdoors. It’s necessary because seedlings raised inside get used to stable temperatures, low wind, and consistent moisture. Suddenly placing them outside can shock them—causing wilting or stunted growth. The idea is to expose them bit by bit to sunlight, wind, and cooler nights, helping them build resilience.
Here’s a rough daily schedule to follow over about 7–10 days:
- Day 1–2: Place seedlings in a shady, sheltered spot outdoors for 1–2 hours.
- Day 3–4: Move them to a brighter spot with some sun exposure for 3–4 hours.
- Day 5–6: Increase sun time to 5–6 hours; introduce gentle wind by leaving space around the plants.
- Day 7–8: Leave seedlings outside all day but bring them indoors if temperatures drop a lot at night.
The challenge is balancing protection and exposure. Too much sun or wind too soon can dry or burn young leaves. If you’re unsure about the weather, it’s better to be cautious—maybe shorten the outdoor periods or provide a light cover. I’ve seen seedlings bounce back well when I paid attention to these small steps, but rushing sometimes ended with droopy leaves and frustrating losses. Gradual exposure helps plants adjust their water use, strengthen stems, and develop tougher leaves—giving them a better shot when finally planted in your garden.
Planting Seedlings Outdoors and Caring for Your Garden
When you’re ready to move your seedlings to the garden, how you plant them can make all the difference to their growth. First, choose a spot with soil that feels loose and crumbly—not packed down. Dig holes slightly larger than the seedling’s root ball to avoid bending or crowding the roots.
Take a moment to gently tease the roots if they look crowded or circling inside the container. This encourages them to spread naturally once in the ground. Place the seedling at the same depth it was in the pot—too deep or too shallow can stress the plant. Firm the soil softly around the base to remove air pockets but don’t compact it tightly. You want roots to breathe and reach out.
After planting, watering is crucial but don’t drown them. Moist, not soggy soil, helps roots settle in. Mulching nearby—not right on the stem—keeps moisture stable and controls weeds. Watch out for pests early on. I’ve noticed aphids can settle fast if you don’t check regularly, and they don’t announce themselves politely.
Finally, keep an eye on your garden daily. Young plants can be unpredictable—sun, wind, and bugs all play a role. Sometimes, less intervention lets them toughen up, but at other times a little support is exactly what they need. Your garden will teach you plenty if you pay attention.
Conclusions
Starting your vegetable garden indoors gives you a valuable head start over direct outdoor planting. It allows you to control the environment, protect young plants, and make the most of the limited spring planting window. By following the right steps, you can grow healthy seedlings ready to thrive when moved outside.
Remember to select suitable seeds, use proper containers, give your plants enough light, and gradually harden them off before transplanting. By doing so, you will enjoy a more productive garden, fresh vegetables, and the satisfaction of a gardening season stretched from early spring to late fall.


