Introduction
Upcycling is the practice of turning old or unwanted materials into new items that can add value and style to your living area. It is a way to refresh your space without buying new products. Upcycling helps the environment by reducing waste and conserving resources.
In this article, you will find practical ideas for upcycling projects that anyone can do. These ideas will guide you through simple steps to transform your living room. You will learn how to create stylish, useful items and bring a fresh look to your space while saving money.
Choosing the Right Upcycling Projects for Your Living Area
Picking the right upcycling projects for your living space can feel a bit overwhelming at first. You might wonder where to start or what materials to focus on. It helps to think about what you already have on hand—old furniture, leftover fabric, or even unused jars. These items can become the foundation for something new, rather than hunting for special materials.
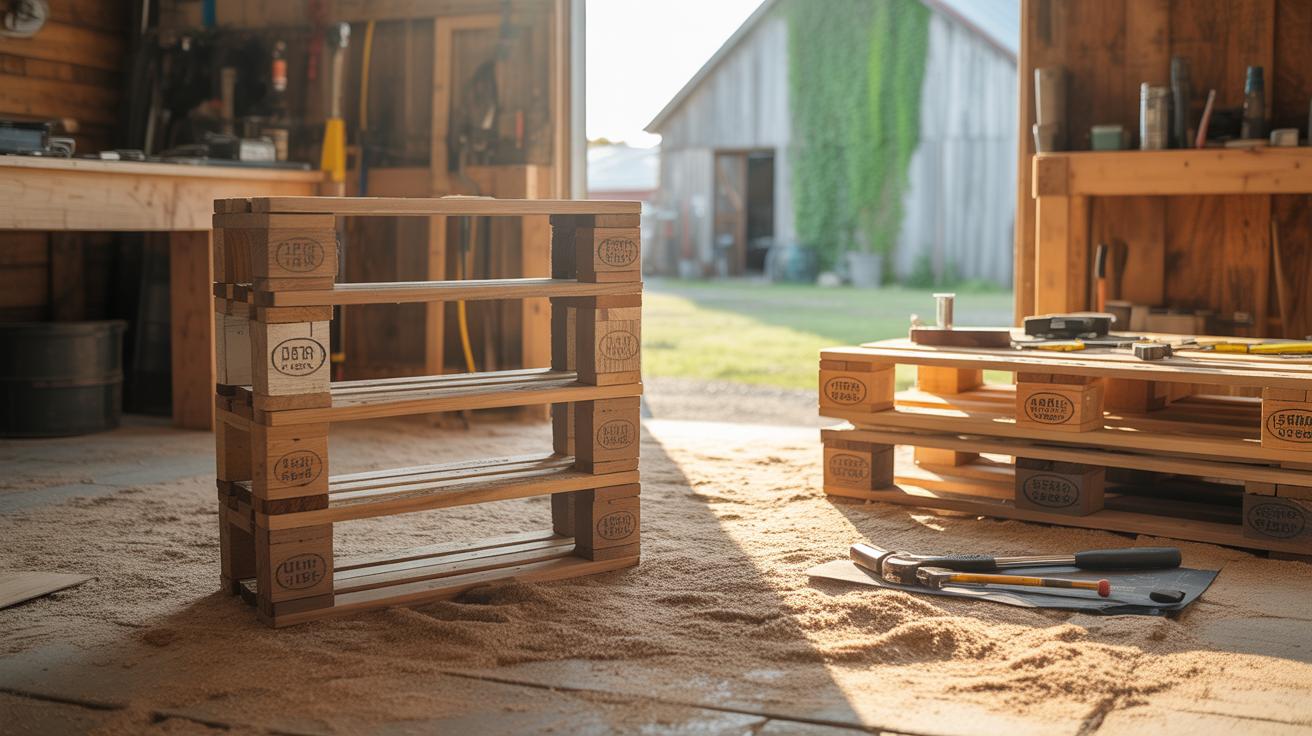
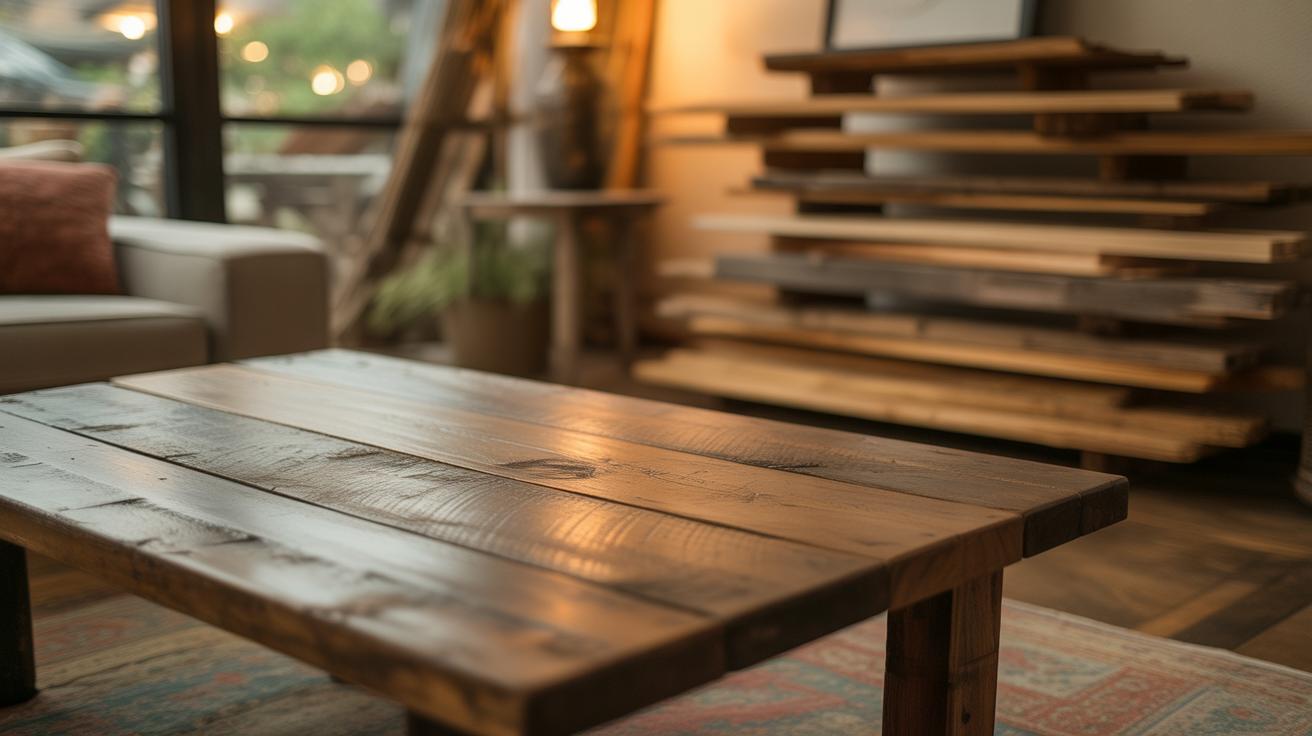
Space is another thing to keep in mind. A tiny living room might not handle a bulky pallet coffee table, for example. Maybe a small stool or a side shelf made from reclaimed wood fits better. Think practically about how much room you have and what would make sense without crowding your home.
Your skills matter too, but don’t let that stop you. Starting simple is often the best way. Painting an old chair, turning wooden crates into shelves, or sewing cushion covers from scrap fabric are manageable projects. They can boost your confidence before you try something more complex.
Ask yourself: What small change would immediately improve my space? What do I enjoy making? This helps keep the process enjoyable rather than stressful. After all, upcycling isn’t about perfection. It’s about adding value—both to your home and to materials that might otherwise be ignored or tossed out.
Living Area Upcycle Projects
When picking upcycling projects for your living area, a few practical things really matter. First, ask yourself what materials you already have on hand—looking around, you might find more possibilities than you think. Old wooden crates, leftover fabric, or even glass jars can become part of your next project. Also, take a moment to measure your space. Is your living room large with extra nooks, or more compact? That will guide what kind of projects fit without overcrowding.
Your skill level matters too. If you’ve never done much DIY before, it’s easy to get overwhelmed. I think starting with something manageable builds confidence and keeps frustrations at bay. Maybe try fixing up a lampshade or crafting a simple wall organizer before tackling a big furniture piece. Little wins add up, you know?
Assessing Your Space and Materials
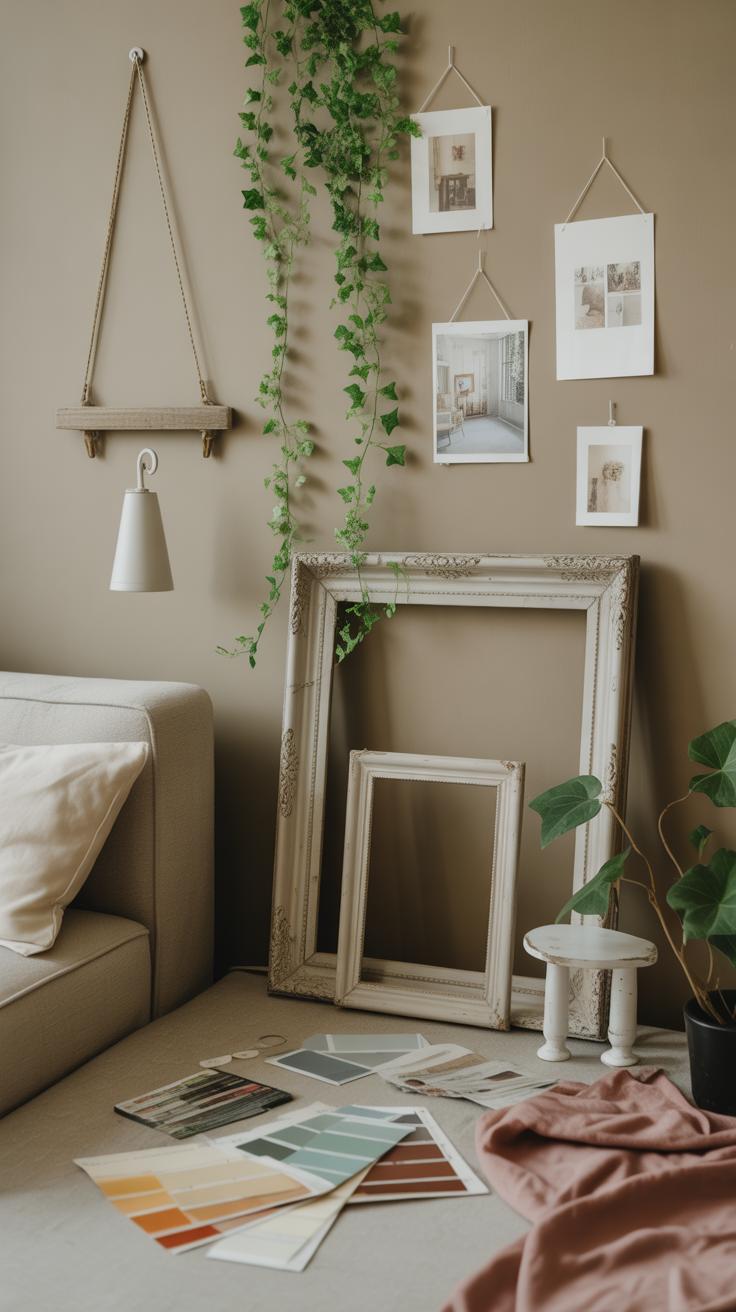
Start by really noticing your living area. What’s unused or ignored? A pile of magazines could become a unique side table base. Old picture frames might find new life as organizers or décor. Don’t overlook everyday items—you’d be surprised what can be repurposed with just a bit of creativity.
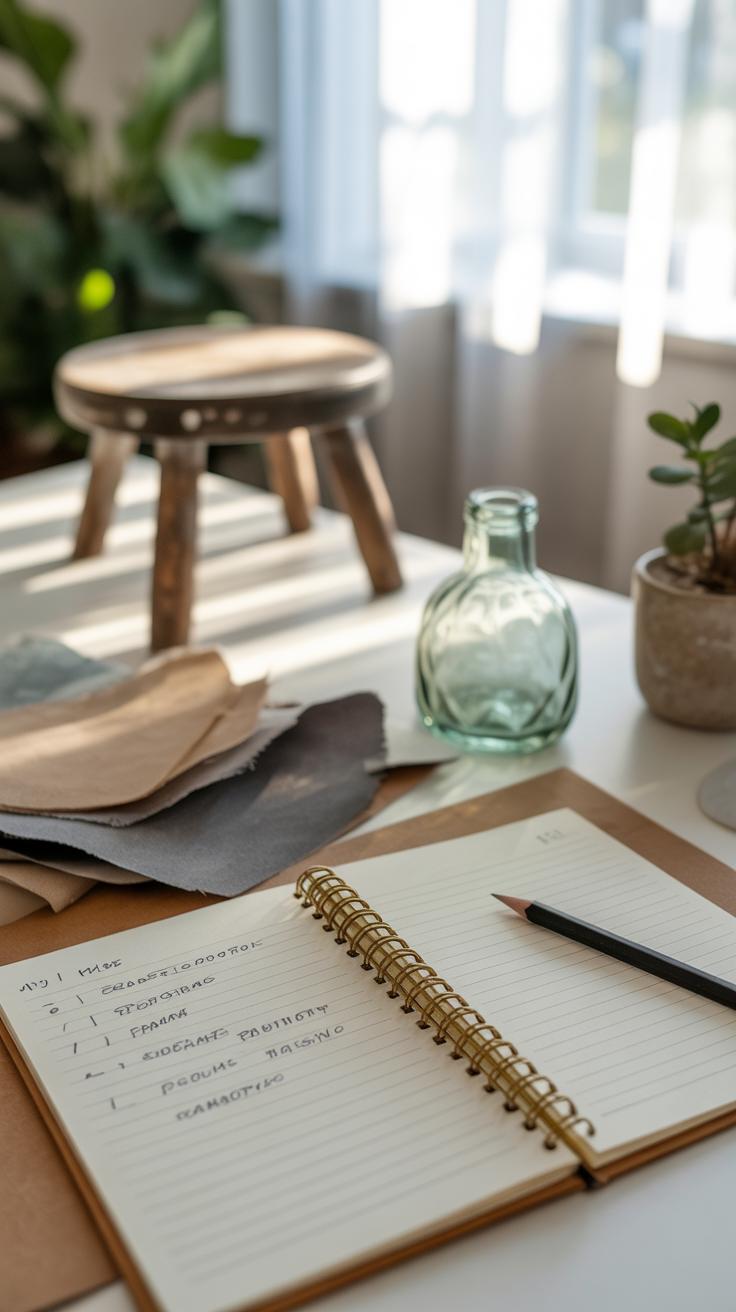
Think about your habits too. For example, if you often entertain, maybe your project should improve seating or storage. If it’s where you relax, focus on cozy additions. Take notes or snap photos; sometimes, ideas spark later when you’re not actively looking.
Starting Small For Success
Jumping straight into a complex piece might sound tempting but can lead to discouragement. Instead, picking small, straightforward projects tends to be more rewarding. Consider making a set of coasters from scrap wood or turning empty jars into candle holders. These projects don’t demand too many tools or skills and show results quickly.
The quick payoff gives you a sense of accomplishment and motivates you to try more. It’s a bit like testing the waters before diving in. As you finish simple pieces, you might find yourself naturally ready for something more challenging, like reupholstering a chair or building a shelf.
Upcycling Old Furniture Into New Statement Pieces
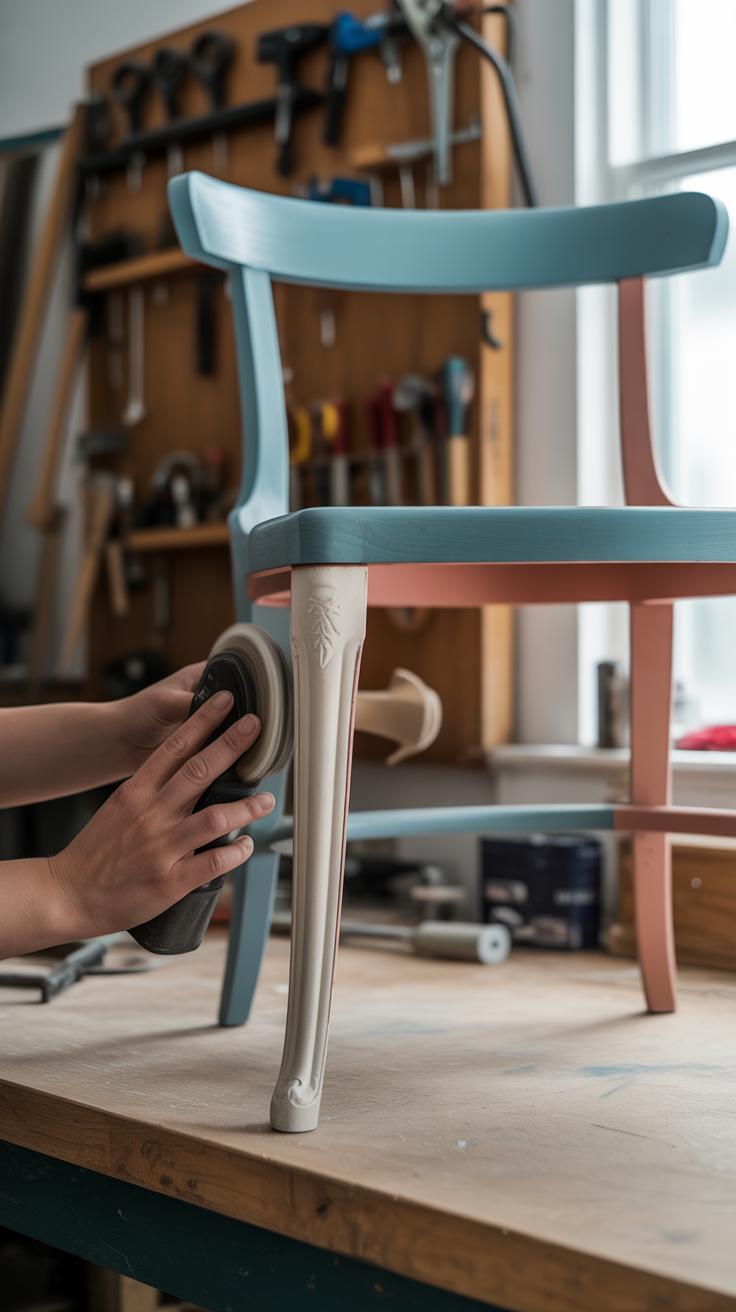
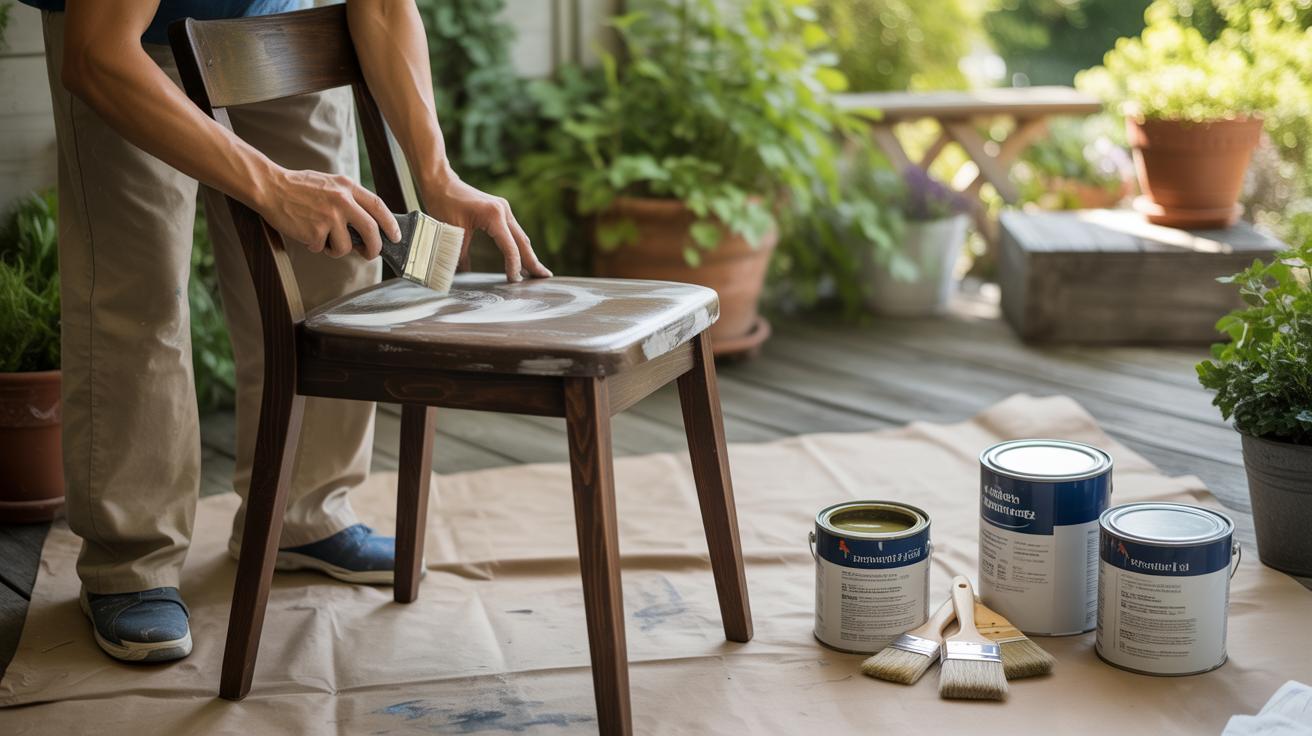
Old furniture often holds more potential than we first realize. You can refresh a tired chair or table with some paint, a fresh finish, or new fabric—sometimes all it takes is a little imagination and patience. For painting wooden pieces, start by sanding down rough spots or peeling varnish to create a smooth surface. Use chalk paint or latex paint for easy application and less prep, but if you want durability, oil-based paint might be better. Applying a primer first usually helps, though skipping it can create a charming worn effect if you’re aiming for a rustic style.
Reupholstering chairs or cushions can feel intimidating but breaking it down helps. Remove the old fabric carefully, keeping the pieces intact as a pattern. Choose a fabric that matches your room’s vibe but don’t be afraid to mix patterns for a more playful look. Staple guns make attaching fabric easier; just pull the fabric tight for neatness. A few simple stitches can secure areas near corners or curves.
Sometimes, mixing parts from different old furniture creates surprising results. Legs from one side table joined with a new top, or chairs updated with new seats and backs, can turn into unique statement pieces. The key is balance—too much change can overwhelm the piece, yet a subtle mix can refresh it just enough. Have you ever thought about taking that barely used shelf apart and reassembling it into something quite different? It’s worth trying—I found it sparked creativity I didn’t expect.
Creative Storage Solutions through Upcycling
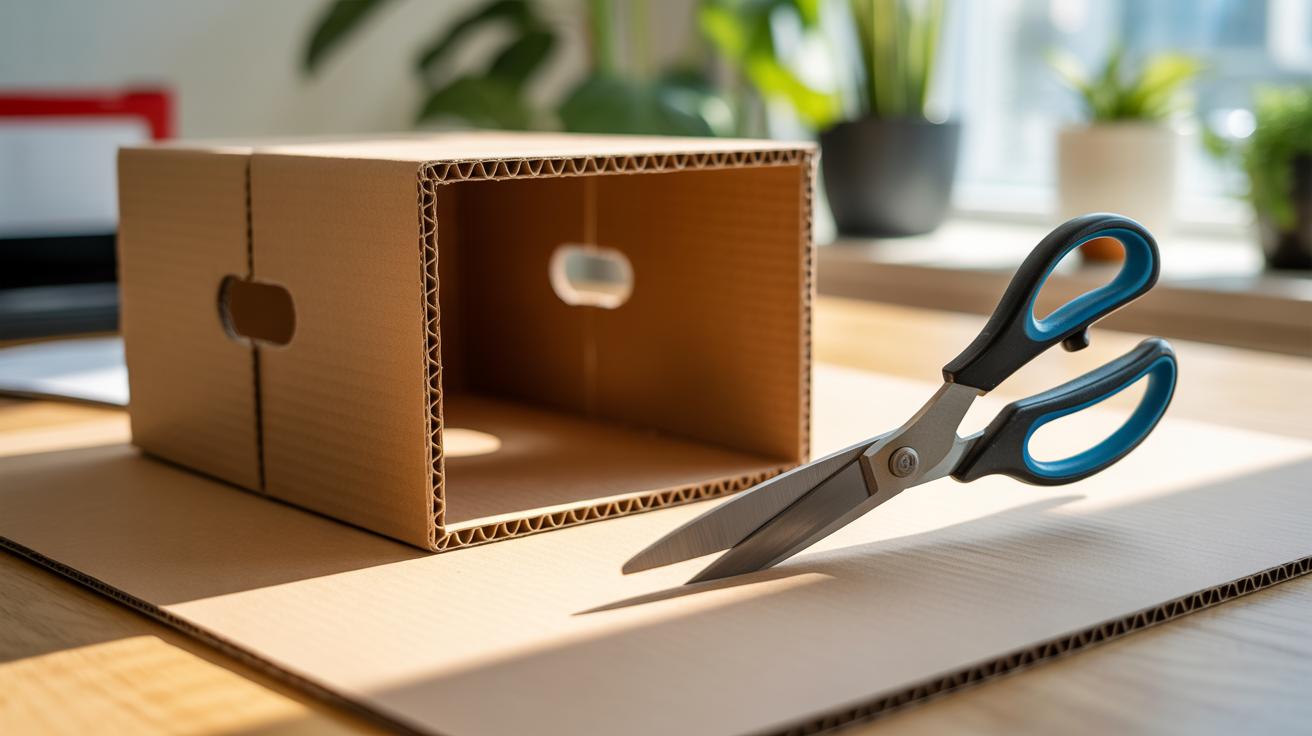
Old boxes, wooden crates, and discarded containers can suddenly look useful again if you give them a fresh purpose. Turning these overlooked items into stylish storage options might sound like a simple fix, but it often ends up being more satisfying than expected. You don’t have to settle for just tossing things inside; with a bit of effort, they can become both functional and attractive pieces in your living room.
For instance, wooden crates stacked and mounted on a wall become rustic shelves. Or, placed on their sides, they form cubbies perfect for books, plants, or display objects.
Building Shelves From Crates and Wood
Start by selecting sturdy crates—ones without too many cracks, preferably with a bit of character. Sand them lightly to remove rough spots. If you’re using leftover wood planks for added support or for mounting, make sure they’re clean and dry.
Arrange the crates in a pattern you like—vertical stacks, horizontal rows, or an irregular cluster. Secure the crates together using screws or corner brackets, then attach the entire assembly to the wall with strong wall anchors suited for the weight. If drilling feels intimidating, you could lean them against the wall for a more casual look, though that’s less stable.
Finishing touches might involve a coat of paint or a clear sealant, depending on the style you want. Light stains bring out wood grain without overpowering, while bold colors add a modern flair.
Making Decorative Storage Bins
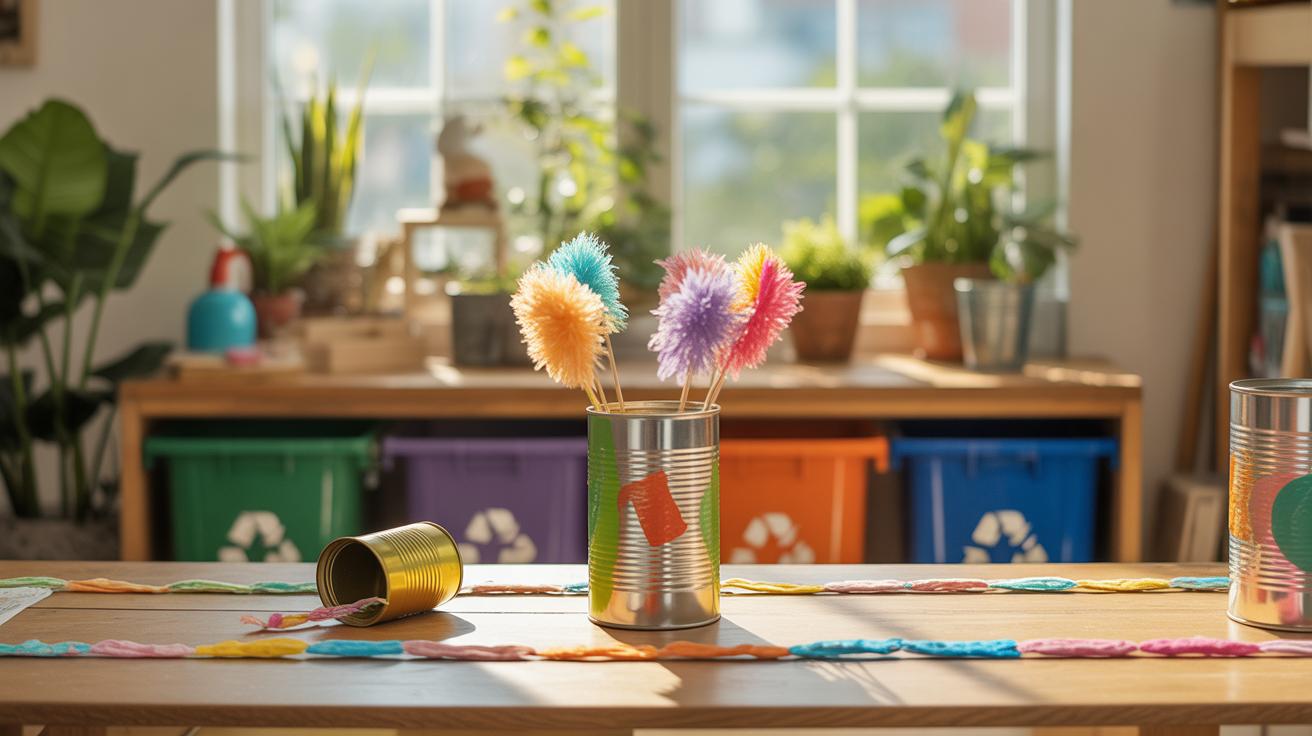
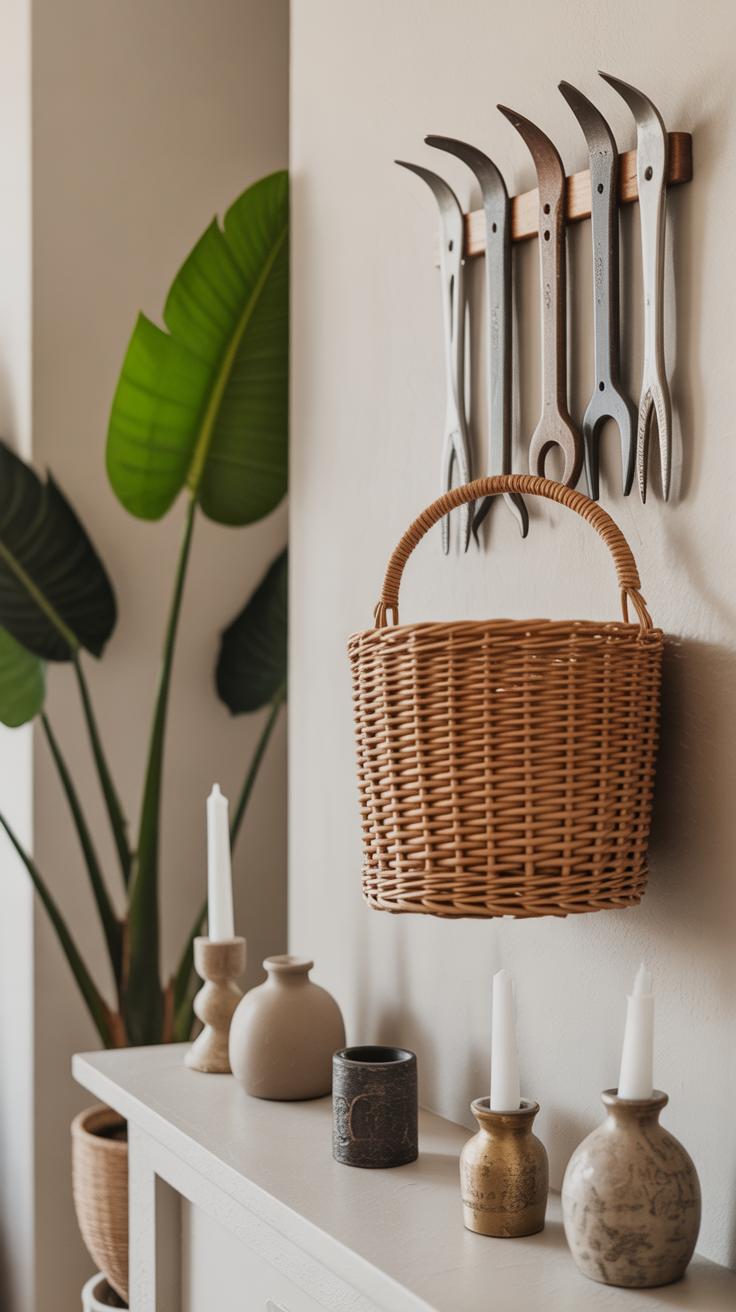
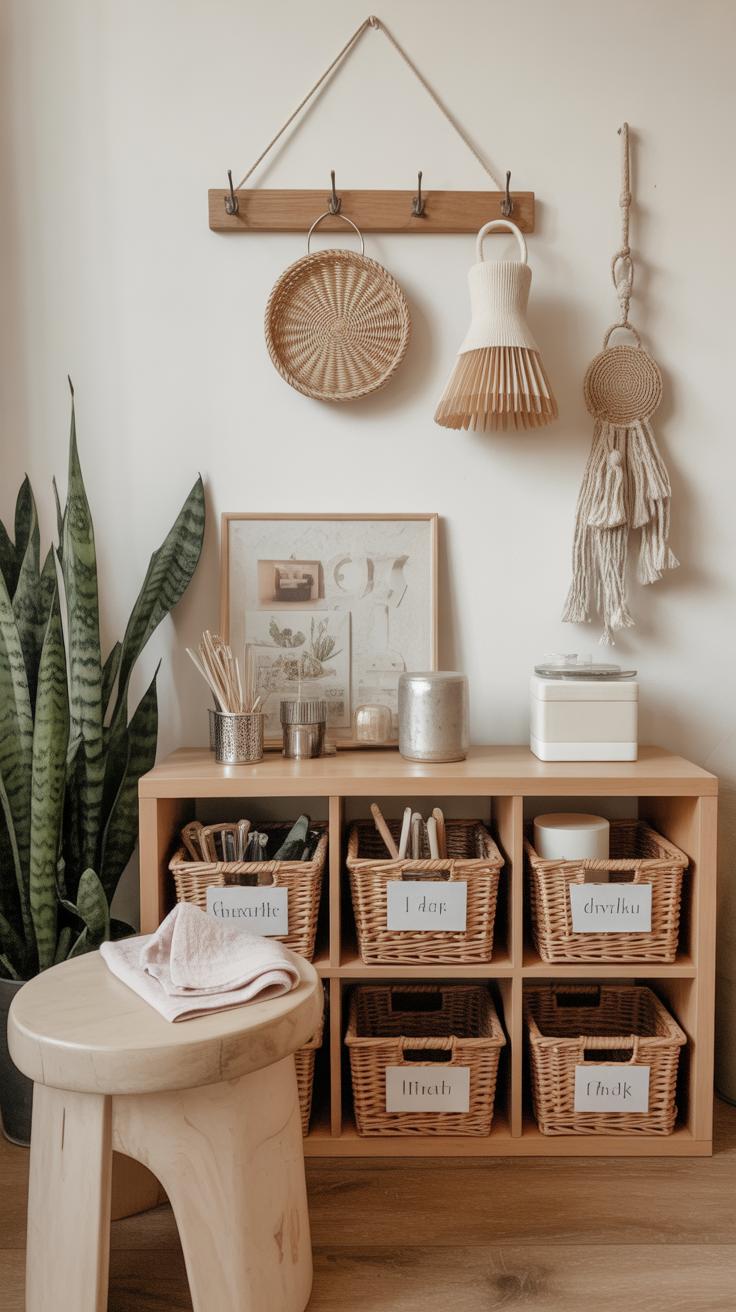
Containers like old tins, baskets, or plastic bins don’t have to remain plain storage holders. You can paint them, wrap them in fabric, or decoupage them with colorful paper. Using leftover wallpaper scraps or newspaper clippings adds a vintage or eclectic touch.

Adding rope handles to a box, or lining containers with felt or patterned paper, makes small items—remote controls, magazines, or kids’ toys—look neat and intentional rather than cluttered.
Personally, I once covered a plain metal toolbox in floral fabric and now it holds my craft supplies, brightening the corner of my living room more than I expected. Sometimes, the simplest upgrades create unexpected joy.
Turning Fabric Scraps into Soft Furnishings
Small pieces of fabric don’t have to end up in the trash. You can turn them into pillows, throws, or even curtains—refreshing your living area without buying new materials. It might seem tricky at first, but with a bit of patience, these scraps can come together beautifully.
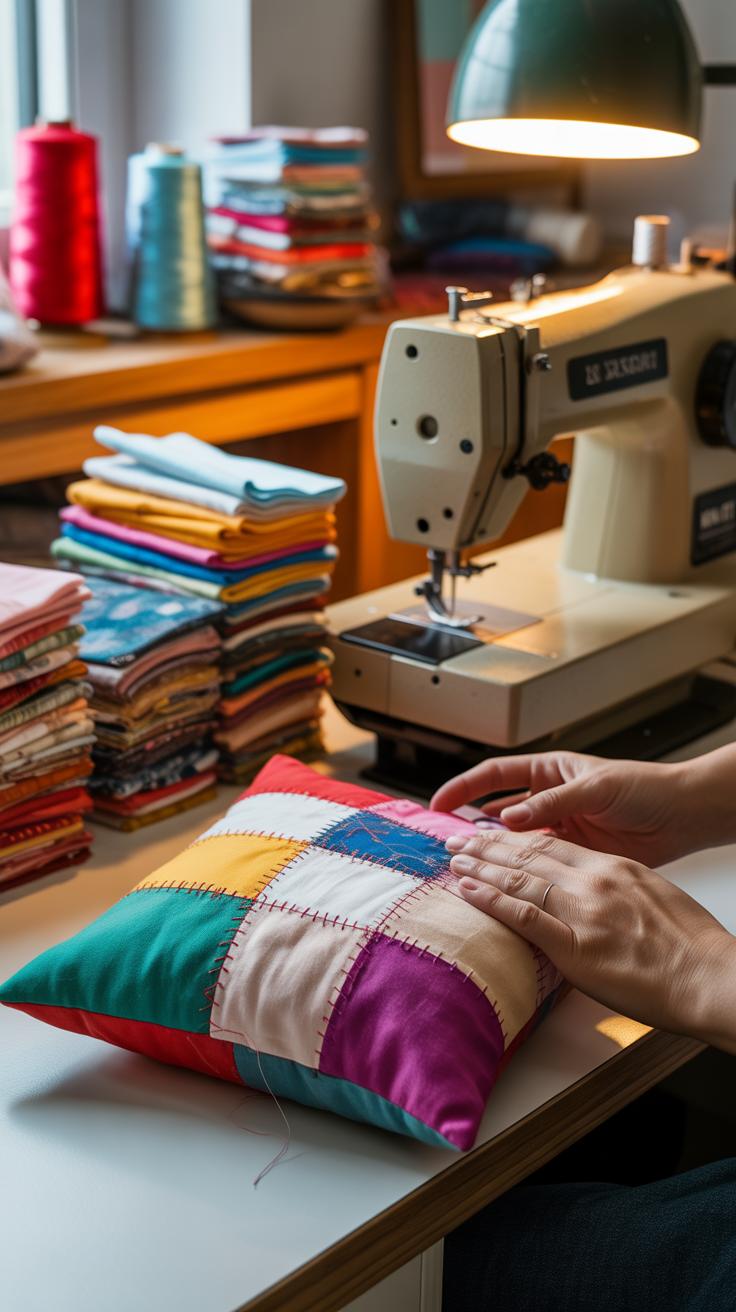
For pillows, gather your fabric scraps and decide on a size—square shapes work best for beginners. You can sew the edges together, leaving one side open to insert a pillow form or stuffing. No sewing? Try fabric glue or iron-on tape to seal the seams. It’s not as durable, but it can hold well if you’re gentle.
Throws and curtains are just larger-scale versions of this idea. Sew or glue scraps into panels by overlapping edges or stitching them side-by-side. You don’t need perfect seams; a bit of irregularity adds character. If you’re sewing, a simple patchwork pattern works wonders. For no-sew, fabric glue and hemming tape can create surprisingly solid results. Don’t worry about matching every piece exactly—mix colors and textures for a lively, eclectic look.
Making Pillows and Cushion Covers
Start by cutting your fabric scraps into squares or rectangles of equal size. For a pillow cover, create two matching pieces. If sewing, place the right sides facing each other, then sew three sides. Turn it inside out, stuff it, and sew or glue the final side closed. For a no-sew option, fabric glue or strong double-sided tape can hold edges together just fine.
If you want a zipper or buttons, they add polish but aren’t necessary. Sometimes, I skip closures altogether and just sew one side loosely, tucking the pillow inside. It might slip out occasionally, but I don’t mind—it reminds me it’s handmade.
Crafting Throws and Curtains
To make a throw, start by laying out scraps on a flat surface. Arrange them until you get a pattern or collage you like, then sew strips together to form larger panels. For no-sew, use fabric glue along edges, letting dry under a heavy book or press. Iron-on bonding tape can reinforce seams.
Curtains work similarly but need extra length and sometimes loops or tabs for hanging. You can simply glue or sew strips to a fabric header. If you don’t want to sew curtain rings, try clip rings for easy hanging. Perfectly straight seams aren’t critical; slight unevenness gives a relaxed, cozy vibe. Do you prefer a bold patchwork or a more subtle blend? Either way, you’ll end up with something uniquely yours that breathes new life into your living area.
Decorating with Upcycled Art and Accessories
Making Wall Art from Reused Materials
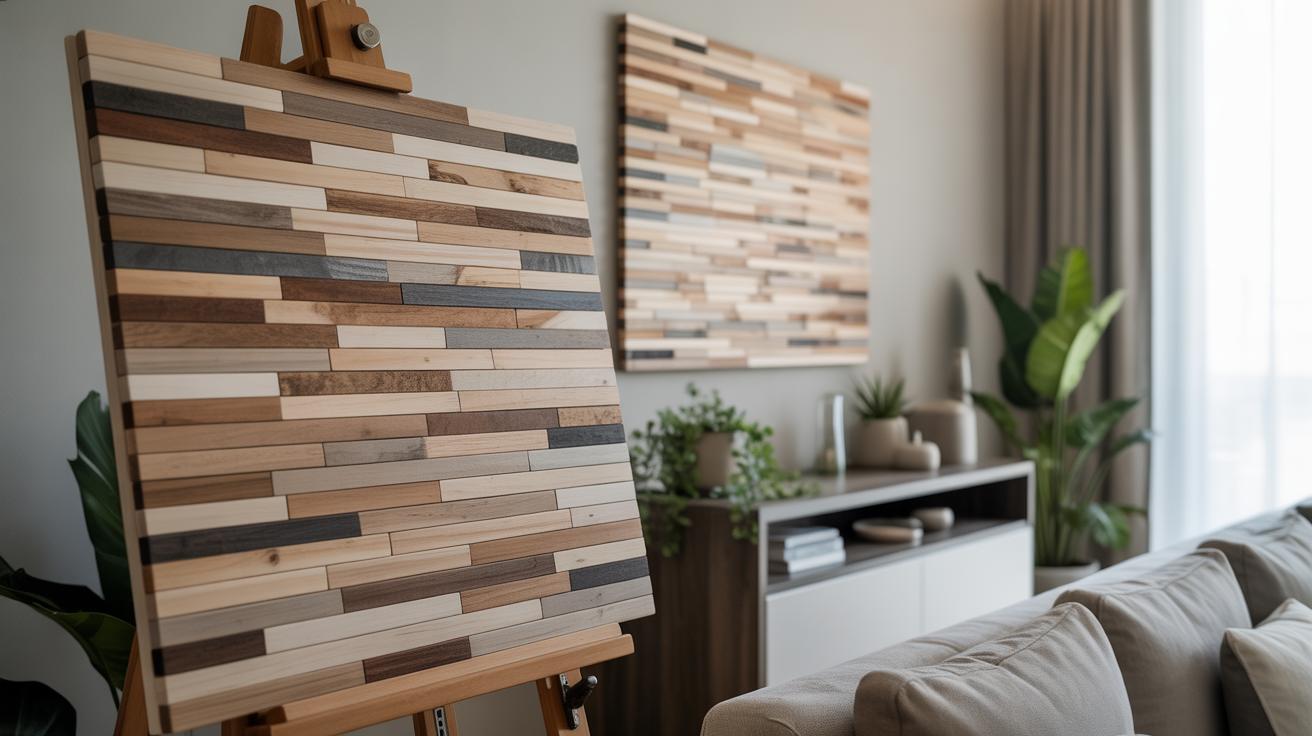
Wall decorations made from repurposed materials can add character and a personal touch to any living area. Old wood planks, for example, can be sanded and arranged into geometric shapes or patterns. You might paint or stencil simple designs on them, or leave them natural to highlight weathered textures. Fabric scraps work surprisingly well too—stretch them over a wooden frame or bundle and glue strips to create textured collages. Even layered paper pieces, like torn pages from old books or magazines, can form interesting abstract art.
Something I’ve found when working with these materials is that imperfections really add charm. You don’t have to be precise; sometimes uneven edges or faded colors tell a better story. Experiment with combining different elements for a fun mix—say, wood with lace or paper with fabric—that keeps the eye moving. And you’re free to start super simple. A single panel with a bold color or shape can refresh a wall corner without too much effort.
Creating Picture Frames and Decor
Old picture frames are a perfect base for upcycling. Strip off chipped paint with some sanding and repaint in your favorite color—matte, gloss, or even metallics. Or take it further by wrapping the frame in twine, fabric, or thin strips of reclaimed wood. For a personal touch, add decorative accents like buttons, shells, or small found objects glued on selectively.
If you don’t have frames lying around, crafting new ones from scraps is doable. Thin pieces of wood, cardboard layered for thickness, or even sturdy cardboard tubes cut flat can be glued together into frame shapes. Customize with paint, decoupage, or stamps to make them distinctly yours. A friend once made a frame from an old shutter, cutting and painting it—it wasn’t perfect, but it became a conversation starter all the same. Your decor doesn’t need to copy something you see online; it’s okay if it feels a little raw, a bit unfinished. That’s where personality sneaks in.
Lighting Up Your Living Space With Upcycled Fixtures
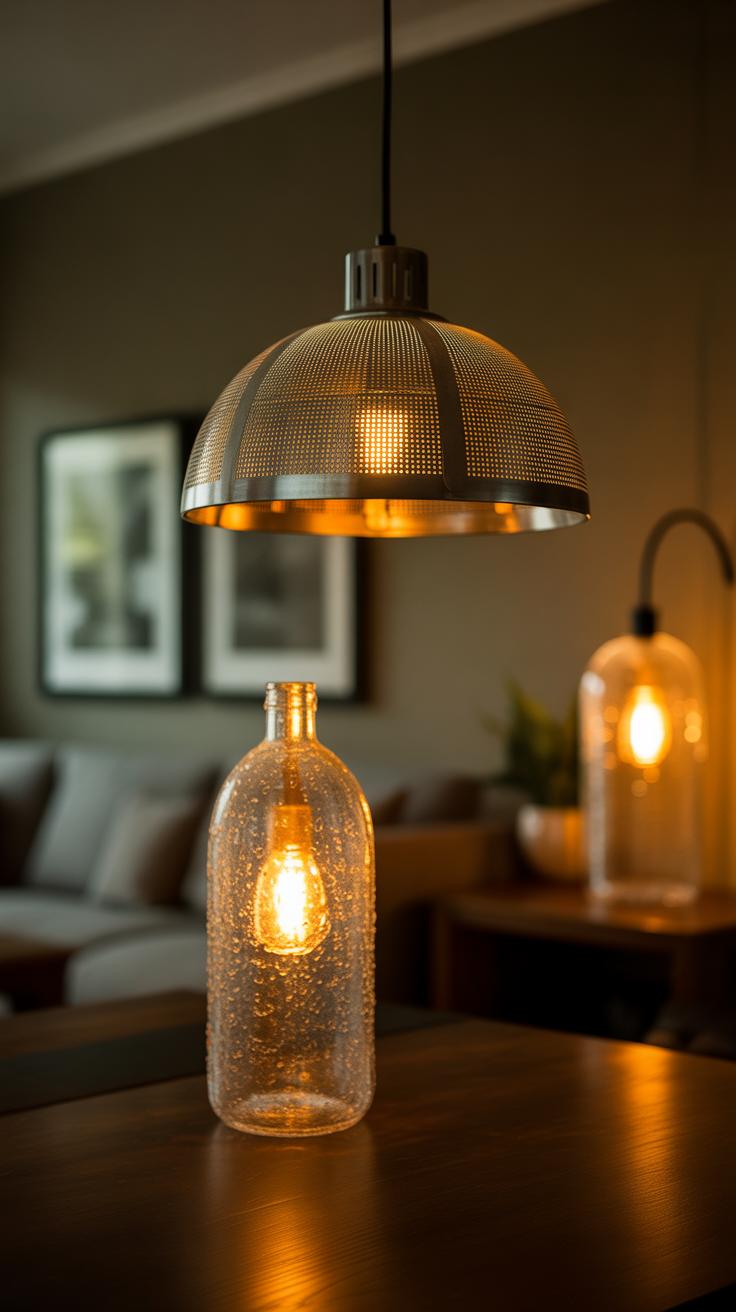
Using repurposed materials to create lamps and lighting fixtures can bring a unique charm to your living area. Believe me, the sense of accomplishment when a simple jar turns into a glowing pendant light is quite something. But, before you plug anything in, always keep safety in mind. Check wires for wear, avoid overloading sockets, and if you’re unsure about electrical work, consult a professional.
Building Table and Floor Lamps
Old containers, bottles, or chunks of wood can serve as excellent bases for lamps. For example, a sturdy wooden block can be drilled to hold a lamp socket, while a ceramic jar might need minor adjustments for cable passage. The process involves assembling a lamp kit with a socket, bulb, and cord—all available in hardware stores. Remember to use insulated wiring and secure all connections tightly to prevent risks. You might find yourself experimenting with different shapes and styles, maybe a rustic floor lamp made from reclaimed wood planks, or a quirky table lamp using an old teapot. Don’t rush wiring; take time to test each piece before finalizing.
Pendant and Wall Light Ideas
Jars and bottles can become excellent pendant lights with the right modifications. Cut the bottoms for wider light diffusion or hang them upside down for a unique look. Metal scraps, perhaps from old tools or kitchen scraps, can be fashioned into industrial-style wall sconces. When it comes to installation, secure fixtures firmly into wall studs or ceiling joists. If the materials are heavy, it’s better to use anchors designed for weight. Also, consider the angle and height—too low and it’s distracting, too high and it loses effect. Sometimes, the best lighting happens when you play around. Maybe try layering two pendants at different heights from glass jars to create a cozy nook. The challenge is part of the fun, even if it means a few trial-and-error moments.
Using Plants and Natural Elements in Upcycled Containers
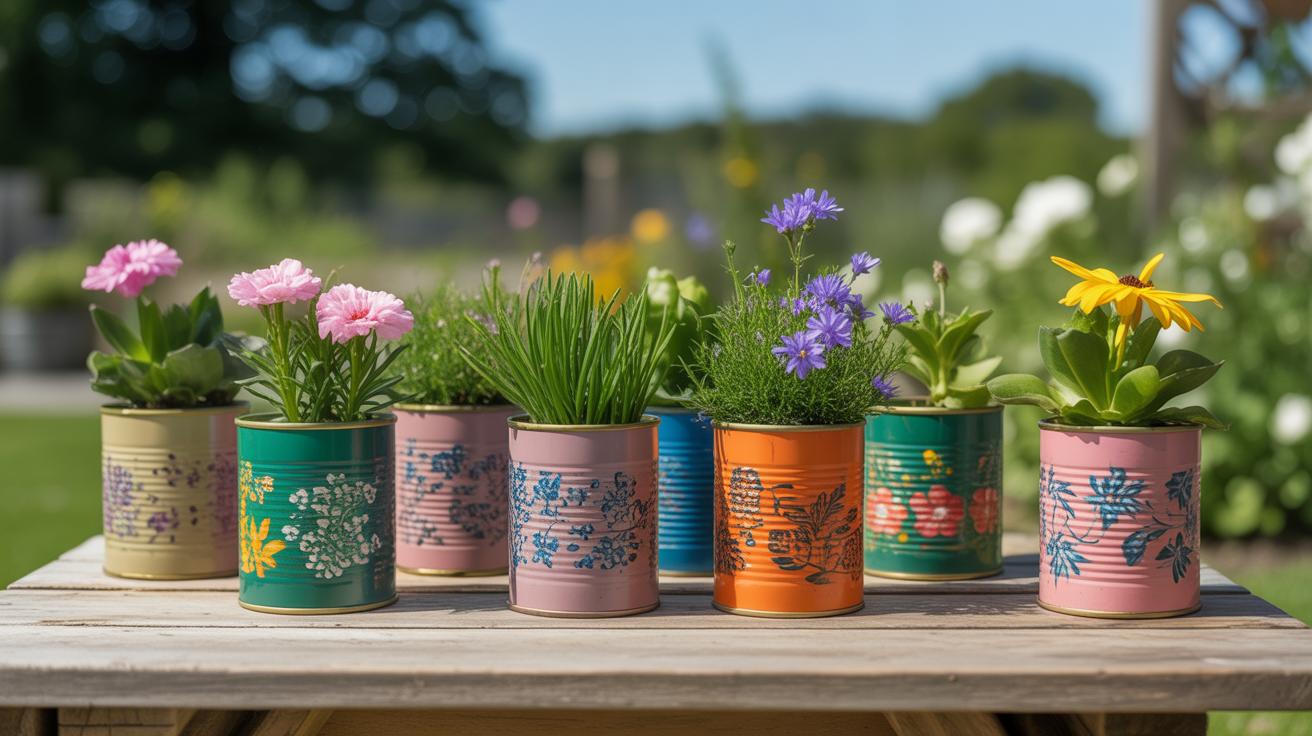
Creating Planters from Old Containers
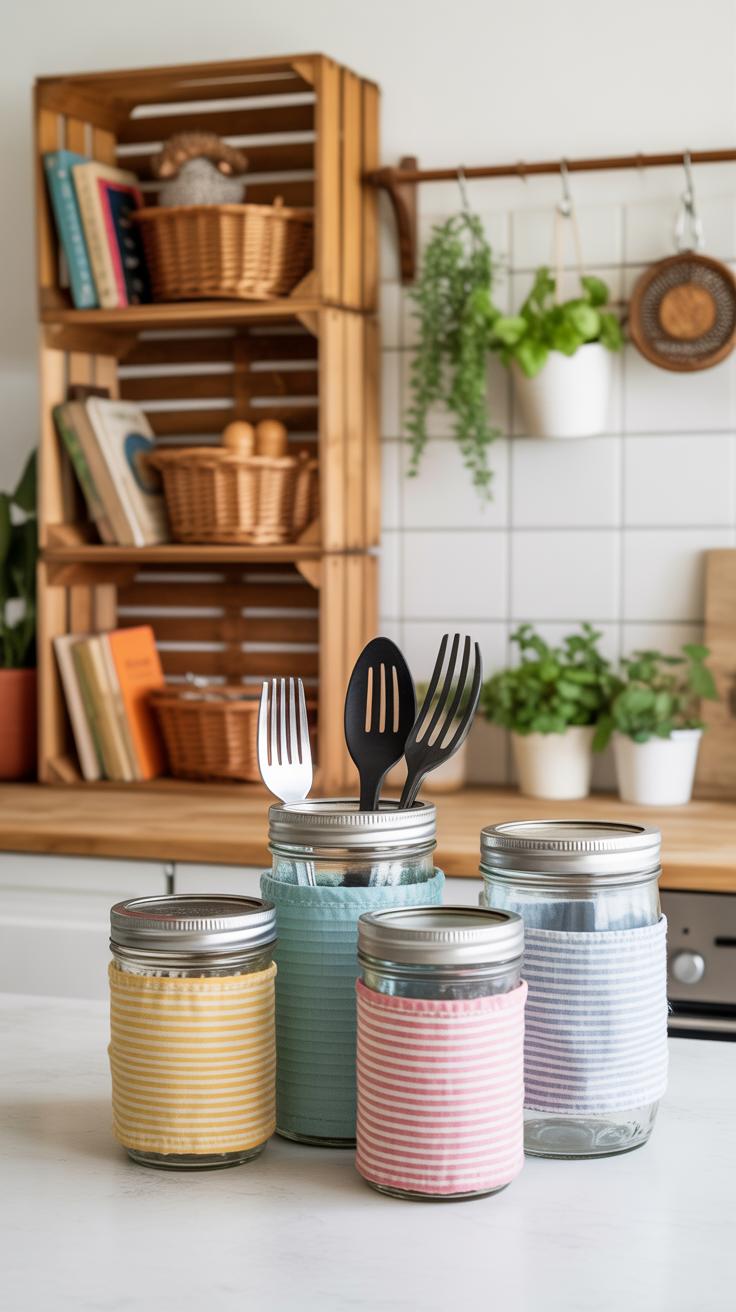
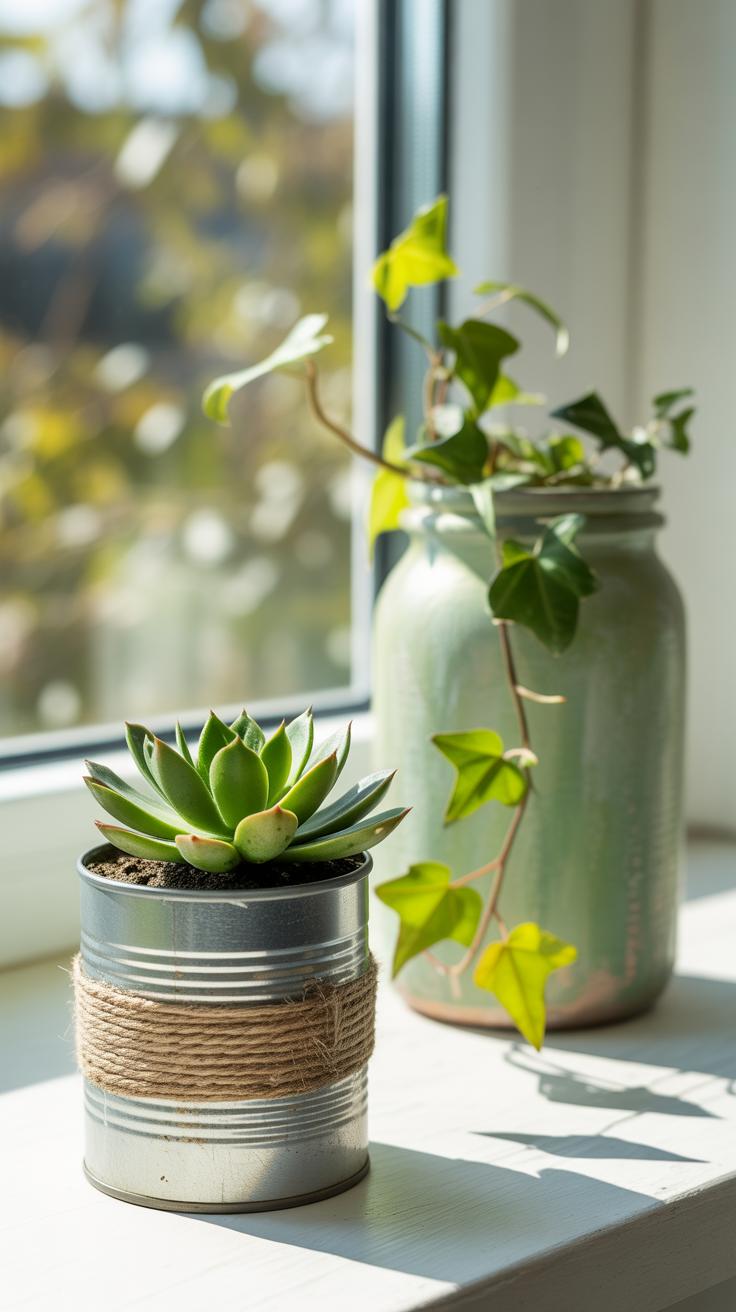
Plants deserve more than plain pots, don’t you think? Using old tins, glass jars, wooden boxes, or even worn-out teacups can turn simple plant holders into eye-catching features. For example, an empty soup tin lined with a small plastic bag or waterproof layer can make a quirky planter for herbs. Mason jars work well for succulents, offering a peek at roots if you like that. Wooden crates, with some waterproofing and drainage holes, can house larger plants or create mini indoor gardens.
When turning containers into planters, drainage is key. Often, these items don’t come with holes, so drilling or poking small openings is necessary to avoid soggy soil. Also, consider using a layer of small stones or gravel at the bottom to help water flow freely and prevent root rot. If you’re worried about damage or leaks on surfaces, place a shallow tray underneath your upcycled planter.
Adding Greenery to Your Living Room
Does adding plants really change a room? Yes. They freshen the air, soften sharp edges, and add a living contrast to furniture and walls. A few scattered upcycled planters can bring life into corners often neglected or neglected corners. Placing plants near natural light works best, but certain types like snake plants or pothos survive in lower light. Arranging collections of different-sized pots together creates a natural feel that feels both casual and intentional.
Thinking about placement? Try grouping several plants on a repurposed wooden stool or hanging jars by old window frames to draw the eye upward. Mixing tall plants with cascading greenery can break monotony. If you’re unsure where to start, small easy-care plants like spider plants or succulents can thrive in a variety of spots without much fuss. The key is to blend your plants with your existing décor—your personal touch will make the space feel less staged and more like home.
Maintaining Your Upcycled Living Area
Upcycled furniture and decor often need a bit more attention than new items. They come with stories, and sometimes small quirks that require extra care. You might find that painted surfaces or fabric coverings need delicate cleaning. For painted pieces, a soft, damp cloth usually works best. Harsh chemicals can strip the finish or fade colors, so mild soap diluted in water is often enough. Fabric items deserve gentle vacuuming or spot cleaning—think of them like your favorite old shirt, not a brand-new one.
Applying protective finishes can make a difference. A clear wax or sealant over painted wood helps resist scratches and dust. For fabrics, consider fabric protectors to keep stains at bay. These treatments don’t last forever, so you may want to reapply them from time to time, though maybe not as often as you think.
Wear and tear are normal, especially for frequently used pieces. Scratches, loose joints, or small tears can usually be managed without much hassle. Tighten screws and add extra glue where needed. Touch up paint chips with matching colors or use fabric patches creatively. Don’t be afraid to embrace small imperfections—they tell the story of your space. Yet, if you want to keep things looking fresh, timely repairs help your upcycled treasures last longer.
What’s your experience with maintaining old or repurposed items? Sometimes, taking a moment to fix a tiny flaw feels like saving a little piece of history in your home.
Conclusions
Upcycling offers an easy and effective way to improve your living area. By using materials you already have, you create new pieces that add character and function to your home. Each project you complete helps reduce waste and makes a difference for the environment.
Try the ideas shared here to start your upcycling journey. You can create a unique and cozy living space that reflects your personality. Upcycling is a way to give old things new life and enjoy a refreshed home.


