Introduction
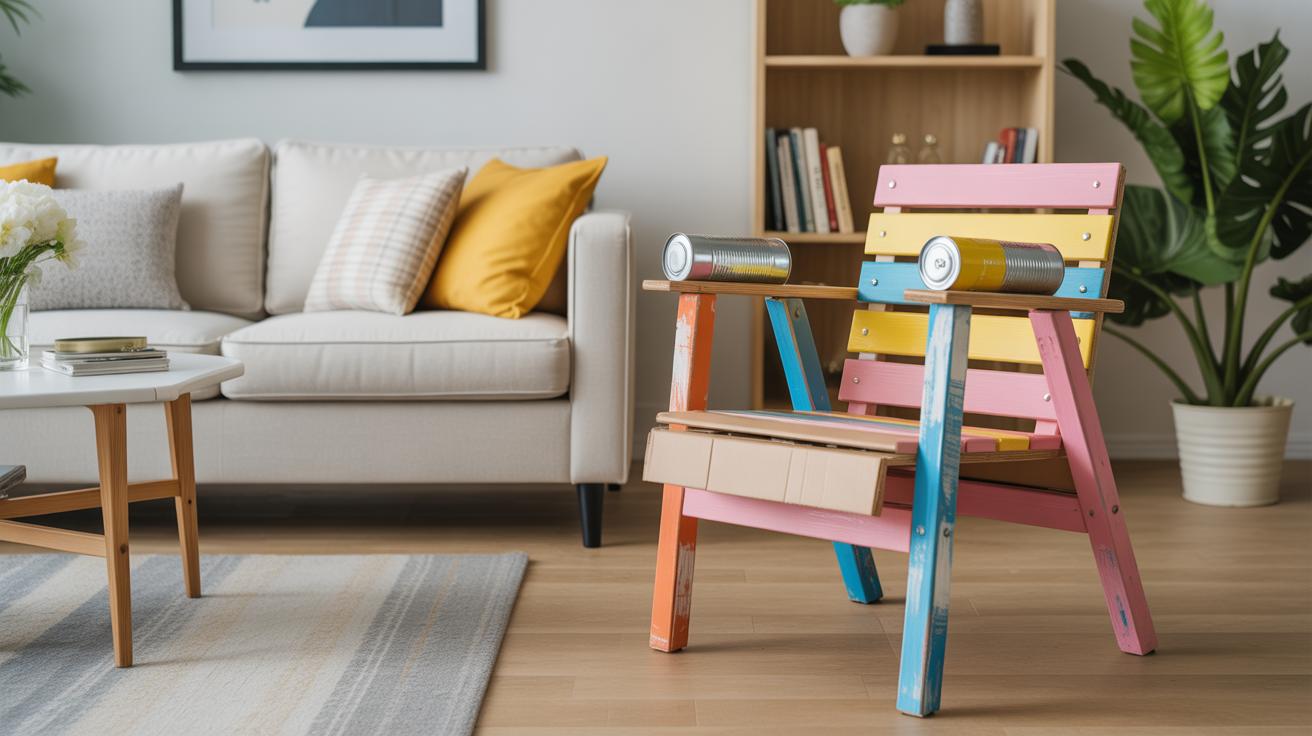
DIY upcycled furniture transformations combine creativity with sustainability. By giving new life to old furniture, you reduce waste and create unique home decor. This approach saves resources and helps protect the environment while adding style and personality to your space.
In this article, you will explore practical methods to upcycle furniture. You will learn key techniques to refurbish, paint, and repurpose pieces effectively. Understanding these steps will empower you to transform your home sustainably using items you already own or find easily.
Understanding Upcycled Furniture
What Is Upcycling
Upcycled furniture means taking old or discarded pieces and giving them a whole new purpose or look without breaking them down into raw materials. It’s different from recycling, where items get melted or shredded and remade into something new. With upcycling, you keep the furniture intact and build upon it—maybe add a fresh coat of paint, swap knobs, or reimagine its function entirely.
It’s a bit like solving a puzzle or seeing hidden potential. You don’t just make something usable again; you infuse it with personality and character. This approach asks you to be creative, to look past flaws and imagine what the piece could become. Sometimes the result surprises even the person doing the work.
Why Choose Upcycled Furniture
Upcycling tackles waste by keeping furniture out of landfills. Instead of buying new, you extend the life of what’s already there. Environmentally, it saves resources and avoids the energy cost of manufacturing from scratch.
On a personal level, upcycled furniture tends to be unique. No two pieces will ever be exactly the same. This individuality adds a layer of meaning to your home’s decor—you’re not just filling space, you’re telling a story. Plus, it feels rewarding to create something both practical and stylish with your own hands. It’s kind of like making peace between sustainability and aesthetics, without compromising either.
Tools And Materials Needed For Upcycling
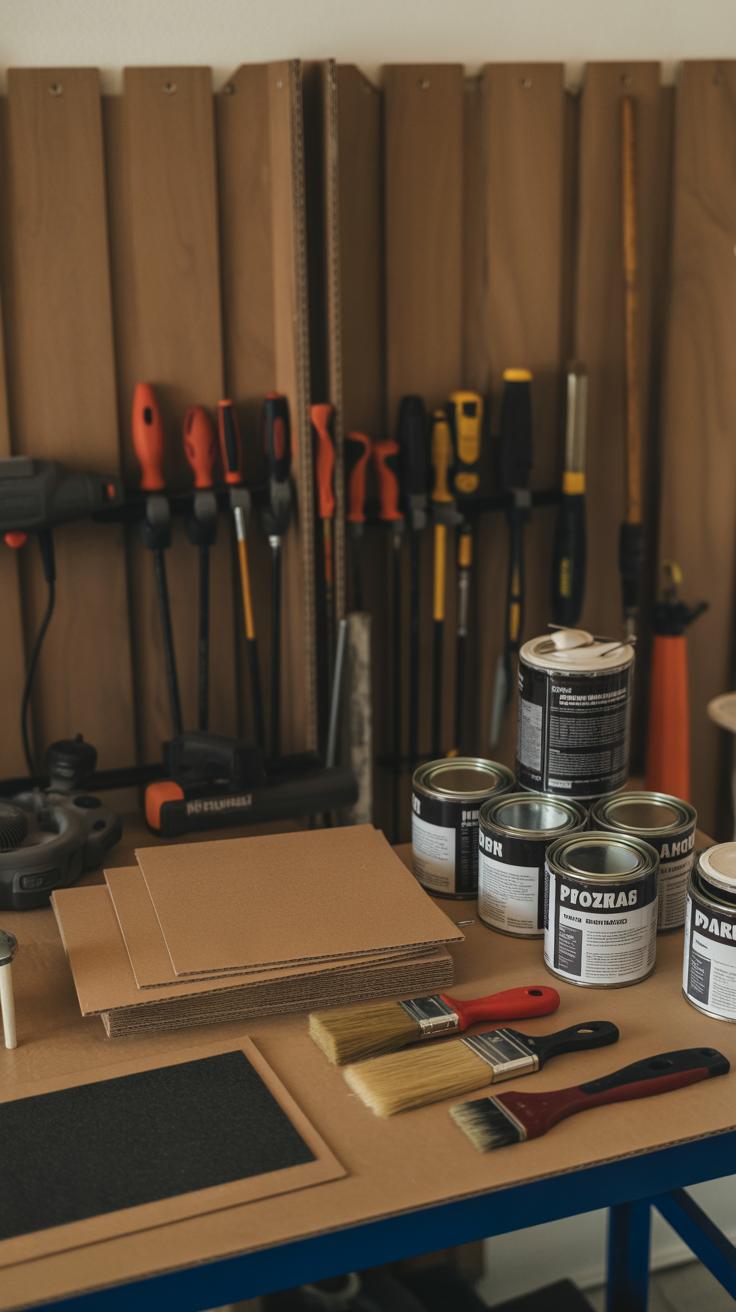
Starting your upcycling project doesn’t require a big investment or fancy equipment. Some basic tools will get you going—these are easy to find and pretty forgiving for beginners. Think of sandpaper, different grades if you can, to smooth out surfaces and prep them for paint. Paintbrushes come next, and it helps to have a few sizes: a small one for details and a wider one for larger surfaces.
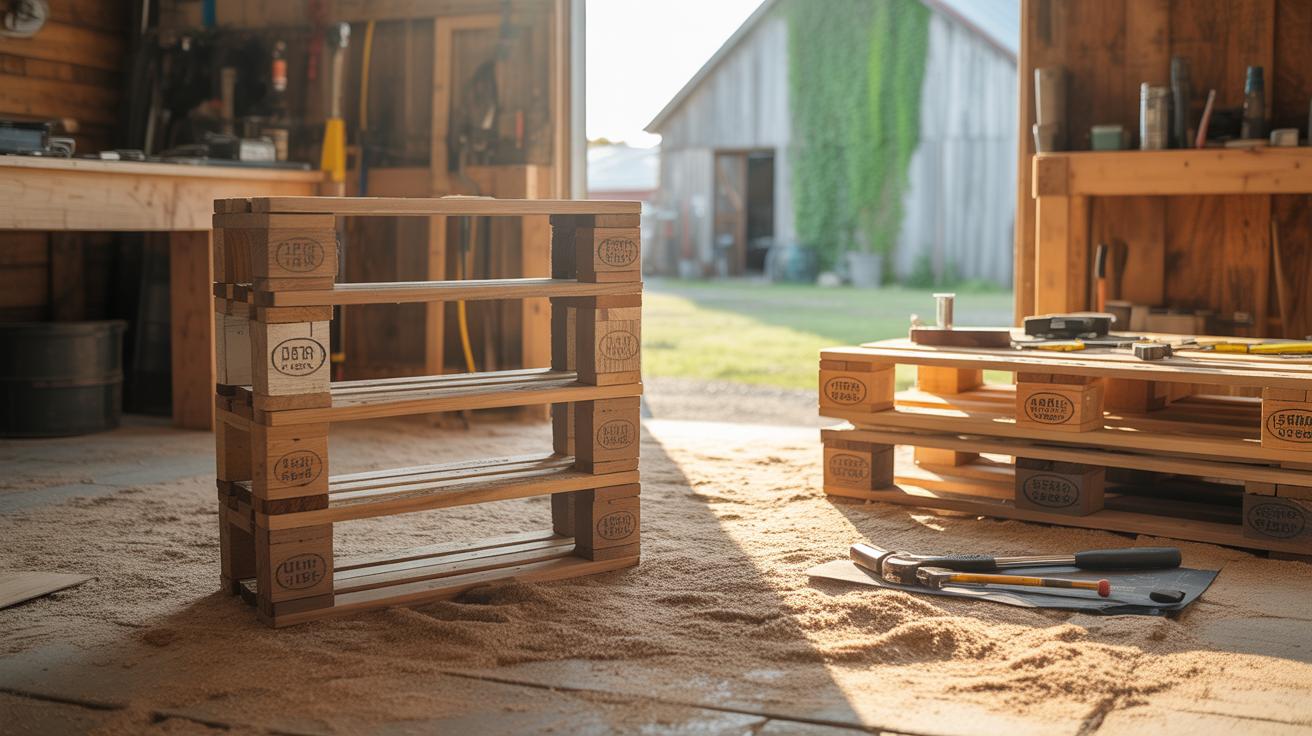
Screwdrivers of various types help with removing or tightening hardware. Clamps are useful too, to hold pieces steady while glue or paint dries, although you can sometimes make do without if you’re careful. Don’t overlook a small hammer or a putty knife for minor repairs or scraping off old finishes. These essentials cover most common tasks, and you probably have some on hand already.
When it comes to materials, choosing eco-friendly options can feel a bit confusing, but it’s not impossible. Look for water-based paints and finishes—they usually have fewer harmful chemicals, less odor, and are better for indoor air quality. Natural oil finishes or waxes work well to protect wood without locking in toxic stuff. For adhesives, PVA glues that are non-toxic fit many upcycling jobs. Try to avoid strong solvents or heavy chemical strippers. They work, sure, but they aren’t great for your project’s green credentials.
It might seem like sustainable supplies limit your choices, but that’s not always true. Some plant-based paints come in nice colors, and natural finishes age well. The right materials can even add character to your piece, which you might appreciate more than a perfect showroom shine. Have you tried mixing natural wax with a bit of paint? It can create an interesting matte look—worth a shot if you want something different.
Preparing Furniture For Upcycling
Inspecting And Cleaning
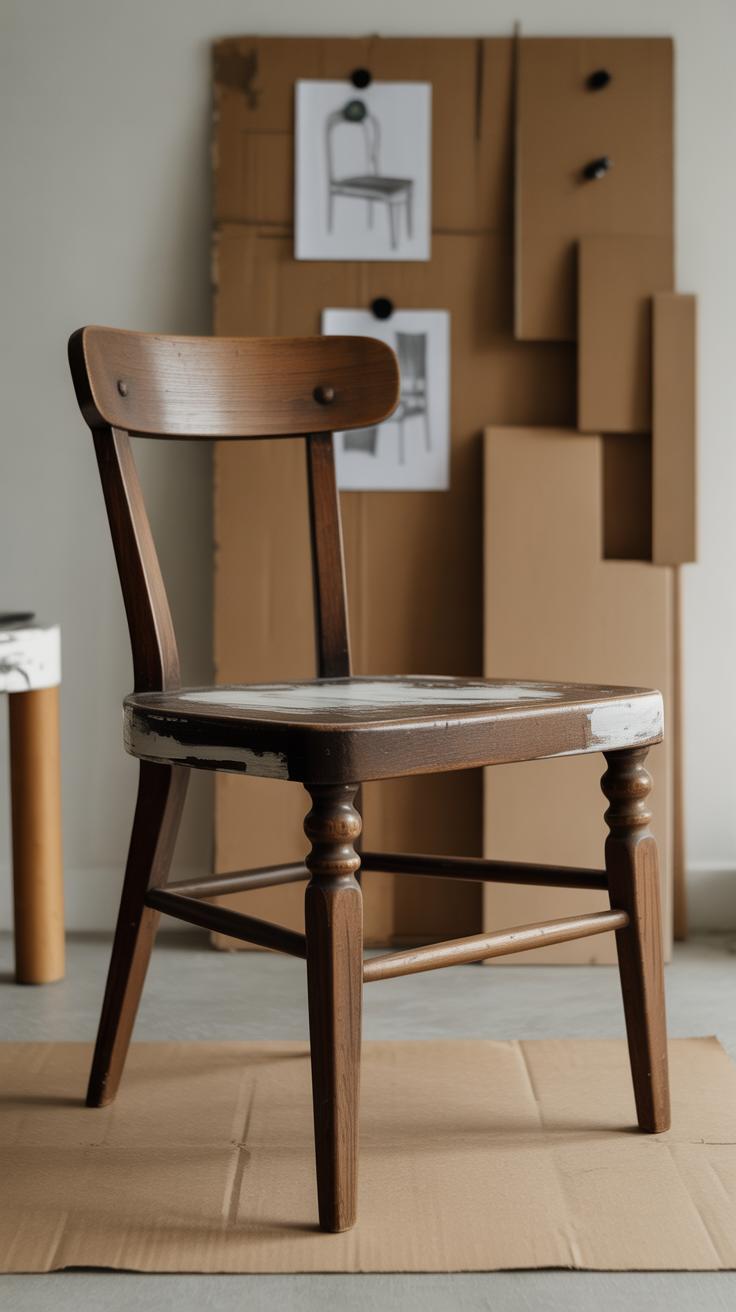
Before diving into any upcycling project, it pays off to take a good, hard look at the piece you want to transform. Check the wood or material for signs of rot, warping, or any serious damage. Sometimes, what looks like a minor scratch could hide deeper issues. Try to figure out how sturdy the furniture really is—wobbly legs or loose joints might need extra attention later.
Next comes cleaning, which is often more involved than it sounds. Dirt, grease, or stubborn old finishes can block paint or stain from sticking well. I usually start with a mild detergent and warm water. Wiping down with a cloth might work fine, but don’t be shy about using something stronger, like mineral spirits, if there’s old wax or polish. Just test first on a hidden spot—you don’t want to damage the wood more than it already is.
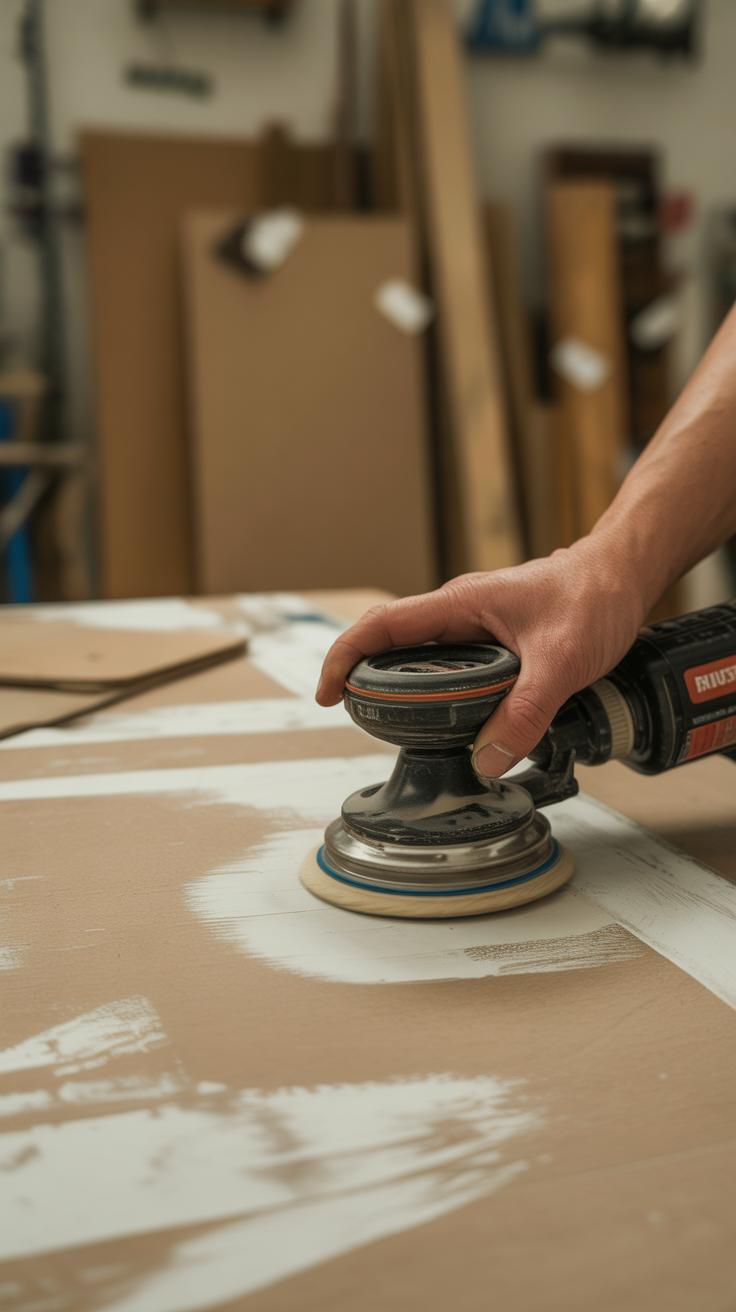
Sanding And Repairing
Sanding is, honestly, where you start to feel like the piece is becoming yours. It roughens the surface so paint and finishes have something to cling to. For large areas, a power sander saves time, but hand sanding lets you get into nooks and corners without gouging the wood. Start with coarse grit if there’s paint to remove, then move to finer grits to smooth everything out.
Repairs can be a bit tricky. Cracks or chips are common, and you’ll want to fill those with wood filler or putty, but don’t expect perfection. Sometimes you just have to accept tiny flaws—they add character, maybe. If hardware is broken or missing, decide if you want to replace or reuse it. Fixing joints with wood glue and clamps often brings back stability.
Once you clean, sand, and fix the basics, you’ll have a solid foundation for whatever style you’re imagining. Skipping these steps risks a finish that peels or chips quickly, so trust me—it’s worth the extra effort upfront. What’s the point of a fresh coat if the surface underneath is a mess?
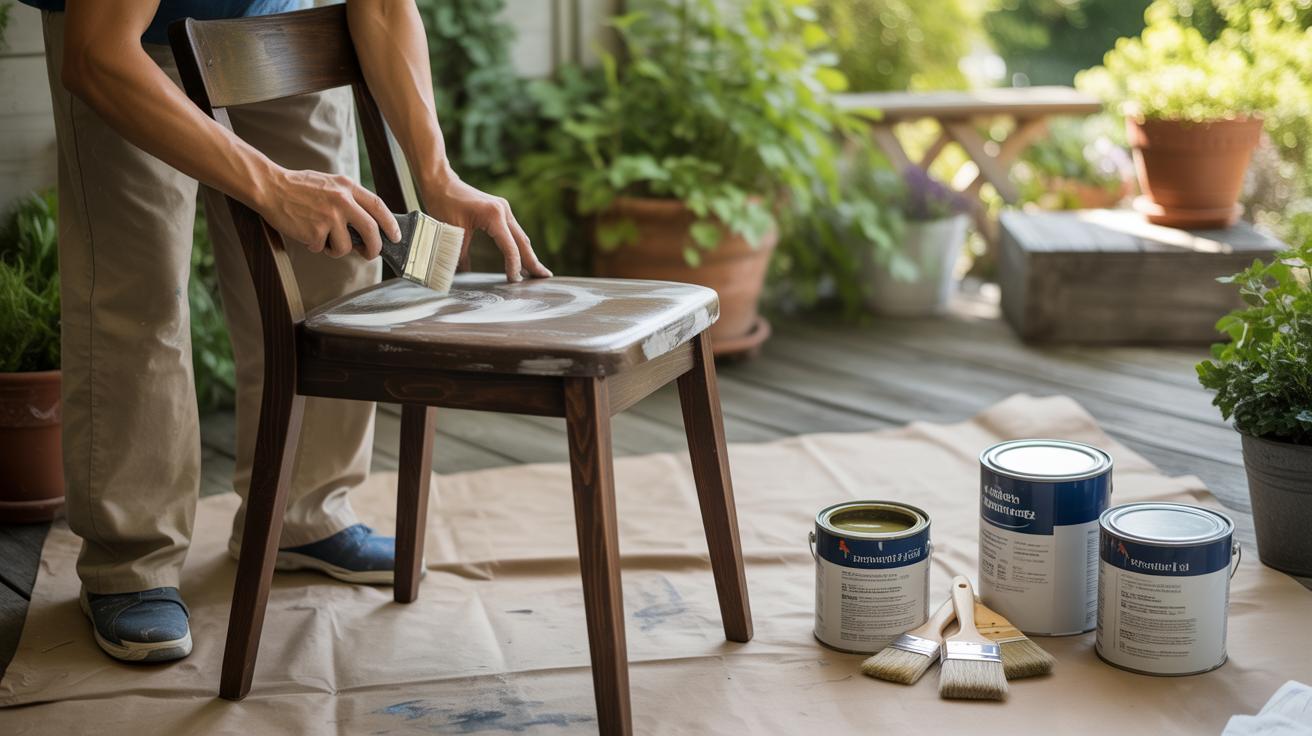
Painting And Finishing Techniques
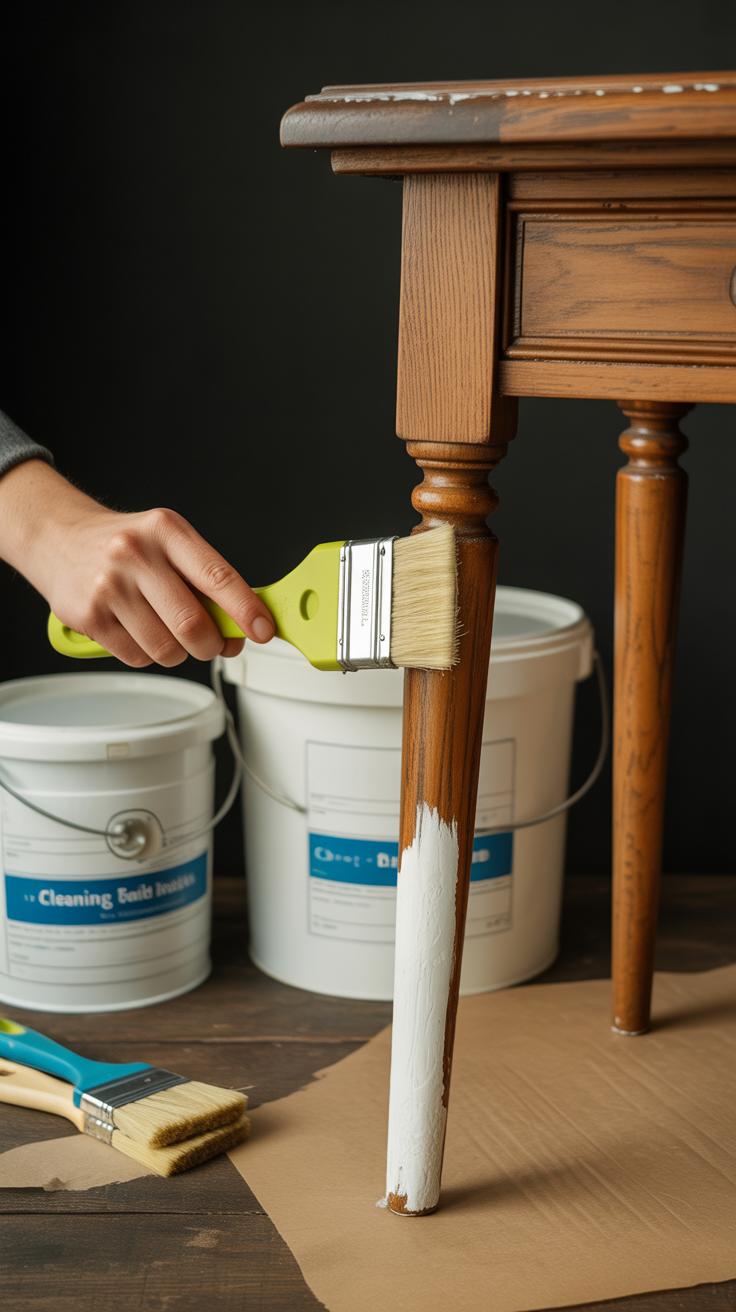
Choosing the right paint can feel a bit tricky, especially when your old piece has uneven surfaces or distinct textures. Typically, you’ll want to weigh two main options: latex or acrylic paints, which dry fast and offer flexibility, or oil-based paints that give a smoother finish but take longer to cure. For wood, chalk paint has grown popular because it adheres without much prep and creates a matte, vintage look. But then again, if you’re aiming for something sleek and shiny, a semi-gloss latex might be better.
Think about the piece’s use and style before picking paint. A kitchen chair, for example, needs tougher, washable finishes. A decorative side table might hold up well with something less durable but with more character.
Finishing your paint job is what really seals the deal, both visually and for protection. Applying a clear varnish or polyurethane can prevent scratches and moisture damage, especially on surfaces that get heavy use. Wax is another option, often used with chalk paint. It enhances texture and gives a soft sheen but requires more upkeep—re-waxing now and then.
Sealants come in satin, matte, or gloss finishes. Satin tends to hide imperfections, while gloss highlights every bump and brush stroke, so choose according to if you want the flaws to stand out or disappear.
One thing I learned—sometimes less is more. Over-layering finishes can cause bubbling or peeling later. So, patience counts here. Testing your chosen paint and sealant on a small part before tackling the whole piece might save you trouble later. What finish really holds up over time? That question might have many answers. You’ll probably find your own favorite as you go.
Creative Design Ideas For Upcycled Furniture

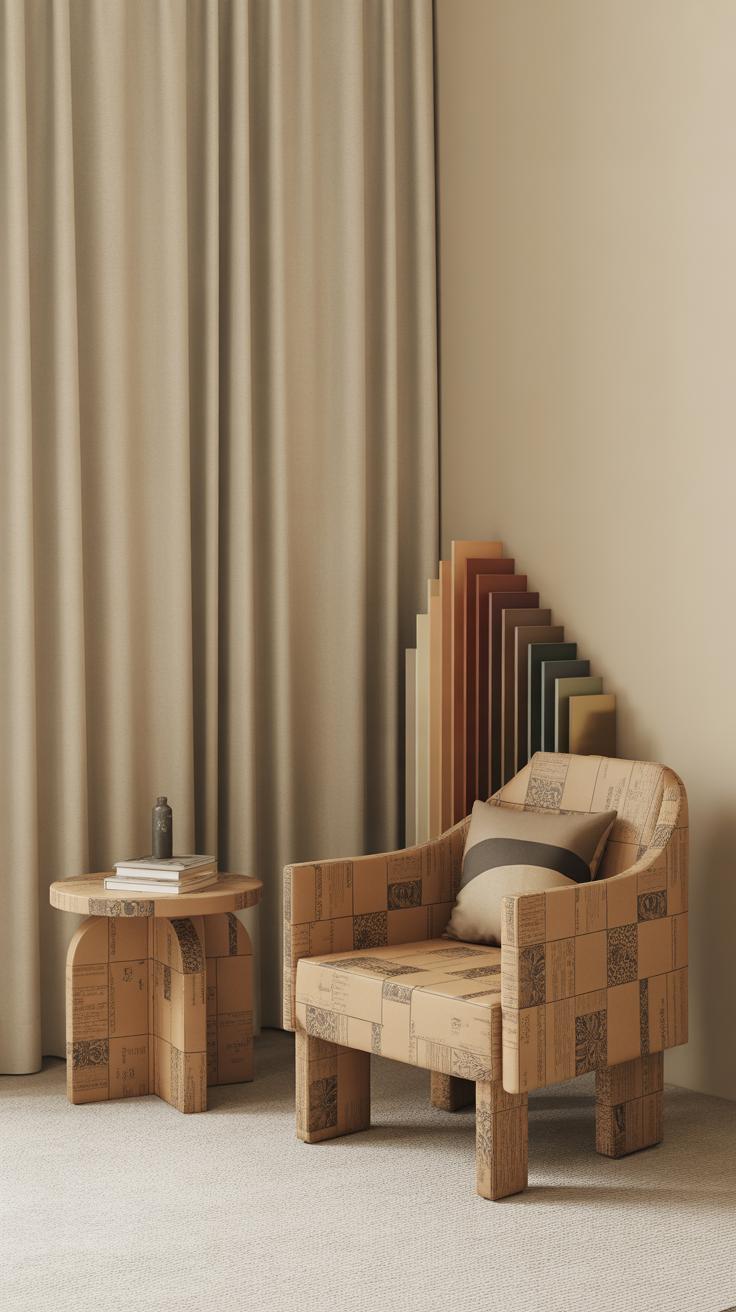
You might find that upcycling furniture doesn’t have to be just about restoring—there’s a whole world of ways to make each piece uniquely yours. One approach I often come back to is decoupage. It’s simple but impactful. Imagine layering vintage book pages, botanical prints, or even fabric scraps onto your tabletop or drawers. The results feel very personalized, and you get to tell a story through the motifs you pick.
Stenciling is another method that invites character. You could create patterns that reflect your taste, from geometric shapes to delicate florals. I tried stenciling a dresser with a repeating leaf motif once—at first, it seemed a bit repetitive but, strangely, that uniformity became its charm. Don’t shy away from experimenting with colors, maybe even metallic paints for a bit of shine.
Mixed media art takes things further. You might combine paint with unexpected textures—think fabric panels, metal accents, or even Celtic knots carved and painted onto the surface. It allows more freedom and a less polished look, which can feel really authentic.
Adding Artistic Elements
Personalizing is where the furniture truly comes alive. Techniques like hand-painting small details or adding textured mediums let you inject your personality. You could carve initials, doodle freehand patterns, or use wax and stain to enhance imperfections rather than hide them. These choices make pieces uniquely yours and encourage you to view furniture as canvases instead of just objects.
Sometimes, I’ve found even simple additions like swapping knobs for handmade ceramic ones or attaching fabric panels on drawer fronts turn a bland chest into a statement piece. The key might be embracing the quirks instead of masking them.
Repurposing Furniture Functions
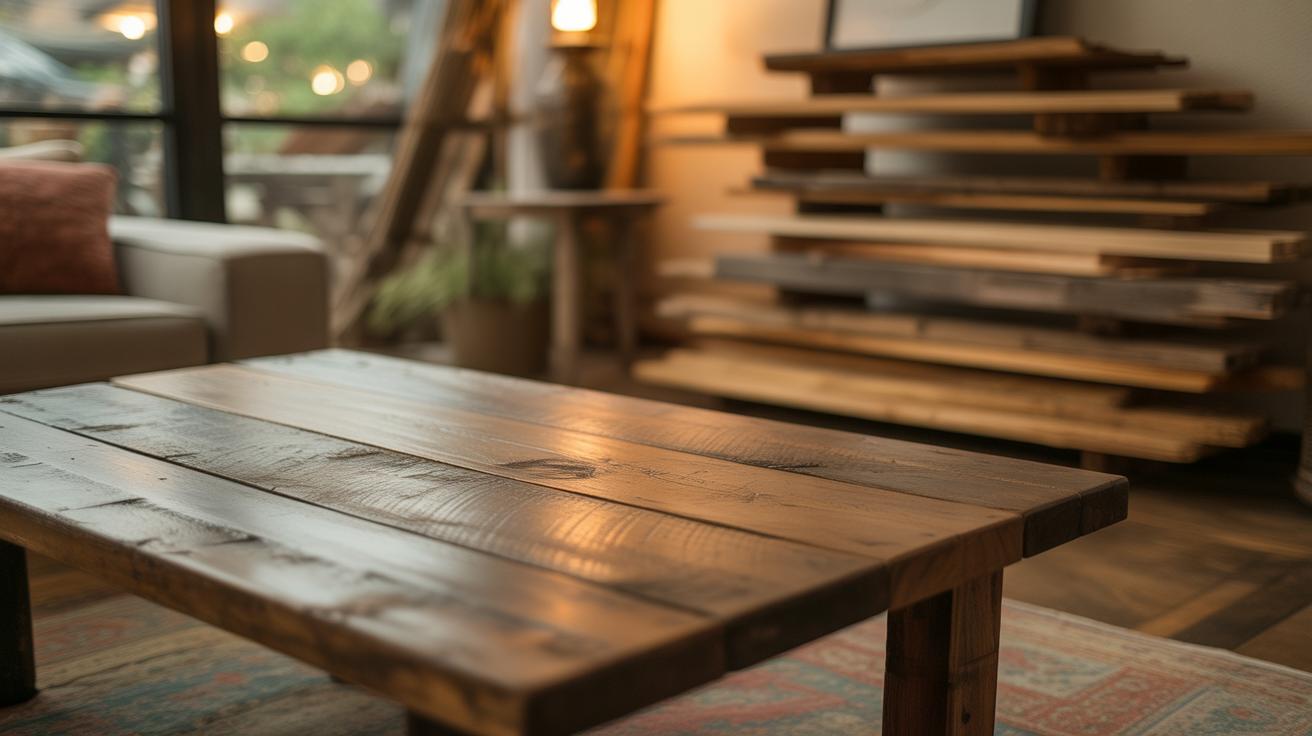
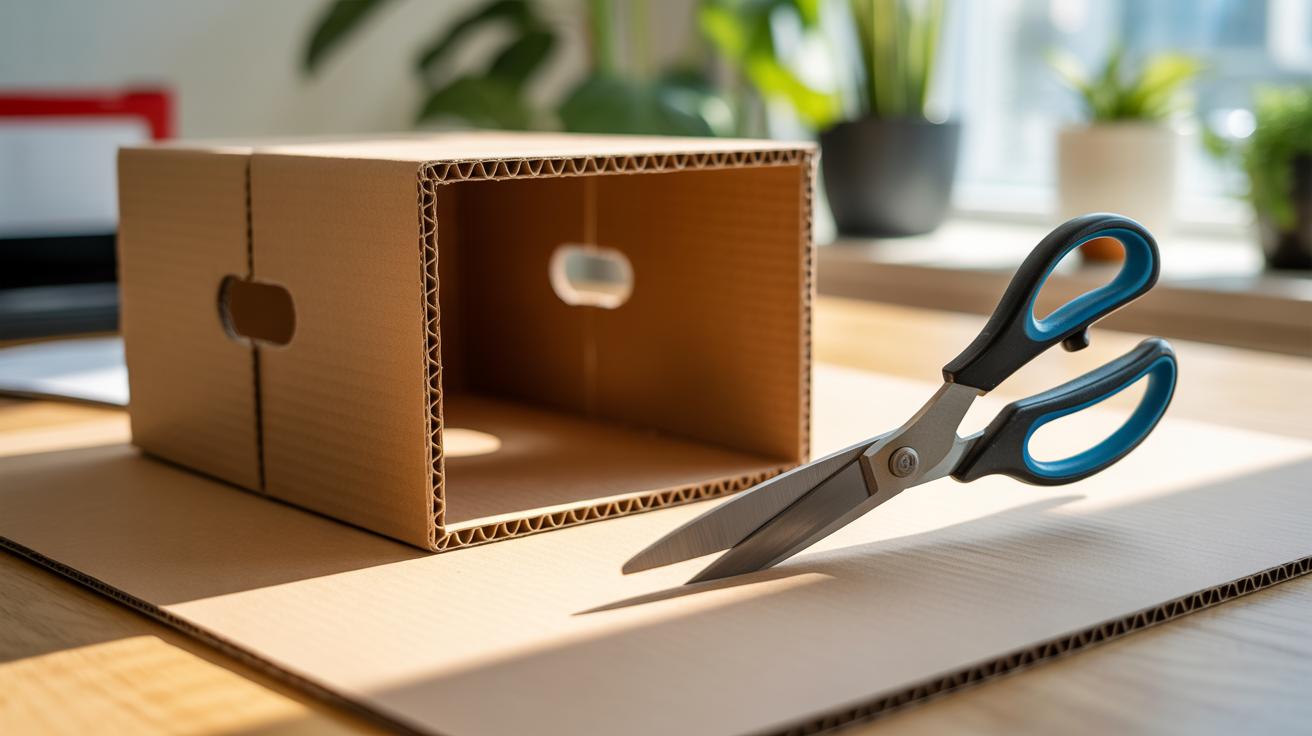
Reimagining how furniture functions can be surprisingly rewarding. For example, an old wooden ladder could serve as a bookshelf or plant stand. An outdated dresser drawer might become wall-mounted storage or a pet bed. You might turn a worn-out door into a coffee table or even a headboard.
What about turning a small desk into a vanity by adding a mirror and better lighting? Or transforming a bench into a bookshelf by adding vertical dividers? These changes encourage thinking beyond traditional uses and offer practical solutions for limited spaces.
Have you ever tried repurposing but felt unsure about the jump in function? Sometimes it helps to imagine what you need most in your space and then see if a forgotten piece could fill that gap. I find those ‘happy accidents’ often make the best upcycled projects.
Choosing The Right Furniture To Upcycle
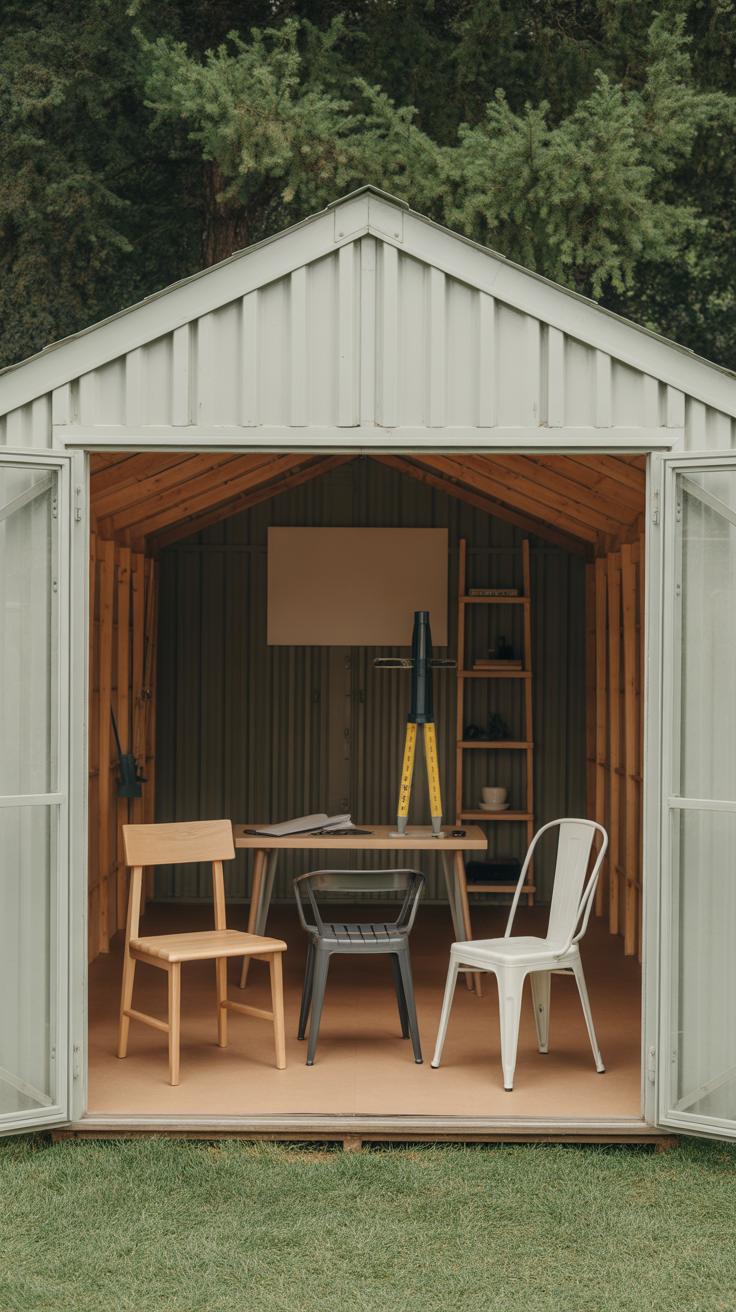
Picking the right piece to upcycle can feel a bit like a treasure hunt. You’re looking for furniture that isn’t perfect but shows promise. The condition matters—you want something solid enough to work with, but not so pristine that it feels like a waste to alter. For example, a chair with a sturdy frame but worn upholstery can be a great candidate. You might hesitate to choose something too damaged, but sometimes minor fixes do wonders.
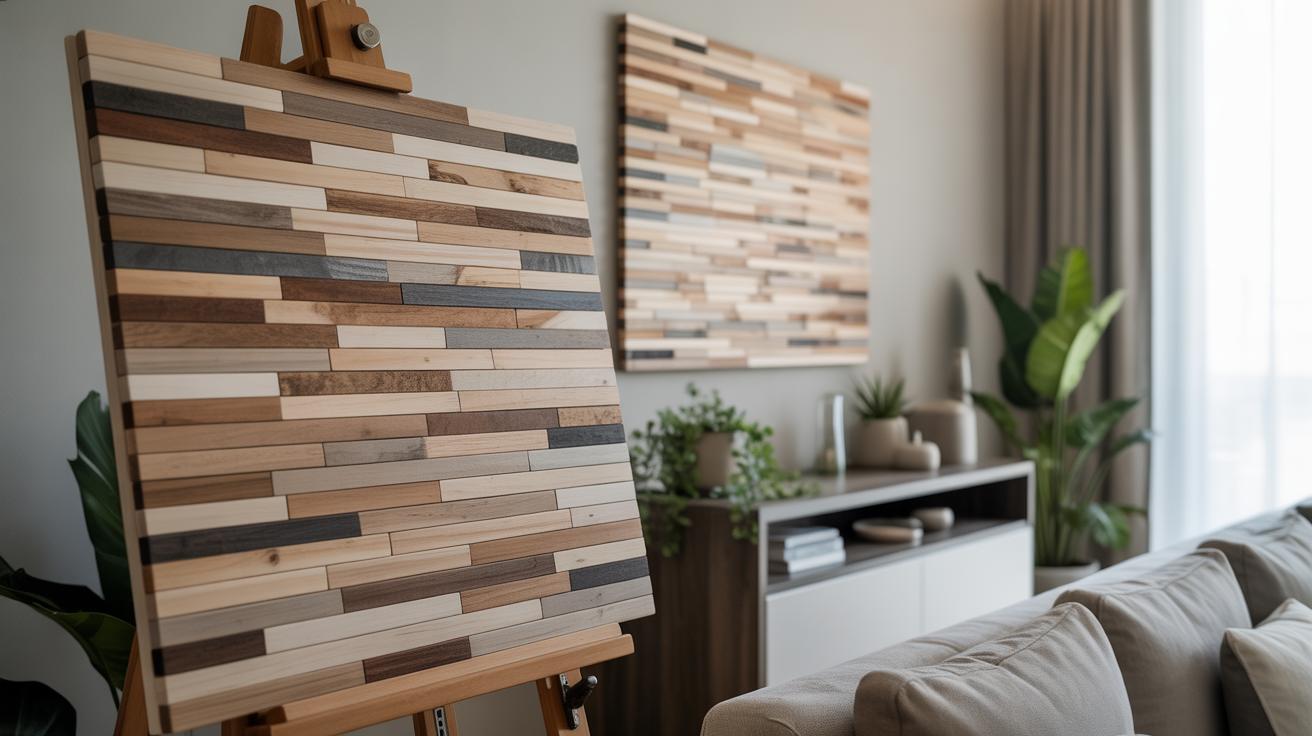
Material plays a big role too. Wood is a favorite because it’s easier to refinish, repaint, or sand down. Particleboard or laminated surfaces can be tricky; they don’t always hold paint well or might peel apart. Metal and wicker can work, but each demands its own techniques. Style matters less than you might think. Sometimes a dated design turns into something fresh with a bit of creativity—yet, if the style feels completely off for your space, it might be a tougher sell.
Types Of Furniture Suitable For Upcycling
Some pieces naturally lend themselves to upcycling. Here are a few that often work:
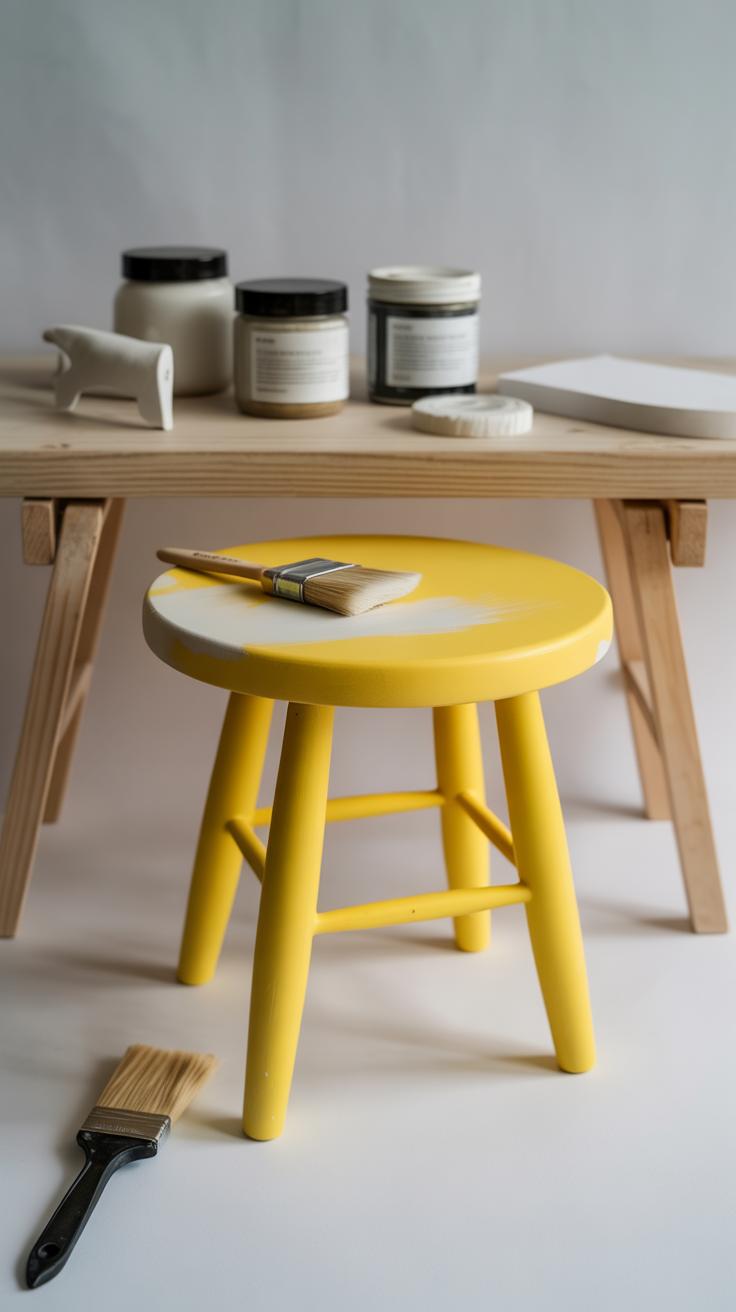
- Wooden chairs and stools—simple shapes, strong frames, often easy to repaint or reupholster.
- Dressers and cabinets—plenty of surface area for paint or decoupage projects.
- Tables—especially smaller ones like side tables or coffee tables.
- Bookshelves and open shelving units—versatile and functional, great for adding color or texture.
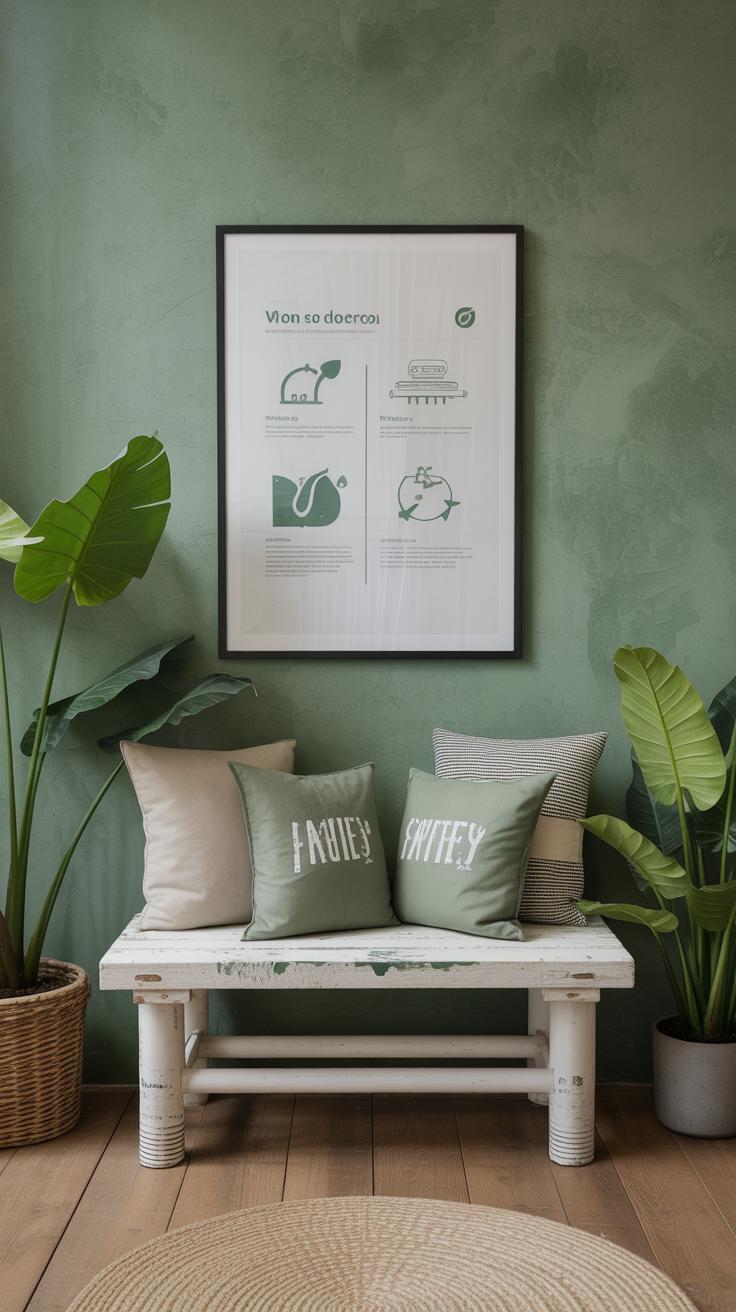
- Benches—usually solid and can get stylish cushions or new paint.
These tend to have straightforward construction, making them more approachable. Don’t shy away from mixing styles or combining pieces into something new, either.
What To Avoid
Some things might look tempting but often cause headaches. Furniture in really bad shape—think broken frames, extensive water damage, or lots of rot—is usually a drain on time and patience. Veneer peeling off badly or particleboard that’s swollen from moisture might be more work than it’s worth. Pieces with intricate upholstery that’s shredded or contains outdated padding can become projects that drag on.
Also, furniture with unusual or fragile materials might limit your creativity. For instance, certain plastics won’t take paint well, or metal pieces that rust extensively can require special treatment. Sometimes, skipping these saves frustration and lets you focus your energy where it counts.
What do you think? Is there a piece you’ve eyed but weren’t sure if it was worth the effort? Choosing well can make all the difference.
Sustainability Benefits Of Upcycled Furniture
Upcycling furniture plays a meaningful role in reducing the environmental footprint of our homes. When you take an old chair or dresser and breathe new life into it, you’re keeping it out of the landfill where it might have ended up, contributing to mounting waste that many places struggle to handle.
Think about it: furniture pieces can take years to decompose, and often they’re treated with chemicals that don’t break down easily. By upcycling, you interrupt that cycle of disposal. So, every time you decide to rework rather than replace, you’re cutting down on waste piling up in landfills. It might not seem like much when viewed from a single chair, but multiply that by thousands, and the impact feels clearer.
Reducing Waste
The link between upcycling and waste reduction goes beyond simple reuse. It means fewer items tossed away and less industrial waste created from new production. Old furniture, often made from solid wood or durable materials, isn’t just discarded in some cases because it’s broken or worn—it’s often passed over because people want something trendy or new.
When you choose to upcycle, you’re challenging that mindset, and every project chips away at the volume of unwanted items filling dumps. For example, refinishing a scratched tabletop or repainting a tired dresser door gives the item a fresh purpose. This hands-on approach means fewer raw materials are needed elsewhere, which leads us to saving resources.
Saving Resources
Natural resources—like trees, water, and energy—are what new furniture manufacturing depends on. Building something new requires logging, processing, transporting, and assembling materials, each step adding to environmental costs. Upcycled furniture, by contrast, bypasses most of that.
Imagine repairing the legs of an old chair instead of getting a new one made from freshly cut wood. It’s not just about avoiding waste, but also about conserving raw materials and the energy behind their harvesting. Repurposing used wood, metal, or fabric means fewer forests get chopped down and less energy fuels factory machinery. Sure, some materials like paint and varnish still play a role in upcycling, but overall, it’s a lighter footprint.
Have you ever stopped to consider how much goes into making a brand new piece of furniture? Upcycling lets you reduce that demand, even a little, and that can ripple through the system in ways you might not expect.
Troubleshooting Common Upcycling Challenges
Fixing Surface Imperfections
When you start working on old furniture, surface flaws—scratches, dents, or uneven spots—often jump out at you. It’s tricky at first to know what to do. Sanding is usually your go-to, but it’s not always enough, especially when the damage runs deep. Filling dents with wood filler can help, but… be cautious. Overfilling leaves bumps if you rush or don’t sand properly afterward.
Sometimes, imperfections add character, but if you’re aiming for a sleek finish, layering primer before paint can mask minor flaws well. Alternatively, textured paint or stain can hide unevenness better than you might expect. I’ve found that combining sanding with filler and then multiple thin coats of paint usually does the trick for me.
Be patient. Rushing this step leads to frustration. Ask yourself: can a flaw be embraced as part of the piece, or does it need to be corrected for the style you want? That might shape your approach.
Ensuring Durability
Making sure your finished piece lasts through everyday use feels like a hurdle, especially if you’re new to furniture restoration. Here’s the thing: surface beauty won’t mean much if the structure is weak or the finish peels off soon after. Tighten joints first—loose legs or wobbly backs often undermine longevity. Glue and clamps are your allies here, but sometimes replacing screws or nails is necessary.
Choosing the right finish also plays a part. I’ve noticed some products that look great initially don’t hold up well. For surfaces that get heavy use, polyurethane or hard wax oils work better than just paint or regular varnish. Make sure to give each coat enough dry time. This patience usually helps avoid peeling or chipping.
Also, think about where your piece will live. A bedside table sees different wear than a kitchen chair. Matching durability to use is part of a successful upcycle. What’s your furniture’s intended role? Sometimes the best finish is one that fits the life it will lead.
Inspiring Examples And Resources
Upcycled Furniture Success Stories
Some people take an old dresser and turn it into a charming bookshelf. For instance, I came across a project where someone stripped a worn-out dining table down to bare wood, then painted geometric shapes on the legs and top. The result wasn’t perfect—paint edges were a bit rough—but it still felt fresh and personal. It made me think about how imperfection can add character rather than detract from style.
Another story involves a ratty armchair revived with new cushions and reclaimed fabric. The person admitted to struggling with upholstery but ended up with a piece that now anchors their reading nook. Sometimes the hardest projects yield the most satisfying results, even if you don’t have all the skills at first.
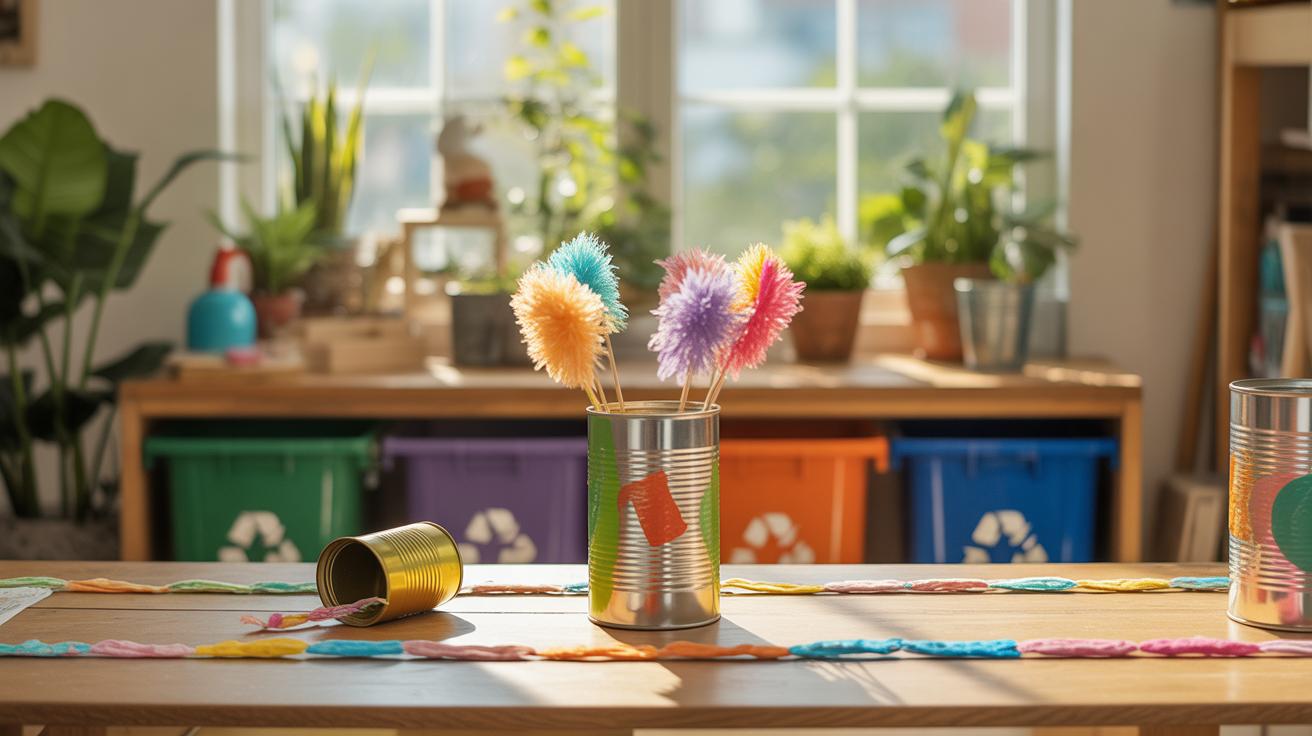
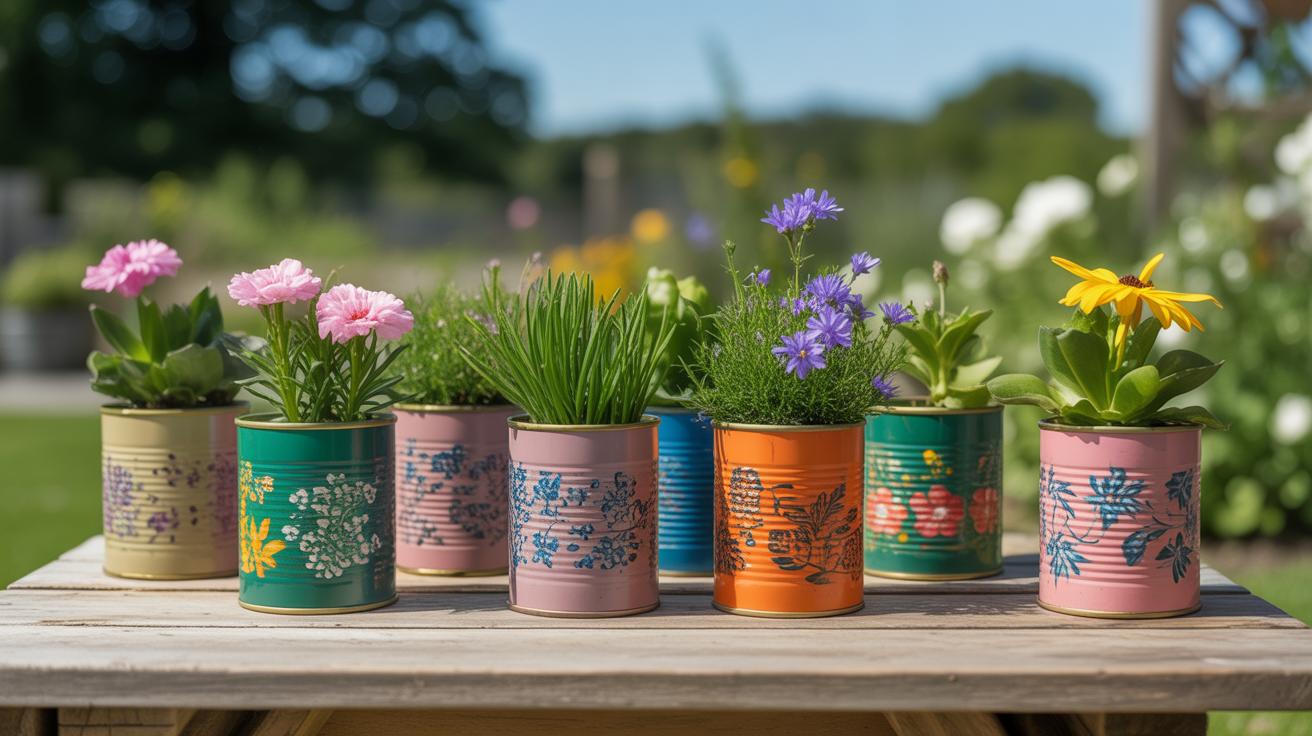
There’s also a case where a simple wooden crate became stackable storage. The owner shared before-and-after photos online, showing how minimal effort plus a splash of paint turned junk into something useful and appealing. You don’t always need fancy tools or techniques; creativity can be surprisingly straightforward.
Where To Learn More
If you want to dive deeper, plenty of resources can help you. The website “Apartment Therapy” frequently shares upcycling tutorials and ideas. It’s a good place for beginners who want to see steps laid out clearly.
Books like “Upcycling Furniture” by Amanda Brown offer project ideas and tips that walk you through common techniques. I’ve found flipping through pages can spark ideas more than browsing online sometimes.
Local community groups or workshops can also be great. For example, some cities host maker spaces where you can borrow tools and get advice from others. Joining such groups can be motivating—sharing success stories face-to-face makes the process less intimidating.
What kind of project would you try first? Sometimes looking at others’ work helps you figure out what speaks to your style and skill level. And even if resources seem overwhelming, starting small is often the best way forward.
Conclusions
Upcycling furniture offers a rewarding way to refresh your home sustainably. You save money and reduce waste by transforming items rather than buying new ones. The skills and creativity involved can make your space truly personal and environmentally friendly.
By applying simple techniques and seeing potential in old pieces, you can create decor that reflects your style and values. This approach supports a greener lifestyle and adds charm to your living areas. Begin your upcycling journey and enjoy the benefits of sustainable decor.


