
Introduction
Upcycling means turning old or unwanted items into something new and useful. It helps reduce trash and keeps good materials from being wasted. You can change old things into beautiful crafts that make your home look special and reflect your style.
This article explores different ways to create upcycled crafts. It will guide you through simple projects you can do yourself. We will also talk about how upcycling helps the environment and saves money while making your home one of a kind.
Understanding Upcycling and Its Benefits
Difference Between Upcycling and Recycling
You might have heard about both upcycling and recycling, but they really are quite different ideas. Recycling usually means breaking down materials like plastic, paper, or metal to make new raw materials. The process often downgrades the quality to some extent—think of recycled paper that’s rougher than fresh paper. Downcycling fits in this category, where the material loses quality each time it’s recycled.
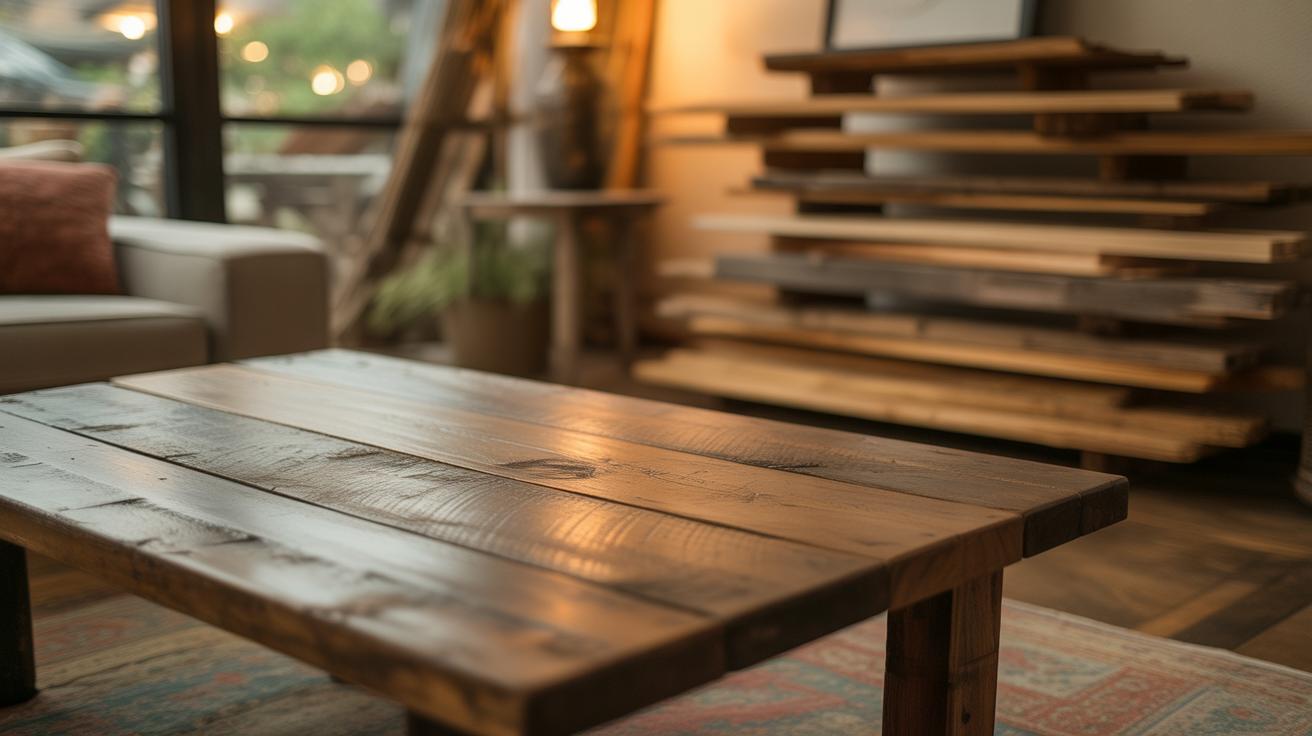
Upcycling takes a different route. It involves turning old items into something new and often more valuable or unique without breaking them down completely. Instead of shredding or melting things, you repurpose or redesign them. The result is often higher in value or at least has more character, like turning a worn wooden pallet into a rustic coffee table or converting old jeans into a trendy handbag.
This difference means the end product’s quality and value can actually increase. Recycling tends to focus on material recovery, but upcycling prioritizes creativity and usability. It’s maybe a bit less about industry and more about making individual pieces that tell a story.
Environmental Benefits of Upcycling
When I first started upcycling, I was surprised how much it felt like a small step that could actually do some good. It reduces waste by giving items a new purpose rather than letting them end up in landfills. That alone helps ease the pressure on waste management systems.
Energy savings come in too. Since upcycling doesn’t require breaking down materials chemically or heating and reforming them, it uses less energy compared to traditional recycling processes. Think about how melting down glass or metal demands high temperatures.
Plus, by repurposing items, we indirectly protect natural resources. Using fewer raw materials means fewer trees cut down, less mining, and lower water consumption. It isn’t a perfect solution, but it nudges us closer to a more sustainable lifestyle by encouraging us to see potential in things we might have tossed out. Do you ever wonder where your discarded items could’ve gone instead?
Choosing Materials for Your Upcycled Crafts
Finding and Selecting Good Materials
When you start hunting for materials, you’ll quickly notice that not everything is worth the effort. Some things just won’t work for your project, or they’ll take more time to fix than they’re worth. I’ve learned that a bit of patience goes a long way; whether you’re rummaging through your attic or browsing thrift store shelves, look for items with potential rather than perfection.
Try to find materials that are sturdy enough to hold up in your home but don’t be scared of a little wear and tear—it can add character, or be easily improved with paint or sanding. If the item has sentimental value or real uniqueness, that sometimes makes up for flaws. Keep your project in mind: soft fabrics may not do well for structural crafts, but they’re great for accents or cushions. Think about the material’s texture, weight, and durability before locking in your choice.
Common Items to Upcycle
There’s a surprisingly long list of typical household stuff you can give a second life with just a bit of creativity:
- Glass jars and bottles—turn them into vases or storage containers.
- Old picture frames—perfect for creating new photo displays or decorative mirrors.
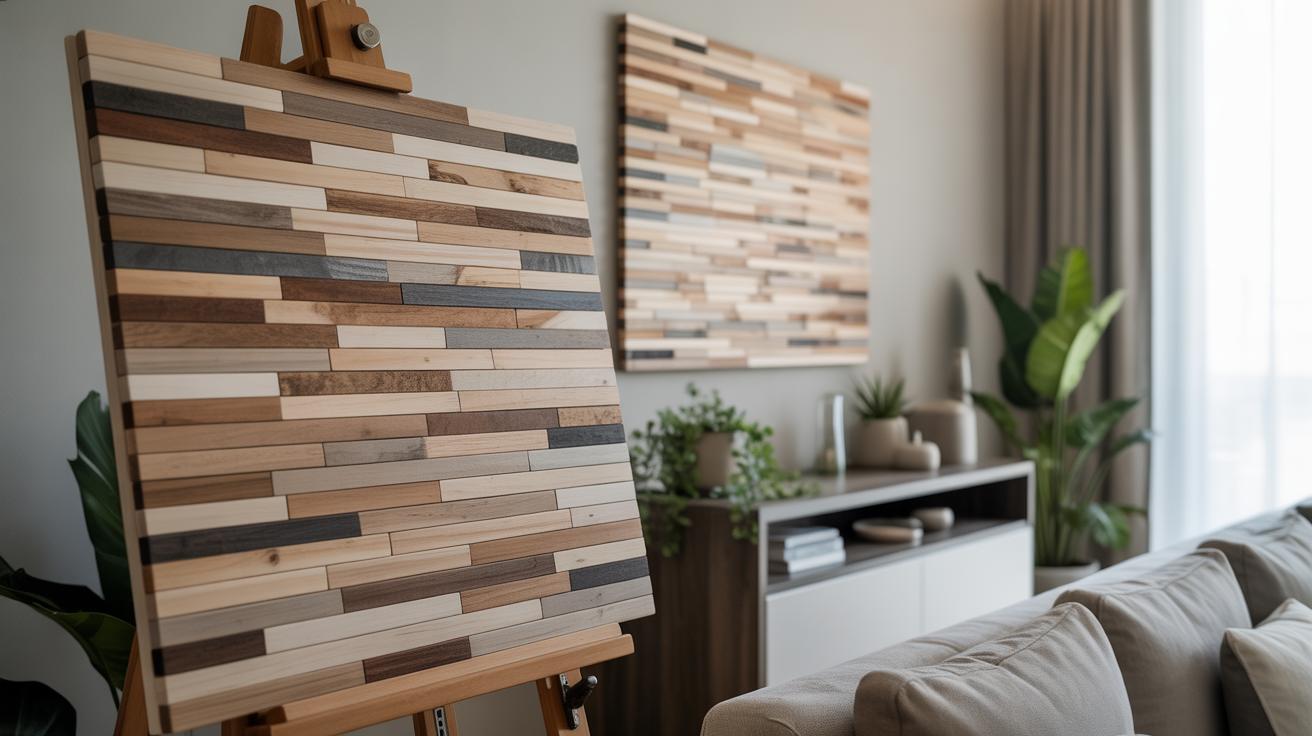
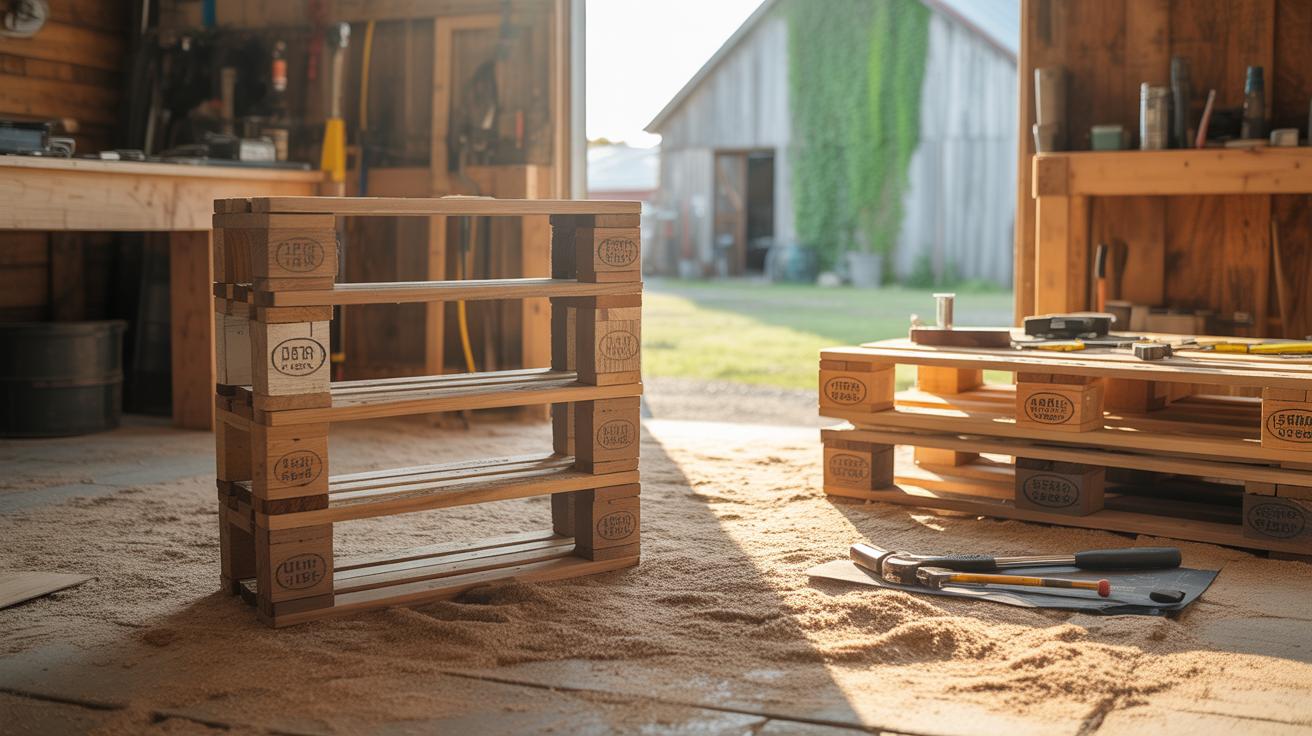
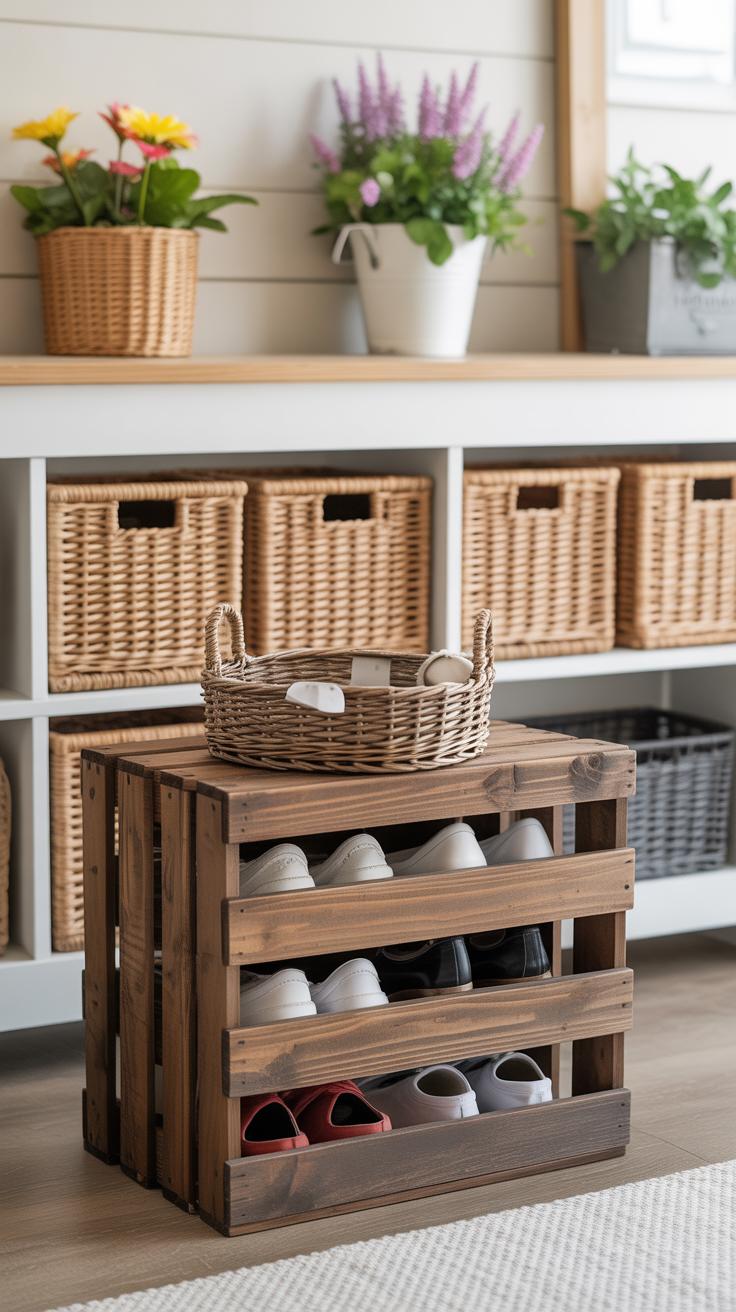
- Wooden crates or pallets—they can be fashioned into shelves, tables, or wall art.
- Fabric scraps and worn clothing—great for making pillows, rugs, or braided baskets.
- Broken plates or mugs, which can become mosaic tiles or garden decorations.
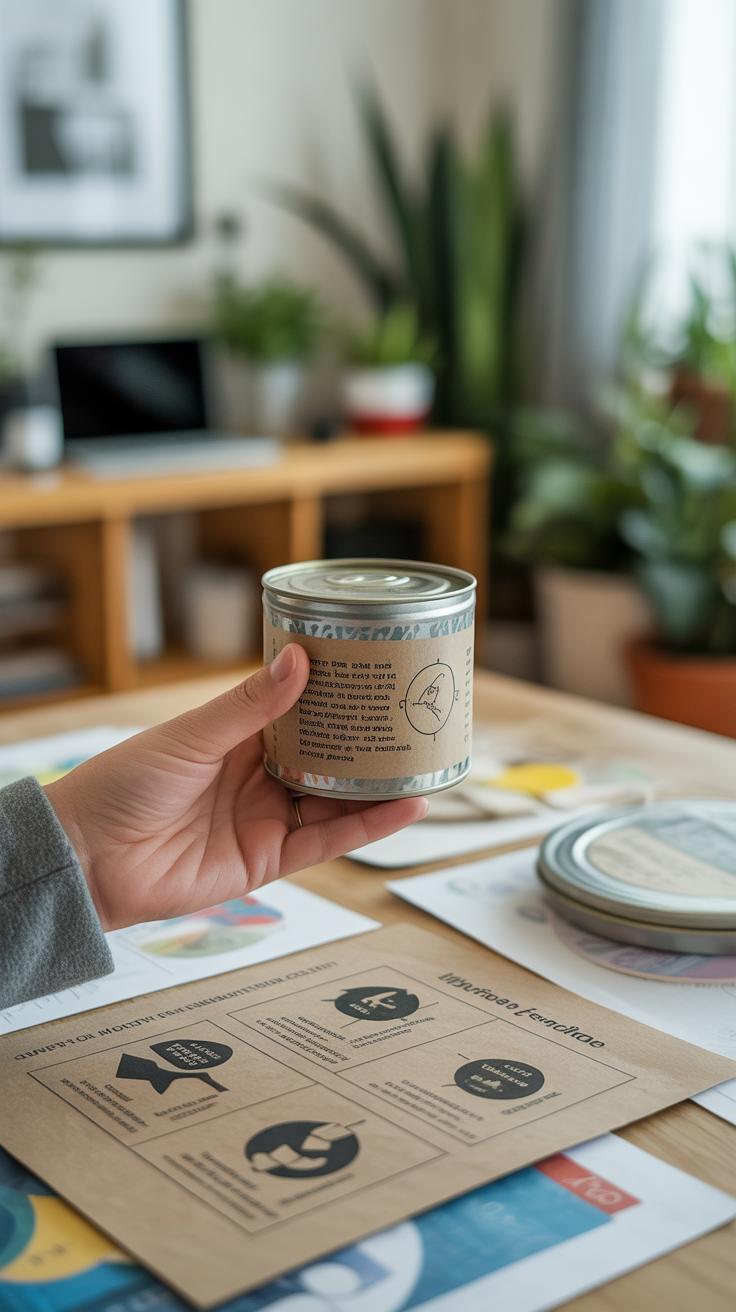
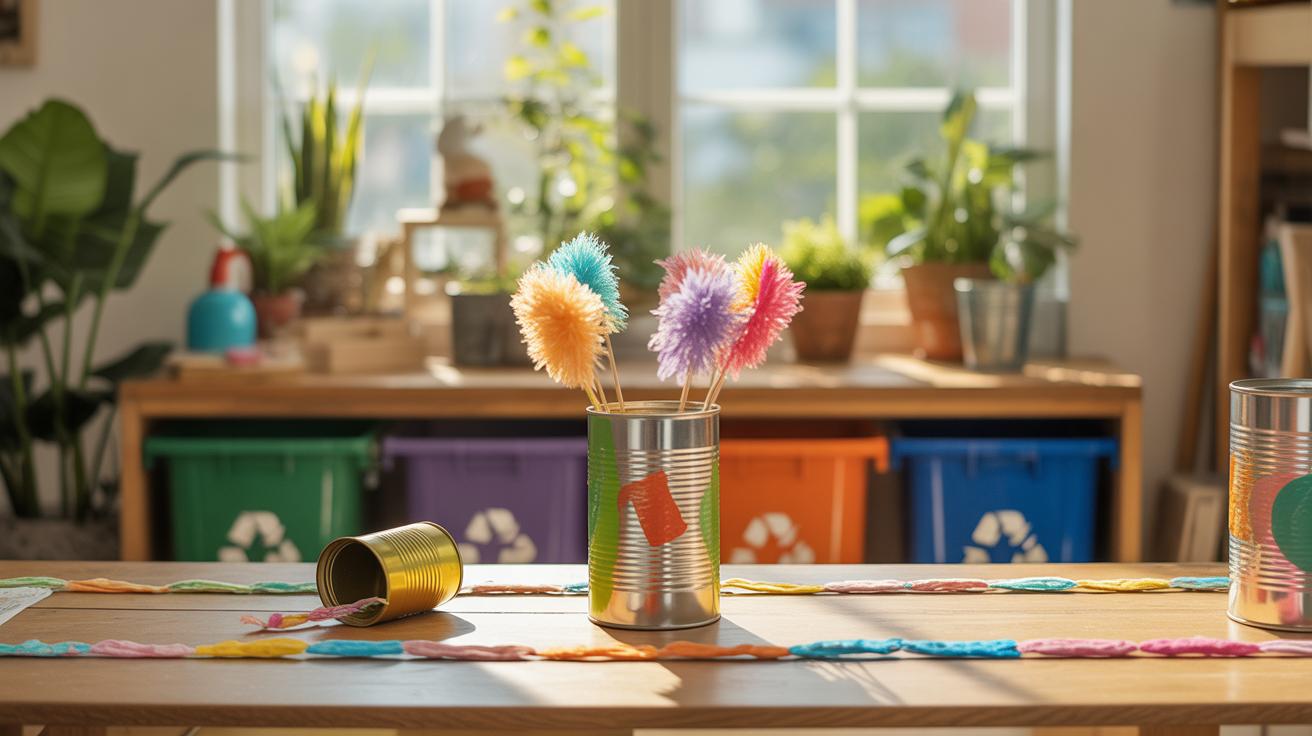
- Metal tins or cans—ideal for planters or candle holders.
Some items may surprise you, like using old doors as headboards or transforming unused ladders into bookshelves. Don’t limit yourself too early; sometimes the best projects come from unexpected finds.
Safety and Preparation Tips
Before you jump in, remember that safety can’t be an afterthought. Cleaning your materials well is usually the first step. Dust, grime, or sticky residues can interfere with paint adhesion or glue, plus, you don’t want to bring dirt into your living space. A simple wipe-down with warm water and mild soap works on most items, though metal pieces might benefit from a little vinegar soak to remove rust.
If an item has sharp edges or splinters, take the time to sand or file it down carefully. Gloves and eye protection—especially when sanding or cutting—are more than just suggestions. Sometimes, you might need to tighten loose parts or re-glue joints before you even decorate, which can feel tedious, but skipping that may cause issues later. A little preparation can save a lot of frustration.
When in doubt, test a small spot with your planned paint, glue, or finish to avoid surprises. The right prep sets you up for a smoother, more enjoyable crafting experience, even if not every step feels essential at first glance.
Simple Upcycled Home Decor Projects
Turning old jars into flower vases is easier than you might think. Just grab some empty glass jars—maybe from pasta sauce or jam—and think about what you want them to look like. A bit of paint can completely change their vibe. You could use spray paint for a smooth, even look or simply dab on acrylic paints for a more textured feel. Sometimes I wrap jars in twine or fabric scraps; that adds a bit of warmth and softness without much effort. It’s a small project, but these vases can brighten up a room in unexpected ways.
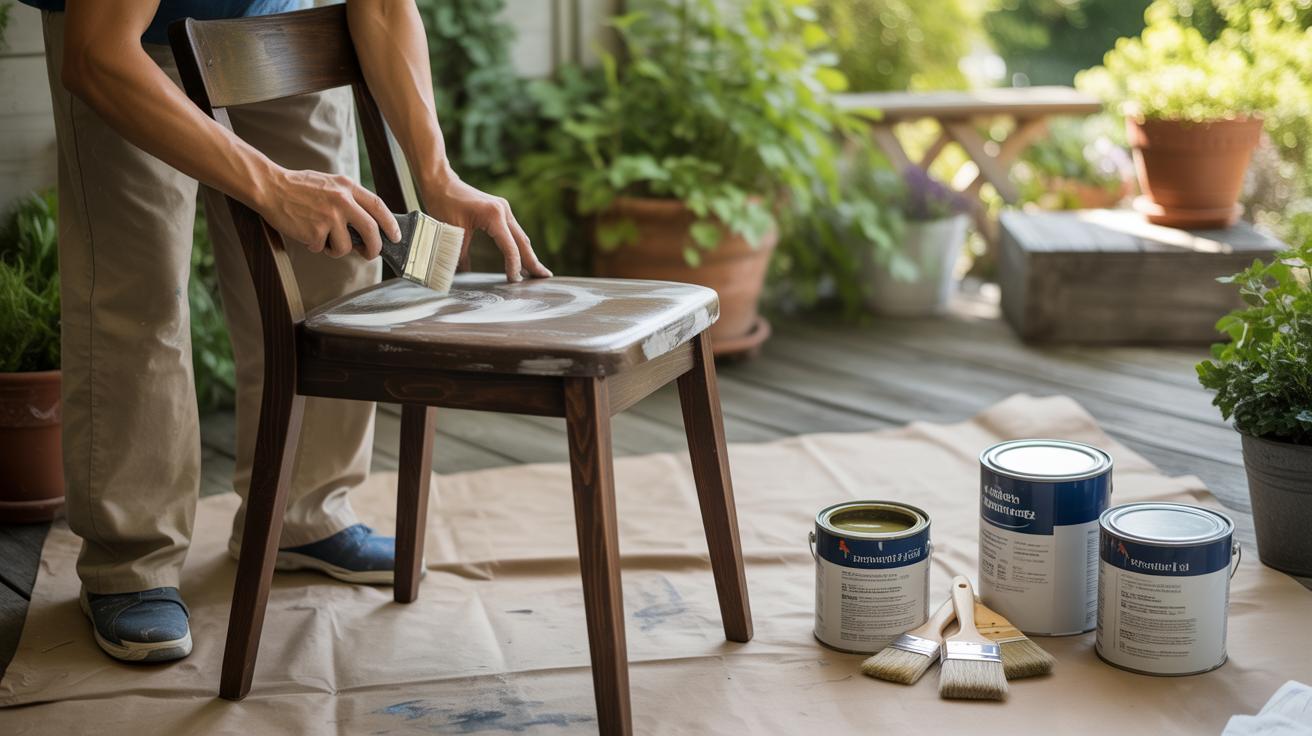
Furniture makeovers don’t have to be complicated, either. An old chair or small table can get a fresh feel with paint alone. You don’t need special skills—just sand down rough spots, choose your color, and go for it. Chalk paint is great for this because it sticks well without much prep. I once revived a tired wooden chair with a bold turquoise paint, and although it wasn’t perfect, it suddenly felt like a new piece in my living space. Sometimes a single coat is enough; sometimes a few layers work better. It depends on how worn the original is and what look you prefer.
Creating Storage Solutions from Upcycled Items
Boxes and Baskets from Boxes and Fabric
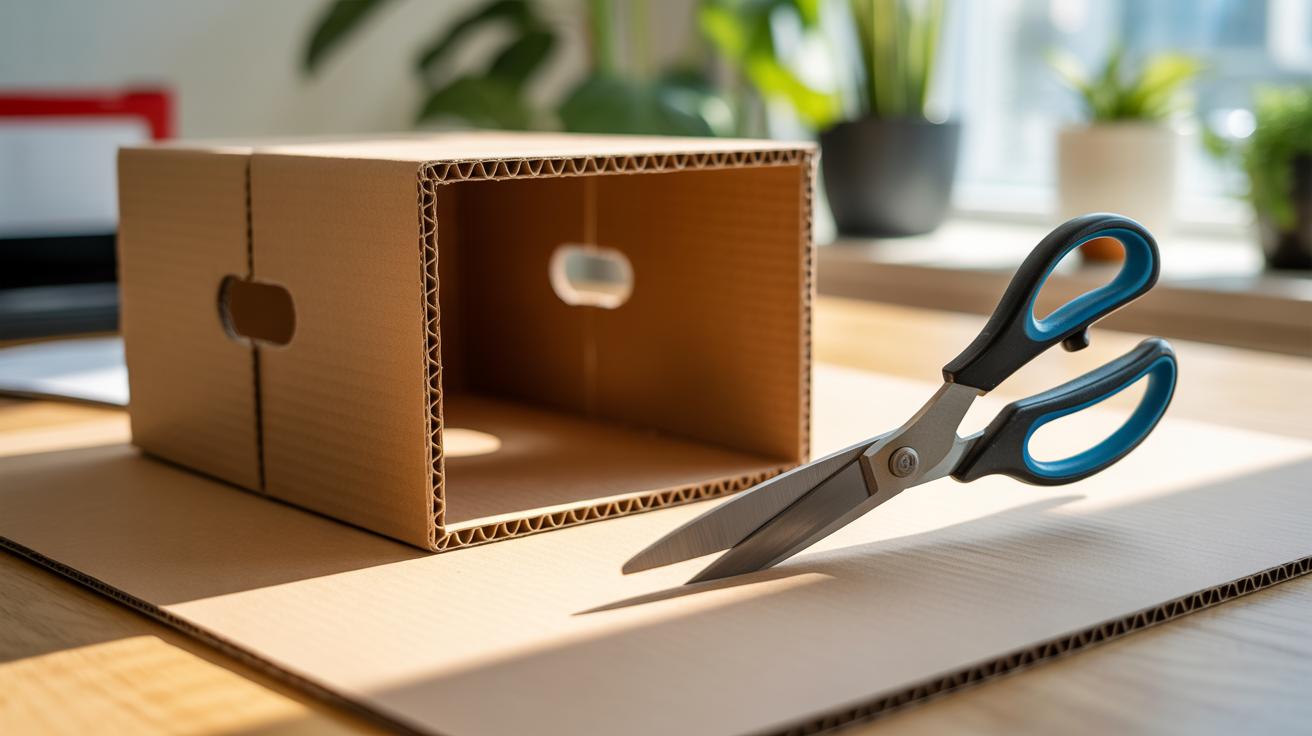
If you have some old cardboard boxes lying around, don’t toss them just yet. You can turn them into neat storage containers with just a bit of fabric or decorative paper. Start by choosing a box that fits the size you need. Cut the fabric or paper slightly larger than the box sides to wrap around it smoothly.
Use glue or double-sided tape to attach the fabric, folding the edges neatly inside to avoid fraying. You might have to secure corners carefully to keep everything tight. I once tried covering a box with thin fabric, but it wrinkled easily—thicker fabric or heavier paper works better. Add handles with ribbon or leftover belt strips if you feel creative.
This method is surprisingly flexible—you can match your home’s color palette or mix patterns for a playful effect. Plus, it’s an easy way to refresh old boxes that might otherwise look plain or worn out.
Jar and Tin Organizers
Old jars and tins make surprisingly good organizers, especially for smaller items you tend to lose track of. Think office supplies, craft tools, or even kitchen utensils. Clean the containers well and remove labels if you prefer a cleaner look.

One trick is to group similar jars or tins on a tray or wooden board, which keeps them from sliding around. Try painting or wrapping them with washi tape for a bit of style without much effort. I found using recycled jam jars on my desk cut down on clutter dramatically, and it feels good knowing I gave something a second life.
You can screw some tins to a wooden plank to hang on the wall, saving desk space. Or line jars up inside a drawer to separate smaller bits like buttons or screws. These ideas don’t need fancy tools, just a helping of patience and maybe some creativity in decoration.
Upcycling Textiles and Clothing for Home Use
Old clothes and fabric scraps don’t have to end up as clutter or trash. They can find new life in your home, adding character and warmth without costing a dime. Think of your worn-out shirts or leftover fabric pieces as raw materials for personalized decor that nobody else has.
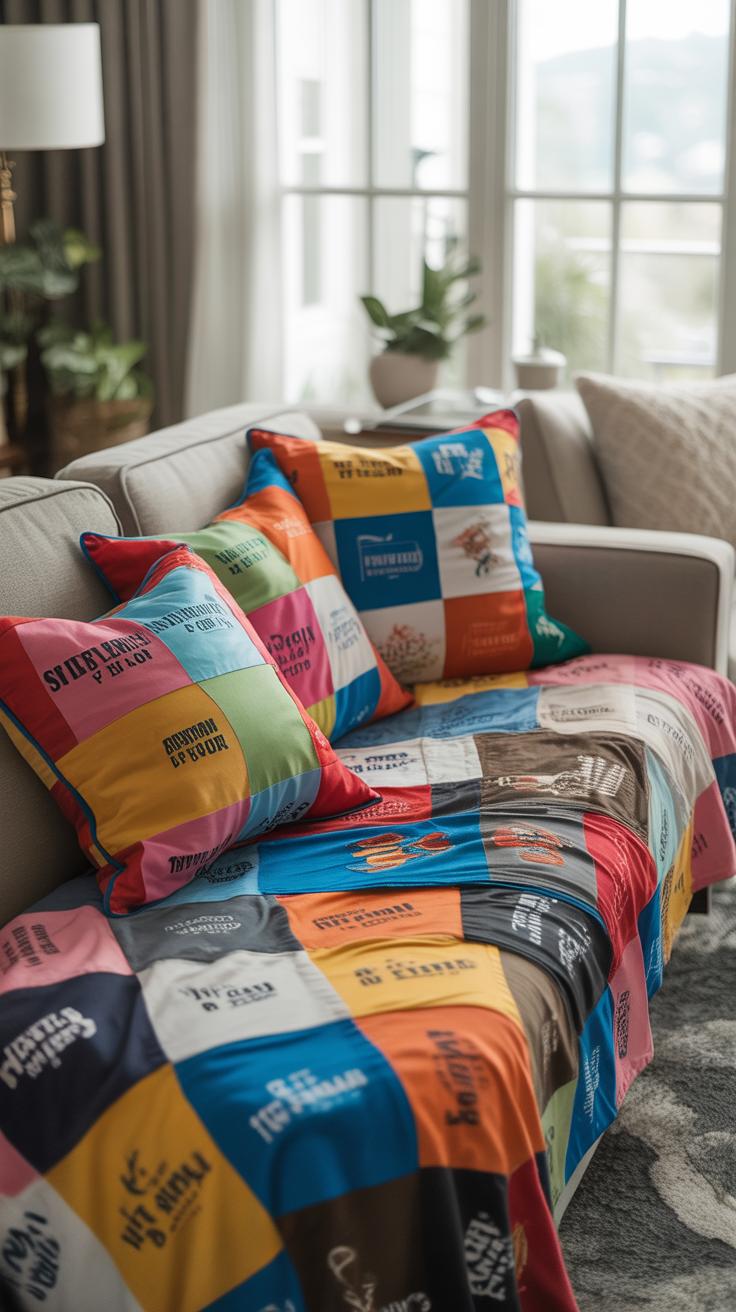
Making Throw Pillows from Old Shirts
Throw pillows are fairly simple projects if you have a sewing machine, but even hand stitching works if you don’t mind taking a bit more time. Start with clean shirts that have interesting patterns or textures. Cut two matching squares or rectangles from the fabric and sew them together with the right sides facing in. Leave a small gap to stuff in pillow filling—old pillows or even scrap fabric work fine here. Then close the gap with neat stitches.
You might hesitate, wondering if the seams will hold or the fabric won’t look neat, but personally, I find the worn or faded prints give the pillow a relaxed, lived-in vibe. A button from an old shirt can add a unique touch, too — sewing it on the front creates a little detail that reminds you where the fabric came from.
Rag Rugs and Wall Hangings
Strips of fabric turn into surprisingly useful pieces like rugs or wall art. Rag rugs require no complex weaving skills—you can tie strips around a circular or rectangular base, like a wire frame or a sturdy rope circle. Even weaving strips through an old wooden frame creates interesting textures that feel a bit raw but homey.
For wall hangings, consider wrapping strips of fabric onto sticks or weaving them loosely through a grid of twine stretched across a frame. It takes patience but the process itself is satisfying. I once tried to make a small wall hanging this way, and though some strips slipped or tangled, the uneven edges became part of the charm. Playing with colors and thicknesses of strips adds dimension without needing any fancy tools.
Have you ever thought about what stories your old clothes might tell if displayed like this? Upcycling this way invites you to appreciate the fabric beyond wear and tear, turning it into something still useful, still beautiful, in a quiet, personal way.
Upcycled Craft Ideas for Kids Rooms
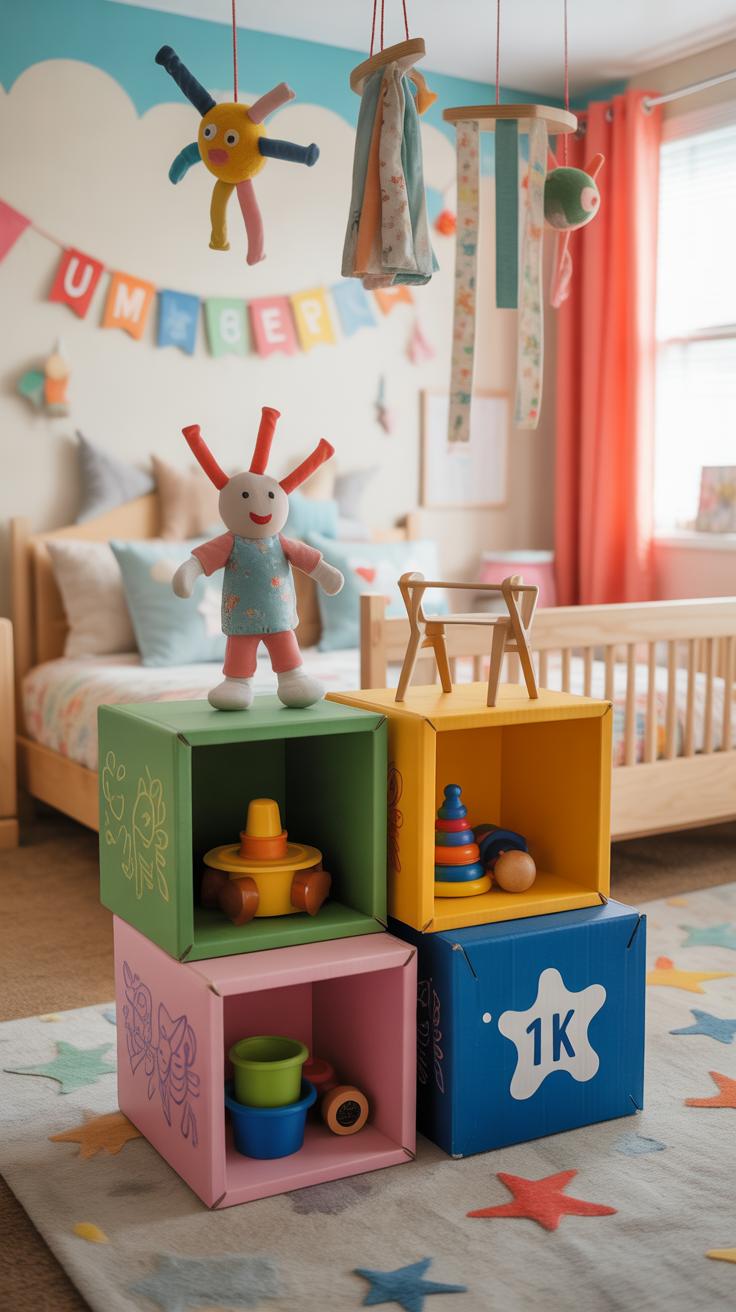
Turning recycled materials into kid-friendly crafts can bring both fun and function to a child’s room. For instance, old cardboard boxes can become colorful toy storage bins with just a bit of paint and creativity. You don’t need fancy supplies—some leftover wrapping paper, markers, or stickers can personalize each bin, making toy cleanup less of a chore. It’s amazing how a simple box transforms when you involve your kids in decorating it. They feel a sense of ownership, and suddenly, tidying up looks more like play.
Another idea is to create wall art using scraps of paper from magazines, old books, or leftover craft paper. Cutting out shapes, letters, or even tiny collage bits can result in vibrant, unique decorations that add personality to a room. Sometimes, I’ve found that overlapping different textures or colors creates something unexpectedly appealing, even if it feels random at first.
These projects also prompt a question: how much value does a child put on handmade things in their room? You might be surprised—these pieces often become favorites precisely because they’re different from store-bought items. And while the creations aren’t perfect, that imperfection feels genuine and fitting for a child’s space.
- Paint and decorate cardboard boxes to use as toy bins or cubbies
- Create collages, letters, or shapes from old magazines or books for wall art
- Encourage kids to personalize projects for added interest and ownership
- Mix textures and colors for unique, one-of-a-kind decorations
- Consider how these crafts teach both creativity and environmental respect
Decorative Lighting with Upcycled Materials

Using recycled jars, bottles, and metal pieces for lighting adds a personal touch to your home’s atmosphere. There’s something quietly satisfying about turning a simple glass jar into a source of warm light—it feels like giving it a second life, almost like the jar is telling a quiet story. You don’t need fancy tools, just a bit of patience and some candles or LED lights.
Jar Lanterns for Warm Light
Start with clean jars—mason jars work well, but really any glass container can do. Place a small candle or a battery-operated LED inside. The glass softens the light, creating a cozy, almost nostalgic glow. If you want to go a step further, try wrapping the jar with twine or painting the surface with frosted glass paint—this part is fun and adds texture. Hanging these lanterns around a room or putting them in clusters can change the whole vibe. I once made a few for an evening gathering, and they became the unexpected highlight, everyone noticing the soft, flickering charm.
Bottle Lamps and Metal Shades
Old bottles and metal scraps can become surprisingly stylish lamp bases or shades. Cut a wine bottle to make a base, or use the intact bottle’s shape by inserting a wiring kit. It isn’t as tricky as you might think. For metal pieces, shaping them into lampshades gives a modern, industrial feel—perfect if you like a bit of edge in your décor. Sometimes the roughness of rust or dents adds character rather than detracts from the style. Thinking about these pieces this way makes you see them less as scrap and more as raw materials with personality. You might wonder, should I keep the metal’s original patina or polish it? Both have their appeal, really.
Incorporating Upcycled Crafts into Garden Decor
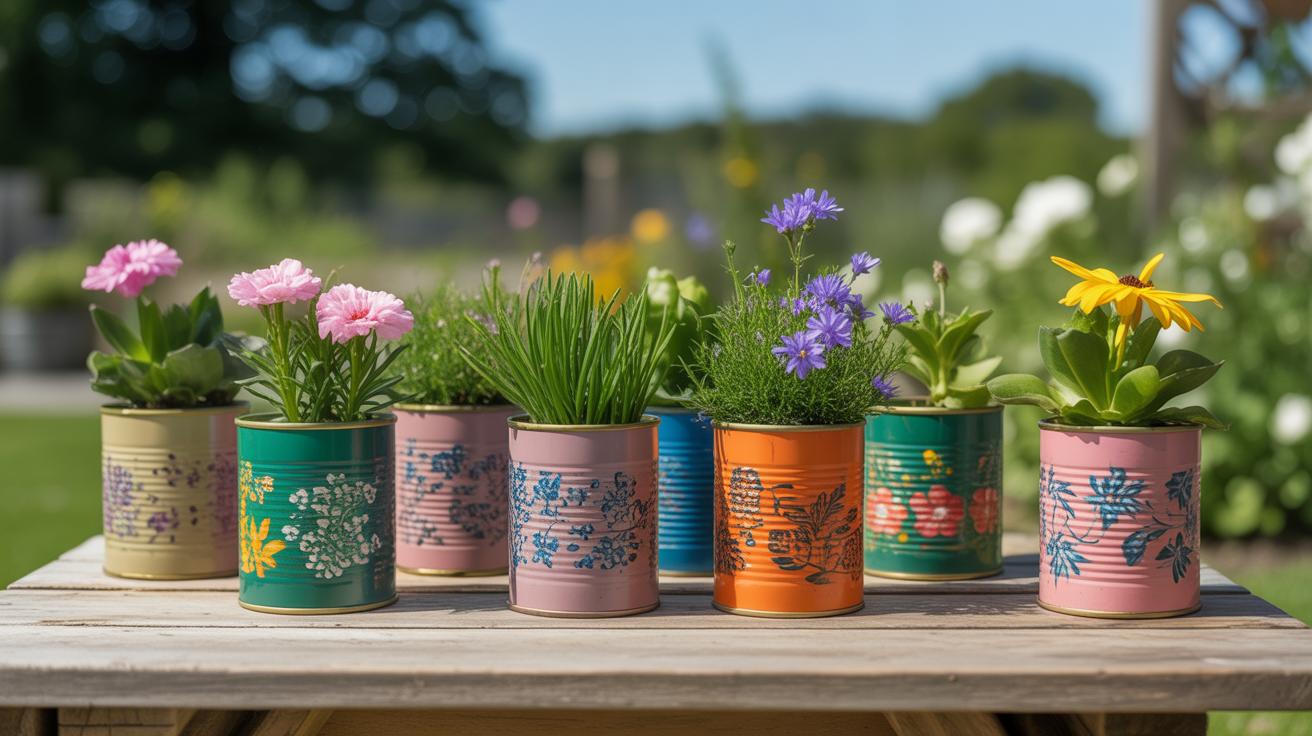
Planters from Old Containers
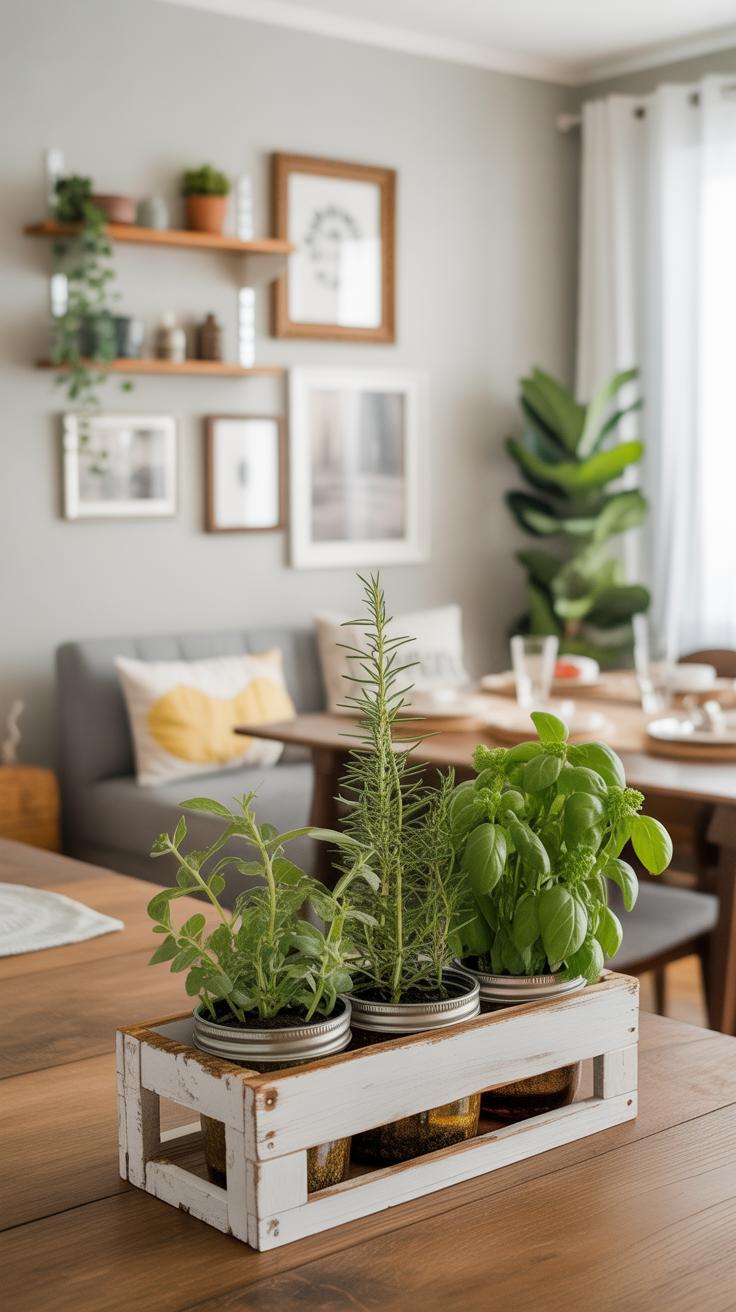
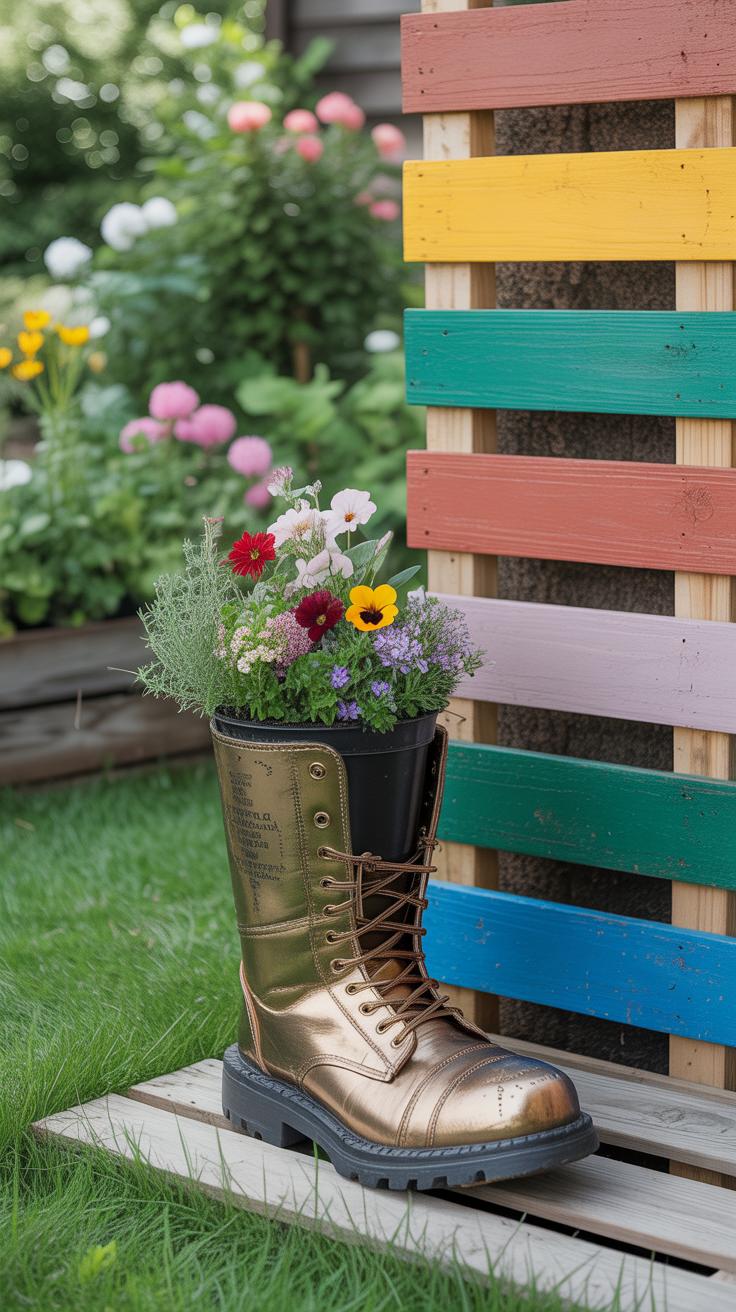
Using old tins, buckets, or wooden crates as planters can give your garden a distinct look. These containers often come with a bit of wear and character, which adds charm to your outdoor space. You might start with a rusty tin can—just poke some drainage holes at the bottom and fill it with soil. Suddenly, what seemed useless becomes a cozy home for herbs or small flowers.
Wooden crates work well too, though they might need a bit of sealing or lining since wood can rot or attract bugs. I’ve seen people paint them in soft pastel colors or leave them rough for a rustic vibe. Buckets, especially old metal ones, bring a nostalgic feel. They’re sturdy but don’t forget to check for sharp edges you might want to smooth out.
You’ll find it’s easy to mix and match these containers, creating layers or groupings that feel both practical and personal. Ask yourself: what can you repurpose around the house or from a thrift shop? You might surprise yourself with the variety you can find just waiting for a second life outdoors.
Garden Art Using Found Objects
Found objects can become quirky sculptures or subtle touches that make your garden feel unique. Old metal pieces—like forks, spoons, or even bicycle parts—can be twisted into whimsical flowers or garden stakes. I once transformed a broken rake head into a sunburst pattern mounted on a fence. It wasn’t perfect, but it gave the space something unexpected.
Wood scrap works well for small to medium-size decorations. Consider carving or painting old boards, or assembling sticks into shapes like stars or arrows to guide visitors along pathways. Even leftover bricks or stones can be stacked into miniature towers or borders for beds without feeling too formal.
Experimenting with these bits forces you to rethink what counts as garden “art.” Could that rusty hinge become a focal point? What about a cracked ceramic plate shattered into mosaics? Using found objects is part imagination, part trial and error. So, don’t be afraid to try something that may not look perfect right away.
Maintaining and Caring for Your Upcycled Crafts
Cleaning and Repairing
Keeping your upcycled crafts looking fresh takes some attention, but it’s not as tricky as it might seem. One thing I’ve learned is to always test a small hidden area before applying any cleaner—especially on delicate or mixed materials. Mild soap and water often do the job well for dust and grime. For wooden pieces, a soft cloth is best; scrubbing can wear down the finish.
When it comes to fixing minor damages like loose joints or small scratches, a bit of patience goes a long way. Wood glue or fabric patches can be your go-to tools, but don’t rush it—let adhesives dry naturally to avoid warping. Sometimes, a touch of sanding and repainting can make an old craft feel like new again, but you might want to keep the original look rather than overdoing it.
Protecting Surfaces and Materials
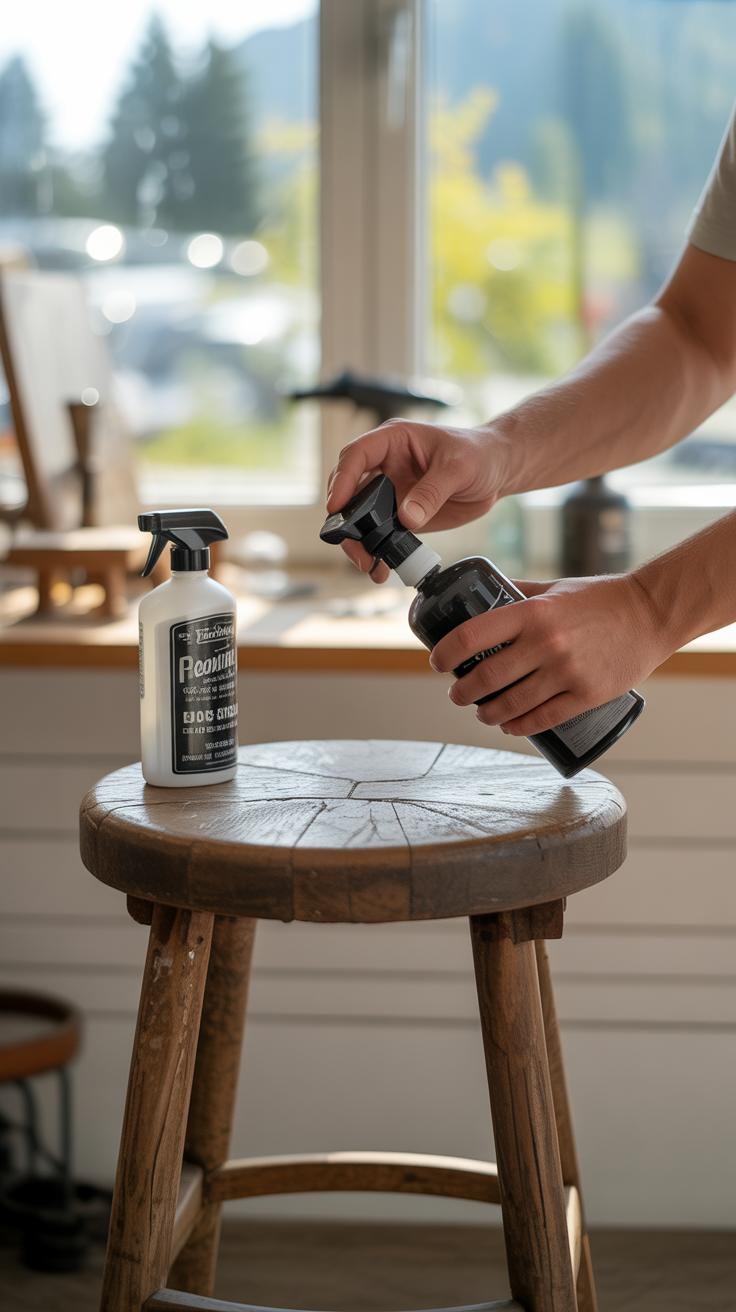
Sealing your upcycled items can make a real difference for their longevity, especially if they’re in places prone to wear or weather. I find clear varnish or sealants work well on painted wood and metal, but if there’s fabric involved, a fabric protector spray can help repel stains and moisture. It’s a bit of an experiment figuring out which sealant matches your project best—you might want to try several on scraps first.
If your craft is outdoors, think about using weather-resistant finishes. Still, nothing beats bringing fragile pieces inside during rough weather. Surfaces exposed to sunlight will fade over time no matter what you do, but UV-protective sprays can slow that down. The tricky part is balancing protection with preserving the handmade charm; too much coating can make things look plasticky, which may not be what you want.
Have you noticed how some finishes change color slightly as they age? Sometimes I actually prefer that, because it adds character. Caring for upcycled crafts isn’t about keeping them perfect at all costs, but helping them last without losing their unique appeal.
Inspiring Your Own Upcycled Craft Projects
When you start thinking about upcycling, the possibilities can feel overwhelming—or like your options are limited to whatever’s lying around. But really, almost anything can spark an idea if you look at it differently. Take a moment to really observe everyday items, as strange as that might sound. A glass jar might not just be a container, but a tiny terrarium or a candle holder waiting to happen. Old t-shirts could turn into braided rugs or cushion covers. Sometimes, it helps to ask yourself: what else could this be, beyond its usual purpose?
Try to slow down and notice details you usually overlook. Patterns in wallpaper scraps, the texture of frayed fabric, or the shape of a broken chair leg. Those quirks often lead to the most personal, interesting projects. At times, you might find yourself stuck, but that’s normal—creativity isn’t a straight path.
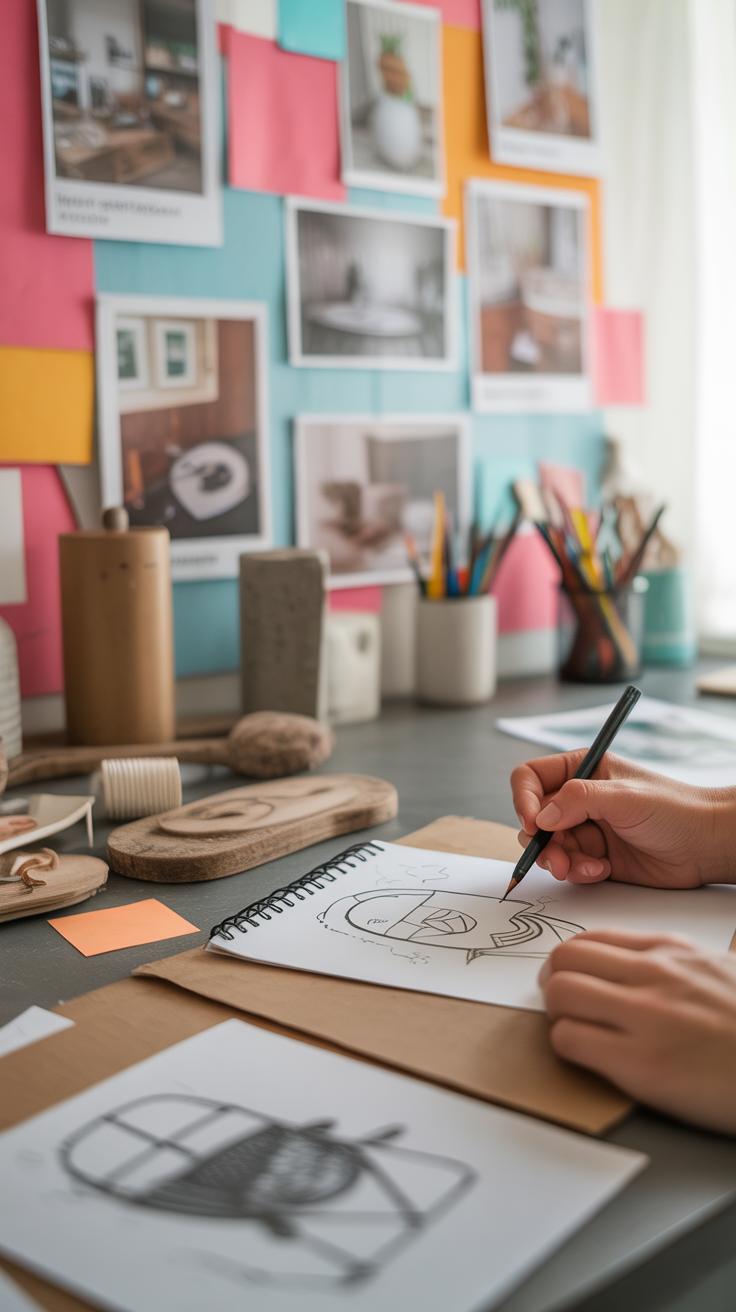
Keeping track of these flashes of inspiration can make a big difference. I’ve found that a simple craft journal or a mood board—either physical or digital—works well. You can jot down ideas, stick photos, or paste fabric samples. It’s not about perfection or neatness; it’s about creating a space where ideas accumulate and evolve. This habit helps me return to concepts that I might otherwise forget or dismiss too quickly.
Are there objects around you that you’ve been ignoring? What if you gave them a second look? Maybe what seems like junk today could become your next home decoration tomorrow. It’s a slow process, sometimes uncertain, but that’s part of what makes these projects truly yours.
Conclusions
Upcycled crafts give you a chance to express your creativity while helping the planet. By turning old items into home decorations, you reduce waste and add personal touches that no store can match. Upcycling offers many simple projects that anyone can try.
Try finding something around your home that you no longer use and think about how you could change it. You will enjoy making unique items that fit your style and needs. Upcycling can change your home and your view on everyday things.


