Introduction
Upcycling means taking old, unwanted, or waste materials and turning them into something useful or valuable. It is a way to reuse items instead of throwing them away, helping save the environment. This approach not only reduces waste but also adds new life and function to things that others might consider trash.
This article introduces you to amazing trash to treasure projects. You will learn how to start upcycling, discover practical ideas, and find inspiration to create your own projects. Ready to transform your trash into treasures? Let’s explore how upcycling can be fun, simple, and rewarding for you.
Understanding Upcycling and Its Benefits

The Basics of Upcycling
Upcycling means taking something old, unused, or considered trash and giving it a new life as something useful or even valuable. Unlike recycling, where materials are broken down to create raw input for making new products, upcycling keeps the original form intact but changes its purpose or appearance. Think of it as a creative refresh rather than a complete breakdown. For example, turning an old wooden pallet into a stylish coffee table doesn’t require melting or reshaping—it’s more about reimagining and reusing what you already have.
Why Upcycling Matters for You and the Planet
What’s interesting is that upcycling does more than just keep stuff out of landfills. It reduces the need for new raw materials, which means fewer resources are extracted from the earth. This process saves energy and helps cut down pollution caused by manufacturing processes. It might seem small at first, but when many people give trash a second chance, the impact grows. Plus, you get to make something unique that reflects your creativity.
Using waste creatively changes how we value objects. Instead of seeing waste as worthless, you start to see potential everywhere. This shift can encourage others to rethink what they throw away and challenge the idea that new always means better. And yes, it might sometimes be harder or take longer than buying new stuff, but isn’t that part of what makes it rewarding? Upcycling nudges us to be more thoughtful about what we consume and how we treat the planet, even in small ways.
Common Materials for Trash to Treasure Projects
Easy-to-Find Items for Upcycling
You might be surprised at how many everyday items can become the stars of your upcycling projects. Glass jars, for example, are everywhere—in the kitchen, the bathroom, even the garage. They’re sturdy, clear, and easy to decorate. Turn them into candle holders or storage containers, and you’ll breathe new life into something that would otherwise sit in the recycling bin.
Old clothes also hold lots of potential. Beyond patching and simple sewing, faded t-shirts can become reusable shopping bags or cozy quilts. Wooden pallets might feel bulky, but they’re a favorite for building furniture. With a little sanding and creativity, a stack of pallets could become a coffee table or rustic shelf.
Plastic containers and bottles often get overlooked, yet with a bit of cutting and painting, they morph into planters, organizers, or bird feeders. Their wide availability and varying shapes make them versatile, even if sometimes fiddly to work with.
Choosing the Best Materials for Your Projects
Picking materials isn’t just about grabbing whatever’s on hand. You want to scan for cleanliness first—dirty or damaged items might be tempting but could cause more hassle than they’re worth. Think about the material’s condition and whether it feels sturdy enough for your idea. A cracked glass jar might not hold water but could work as a dry storage container.
Versatility matters too. Materials that can adapt to different styles or functions will stretch your creativity further. For example, scrap wood is usually more forgiving than metal pieces, which might need special tools or skills.
Ask yourself what kind of tools or space you have. If you don’t own a saw or aren’t comfortable cutting, pallets might intimidate you, while fabric scraps or jars stay manageable. Sometimes, choosing something simpler isn’t just easier—it keeps your motivation up when starting out.
Simple Upcycling Projects for Beginners

If you’re just starting with upcycling, picking projects that don’t demand fancy tools or complicated skills makes the whole experience less overwhelming. Sometimes, the simplest ideas can become your favorites—small wins that keep you motivated. Let’s look at a couple of examples you can try easily with stuff likely lying around your home.
DIY Planters from Old Containers
Turn empty jars, tin cans, or plastic bottles into planters for flowers or herbs. You don’t need much beyond cleaning them well and maybe poking holes at the bottom for drainage. For jars, you might want to wrap twine around them or paint them if you feel creative. Just fill with some soil and pop in a plant.
The beauty here is you’re giving a second life to containers that’d normally get tossed. Plus, growing herbs inside can be pretty satisfying. Ever thought about what kind of containers you could try? Sometimes, a quirky bottle or mismatched can add character beyond any store-bought pot.
Turning Old Clothes into Tote Bags
Old t-shirts or fabric scraps can become reusable tote bags with just a bit of cutting and sewing. If you don’t sew, no worries—you can knot the edges together or use fabric glue. For shirts, cut off the sleeves and neckline to create handles, then stitch or tie the bottom shut.
It’s practical, and you avoid buying plastic bags. Plus, there’s something a little satisfying about carrying a bag you made yourself. You might start noticing just how many shirts are about to be tossed. What if a few of those became your next market bags?
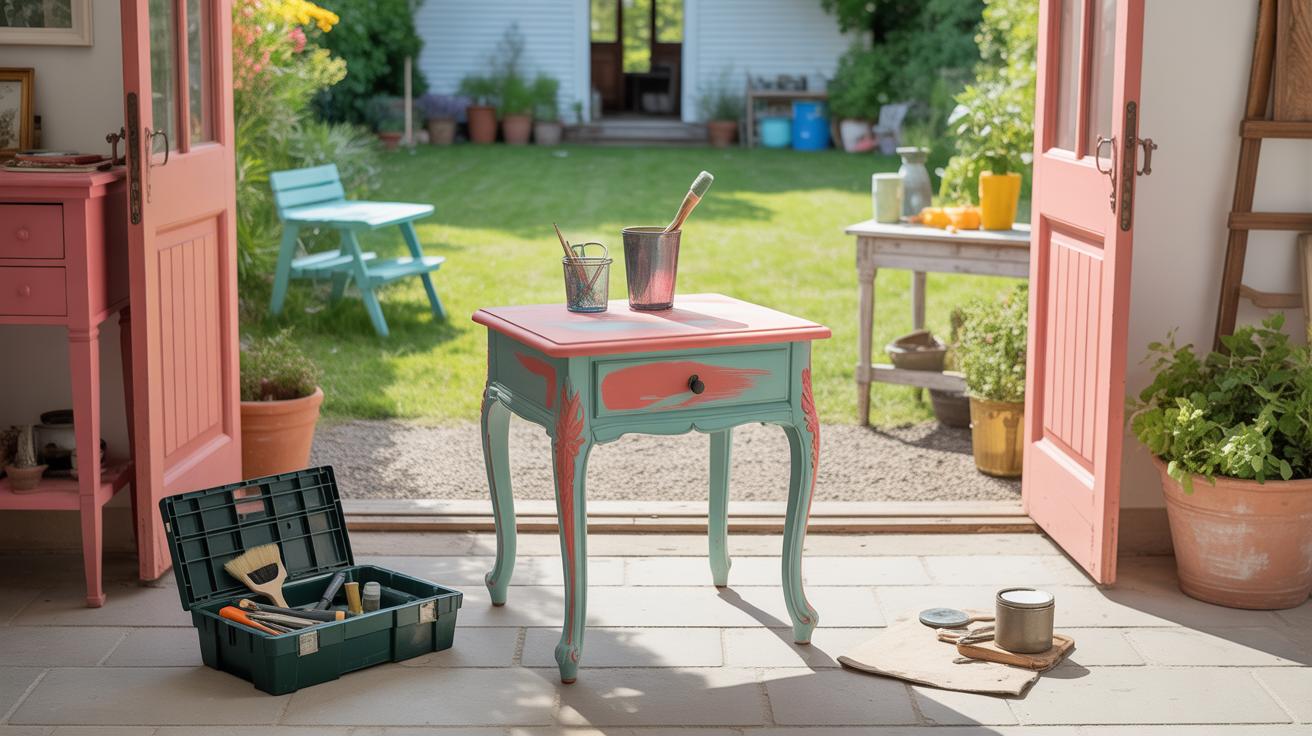
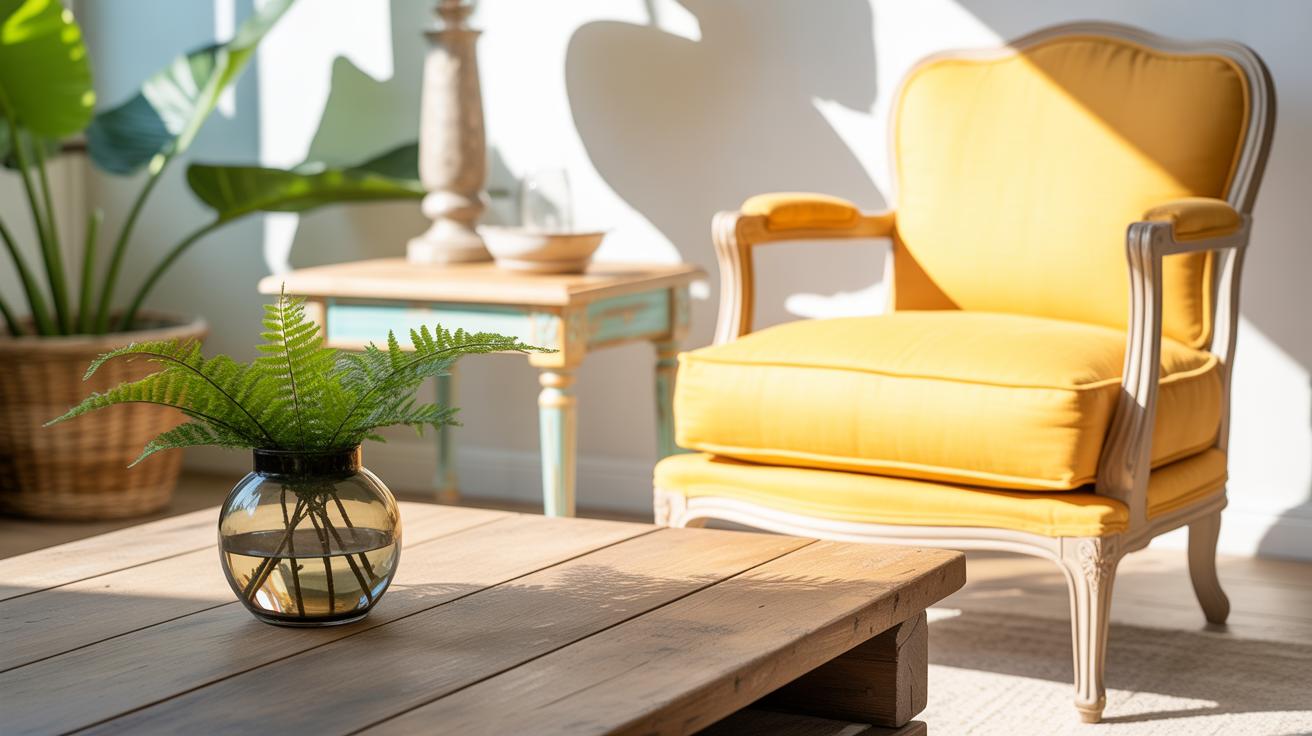
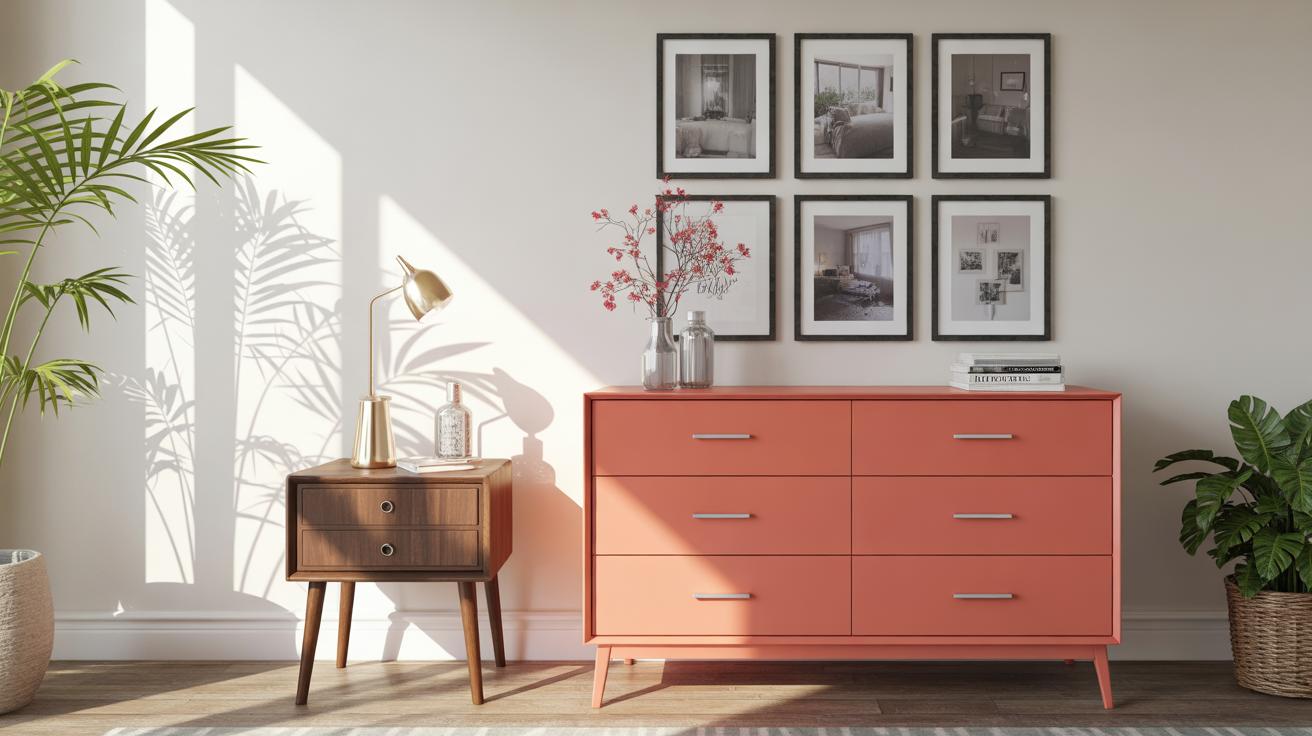
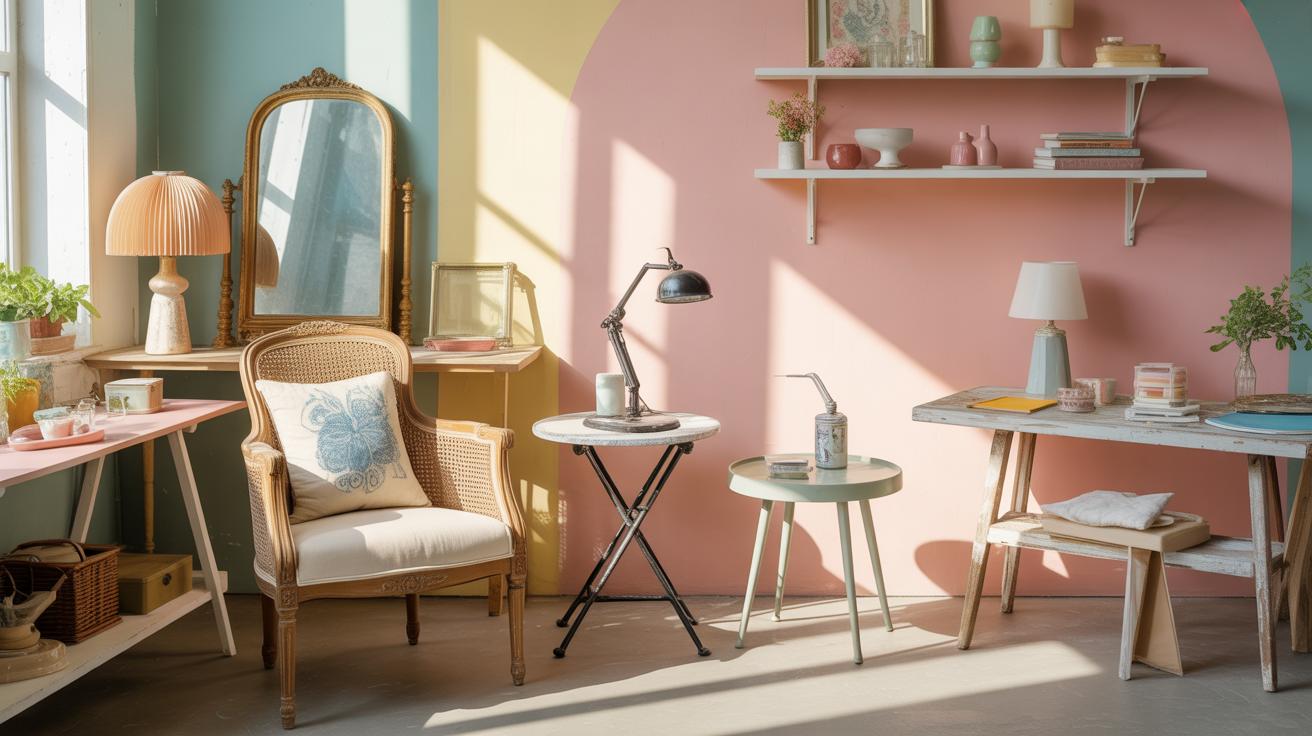
Creative Furniture Upcycling Ideas
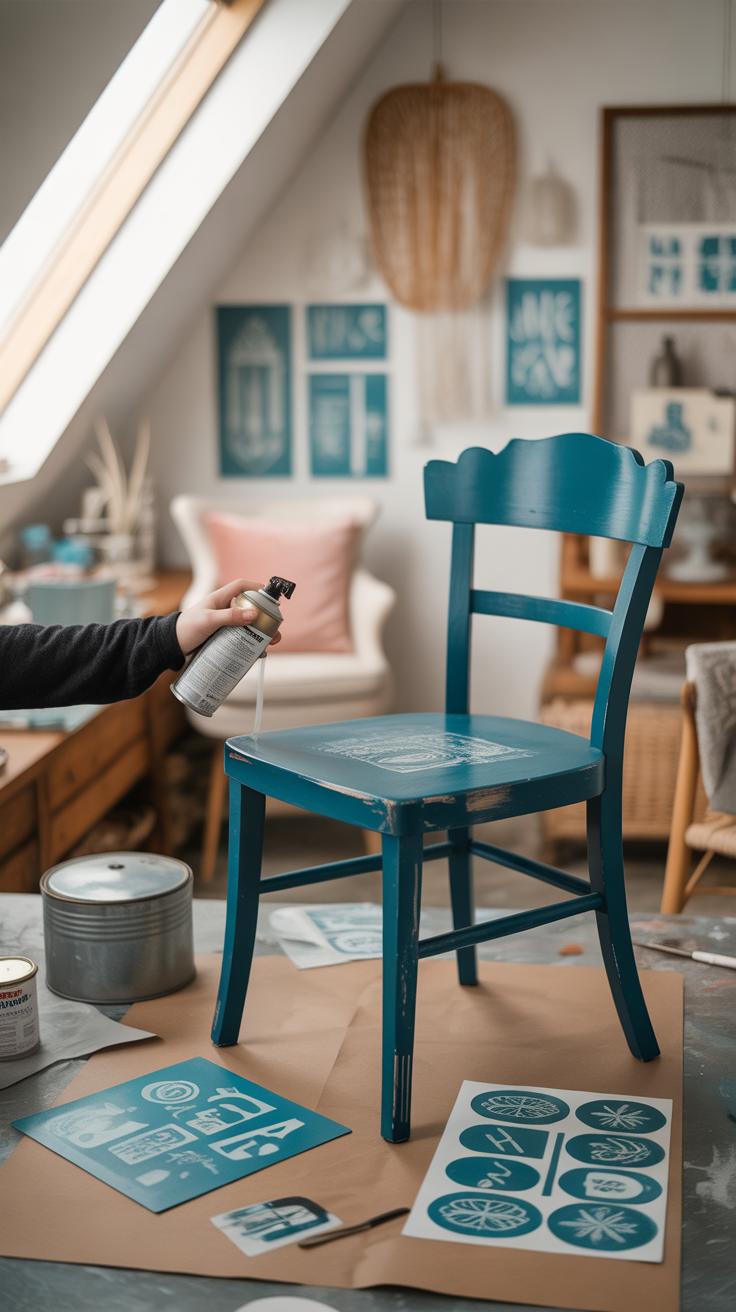
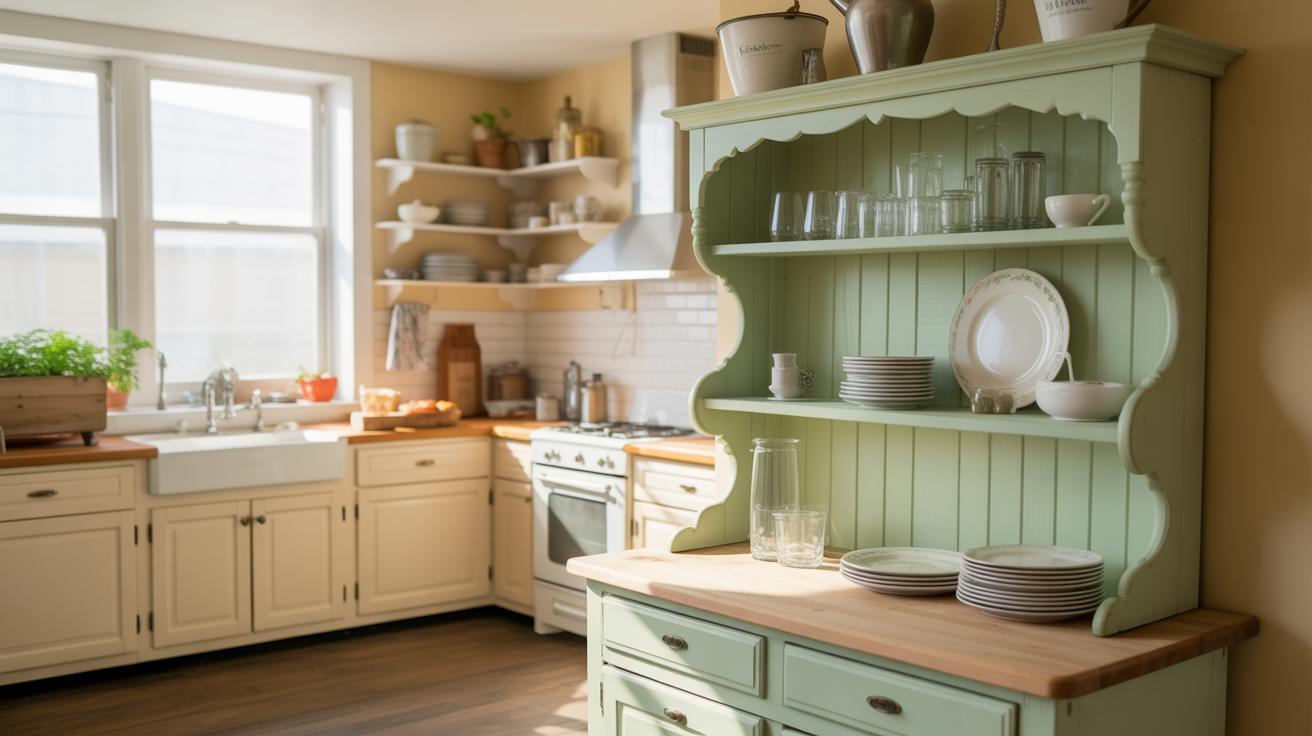
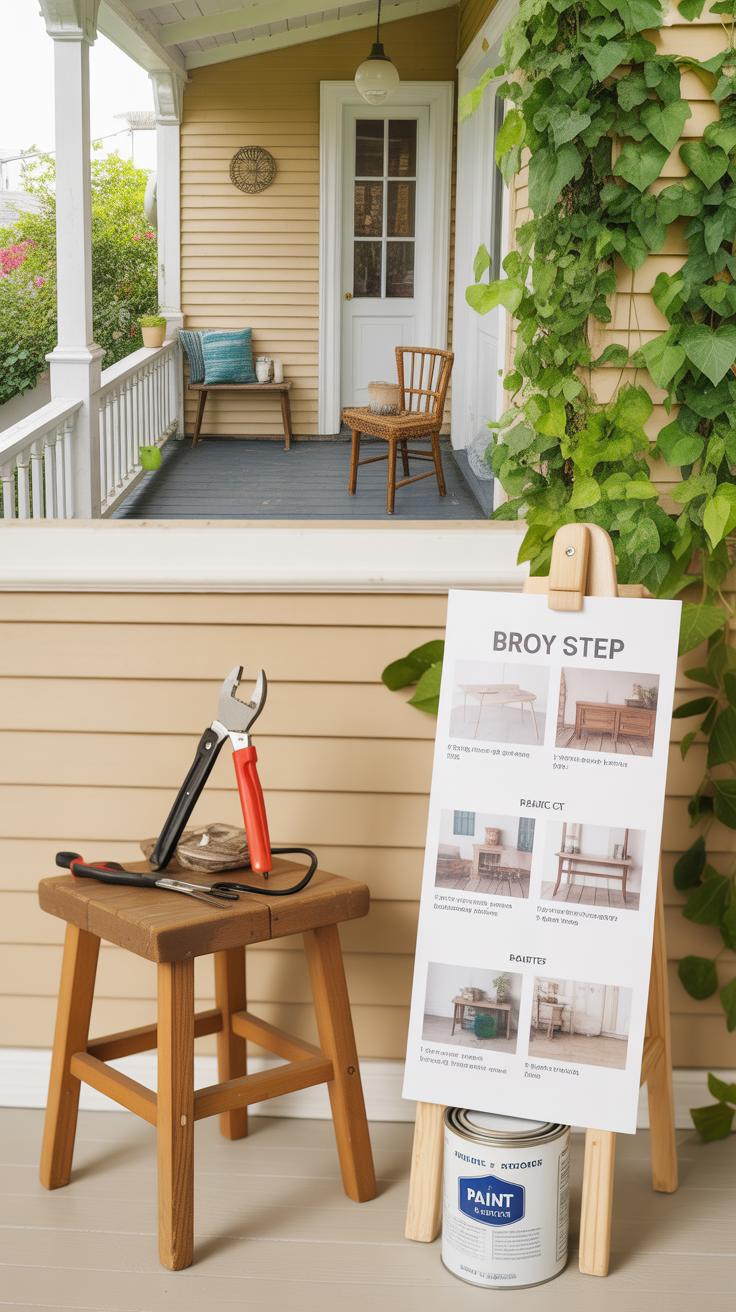
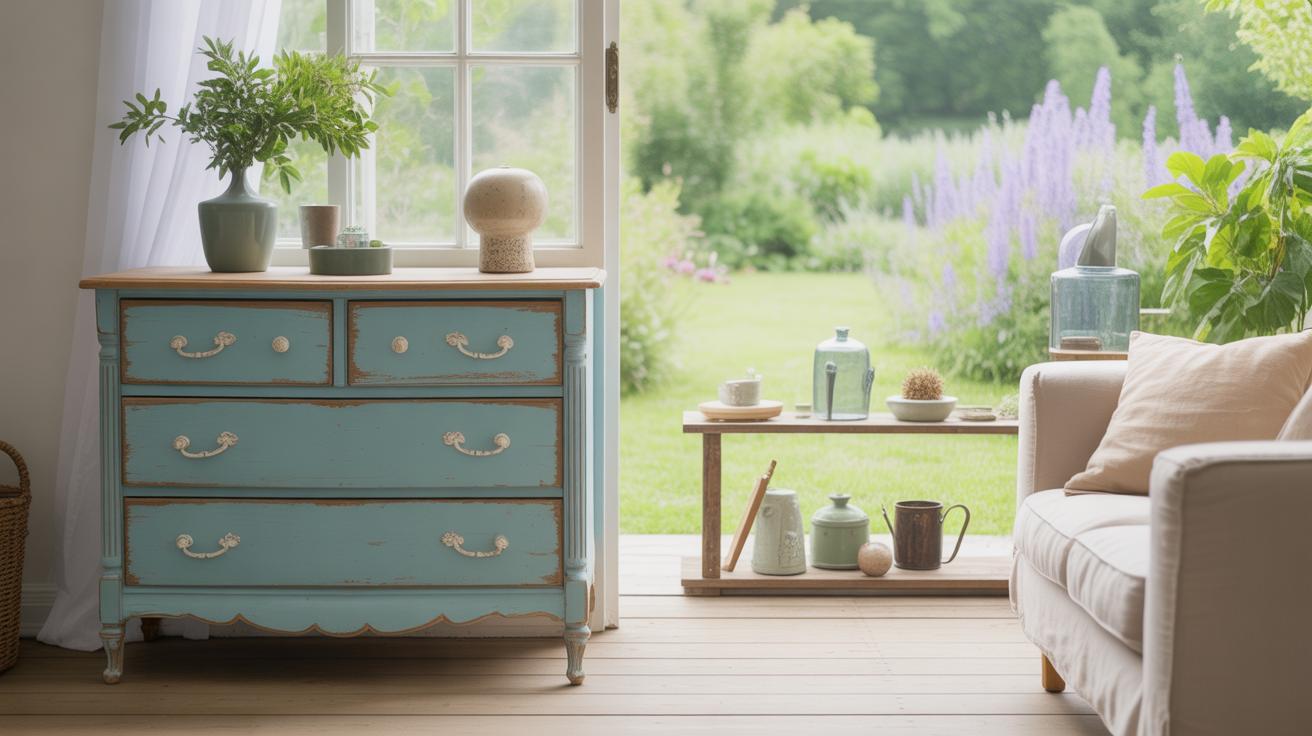
Old furniture often sits forgotten, but with a bit of care, it can look almost new—or get a whole new purpose. Refurbishing worn chairs or tables isn’t just about repair; it’s also about imagination. You might spend hours sanding down scratched surfaces, patching up wobbly legs, or replacing old screws. Then comes the fun part: painting. Choosing colors can be tricky. Should it be bold and bright or soft and muted? Maybe try a distressed paint technique for a vintage vibe. Or add stencils and simple decorations to make a statement piece that reflects your style.
Wooden pallets, on the other hand, are quite something. They’re not just scrap—you can turn them into shelves or clever storage units fairly easily. I once made a shoe rack by stacking a couple of pallets vertically and adding some hooks. It wasn’t perfect, but it worked. Pallets require a good cleanup—think sanding and sealing against splinters—which can feel like a lot, but the results are worth it. The slatted design naturally lends itself to open shelving, giving your items room to breathe while keeping clutter under control. You might add wheels for mobility or paint them for an unexpected pop of color.
So, would you try bringing an old chair back to life, or are pallets more your style? Both paths offer ways to give old wood a second chance without much expense or fuss.
Art and Decor Projects Using Recycled Materials
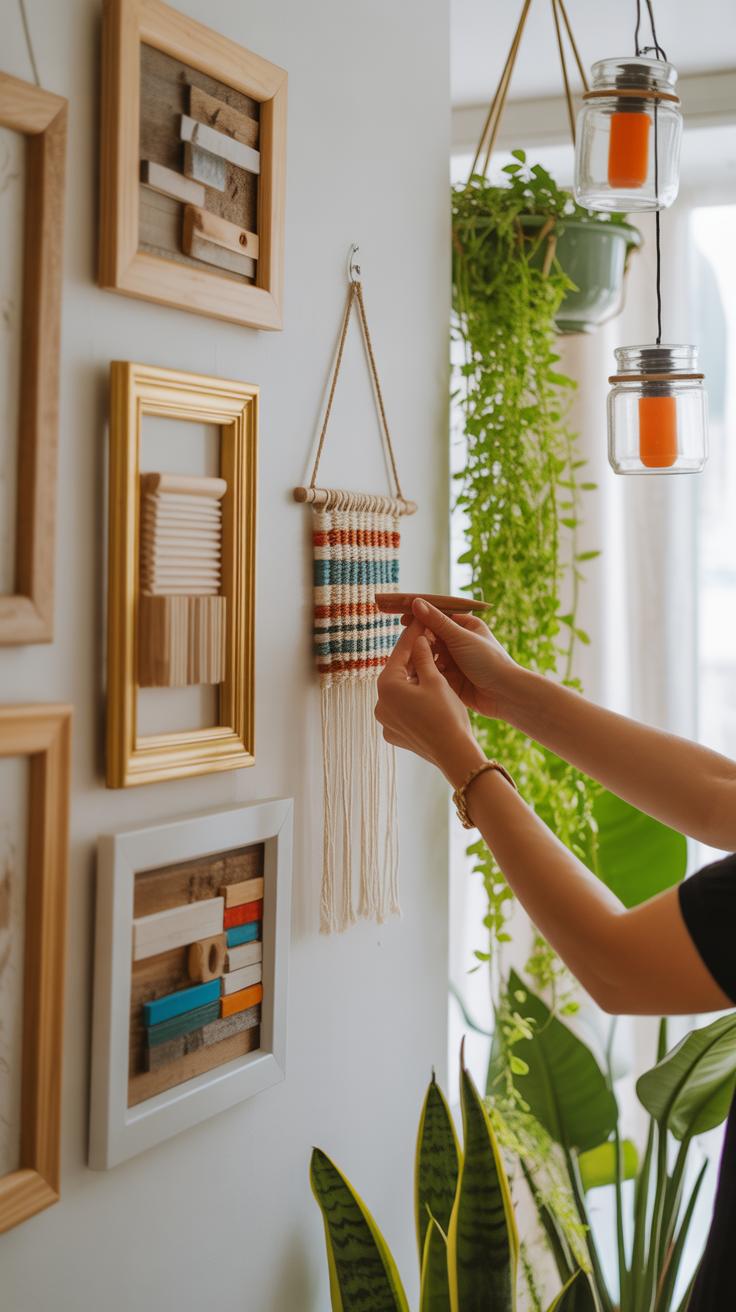
Turning leftover scraps into art can feel surprisingly rewarding. Take bits of wood or metal pieces you might otherwise toss out—arranged thoughtfully, these can create striking wall art that no store would offer. You might try layering wood scraps with different textures, painting some areas but leaving others raw, or fastening metal bits for contrast. It doesn’t have to be perfect or overly planned. Sometimes, just playing with shapes or colors leads to something interesting.
Fabric scraps also open up neat possibilities. Imagine weaving tiny strips together or mounting faded cloth onto frames to add softness and depth. Textiles can soften sharper edges and make the art approachable. I’ve tried making patchwork-like panels from old shirts, and they added unexpected warmth to a plain room.
Creating Wall Art from Scrap Materials
Start with a frame or base—maybe an old canvas or plywood piece—and gather small wood pieces, metal washers, or bits of fabric. Experiment by arranging elements without glue first, shifting until you find a balance that feels right. Once stuck, you can paint or varnish selectively to highlight textures. You don’t need fancy tools; even household glue or nails usually work fine, depending on materials.
One idea that stuck with me was making abstract geometric patterns from wood scraps, leaving gaps to let the wall color peek through. Another time, I bound thin metal strips into a grid on burlap, which became a minimal but tactile piece. It’s about exploring rather than aiming for perfection.
Making Decorative Items from Bottle Caps and Buttons
Bottle caps and buttons might seem useless at first, but they’re pretty versatile for crafts. You can glue bottle caps into mosaics for coasters, fridge magnets, or even compact picture frames. Buttons make charming accents on decorative jars or can be strung into fun garlands. Combining both can create vibrant, textured collages.
I recall making a wall hanging from layered buttons sewn onto a canvas—each button catching light differently—and it became a conversation starter. Another simple project is filling clear ornaments with bottle caps sorted by color for a quirky seasonal decoration. These small items might feel trivial, but they add a lot of personality when grouped thoughtfully.
Tips for Finding and Collecting Materials
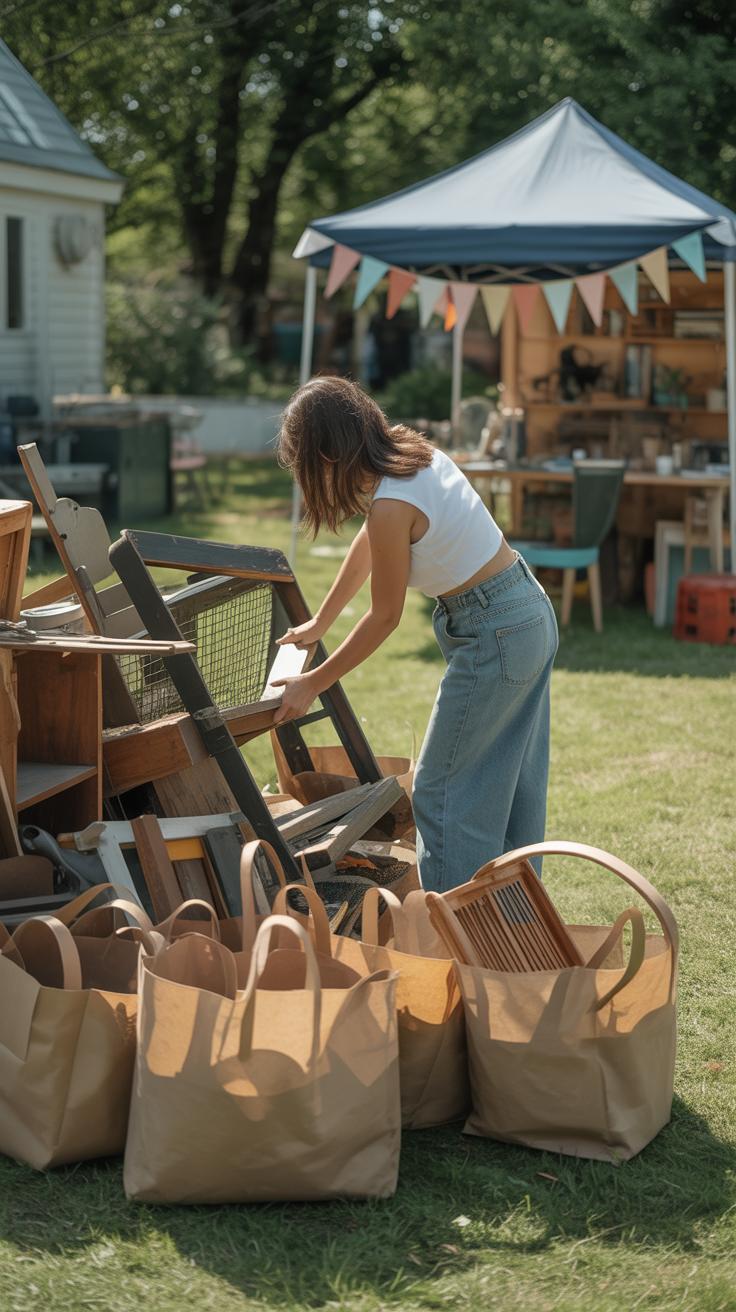
Sourcing Materials from Your Home and Community
You might be surprised by how much stuff around your home can be given a second life. Boxes, old furniture, jars, scraps of fabric — these are often overlooked treasures. Don’t hesitate to peek into closets or garages. Sometimes, neighbors have items they’re ready to part with but might not think about donating or selling. Asking around quietly can open up unexpected options.
Local businesses can also be a goldmine. Think small shops, cafes, or workshops that discard materials regularly. Cardboard, wood scraps, or even discarded packaging often end up in the trash but can be perfect for your next project. Approach these sources respectfully and explain your purpose. They’re more likely to share if they see you’re serious and careful.
Cleaning and Preparing Materials for Use
Before using found objects, cleaning them thoroughly is key. Dirt, dust, and residues can interfere with paints or adhesives. A simple soak in warm, soapy water usually does the trick, but tougher grime may require scrubbing with a brush. For metal or glass, rubbing alcohol or vinegar can help remove residues—though test a small area first to avoid damage.
Sometimes, materials come warped, rusty, or fragile. Taking time to sand rough spots or stabilize loose parts pays off. It might feel tedious, but think of it as setting a foundation. You want your project not only to look good but to last. So, don’t rush this stage. If a piece seems too risky, consider if it’s better saved for inspiration rather than direct use.
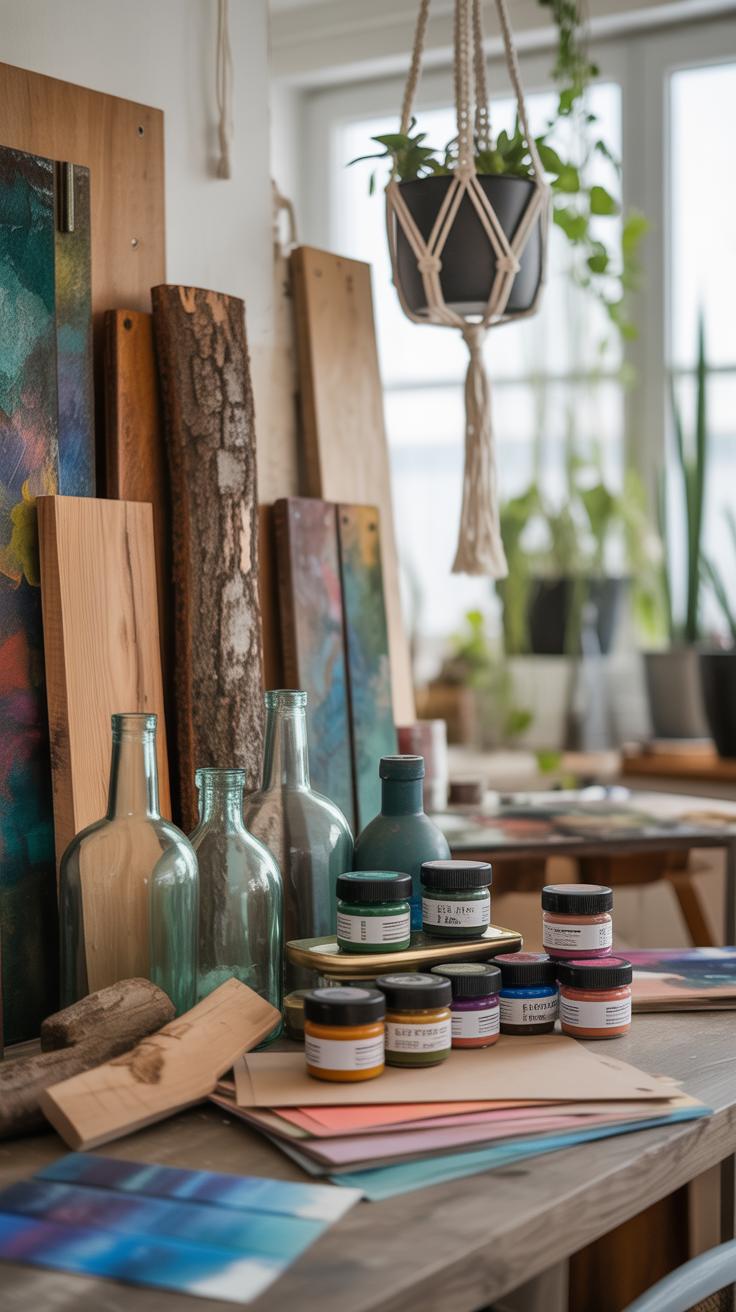
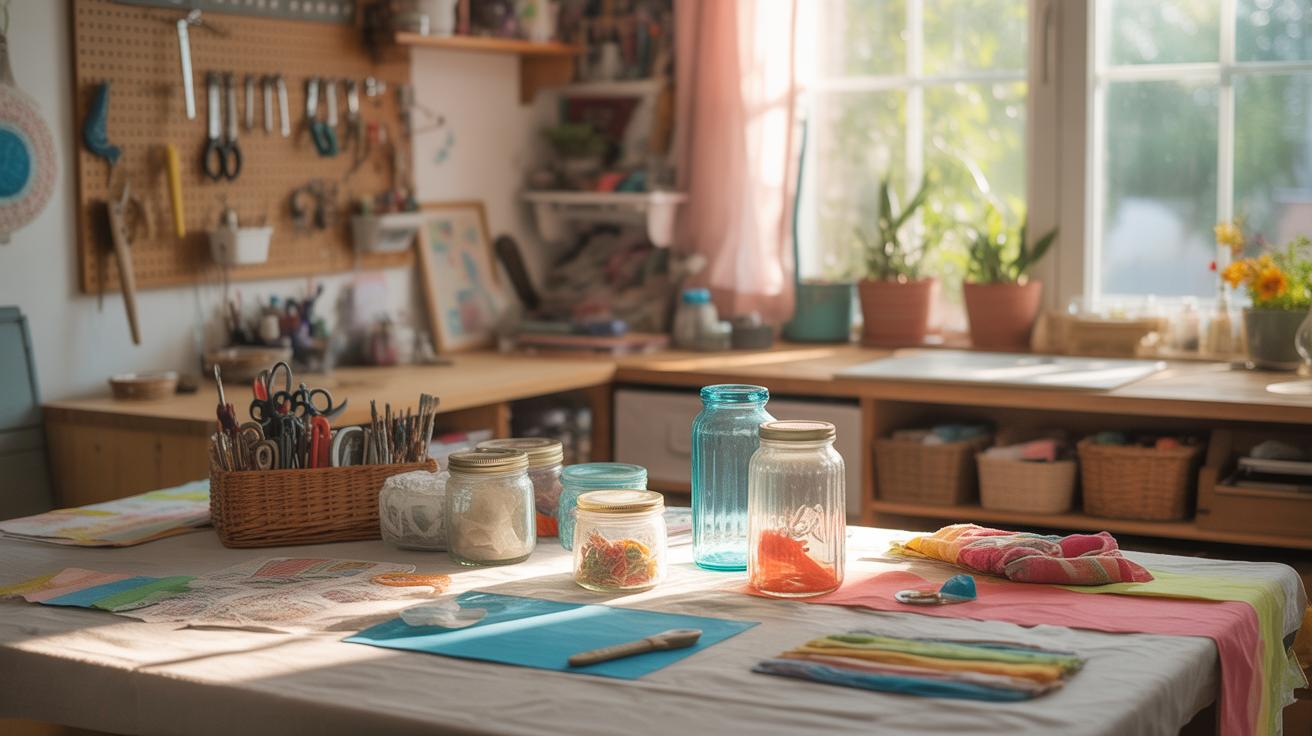
Tools and Supplies for Upcycling Success
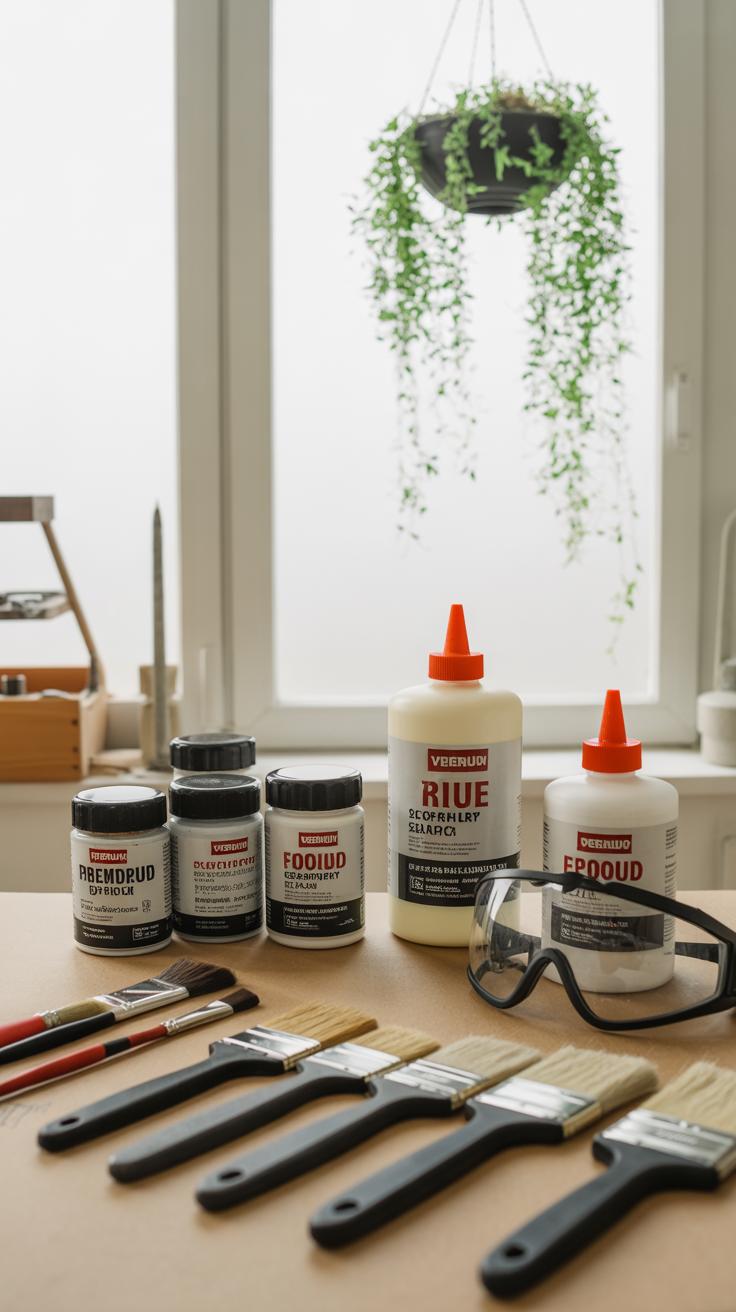
When you start an upcycling project, having the right tools can make a big difference. Some basic items are almost always necessary. Take scissors, for example. They’re more than just cutting paper; strong scissors can slice through fabric, thin plastics, and even cardboard. But be mindful—they can dull or slip if misused. Glue is another staple, yet choosing the right kind matters. Hot glue dries fast but might not hold heavy materials well. Craft glue is slower but more flexible. Sometimes, I’ve grabbed the wrong glue and had to redo parts, so thinking ahead is helpful.
Paintbrushes help you add color and detail. A wide brush can cover big areas, and finer ones work for decoration. Sandpaper smooths rough edges or preps surfaces for painting. It’s a bit dusty, so a mask might be handy, especially if you work indoors. A sewing kit looks basic but opens up many possibilities—stitching torn fabric or adding embellishments. Even if sewing isn’t your usual thing, a simple kit can surprise you with what it can do.
For decorating and finishing, materials like paint and varnish give your projects a polished look and help them last longer. Acrylic paints dry quickly and offer vibrant colors on wood, metal, or fabric. Varnish creates a protective layer—useful if you want water resistance or a shiny finish. Fabrics can renew a piece, adding texture or covering flaws. Sometimes, layering a bit of fabric and paint together produces unexpected effects. It’s worth testing small areas first because not all materials respond the same way.
In short, these tools and materials don’t just get the job done—they shape how your project turns out. Sometimes, the simplest supplies can inspire the most creative uses. What tools do you find yourself reaching for most often? Trying new combinations can lead down some interesting paths.
Inspiring Stories and Ideas to Motivate You

Everyday Upcycling Heroes
Take Maria, for example. She turned old wooden pallets into a cozy garden bench. At first, it was just a rough idea—nothing polished or fancy. But the bench now sits in her backyard, inviting neighbors to pause and chat. It’s a simple project, yet it changed her space and created connections.
Then there’s Jamal, who collects discarded glass jars from cafes. He cleans and decorates them with twine and paint, turning them into charming tealight holders he sells at local markets. His small effort reduces waste and supports his family, which makes the project feel meaningful beyond just the creative side.
Groups too are making a difference. A community center in a small town gathered volunteers to collect unwanted clothes and old fabrics. Together, they sewed quilts for shelters and schools. This project gave fabric scraps new life and helped those in need—a reminder that even simple materials can hold purpose when shared.
How You Can Start Your Own Project Today
Thinking about your own project? Start small. Maybe hunt around your home for something forgotten—a chair with loose legs, empty jars, or fabric scraps. Ask yourself:
- What can I fix instead of toss?
- Can I change the item’s use?
- Do I want to learn a new skill, like sewing or woodwork?
Try making a list of easy projects that fit your time and tools. A few fun and manageable ideas include:
- Turning glass bottles into pendant lights
- Repainting and reupholstering old chairs
- Creating planters from tin cans or crates
Don’t worry about perfection. Mistakes are part of learning. And who knows? Maybe your simple, perhaps imperfect creation will inspire someone else. It might just start a chain of turning waste into something useful—your own contribution to the growing upcycling community.
Conclusions
Transforming trash into treasure through upcycling projects can make a big difference for the environment and for you personally. You can reduce waste, save money, and enjoy the creative process. Every project, from simple crafts to bigger builds, shows how objects can gain a second life. Your efforts help protect the planet while producing useful and unique items.
Start small, use items you already have, and remember that every step counts. The projects you explore here are just a beginning. Keep experimenting and sharing your creations. With upcycling, your trash really can become a valuable treasure.


