Introduction
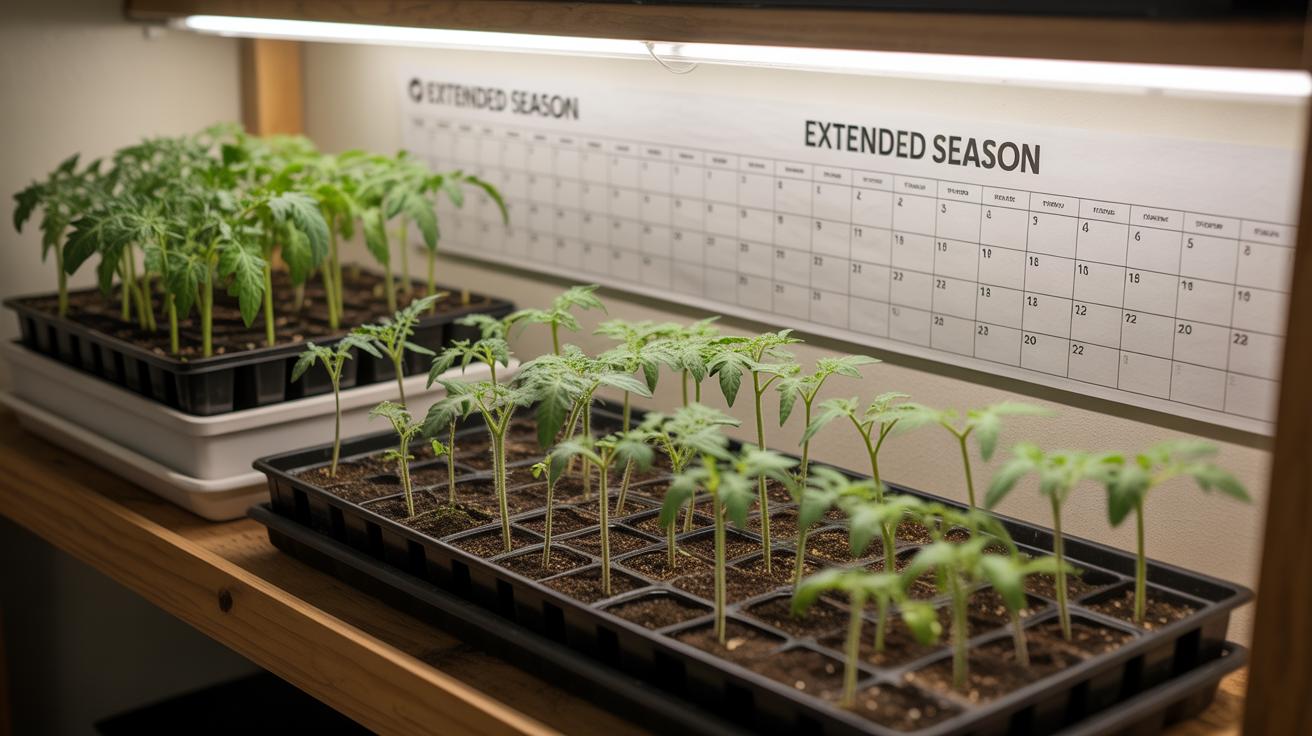
Growing tomatoes from seeds indoors can give you a longer harvest season and healthier plants. Starting your tomato seeds indoors allows you to control the environment, protect young plants, and get a head start before the outdoor growing season begins. When you begin your tomato garden indoors, you set yourself up for success with strong seedlings ready to thrive once planted outside.
In this article, you will learn practical steps to start tomato seeds indoors. We will cover how to prepare your indoor space, pick the right seeds, plant with care, and look after your young plants. You will also get tips on when and how to transplant your seedlings outdoors for a longer tomato harvest season.
Benefits of Starting Tomato Seeds Indoors
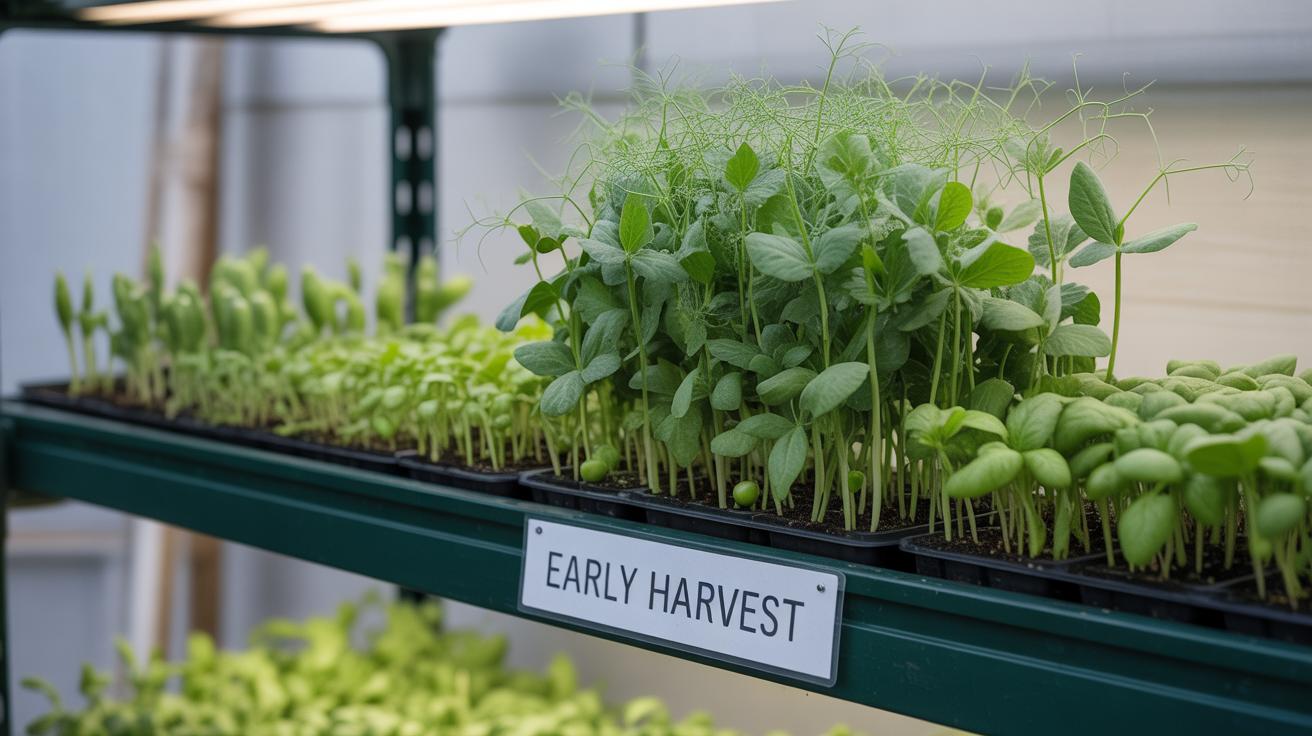
Starting tomato seeds indoors is one of those gardening steps that can really change your whole season. When you start seeds inside, you give your tomatoes a head start—sometimes weeks before you can even think about planting outside. This early boost means your plants have more time to grow and produce, leading to a longer harvest period. If you’re impatient like me, waiting for those first red fruits, this can be a game changer.
Beyond just timing, indoor seed starting offers a kind of buffer against unpredictable weather. Frosts can sneak in late, even in spring, and seedlings are vulnerable. By nurturing them inside first, you avoid that risk. Plus, indoors they’re safer from pests that love sprouting young plants as much as you enjoy fresh tomatoes.
Stronger plants often come from this approach too. Growing seeds in controlled conditions lets you manage light, temperature, and water carefully, so seedlings develop solid stems and healthy roots before facing the real world. It’s like giving them a training ground, rather than tossing them straight into the garden battlefield.
Ultimately, starting seeds indoors isn’t just about convenience. It’s about taking control of your tomato crop in a way the outdoor garden doesn’t always allow. It shifts the odds toward a fuller season and maybe, just maybe, a better harvest.
Choosing the Right Tomato Seeds
Picking the right tomato seeds can feel overwhelming, especially when faced with so many options. But focusing on your local climate and taste preferences can narrow things down pretty quickly. For instance, if you live somewhere with a short growing season, choosing early-maturing varieties could save you frustration later. Meanwhile, warmer climates might do better with heat-tolerant types that don’t give up when summer gets intense.
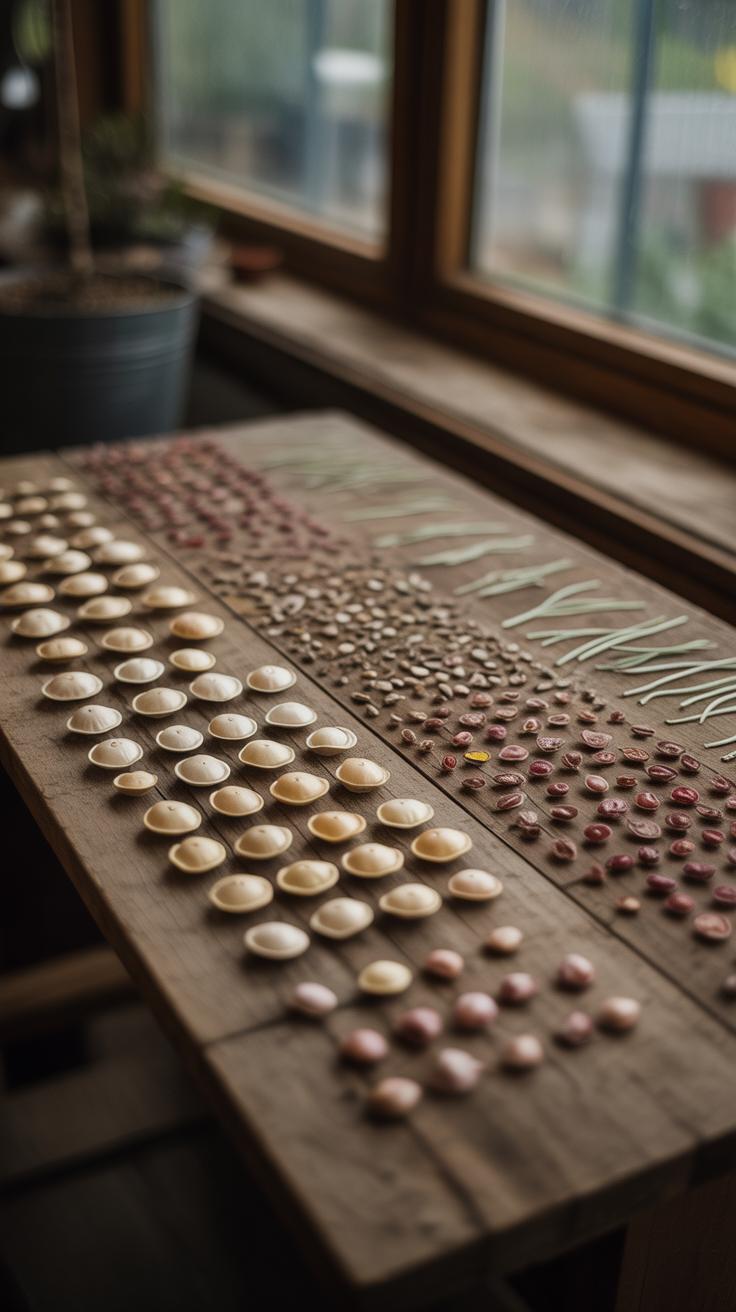
When it comes to heirloom versus hybrid seeds, there’s a notable difference. Heirlooms often deliver unique flavors and interesting shapes, sometimes with a bit of unpredictability in growth or disease resistance. Hybrids tend to be bred for reliability, disease resistance, and consistent yields, though maybe less character in taste. I’ve grown both; heirlooms can be a gamble but often worth the risk if you want something special on your plate.
To give you an idea:
- Heirlooms: rich flavor, varied colors, can be more fragile
- Hybrids: disease-resistant, uniform, usually higher yields
Choosing seeds adapted to your climate often means doing a little research. Local seed catalogs or garden centers can offer varieties proven to perform well nearby. You might even ask neighbors or gardening groups. Seeds suited for cooler zones might struggle with humidity or heat, while southern varieties can wilt trying to survive up north.
Personally, I’ve seen how a heat-tolerant tomato like ‘Heatmaster’ thrives in hot summers, but it’s not my favorite for fresh eating. Meanwhile, ‘Brandywine,’ a classic heirloom, tastes great but needed extra care where I live. So, weighing your climate against what you want to eat, and how much effort you’re willing to put in, helps you choose better. Which tomatoes have you tried, and how did they do? Sometimes experimentation reveals the best fit.
Preparing Your Indoor Growing Space
Choosing Containers for Seed Starting
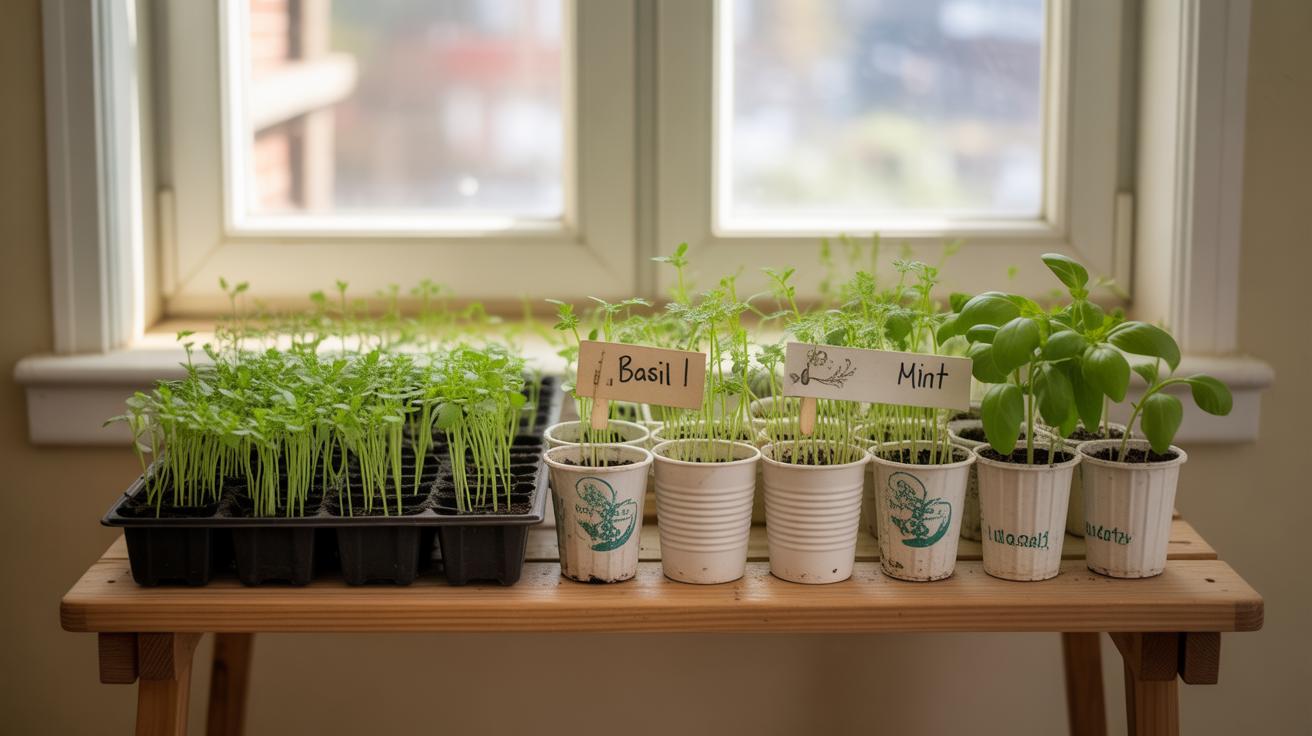
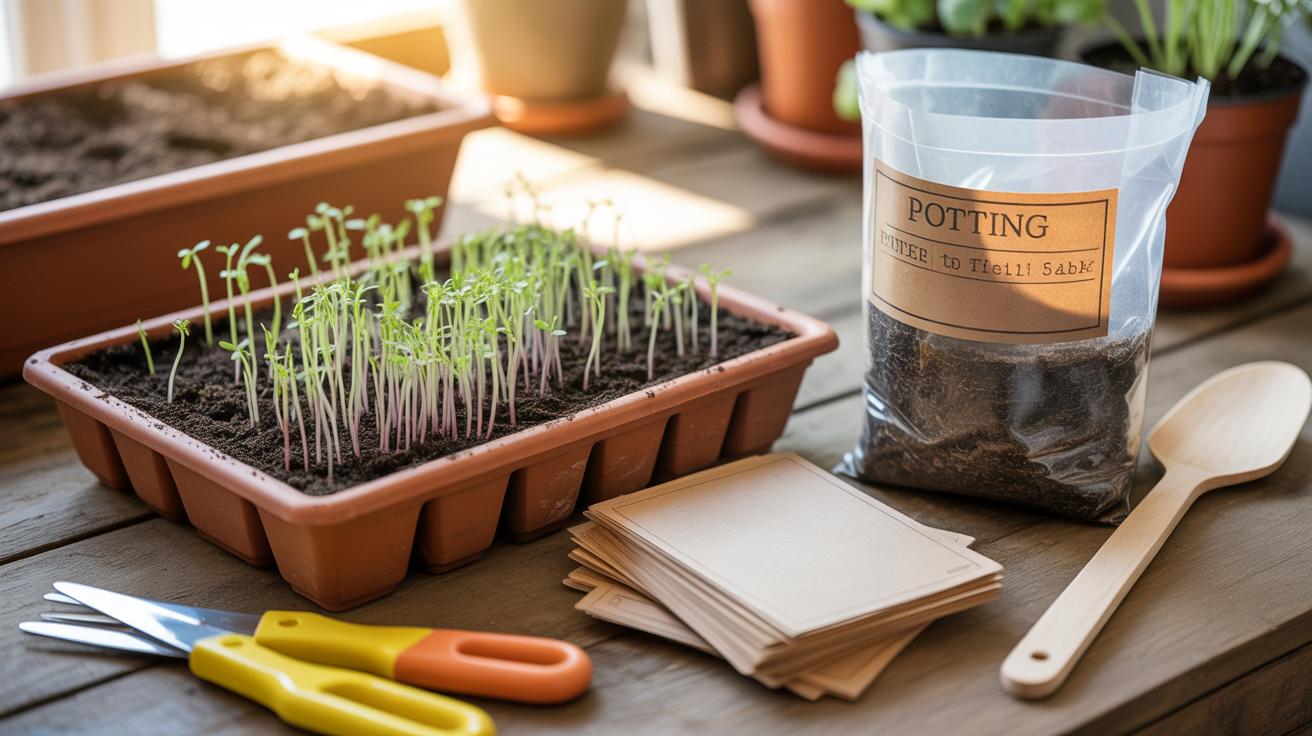
Starting tomato seeds indoors calls for the right containers, but you don’t need anything fancy. Seed trays, peat pots, or even reused yogurt cups can work well if they have drainage holes. Just make sure the containers aren’t too big—small cells help prevent overwatering and keep roots from sprawling too early.
If you’re using biodegradable pots, a quick soak before planting helps soften them and avoids drying out too quickly. Plastic seedling trays? A light rinse and a bit of drainage material at the bottom can help with airflow. Whatever you pick, cleanliness matters—leftover debris or old soil might harbor diseases. So scrub and rinse first.
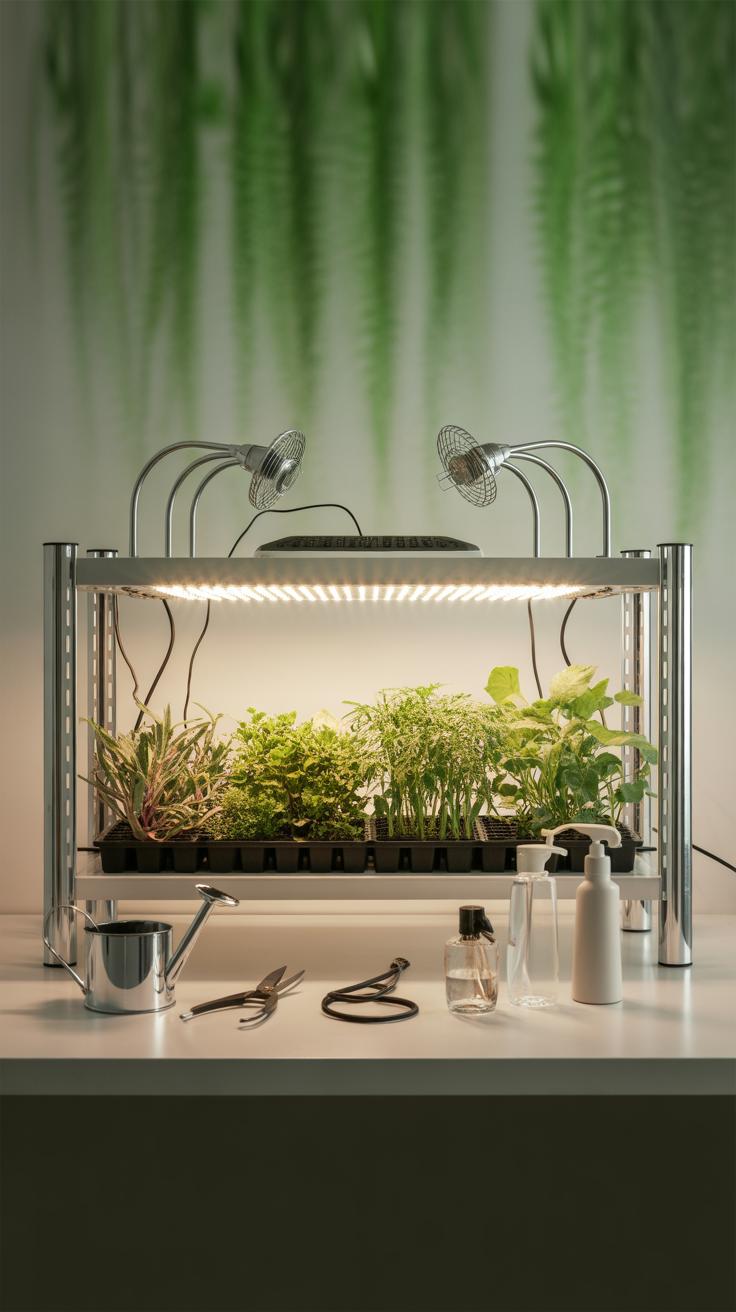
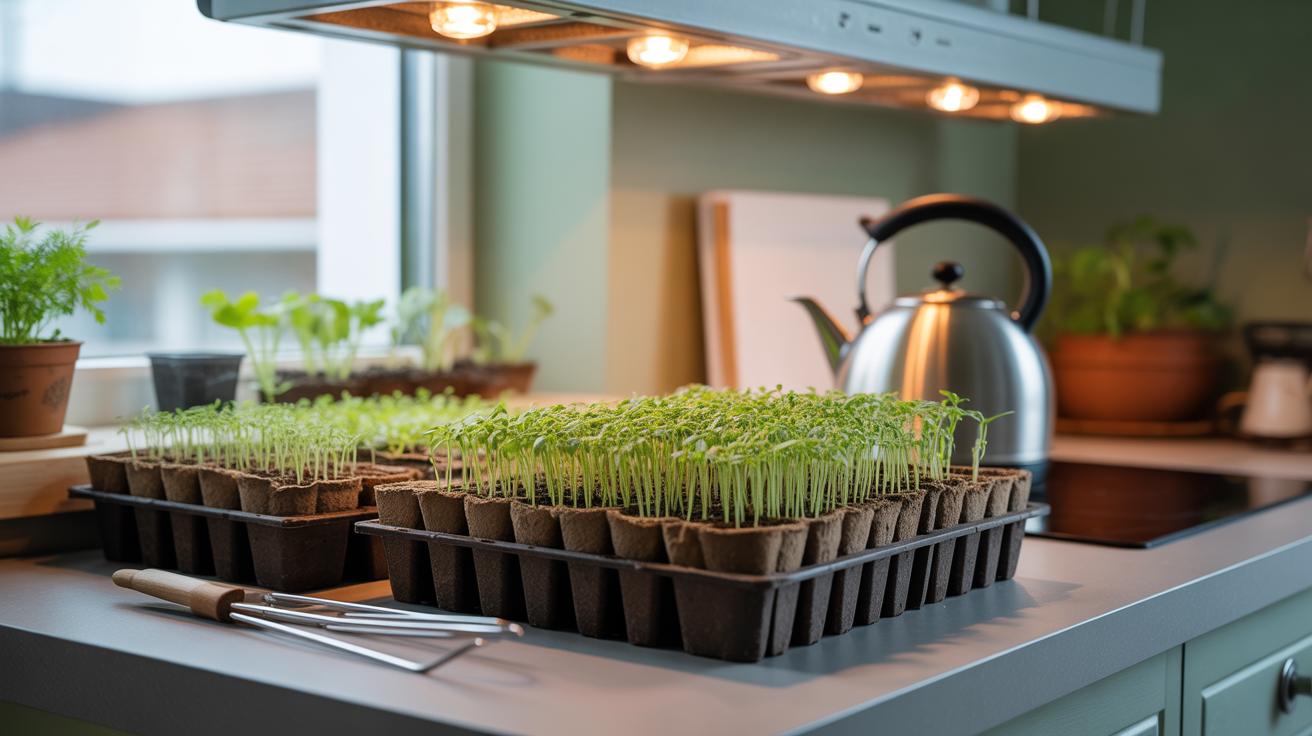
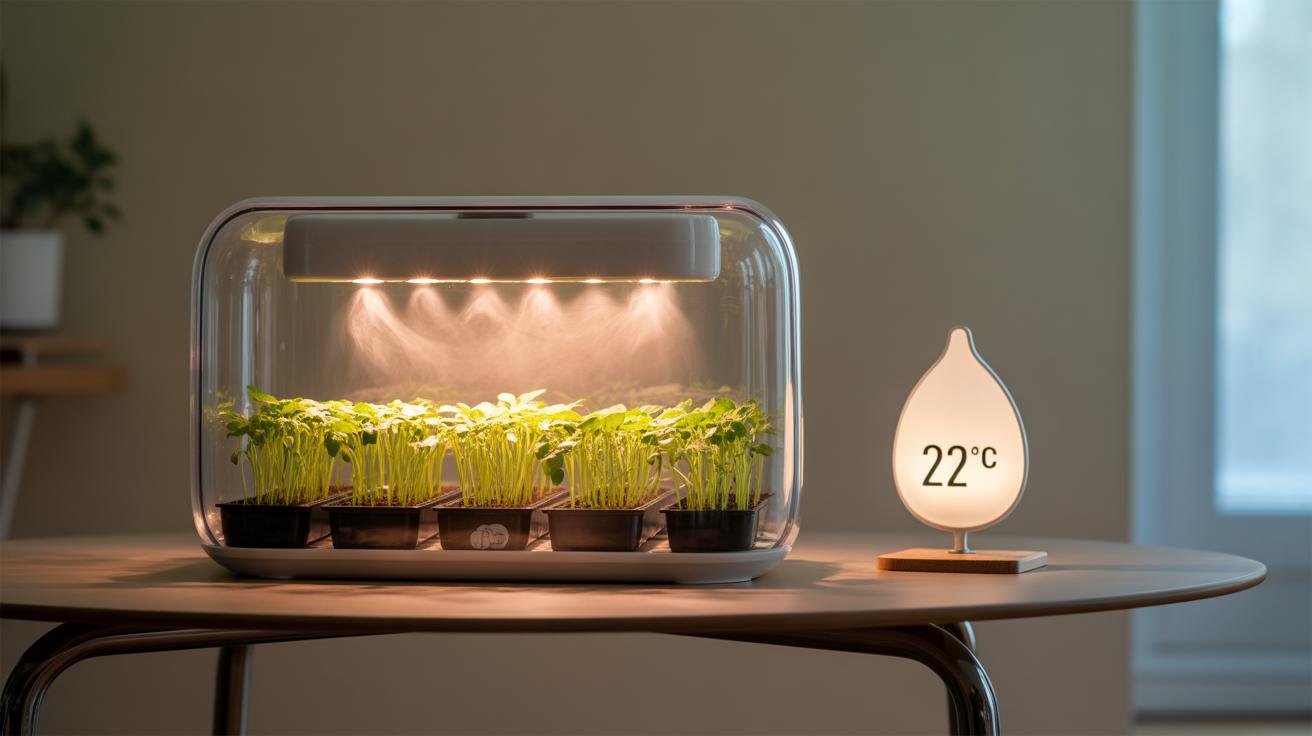
Setting Up Proper Lighting and Warmth
Tomato seeds don’t sprout well in the dark. They need bright, consistent light. If you lack a sunny south-facing window, you might want to invest in a grow light. Fluorescent or LED setups work fine, but place them close—about 2 to 4 inches above the seedlings—to keep those stems short and strong.
Temperature? Tomato seeds like it warm—aim around 70 to 75 degrees Fahrenheit for germination. If your home tends to be cooler, a seedling heat mat can boost soil warmth gently and evenly. Just be cautious; too much heat stresses seeds or encourages mold.
Balancing light and warmth can be tricky. Sometimes I’ve found a sunny spot that’s a bit too cool, or a warm spot that’s too dim. Finding that sweet spot might take a few tries, but your seedlings will thank you for it.
Planting Tomato Seeds Indoors
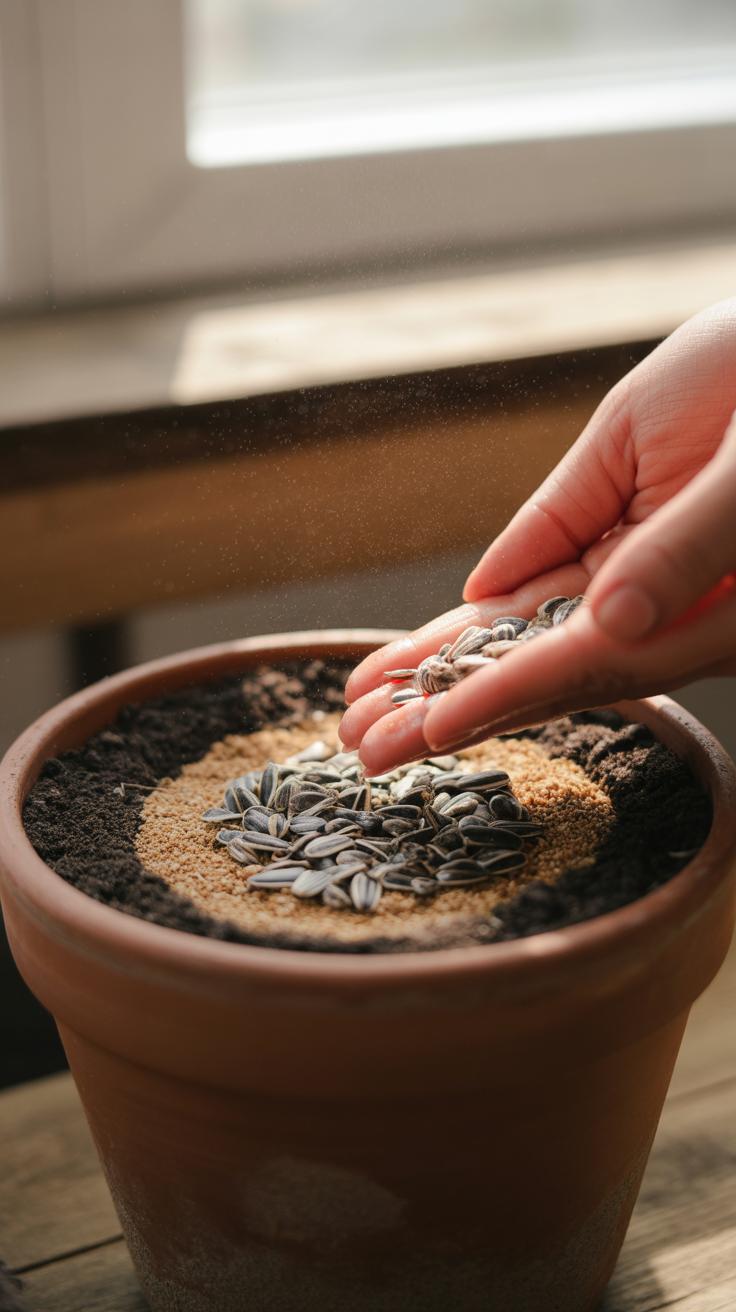
Starting tomato seeds indoors begins with choosing the right soil. Use a seed starting mix, which is lighter and finer than garden soil. This mix holds moisture well without becoming soggy, and it’s low in nutrients since young seedlings don’t need much initially. You can find it at most garden centers or make your own by combining peat moss or coconut coir with vermiculite or perlite.
When planting, depth matters. A good rule is to plant seeds about twice as deep as their diameter—usually around a quarter inch. Press them gently into the soil and cover lightly. Planting deeper can slow germination, but too shallow means they might dry out quickly or fail to sprout straight.
Watering delicate seeds requires patience. Moisten the soil before planting, but don’t soak it. After sowing, mist lightly or use a spray bottle to keep the surface damp without puddles. Too much water can cause seeds to rot, yet if you’re not careful, the soil dries out fast. Finding that balance took me a few tries—sometimes I ended up overwatering and had to start again. A consistent, gentle moisture level seems to work best overall.
Caring for Tomato Seedlings Indoors
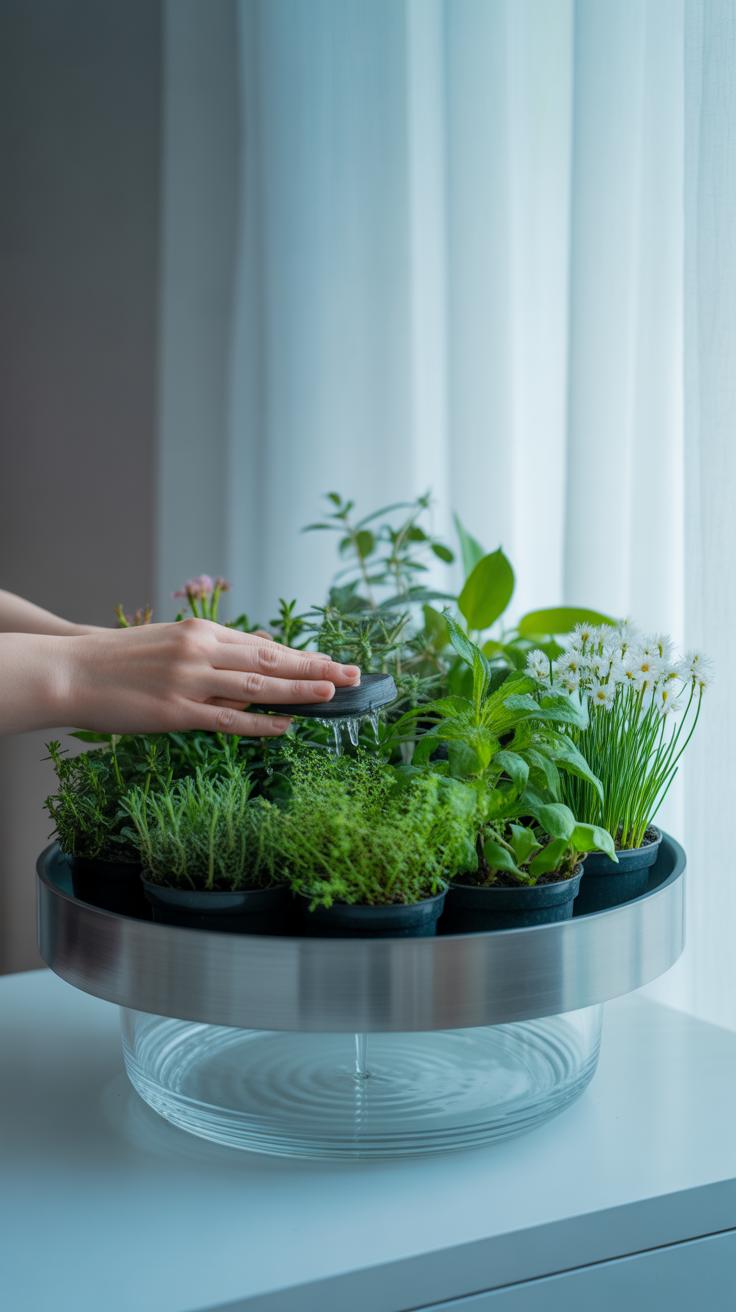
Once your tomato seeds sprout, the real care begins. Watering is key—but not too much. Seedlings need moist soil, not soaked. I usually check the surface daily; if it feels dry, I water gently. Overwatering can lead to root rot or mold, so a light touch works better. Using a spray bottle often helps avoid disturbing tiny roots.
Feeding seedlings is a bit tricky. You don’t want to rush into fertilizer right away. Wait until the first true leaves appear, then start with a diluted, balanced fertilizer—about quarter strength is enough. Too much fertilizer early on can cause leggy growth, which you definitely want to avoid.
Thinning seedlings is something I wish I’d done sooner the first time I grew tomatoes. When seedlings pop up right next to each other, you have to pick the strongest one and snip off the rest at soil level. This avoids crowding and competition for light and nutrients. Crowded seedlings tend to get weak and spindly. Thinning feels a bit ruthless, but it really pays off with sturdier plants later on.
Watch out for common issues like damping off—a fungus that kills seedlings overnight. It can be prevented by good air circulation and not overwatering. I almost learned this the hard way when my first tray collapsed; a small fan and careful watering made a big difference after that.
In the end, caring for tomato seedlings indoors is about balance—moisture, light, space, and nutrients. Getting these factors right isn’t always straightforward, but your future harvest will benefit a lot from the patience.
Knowing When to Transplant Tomato Seedlings

Figuring out the right moment to move your tomato seedlings outdoors can feel a bit tricky. You want to avoid planting too early and risking a frost, but waiting too long can slow your harvest.
Signs Seedlings Are Ready to Plant Outside
Look for these signs before transplanting:
- Your seedlings should have at least two to three sets of true leaves. The tiny first leaves, called cotyledons, aren’t enough—they don’t really show if the plant is ready.
- The plants should be sturdy and about 6 to 10 inches tall, with thick stems. Thin, spindly seedlings often struggle when transplanted.
- If the roots fill the container or start circling, that’s a hint the plant needs more room.
- Seedlings that start reaching for the light or look a bit leggy might benefit from a bit more time indoors—but not too long, or they get root-bound.
Honestly, sometimes you just have to feel it out. I’ve pulled a few plants too early. They barely survived, but other times I waited too long, and the seedlings got stressed inside.
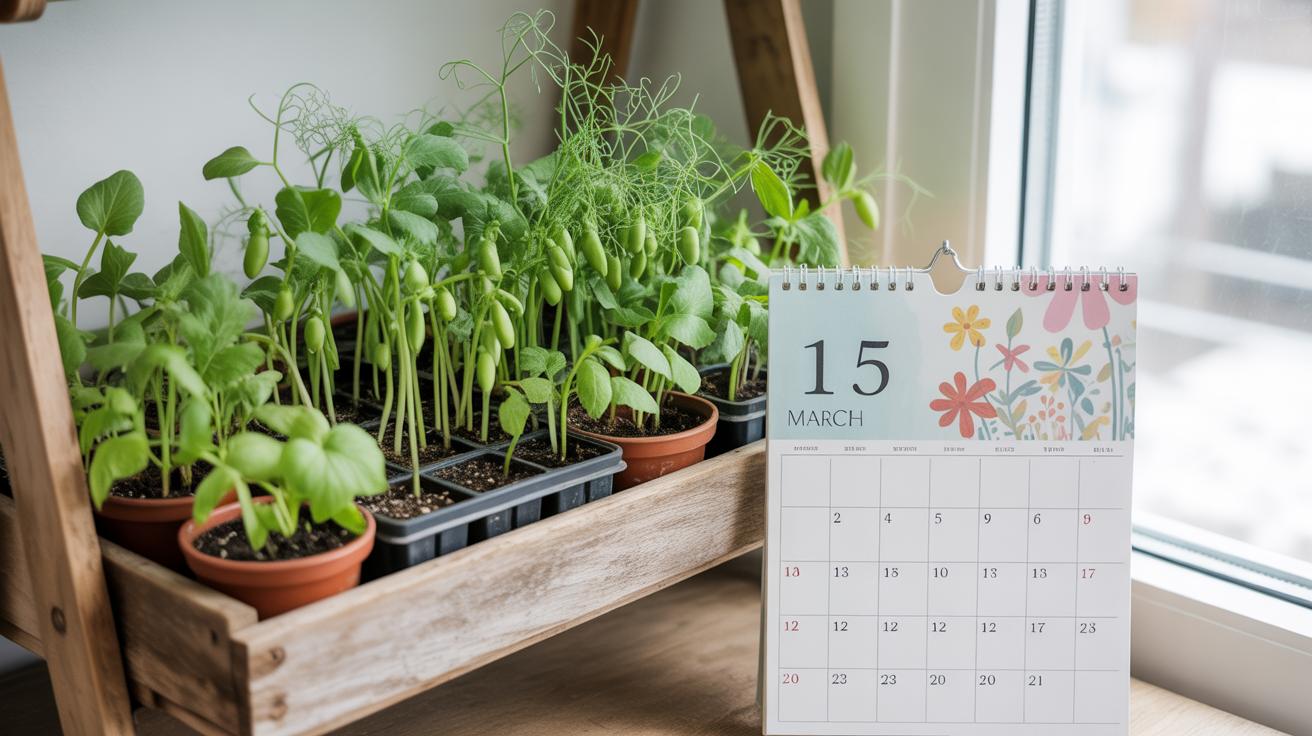
Timing Based on Local Climate
Keep your last frost date in mind. Tomatoes are sensitive; a chilly night after planting can stunt their growth or kill them outright.
Typically, transplant about one to two weeks after your area’s average last frost date. This gap allows the soil and air temperatures to warm up enough. If you plant too soon, even a slight cold snap can cause havoc.
Check local weather forecasts over a week or so. If there’s a sudden cold spell expected, hold off a bit. On the other hand, if you see steady warmth, it’s probably safe to go ahead.
Don’t forget microclimates. Your garden spot might be warmer or cooler than nearby areas. I once planted after the recommended date, thinking all was well, but a chilly patch in the garden slowed my tomatoes down.
So, it’s a mix of leaf count, seedling robustness, and local weather. If you balance these, your outdoor tomatoes will have a much better start.
Hardening Off Tomato Seedlings

Preparing your tomato seedlings for outdoor life is more than just moving them outside. The process called hardening off gently introduces young plants to natural conditions. Sudden exposure to wind, sunlight, and fluctuating temperatures can stress seedlings, causing wilting or slowed growth. Taking the time to harden off helps them build resilience and cope better once in the garden.
Step-by-Step Hardening Off Process
Start by placing seedlings outdoors in a sheltered spot for a couple of hours. Do this during mild weather; avoid strong sun or heavy winds. Increase the time spent outside by an hour or two each day over about a week. On the third or fourth day, try moving them to a spot with more direct sunlight—just for an hour or so at first. Watch how they respond. If leaves look scorched or droopy, dial back the sun exposure for a day or two.
Don’t forget to bring your seedlings back indoors overnight for at least the first several days. Gradually, they’ll adapt to cooler temperatures and natural breezes.
Why Hardening Off Matters
Tomato seedlings accustomed only to indoor warmth and stable conditions aren’t ready for the unpredictability outside. Without hardening off, these young plants can experience transplant shock—where growth slows or stops because they struggle to adjust. I’ve seen seedlings wilt and lose leaves simply because they faced a gust of wind or a day of strong sun without preparation.
Hardening off helps seedlings strengthen cell walls and develop tougher leaves. The process encourages better water retention and more efficient photosynthesis outdoors. Ultimately, your tomato plants will settle faster after transplanting and start growing at a better pace. Skipping this step? You might end up replanting or waiting longer for fruit—something no gardener really wants.
Transplanting Seedlings to Your Garden
Preparing the Garden Bed
If you’ve given your seedlings some time to harden off, the next step is getting the garden bed ready. Tomatoes need soil that drains well but can still hold moisture—something that’s rich but not swampy. I usually start by loosening the soil about 12 inches deep. It’s not just digging; gently breaking up clumps and mixing in aged compost helps create a welcoming home for roots.
Space matters here. Tomato plants aren’t shy and will want room to spread. Plan for 18 to 24 inches between each plant. Crowding them makes for unhappy plants and zone wars with pests and diseases. Rows about 3 feet apart make reaching in for care easier, too. You might think a tighter layout saves space, but it often backfires.
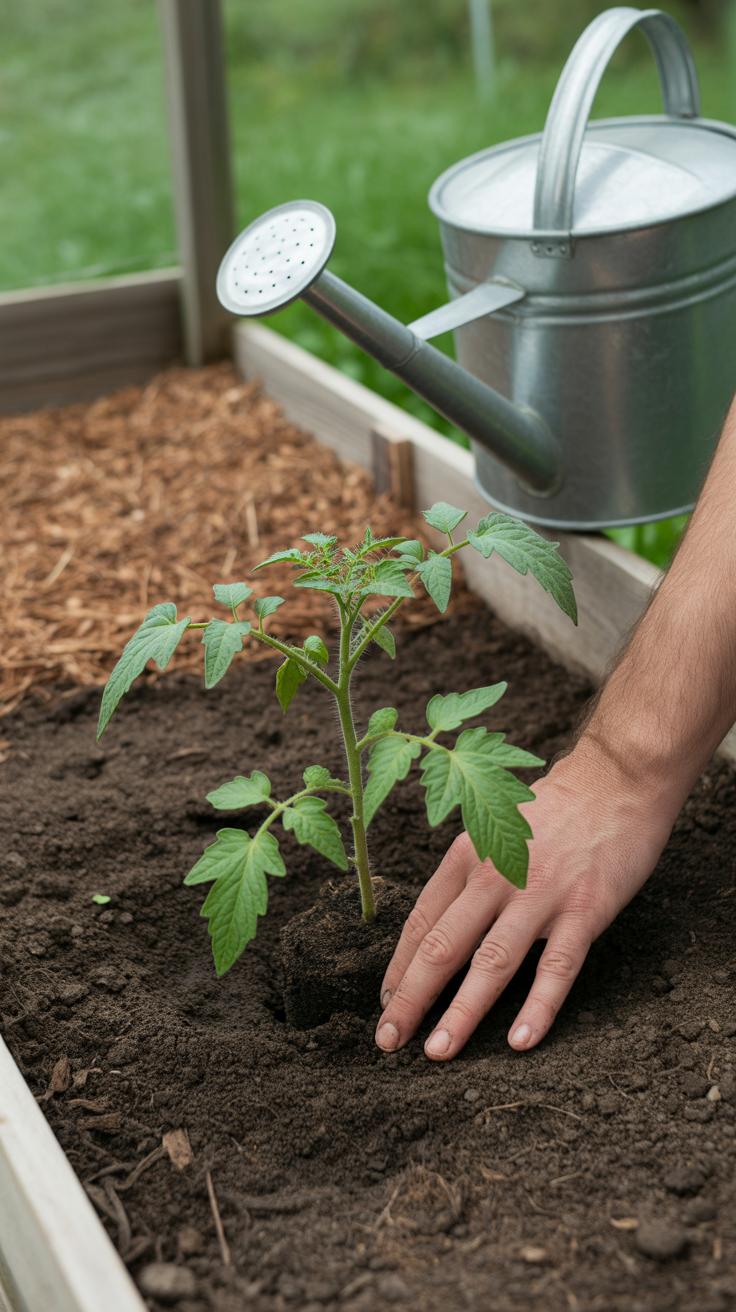
Planting and Initial Care
When transplanting, plant your tomato seedlings deeper than they sat in their pots. Bury about two-thirds of the stem, up to the first set of true leaves. This encourages more roots to develop along the buried stem—that’s great for a sturdier plant. Don’t just drop them in; carefully firm the soil around the base but not too tightly. You want the roots snug but breathing.
Right after planting, give them a good soak. Water slowly and deeply to settle the soil and knock out air pockets. It’s tempting to drown them a bit, but find a balance—wet feet can invite rot. If the sun’s strong or wind picks up soon after, a bit of shade or shelter helps the young plants adjust without shock. Watching seedlings perk up after transplanting never gets old.
Maintaining Your Tomato Garden for a Long Harvest
Keeping tomatoes producing well over a long season takes more than just planting them. You need steady attention to watering, fertilizing, pruning, and pest control. These ongoing tasks make a real difference in how long your tomato plants can keep giving fruit.
Regular Watering and Fertilizing
Tomatoes like consistent moisture, but they don’t want soggy soil. Aim to water deeply once or twice a week rather than light daily watering. If the soil dries out and then gets soaked again, your plants may crack or get stressed. Mulching helps keep soil moisture steady and cuts down on watering frequency.
Fertilizing regularly feeds the plants but don’t overdo it—you want good balance. A tomato-specific fertilizer or something balanced with nitrogen, phosphorus, and potassium every couple of weeks often works well. I usually switch to a bloom booster once flowers appear to encourage fruit growth. You might find that adjusting amounts based on how lush or leggy your plants look is helpful.
Pruning and Pest Management
Pruning helps air circulation and focuses the plant’s energy on fruit, not excessive foliage. Pinch off the suckers—those little shoots that grow between the main stem and branches. Leaving too many suckers can drain resources and invite disease, but removing too many can slow growth somewhat. It’s a bit of a balancing act, honestly.
On pest control, watch for common tomato pests like aphids, hornworms, and whiteflies. Handpicking, spraying with insecticidal soap, or using companion plants like basil can keep pests in check without chemicals. It’s tempting to rush to insecticides, but sometimes mild intervention suffices if you catch issues early. Think about your garden as an ecosystem—it’s not about total eradication, just balance.
Have you noticed how some years your tomatoes seem more prone to disease despite good care? Environmental factors, slight changes in watering, or even the specific variety can throw things off. Staying observant and flexible with your routine can extend your harvest better than rigid rules.
Harvesting Tomatoes for Maximum Flavor and Yield
When and How to Pick Tomatoes
Knowing the right moment to pick your tomatoes can be a bit tricky. Tomatoes don’t always ripen all at once, and sometimes they look ready before they actually taste good. A good rule is to watch for a deep, even color—whether red, yellow, or orange depending on your variety. The fruit should feel slightly soft when you gently squeeze it, but not mushy. If you wait too long, you risk over-ripeness, which can lead to mealy texture or even splitting.
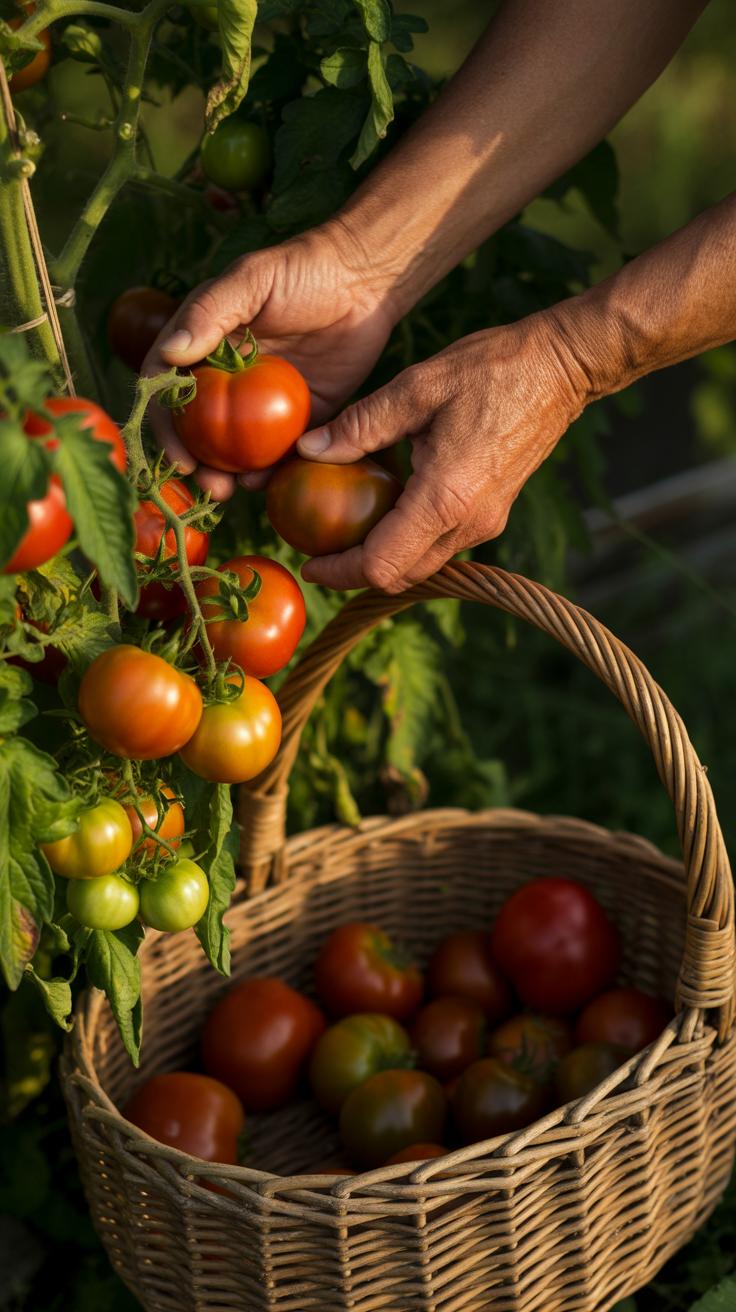
When it’s time to pick, use your hands with care. Twist gently or use scissors to snip the stem just above the fruit. Pulling can damage the plant or the tomato itself. I’ve found that harvesting early in the morning, when it’s cooler, often helps the fruit stay firm and reduces bruising.
Extending Your Tomato Harvest
Picking tomatoes regularly encourages the plant to keep producing more fruit. If you leave too many ripe tomatoes on the vine, the plant kind of thinks its job is done. So, try to check your garden every few days and harvest any fruit that’s approaching ripeness.
Caring for the plants after the first wave of harvest also matters. Keep up with pruning of suckers and spent leaves, and consider feeding the plants lightly once you start harvesting. It seems like a small effort, but it often makes a difference, pushing the plant to keep flowering and fruiting longer. Sometimes, cooler nights or sudden weather changes slow things down, but a little regular attention often keeps your harvest going beyond what you expected.
Conclusions
Starting tomato seeds indoors is a smart way to extend your growing season and enjoy fresh tomatoes longer. With proper preparation and care, your seedlings will grow strong and ready to thrive once they move outdoors. Remember to choose suitable seeds, use quality soil, and keep your indoor garden warm and well-lit.
By following the steps outlined here, your tomato garden can produce fruit over a long season. Growing tomatoes from seeds indoors puts you in control and helps you enjoy delicious homegrown tomatoes for months. Start early, care well, and watch your tomato garden grow.


