Introduction
Thrift store crafts offer a way to give new life to old finds. By upcycling items from thrift stores, you can create unique and useful objects while helping the environment. This practice turns things that might be discarded into something valuable and beautiful.
In this article, you will discover fun and easy ways to use thrift store items in crafts. From simple projects to tips for success, you will learn how to transform your thrift store treasures into creative works. Whether you are new to crafting or looking for fresh ideas, these concepts will help you start your journey in thrift store crafts.
Understanding Thrift Store Finds
What Makes Thrift Store Items Special
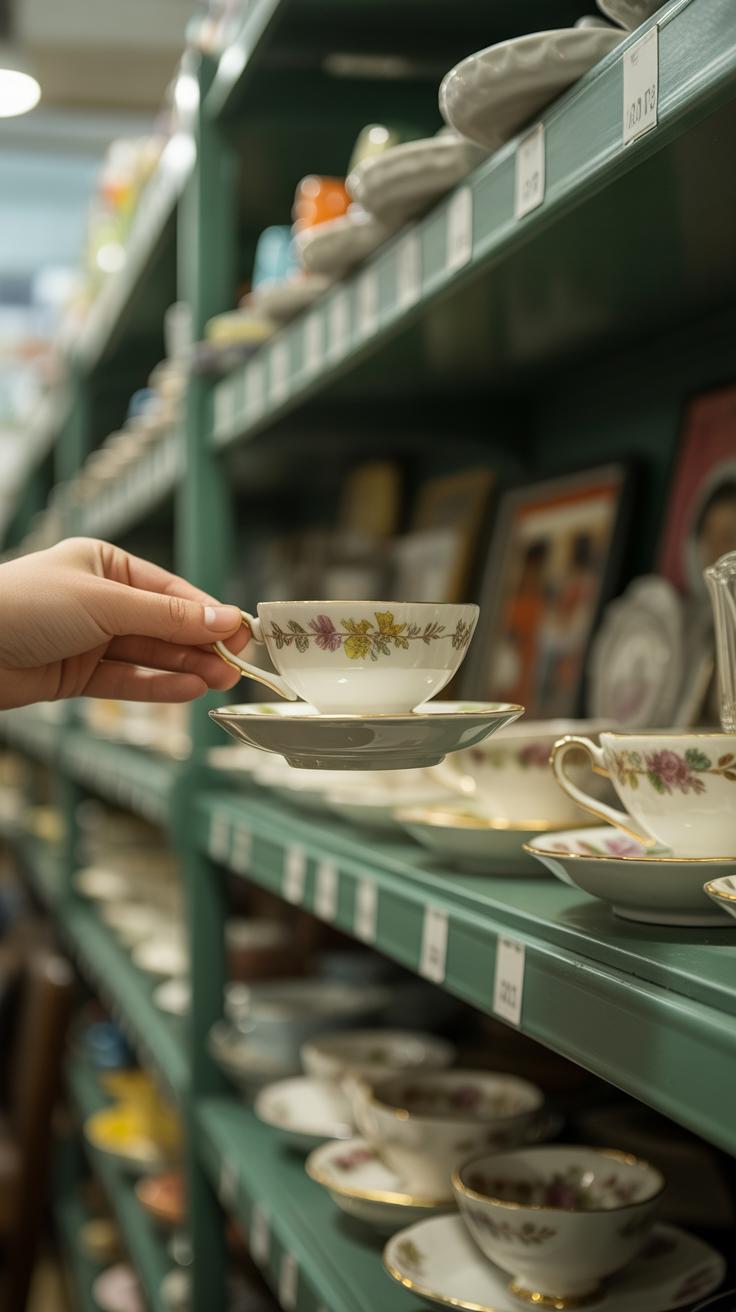
Thrift stores offer a wide range of items you won’t typically find in regular stores. From old furniture and clothes to books and kitchenware, the variety can be surprising. This mix means you often get pieces with history, unique styles, or materials you wouldn’t usually choose on your own. Some items might feel outdated or odd at first, but that’s part of their charm when you look at them from a crafting perspective. Vintage fabrics, unusual ceramics, or wooden items with character can add a lot to creative projects.
The materials themselves matter. You can find metal, glass, wood, fabrics, and plastics—sometimes all in one place. Each brings something different when you’re upcycling or altering an item. And sometimes, you just stumble on an unexpected gem that turns into a favorite craft project later.
How To Choose Items For Crafting
When picking thrift store items for crafts, think about their condition but don’t be too picky. Some wear or small damage might be perfect for certain projects, while large damage or broken parts could be frustrating or limiting. Look at what the item’s made of: is it sturdy enough to stand up to your planned changes? Can it be cut, painted, or glued easily?
Size plays a role too. Smaller items can work well for quick crafts, while bigger pieces might need more space or time but offer more opportunities. Your personal interest or connection matters a lot here; if you aren’t attracted to the item or don’t see its potential, it might just end up back on the shelf. Sometimes, you find something that sparks an idea right away, or you realize its value only after some thought.
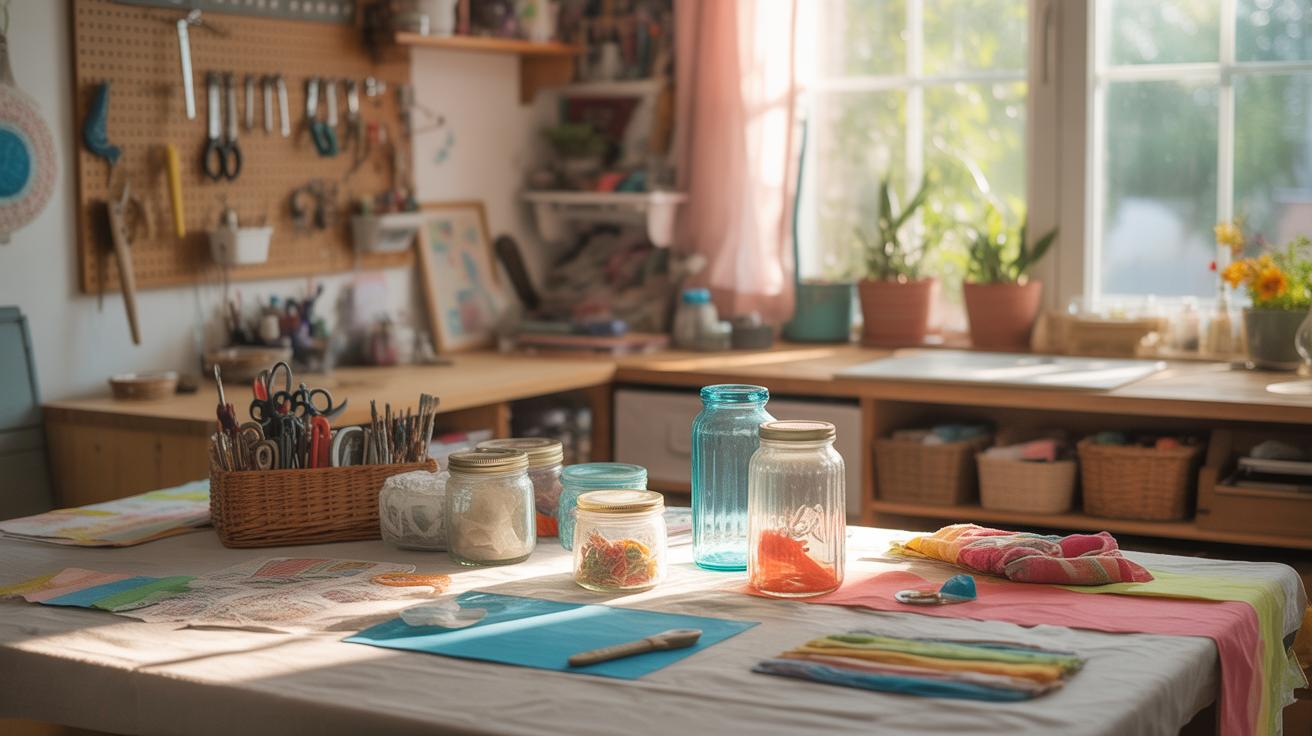
Basic Tools And Supplies For Thrift Store Crafts
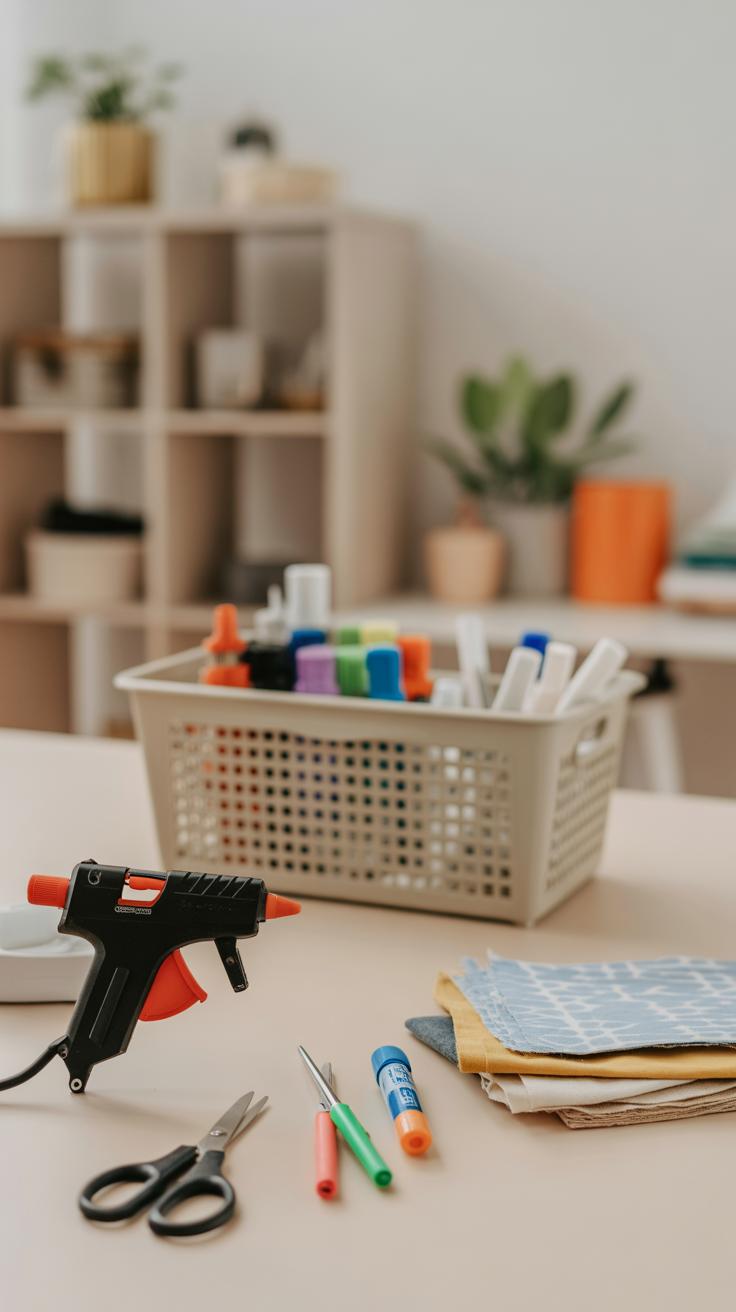
When you’re starting out with thrift store crafts, having a set of basic tools can make all the difference. Some things you’ll use again and again, and they’re pretty straightforward—nothing too fancy, really. I like to think of these as the foundation of your crafting workspace, the items that turn a pile of old finds into something fresh and new.
Essential Craft Tools
A glue gun is almost always handy. It works on so many surfaces, wood, fabric, plastic—you name it. And it’s fast, which is great if you don’t want crafts to drag on forever. Scissors, of course, but choose a pair that’s sharp enough for fabric but safe if kids join in. Speaking of kids, some kid-friendly paint sets, like washable acrylics, are perfect. They’re vibrant but easy to clean up, which can be a lifesaver. Brushes come next, and you don’t need loads—just a few different sizes for different details or broad strokes. Lastly, sanding tools help smooth rough edges on wooden or plastic finds. You don’t have to get industrial-grade sandpaper; medium grit works well and is easy to manage.
Extra Supplies To Enhance Projects
Once you’ve got the basics, some extra materials help add flair and personality. Stickers can be surprisingly versatile, especially if you want to quickly jazz up picture frames or containers. Fabric scraps—maybe from old thrifted shirts or linens—can brighten things up or add texture. You could sew or glue them on. Beads can brighten up just about anything from picture frames to old jars. Stencils are also great if you want neat, consistent patterns without needing a steady hand. These extras aren’t necessary, but they often push a project from just ‘okay’ to something more interesting. Do you ever get stuck wondering how to make a plain item more “you”? These little touches often help.
Simple Upcycling Projects To Try
Starting with thrift store crafts can feel a bit overwhelming, but picking simple projects makes it easier to get comfortable. You don’t need to dive into anything complicated right away. Try small, fun experiments that use basic supplies and items you can easily find. For example, grab a plain picture frame and add a splash of paint or glue on some decorative paper. It’s satisfying to see something old suddenly fresh and personal.
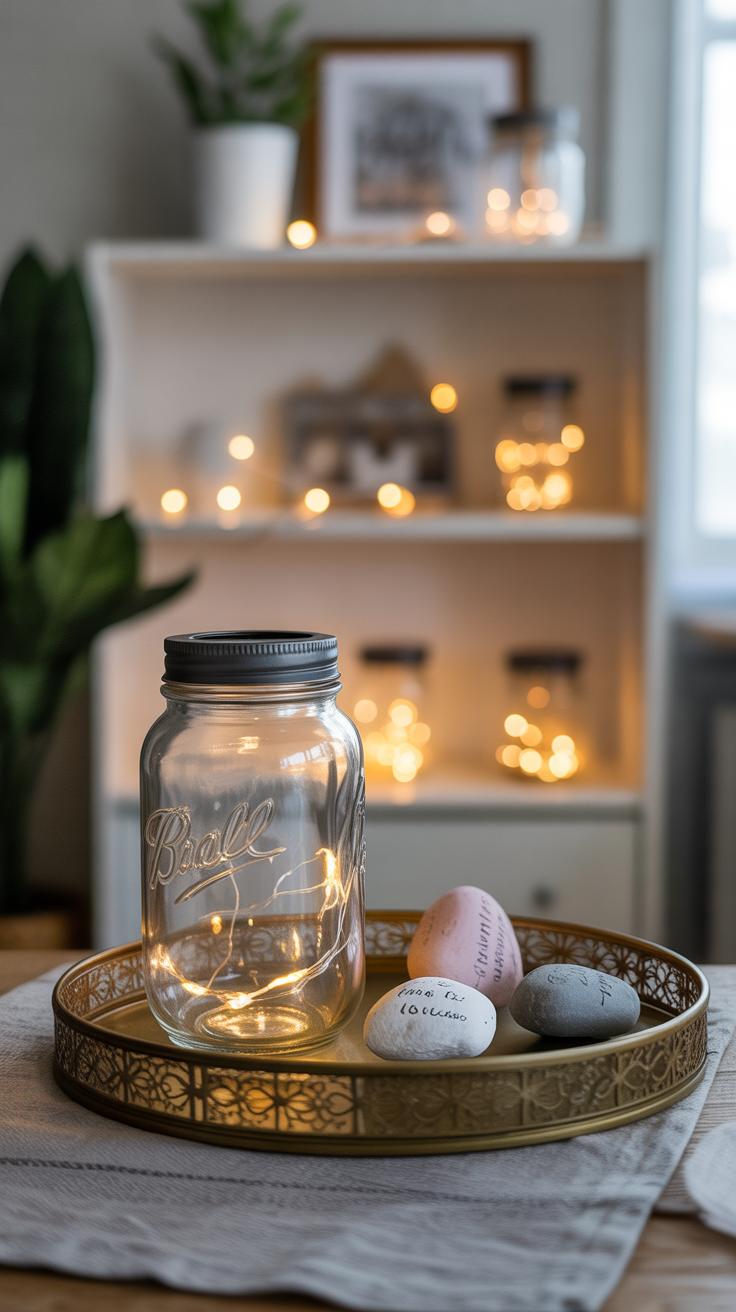
When you look around your home, think about jars or vases—ones you might have seen sitting at thrift stores without much attention. They’re perfect for upcycled decor. A painted jar can become a stylish pencil holder or a quaint vase for flowers. Repurposed vases with some added touches like twine or fabric scraps create texture and a homemade look, without much fuss.
If you’re curious about working with textiles, old clothes hold lots of possibilities. Those vintage shirts or worn-out jeans? Don’t toss them; there’s more life in them than you think. Simple sewing projects like making tote bags from old heavier fabrics or turning worn tees into comfy pillow covers are great starter ideas. You might even try patchwork quilts if you have small scraps—though fair warning, those require patience. It’s a slow process, but rewarding once you get the rhythm of it.
Trying these projects helps you understand the basics of upcycling while giving you real, usable results. And guess what? If something doesn’t turn out perfect, it’s part of the learning. That’s what makes thrift store crafts enjoyable—it’s mostly about creativity, not getting it right the first time.
Creative Jewelry From Thrift Store Finds

Designing Necklaces And Bracelets
Necklaces and bracelets can come alive with just a few thrift store treasures. Beads, chains, and strings of all colors and textures are often overlooked but perfect for crafting. You might find a bag of mixed beads or a broken necklace whose pieces can be salvaged. Try mixing metal chains with fabric strips or layering beads of different sizes for depth.
One simple method is to thread beads onto elastic cords—you can finish the ends with knots or clasps if you feel adventurous. Chains can be reshaped by adding charms or combining links, making something fresh from something old. I’ve found bracelets that looked dull but came alive when spaced with fabric knots or tiny buttons. What else could you twist into jewelry?
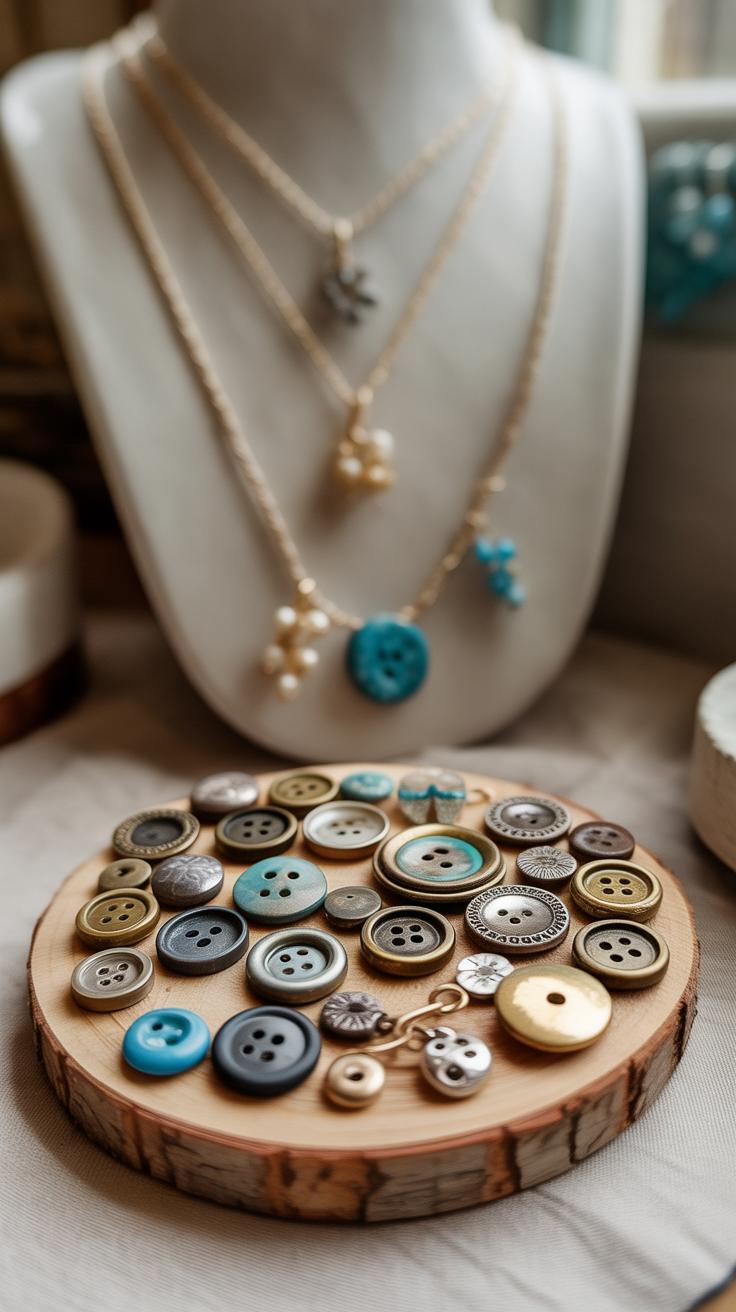
Using Buttons And Small Items
Buttons are not just for clothing repairs. They offer a surprising range of sizes, colors, and textures perfect for unique jewelry making. A single brooch or an unusual button can become a pendant or a focal point on a bracelet. Think beyond plain strings—attach a brooch to a chain or sew buttons onto fabric strips tied as wrap bracelets. Even small trinkets like tiny keys or old earrings can be repurposed this way, creating pieces that tell a story.
If you’re holding a handful of random buttons and pins, consider grouping them by color or theme. Glue them together into clusters or line them up for an eclectic necklace. Sometimes mixing shiny metal buttons with matte ones adds a contrast that stands out. You might not expect these little finds to turn into something wearable, but once you start combining, the possibilities multiply quickly—have you tried it yet?
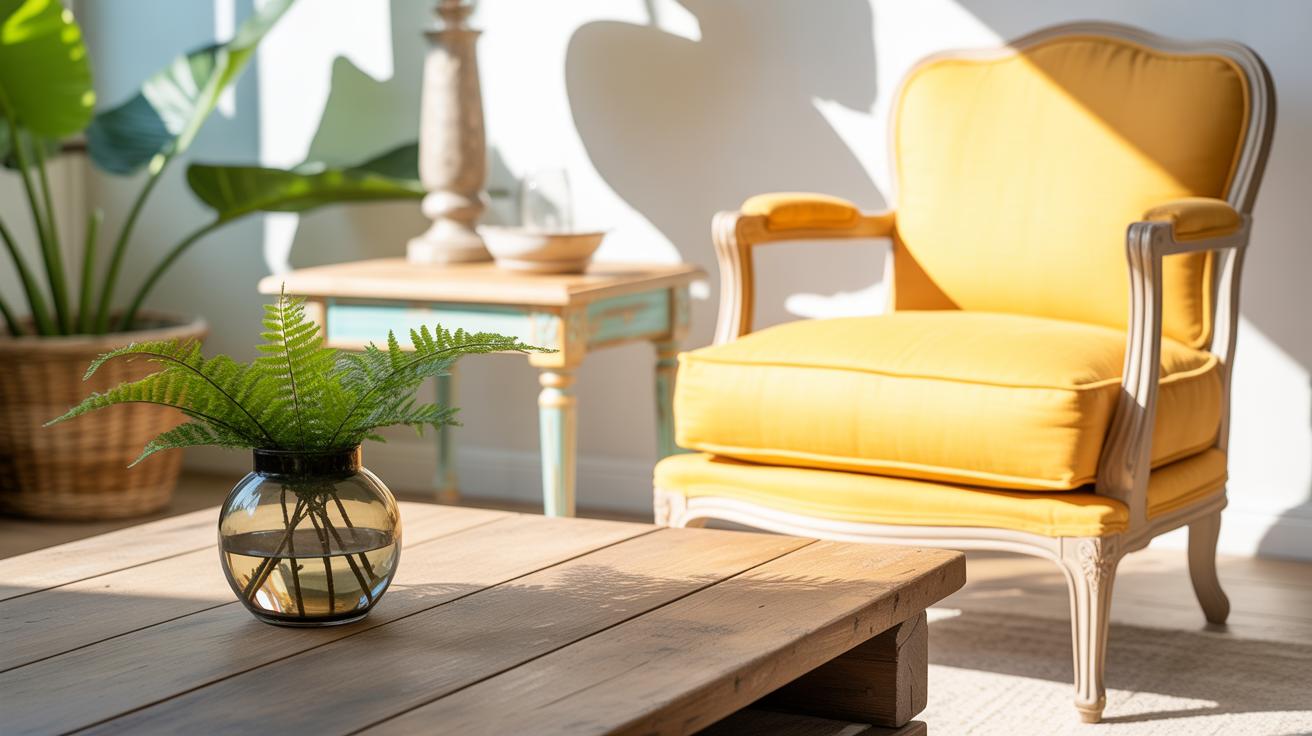
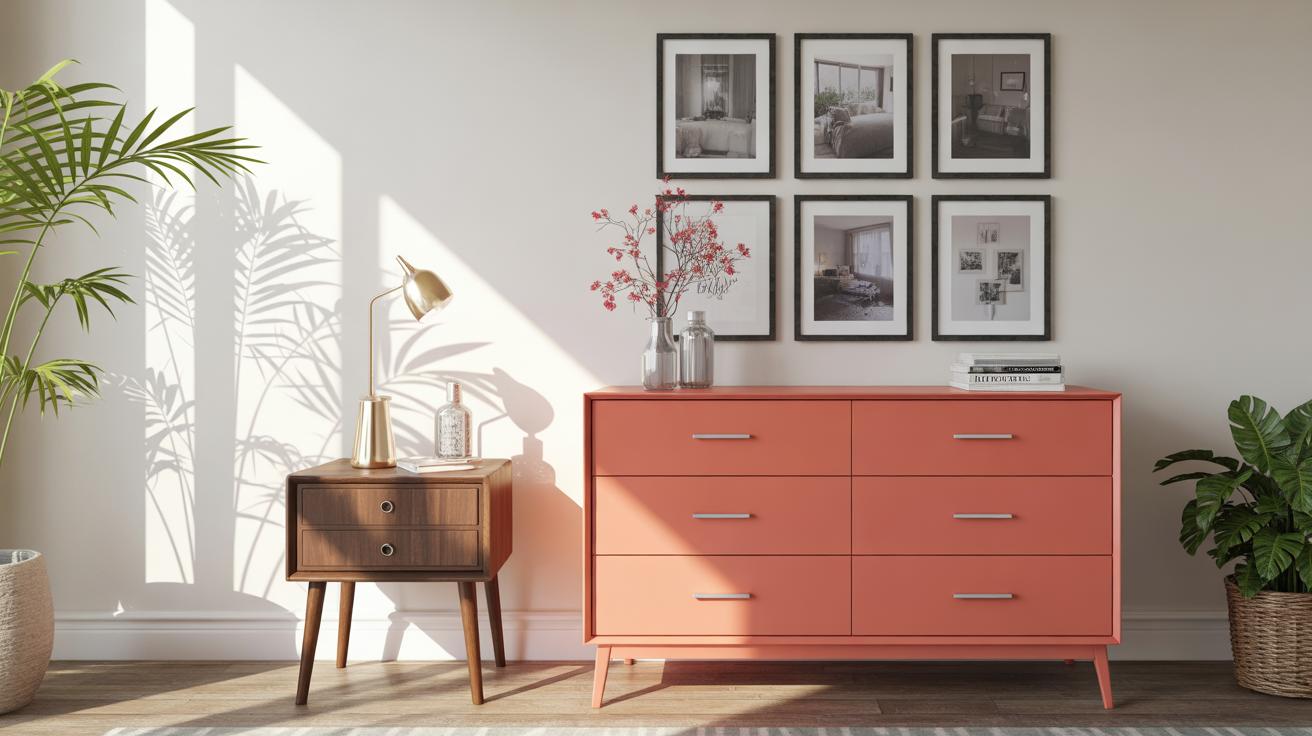
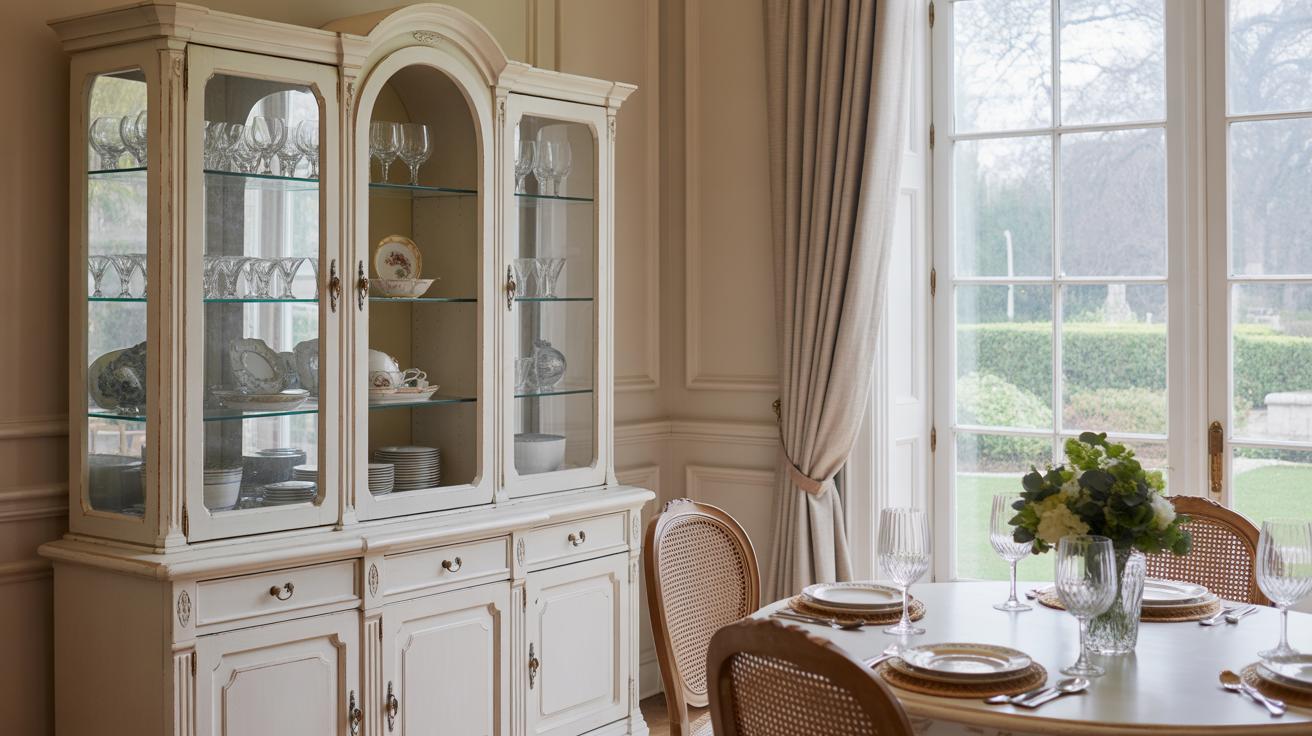
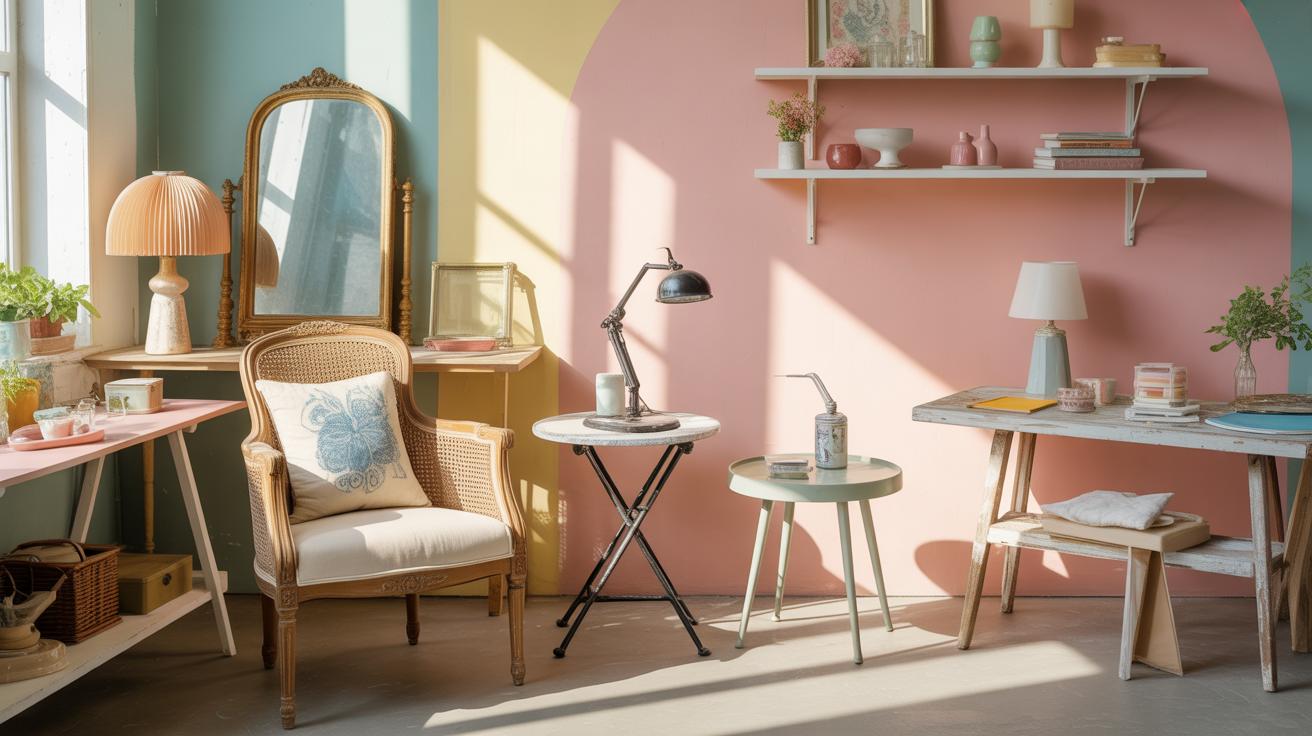
Upcycling Furniture And Large Items
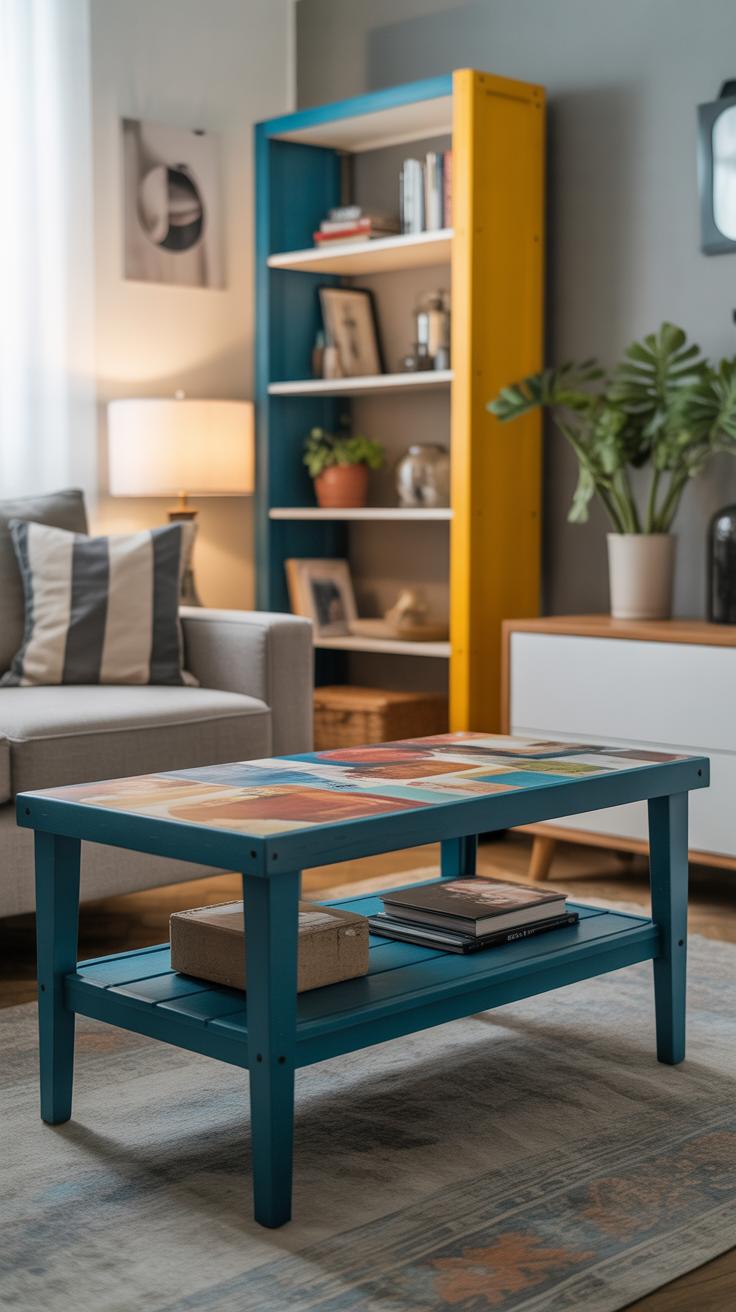
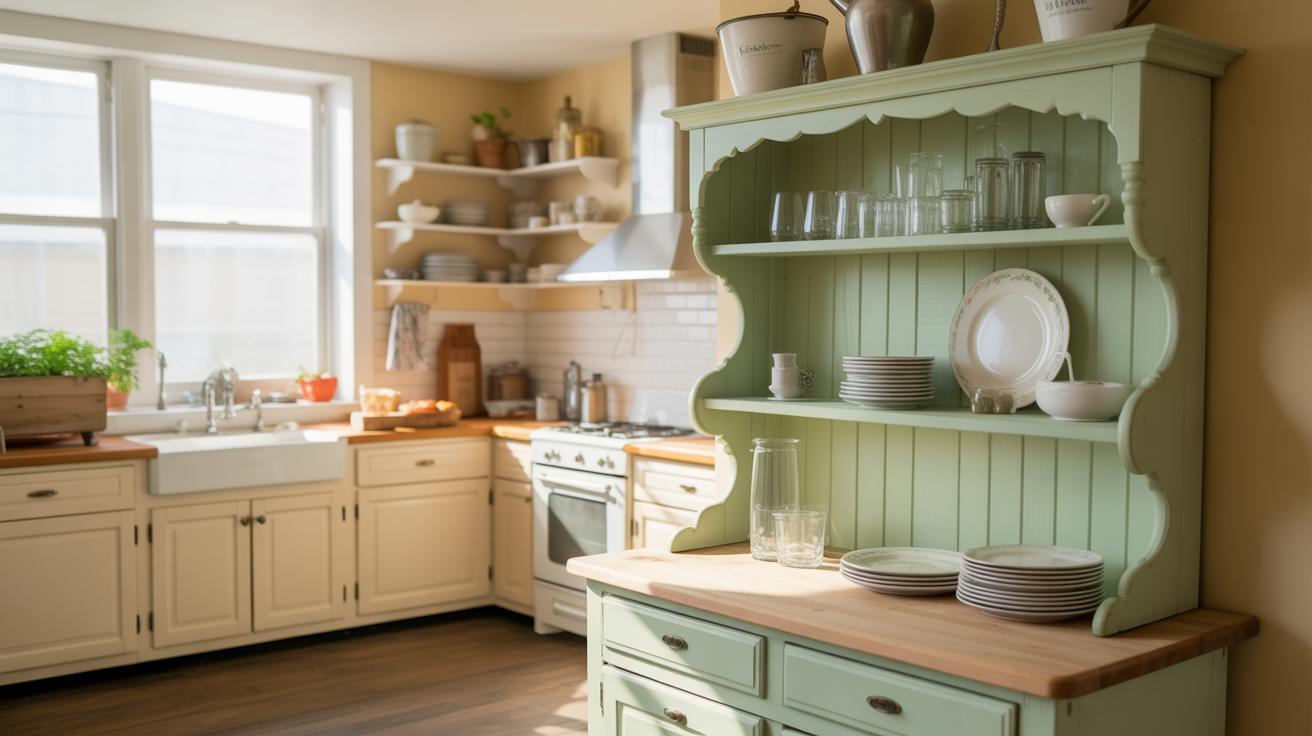
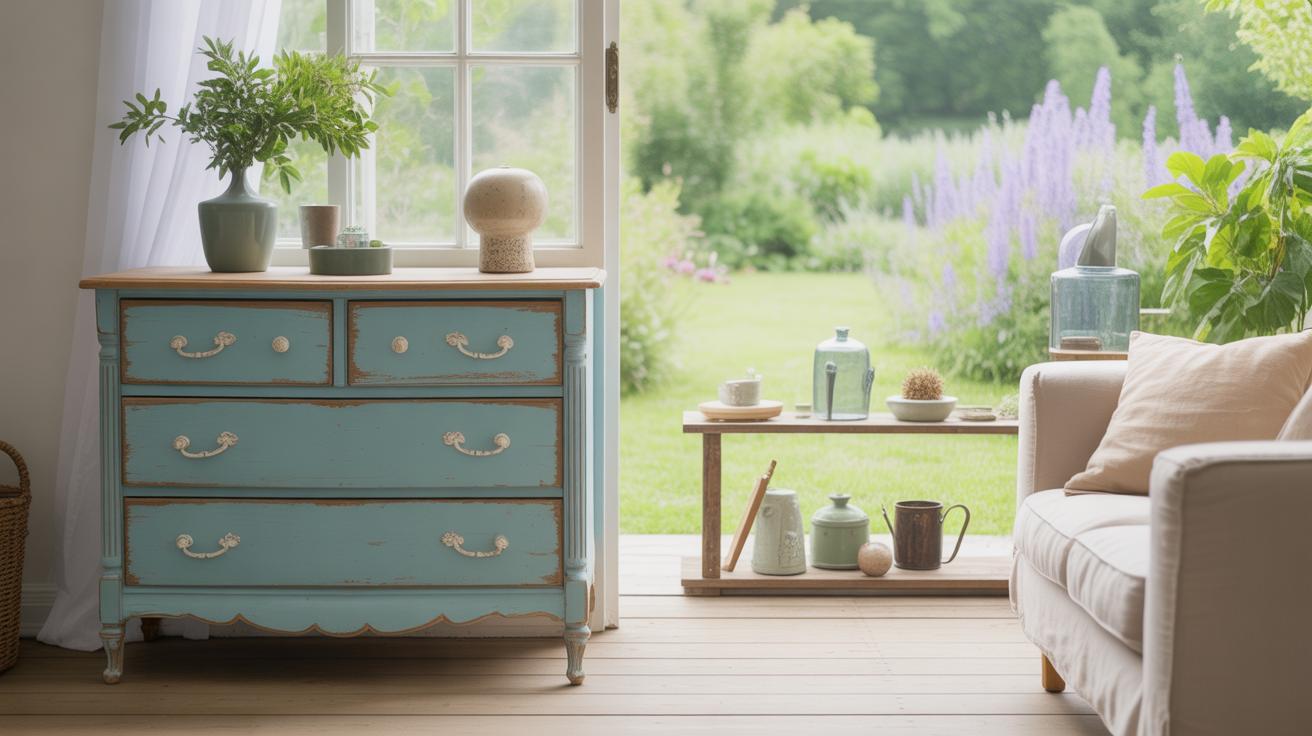
When you find a piece of furniture or a bulky household item at a thrift store, it can be tempting to pass it by due to its worn look or odd style. But these items hold so much potential for upcycling—you just need a bit of vision (and maybe some patience). Think about turning an old dresser into a vibrant storage piece or refreshing a tired table with a new finish. Sometimes, a simple coat of paint can completely shift the vibe of a piece, pushing it from forgotten to functional.
Painting and refinishing are great places to start. First, sand the surface to remove rough patches or old finishes. This preps the wood or material for a fresh coat of paint. Then, apply a primer—this helps the paint stick better and last longer. Pick a paint suited for the item’s material. Chalk paint is popular because it requires little prep and gives a smooth, matte finish. If you want something more durable, consider enamel paint. Don’t rush drying times; patience pays off here.
Once the paint is dry, add character with decorative touches. Decoupage is surprisingly flexible—you can layer old book pages, floral patterns, or even fabric onto drawer fronts or cabinet doors. Stencils make an easy way to introduce patterns or motifs without needing steady hands. For chairs or benches, reupholstering with bold fabrics can bring a modern twist. Experiment with mixing textures or colors. These small additions often make a piece feel intentional, not just repainted.
Personalizing Your Upcycled Crafts
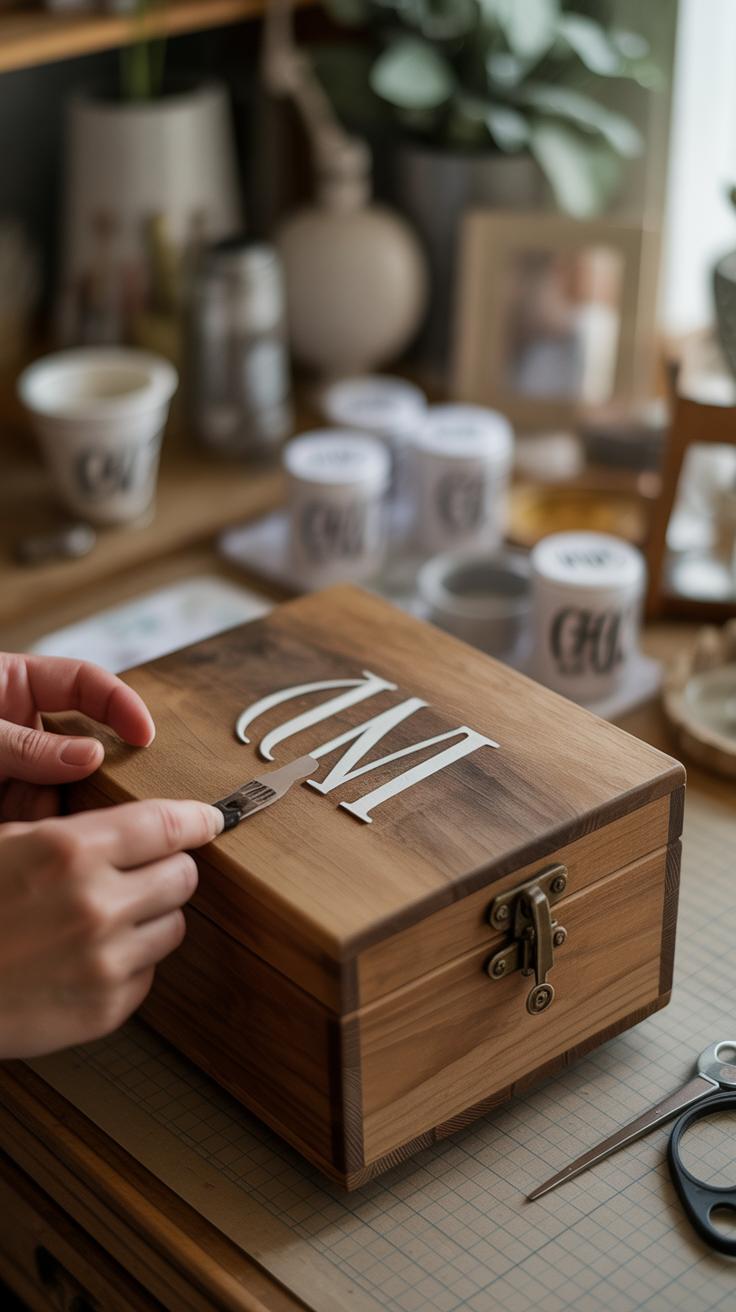
When you’re working with thrift store finds, adding your own touch makes all the difference. It turns something generic into something meaningful—something just for you. Painting and drawing directly on your items can bring personality to life in unexpectedly simple ways. Try using acrylic paint with a small brush for bold statements or finer details. Markers, especially paint markers, offer control without the mess. You might start with doodles, patterns, or even words that resonate with you. Sometimes, it’s okay to be a little messy; that imperfection adds charm, really.
If painting feels limiting, fabric and embellishments open another creative door. Scraps of fabric can cover plain surfaces or wrap around objects for texture and color shifts. Ribbons, buttons, lace, or patches aren’t just for clothes—they can dress up vases, jars, or picture frames. Simple stitches or even fabric glue are all you need to secure these pieces. Think about what colors or patterns speak to you. What do you keep coming back to? Use those in your projects to make the crafts unmistakably yours.
Have you ever noticed how just one small detail can change the feel of an entire piece? Sometimes, the tiniest ribbon bow or an unexpected splash of color makes an item feel special. And maybe it’s not perfect—or maybe it is. Either way, that’s the point, right?
Safety And Cleaning Tips For Thrift Store Crafts
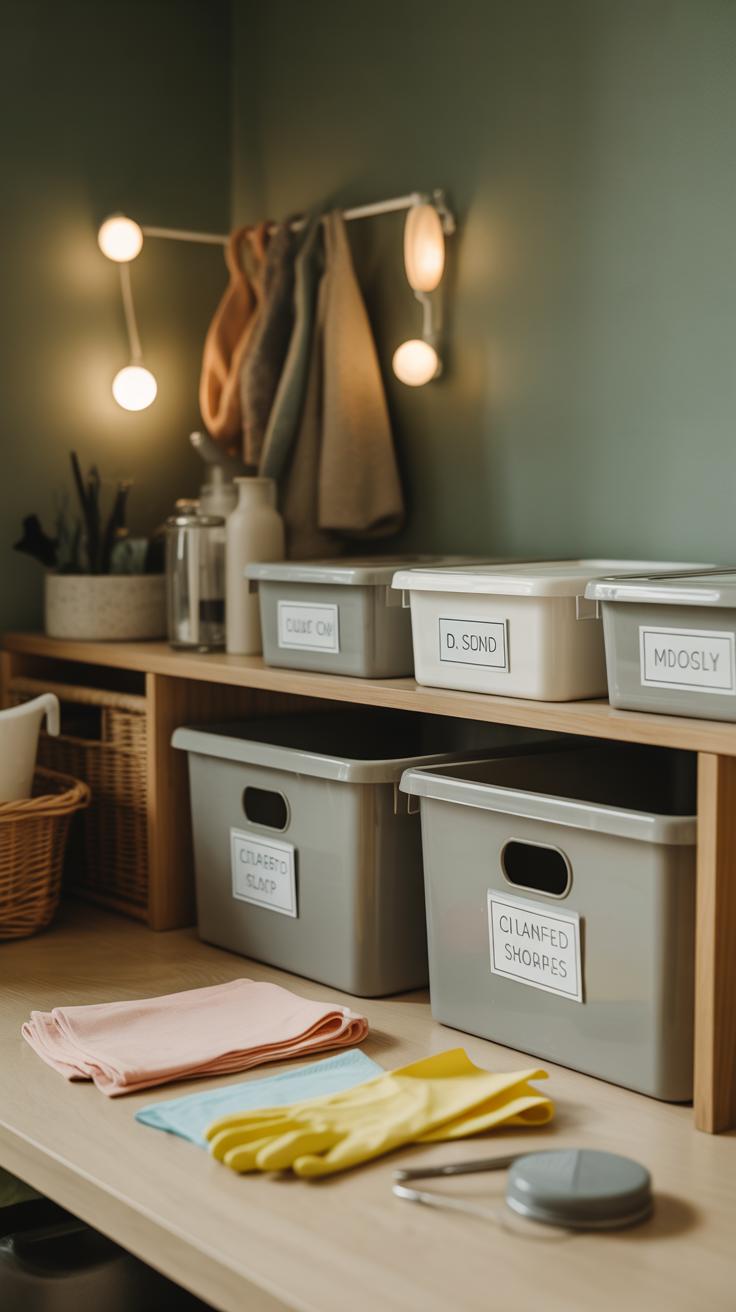
When you bring thrift store finds home for crafting—especially if kids are involved—it’s a good idea to tackle cleaning first. Some items may look charming but could carry dust, germs, or even old stains that you might want to avoid. It might seem like a chore, but a little effort here really pays off.
Proper Cleaning Methods
Different materials need different approaches. For example:
- Glass and ceramics: Soak in warm, soapy water and scrub gently to avoid scratches. If there’s stubborn grime around edges or crevices, a soft toothbrush works wonders.
- Fabric and textiles: Hand wash with mild detergent or use the delicate cycle if the fabric allows. Sometimes, airing outside for a day can help with lingering odors, but washing is safer.
- Wood: Wipe with a damp cloth and gentle soap, then dry thoroughly. Avoid soaking wood—it can warp or crack.
- Metal: Use vinegar or lemon juice with a baking soda paste to clean rust spots. Make sure to dry metal fully to prevent new rust.
Sometimes it’s tempting to skip cleaning if the item “looks fine,” but that tiny layer of dust or unseen bacteria might bother you later—especially if kids touch or even put things in their mouths during crafts.
Safe Crafting Practices
Once your items are clean, think about safety during crafting. Handling tools around children means preparing your workspace carefully:
- Keep sharp tools—scissors, box cutters, awls—out of immediate reach unless supervised.
- Use gloves when sanding or dealing with rough edges, since thrift finds often have splinters or paint chips.
- Ventilate work areas if you’re using strong adhesives, paints, or finishes. Sometimes, even “non-toxic” products can irritate sensitive skin or noses.
- Double-check for hidden hazards like old nails or cracked glass before starting.
Even if it feels like extra fuss, these steps help avoid interruptions mid-project. Plus, when everything’s safe and clean, you’re freer to focus on making your crafts truly your own. Have you ever stopped mid-craft because something just didn’t feel right? A little prep smooths things out.
Finding Inspiration And Sharing Your Crafts
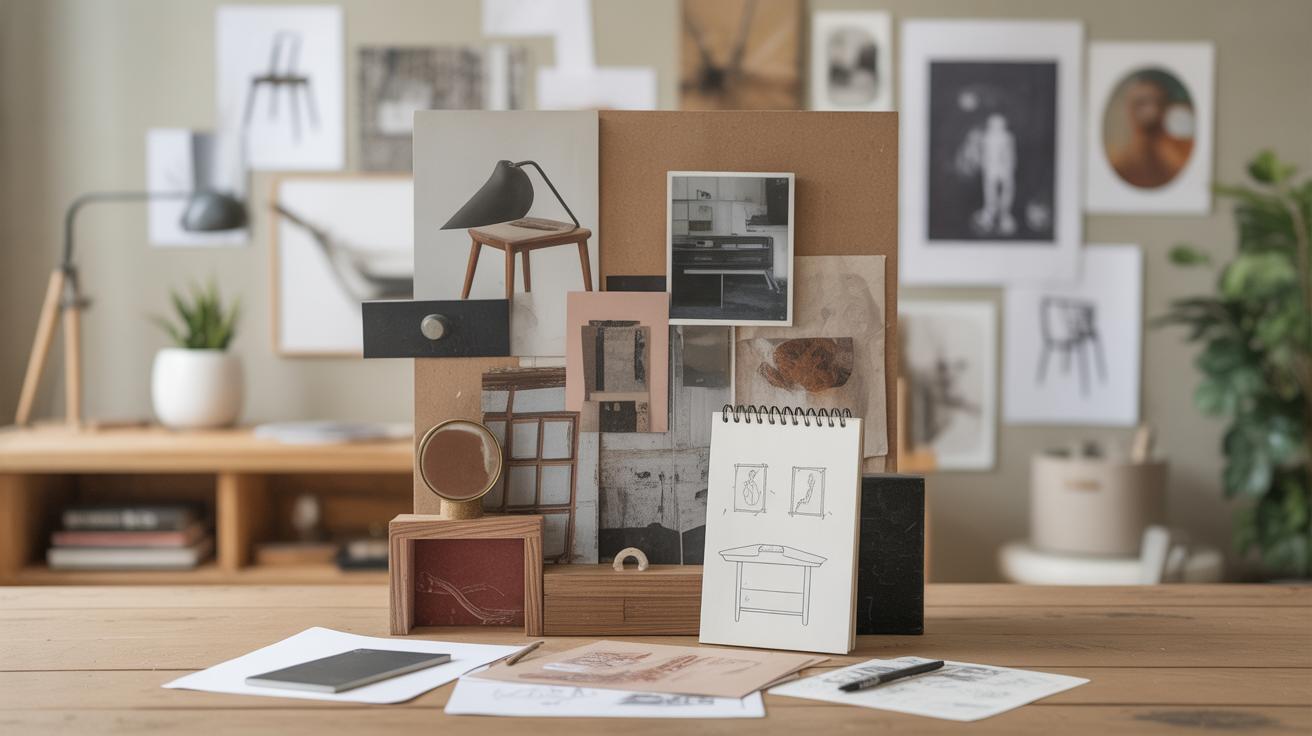
Sources Of Craft Inspiration
It’s easy to feel stuck when searching for fresh craft ideas, especially with thrift store items where possibilities seem endless but vague. One place you might turn to first is online videos—YouTube is full of project tutorials, showing how others breathe new life into old finds. Sometimes, just watching someone dismantle a broken chair or repaint an old mirror sparks ideas you didn’t expect.
Craft blogs also offer a treasure trove of inspiration. Some bloggers focus solely on thrift store upcycling and share step-by-step guides, materials lists, and photos that might resonate with your style or skills. I’ve found myself bookmarking posts simply because a creative twist on something ordinary caught my eye.
Don’t overlook craft communities, whether online or local. Forums and Facebook groups gather folks who share projects, challenges, or even just random thoughts about what worked and what didn’t. The conversations there can provoke ideas you hadn’t considered—and, sometimes, seeing others’ fails reminds you it’s okay not to nail it at first.
Sharing Your Work And Connecting With Others
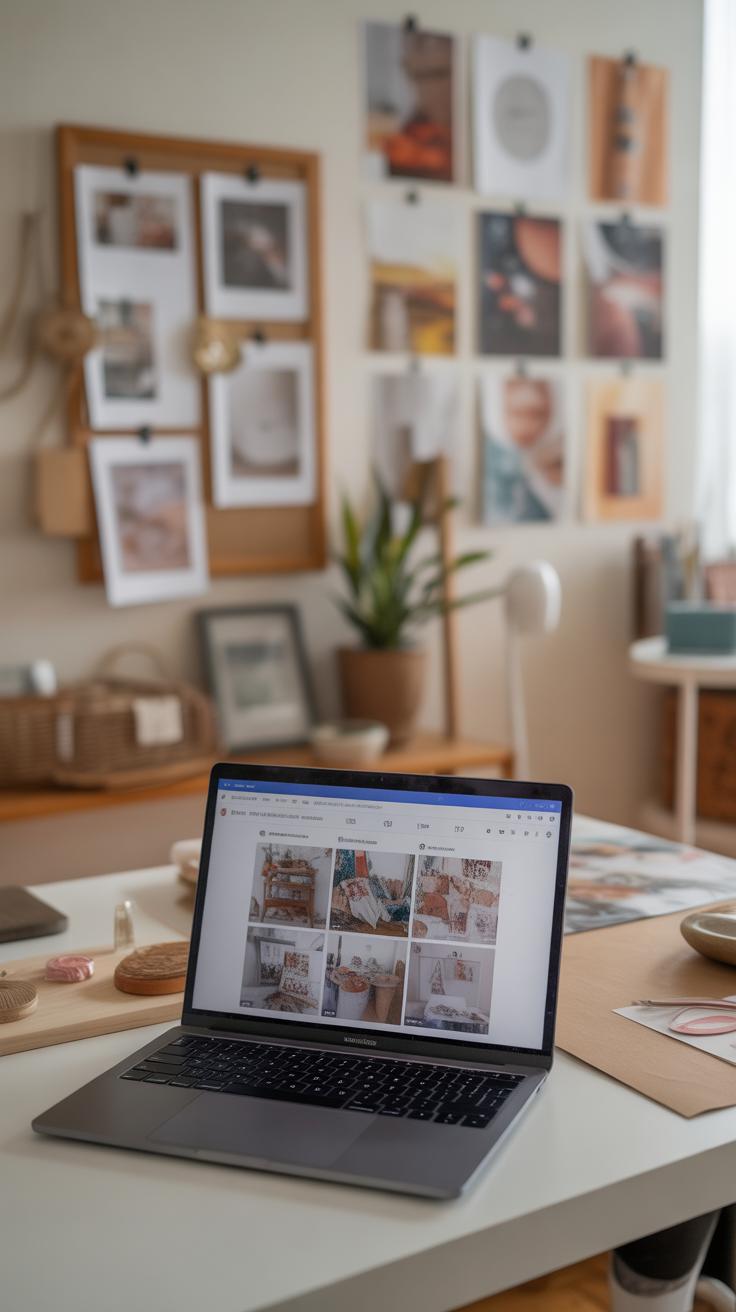
You might hesitate showing your craft to others—perhaps you think it’s not perfect enough or too simple. But sharing is part of discovering your creative voice. Photography plays a key role here. Good lighting helps, but candid shots that capture the work’s personality—maybe a quirky angle or an in-progress mess—can be more engaging than something staged.
Social media offers plenty of options to share your creations: Instagram, Pinterest, or even local Facebook groups dedicated to crafting or thrifting. These platforms allow you to reach people who might appreciate your style or offer feedback. Sometimes, people send unexpected messages asking for advice or collaboration, which can be surprisingly rewarding.
Another way to connect is by attending or joining local craft fairs, swap meets, or workshops. These spaces encourage face-to-face exchanges and might lead to friendships or future project partners. Sharing isn’t just about showing what you’ve done—it’s a two-way street where you gain ideas and motivation from others alongside offering your own.
Conclusions
Using thrift store crafts to upcycle old finds allows you to save money and reduce waste. You can find many materials at thrift stores and turn them into something new and useful. The ideas shared in this article show how easy it is to start crafting with thrift store items.
By trying these projects, you can enjoy crafting and help the planet. Remember to experiment, explore your creativity, and have fun with your thrift store crafts. Your old finds can become amazing creations that you will be proud of.


