Introduction
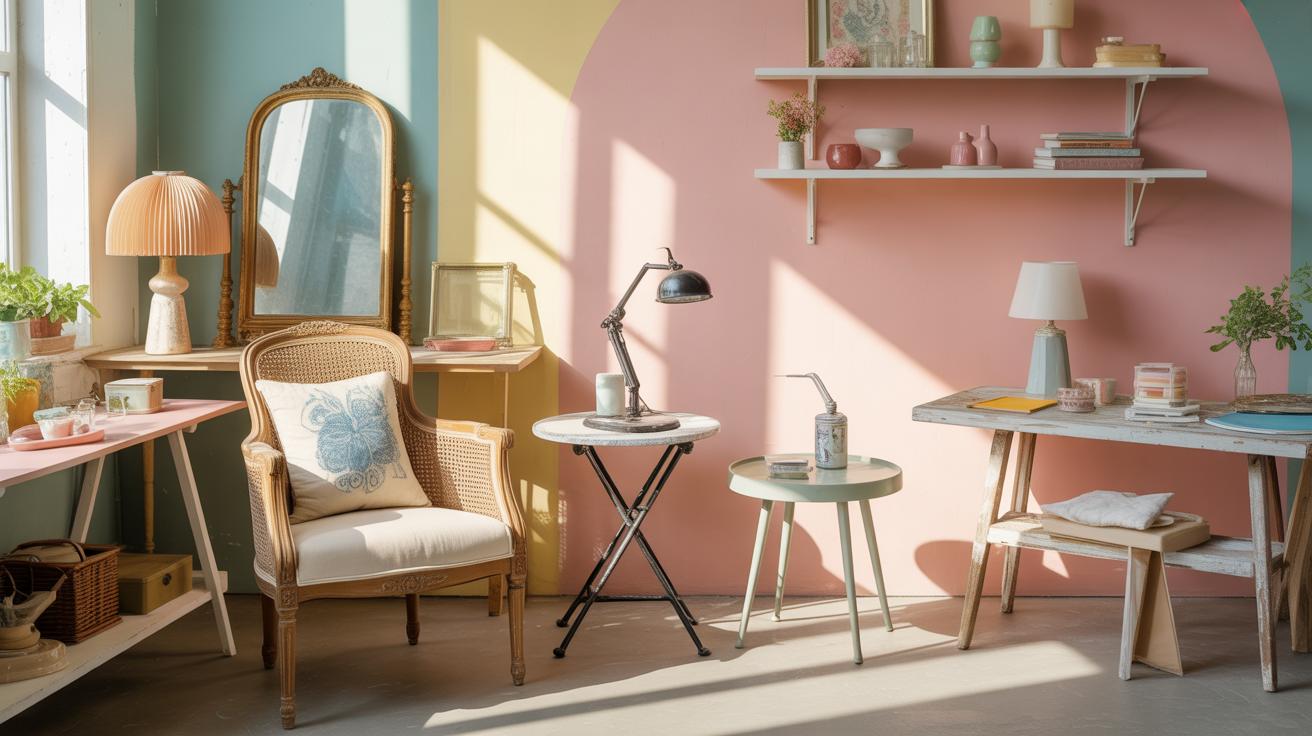
Thrift flips are a popular way to turn old, secondhand items into something new and useful. This season, more people are choosing to give a new life to thrift store finds. The trend brings creativity and savings together, making it easy for you to enjoy unique and personalized pieces. Whether it is clothes, furniture, or home decor, thrift flipping allows you to have fun while being kind to your budget.
In this article, you will learn how to spot the best items for flipping and simple ways to transform them. We will explore practical tips and ideas that are easy to do, even if you are new to the thrift flip world. Find out how to make your own style stand out by changing secondhand things into treasures.
Choosing the Best Items for Thrift Flips
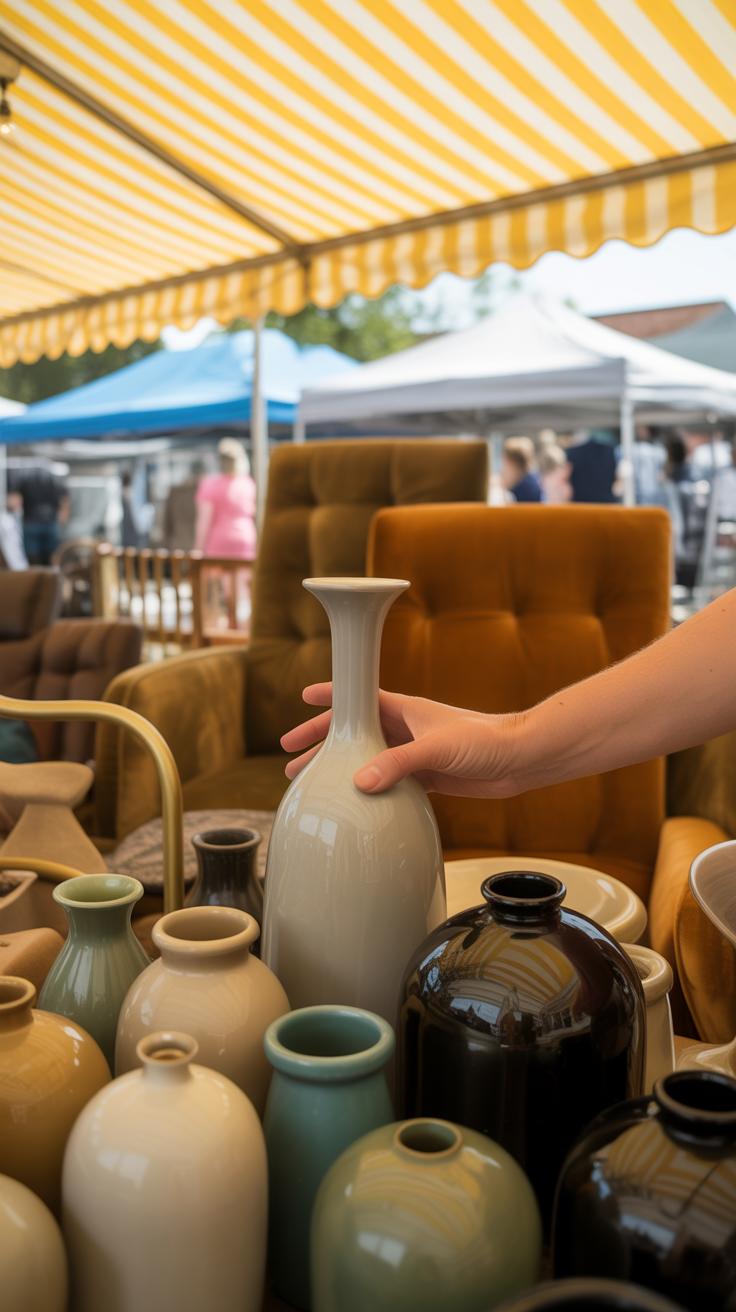
Finding good-quality items at thrift stores isn’t just about luck, though a bit of luck helps. When you walk into a thrift shop with flipping in mind, you actually want to develop an eye for what’s salvageable and what isn’t. For clothes, look beyond the trendy pieces and check the fabric. Natural fibers like cotton and wool often hold up better, and their textures can handle dye or patchwork without falling apart.
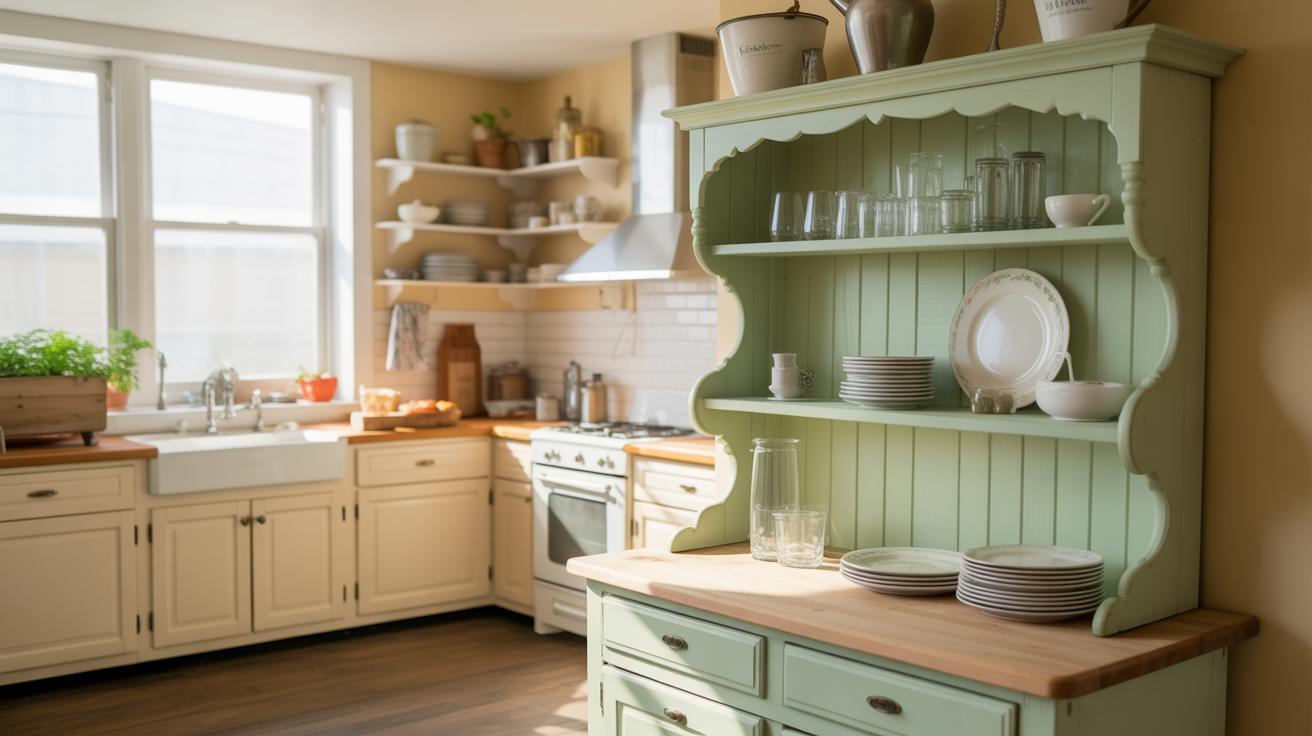
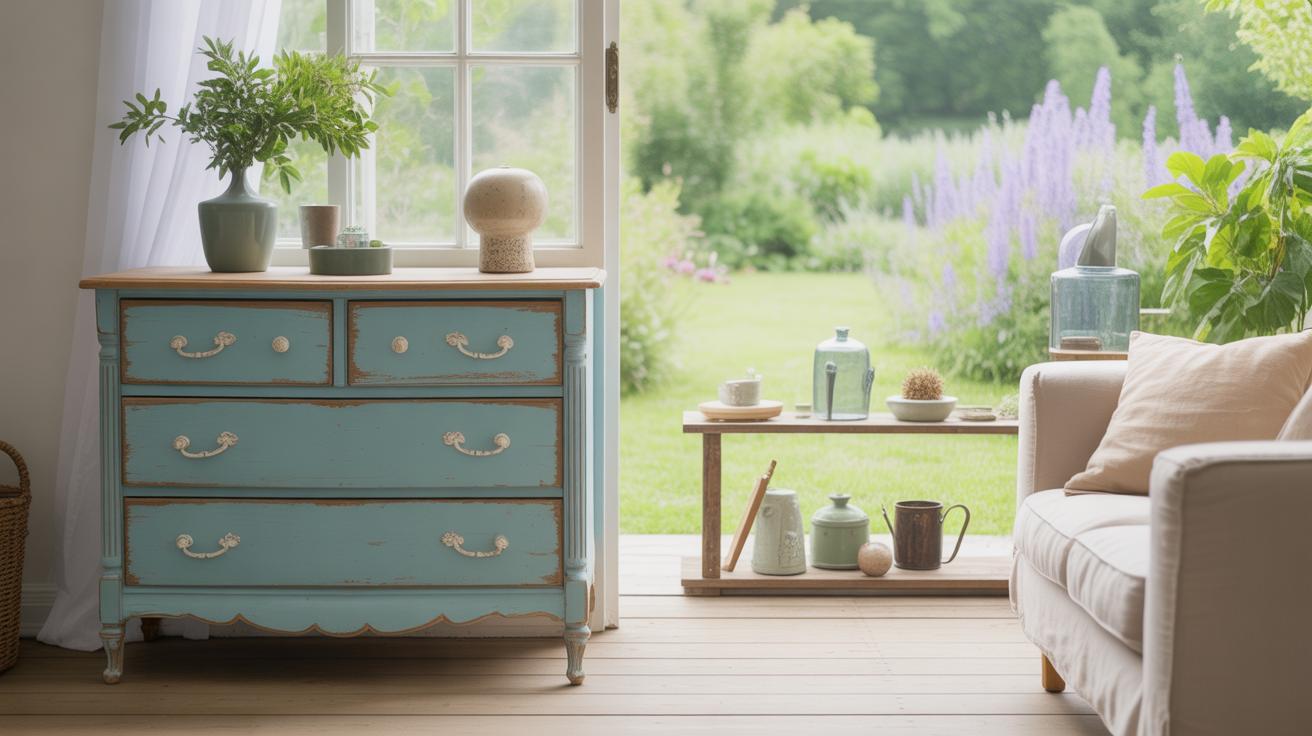
Furniture is a different story. Solid wood pieces, even if scratched or slightly worn, usually have more potential than particle board. They respond well to sanding and refinishing—some light damage actually means character. As for home items, metal trays, glassware, or ceramics with minor chips can become unique décor if repaired creatively.
Spotting durability means checking materials that can withstand changes. Think about how certain woods resist warping, or metals that hold their shape and polish. These give your flips a better foundation.
Condition matters, but don’t just discard something because of minor flaws. Is a chair’s cushion slightly stained? That might be easy to replace. Does a shirt have a missing button but strong fabric? It might be worth updating with a stylish detail. Try to see the item’s future, not just its present.
What about something that looks odd at first but sparks an idea? Those can sometimes be the best flips. It’s okay to hesitate or second guess. After all, flipping is as much about creativity as it is about picking the right piece to start with.
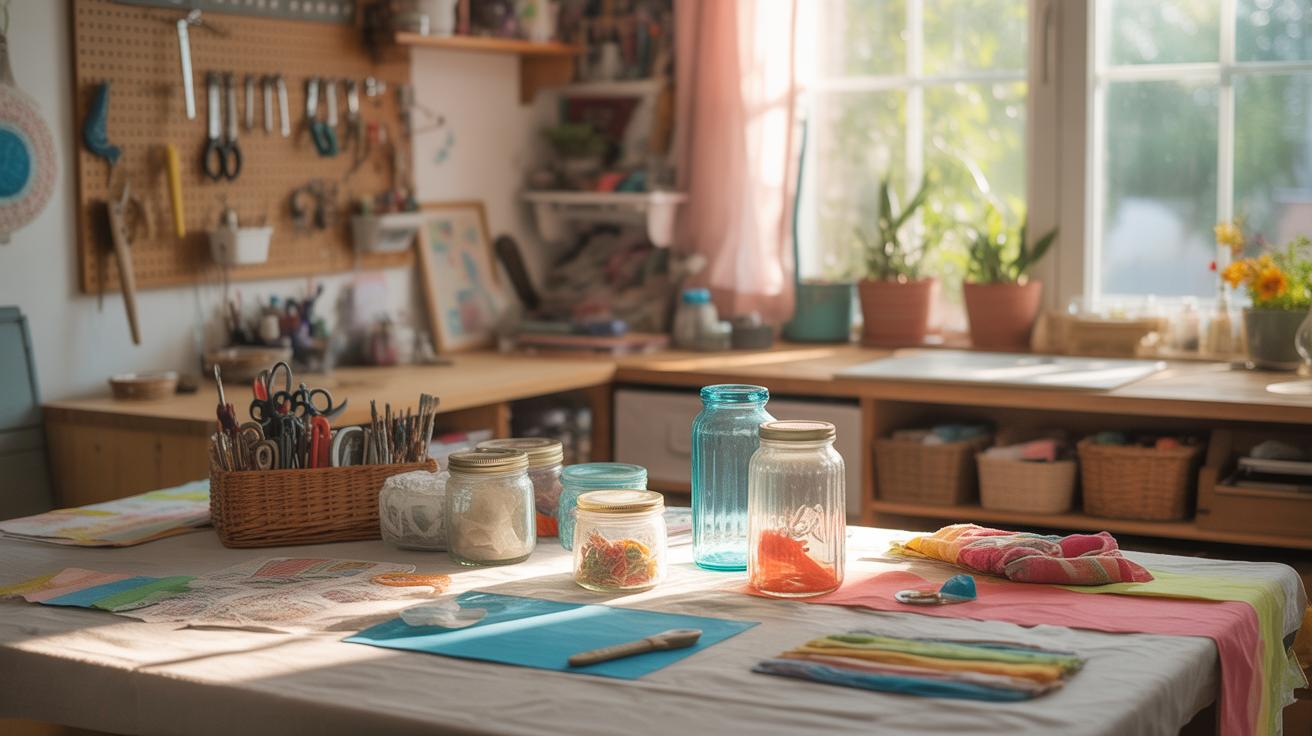
Basic Tools You Need for Thrift Flipping

When you’re starting out, it’s easy to get overwhelmed by all the tools you *could* use. But really, a few basics will cover most of your thrift flip projects. Think of a small, reliable toolkit rather than a garage full of stuff—it’s more practical that way.
Here’s what you’ll want to have close by:
- Screwdrivers: Both flathead and Phillips are crucial. These usually come in handy for tightening screws on furniture or removing parts you want to replace.
- Sandpaper or sanding blocks: You don’t have to get fancy here. Various grits from coarse to fine help prepare surfaces for painting or smoothing rough spots.
- Glue and adhesives: Wood glue, fabric glue, and a strong multipurpose adhesive are good bets. They fix things quickly and cleanly without major hassle.
- Measuring tape: You’ll want to measure before cutting or assembling anything to avoid waste.
- Protective gear: Basic gloves and maybe a dust mask—especially when sanding or using spray paint—keep you safe and comfortable.
These tools might seem simple, but they’ll save you a lot of energy figuring things out on the fly. Still, don’t feel you need to get *everything* at once. Starting with a screwdriver and some sandpaper can be enough—perhaps you’ll add more as you discover your style.
Tools for Cleaning and Repairing
Before any makeover, cleaning is a must. A fresh surface makes your work look sharper. For most thrift flips, a gentle all-purpose cleaner works well, but sometimes you’ll need something stronger. For instance, a mixture of vinegar and water can tackle mildew or stubborn stains.
Have a few brushes on hand—old toothbrushes are surprisingly useful for getting into crevices, while soft-bristled brushes help dust off delicate fabrics or wood. Microfiber cloths also make wiping down surfaces easier and reduce streaks.
Repair tools might include small pliers for pulling out nails, a hammer for minor fixes, and some needle and thread for clothes or upholstery repairs. Even a cheap upholstery needle can make a big difference when you patch tears.

Prepping items well might feel like extra work, but it certainly pays off. Have you noticed how a well-cleaned piece just invites you to keep working on it? It’s a subtle but motivating thing.
Tools for Painting and Decorating
Painting opens up so many possibilities, yet it does demand some particular tools. Brushes come in many sizes—flat brushes work well on large surfaces, while smaller round brushes help with detail or edges.
When choosing paint, consider your project’s material. Chalk paint is often a favorite for wood furniture because it requires little prep and dries fast. Spray paint might be better for items like metal or plastic, thanks to its smooth finish, but keep in mind ventilation.
A few other handy materials include painter’s tape to keep clean lines, stencils for adding patterns, and foam rollers that cover broad areas more evenly than brushes.
Adding little details, like new knobs or decorative decals, also changes an item’s look drastically. Sometimes, buying a box of mismatched drawer pulls or colorful washi tape can turn a boring shelf into something unique.
Ultimately, the tools you pick depend on your comfort level and the projects you want to tackle. Sometimes, simple brush strokes are enough, but other times, layering paints and patterns might be the way you want to go. What feels right to you could evolve with your flipping journey.
Simple Clothes Thrift Flips Everyone Can Try
Cutting and Sewing for a New Look
Sometimes all an old shirt or dress needs is a little cut and stitch to feel new again. You don’t have to be a pro to change the fit or style. Taking in seams can slim a loose top or giving a hem a fresh edge can turn long into cropped. If you’re unsure about cutting, try pinning fabric first to test the shape—this can save a lot of guesswork.
Basic sewing skills like straight stitches or simple hems open up many options. Adding pockets or altering collars can also change the vibe without much fuss. I’ve found that even small tweaks—like shortening sleeves or removing unwanted embellishments—can make something more wearable and fun. It might feel a bit intimidating at first, but often these simple changes give clothes a second life that just feels right.
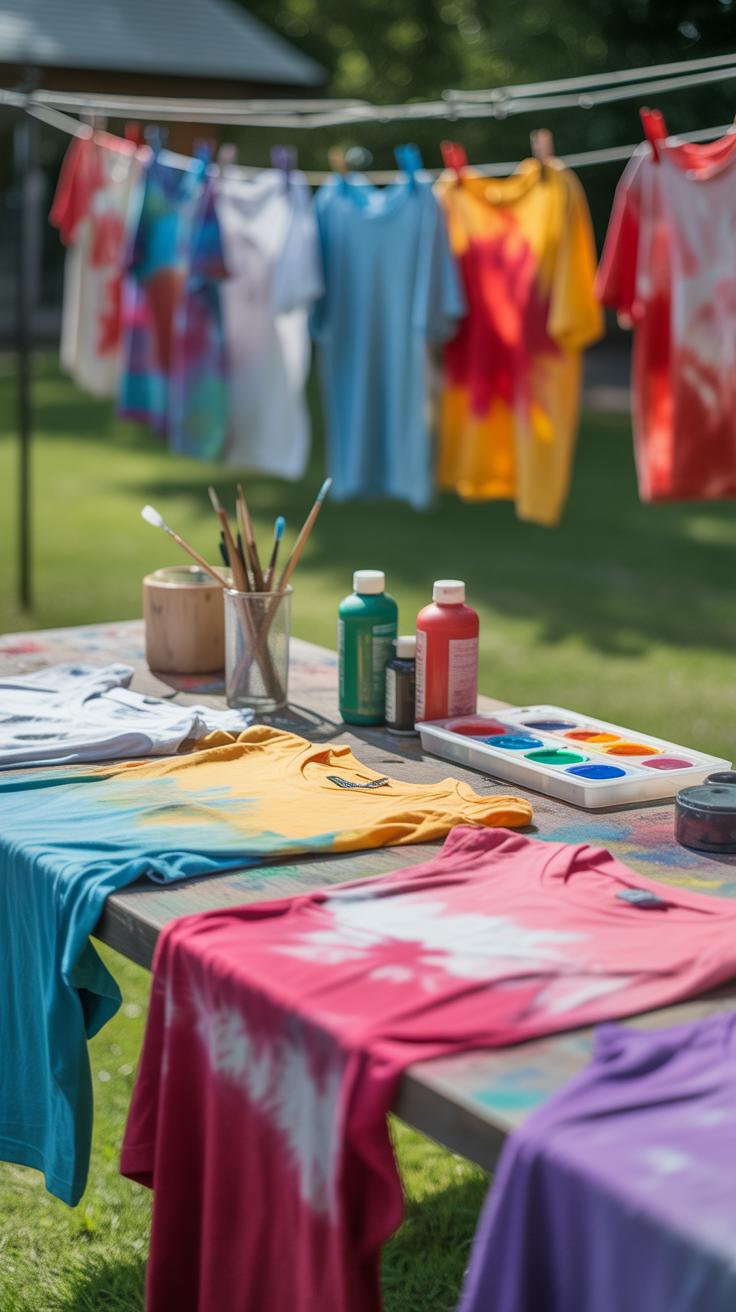
Using Dye and Fabric Paint
Dyeing is another approachable way to make thrift store finds stand out. Whether you try a solid color or experiment with patterns, the result can surprise you. Cotton and linen usually take dye well, but synthetics can be tricky—so it’s helpful to check the fabric labels before diving in.
Fabric paint offers different possibilities by adding designs or accents. Stencils let you create repeated patterns easily, while freehand painting adds some personal flair. Sometimes, a splash of color on collars, cuffs, or pockets makes all the difference. This kind of customization invites creativity, but it does depend on your patience and willingness to experiment—it might not always turn out perfect, and that’s okay. What matters is the chance to wear something uniquely yours.
Refreshing Furniture With Paint and Finish
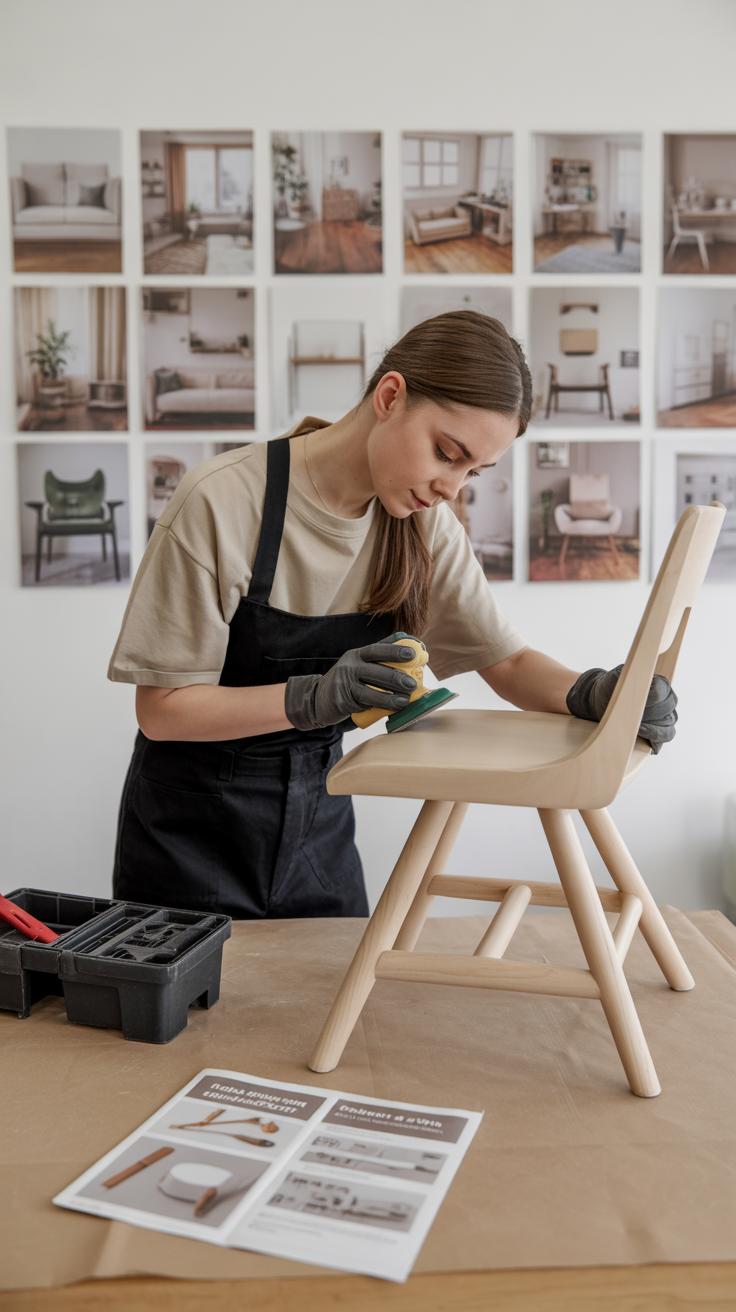
Preparing Furniture for Painting
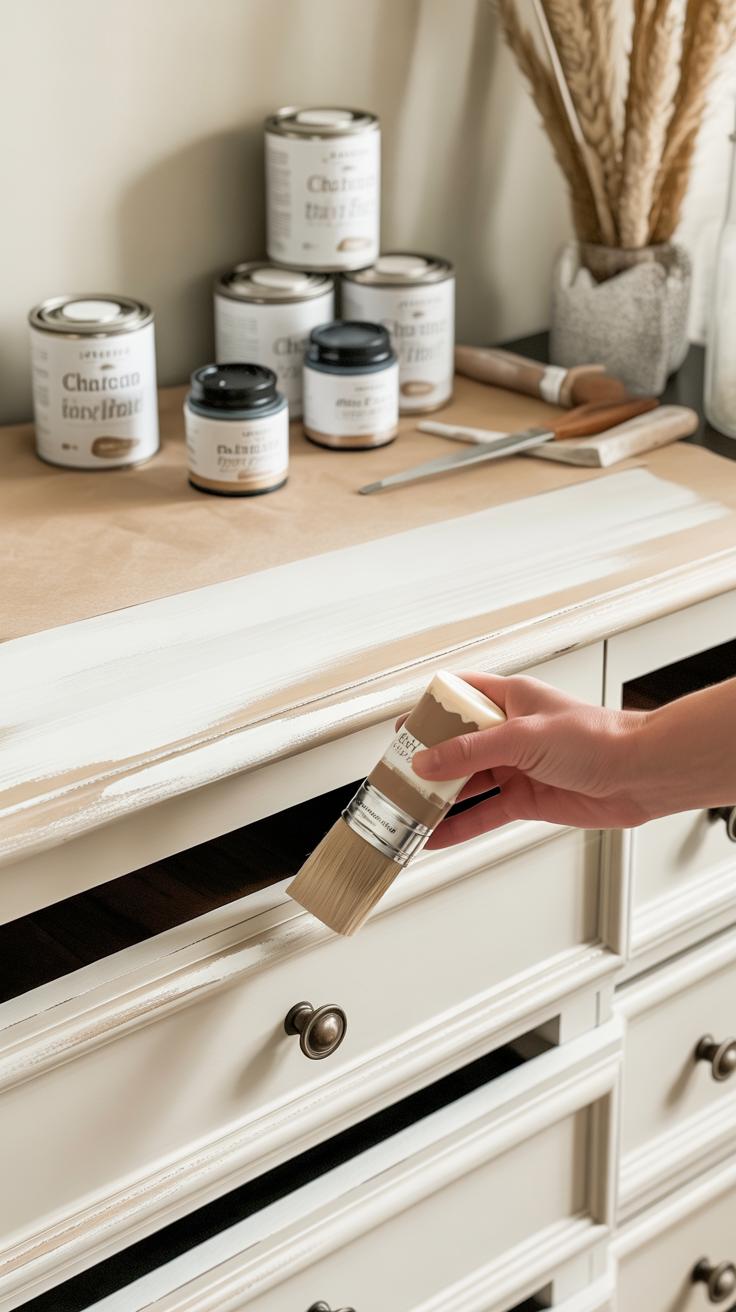
Before you pick up that brush, your piece needs a bit of prep—cleaning and sanding are key. Wipe down the furniture thoroughly to remove any dirt, grease, or old wax. You might think a quick dust-off is enough, but lingering grime can prevent paint from adhering properly. Sometimes, a gentle soap and water scrub works well, but for sticky residue, something stronger like mineral spirits can help.
Next comes sanding. It might sound tedious, but it’s essential to smooth out rough spots, remove old finish, and help the new paint grab onto the surface. Use medium-grit sandpaper to start (say, 120-150 grit), especially for rough or peeling areas, then finish with a finer grit to smooth things out. You don’t have to remove every bit of old paint unless it’s flaking badly—just enough to create a good surface. This step can be a bit dusty, so a breeze or vacuum nearby is a good call.
Choosing Paint Types and Finishes
Picking paint isn’t as simple as choosing your favorite color. Different types affect the look and long-term wear of your furniture. Chalk paint has grown popular for its matte, vintage feel and minimal prep needed. It’s forgiving and dries quickly, but might need a protective topcoat to last.
Latex paint is another option—durable and easy to clean. It works well for pieces that’ll get daily use, like tables or dressers. Oil-based paints are tougher and often smoother but take longer to dry and smell stronger.
Finishes help too. A satin or semi-gloss finish adds a bit of shine and protects against scuffs, while matte finishes hide imperfections but might be less durable. Don’t overlook the importance of a sealant or polyurethane topcoat, especially on surfaces that see wear. It might feel like an extra step, but it really makes a difference in keeping your flip looking fresh longer.
In the end, you’ll want to balance look, feel, and practical use. Maybe you love a sleek gloss but the furniture’s in a spill-prone spot. Or you prefer natural texture but need it to hold up. Sometimes, testing options on a small hidden spot can save headaches later.
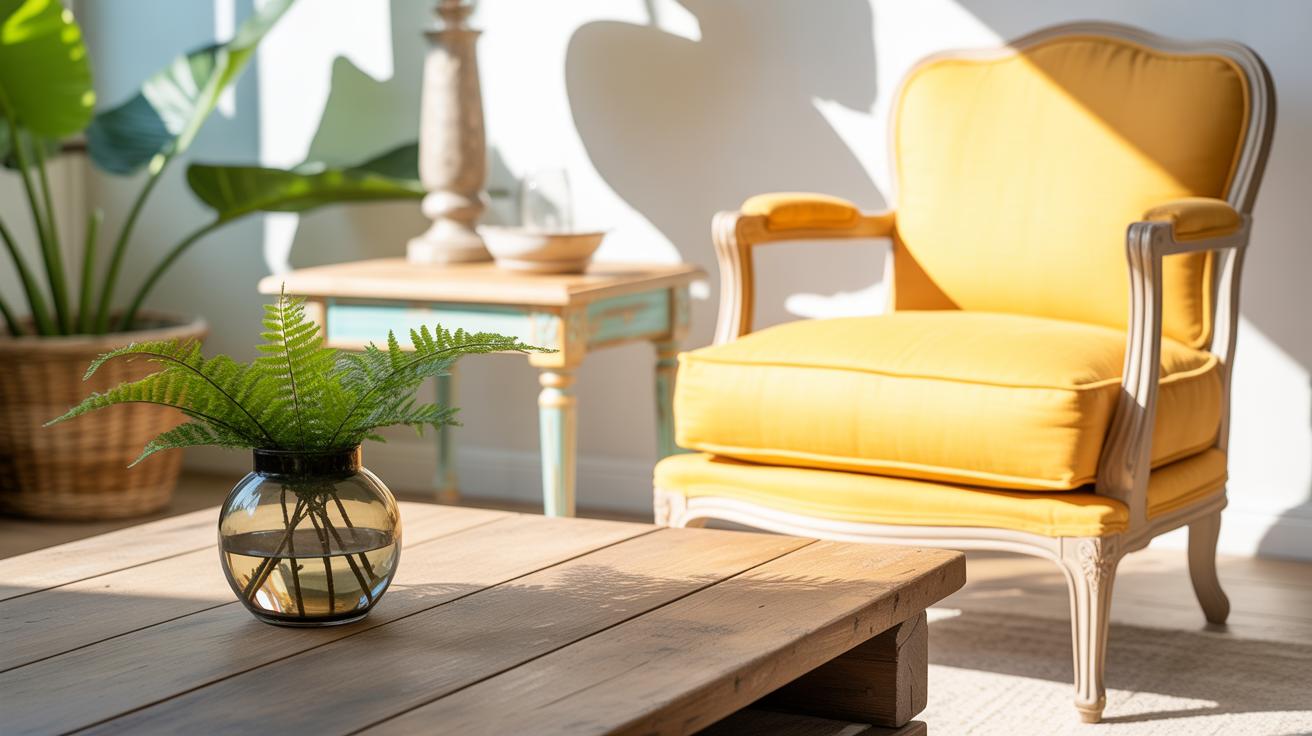
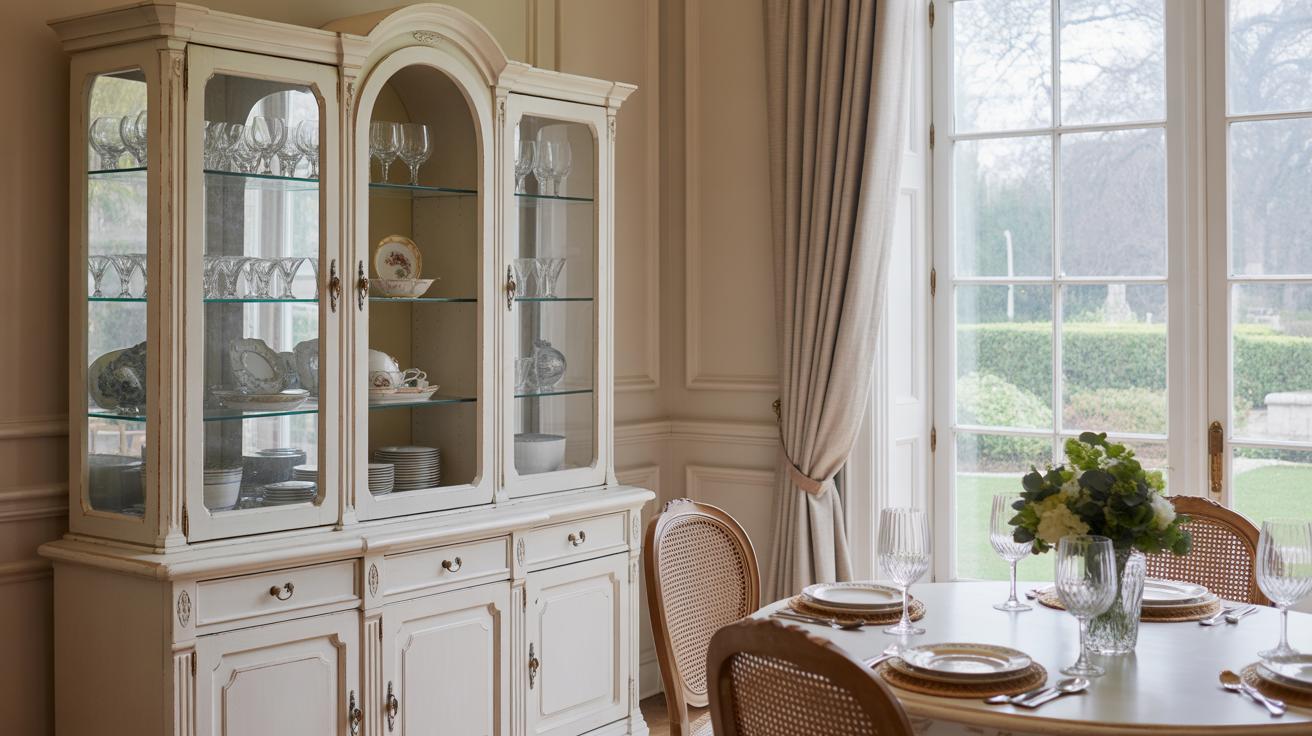
Adding Personal Touches to Home Decor
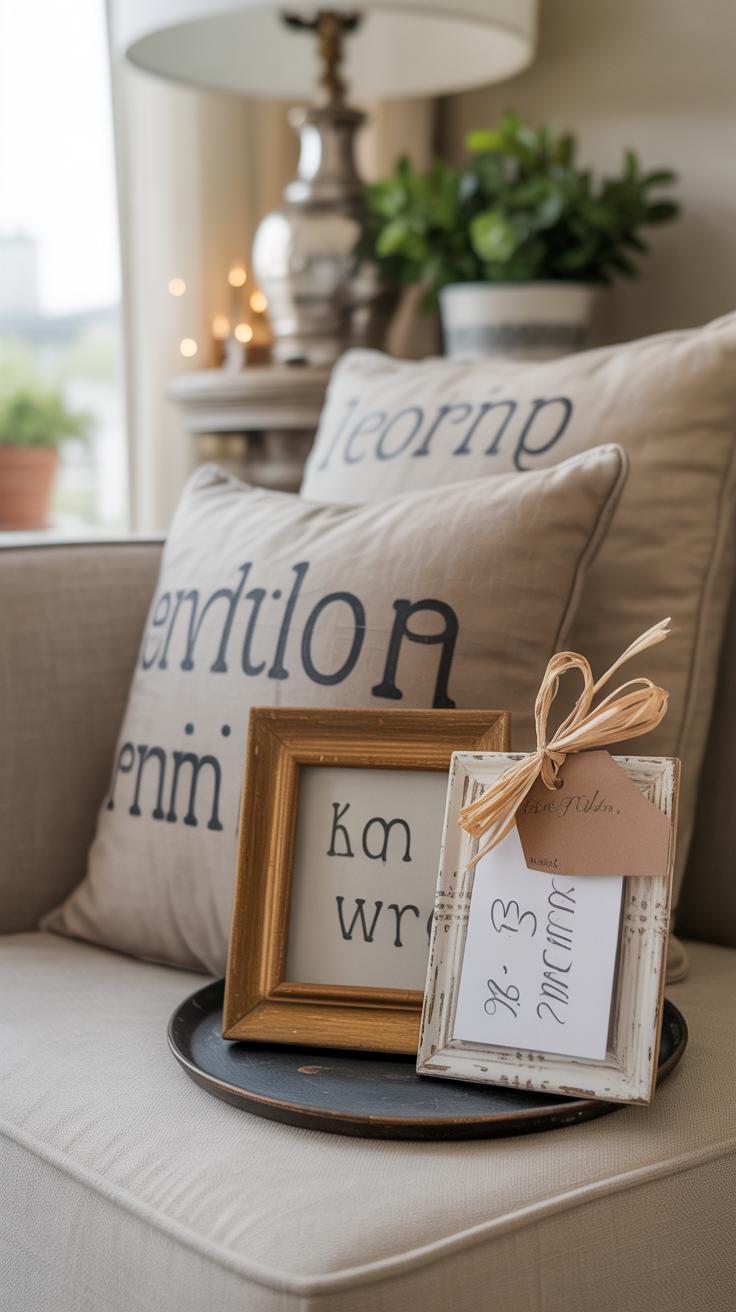
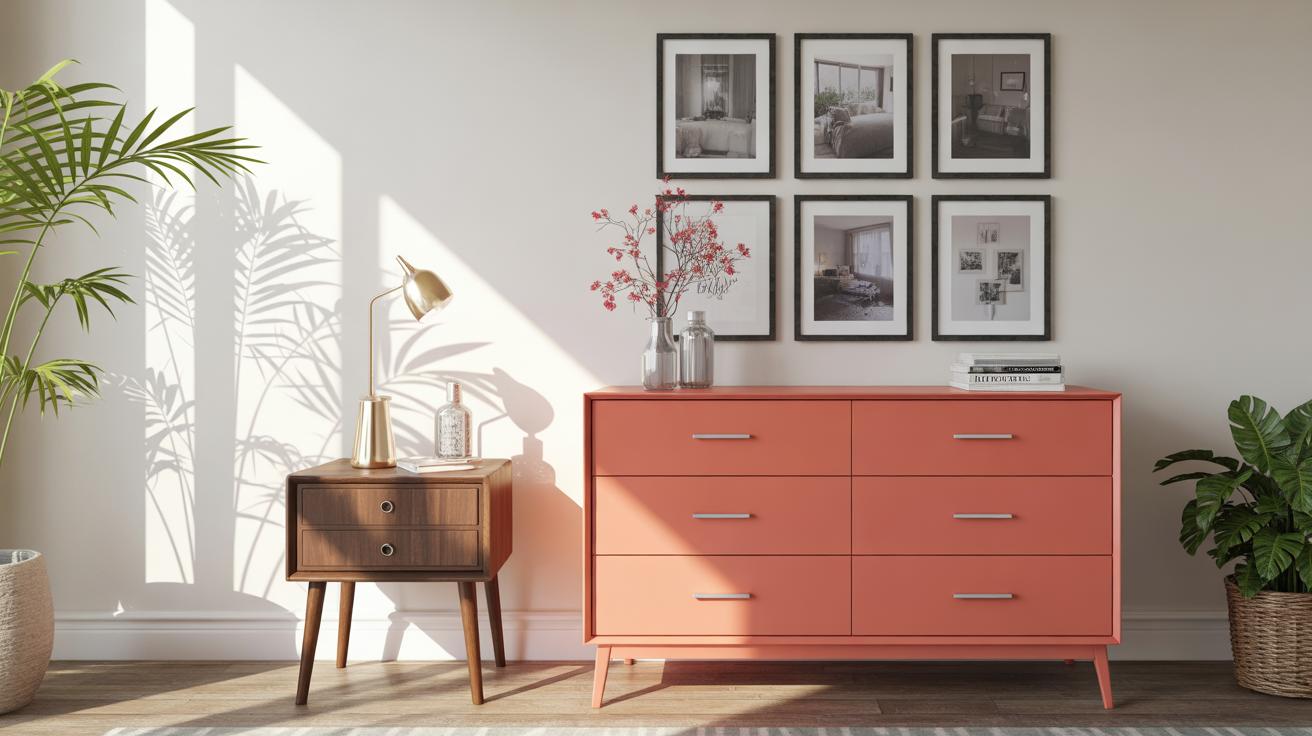
Small details can make a surprisingly big difference when updating thrifted home decor. Changing knobs on a dresser or cabinet can shift the whole vibe without too much effort. Sometimes, a simple swap from plain metal to colorful ceramic knobs brightens up the piece in ways I didn’t expect. It’s that kind of subtle change that makes an item feel more personal and unique—like it belongs in your space specifically.
Besides knobs, fabric is a quiet but effective choice. Reupholstering a chair seat or even creating accent pillows using thrifted fabric scraps spices things up visually and texturally. These updates don’t have to be perfect or expensive. In fact, imperfect stitching or slightly mismatched fabrics can add character.
Using Decorative Accessories
When you want to refresh thrifted items without a total makeover, decorative accessories can come to the rescue. Try adding washi tapes along the edges of shelves or around picture frames for a quick personality boost. Decals work well too—vintage-inspired patterns or geometric shapes can turn a bland surface into something eye-catching.
Replacing old hardware with unique drawer pulls or hooks is another easy fix. I once swapped out plain wooden knobs for mismatched glass ones on a thrift store dresser. The result? The piece felt much more whimsical—almost like a story on its own. Don’t hesitate to mix and match; some randomness lends charm.
Applying Stencils and Patterns
Using stencils lets you introduce creative designs without needing advanced painting skills. Pick a simple pattern, like leaves or dots, and dab paint lightly for a subtle effect. Or go bold with repetitive shapes covering entire surfaces. The best part might be the ease of correcting mistakes—you can paint over or adjust colors as you go.
The key is patience. Start with a clean, dry surface and use painter’s tape to hold the stencil firmly in place. Experiment with different brushes or sponges to see how texture changes the look. I once stenciled a thrifted wooden tray with a geometric design; the project was quick and made it feel brand new. Would you expect that much transformation from a few brush strokes?
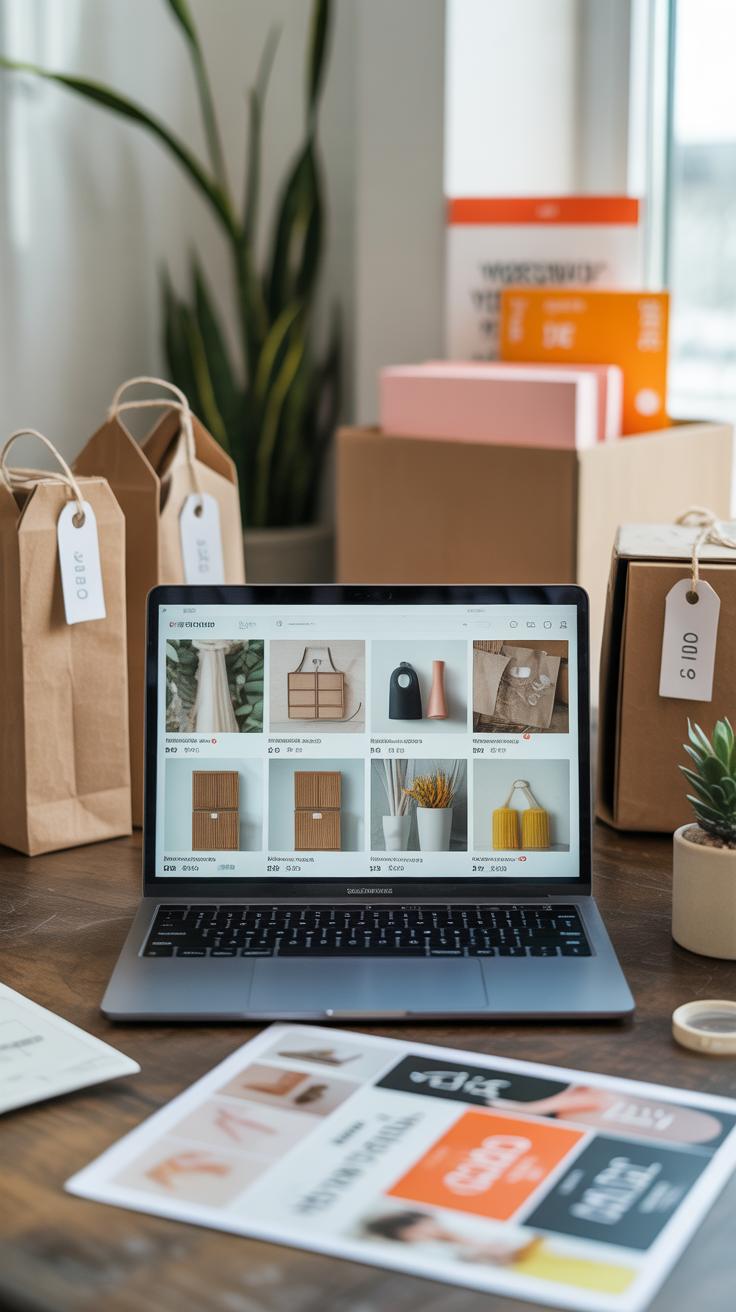
Selling Your Thrift Flips Successfully
Setting a Fair Price
Pricing your thrift flips can feel tricky. You want to make a profit, but not scare buyers off. Think about what you paid for the item and add the cost of any supplies you used. Don’t forget to factor in your time—was this a quick weekend project or did it take hours across several days? Sometimes you might undervalue your effort, but your time matters just as much.
Market demand also plays a big role. For example, a mid-century chair might fetch more now than a generic lamp remodel. It helps to check similar items online or in local shops. If no one’s buying that kind of flip, it might be worth lowering the price or tweaking the design.
Remember, pricing isn’t an exact science. You might start high and lower it if the item lingers unsold. Or you might be surprised by an instant buyer ready to pay more than you thought.
Presenting Your Item for Sale
Good photos make a difference. Natural light is your best friend. Avoid cluttered backgrounds—plain walls or simple settings help buyers focus on the flipped piece. Take shots from different angles. Maybe show close-ups of unique details or imperfections you fixed.
Clear, honest descriptions matter. Try to balance enthusiasm with facts. Include size, materials, condition, and any history you know. Sometimes a little story adds appeal—like how you found the item or what inspired your changes.
Ask yourself, would you be drawn to this listing if you were just browsing? Speedy replies to questions and flexible meet-up options can also boost your chances. Selling thrift flips is part craft, part connection. You get better with each sale, even if it feels uncertain at first.
Building Skills and Confidence in Thrift Flipping
Starting small can make a big difference when you’re new to thrift flipping. Easy projects like repainting a picture frame or swapping out drawer handles allow you to practice without feeling overwhelmed. These simpler flips build not only your skills but also that quiet confidence that you can actually do this.
Sometimes, I found myself wanting to jump into complicated projects right away, only to feel stuck midway. Slowing down and mastering basic steps first helped me gain momentum. Try tackling one small item at a time before moving on to ambitious reworks.
Watching video tutorials and following blogs can teach you techniques that aren’t obvious at first glance. Seeing someone else’s process demonstrates tricks and pitfalls that you might not notice otherwise. Plus, it’s kind of motivating to watch others succeed with what looks like even less experience.
Joining flip-focused communities online or in person opens doors to learning directly from peers. You can ask questions, share progress, and get feedback — all of which sometimes feels more helpful than reading instructions alone. Also, seeing others’ successes can inspire you when your own projects lag.
- Start with easy flips to gradually improve your skills. Don’t rush; skill-building takes time.
- Use tutorials—videos or written—to pick up practical tips and avoid common mistakes.
- Engage with flipping communities to exchange ideas, gain motivation, and get advice.
- Remember, confidence grows with practice even if progress feels slow at times.
What’s one small thrift item you could flip this week to practice? Sometimes just starting is the hardest part, but it’s the key to learning.
Staying EcoFriendly While Flipping Thrift Finds
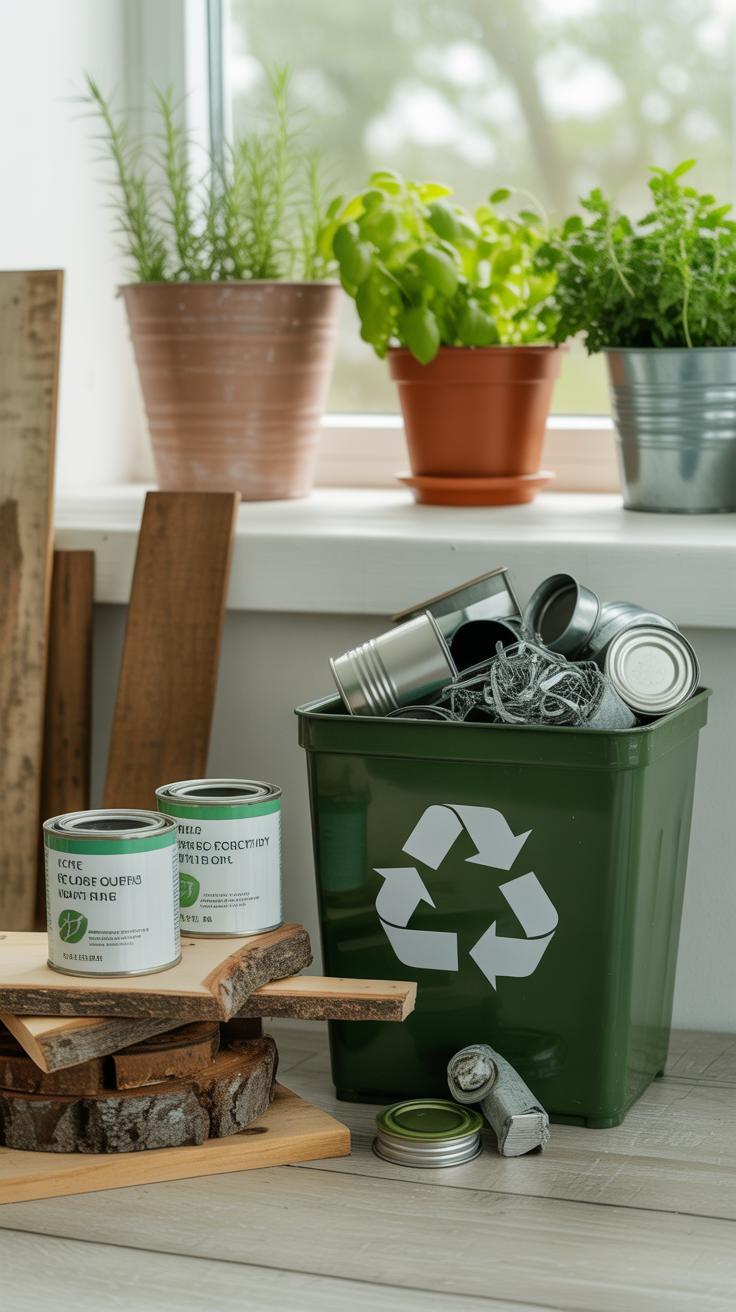
When you flip thrift finds, it’s tempting to focus just on the end result. But keeping your projects eco-friendly is worth a little extra thought. Choosing non-toxic paints and finishes is one of the simplest ways to reduce harmful chemicals around your workspace and the environment. Water-based paints, for example, emit fewer fumes and clean up easily with soap and water. Milk paints and natural oils, like linseed or tung oil, have become popular for their low impact—and they create a nice, authentic finish too. I’ve found that experimenting with these products often leads to surprisingly good results, even if you think you need those quick-dry synthetic types.
Materials make a difference as well. If you’re refashioning wood, go with reclaimed or untreated pieces whenever possible. Avoid plastics or coated fabrics that can’t be recycled or reused easily. If you use brushes or sandpaper, try to keep them around instead of tossing them after one use. Old jars can work as paint pots or storage for leftover supplies, cutting down on waste.
Recycling plays a big role beyond just finding new homes for old things. Scraps from one project might work perfectly for a future one—patching a crack with leftover wood bits, for example. Even smaller items, like screws or knobs, earn a longer life if you keep them instead of throwing out half-empty containers. It might feel tedious at times, but slowly building this stash means less ordering and shipping down the road. Are there parts of your project you tend to overlook as waste? They could become your next creative twist.
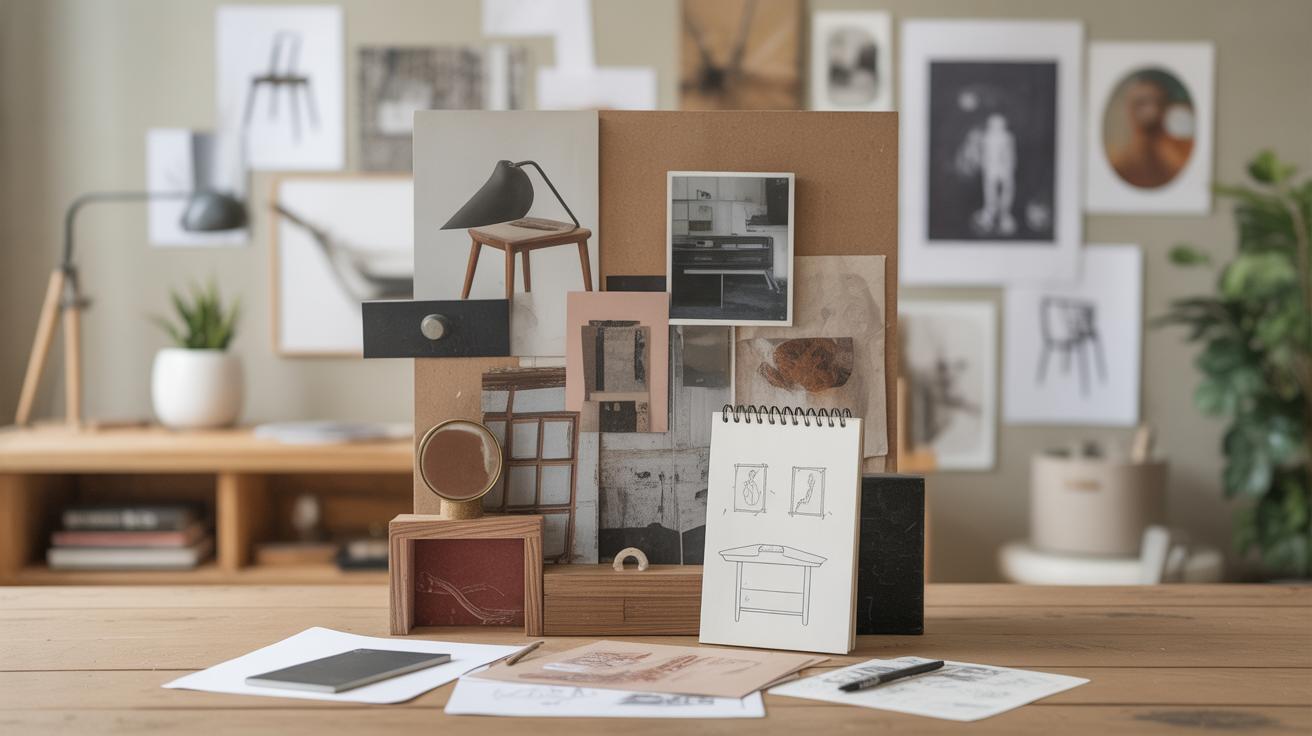
Finding Inspiration for Your Next Thrift Flip
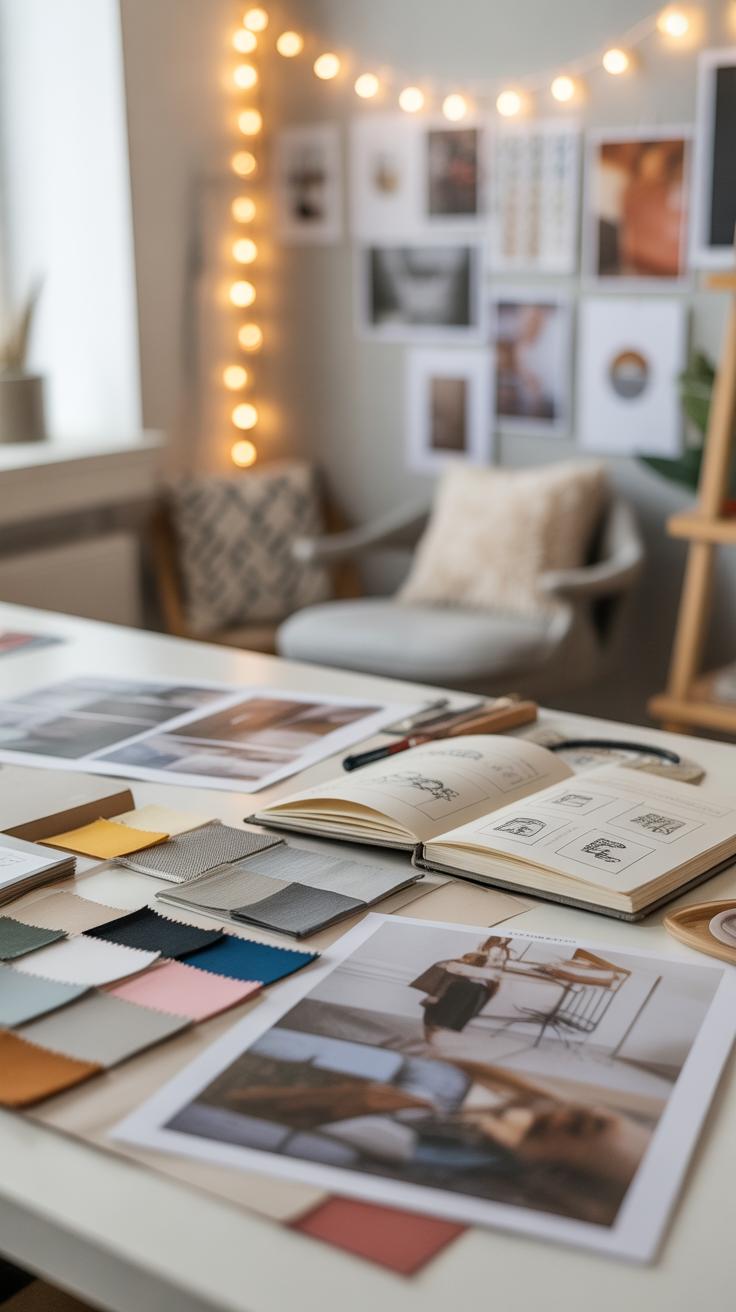
Looking for fresh ideas to keep your thrift flipping projects interesting can sometimes feel tricky, right? If you ever hit a creative wall, you’re not alone. The good news is, inspiration is closer than you might think. Websites like Pinterest and Etsy offer a huge variety of thrift flip projects—from furniture makeovers to clothing transformations. Scrolling through these can spark new ideas or show you cool techniques you hadn’t considered before.
Instagram and TikTok are surprisingly good places too. Many creators post quick before-and-after videos or step-by-step clips that give you a sense of what’s trending in real time. Plus, the comment sections sometimes hold useful tips or alternate ideas you might want to try. Reddit communities focused on thrifting and DIY flips can offer a more down-to-earth, practical take, which can be refreshing if you prefer less polished inspiration.
But here’s the thing: following trends is fine, but what really sets your flips apart is your personal touch. Don’t shy away from mixing styles or experimenting with colors, textures, or even combining ideas you’ve seen in completely different places. Maybe you adore mid-century modern design but also want to incorporate a bit of rustic charm — why not? The point is to develop your own signature style over time. That’s what will keep your projects feeling fresh and, honestly, more satisfying.
Conclusions
Thrift flips offer a chance to be creative and save money. By choosing the right items and using simple makeover techniques, you can create beautiful pieces that fit your style. This season’s trends show that simple changes can make a big difference in how you use and enjoy thrift finds.
You can start your thrift flip journey with confidence by following the practical advice shared here. Keep exploring different ideas and find what works best for you. Your next favorite item might be waiting for you at a thrift store, ready for your personal touch.


