Introduction
Thrift flipping is a fun and creative way to turn old, unwanted items into something new and useful. It lets you save money, reduce waste, and make your home or wardrobe unique. This article explores innovative thrift flip ideas that can inspire your next project. Whether you’re a beginner or looking for fresh techniques, you’ll find valuable tips and examples here.
We’ll walk you through practical steps and creative methods that anyone can use. From finding the right items to planning your flip and adding your personal touch, you’ll learn how to bring new life to thrifted objects. Get ready to start your own projects with simple instructions and clear advice.
Choosing The Right Items For Thrift Flipping
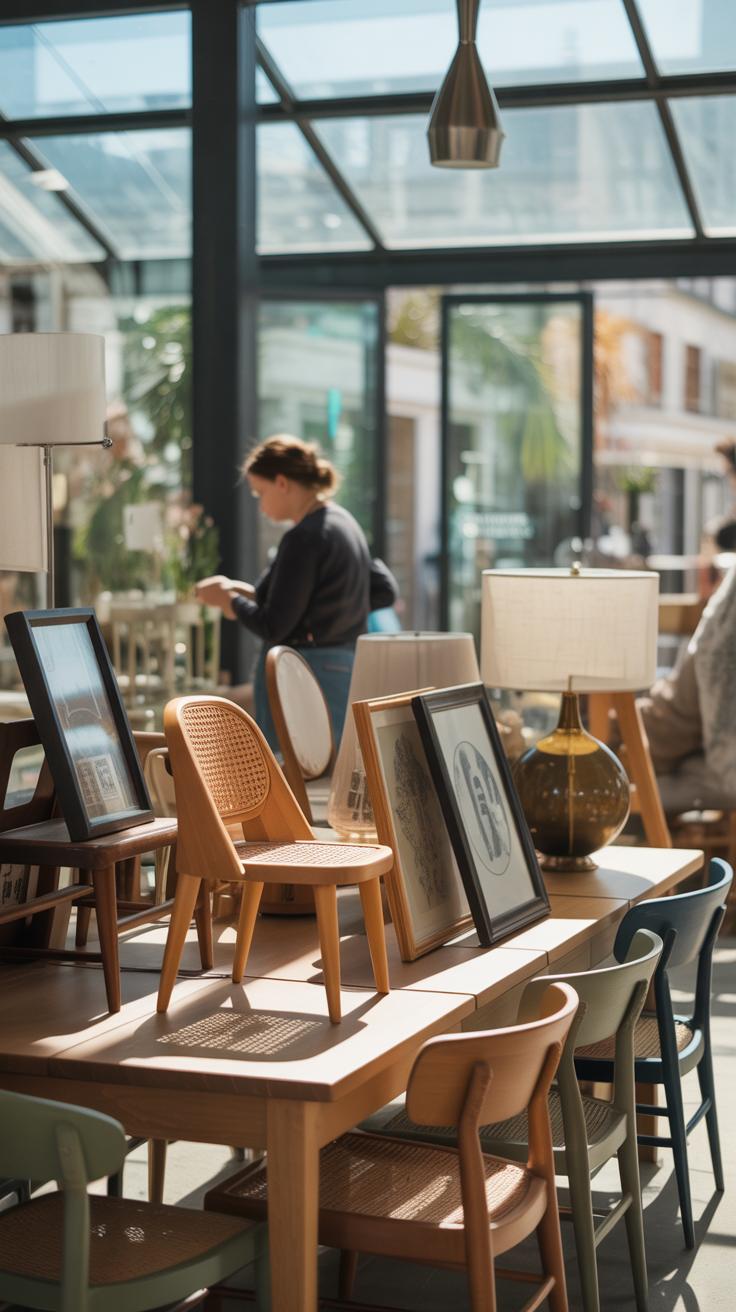
Identifying Good Candidates
When you walk into a thrift store, you have to train your eye a bit. Look for items that have a solid frame or structure—something sturdy enough to handle sanding, painting, or even reupholstering. Wood pieces often work well. Metal can be tricky, but it holds up nicely if it’s not too rusty. Fabrics that can be washed and restyled are also worth considering.
Style potential matters too. Think about whether you can see the piece fitting into a new, modern vibe with some tweaks. Sometimes a dated lamp or an old chair surprises you with how cool it looks after a coat of paint or new fabric. Usability is key—items you’d actually want to use or display tend to have better success as flips.
Avoiding Common Pitfalls
Some thrifty finds just aren’t worth the hassle. Avoid pieces with major damage—like cracked wood beyond simple glue fixes or rust eating through metal in important spots. It’s tempting to rescue everything, but some things are best left on the shelf.
Also, be cautious with items that are impossible to clean or smell strongly of smoke or mildew. You might think a strong cleaning could fix it, but sometimes odors deeply penetrate materials. That’s a tough battle and can spoil the joy of your project.
In the end, picking the right thrift item means balancing what you can realistically fix with what excites you enough to dive in. Curious which finds inspire your next project? Sometimes, just walking slowly and letting your mind wander over each item helps—don’t rush the hunt.
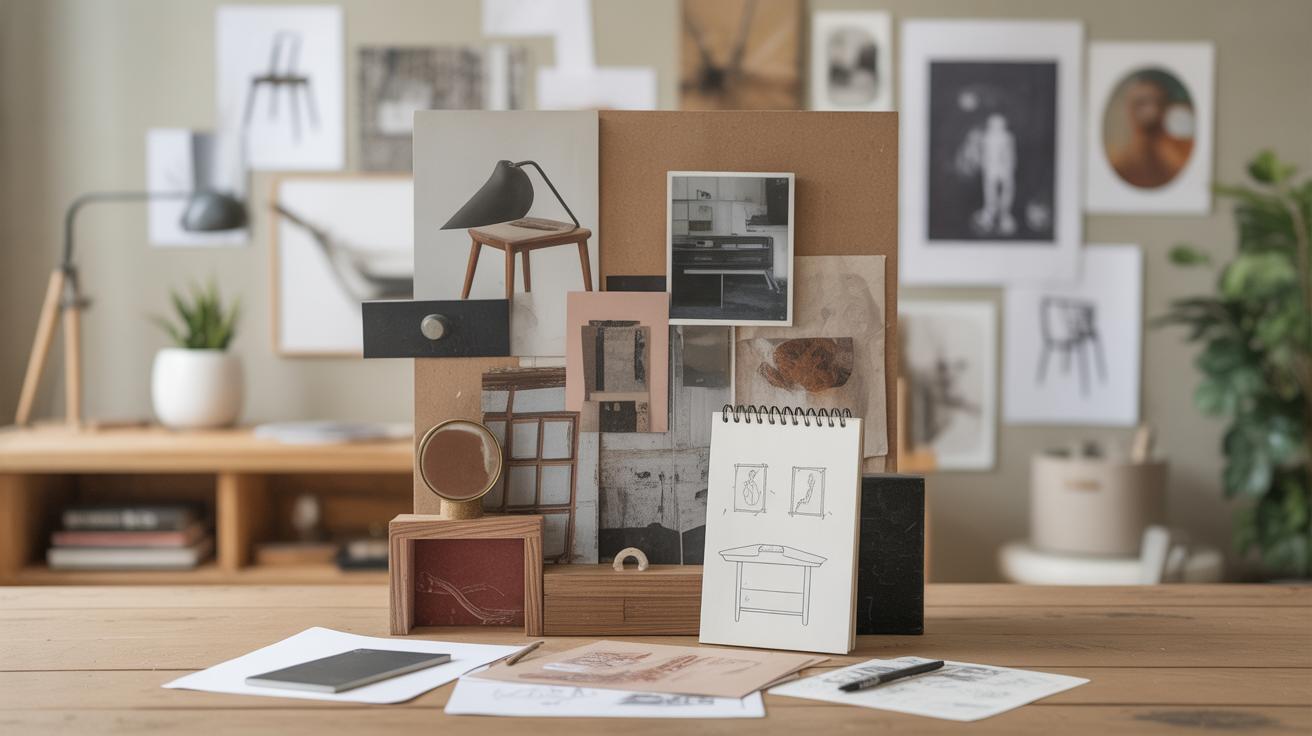
Planning Your Thrift Flip Project
Setting Clear Goals
Before diving into your thrift flip, it helps to know what you want to achieve. Maybe you’re aiming for a decorative piece, or perhaps something functional for your home. Defining these goals guides every choice, from materials to design. Sometimes, though, your vision may shift once you start working, and that’s okay. Setting goals also means deciding on the level of effort and time you’re willing to invest, which can prevent frustration later on. Without a clear direction, projects often feel scattered or unfinished—so try to keep your end goal in mind, even loosely. What do you want this item to say or do once it’s done? The answer will steer the whole process.
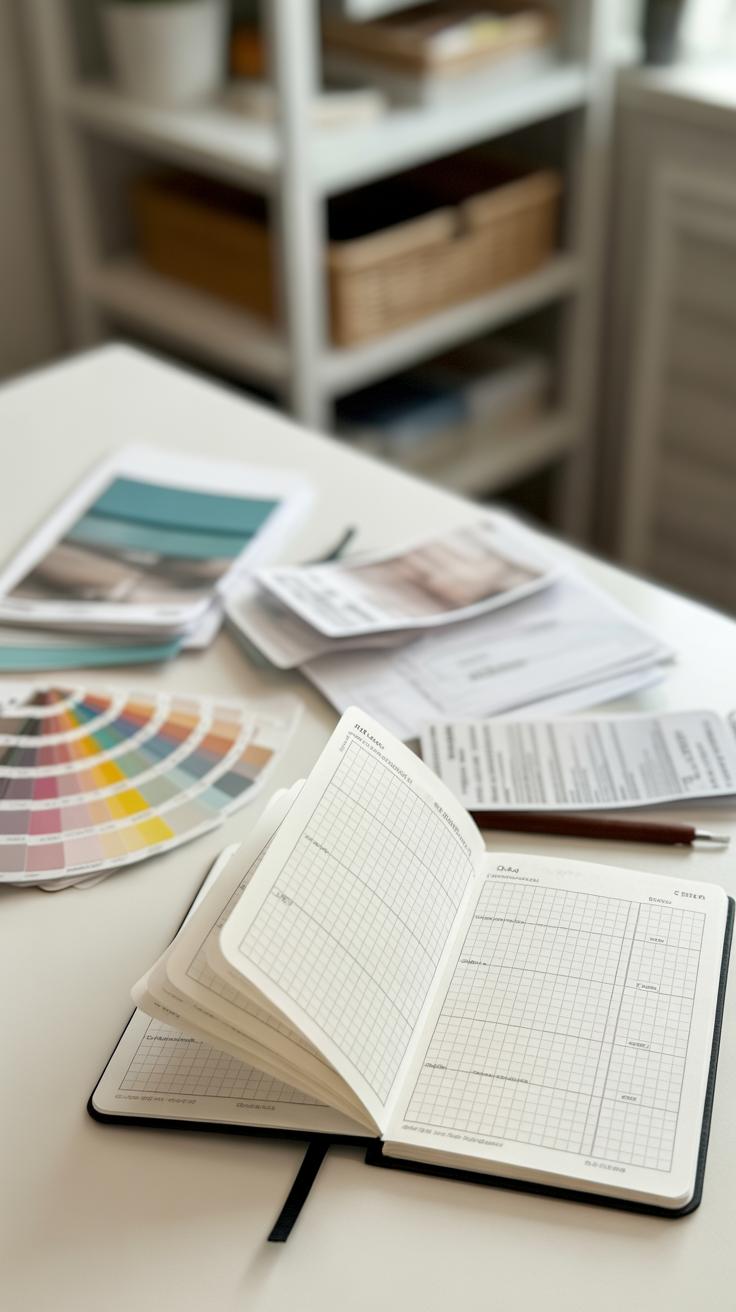
Preparing Materials And Tools
Gathering your tools and materials beforehand saves time and energy. Common supplies you might need include sandpaper, paint or stain, brushes, cleaning agents, glue, screws, and basic hand tools like screwdrivers and pliers. Sometimes a drill or a heat gun comes in handy, depending on your flip. It’s easy to overlook prepping things—like sharpening a blade or testing paint colors—but that prep work smooths the path. For example, cleaning your thrifted item thoroughly before sanding or painting avoids issues later. Think about the specific demands of your project and assemble what you need in advance. It feels more organized, and you’re less likely to stop midway because something’s missing.
Basic Techniques For Thrift Flipping
Cleaning And Preparing Items
Before you dive into any thrift flip, cleaning is your first crucial step. It might sound obvious, but sometimes it’s tempting to skip it, especially when an item looks just dusty. Yet, a thorough clean reveals hidden flaws and sets the stage for everything else.
Use warm soapy water for most items, but be careful with delicate surfaces—test a small area first. For stubborn grime, a gentle scrub brush or even vinegar can work wonders. I once cleaned an old wooden chair with a mix of baking soda and lemon juice; it brought out the wood’s natural grain without damaging it.
After cleaning, allow the item to dry completely. This pause might seem like downtime, but it’s key to avoid paint peeling or repair failures later on. Scrutinize the piece—what spots need sanding? Is there rust? Preparing well pays off.
Simple Repairs And Fixes
You don’t need a toolbox full of gadgets to fix thrift finds. Small repairs can make a big difference in both how an item looks and functions. Loose screws? Tighten them. Wobbly legs? Sometimes adding glue or new brackets does the trick.

Minor cracks or chips on wood or ceramics? Wood filler or a little epoxy can fill gaps and smooth surfaces. Don’t worry if you’re no expert; a bit of patience is often enough. For example, I patched a cracked vase with clear epoxy—it melts into the surface and becomes barely visible after sanding. Still not perfect, but it feels solid and useful again.
Pay attention to moving parts too: hinges, knobs, drawers. A little WD-40 or replacement hardware can improve usability vastly. It’s easy to overlook these details; they matter for the final feel of your project.
What’s your go-to fix when you spot a small problem? Sometimes the simplest solution is the best starting point for any thrift flip.
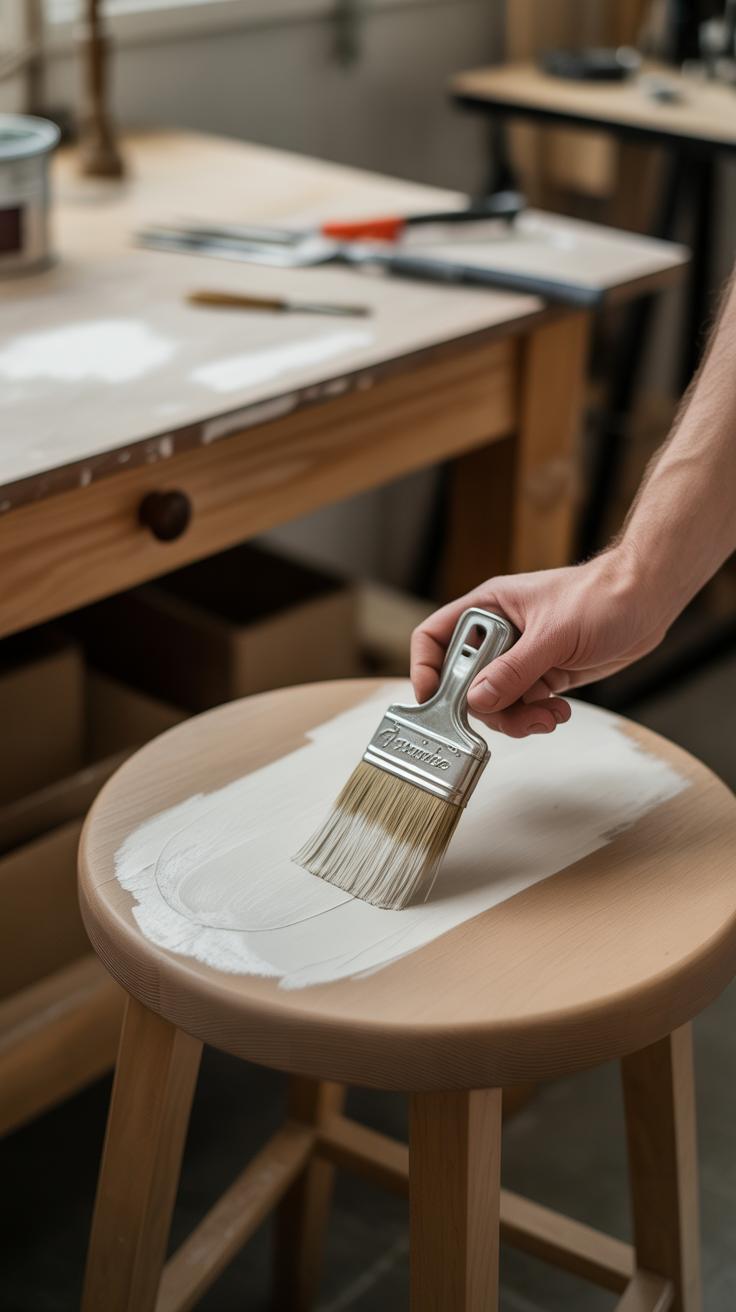
Adding Style With Painting And Finishing
Painting thrifted items can turn something plain into a conversation starter. The trick lies in choosing techniques that suit both the item’s shape and personality. You might try layering colors for depth, using sponging to add texture, or even dry brushing to bring out details. Some pieces can hold bold, flat colors well, while others thrive under a distressed or crackle effect. It’s a bit like giving an old story a new ending—sometimes subtle, sometimes loud.
Choosing The Right Paint
Picking paint depends heavily on what you’re working with. For wood, chalk paint is popular—it sticks well without tons of prep and dries matte for that soft look. Metal often calls for spray paint that resists rust and flaking. Plastics, though, can be trickier; flexible acrylics or special plastic paints tend to work better, but test first—plastic is unpredictable. If you want a glossy finish, enamel paints might be your friend. Thinking about the end use really helps here—is the piece decorative, or will it get handled? That shifts what paint will work best.
Applying Finishes For Lasting Results
Finishing nails the project in place. A coat of varnish can protect wood from scratches and moisture, but it can also subtly shift colors, sometimes warming them up or giving a slight sheen. Wax finishes, especially on chalk-painted surfaces, add softness and make the piece touch-friendly—great for items you’ll use a lot. I once left out a wax finish on a small table, thinking the paint alone was enough; a week later, the surface showed quick wear. Finishes might seem like a final step people skip, but they can make or break durability—and appearance. Picking one depends on whether you want shine, matte, or natural feel, and how much use the item will see.
Creative Textile Flips
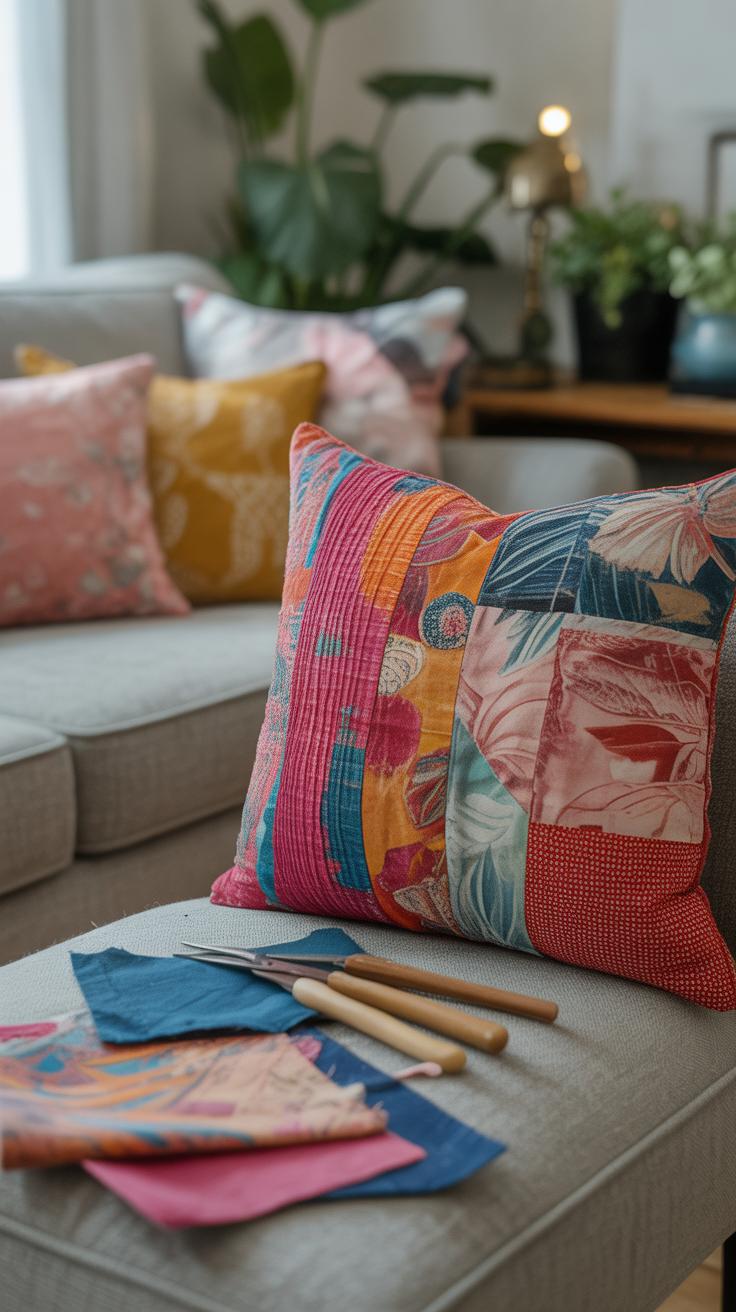
Thrifted clothes and fabrics hold so much potential. You might find a sweater that doesn’t fit right or a plain shirt that feels outdated. Simple sewing skills can change all that. Try hemming a long dress into a skirt or taking in the sides of a blouse for a better fit. Even basic stitches, like shortening sleeves or adding darts, can give new life to garments that otherwise might gather dust.
The fun really begins with adding colors and patterns. Dyeing can be pretty straightforward. You could dip just the hem or create an uneven gradient by scrunching the fabric. Fabric paints and markers let you add personal touches—maybe a few abstract shapes or a splash of color where it’s needed most.
These edits don’t require fancy equipment or advanced skills. Often, just a needle and thread—or a quick dip in a dye bath—is enough to turn something ordinary into a piece that feels fresh. Have you ever tried repainting or stitching a thrifted item yourself? It’s surprising how small changes can make a huge difference.
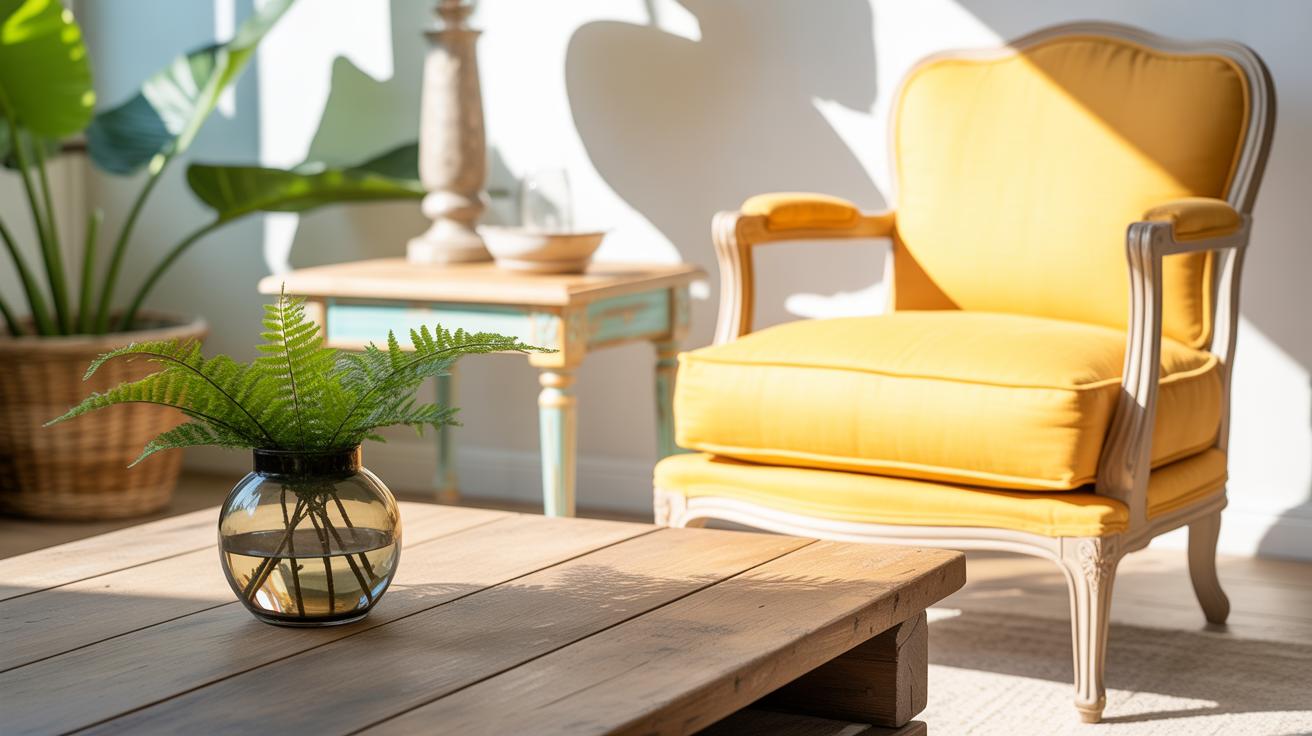
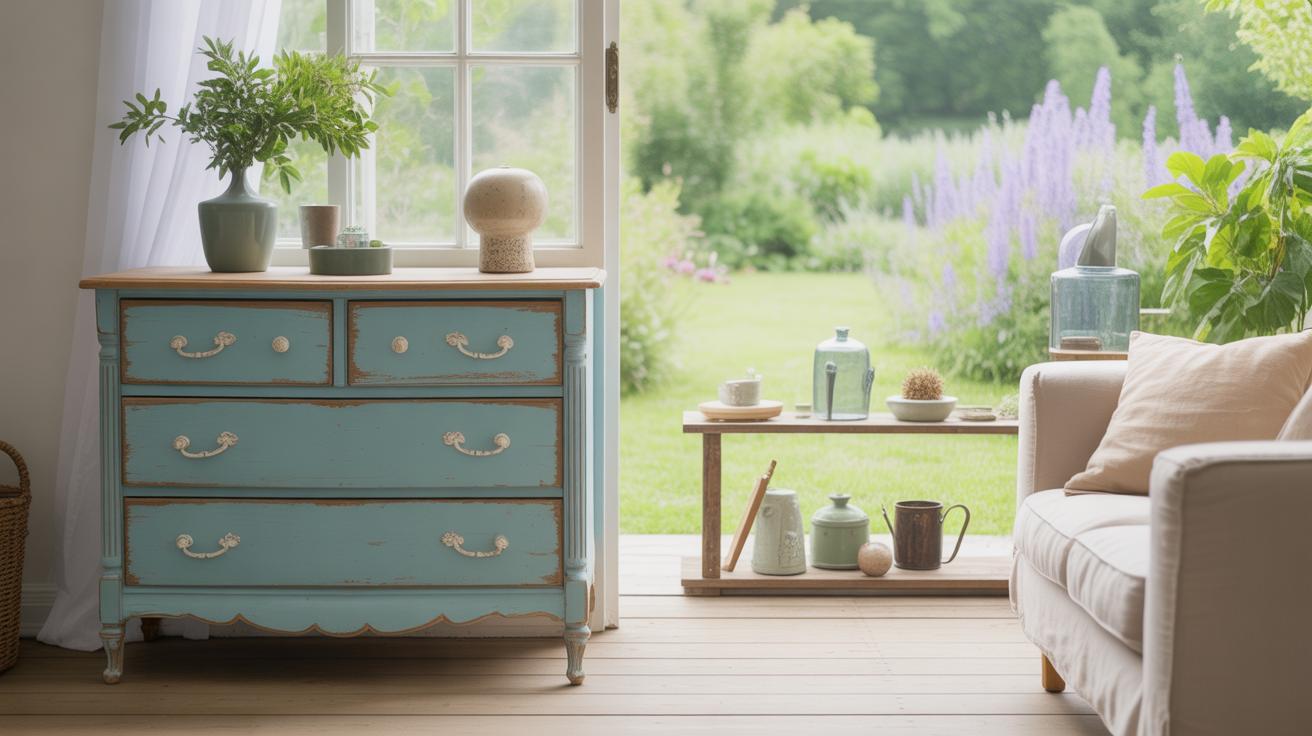
Upcycling Furniture Pieces
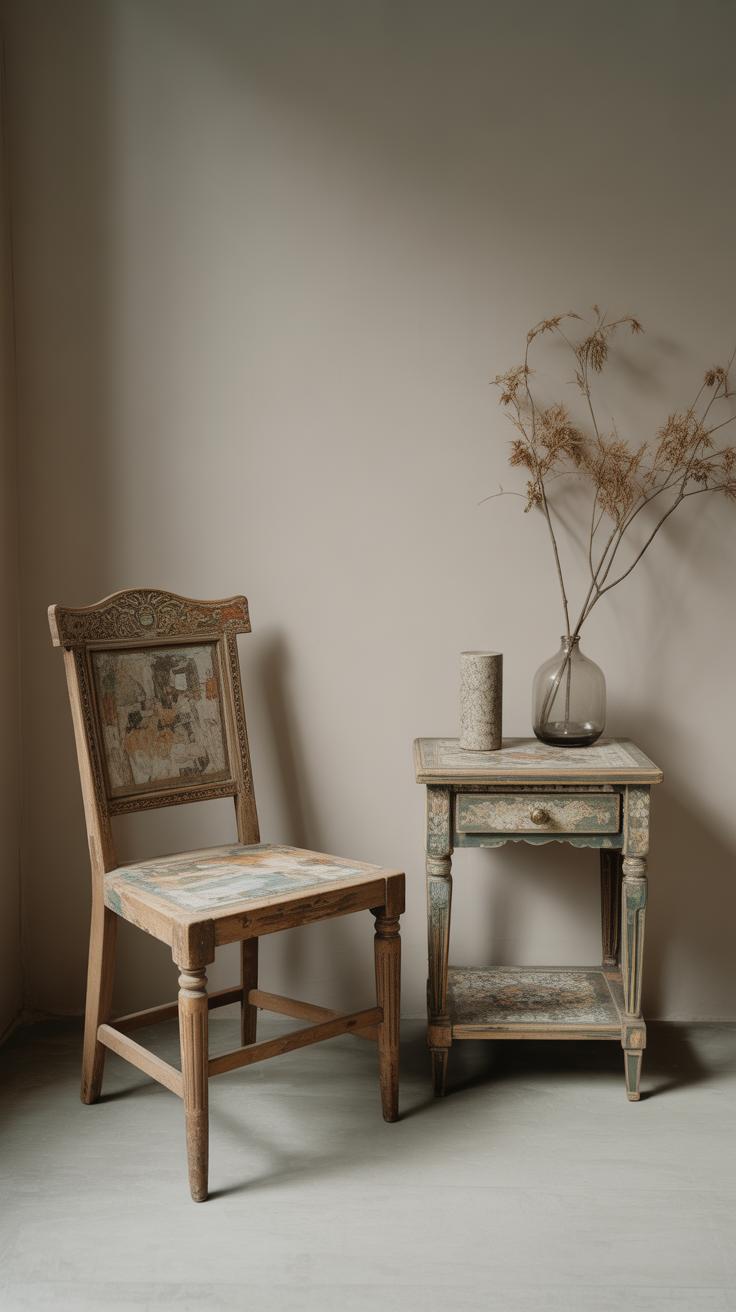
Turning thrifted furniture into something stylish and usable can be surprisingly rewarding. Old pieces often come with hidden potential, but you might need to dig a little beneath the surface first. Removing worn paint and rough surfaces is usually necessary before you can see the real shape and grain of the wood. This step takes patience—sometimes more than you expect—and the tools you choose really matter.
Stripping And Sanding Furniture
Start by stripping away old paint or varnish. Chemical strippers work well, but they’re messy and require care. Sanding is another way—rough grit paper to remove old layers, settling down to finer grits to smooth things out. It might seem tedious, but sanding reveals the bare wood, letting you inspect for damage and decide how to move forward. Sometimes you find unexpected marks or repairs from previous owners. These little quirks might actually add character.
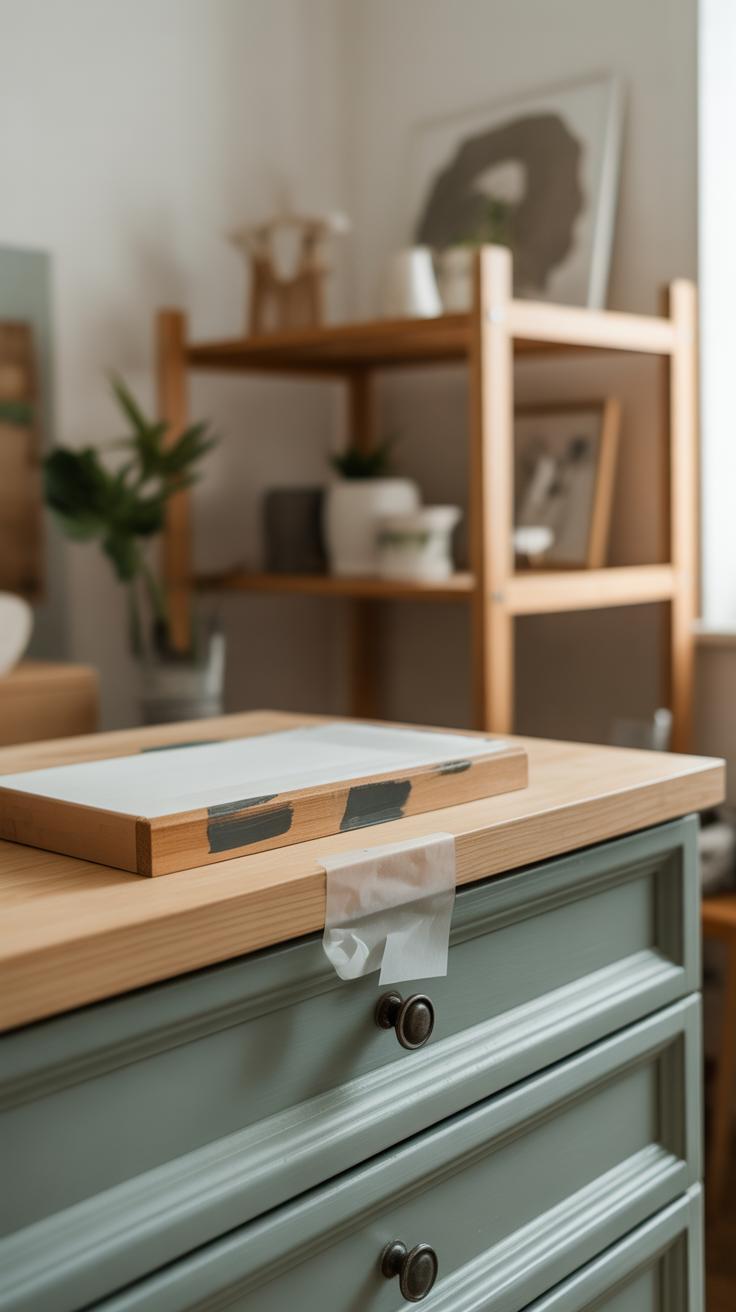
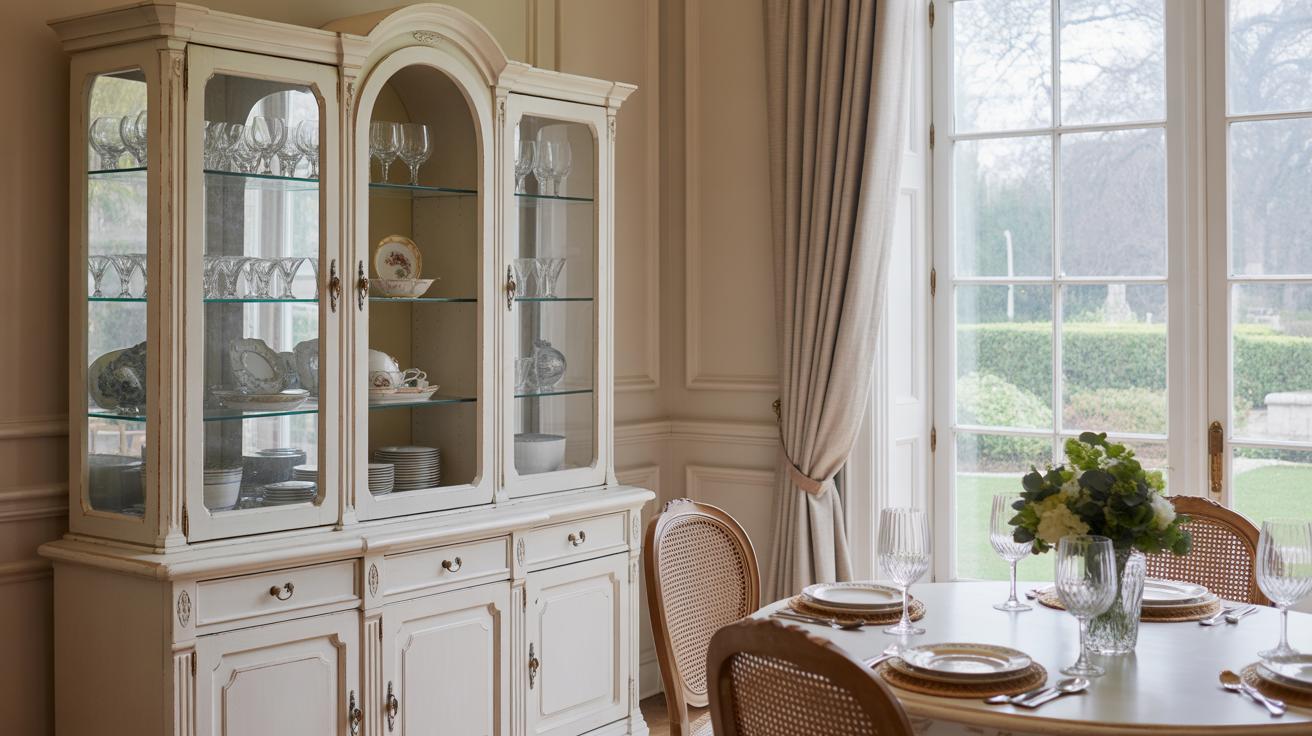
New Paints And Hardware
Once the surface is ready, you can rethink color and details. Choosing a fresh coat of paint can change the whole vibe—whether you go for a sleek modern look or prefer a softer, vintage feel. Swapping out handles, knobs, or hinges makes a big difference too. New hardware can feel like jewelry on furniture. Don’t rush picking these; the right pieces can balance the whole look. Sometimes I pick something completely unexpected, and it ends up being my favorite part.
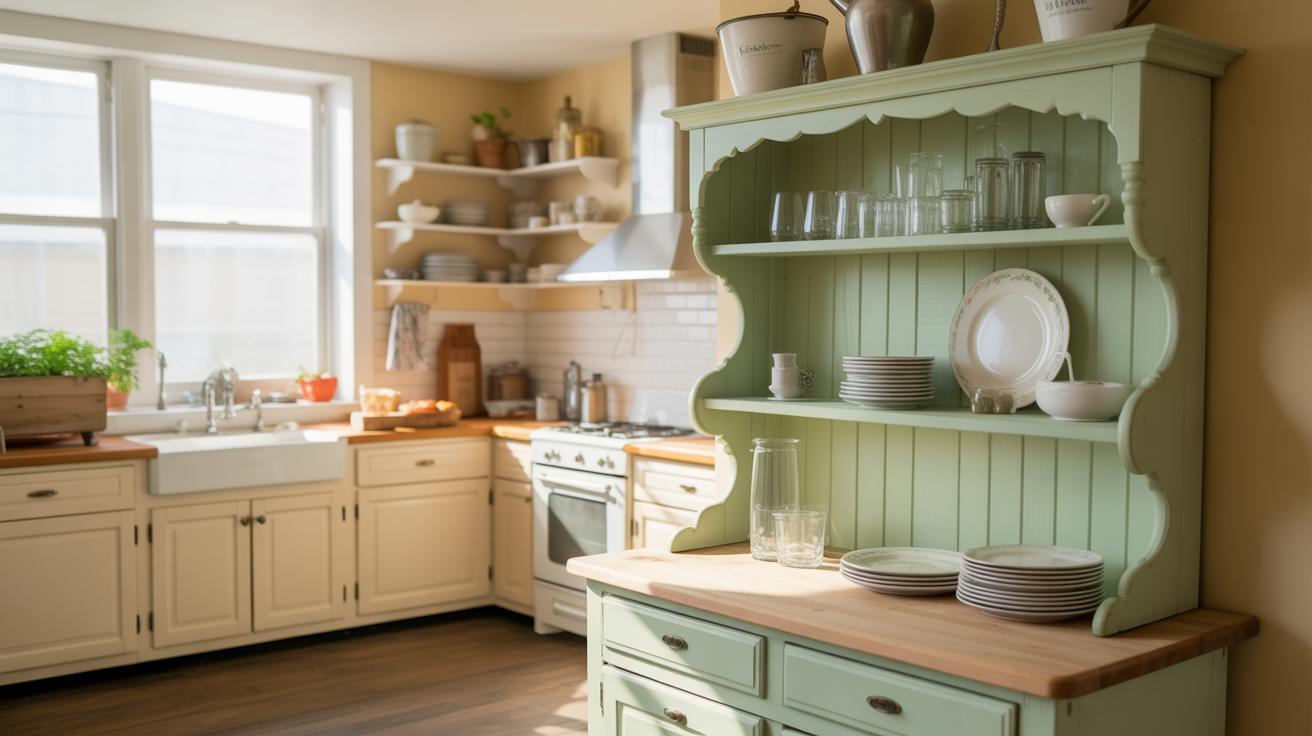
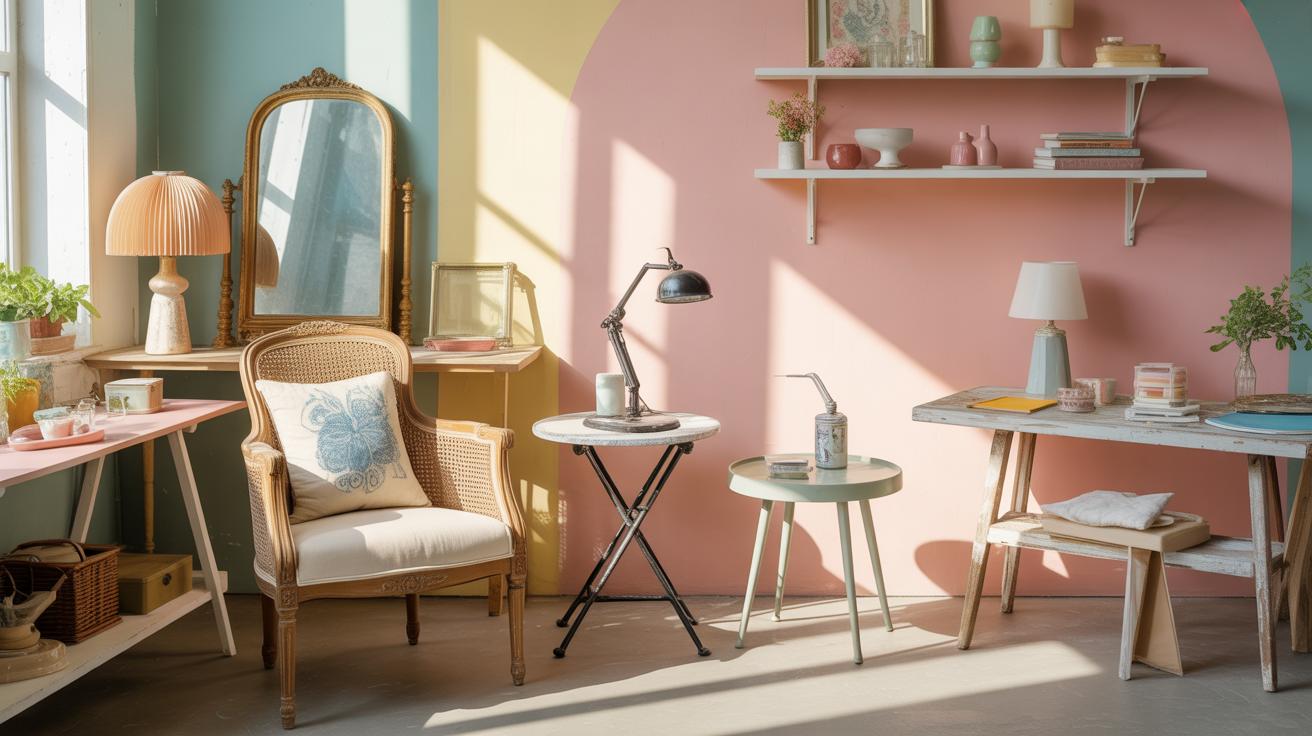
Decorative And Functional Craft Projects
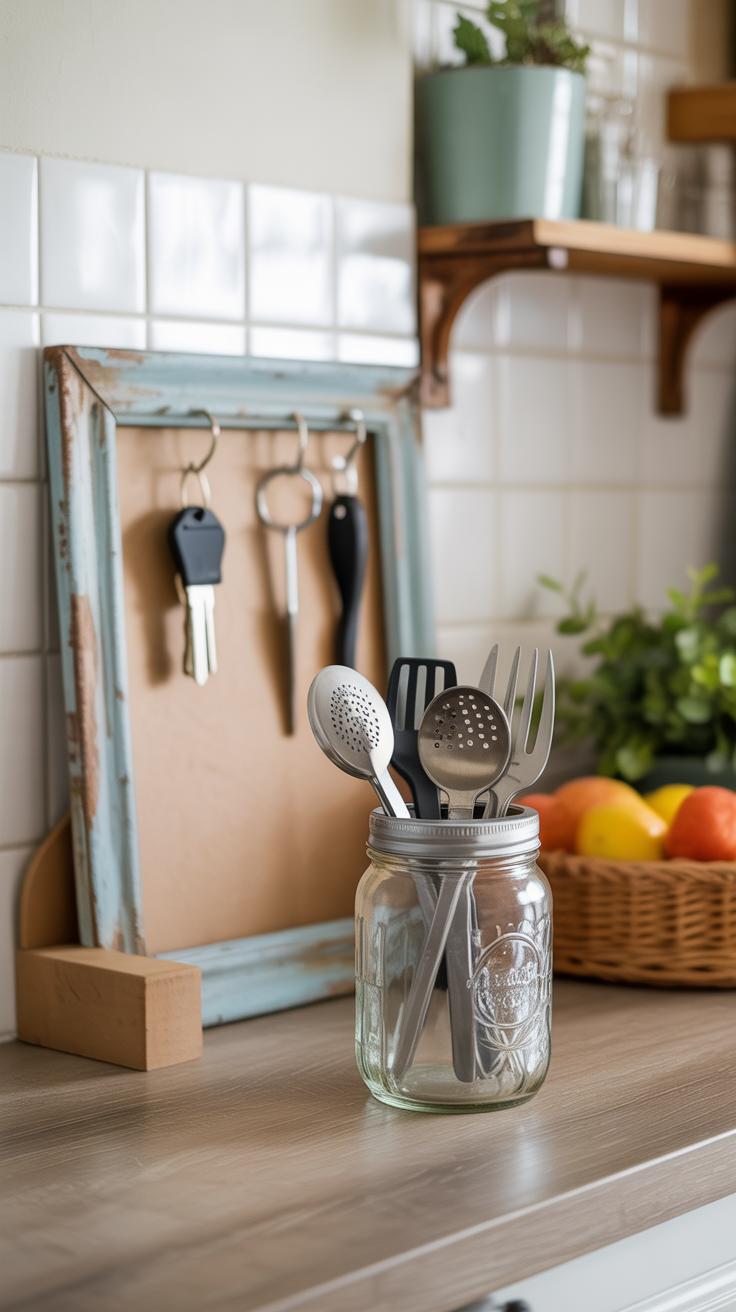
When it comes to smaller thrift flip projects, the possibilities are surprisingly broad. Turning old, often overlooked pieces into something both decorative and useful feels rewarding. Take picture frames and mirrors, for example. Instead of just repainting, try layering textures like fabric or even using metallic leaf for a subtle shimmer. Sometimes a simple sanding to reveal wood grain changes the entire look. Adding small details—beads, vintage buttons, or even hand-painted patterns—can also bring fresh life without much expense.
Storage solutions from thrift finds often don’t get enough attention. Baskets that appear worn can be revitalized with a bit of spray paint or a lining made from colorful fabric scraps. Old wooden boxes can turn into charming shelves or drawer organizers with minimal effort. Even something as simple as attaching legs or wheels to a box can create a portable storage option you didn’t expect. I found an old wire basket once and transformed it into a magazine holder that works perfectly in a tight space.
Working on these smaller projects might make you rethink what “junk” really means. What about you? How often do you stop to think beyond the obvious uses? Sometimes it’s just about mixing and matching—maybe a frame with texture, paired with a basket repurposed for mail—building something uniquely yours.
Using Technology In Thrift Flipping
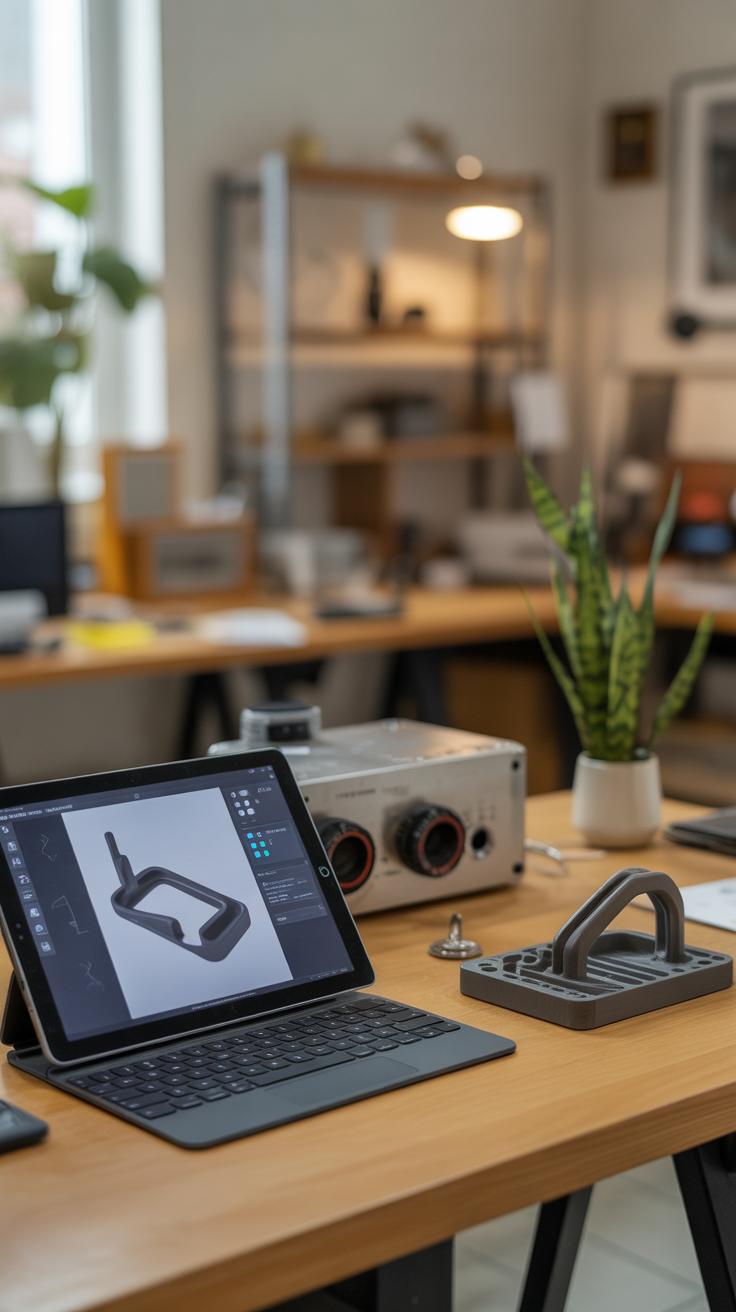
Simple technology tools can really change the way you approach thrift flipping. Take label makers, for example. They allow you to add clean, consistent text to just about anything. I’ve found they’re perfect for organizing or even branding your projects. Imagine turning an old wooden crate into a stylish storage box labeled with its contents or a fun phrase. It adds a touch of personality that might be tough to achieve by hand.
Custom design software, though sometimes a little daunting at first, opens up new creative doors. You can design your own labels or prints on your computer, then print them out onto adhesive paper or fabric transfers. It’s a neat way to make an item truly your own without needing to be a pro artist. You might start small with a coffee mug or tote bag, but the options keep expanding.
Stencils and digital patterns simplify adding detailed designs too. Instead of freehand painting, you pick or create a stencil to guide you. It keeps your lines sharper and your motifs consistent. I’ve tried both hand-cut stencils and printable ones, and while the former adds a homemade charm, printable stencils save time when you want polished results quickly. They’re great for repeating patterns or lettering—sometimes you just want precision without fuss.
Using technology this way can feel like cheating to some, but honestly, it’s just another form of creativity. Are you thinking about which tool to try first? Maybe starting with a label maker is an easy step before diving into digital design. You don’t need fancy gear; most tools are quite affordable, and the learning curve is gentler than you might expect.
Sharing Your Thrift Flip Success
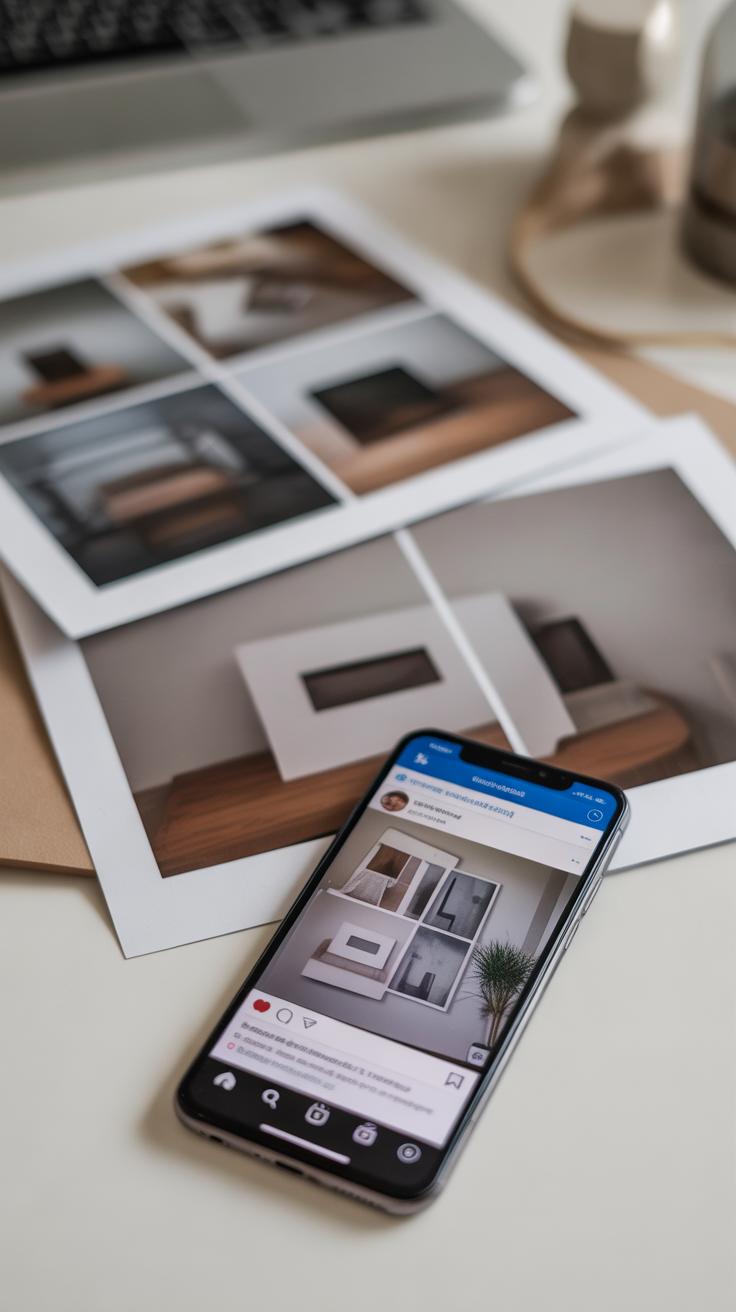
Once you finish a thrift flip, sharing the result can feel a bit daunting. But documenting your project not only tracks your progress, it might also spark ideas in others. It’s a simple way to connect with folks who don’t just like thrifting but are curious about what can be done with those finds.
When you’re ready to capture your project, focus on lighting. Natural light works best—soft daylight near a window can reveal textures and colors more accurately than artificial lights. Try different angles—sometimes a detail you love isn’t obvious at first glance. Don’t be afraid to zoom in on small features, like brush strokes or hardware changes.
Keeping backgrounds uncluttered helps your flip stand out. Plain walls or simple fabrics work well, but you can also get creative with setting—perhaps on a rustic table or hanging it against a subtle-patterned backdrop. Straightforward shots, combined with a few artsy ones, give viewers a fuller sense of your work.
Sharing doesn’t stop at photos. Writing about your process, what went right, or even what didn’t adds real value. On social media, engaging captions with questions invite comments, like “Have you tried painting on fabric before?” or “What would you add to this piece?” This interaction can turn followers into a supportive community.
If you have a blog, longer posts allow you to explain step-by-step or include tips and materials used. It’s a way to archive your projects and inspire readers who want more than just visuals. Tagging relevant pages or groups can also expand your reach without much extra effort.
Sharing might feel a bit vulnerable — who doesn’t occasionally hesitate before posting? Still, each project you put out there might encourage someone else to try their own flip. It builds a creative circle where ideas bounce back and forth, and that kind of connection is worth the little awkwardness that sometimes comes with sharing.
Conclusions
Exploring thrift flip ideas opens many possibilities to be creative and resourceful. By choosing thrifted items carefully and applying new techniques, you can create custom pieces that reflect your style and serve your needs. Each project is an opportunity to learn and improve your skills. You don’t need to spend a lot; your imagination is your best tool.
Start small and experiment with different materials and styles. As you gain confidence, your flips will become more detailed and personalized. Thrift flipping not only benefits your budget but also supports a sustainable lifestyle by giving items a second chance. Take action now and transform your next thrift find into something amazing.


