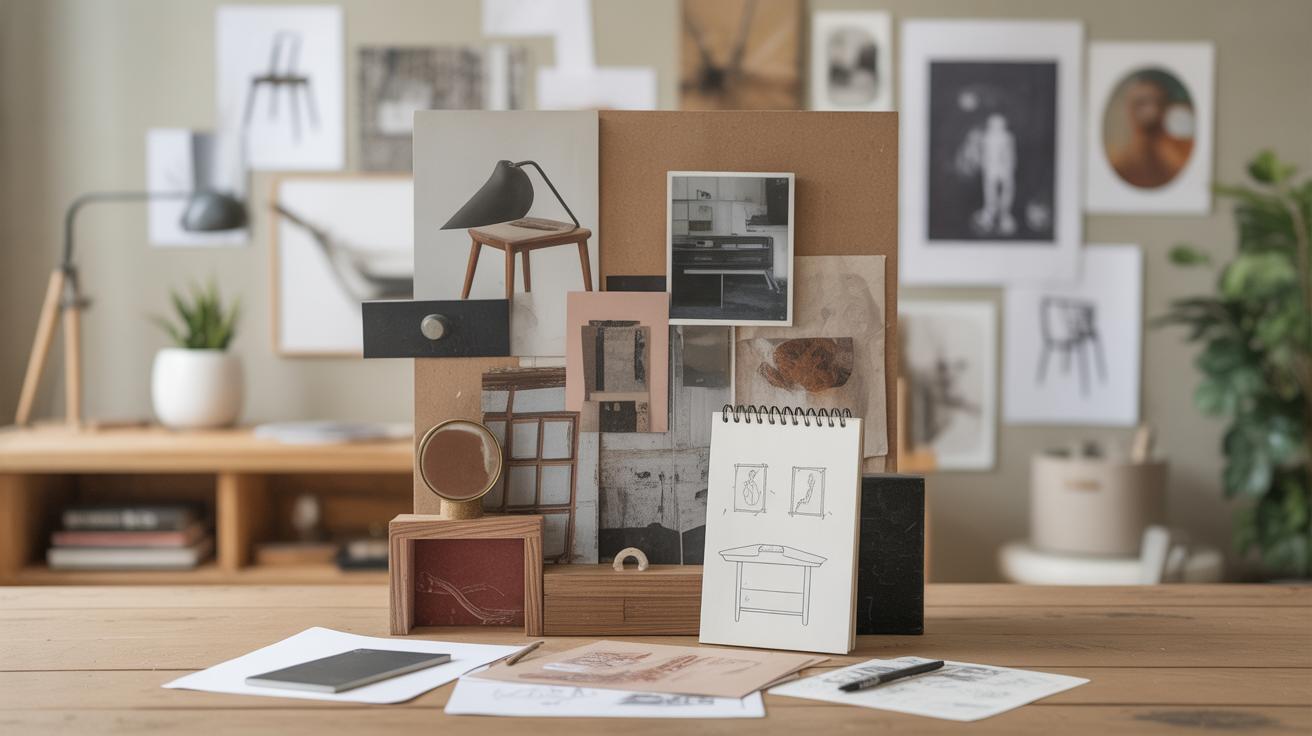
Introduction
Thrift flip decor offers a fun and affordable way to refresh your home’s look. It means taking old items from thrift stores and giving them a new style or purpose. This approach lets you change rooms without spending much money and adds a unique touch to your space.
In this article, you will learn how to start with thrift flip decor. We will explore simple steps and creative ideas to turn secondhand finds into charming decor. By the end, you will feel ready to transform your rooms with your own personal and eco-friendly touch.
Understanding Thrift Flip Decor
What Is Thrift Flipping
Thrift flipping means hunting for secondhand items to breathe new life into them. You find something overlooked—a chair with a faded cushion, a lamp missing its shade, or an old picture frame—and instead of discarding it, you imagine its potential. Then comes the fun part: sanding, painting, reupholstering, or creatively altering the piece until it fits your style and space.
The process isn’t just about restoring an object to its original form. It often involves repurposing — turning a vintage suitcase into a side table, for example. Each flip reflects not only your creativity but also gives the item a new function or story in your home.
Benefits of Thrift Flip Decor
One big appeal is the cost savings. You can often find pieces for a fraction of the price of brand-new decor, leaving budget room for other projects. But it isn’t just about saving money. When you choose thrift flipping, you reduce waste by keeping items out of landfills. That’s something that, frankly, a lot of us feel good about.
Then there’s the uniqueness. Mass-produced furniture and decor can feel impersonal. A thrift flipped piece is inherently one-of-a-kind because you’ve touched it, transformed it, made it yours. It’s a tangible mix of past and present, and sometimes, that slight imperfection or quirkiness adds character in ways new items just can’t match.
Have you ever noticed how a thrift flipped item sparks curiosity among guests? There’s a story behind it, or at least a hint of effort that invites conversation. It can be satisfying in a way that goes beyond just having something pretty to look at.
Finding Good Items for Thrift Flipping
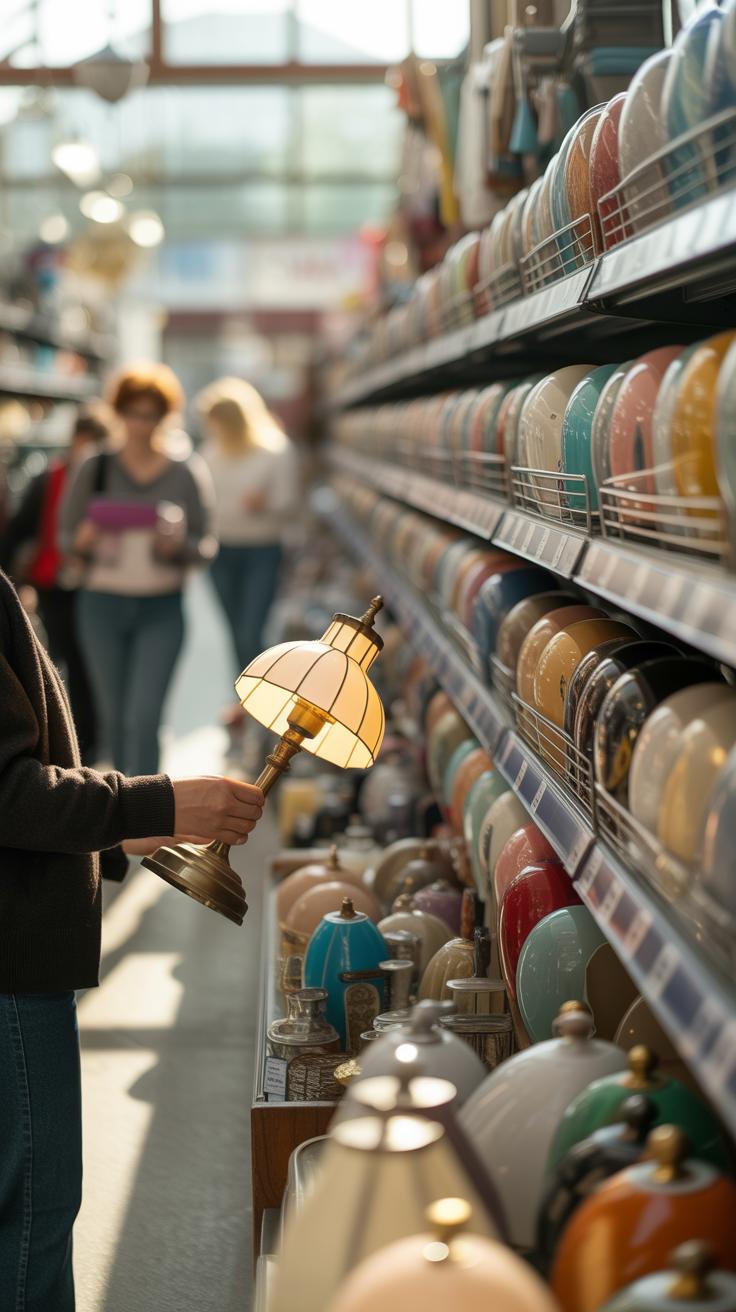
Where you shop can make a big difference. Thrift stores are an obvious choice, with their steady stream of new arrivals. But don’t overlook garage sales or flea markets. Sometimes, there’s just something about a weekend market—the hunt feels more personal, almost like a treasure hunt. Online platforms like thrift apps or marketplaces add convenience too. You might spend less time digging, but it can also be harder to gauge true condition just from photos.
When you’re scanning for items, keep an eye out for things that have potential. That means solid condition to start with; extensive damage might be more of a headache than you want. An interesting shape or design can really set a piece apart—something that sparks your creativity. Vintage charm is a plus, but don’t get too fixated on age alone. Sometimes, something plain but sturdy becomes your best flip.
Ask yourself: Does this item feel like it’s calling for some new life? Is the structure sound enough to support a fresh look? These questions can guide your choices just as much as any checklist. I’ve found that trust in your gut matters here—if something looks promising enough to imagine revamping, that’s often the best way to decide.
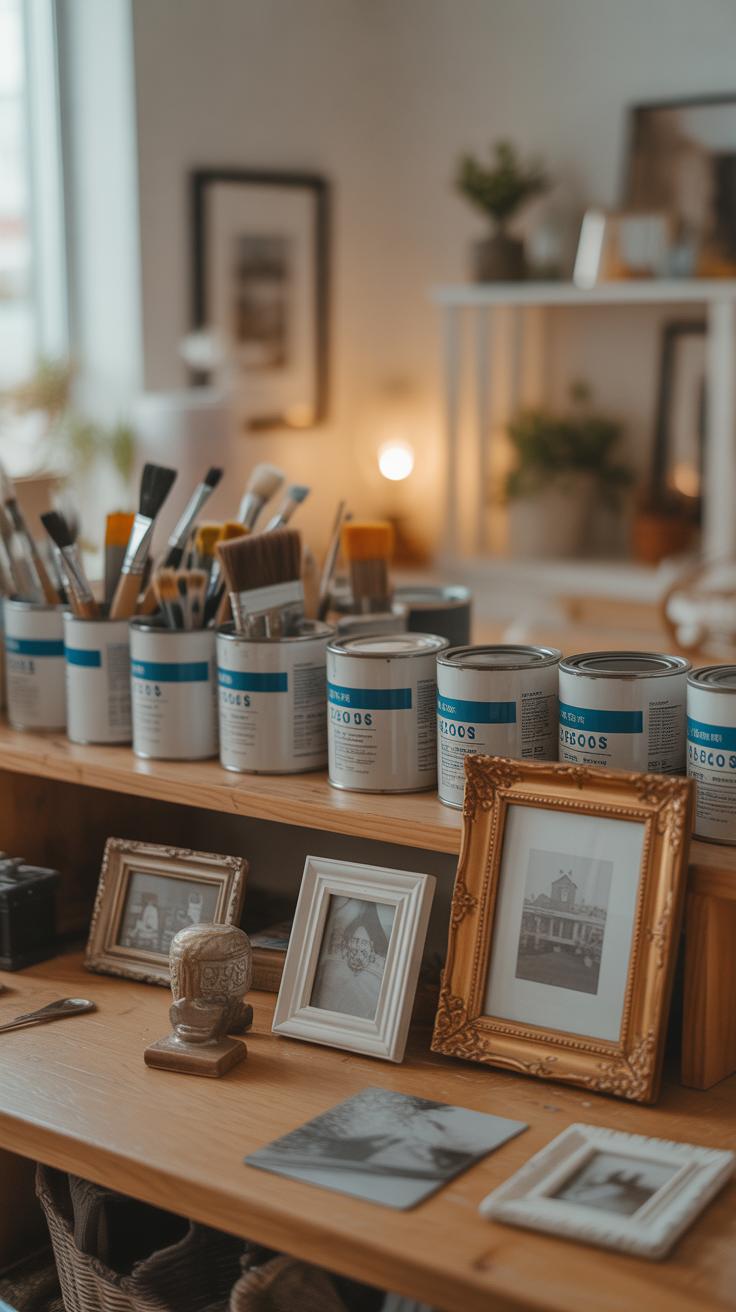
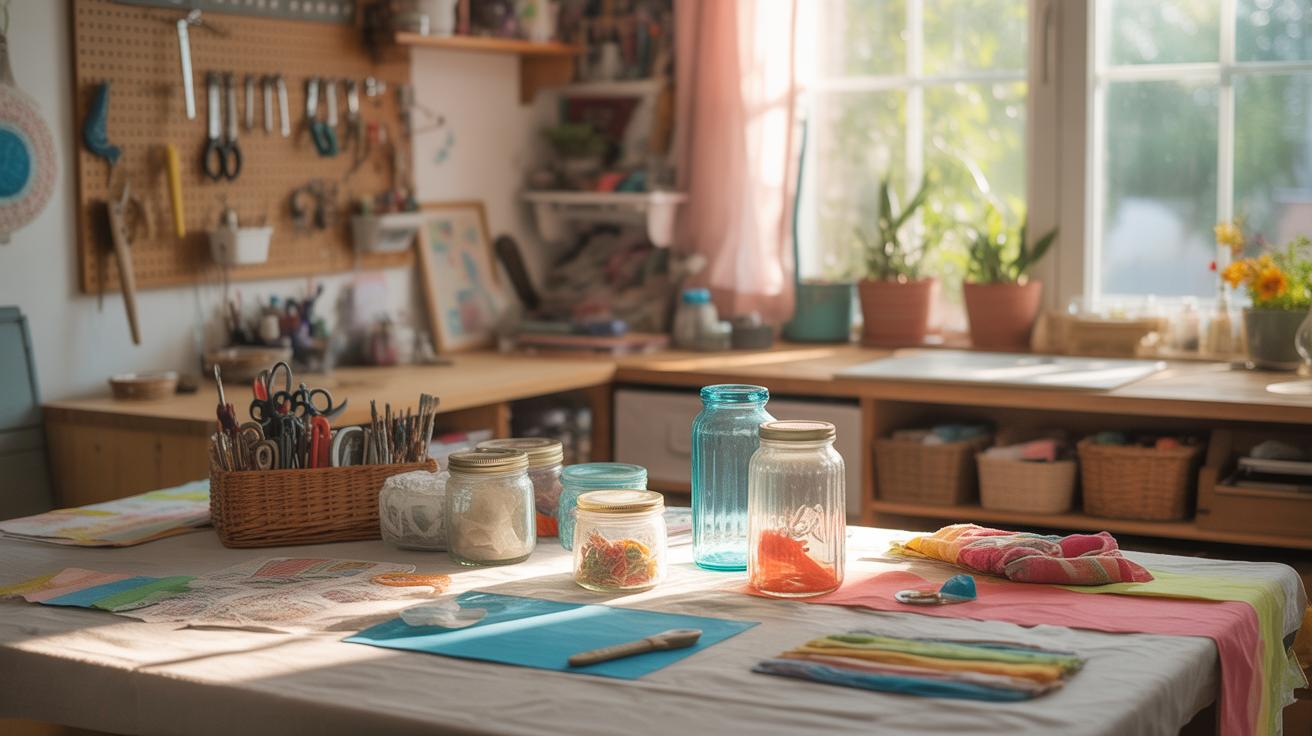
Tools and Supplies You Will Need
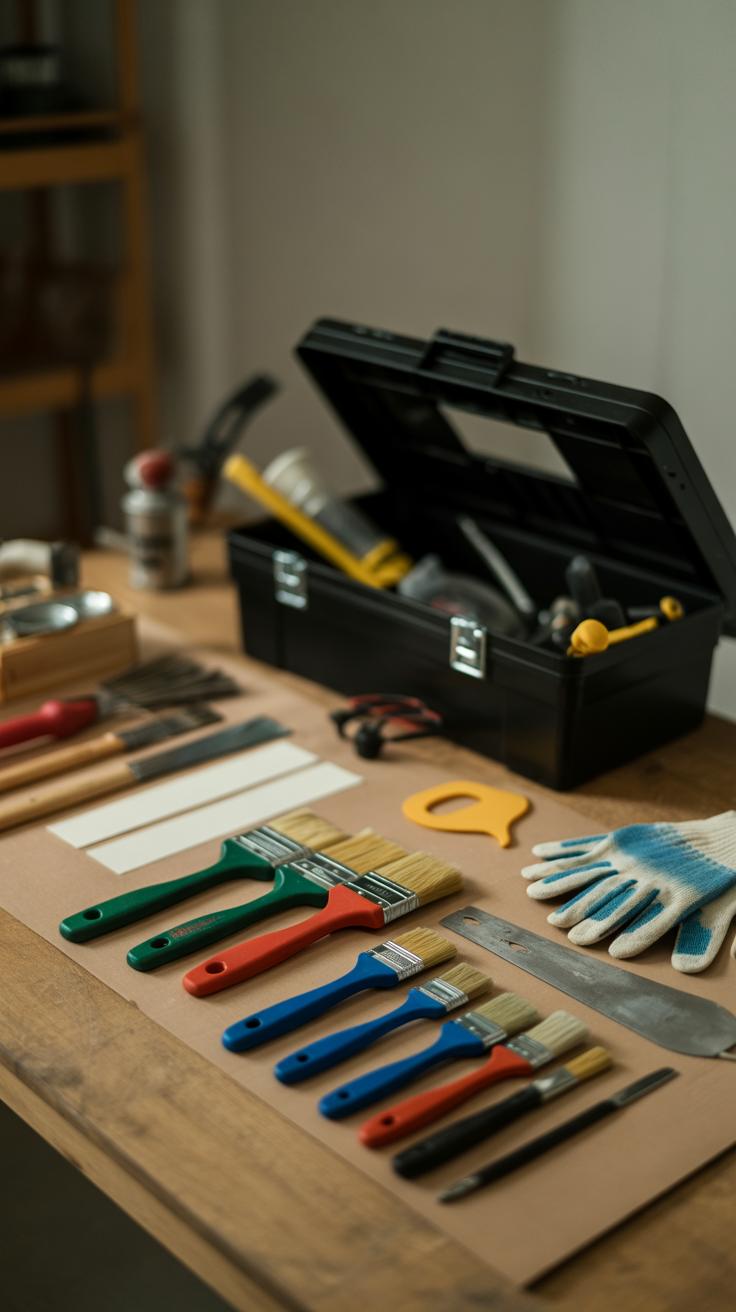
When you’re ready to jump into thrift flipping, having the right tools makes a big difference. You don’t need a huge workshop or expensive gadgets, just a few basics to get you started. Think of these as the foundation for your projects—it’s surprising how far a little sandpaper and some paint can take you.
Basic Tools List
At the very least, you’ll want:
- Sandpaper – Different grits, rough to fine, to prep surfaces or smooth out edges.
- Paint – Acrylic or spray paints work well for quick coverage and versatility.
- Paintbrushes – A small variety, including foam brushes for smooth coats and finer brushes for details.
- Glue – Craft glue or stronger adhesive, like wood glue or epoxy, depending on your project.
- Screwdrivers – Both flathead and Phillips, because you’ll often need to tighten or remove parts.
- Cleaning supplies – Rags, mild soap, maybe a scrub brush to clean things before starting.
These tools cover most projects at home. Sometimes you realize you need a hammer or pliers, but it’s not necessary to buy everything upfront.
Where to Source Supplies

You might hesitate about buying new supplies when thrift flipping is about reuse. Still, some items you’ll want to buy fresh to avoid bad smells or mess. But there are affordable routes if you look carefully.
- Dollar stores often have paintbrushes, glue, and even some small tools at lower prices.
- Hardware stores frequently offer basic tools on sale or clearance sections.
- Garage sales or flea markets can surprise you with secondhand tools in decent condition.
- Online marketplaces sometimes have bundle deals with slightly used supplies that cost less.
- Don’t overlook your own home! You might have old paint cans or leftover brushes stashed away.
Gathering what you need can feel like a small treasure hunt. In my experience, starting small and adding tools as you go helps avoid buying things you never really need. What’s the one item you think might be trickiest for you to find or use? Maybe start there and build from that point.
Basic Techniques for Thrift Flipping

When working with thrifted items, starting with the basics can save you a lot of frustration. The first step is often cleaning. Some pieces might look dusty or grimy, but a bit of soap and warm water usually does the trick. If you come across stubborn stains or sticky residue, rubbing alcohol or a gentle cleanser can help. You’d be surprised how much a simple wash can change the entire vibe of an item.
After cleaning, take a close look for scuffs or small scratches. Light sanding smooths out rough spots and prepares surfaces for paint or other finishes. I find that using fine-grit sandpaper works best since it doesn’t damage the item but still roughens it enough for paint to stick. Fixing minor dings might require a bit of wood filler or glue for ceramics; it’s nothing too complicated. Just don’t get too caught up trying to make it perfect—that can detract from the charm.
Painting is often the most transformative part, but choosing the right paint can feel a bit daunting. Latex or acrylic paints generally work well for furniture and wood, while spray paints suit metal and plastic pieces. Consider the finish too—matte, satin, or gloss will affect the final look. Applying several thin coats is better than one thick one, though I admit I sometimes get impatient and go a bit heavy-handed. Sealing your project with a clear protective coat not only enhances durability but can also add a subtle sheen. It’s a small step but worth the effort if you want your piece to last.
Creative Painting Ideas for Decor
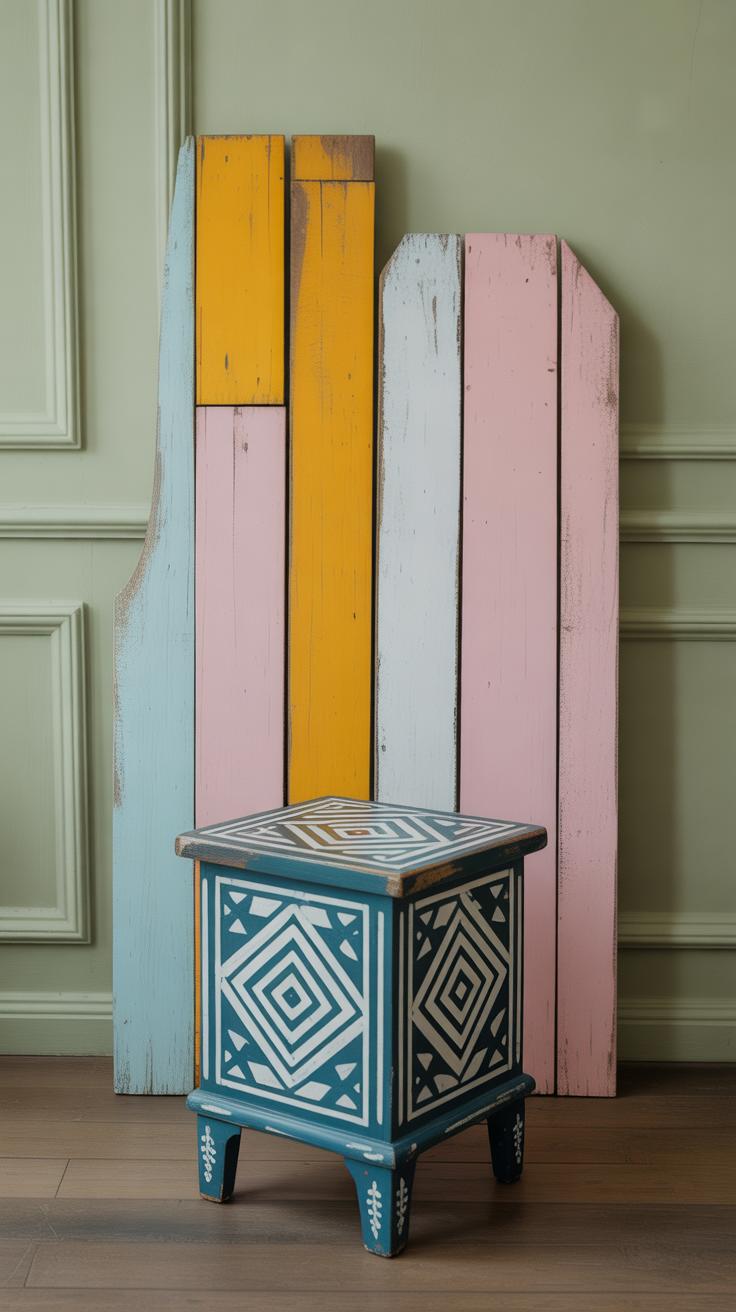
Painting thrifted items can feel like giving them a new life—sometimes a bold new personality. The trick is to think about what fits your room’s mood rather than just picking colors you like in isolation. For example, if your room leans toward a calm, muted palette, soft pastels or gentle earth tones might be better than something too bright or overpowering.
You might want to try a few ideas before you commit, like testing small spots to see how colors really look in different lights. Sometimes what looks nice on the swatch won’t sing in your room’s natural glow.
Color Schemes to Consider
Choosing a color isn’t just about matching—sometimes accentuating works better. Think about colors that could pop against your walls or furniture. For instance, a vintage side table painted in deep navy could really stand out in a cream or beige space. On the other hand, light colors like soft grey or muted teal might blend in more subtly.
Here are some quick tips for picking colors:
- Look at your existing textiles or art for inspiration—there’s often an unexpected color combo that fits perfectly.
- Consider the function of the item: brighter colors can energize a workspace, while calming tones might suit a bedroom piece.
- Try mixing matte and glossy finishes to add texture and interest without changing the color.
Patterns and Designs
Patterns don’t have to be complex to bring a piece to life. Sometimes stripes, dots, or a stencil motif can go a long way. For example, painting delicate polka dots on a lamp base can add charm without overwhelming the room. Stripes, especially in contrasting colors, offer a modern touch but don’t overdo it, or it might feel busy.
Stencils are a favorite because they’re simple and allow for creativity without needing advanced skills. You can make geometric shapes or floral designs that reflect your style—just one or two shapes repeated can look quite striking.
Have you tried layering colors with sponges or brushes to create subtle textures? It’s a low-effort way to give things depth. Also, leaving some original wood or metal peeking through here and there adds a bit of character, which you might actually prefer over a completely smooth, uniform finish.
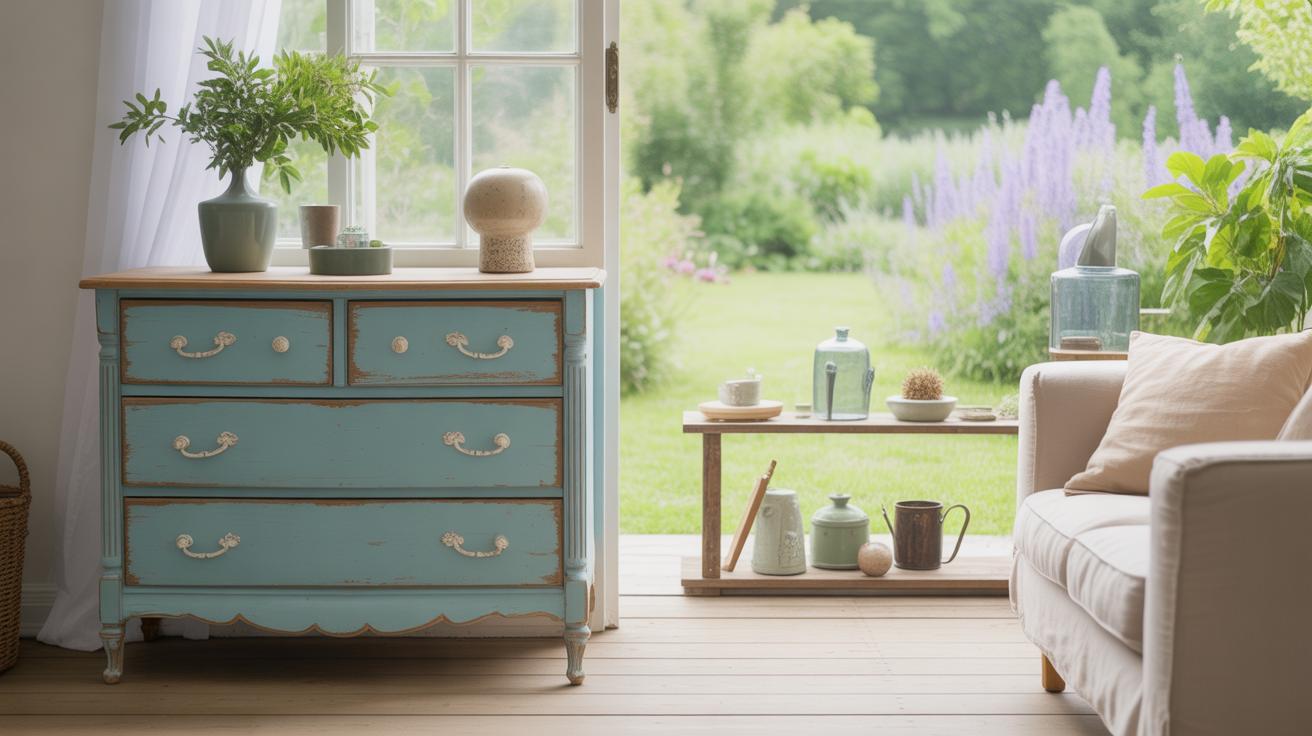
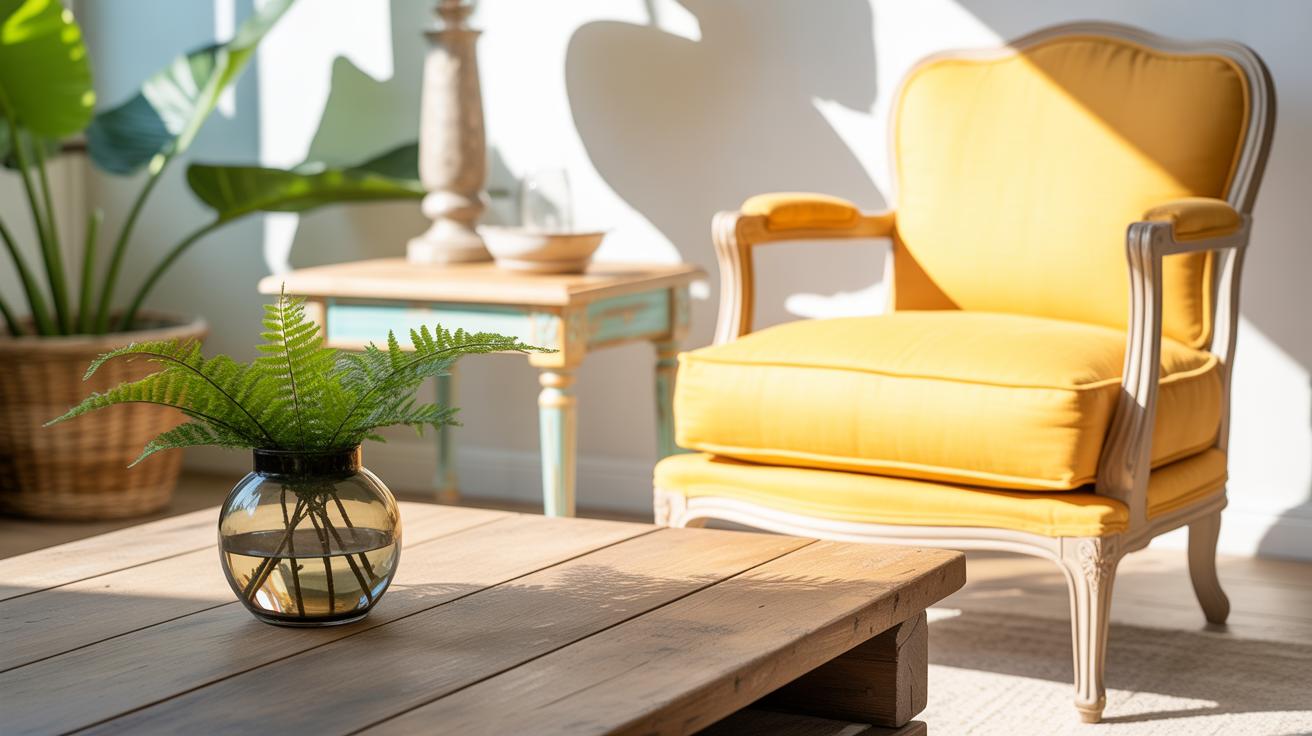
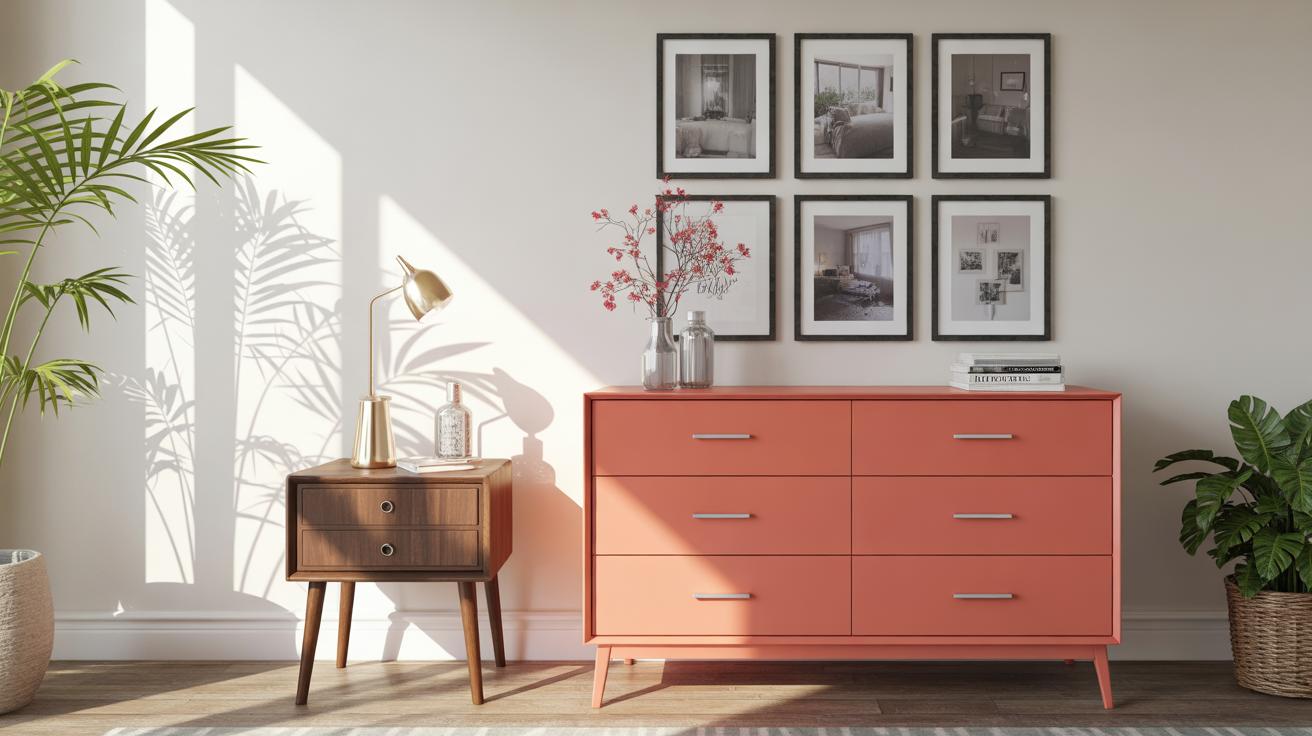
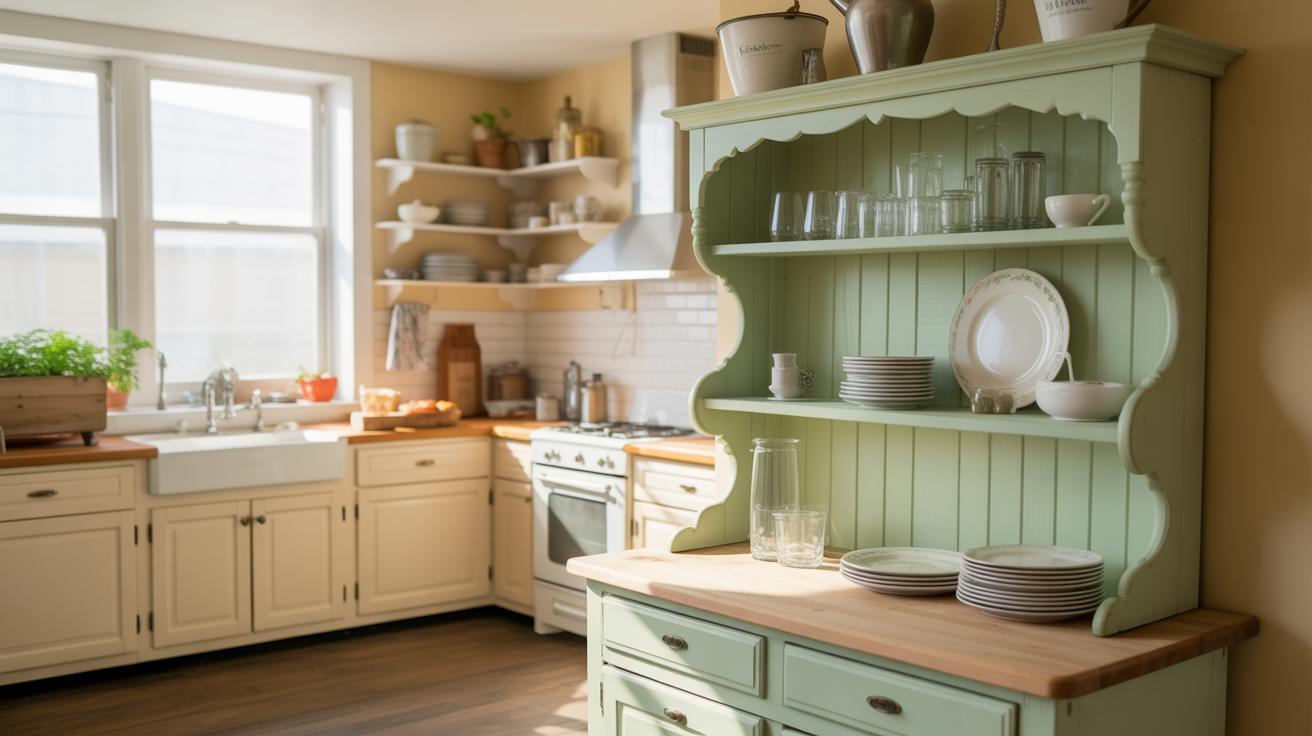
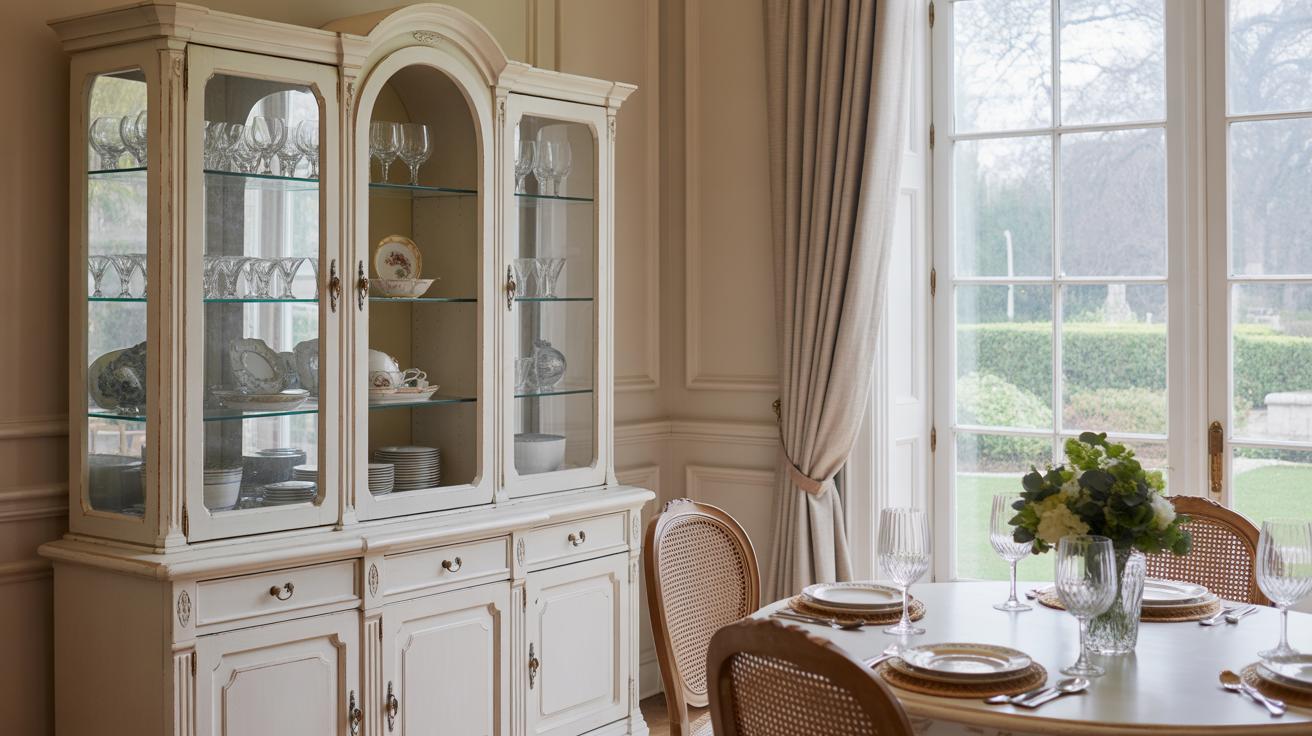
Turning Furniture Into Statement Pieces
Flipping old furniture into room focal points can be surprisingly simple, but it does take some thought. You don’t have to strip down every item or attack it with the latest trends. Sometimes just a little tweak completely changes how a piece feels.
Refinishing Wood Furniture
Start with sanding—this is the step where you remove old finishes and smooth out any damage. You don’t have to sand down to bare wood but enough so the new stain or paint sticks well. Picking the right grit sandpaper matters; coarse for rough spots, finer for a smooth finish.
Next comes staining, which is where things actually start looking different. Choose a stain color that either revives the original wood tone or flips it to something unexpected. I remember trying a dark walnut on a once golden oak dresser, and… well, it wasn’t love at first sight, but it grew on me.
Sealing is last. A simple polyurethane or wax protects your hard work and makes the piece last longer in your space. Without this, your refinished furniture might chip or age faster than you’d like.
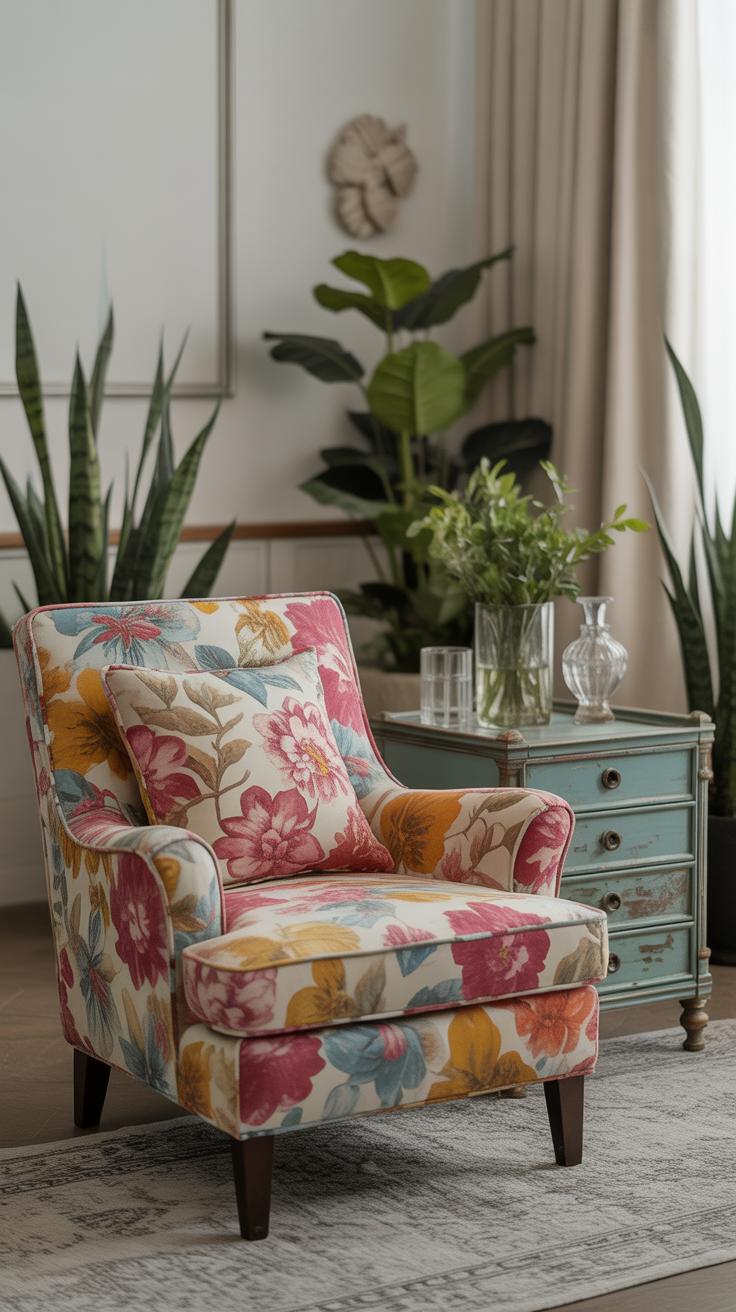
Reupholstering Chairs and Sofas
Replacing fabric is a strong way to refresh your seating without buying new furniture. First, strip the old fabric off carefully—often the hardest part since staples and nails don’t come out easily. Pay attention to patterns and seams; it’s easy to miss a piece when cutting your new fabric.
Then, use quality padding to add comfort, or replace worn-out foam if necessary. Next, stretch the new fabric smoothly over the frame and secure it with a staple gun. This part requires patience, especially around curved areas, but even imperfect results add character.
If changing cushions is possible, try mixing different prints or textures. I once saved an old armchair just by swapping its upholstery with a bold floral print. It turned from forgotten to focal point; that felt good.
Upcycling Accessories and Small Decor

Small decor pieces like lamps, picture frames, and vases often get overlooked at thrift stores. Yet, these little items can offer big opportunities for creative flips. You might find a lamp with a dated shade but a solid base, or a plain frame begging for some personality. Playing around with these pieces can refresh a room quietly or with a surprising punch.
Painting and Embellishing Ideas
Painting is an easy way to update old accessories. Chalk paint works well on wood and metal surfaces and dries fast. You could go for a solid color — bold or muted depending on your taste — or try something like color-blocking for extra character. Adding fabric pieces is another option. Wrapping a lampshade with patterned cloth or gluing a lace trim on a vase can make a huge difference. Small decorations such as buttons, beads, or even dried flowers stuck on frames bring texture and interest. Mixing these ideas makes the piece feel more unique — though sometimes, a simple paint job already does enough.
Creating Functional Decor Pieces
Some thrifted items aren’t just pretty; they can be made useful too. I once took an old glass vase, gave it a coat of frosted spray paint, and added a candle inside, turning it into a subtle candle holder. Old tins or boxes can become stylish storage for keys or jewelry. Flower pots aren’t limited to plants — you might turn one into a desk organizer or holder for art supplies. It’s a bit like giving these items a second life, which feels good. But keep in mind, sometimes function follows form, and occasionally you end up with a piece that’s better just hanging around for looks.
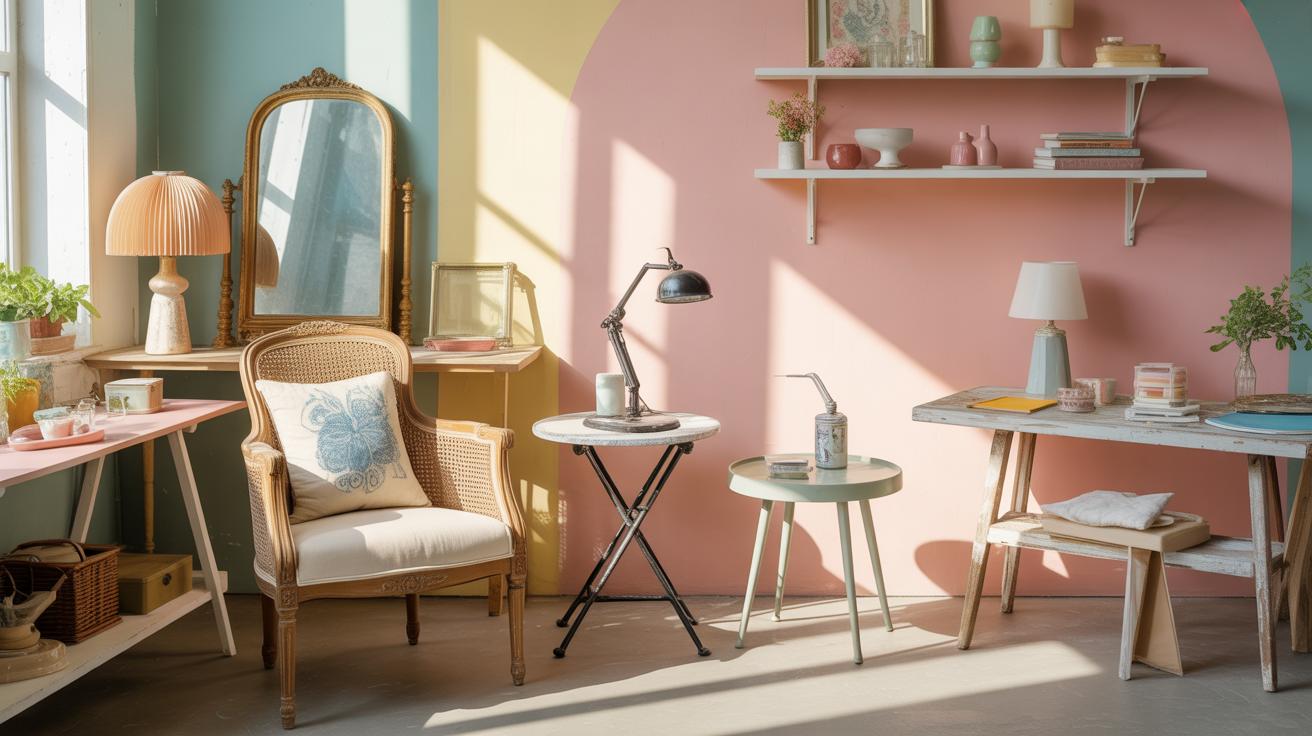
Mixing Thrift Flip Decor With Your Current Style

Matching Colors and Textures
You might find it tricky to bring thrifted flips into a room without things feeling off. One practical way is to focus on colors and textures first. Ask yourself: Does this rusty old chair with a patchy cushion clash with my sleek sofa? Sometimes picking thrift flips in similar tones to your main furniture or walls helps create a subtle harmony. Soft pastels with other pastels, or warm neutrals paired together, often work well.
Textures matter too. If your room’s mostly smooth surfaces, like glass or polished wood, adding a rougher, weathered piece can add interest—but only if balanced thoughtfully. You don’t want it to scream “I don’t belong.” Sometimes, small tweaks like repainting or recovering cushions can help a thrift flip feel more like part of the original scheme.
Balancing Vintage and Modern Elements
Mixing old and new is a bit of a balancing act, isn’t it? You don’t want the vibe to tilt too much vintage and feel like a museum, nor too modern and miss the charm that thrift flips bring. One helpful approach is placing a few standout vintage pieces among minimal modern furniture. That way, the old items pop without overwhelming.
Think about scale as well. Pair a chunky, turned-leg antique table with a sleek, simple lamp. This contrast can be refreshing. But if everything vintage is large and elaborate, and new pieces are also bold, the room might feel cluttered. Sometimes, less is more when blending eras. The goal is a relaxed tension rather than perfect matching, so don’t force it if something feels slightly off—it can grow on you.
Budgeting Your Thrift Flip Projects
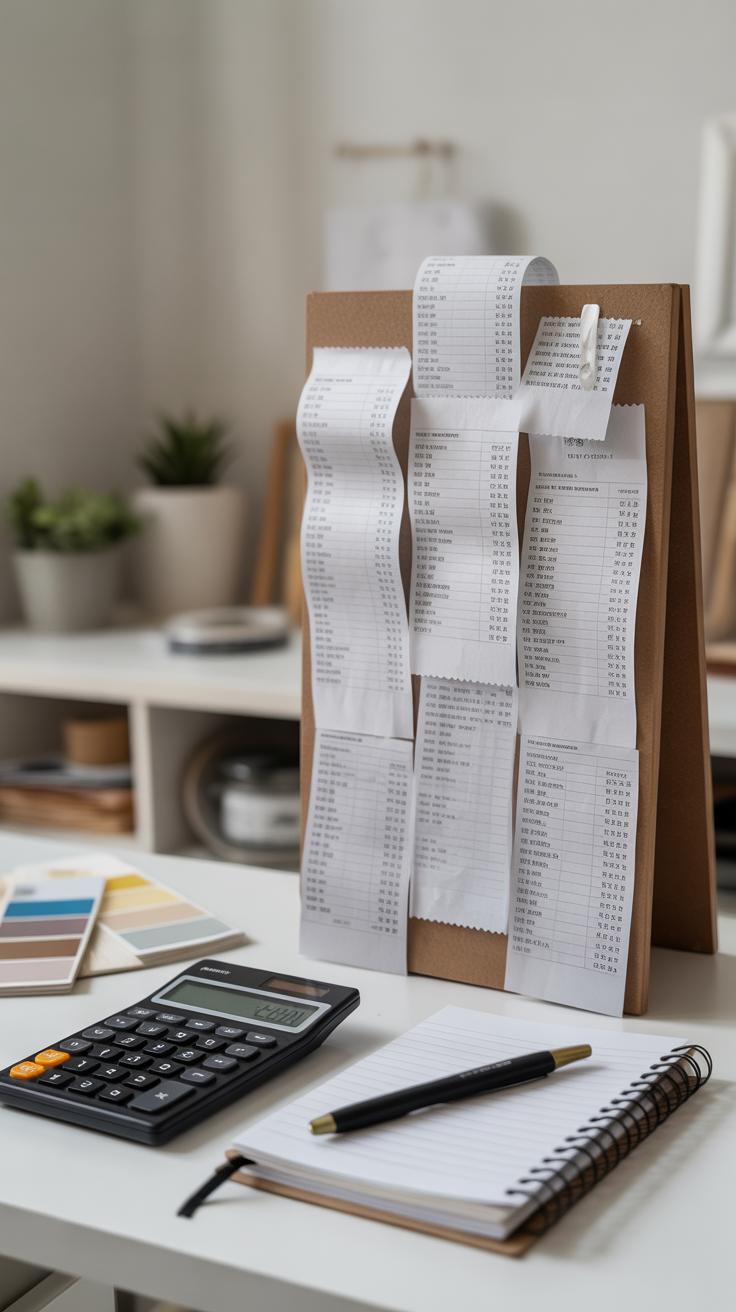
Estimating Costs of Materials and Items
Before jumping into your next thrift flip, take a moment to figure out what you’ll actually spend. Sometimes, the price tag on a thrifted piece looks like a steal, but add the cost of paint, brushes, hardware, or fabric, and suddenly it’s not as cheap as you thought. Try making a quick list of everything you’ll need—tools, materials, finishes—and look up prices online or check local stores.
Don’t forget the little things that sneak up: sandpaper, primer, nails, or glue. I remember once underestimating just how much paint my dresser needed, and that surprise purchase set me back more than I expected. Estimating upfront helps avoid that kind of shock. You might even allow a small buffer for unexpected expenses because, let’s face it, projects never go exactly as planned.
Saving Money With Smart Buying
There are a few ways you can keep costs low while still getting quality supplies. Look for sales at craft stores—sometimes seasonal discounts or clearance sections hide some real gems. Don’t overlook coupons; many stores email them if you subscribe, or you can find printable ones online.
Another route is trying to DIY some materials. For example, instead of buying fancy chalk paint, you might make a simple homemade version with plaster powder and regular paint. Or repurpose old fabric scraps rather than splurging on new upholstery material. You can often find tools or materials like brushes in thrift shops themselves, which feels kind of full circle.
Sometimes, spacing out your purchases and working in phases helps too. You don’t always have to buy everything at once and blow your budget early. Slowly gathering supplies—maybe a bit here and there—can keep things manageable. Have you ever noticed that waiting sometimes even improves your ideas?
Showcasing Your Thrift Flip Decor
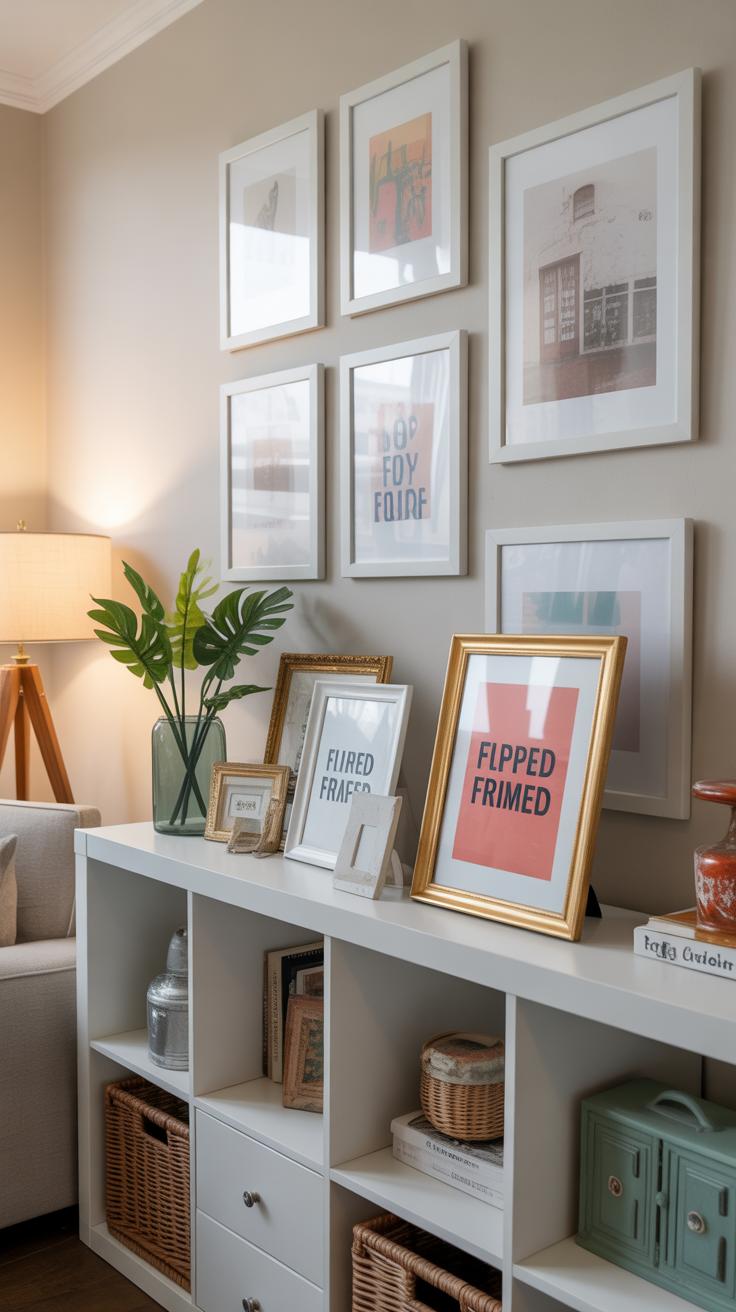
Arranging Items for Visual Appeal
When you’ve spent time flipping thrifted pieces, it feels right to let them shine. Placement can totally change how your work is noticed. Try grouping smaller flips together on a shelf or side table—it creates a little gallery effect, almost like you’re telling a story in that corner. Bigger items, like a revamped chair or cabinet, work best as a focal point, maybe near a window or by the entryway where they’ll catch the eye the moment someone walks in.
Think about layering too. A painted crate with a small plant on top, beside a vintage lamp you refreshed, creates depth and interest. Don’t be afraid of mixing your flips with things you already own. The contrast can be surprisingly appealing. Ever considered arranging items off-center? It might feel odd at first but often adds a casual, lived-in charm.
Maintaining and Updating Pieces
Keeping your flips looking fresh doesn’t have to be a chore. Dust regularly and spot-clean surfaces to avoid buildup—that simple step goes a long way. Some finishes might need occasional touch-ups with paint or sealant, especially if you’ve used chalk paint or similar coatings.
If your style shifts or a piece starts feeling stale, swap out accents or small embellishments rather than discarding the entire item. Changing lenses, knobs, or even fabric can give it a new life without extra cost. In fact, sometimes I find that slight tweaks—like swapping out handles on a dresser—make me fall for a piece all over again.
Ask yourself: what could make this piece feel more “me” now? Don’t hesitate to revisit your flips sometimes. They evolve with you, which is kind of the whole point, isn’t it?
Conclusions
Thrift flip decor helps you personalize your home with style and savings. It lets you reuse items that might otherwise be forgotten. You can create rooms that feel fresh and special, showing your creativity in every detail.
Give thrift flipping a try and watch your rooms change. You will enjoy the fun of crafting and the pride of making something new. Your home will reflect your unique taste and care for the environment.


