Introduction
Thrift flips are a fun and affordable way to refresh your living room. You can find second-hand items that are full of potential at thrift stores and turn them into stylish home decor pieces. This approach helps you save money and also adds a unique touch to your space.
This article explores how you can easily update your living room with a thrift flip. We will look at how to find the right items, simple makeover techniques, and tips to style your revamped pieces. By the end, you will be ready to give your living room a fresh look without spending a lot.
Where to Find Great Items for Thrift Flips

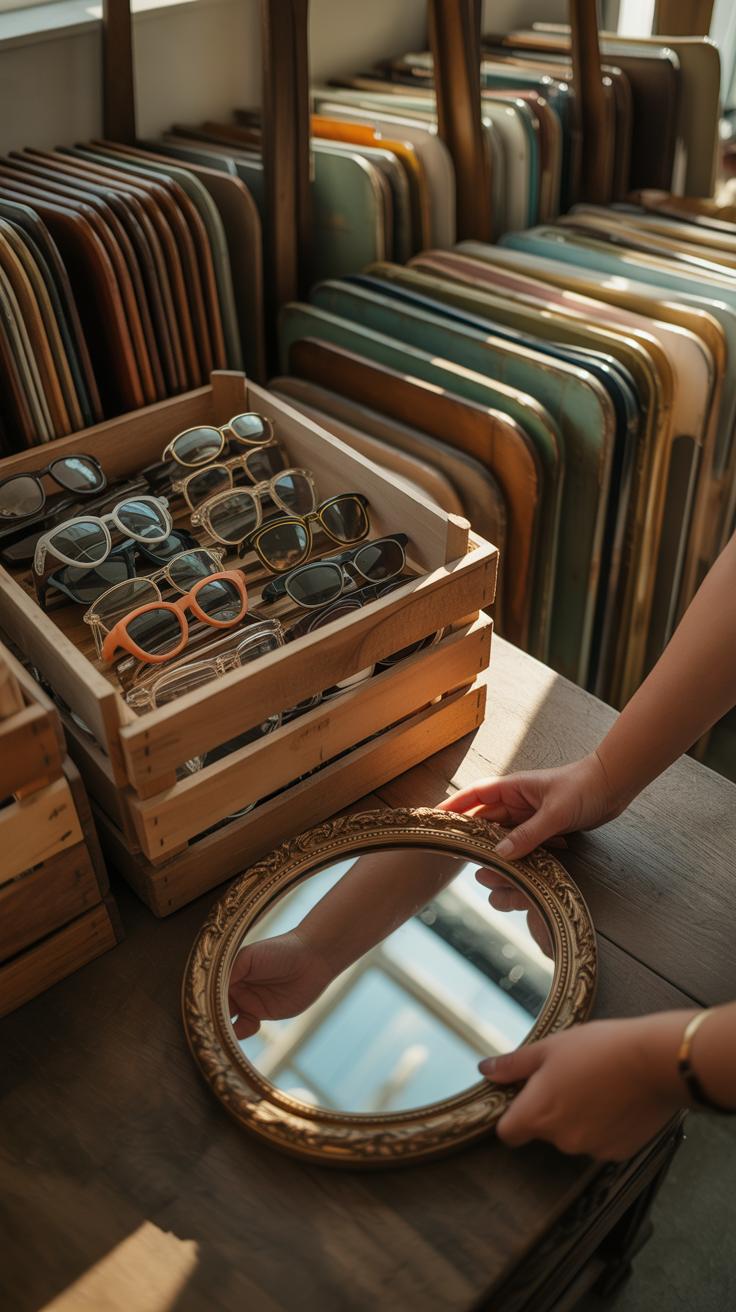
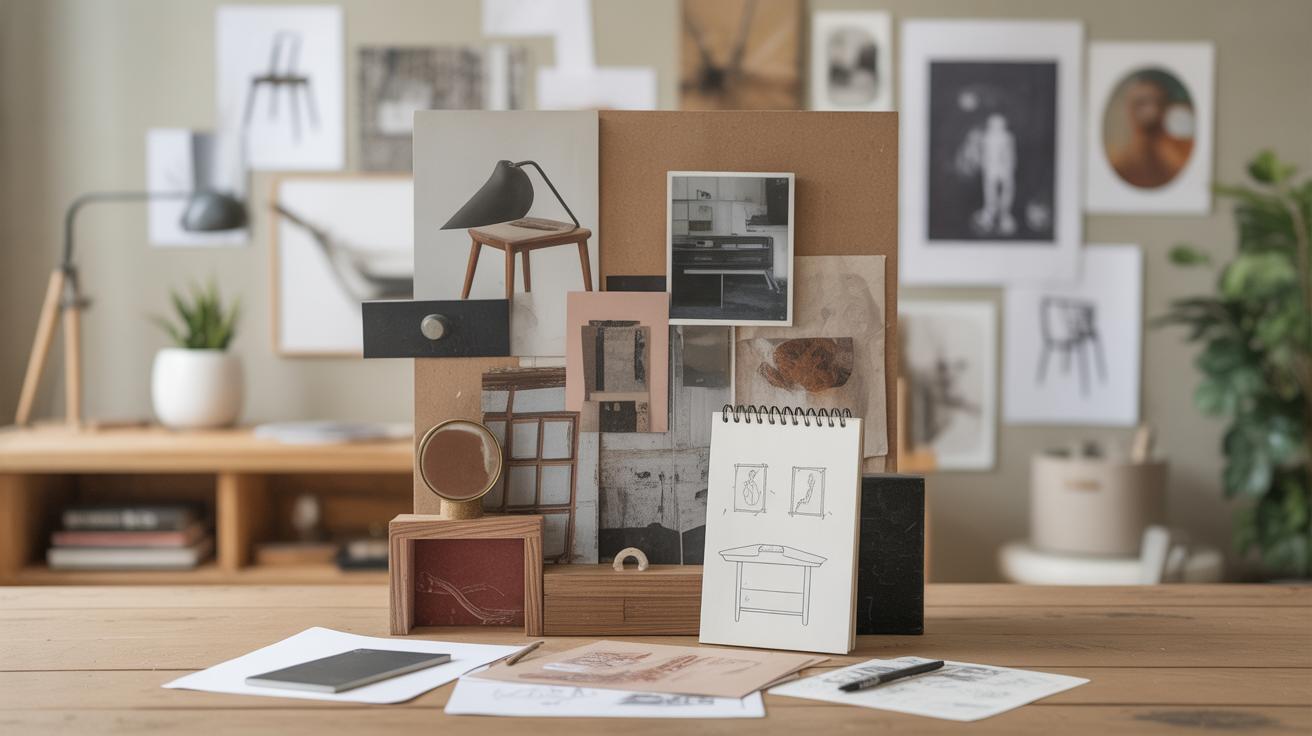
Finding the right pieces for a thrift flip can be a bit like a treasure hunt—sometimes you stumble on something unexpected, sometimes you have to look a little longer. If you’re wondering where to start, there are plenty of places where used items wait for a fresh look.
Thrift stores are the obvious first stop. You’ll find quite a variety, from small trinkets to furniture. It’s a mix—sometimes the gems hide among what seems like junk, so patience helps. Flea markets can be a bit of a gamble but worth checking out if you want unique or vintage finds. Prices might vary more, but with some bargaining, you could land a great deal.
Garage sales offer local options, often at bargain prices. Their inventory changes quickly, so visiting early can make a difference. Plus, there’s the chance to chat with the seller and hear a story or two about an item’s past—sometimes that adds value in unexpected ways.
Don’t overlook online marketplaces. Websites and apps can make hunting easier, with filters for price, location, and type of item. It’s convenient, but you lose the hands-on feel, which matters to some people when deciding what to flip.
Each source has its quirks and requires a different kind of effort. Sometimes you get lucky finding exactly what you imagined; other times, you find something odd that sparks new ideas. Either way, searching itself becomes part of the fun and creativity of thrift flipping.
Finding Thrift Flips Items
When looking for pieces to flip, your best bets are places where people clear out what they no longer want—thrift stores, flea markets, garage sales, and online marketplaces like Facebook Marketplace or Craigslist. Each spot has its own rhythm and surprises.
Thrift stores often have a steady flow of items, so you can pop in regularly and find something new. Flea markets tend to have more unique shapes and styles, though prices can vary a lot depending on the seller. Garage sales? Those are hit or miss but sometimes you stumble on a hidden gem for next to nothing. Online spots let you browse from home but inspecting items before buying can be tricky.
Tips for Choosing Good Items
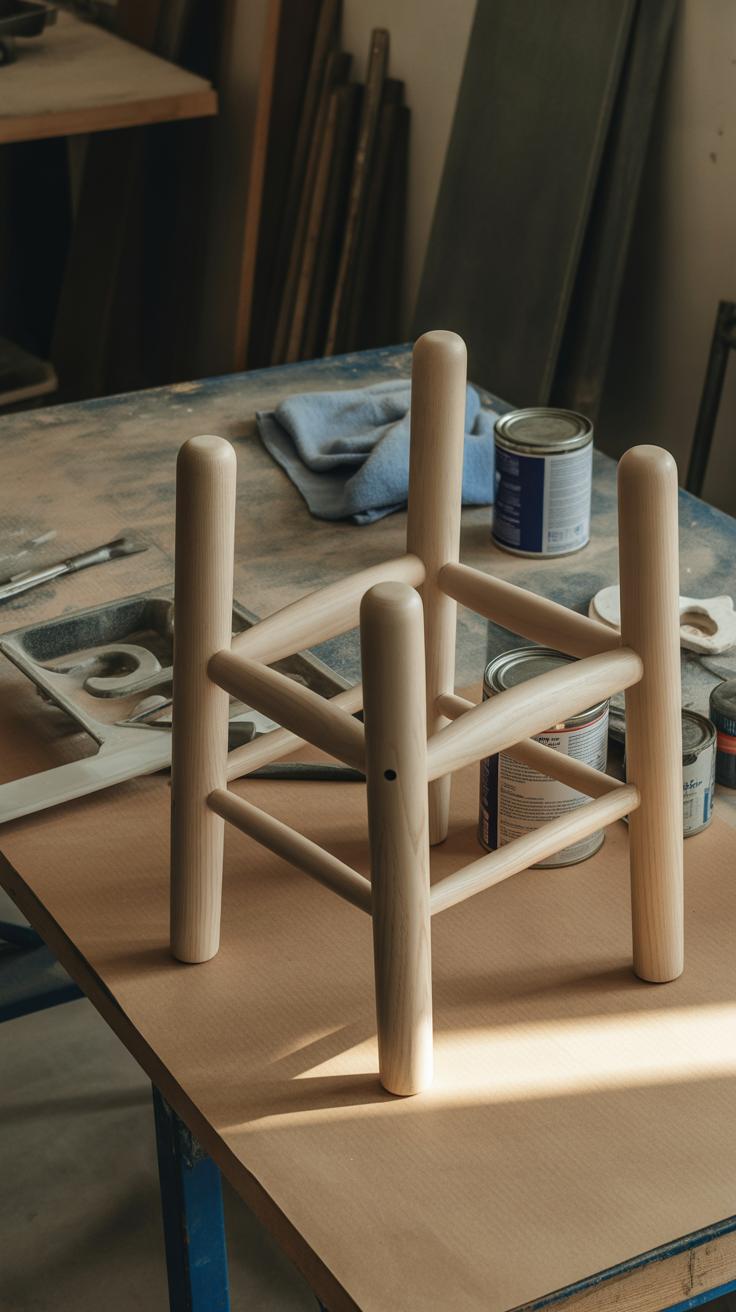
Focus on pieces that feel solid rather than flimsy. A sturdy chair frame or a dresser with interesting angles offers a lot to work with. Don’t get too wrapped up in surface flaws since sanding or repainting can handle that. Instead, watch for structural problems like wobbling legs or cracked joints — those can be pain to fix.
Odd or bold shapes often catch attention after a flip. I once found a chair with a curved back that didn’t look like much until I painted it a bright color. Suddenly, it was a focal point. So, think about how an item’s shape could change the look of your space once refreshed.
What to Avoid When Thrifting

Tread carefully around furniture with serious damage—deep cracks, broken parts, or rotting wood usually mean more work than it’s worth. Moldy items are also off limits; they’re tough to clean and can be unsafe. Avoid pieces with stubborn stains or smells unless you’re ready to put in some serious effort.
Also, consider if an item will fit your workflow. Too complicated to disassemble or reupholster might mean you’ll lose interest halfway through. It’s tempting to take risks, but sometimes passing on a difficult piece saves time and frustration.
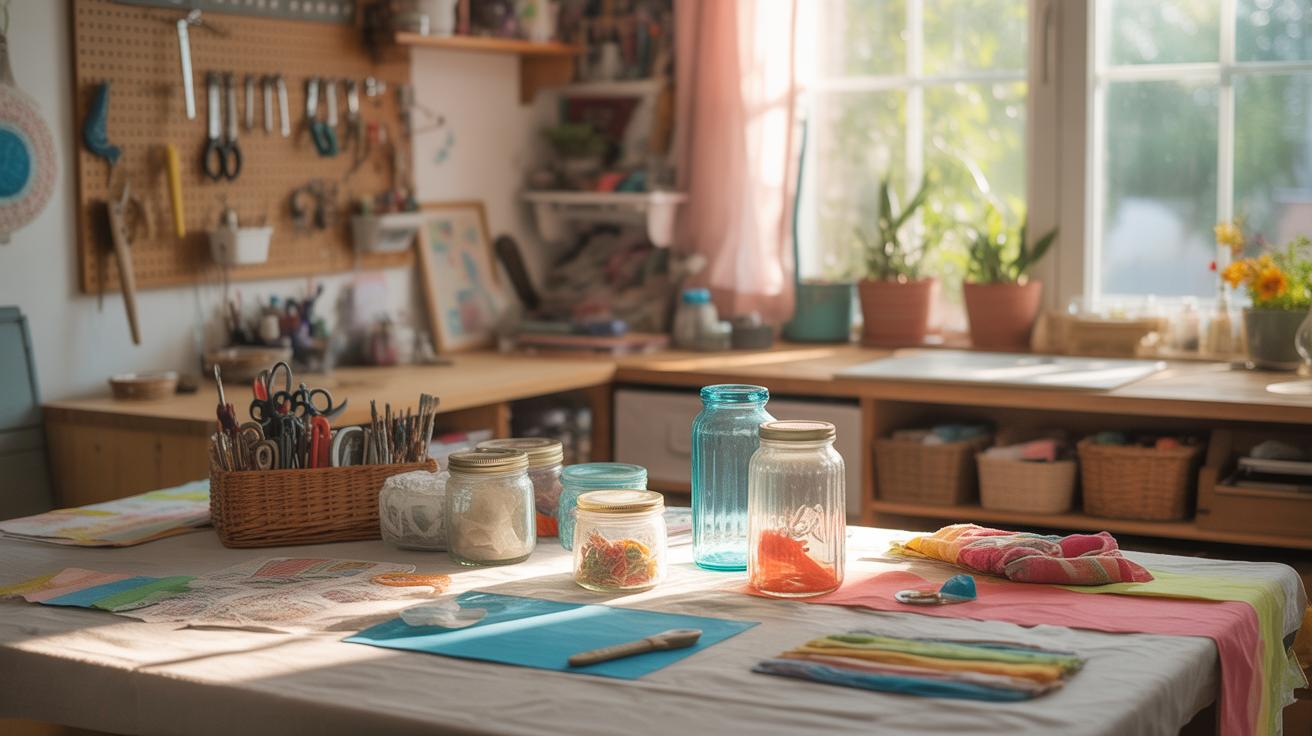
Tools and Materials You Will Need
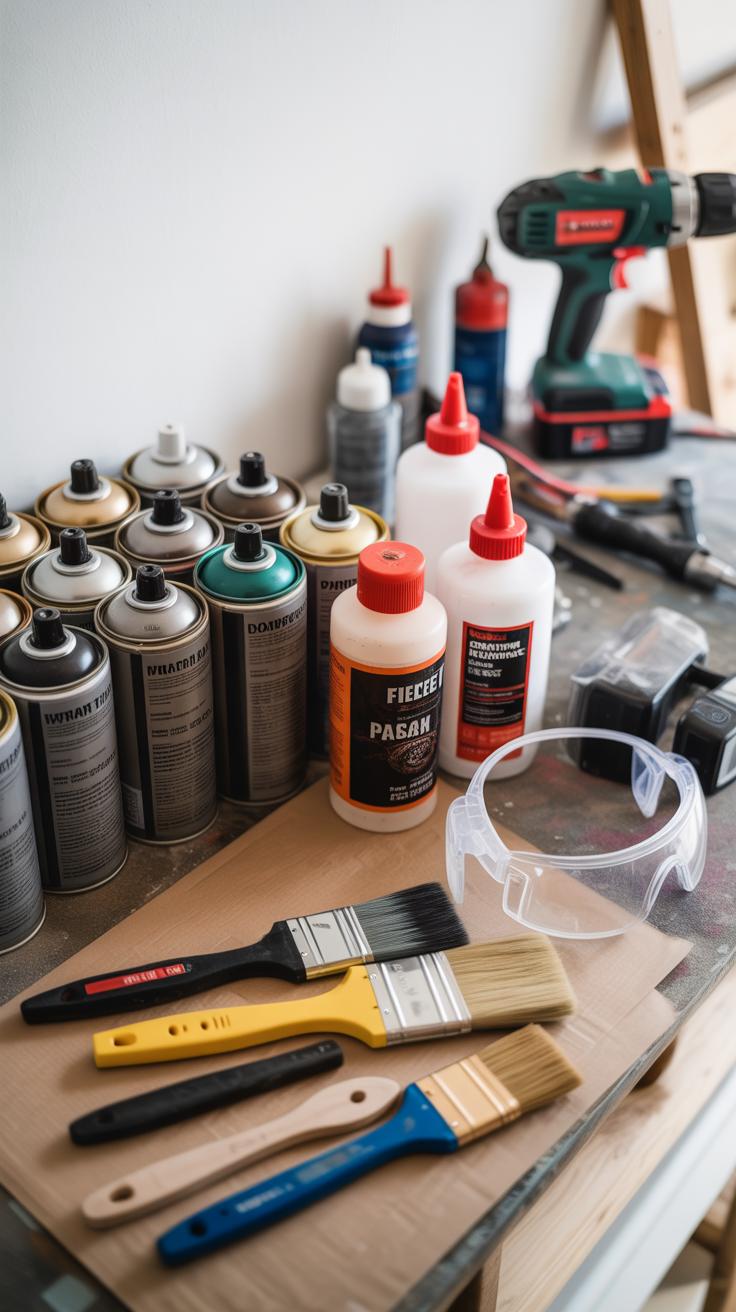
When you’re gearing up for a thrift flip, having the right tools and materials ready makes all the difference. Most projects call for a handful of basics you probably recognize: paint for giving items a fresh coat, brushes in various sizes to tackle different surfaces, and sandpaper to smooth out rough spots. Don’t forget screws and a screwdriver—they’re handy for tightening loose parts or putting pieces back together. Upholstery fabric comes into play if you’re updating cushions or chairs, and a staple gun can be a lifesaver for attaching fabric neatly.
Finding quality supplies on a budget is doable. I once scored a nearly full can of chalk paint at a garage sale for just a few dollars. Reusable items like leftover paint, or gently used brushes from your local reuse center, often slip under the radar but work fine. You might wonder if cheaper materials will last—sometimes they won’t. But picking a few reliable staples to invest in helps balance that out.
Safety can’t be ignored. When handling paint or glue, work in a well-ventilated area and wear gloves. Sanding can kick up dust—always wear a mask or respirator if you can. And be cautious with power tools: keep distractions away and read instructions, even if you think you know what you’re doing. Trust me, a cut or inhaled fumes can really spoil the fun.
Preparing Your Thrifted Items for a Flip
Before you dive into the fun part of painting or reupholstering, there’s some groundwork that can’t be skipped. Cleaning is one of those steps that feels tedious but pays off big time. You might think a quick wipe is enough, but furniture picked up at thrift shops often needs a more thorough approach.
Try this: mix warm water with mild soap or even a bit of vinegar for natural disinfecting. Scrub with a soft brush or cloth, getting into crevices where dust and dirt hide. If the piece had a pet owner or smokers before, sanitizing with a diluted bleach solution could be a good call to ensure safety. Let it dry completely before moving on—wet surfaces don’t take paint well, and you don’t want moisture trapped inside.
Once clean, check for small damages. Tighten loose screws—those wobbly legs can sneak up on you later and ruin a flip. If you spot cracks or chips, wood filler or glue often does the trick. I once ignored a tiny crack on a chair leg, only to find it snapped during use. So, it pays to be patient here.
Light sanding is usually next. You don’t need to strip everything; just rough up the surface enough to hold new paint or stain. You might wonder if sanding is overkill—sometimes the thrifted finish is already smooth—but skipping this can lead to peeling or flaking later, so it’s worth the extra effort.
These prep steps feel like a lot—and maybe they are. But they build the foundation for a flip that lasts. Thought about what needs fixing before painting? How about spots that feel sticky or smell odd? It’s one of those parts where attention matters. Trust me, spending time here saves headaches down the line.
Painting and Finishing Techniques
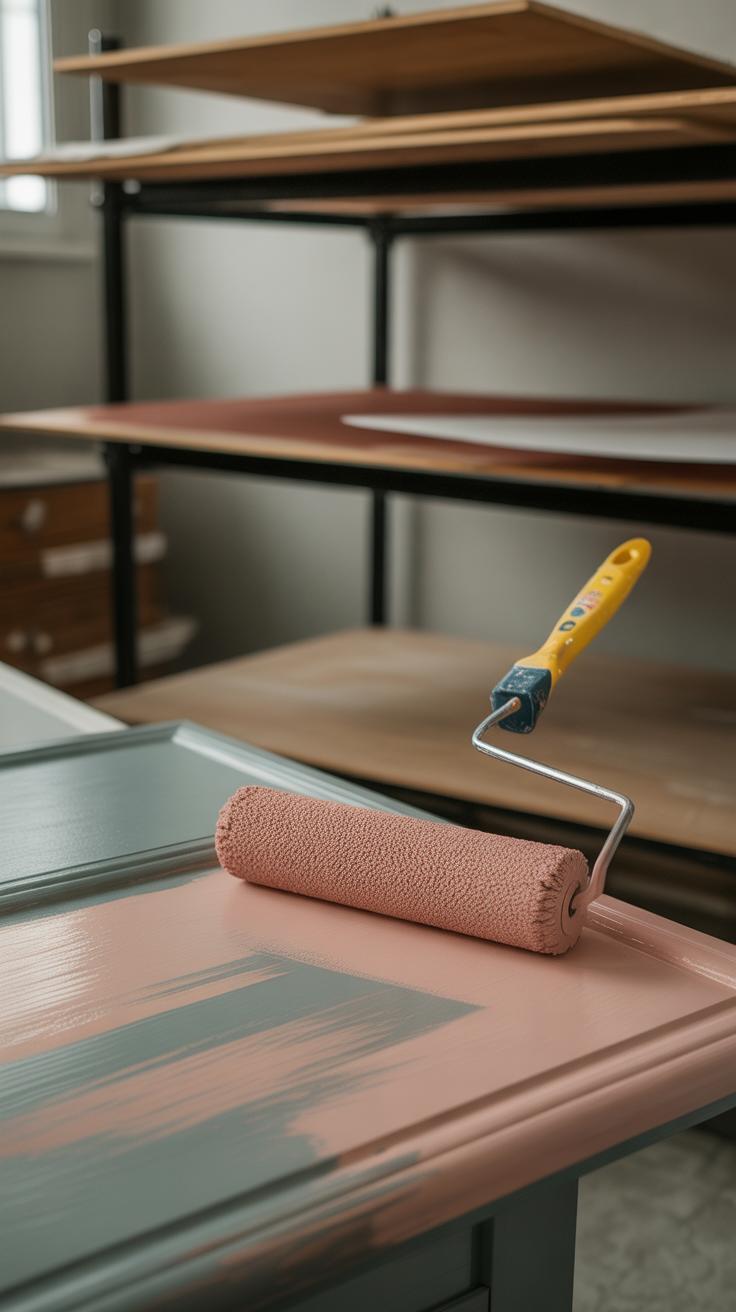
Once your thrifted piece is prepped and ready, the next major step is to breathe new life into it with paint or stain. But picking the right paint can be a bit tricky depending on what your item is made from. For example, wood generally takes well to chalk or latex paints, which let you achieve both smooth or textured finishes without much fuss. Metal, on the other hand, often needs a paint designed specifically for metal surfaces to avoid peeling or rust later on.
Think about the environment your piece will live in too. An outdoor bench? Choose a paint with some weather resistance. Indoor shelf? You have more options, but still consider how durable the finish needs to be. Sometimes, a quick test patch helps you see how the paint interacts with the surface, avoiding surprises after a full coat.
Once painted or stained, don’t skip applying a protective layer. Sealers, varnishes, or even wax protect your work from scratches, spills, and the daily wear and tear that thrift flips will see eventually. For wood, something like a polyurethane varnish can lock in color and make cleanup easier. A clear spray sealer might be enough for lighter use or decorative pieces. Just make sure to apply thin, even coats and allow sufficient drying time between layers—patience really pays off here to avoid tackiness or uneven shine.
Sometimes it feels tempting to rush this part, but the finishing touches can determine how long your piece stays looking fresh. So, take your time with your brush strokes, and consider the protection—it’s part of preserving your new look for the days ahead.
Adding New Features and Decorations
Using Fabric and Upholstery
Reupholstering your thrifted chairs or cushions doesn’t have to be complicated or expensive. You can start with simple steps like picking an affordable fabric that suits your style. Look for cotton blends or canvas — they’re easy to work with and washable. Removing old fabric might feel tedious, but peeling it off carefully pays off. Sometimes staples stick around stubbornly, so grabbing a staple remover or even a flathead screwdriver helps.
Once the old fabric is off, cut your new piece slightly larger than the cushion or seat. Stretch it firmly and use a staple gun along the underside or backside. Don’t worry if it’s not perfectly smooth the first time; pulling and re-stapling a bit is normal. If you’re upholstering a chair back, padding leftover from thrift stores or craft shops can add extra comfort.
Honestly, I’ve found this method both budget-friendly and quite satisfying. You get to literally touch and alter your piece, making it unique with minimal fuss.
Decorative Details
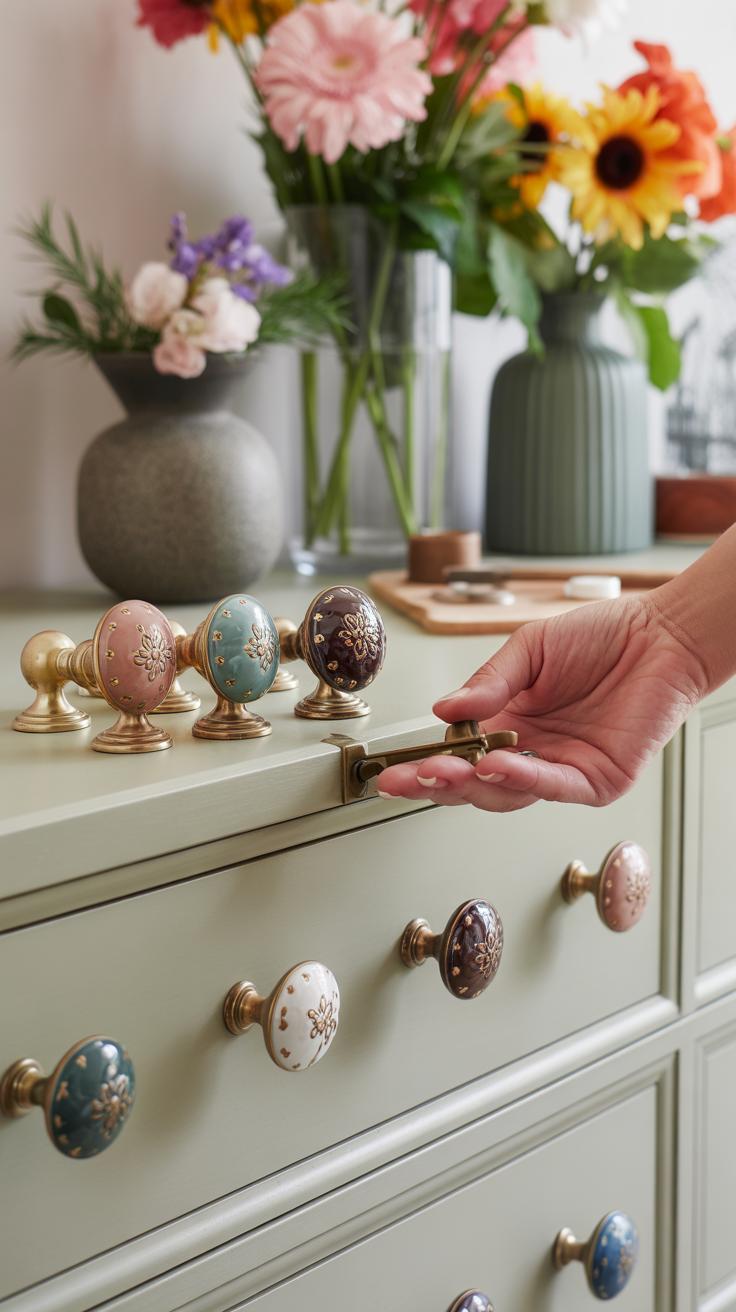
Small additions can change everything. Think about swapping out old knobs or handles on drawers or cabinets. A brass knob can suddenly feel chic, while a painted ceramic one might bring color and charm. Don’t hesitate to mix styles either; sometimes contrasting finishes create unexpected interest.
Stencils and decals offer a neat way to customize surfaces without heavy work. You could stencil a geometric pattern on a tabletop or use floral decals on a sideboard, depending on your mood or room theme. These details catch the eye, making the piece look purposeful instead of random thrift finds.
If you want to experiment, masking off areas with painter’s tape before applying stencils can help keep things neat – but mild imperfections might give your flip personality. Remember, these touches don’t have to be permanent; decals peel off, and knobs swap easily.
Ultimately, adding fabric, knobs, or stencils invites personality into your thrift flip. They’re simple ways to make the piece yours, reflecting your tastes rather than just the original owner’s. Have you tried mixing these techniques before? It often leads to surprising results.
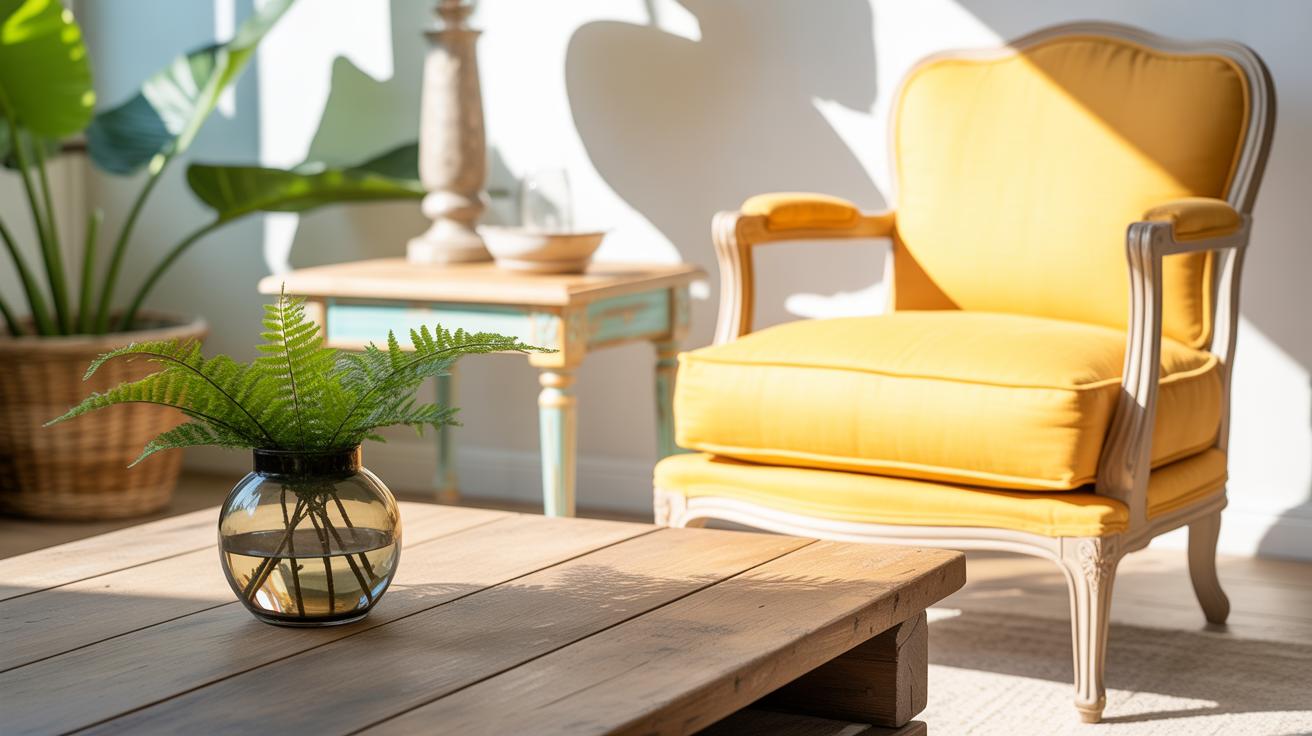
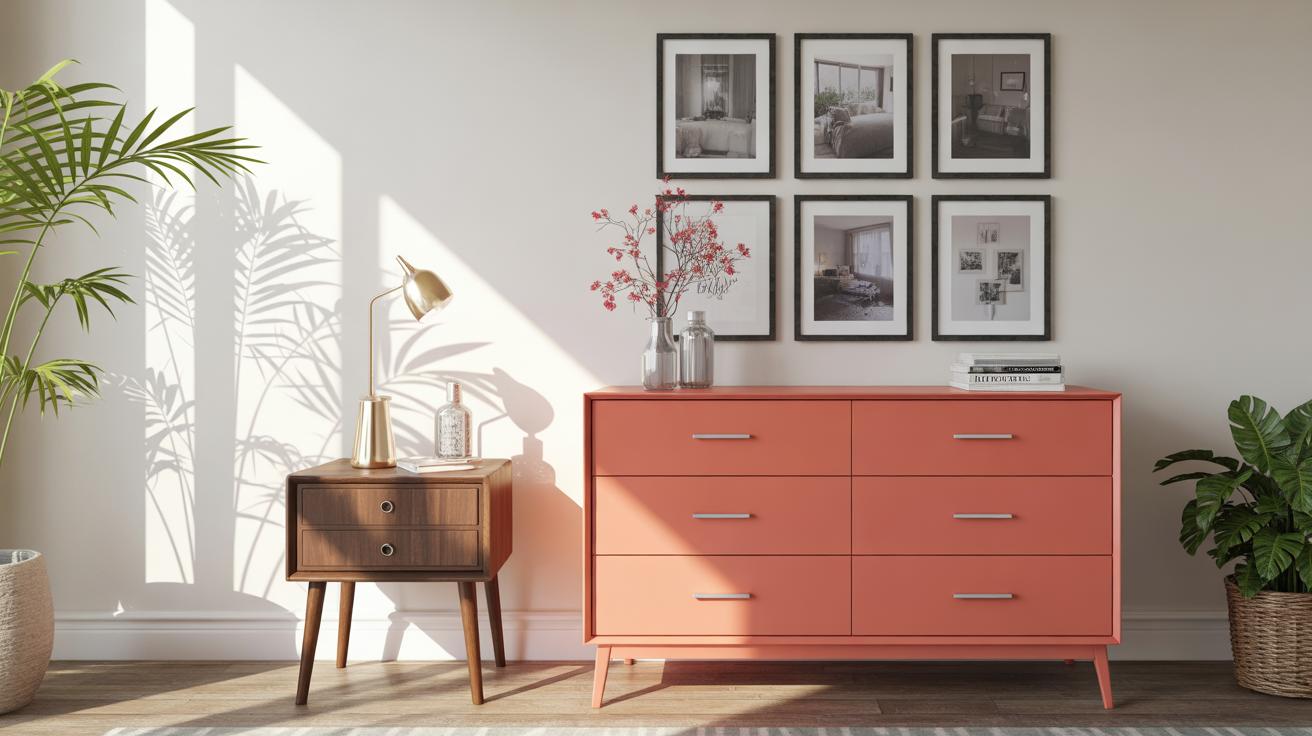
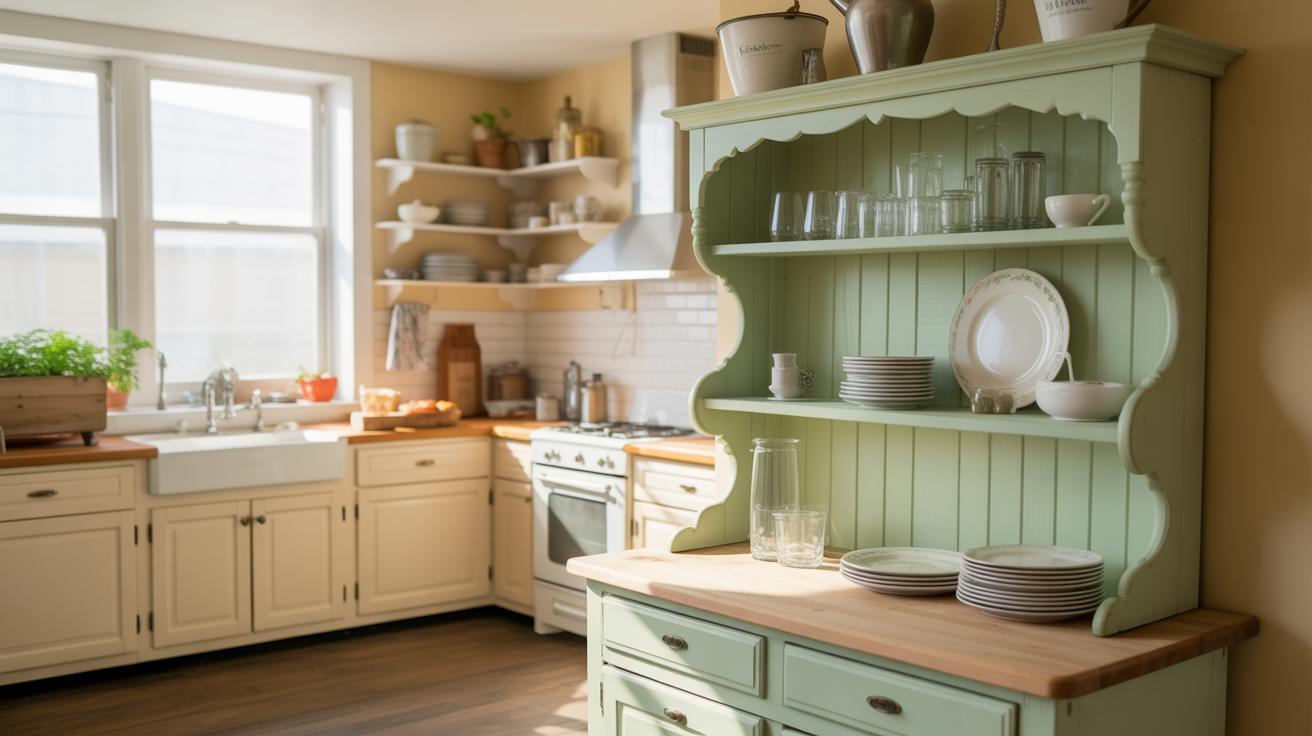
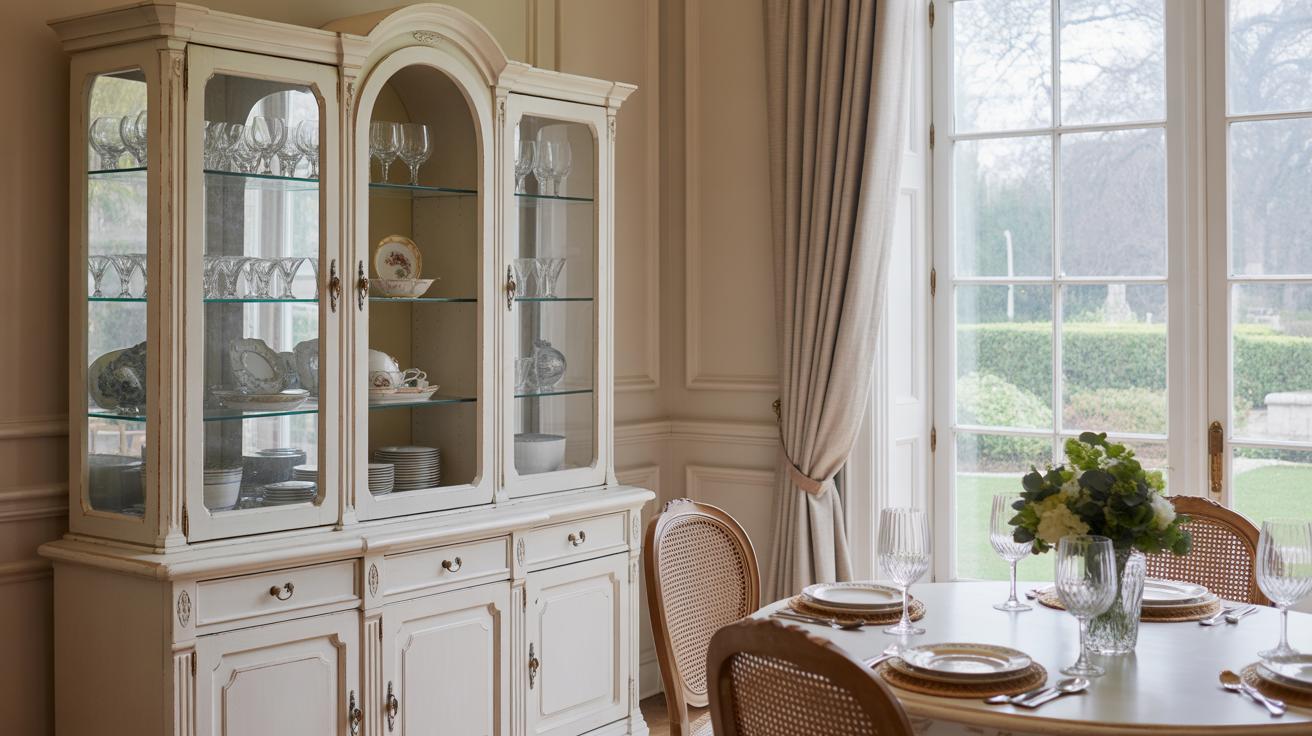
Styling Your Refreshed Living Room
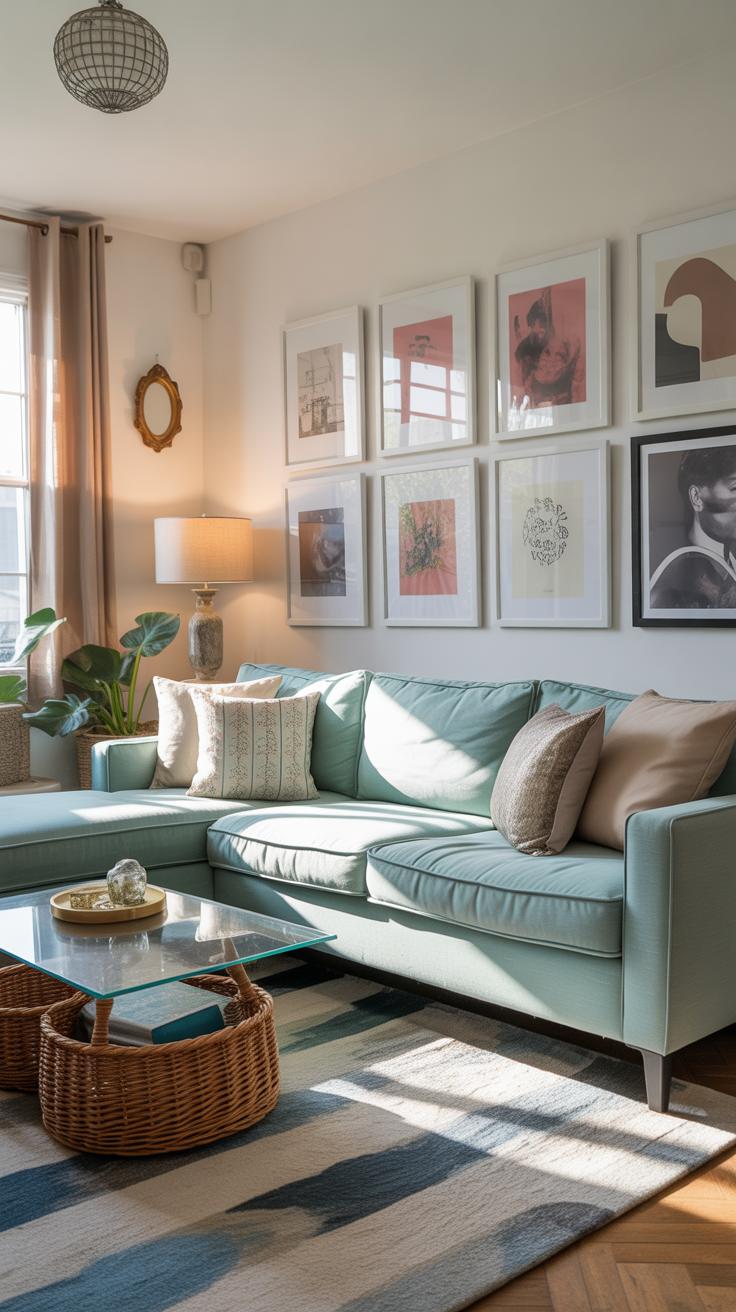
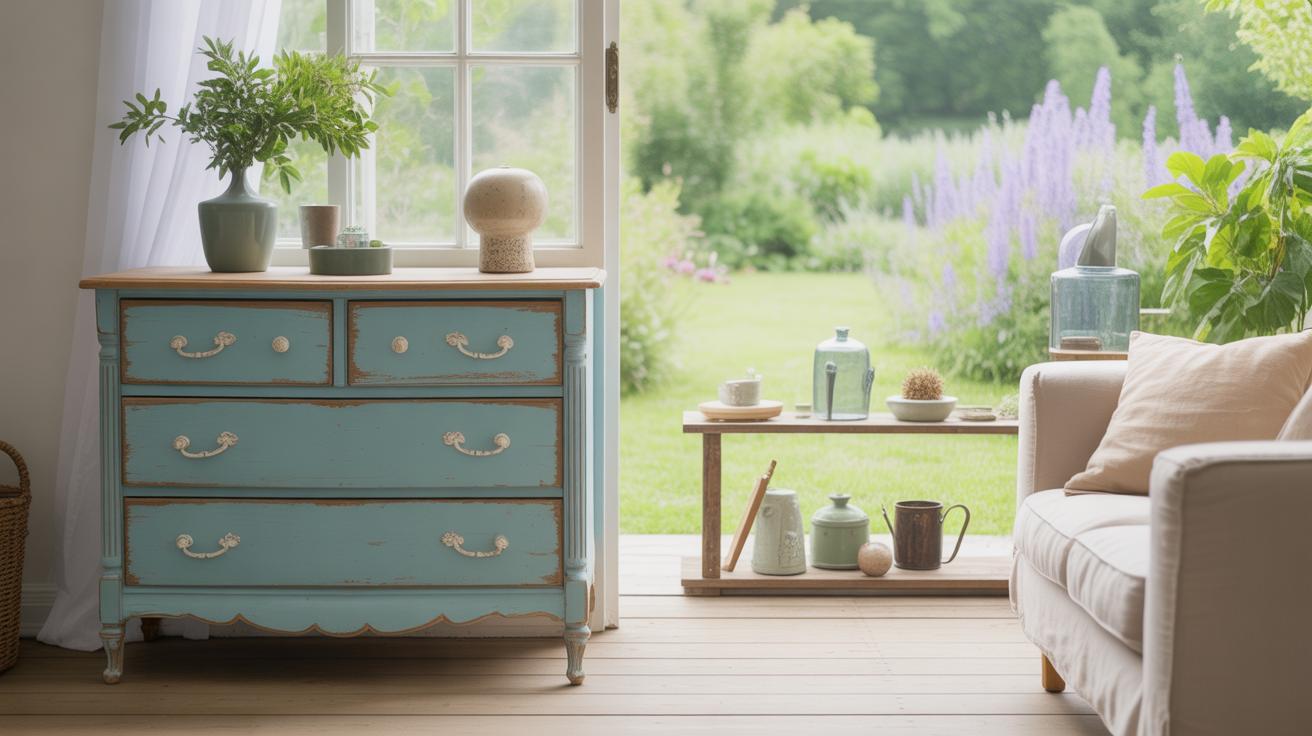
When you bring thrift flips into your living room, arranging them with your existing furniture can feel a bit tricky at first. But really, it’s about creating a balance that doesn’t look forced. Try grouping your flipped pieces where they naturally fit in the room’s flow. If you have a vintage side table you gave new life to, placing it beside a modern sofa might highlight both pieces rather than compete. Sometimes, pushing a flipped item too prominently can make the space feel cluttered rather than curated, so watch how your eyes move around the room.
Mixing old and new isn’t about matching styles rigidly. Instead, look for small links—maybe a color in your thrift flip repeats subtly in a new throw pillow or a sleek lamp. That thread ties things together, making the room inviting rather than mismatched or chaotic. To keep it from becoming a hodgepodge, consider scale too: a chunky thrifted coffee table might pair better with delicate, contemporary chairs to stop the space from feeling too heavy.
Creating focal points with your flipped items helps organize the room. For example, a refreshed dresser or bookshelf can anchor a wall, drawing attention and giving the eye a place to rest. It doesn’t have to be the biggest or brightest thing, just something that feels intentional. Think about where people naturally gather or look first. Maybe a bold paint job on a chair or a unique fabric on a vintage ottoman becomes your conversation starter. The challenge is to make these pieces shine without overwhelming—you want the room to flow, not shout.
Maintaining Your Thrift Flip Pieces
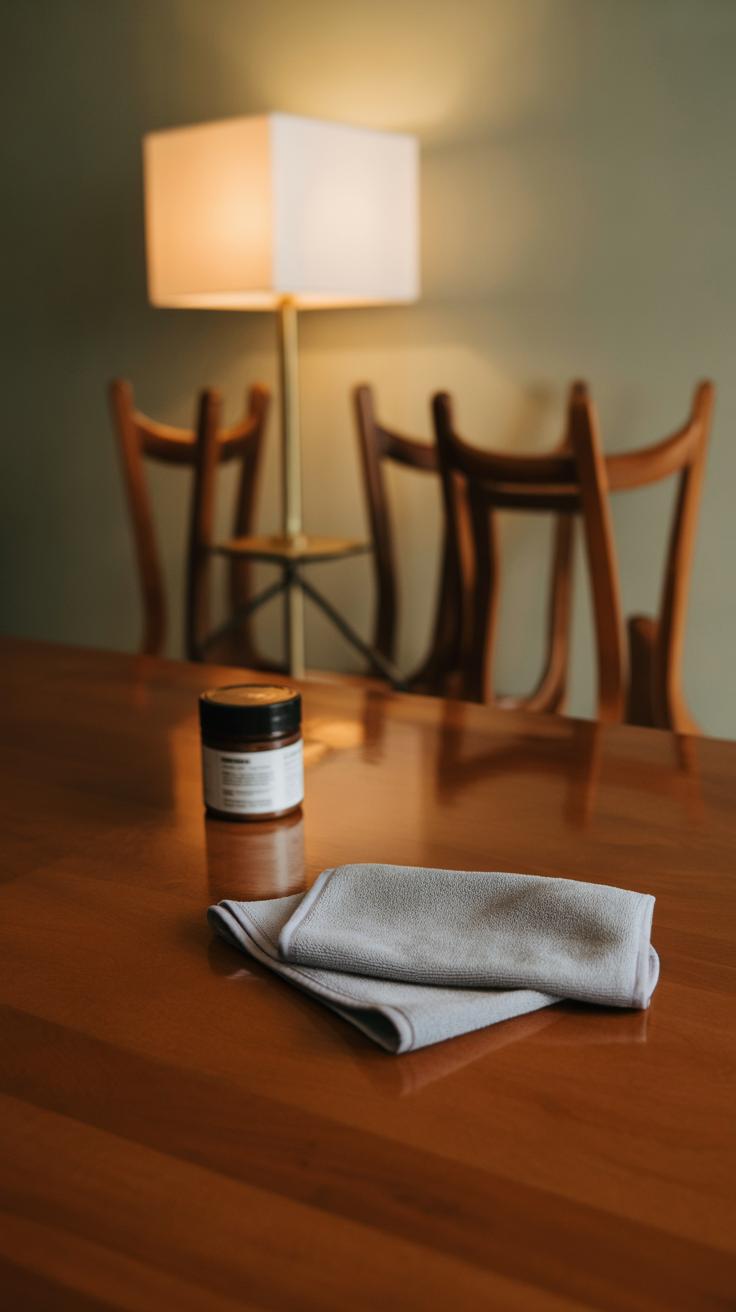
Once you’ve refreshed your thrifted finds, keeping them looking good longer depends a lot on simple care routines. For painted surfaces, dusting with a soft cloth every week usually does the trick. Avoid harsh chemicals—they can wear down the paint faster than you’d expect. Sometimes, just a damp cloth with mild soap is enough, but be careful not to soak the wood or fabric underneath.
Fabric pieces, like reupholstered cushions, need some attention too. Vacuuming gently helps keep dust and dirt at bay. If spills happen, try to clean them quickly with a damp cloth instead of rubbing hard. That can spread the stain or damage the fabric.
When you spot small dents, chips, or scuffs, don’t wait. Quick touch-ups with matching paint or a wood marker can prevent bigger problems later. I found a tiny chip on my latest thrift flip, and a little swipe with leftover paint saved it from looking neglected.
Sometimes, a bit of sanding before repainting is necessary if the surface feels rough or old paint flakes off. It’s not a big project—just enough to smooth things out. But don’t repaint too often; too many layers can make the surface look heavy or uneven.
Have you ever hesitated over fixing a small tear in fabric? Sometimes a simple patch or fabric glue can stretch the life of your thrift flip more than you expect. It might not be perfect, but it keeps the piece usable and avoids the whole redo.
Conclusions
Thrift flipping is a smart way to create a fresh, new look for your living room. It offers a fun way to express your style while being kind to your budget and the environment. With the right approach, any thrifted item can become a standout piece in your home.
Remember, the key is to be creative and take your time. Look for pieces with potential and don’t be afraid to try new techniques. Your living room can feel like new, filled with stories and your personal touch. Why not start your next thrift flip project today?


