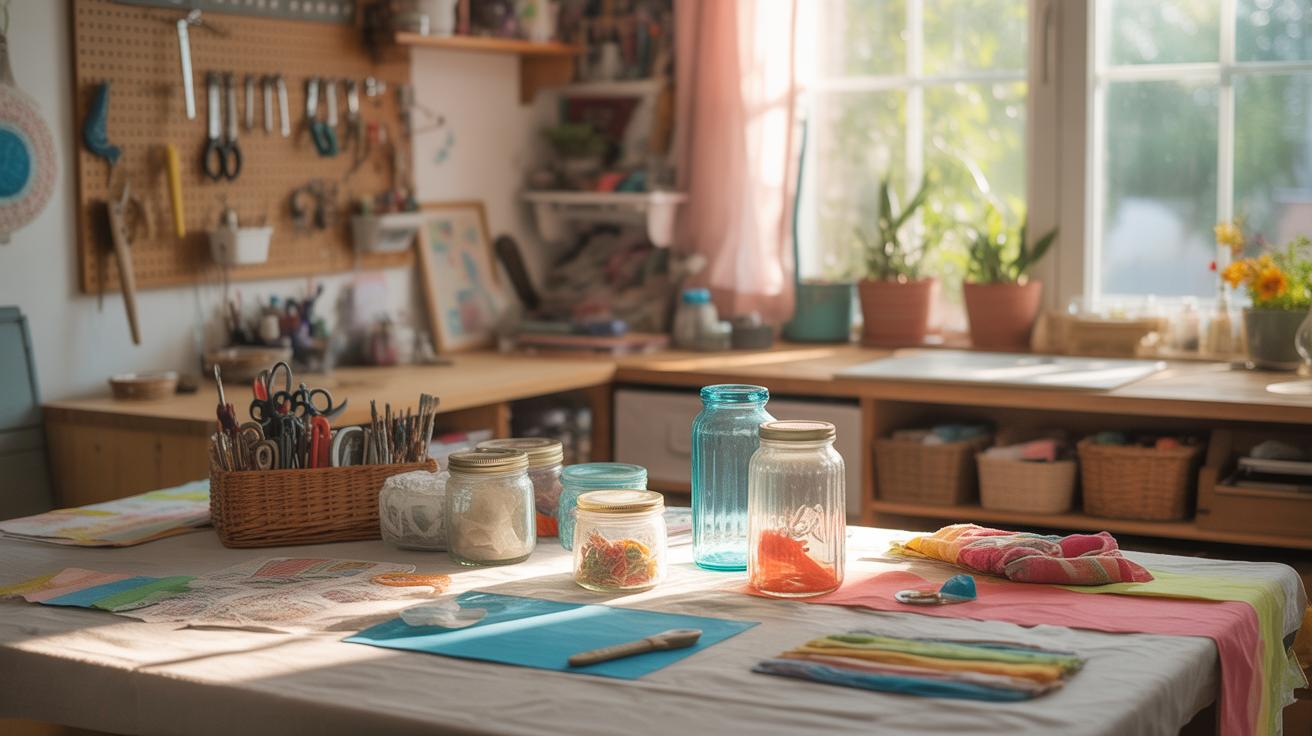
Introduction
Tables often play a central role in our homes. They gather families for meals, support work and hobbies, and add charm to any room. A table makeover can breathe new life into a tired or outdated piece, making it fresher and more appealing without the need for a full replacement.
In this article, you’ll find easy ways to transform your tables. From practical tips to creative ideas, these stunning table makeover transformations are designed to inspire your next project. You will learn how simple changes can make a big difference in style and functionality.
Choosing the Right Table for Your Makeover

Picking the right table to makeover depends a lot on your space and what you hope to achieve. You might want a centerpiece for your dining room or a practical desk for a small office. Size matters—too big, and it overwhelms the room; too small, and it feels out of place. So, take measurements first, and think about how the table will really function in your daily life.
Material plays a big role too. Wood tables are classic and versatile, but sometimes heavy or worn out. Metal ones can be sturdy but might limit your style options. Glass tops look sleek but can feel fragile. Then there’s condition, which can make or break your project. A cracked or unstable table may need more work than you signed up for. So ask yourself: is this piece worth the effort or should you start fresh?
Understanding Table Types and Materials
Tables come in many forms, and the material often determines what you can do with a makeover. Wood is the most common and offers flexibility. You can sand it down, paint, stain, or even distress it. Different woods react differently too—pine is soft and easier to shape, while oak is tougher but lasts longer.
Metal tables feel modern and can work well in an industrial or minimalist look. Painting metal needs extra care—usually a primer for adhesion—and rust can be an issue. Glass tables are trickier. You don’t paint glass directly, so most makeovers involve swapping the top or adding decals. Each material comes with its quirks, so understanding them helps prevent surprises.
Evaluating Your Table’s Potential
Before jumping in, look closely at the table’s durability and style. Stability is crucial—a wobbly table may be more of a headache than a project. Test the joints and legs. If the frame is solid, you’re halfway there.
Consider the style, too. Does it fit your room’s vibe or can it be reshaped to do so? Sometimes, a dated design can become charming with the right finish; other times, it feels outdated no matter what you try. Restoring a beloved heirloom? Then sentimental value might outweigh style issues. But if the table’s just… old and uninspiring, ask yourself if your time and money would be better spent finding a different piece.
Preparing Your Table for Makeover
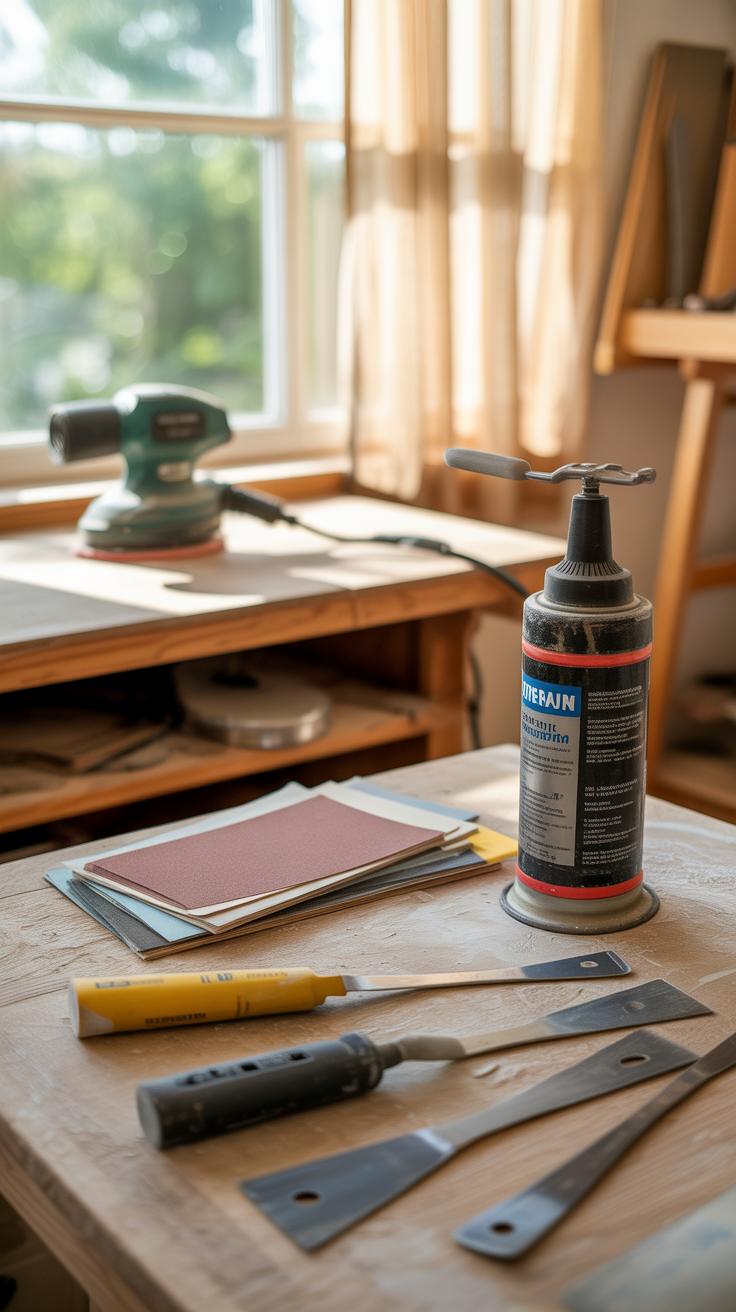
Before you get to the fun part of painting or staining, your table needs a solid foundation. That means cleaning, stripping, and sanding are not just preliminary chores—they’re essential. A table with old paint flaking off or layers of varnish can ruin the whole look if you skip these steps.
Cleaning and Stripping Old Surfaces
Start by wiping down the table thoroughly to remove dust, dirt, and grease. Sometimes soap and water work, but for sticky residues or wax, a stronger cleaner like mineral spirits is better. If your table has old paint or varnish, you’ll want to strip it with a chemical stripper or carefully use a heat gun. Both take patience. I’ve found that chemical strippers work well on intricate details, but watch your ventilation—you don’t want to end up dizzy in the process.
When the old finish loosens, scrape it gently with a putty knife or plastic scraper. This part can feel tedious, but missing spots will show under your new finish later. After stripping, wipe down again to remove leftover chemicals.
Sanding for a Smooth Base
Sanding is more than just smoothing. It creates a surface that new paint or stain can actually stick to. Start with a medium-grit sandpaper—80 or 120 grit is ideal—to tackle rough patches and remaining finish. Don’t rush this; uneven sanding leaves blotchy finishes later. After the rough pass, use a finer grit like 220 to get the surface silky smooth.
Using a sanding block helps keep pressure even, so you don’t end up with wavy spots. If your table has curves or carvings, those require gentle hand-sanding with folded sandpaper. Remember, the goal isn’t to remove all the wood fibers but to prep them. I’ve often thought about skipping sanding on good days, but experience says it pays off to be thorough.
Painting and Staining Techniques

Selecting Paints and Stains
When it comes to choosing paints or stains for your table, the options can feel a bit overwhelming. You’ve got latex paints, chalk paints, oil-based paints, water-based stains, gel stains—the list goes on. Each has its quirks, and what works for one table might not suit another. For instance, latex paints dry fast and clean up easily but may chip if the surface isn’t prepped well. Chalk paint lends a matte, vintage look, but sealing is key to avoid scratches. Oil-based paints tend to be tougher but take longer to dry.

With stains, water-based ones are less smelly and dry quickly, while oil-based stains soak in deeply, bringing out the wood grain beautifully but with longer drying times. If you want to highlight natural wood patterns, stains are often better. For a color reset or covering up damage, paints might be your friend.
Color choice is less about rules and more about the vibe you want. Think about the room too—is it bright or dim? Cool or warm tones? Sometimes picking a color means testing swatches in different lights, just to be sure. That’s always easier than regretting later.
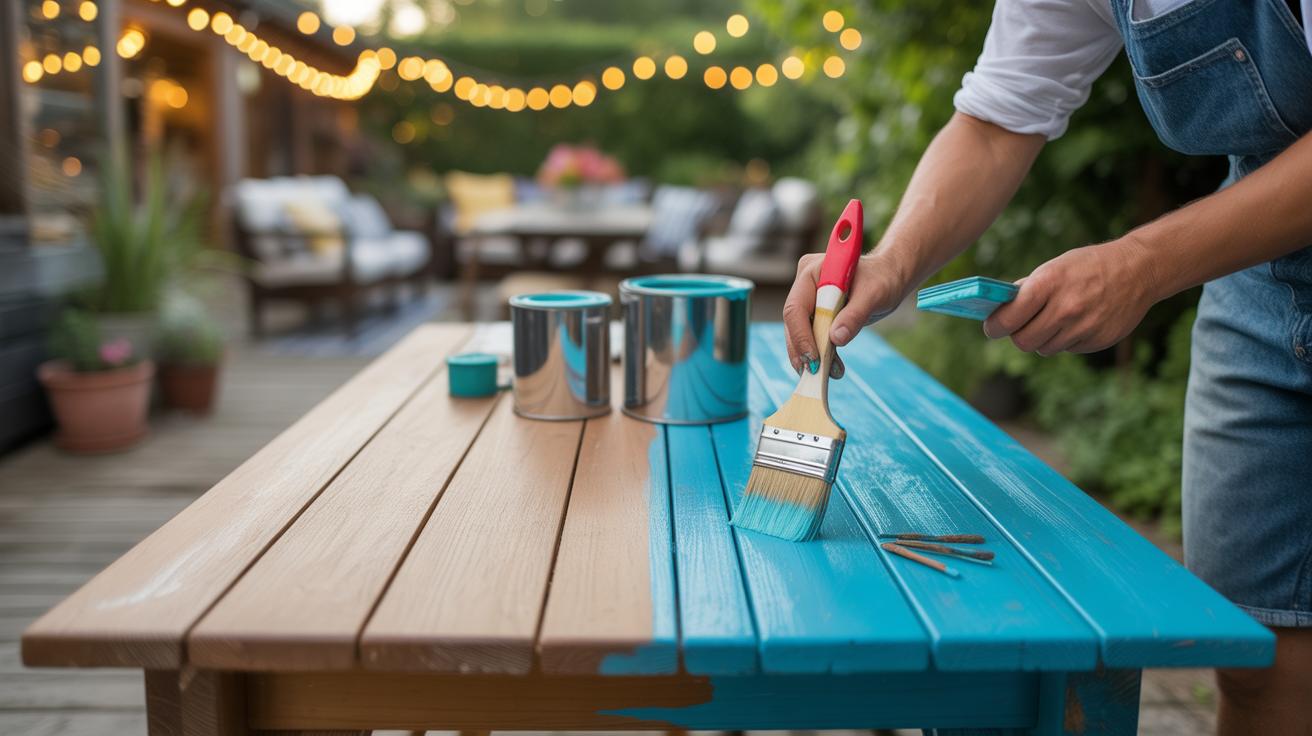
Applying Paint and Stain Like a Pro
Painting or staining isn’t just about slapping product on; it’s about patience and technique. First, you’ll want to work in a dust-free area. Dust is the silent enemy of neat finishes—no matter how careful you are. Use a good-quality brush or foam applicator. For stains, using a cloth or sponge can give better control, wiping off excess before it dries too much.
Apply thin, even coats rather than thick layers. Thick coats can drip or crack as they dry. With paint, lightly sand between coats to keep the surface smooth. Stains might need multiple coats too, depending on the depth of color you want, but wait until each one dries fully.
Timing can be tricky. Dry times vary a lot—some paints might be touch-dry in an hour, others take much longer. Rushing leads to unevenness or tacky spots. Also, watch your brush strokes. It’s tempting to rush, but smooth, deliberate strokes going in one direction usually give the best finish.
Thinking you can just hurry through? You might want to reconsider. A careful, slow approach usually saves time and frustration in the end. It’s maybe a bit like cooking—some things just can’t be rushed.
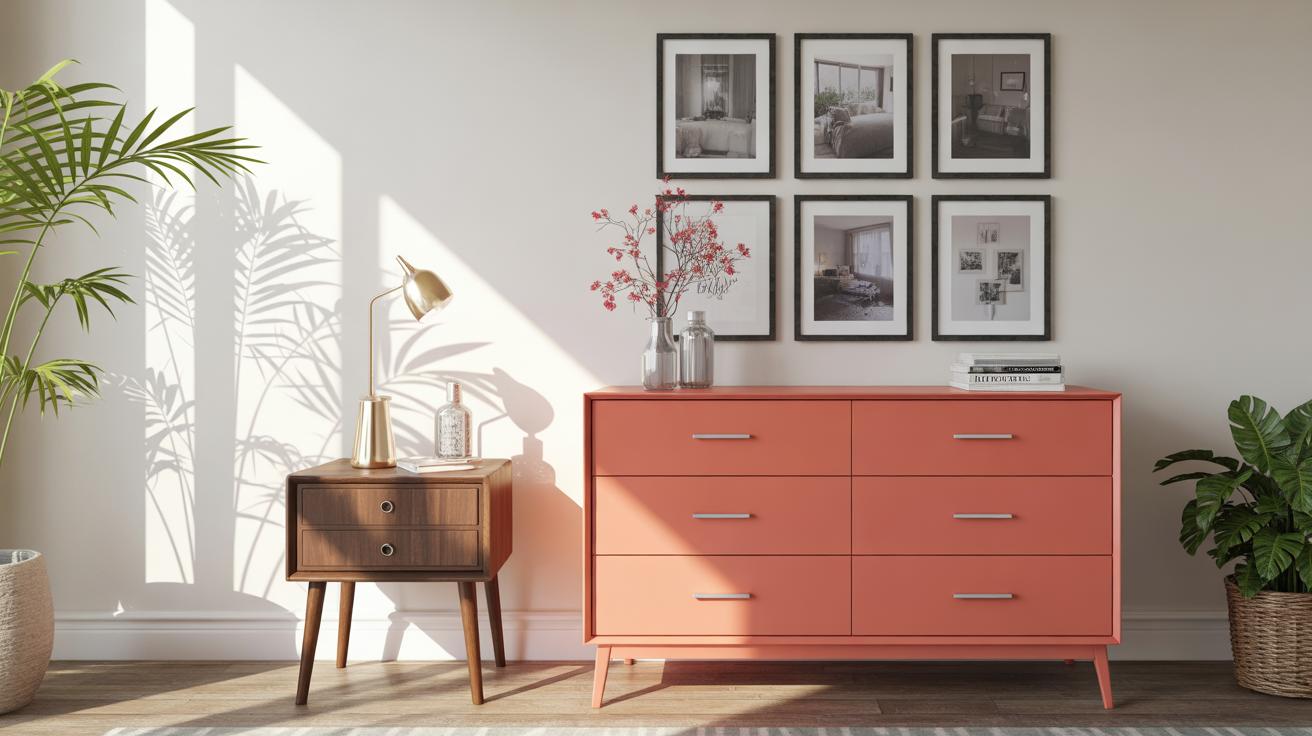
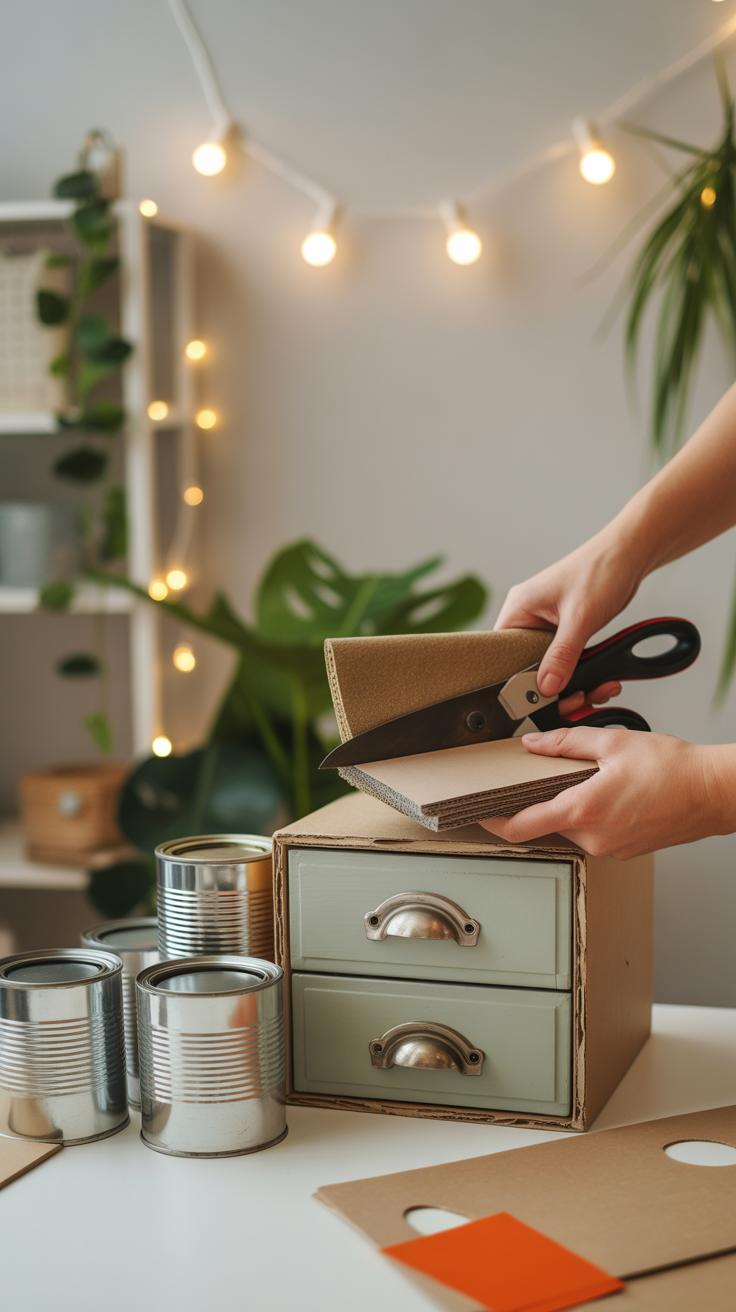
Adding New Hardware and Details
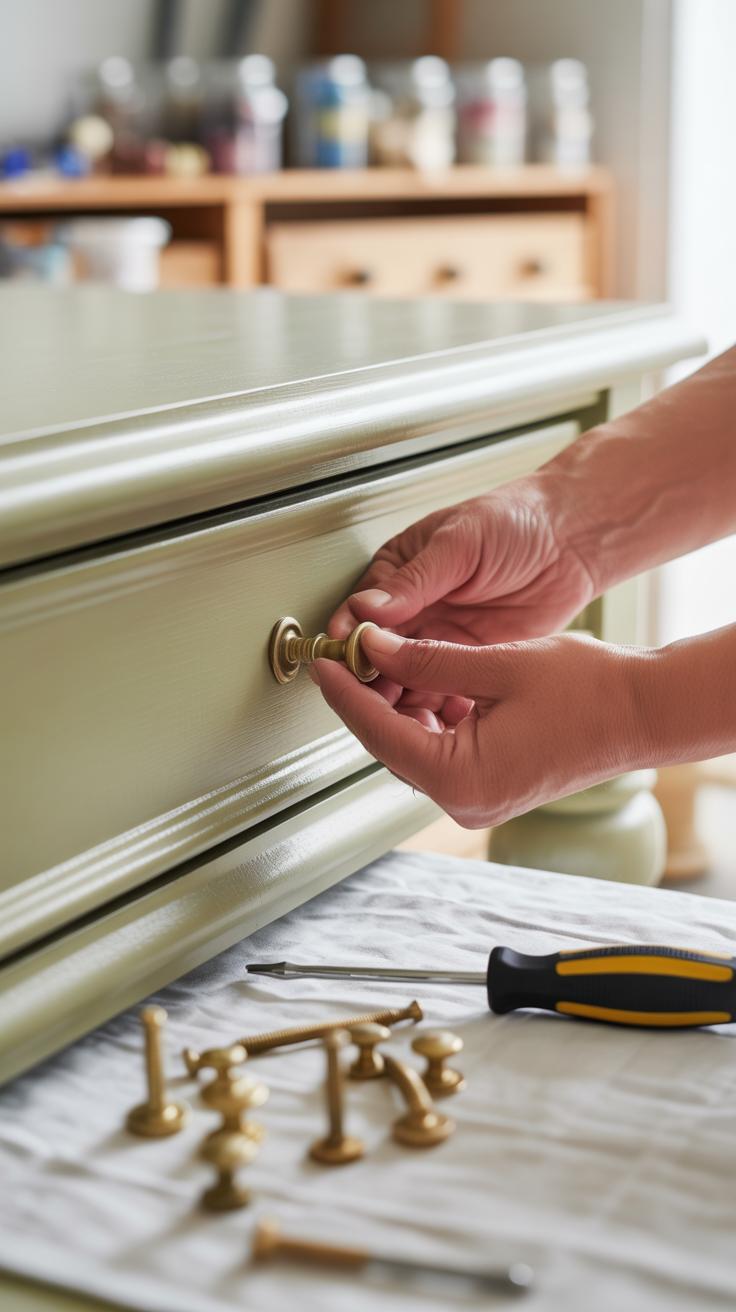
Swapping out old knobs or handles can really change a table’s vibe—sometimes more than you’d expect. Think about mixing metals or unusual shapes to give your piece a fresh personality. Maybe try leather pulls for a softer touch or vintage brass knobs for a hint of nostalgia. These little details often sneak up on you, making the table feel totally new without much effort.
Choosing Replacement Hardware
Picking hardware isn’t just about matching the style; it’s about what mood you want to set. Sleek stainless steel can push a table toward modern minimalism, while ceramic knobs with colorful patterns bring in whimsy. Then there are rustic iron handles that give a rugged, aged charm. It’s tempting to just go for what feels safe, but branching out can surprise you.
Installing Hardware Correctly
Replacing hardware needs a careful hand. If you drill too close to the edge, you risk splitting wood — guess how I learned that. Using tape to mark screw holes helps prevent mistakes. Also, match screw lengths to the thickness of your table parts. Otherwise, screws might poke through or not hold well enough. Tightening screws evenly tends to avoid wobbling, but don’t overtighten—you could strip the holes or crack the surface. Small steps here save grief later.
Using Decorative Techniques
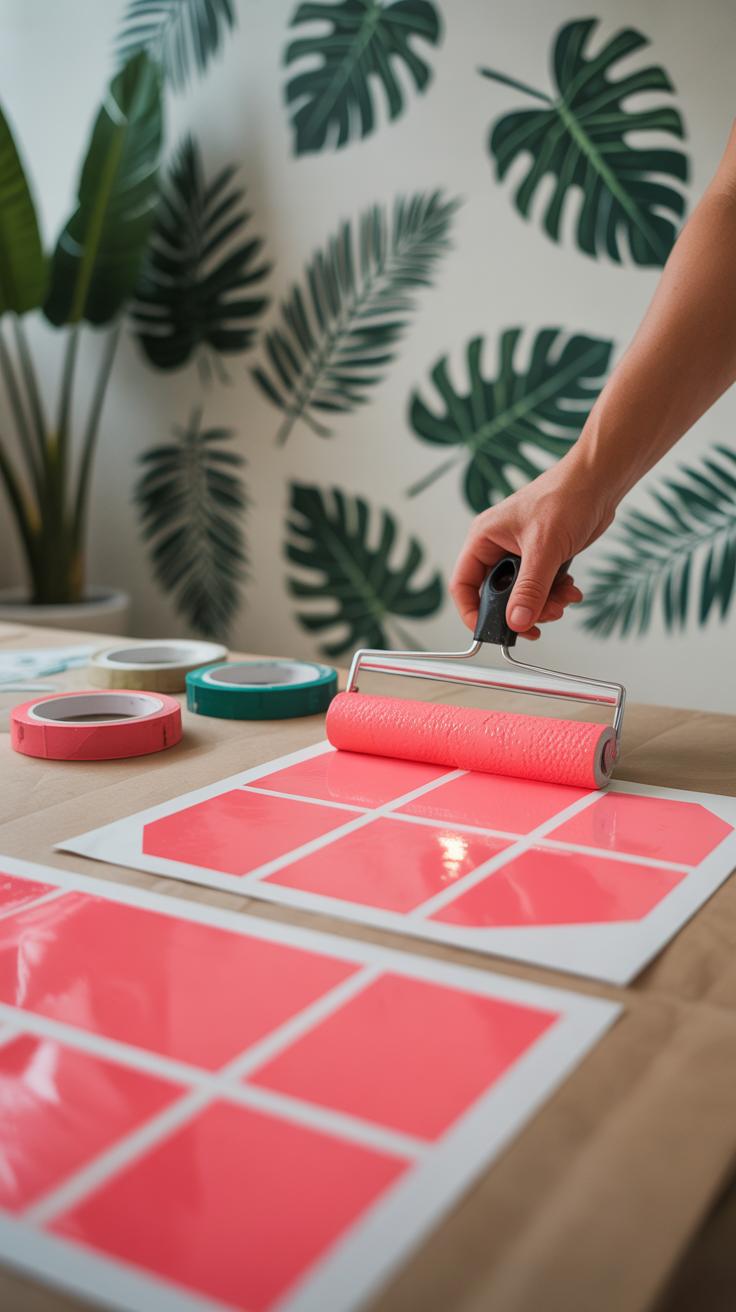
When you want to give your table a unique personality, decorating it yourself can feel rewarding—and surprisingly simple. Stenciling, decoupage, and distressing each offer ways to add that personal spark, letting your table stand out without overwhelming the space.
How to Stencil on Tables
Stencil your table to add patterns or subtle details that catch the eye. Start with a smooth, clean surface. Choose stencil patterns that suit your style—florals, geometrics, or even playful shapes.
Use a stencil brush or sponge, dipping lightly into paint. Dab off excess so your design remains crisp, then carefully press the stencil down and paint in thin layers. Patience is key here, as a heavy hand can cause smudging.
Work in small sections and lift the stencil gently. You can repeat patterns for a bold effect or place just one design for subtle charm. Personally, I found a single motif near a corner gave my table a surprising sense of balance—though some might prefer going all over.
Creating a Distressed Look
If your goal is that worn, vintage vibe, distressing offers a straightforward path. Start with paint in your chosen color, then, once dry, use sandpaper or a steel wool pad to rub edges and surfaces where natural wear would appear.
Focus on corners, drawer pulls, or spots that would age naturally. You might find yourself sanding a bit more here or less there—no need to be exact. The charm lies in imperfection.
For extra depth, try layering paint colors, sanding between coats. This can create a weathered effect that feels authentic rather than forced. I’ve seen some people get carried away and remove too much paint, which can make it look more damaged than designed—so maybe test on a small area first.
Protecting Your Table Makeover
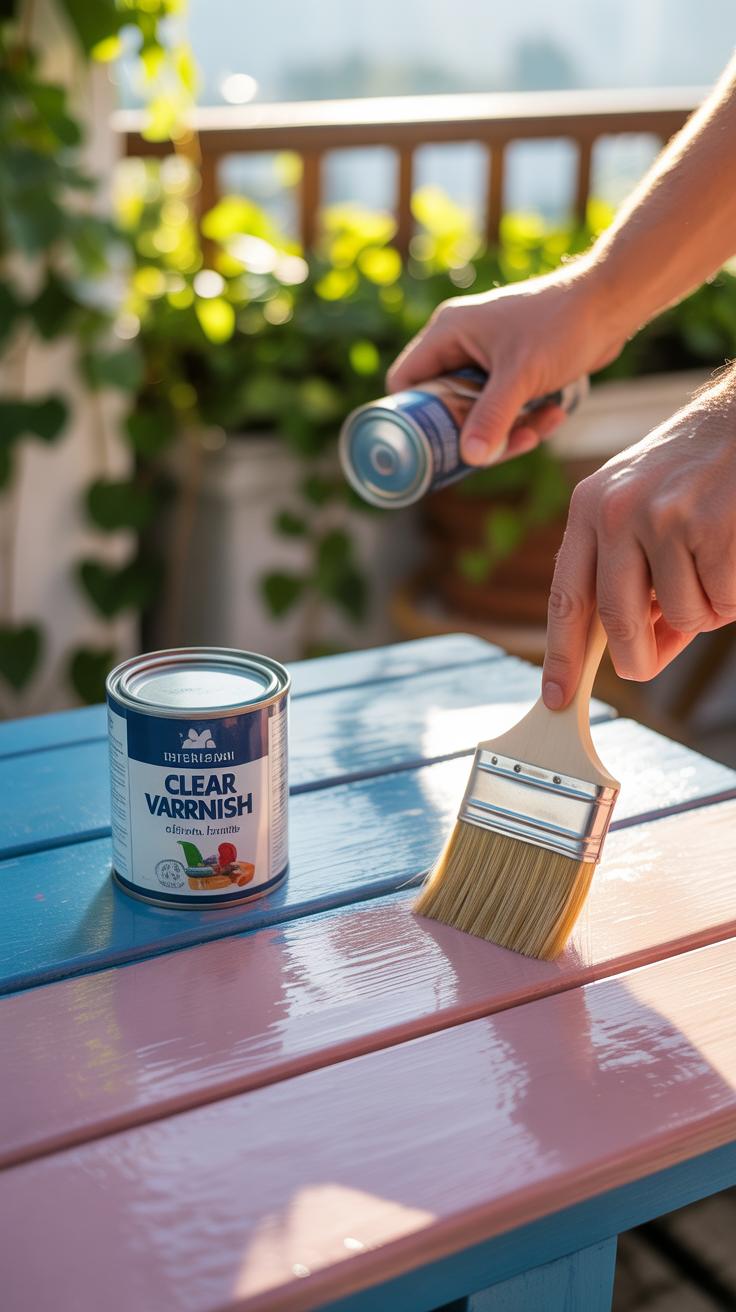
Applying Sealants and Finishes
Once your table has that fresh new look, the next step is protecting it. Choosing the right sealant can make a huge difference in how long your makeover lasts. Polyurethane is a common choice—it offers a tough, clear layer that resists scratches and spills. But it can also feel a bit plastic-y if over-applied, so less is more here. Varnish, on the other hand, often has a warmer, more natural finish and can be a bit easier to repair if it chips. Wax brings out a soft sheen and a nice hand feel, but it’s not as durable, so think of it more as a gentle guardian rather than a full shield.
When applying any finish, patience truly pays off. Thin, even coats work better than one thick layer. Between coats, sanding lightly with fine-grit sandpaper smooths the surface and helps the next coat stick better. Take your time. Rushing leads to bubbles or uneven texture, which nobody wants on a table they just refurbished.
Maintenance Tips for Longevity
Sealing is just the start. Keeping your table looking good over time needs some simple habits. Cleaning with a soft, damp cloth keeps dust and grime away without damaging the finish. Avoid harsh chemicals or abrasive cleaners—they tend to strip protection or leave dull spots. A quick routine wipe after use does wonders.
Little scratches or dings happen; that’s the reality of a well-used table. Instead of ignoring them, tackle them early. A tiny scratch might blend with a bit of matching stain or a wax stick repair. Sometimes, those small fixes prevent bigger problems down the road, like moisture seeping in.
Do you ever wonder if your table might get better with age? Maybe it does, at least if you treat it with some care. Some finishes mellow out, revealing character over time. So be patient and willing to do some quiet upkeep—it’s worth it when your table continues to impress season after season.
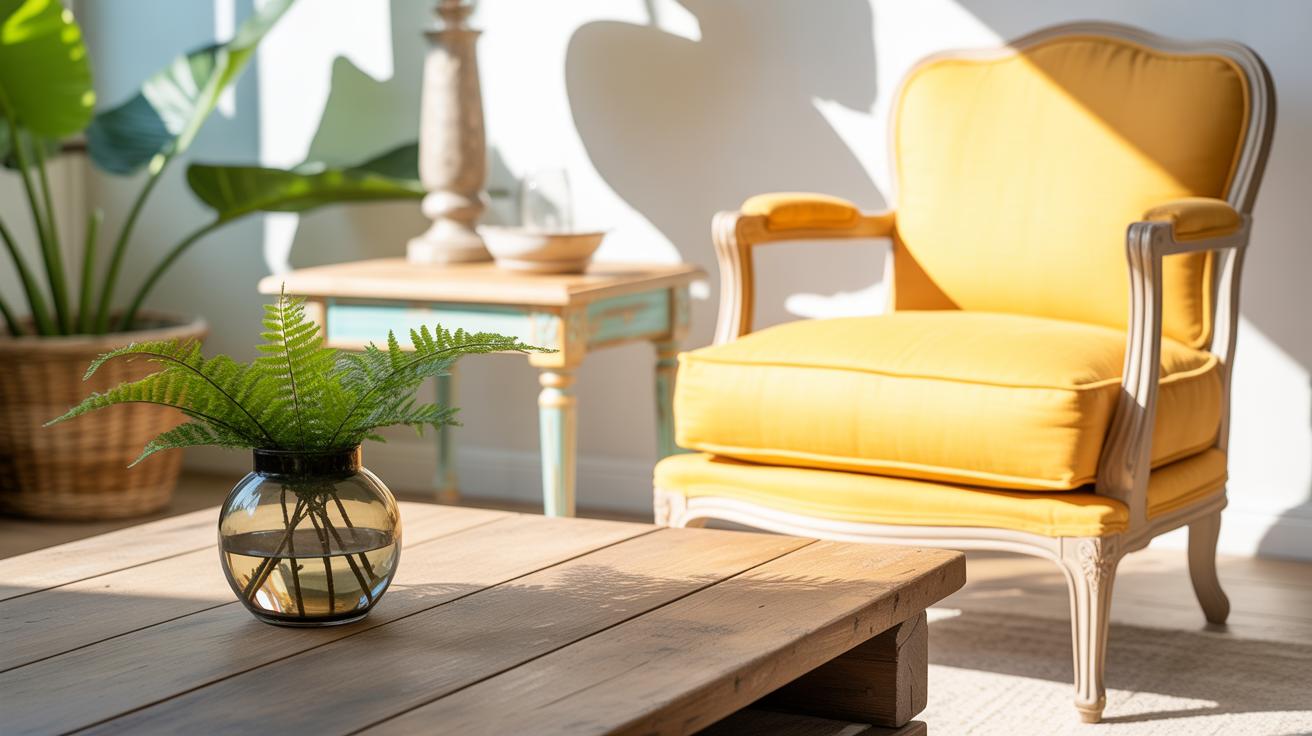
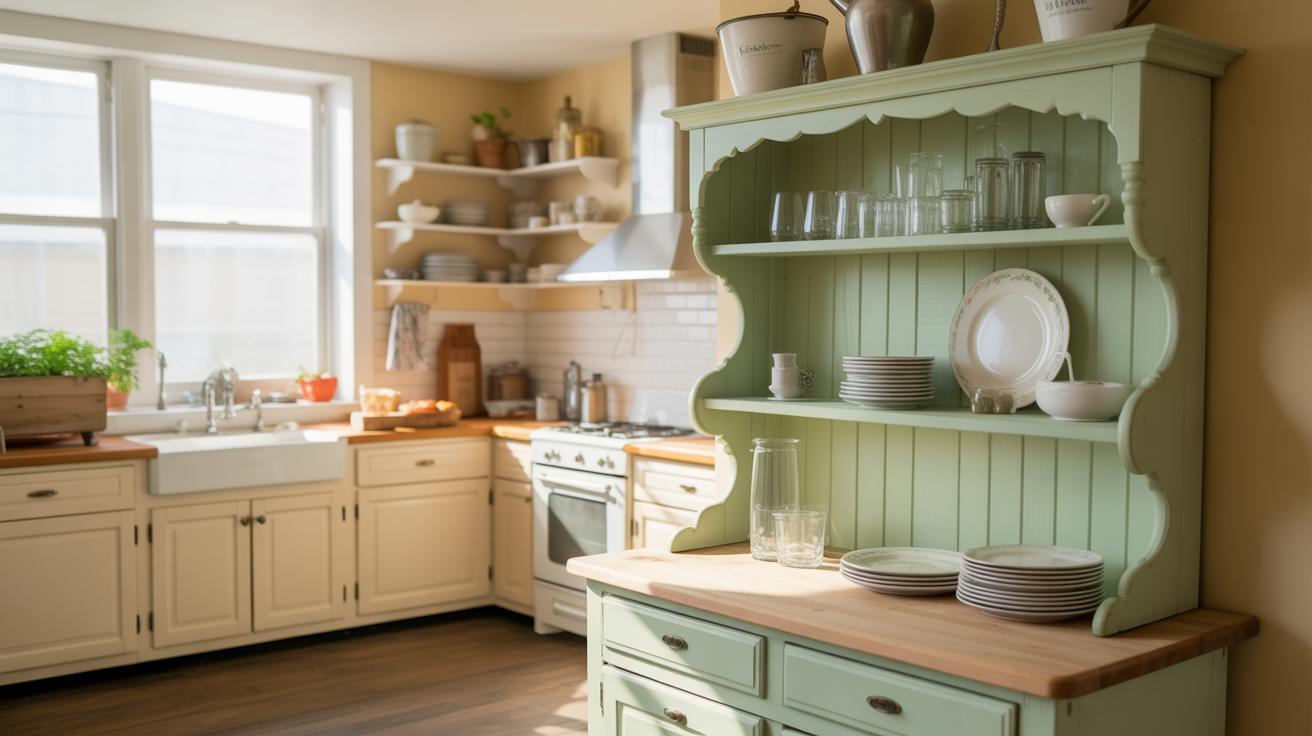
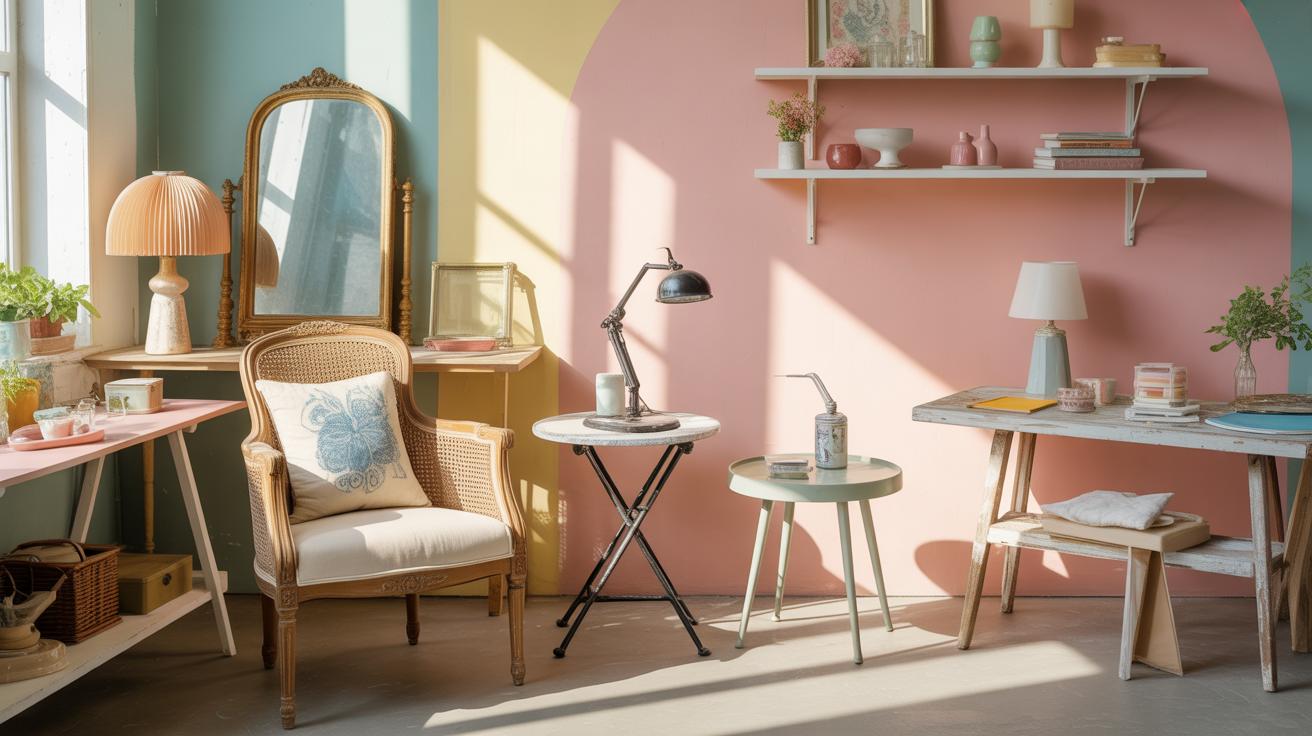
Inspiring Table Makeover Ideas
Modern and Minimalist Styles
Modern table designs often favor clean lines and simple shapes. Think smooth surfaces without too much decoration, a look that’s sleek and straightforward. You might try using monochrome paint—black, white, or greys—or even a clear lacquer to highlight natural wood grain without distractions.
To get that minimalist feel, keep hardware minimal or skip it entirely. Metal legs, especially in black or stainless steel, can add a sharp, industrial edge while keeping things light visually. I once gave a small dining table a fresh coat of matte white paint and swapped bulky legs for thin metal ones—it suddenly felt spacious and calm.
It’s not about stripping your table bare but about choosing elements that serve a purpose and complement each other with restraint. Less clutter here goes a long way. Have you thought about how color choice alone can shift a table from traditional to modern? Sometimes, it’s just the tone, not the shape.
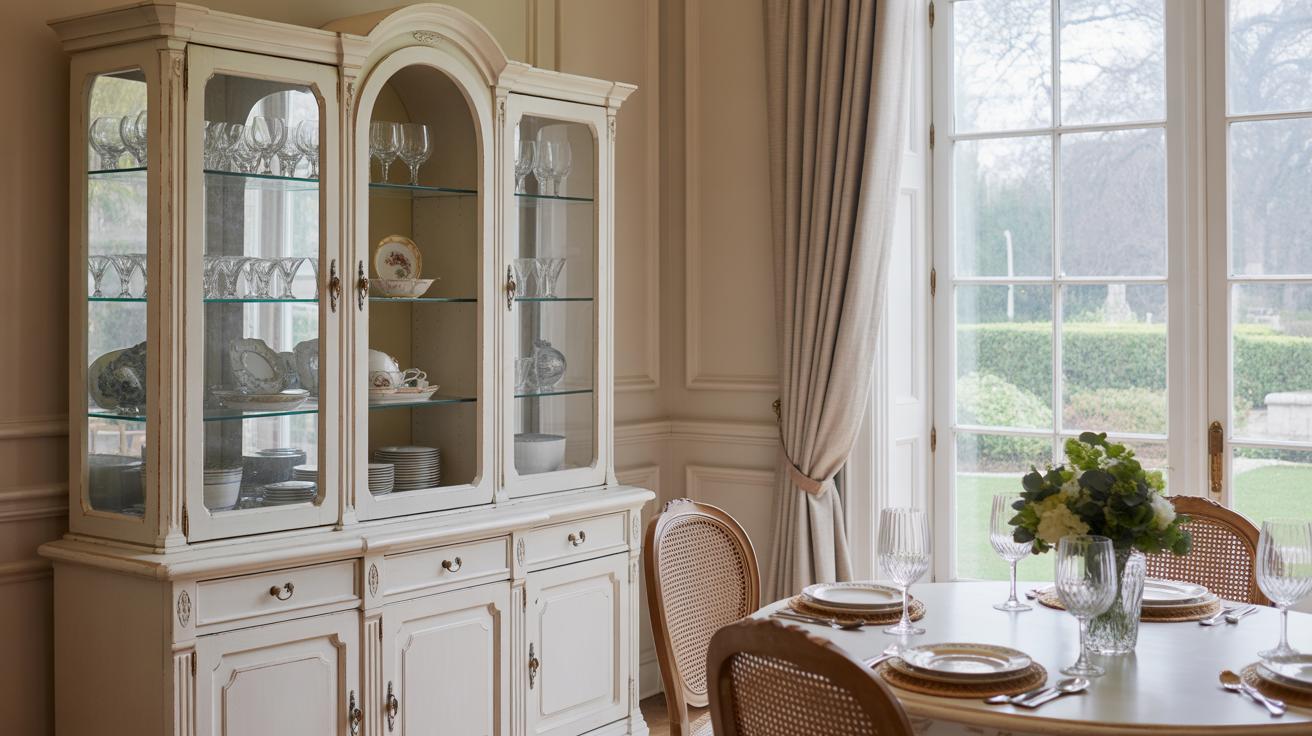
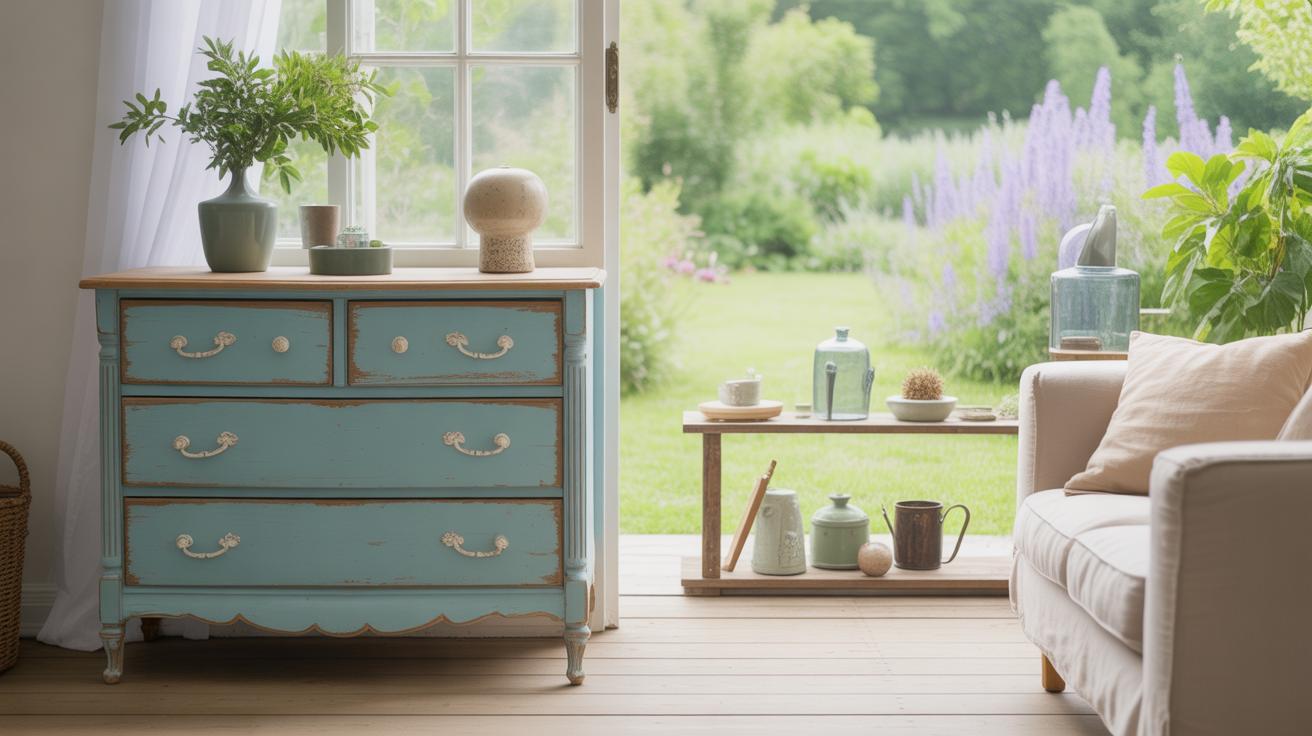
Rustic and Vintage Looks
Rustic or vintage styles bring a different vibe—warmth and a bit of history. Distressed paint, visible wood knots, and uneven finishes tell a story. Perhaps you’ll distress your table by sanding unevenly or using a crackle medium to fake age. I find that rough edges, rather than polished ones, add character that’s hard to replicate with smooth finishes.
Using chalk paint in muted hues like soft blues, greens, or creams can create that worn, lived-in look. Pair it with vintage knobs or hand-forged iron handles if your table has drawers. The result feels inviting—like a piece passed down rather than freshly made.
If you lean into rustic, try mixing wood tones or reusing old wood. Sometimes, imperfect surfaces or slight discolorations make the table more interesting, not less. You might hesitate at first because it feels unfinished, but often, that’s exactly the charm.
BudgetFriendly Makeover Tips
Revamping your table doesn’t have to drain your wallet. Sometimes, saving money means getting a bit creative with the materials and methods you choose. For example, instead of expensive hardwood, try using reclaimed wood or plywood with a nice veneer finish—it can look surprisingly good and costs way less. Paint brands that are budget-friendly still offer great coverage; you just might need an extra coat or two.
Simple tools like a hand sander can replace pricier electric ones if you don’t mind putting in a little elbow grease. You don’t always need a whole set of brushes—some foam brushes or even a clean, soft cloth can work wonders for applying stain or paint evenly. That’s probably something I underestimated when trying my own table project.
DIY hacks are a lifesaver when you want to keep costs down. Why buy new hardware when you can repurpose knobs or handles from thrift stores or even other pieces in your house? And taping off patterns with painter’s tape lets you add a fresh design without hiring a pro. It’s a bit tedious but fun, I think.
Don’t shy away from mixing these ideas in ways that suit your time, skill, and budget. Could you imagine scoring a unique finish just by layering regular household materials like wax or vinegar washes? Sometimes the inexpensive approach adds more character than the priciest options.
Common Mistakes to Avoid
Improper Surface Preparation
Skipping the cleaning or sanding steps might seem like a time-saver, but it usually backfires. Dirt, oils, or old finish left on the surface can cause paint to peel or chip quickly. I once rushed through sanding and ended up with a patchy table that needed redoing after a week. It’s frustrating, to say the least.
Take your time with surface prep. Clean thoroughly with a mild detergent, then sand to create a smooth, even base. Don’t assume a quick wipe is enough—small bumps or residue can ruin the finish later on. It might feel tedious, but this step can actually save you time and money by avoiding redo jobs.
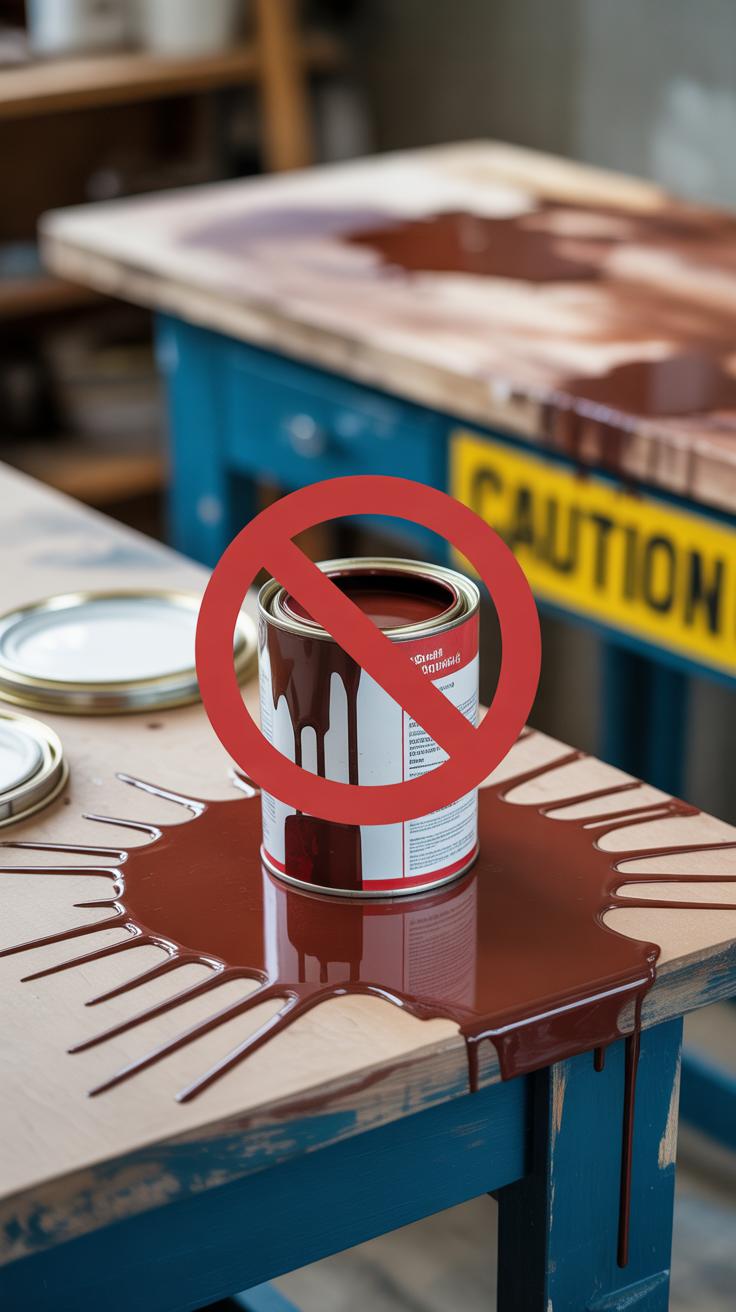
Choosing the Wrong Paint or Finish
Picking a paint or finish that doesn’t suit your table’s use or material can lead to disappointing results. For example, using chalk paint without a protective topcoat can leave your surface vulnerable to water rings and scratches. I’ve seen tables painted with indoor wall paint fading after just a few months.
Before buying, think about how the table will be used. Is it a dining table that’ll encounter spills? Or a side table mostly for decoration? Look for products labeled for furniture, with durability in mind, and always check drying times and compatibility with your prep work. Sometimes spending a little extra on the right product means your makeover lasts longer and looks better.
StepbyStep Guide to a Stunning Table Makeover

Planning and Preparing Your Project
First, you want to figure out what you hope to get from this makeover. Think about style, durability, and how you’ll use the table. Do you need it to withstand kids, or is it mostly decorative? Setting clear goals will help you avoid frustrations later. Once you have a vision, gather the basics: sandpaper or a sander, primer, paint or stain, brushes, and drop cloths. It might feel like a lot, but having everything ready before you begin saves time and awkward stops.
Preparation includes cleaning your table thoroughly and removing old finishes if necessary. Scratches and dents? Light sanding smooths those out, but don’t rush. Sometimes, skipping this step leaves a bumpy paint job. Oh, and don’t forget to fix any loose joints or screws. It’s easy to overlook these, but they make a big difference in the final sturdiness.
Finishing and Caring for Your Table
Once you’ve applied paint or stain and it’s dry, sealing is key. A clear coat protects your work from daily wear, spills, and fading. Choose between matte, satin, or glossy finishes depending on the look you want. Applying several thin coats rather than one thick one avoids drips and uneven spots.
Maintaining your refreshed table doesn’t demand much, but it does need some care. Wipe spills immediately to avoid stains, and use coasters or placemats when possible. You might be tempted to use harsh cleaners, but gentle soap and water is usually enough. Give it a once-over every few months and touch up scratches or chips. A little upkeep now means your table stays stunning longer—though, honestly, wear can add character too.
Conclusions
Refreshing a table can change the look and feel of your space at a low cost. Stain removal, repainting, or adding new hardware can renew a table’s surface and presence. These changes invite a more personalized and pleasing atmosphere in your home.
With patience and creativity, you can turn an ordinary table into a cherished part of your decor. Using the strategies and ideas shared here, your table makeover will not only please your eyes but also serve your needs better every day.


