Introduction
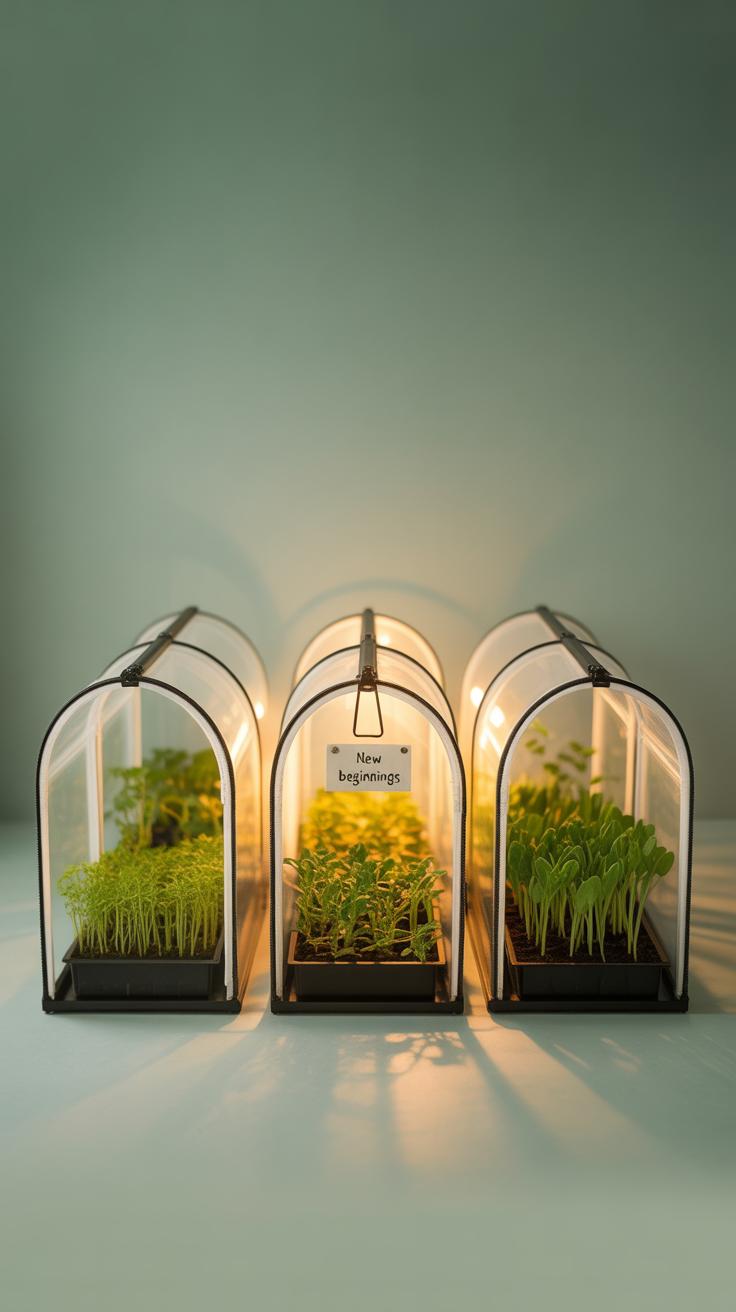
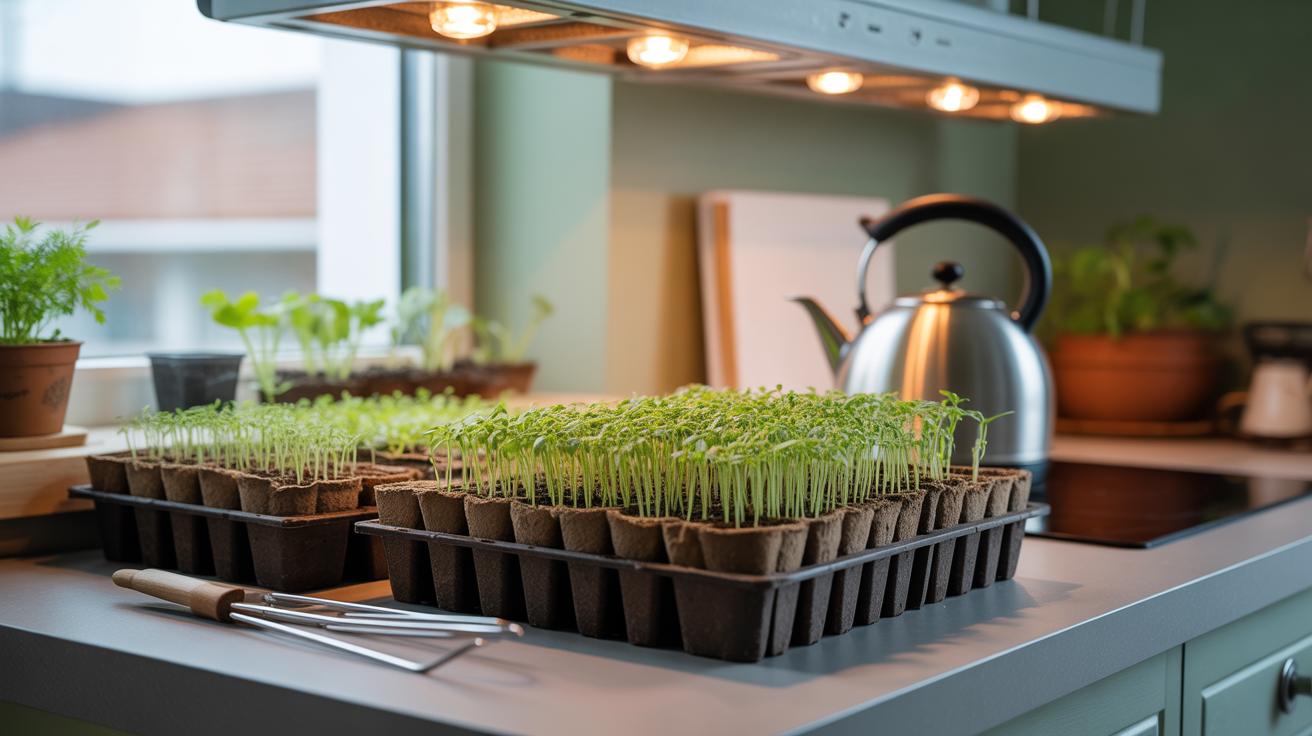
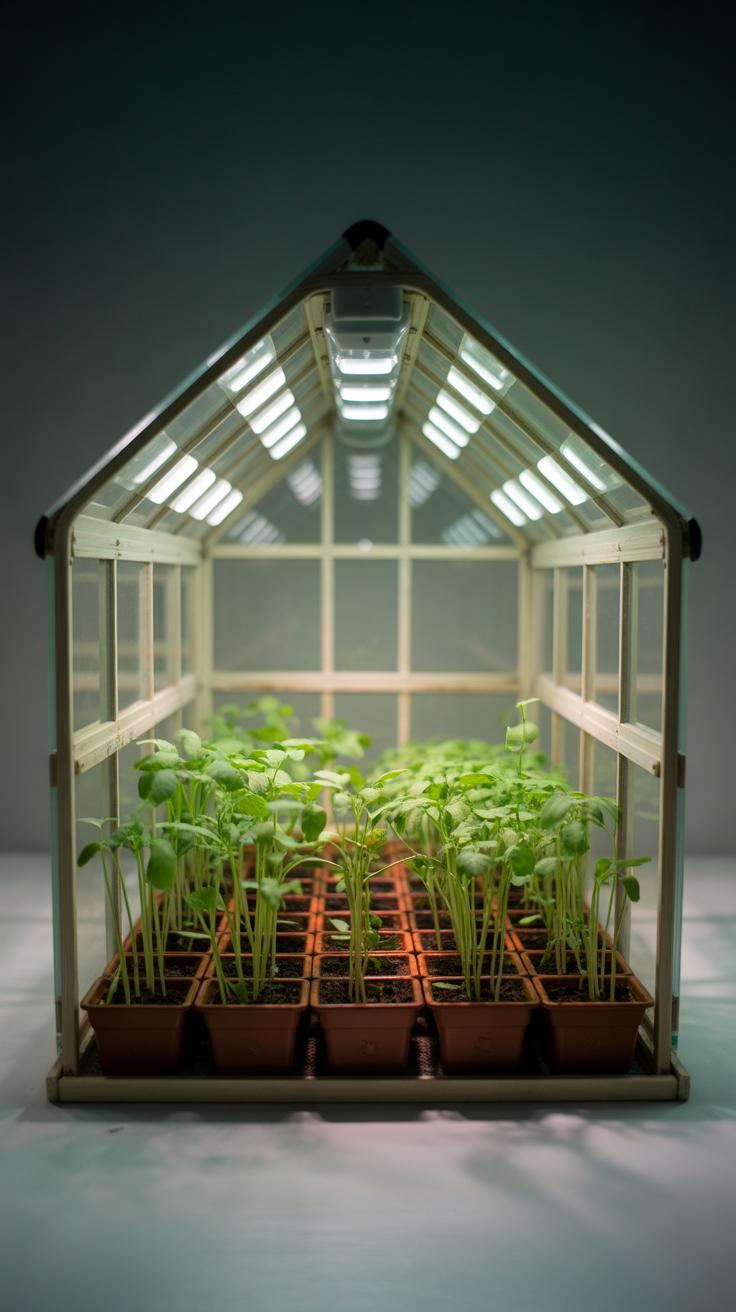
Starting seeds indoors gives you a head start on your gardening season. A small greenhouse can create a perfect environment for your seedlings by providing stable warmth and protecting them from harsh outdoor conditions. Using a compact greenhouse indoors helps keep your young plants healthy and strong before transplanting them outside.
In this article, you’ll learn how to use a small greenhouse for seed starting indoors. We will cover the key benefits of maintaining stable warmth, the best materials to use, how to care for your seedlings, and practical tips for a successful indoor gardening season. Whether you’re new or experienced in gardening, this guide will help your seeds thrive.
Understanding the Role of Stable Warmth in Seed Starting
Starting seeds indoors isn’t just about putting them in soil and waiting—it’s about creating the right conditions for them to awaken and grow. Temperature plays a big role here. If the warmth fluctuates too much, seeds might germinate inconsistently or even fail to sprout. Too cold, and they may simply sit there, dormant; too hot, and it can stress or dry them out.
Seeds need a fairly steady temperature to kickstart their internal processes—think of it like waking up at the same time every day. This stability helps hormones inside the seed activate enzymes that break down stored nutrients for the young plant.
From what I’ve seen, even a small dip at night can slow things down noticeably. That’s why a stable, warm environment matters more than you’d guess when starting seeds indoors.
How Temperature Influences Seed Germination
Different seeds have different temperature needs. Some prefer cool conditions, others need warmth to wake up. For example:
- Lettuce seeds do best between 60°F and 70°F—too warm and they can slow or fail.
- Tomatoes need a warmer range, around 70°F to 80°F, to sprout quickly.
- Peppers often want it even warmer, near 80°F to 85°F, or they just won’t come up well.
Sometimes, seeds will germinate slower if the temperature is too low. I once tried starting cucumbers at around 60°F and they took twice as long compared to when I kept them closer to 75°F. Too hot, on the other hand, might encourage mold or dry the soil too quickly.
So, the trick is finding that sweet spot—and keeping it consistent.
Creating a Warm Environment Indoors
Inside a small greenhouse, it’s a bit easier to hold onto warmth than on an open windowsill. But it still requires some effort. Here’s what can help:
- Place the greenhouse near a sunny window to catch natural heat during the day.
- Use a seedling heat mat beneath trays—it gently raises soil temperature without that intense heat you’d get from a heater.
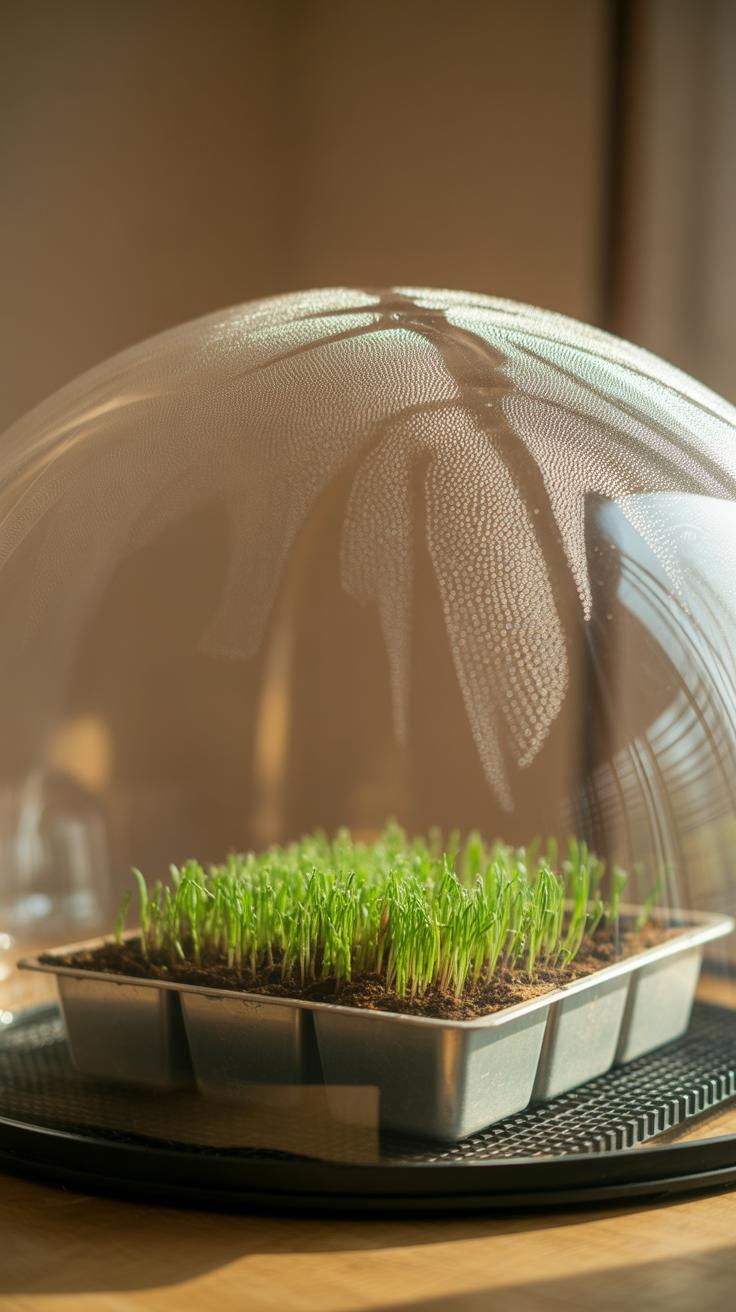
- Cover the greenhouse with a clear plastic or glass top to trap heat but still allow light through.
- Try to avoid drafts or cold surfaces nearby; even a chilly floor can drag the temperature down.
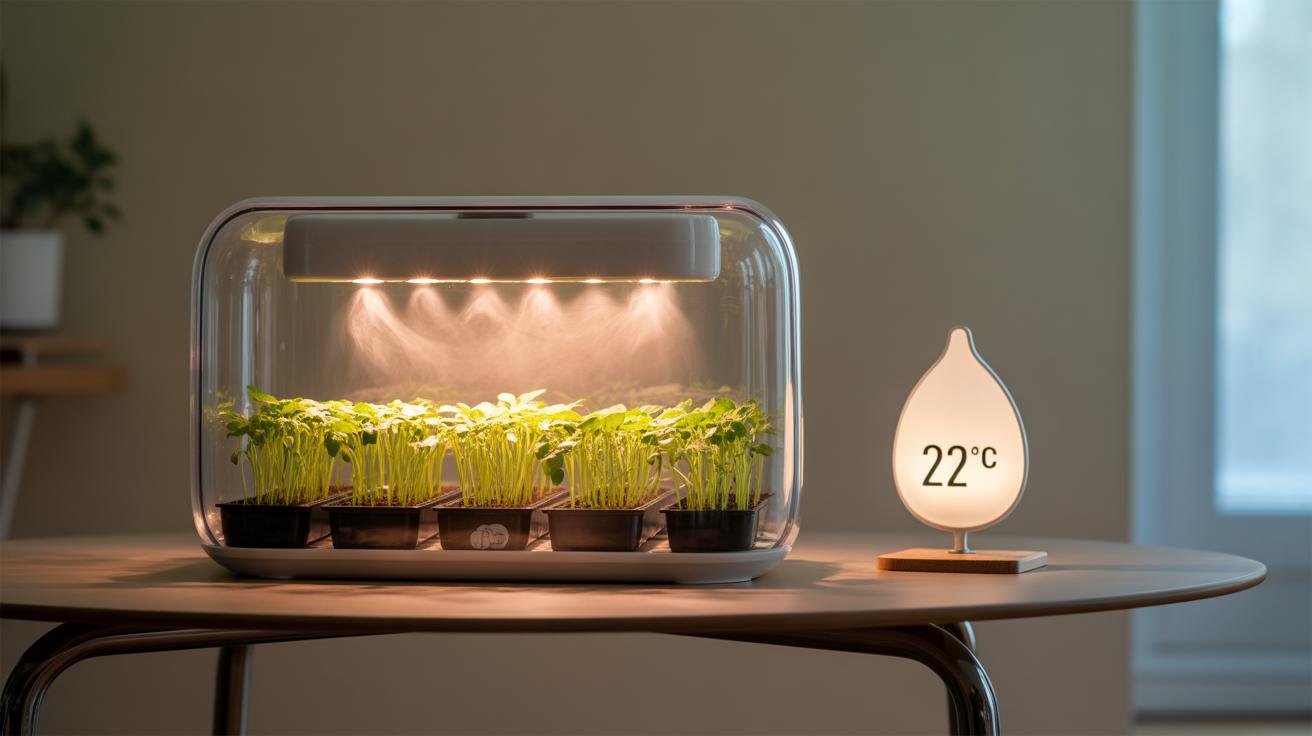
Some people add small, low-wattage bulbs inside the greenhouse for extra warmth — but be careful not to overdo it. I found a balance by setting up a thermometer and adjusting vents or covers to keep the temperature from swinging too much.
It takes a little watching and adjusting, but the payoff is steady germination and healthier seedlings starting their life indoors.
Choosing the Right Small Greenhouse for Indoor Use
Materials that Help Retain Heat
When picking a small greenhouse for indoor seed starting, material matters more than you might think. Plastic covers are common—they trap heat well but can wear out quickly or get cloudy, which could limit light. Glass holds heat nicely and lets in good light, but it’s heavy and fragile indoors, so not always practical. Polycarbonate panels strike a balance; they retain warmth efficiently, are lightweight, and usually more durable than plastic. I once tried a tiny glass greenhouse on my windowsill, but the weight made it awkward. Switching to polycarbonate felt like a clear upgrade—seeds seemed to sprout steadier, maybe because warmth stayed more consistent.
Best Sizes and Designs for Indoor Spaces
Size does play a big role inside. Too large, and it takes up space you probably don’t have. Too small, and you can’t fit enough seed trays. Compact greenhouses—like those with two or three shelves or foldable designs—work well. They let you stack seedlings vertically, saving floor space while maintaining warmth around each plant. Designs with vents help manage humidity but watch that they don’t cool things too much. Personally, I prefer a greenhouse about 18-24 inches wide and roughly two feet tall for a windowsill or countertop—big enough for several trays, yet manageable. Have you thought about where you’d place yours? Space can be surprisingly tricky indoors, so measuring first really helps avoid awkward fits or wasted warmth.
Preparing Your Small Greenhouse for Seed Starting

Cleaning and Organizing the Greenhouse
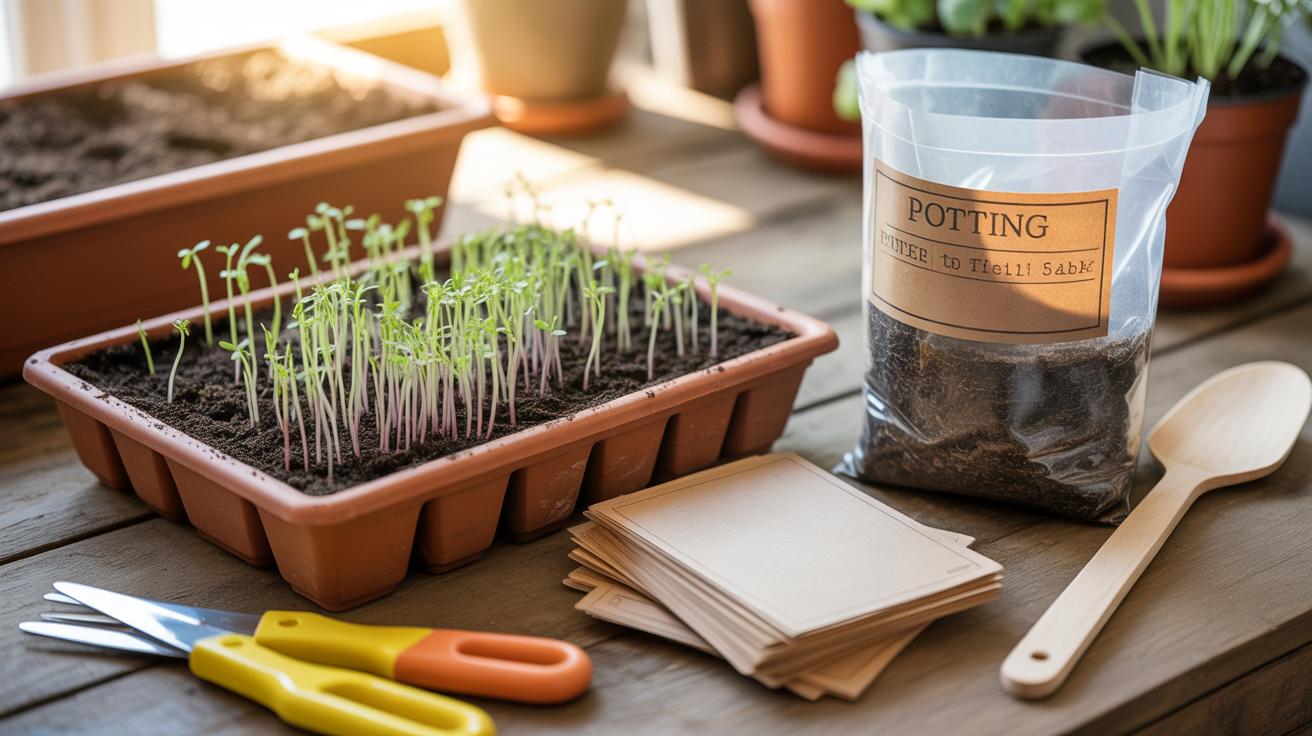
Before you even think about planting, the first step is to give your small greenhouse a thorough cleaning. Dirt, old plant debris, and moisture can create a perfect environment for mold and pests, which you definitely want to avoid at this stage. I usually start by wiping down all surfaces with a mild bleach solution or a natural disinfectant. Pay attention to corners and crevices where grime tends to gather. If you skip this, you might face problems down the line that could set your seedlings back.
Once it’s clean, organizing your space makes a huge difference, especially when working with small greenhouses where every inch counts. Consider installing shelves or stacking trays vertically to create more room without crowding your seedlings. I find adjustable shelves useful because as seedlings grow, it’s easier to rearrange the space. Remember, airflow matters too. Don’t stuff everything too tightly; a little breathing room helps keep mold and dampness away.
Positioning for Optimal Light and Warmth
Where you place the greenhouse indoors can make or break your seed-starting success. Ideally, set it near a window that gets consistent sunlight throughout the day. North-facing windows might work if light is steady, but south or east-facing spots usually perform better. My greenhouse sits by an east window, catching gentle morning light, which helps keep temperatures balanced—not too hot, not too chilly.
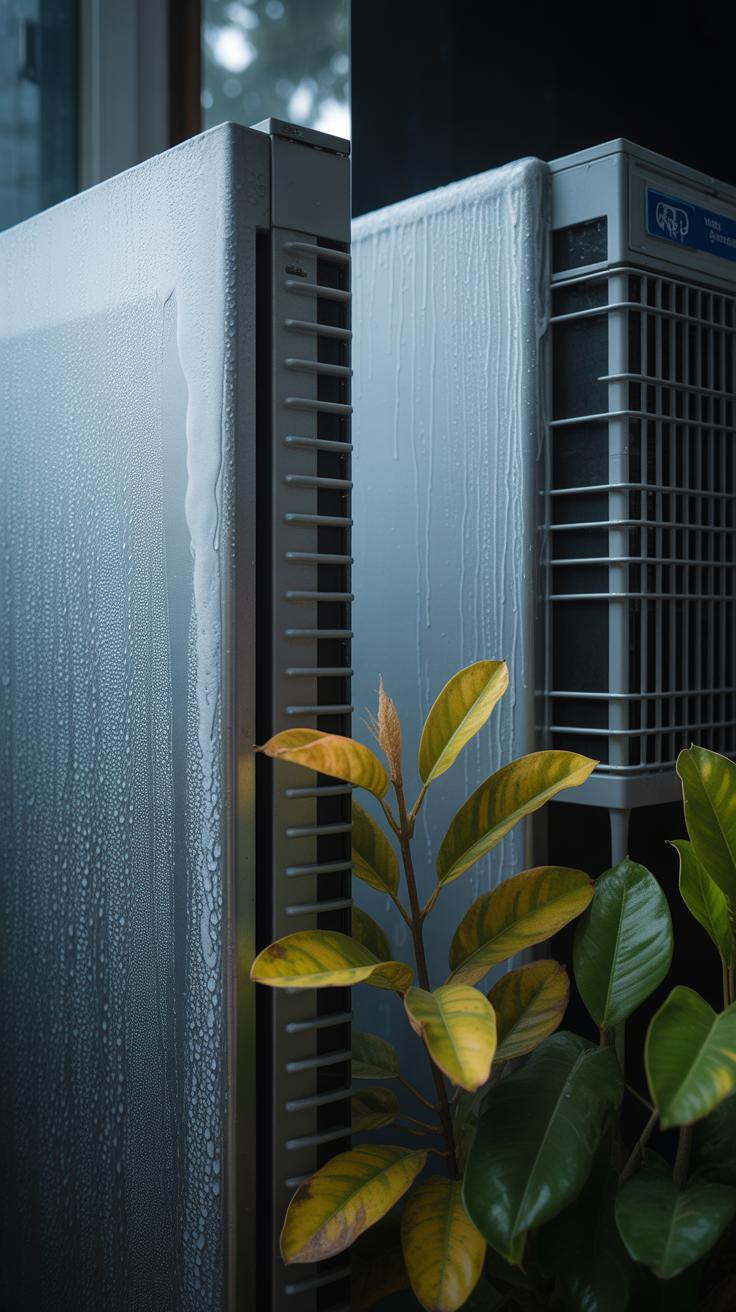
Keep in mind, warmth is as critical as light. If your home gets drafty or the room cools down a lot at night, the seedlings might struggle. You might want to test a spot with a small thermometer to see if the temperature stays steady, maybe around 65 to 75°F. Sometimes using a heat mat under trays complements the room warmth. You’d think that’s obvious, but it’s surprising how often people put their greenhouse where temperatures fluctuate wildly. So, think carefully about where it sits—by a radiator might seem warm but could dry things out fast.
Choosing Seeds That Thrive Indoors in a Greenhouse

Not all seeds do well in the controlled environment of a small indoor greenhouse. When picking varieties, think about those that can handle limited space and steady warmth without too much fuss. Some seeds actually respond better indoors because you control the timing and conditions, but others might get a little shy or cramped.
Vegetables and Herbs Ideal for Seed Starting
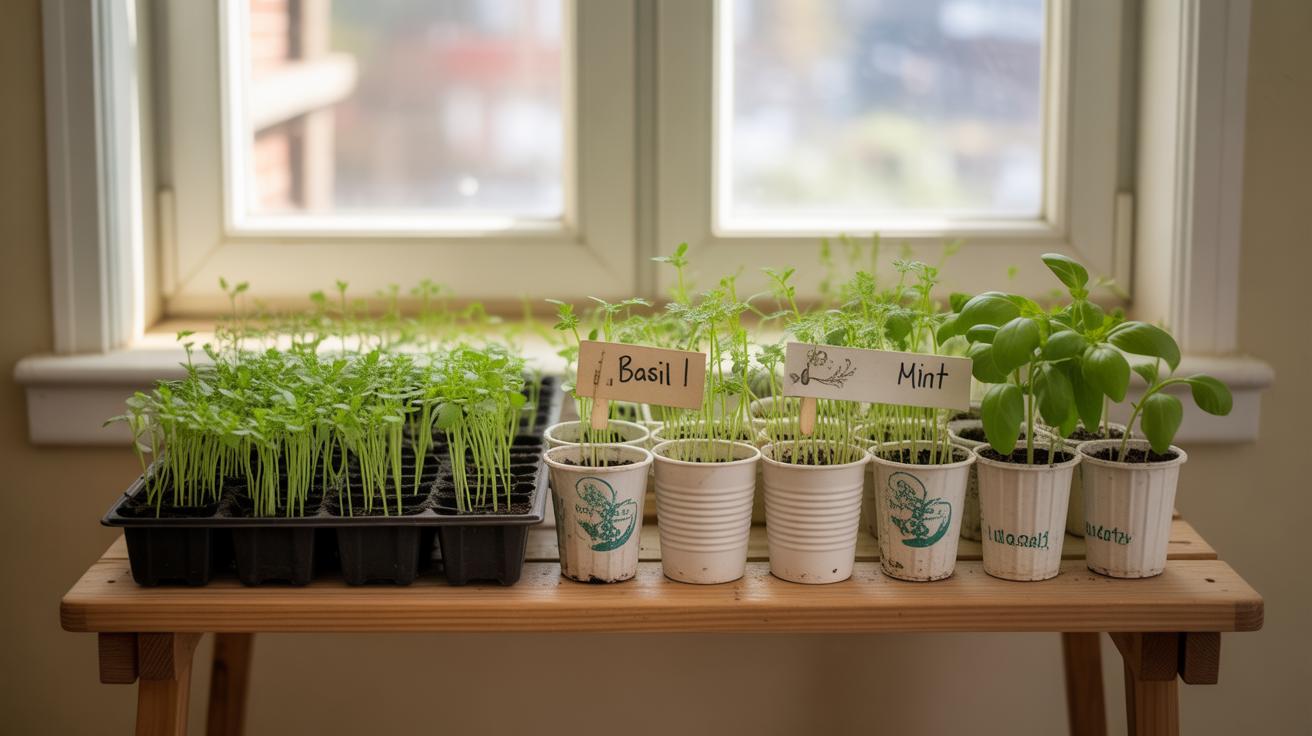
Many vegetables and herbs suit early indoor starts because they love warmth and steady moisture. Tomatoes, for example, thrive in a greenhouse—they need warmth to germinate and steady humidity to avoid drying out. Peppers are picky about cold, so they often do better indoors first. Lettuce and spinach, while generally cool-weather plants, can get a bounce from indoor starts too, as they don’t mind lower light if they get enough warmth.
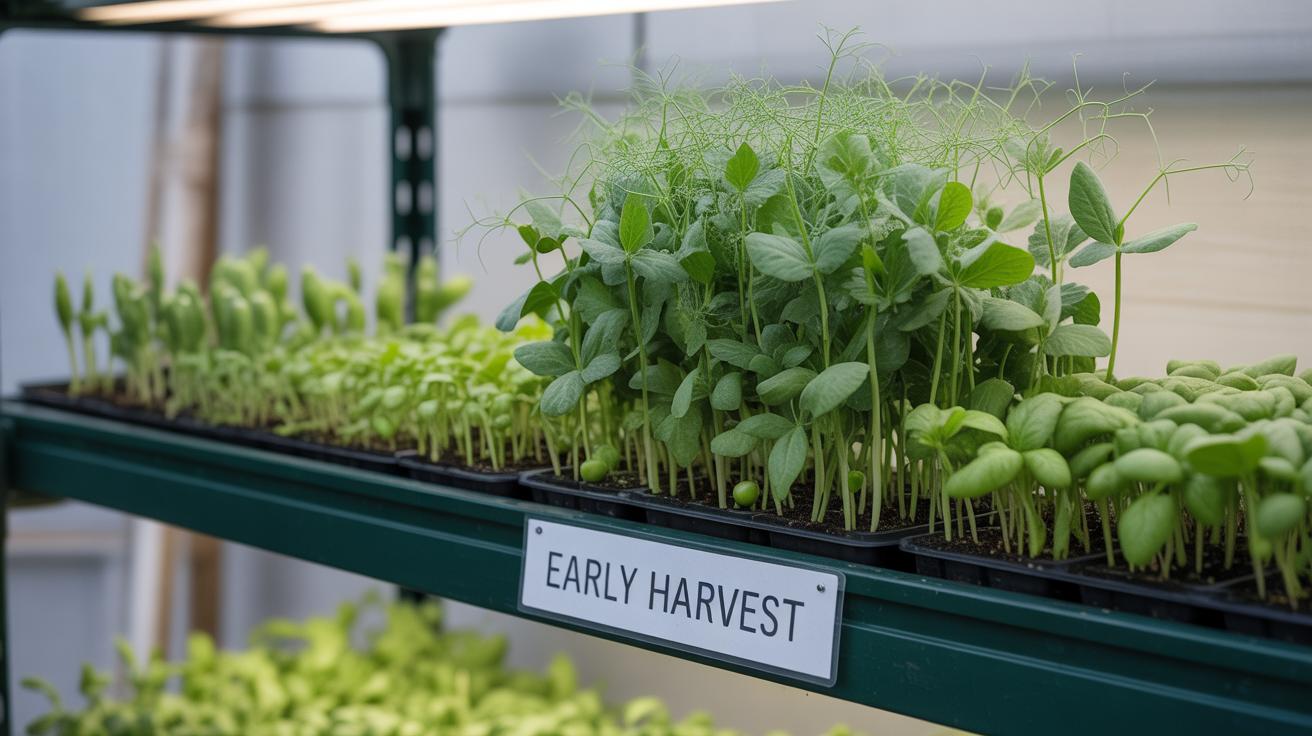
Herbs like basil, parsley, and cilantro respond well to the controlled setting. Basil, especially, enjoys those consistent humid and warm conditions, making it one of my favorites to start inside. Parsley might take a little longer but once it sets, it’s quite hardy. When you think about space in your small greenhouse, herbs can often be tucked into smaller trays, making efficient use of your setup.
Flowers That Benefit from Indoor Greenhouse Conditions
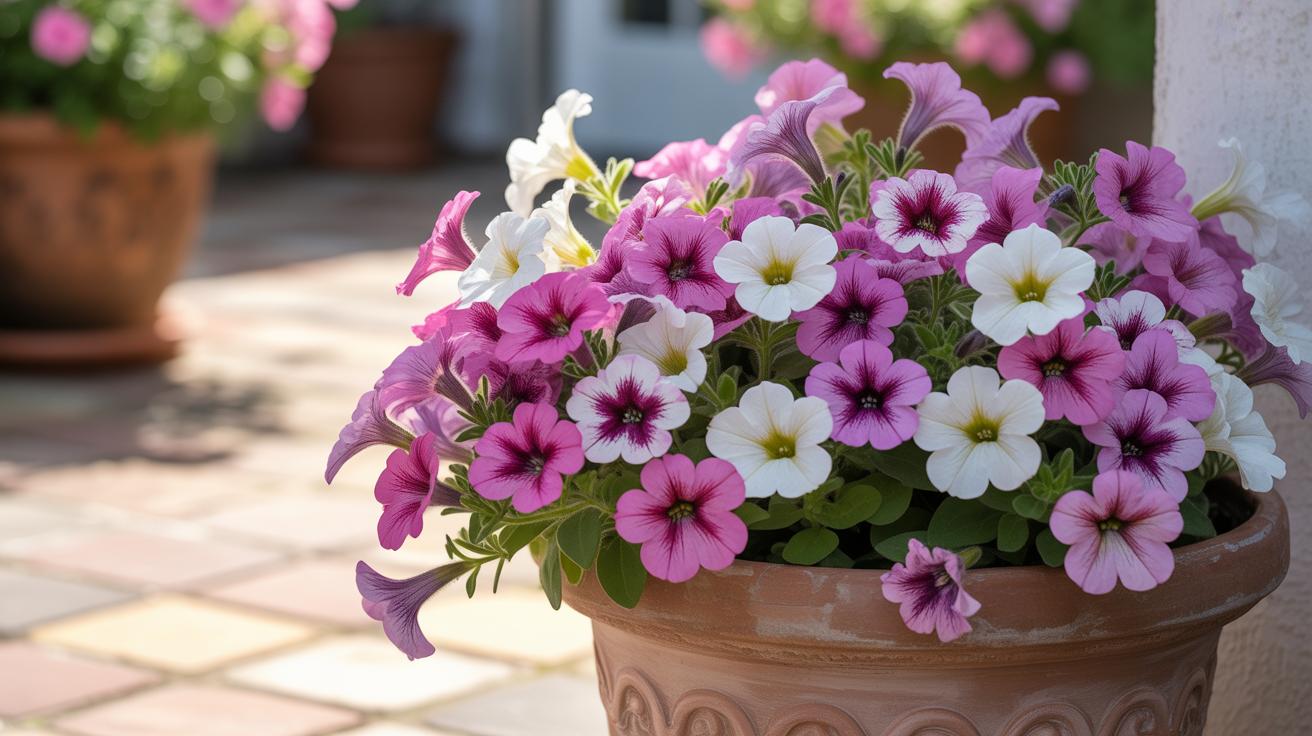
Certain flowers really seem to love the indoor greenhouse environment where temperatures don’t swing wildly. Marigolds start well inside—they germinate quickly and aren’t too demanding beyond warmth. Petunias are sensitive to cold, so starting them indoors helps ensure they get a good head start. And impatiens, because of their delicate nature, do better protected from chilling drafts.
Seedlings like snapdragons and zinnias also appreciate the consistent atmosphere; yet, they want plenty of light once sprouted, so you’ll need to position them carefully. I’ve noticed that some flowers may stretch and become leggy indoors if light is not quite right, so not all benefit in the same way. You’ll want to watch that closely. In general, picking flowers that are known to tolerate or even prefer that slow, steady start indoors can give them an edge when moved outside.
Maintaining Stable Warmth in Your Small Greenhouse
Keeping a steady temperature inside a small greenhouse can feel tricky at first. The space is limited, so slight changes outside can rapidly affect what’s happening inside. You’ll want to avoid sudden chills or overheating, as both can stress your seedlings or slow their growth.
Tools like heat mats and small heaters can gently raise the temperature without using too much power or crowding the growing space. A heat mat placed under seed trays warms the soil directly, which is often better for root development than just warming the air. Small electric heaters can add extra warmth in cooler periods, but they must be used carefully.
Most importantly, keep a thermometer inside the greenhouse. Check it often, not just once a day. Temperature can swing quickly between morning and night.
Try to keep that sweet spot of warmth by:
- Positioning the heat mat so all seed trays get even warmth
- Setting heaters on a low setting to avoid hot spots or drying out seedlings
- Using the thermometer to find these subtle shifts in temperature as the day changes
A steady, moderate heat will encourage seeds to sprout without shocking them the way a sudden hot burst or cold snap would.
Using Heat Mats and Small Heaters Safely
Let’s talk about safety because heat mats and small heaters—while useful—can cause issues if misused. Heat mats should always go under trays, never on the floor or in contact with water. Excess moisture can short circuit them. You might think running a heater constantly makes sense, but that can lead to overdrying, overheating, or even a fire risk.
Instead, use a heater with a built-in thermostat or plug it into a separate thermostat controller. These devices switch the heater on or off to maintain a set temperature—which means you won’t come home to scorched seedlings.
Don’t forget to place heaters away from plants and flammable materials. A small fan can help distribute heat evenly if your heater tends to blow hot air in just one spot. My first setup accidentally cooked some herbs because the heater was too close. It was a lesson in checking placement more carefully.
Monitoring Temperature and Adjusting Ventilation
Temperature monitoring isn’t a one-time thing. Check your thermometer at least twice daily. Morning and evening temperature differences can be dramatic. Too hot? Open vents or doors slightly to let cool air in. Too cold? Close vents but watch humidity levels.
Ventilation may seem counterintuitive when you’re trying to keep warmth in, yet it helps prevent stagnant, humid air that invites mold or disease. Air circulation also prevents overheating on warmer days. If you find the temperature climbing above 80°F regularly, it’s time to crack open a vent.
Fine-tuning ventilation requires some patience. You might find yourself opening vents a little bit each day and seeing how seeds respond. A little air exchange can make all the difference, for instance, when a sudden sunny day hits a greenhouse that was quite chilly the night before.
Maintaining warmth isn’t just about turning something on or off. It’s a balance—and warming your small greenhouse well means listening carefully to what your plants seem to need as you learn.
Watering and Humidity Care for Seedlings

Getting the watering right inside a small greenhouse can be a bit tricky. Seedlings need moisture, but too much water can drown their roots, while too little can leave them parched and weak. I’ve found that the delicate balance usually means checking soil moisture daily, especially since small greenhouses trap heat and moisture differently than open air.
How Often to Water Seedlings
Seedlings generally prefer consistently moist—not soggy—soil. Early on, watering every two to three days might work, but this depends on your soil mix, pot size, and temperature. I tend to water lightly but frequently, avoiding heavy soaking. If the soil surface looks dry or feels dry about an inch down, it’s time to water again. But be careful: overwatering leads to fungal problems and root rot. Underwatering causes stressed plants that struggle later. You may need to adjust as seedlings grow or the greenhouse warms up.
Maintaining Proper Humidity Levels
Humidity is another factor to watch closely. Seedlings thrive in higher humidity—something like 50 to 70 percent—but too much moisture in the air can encourage mold or damping-off disease. In my small greenhouse, I’ve tried opening vents slightly or cracking doors to reduce excess humidity when things feel clammy. On colder days, you might need to cover seedlings lightly to keep humidity up without drowning them.
Using a simple hygrometer helps a lot. When levels dip below ideal, misting or placing a shallow water tray nearby can boost humidity—just don’t overdo it. It’s a bit of a balancing act: too dry and seedlings wilt, too wet and they could collapse. Watch your plants carefully; they’ll often show you what they need.
Lighting Needs for Indoor Seed Starting
Benefits of Placing the Greenhouse Near a Window
Natural sunlight remains the first choice for many gardeners starting seeds indoors. Placing your small greenhouse near a south- or east-facing window lets seedlings soak up direct light for several hours, which is often enough to keep them strong. The sun provides a full spectrum of light that’s hard to replicate with artificial sources, helping plants develop lush leaves and sturdy stems.
Yet, windows have their quirks. Sometimes natural light isn’t consistent—cloudy days and short winter daylight can mean seedlings get less than they need. Also, the angle of the sun changes with the season, so you might need to move your greenhouse around to catch the best light over time. Still, having seedlings right by a window feels natural and saves electricity, which can be nice when starting a steady cycle of plants.
Using Grow Lights for Consistent Lighting
Grow lights can fill gaps when natural light falls short. Various types exist, like fluorescent tubes, LED panels, and even incandescent bulbs (though the last isn’t ideal). LED grow lights are popular because they use less energy and produce less heat—you can place them close to seedlings without risk of burning. Fluorescents work well too, especially if you choose full-spectrum bulbs designed for plant growth.
For seedlings, aim for about 12 to 16 hours of light a day. Putting a timer on your grow lights helps keep this consistent. The tricky part? You have to watch the distance. Lights too far away won’t support strong growth, while too close might stress young plants. I found adjusting the height frequently annoying but necessary.
Choosing between natural and artificial light sometimes feels like picking the lesser of two evils. Perhaps the best approach combines both—use a bright window spot when possible and supplement with grow lights during dull days or early spring when sunlight fades early.
Transplanting Seedlings from Small Greenhouse to Outdoors
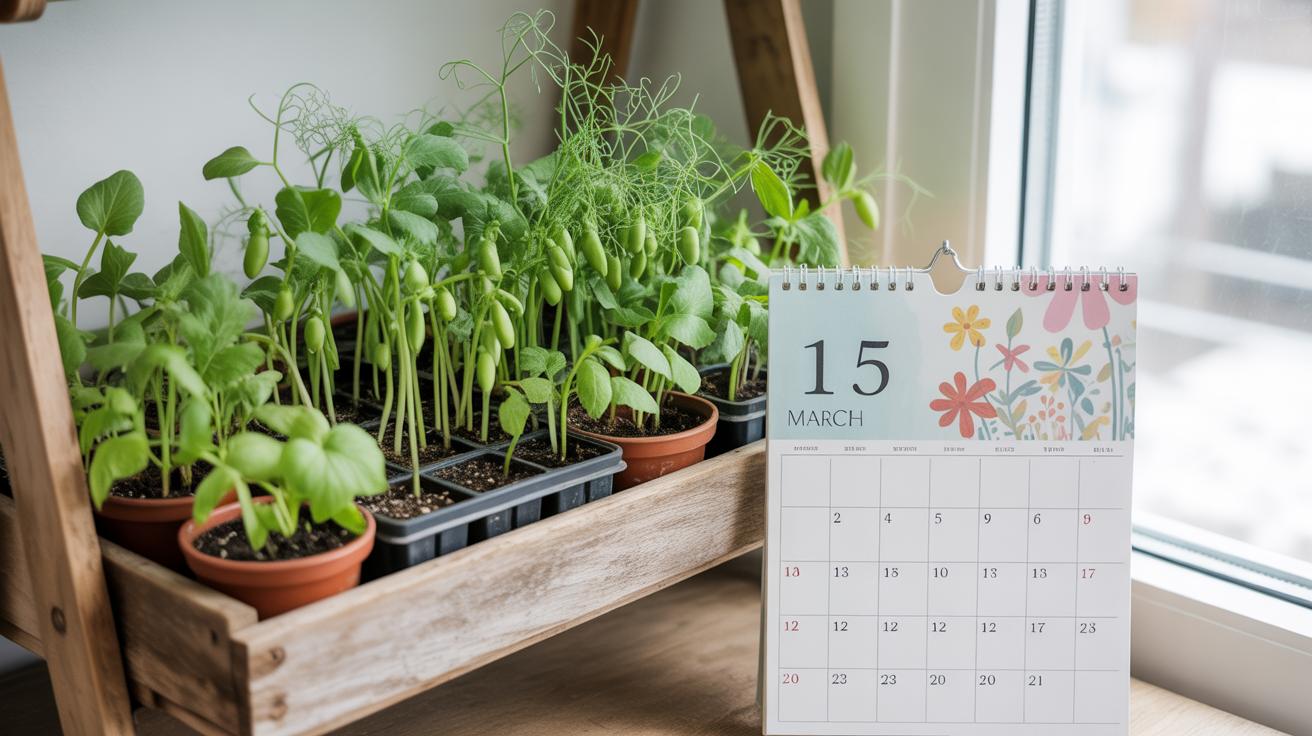
Signs Seedlings Are Ready to Transplant
How do you know your seedlings are really ready to leave the cozy space of your small greenhouse? Well, a few simple signs usually give it away. First, check if they have developed at least two to three true leaves. Those first cotyledons aren’t enough—they’re sort of like training wheels. Next, look for sturdy, thick stems that can support the plant outside. Tall and leggy seedlings? They probably need more time or better light.
Also, consider root development. If roots begin peeking out from drainage holes or the soil looks dense, that’s usually a green light. But growth alone isn’t everything. You want the weather to be somewhat stable—no surprise cold snaps. That’s a tricky balance to guess sometimes.
Steps to Harden Off Seedlings Before Planting Outside
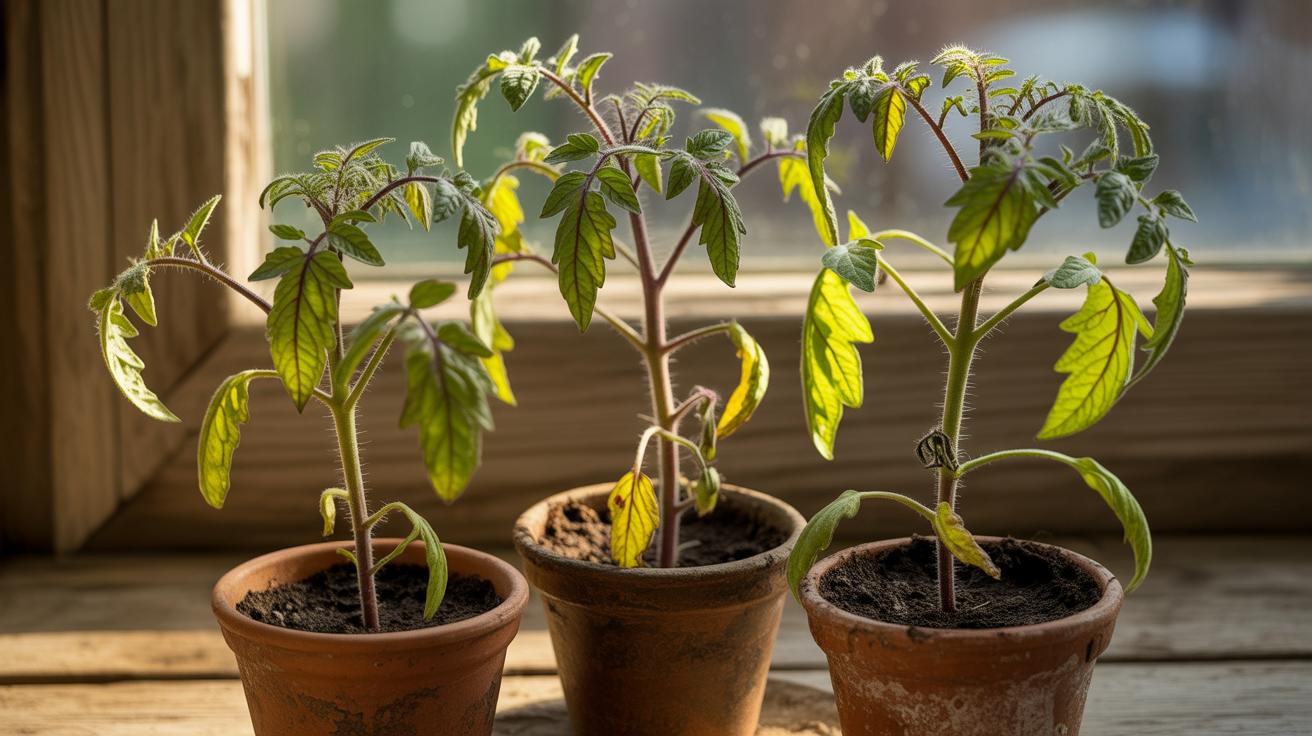
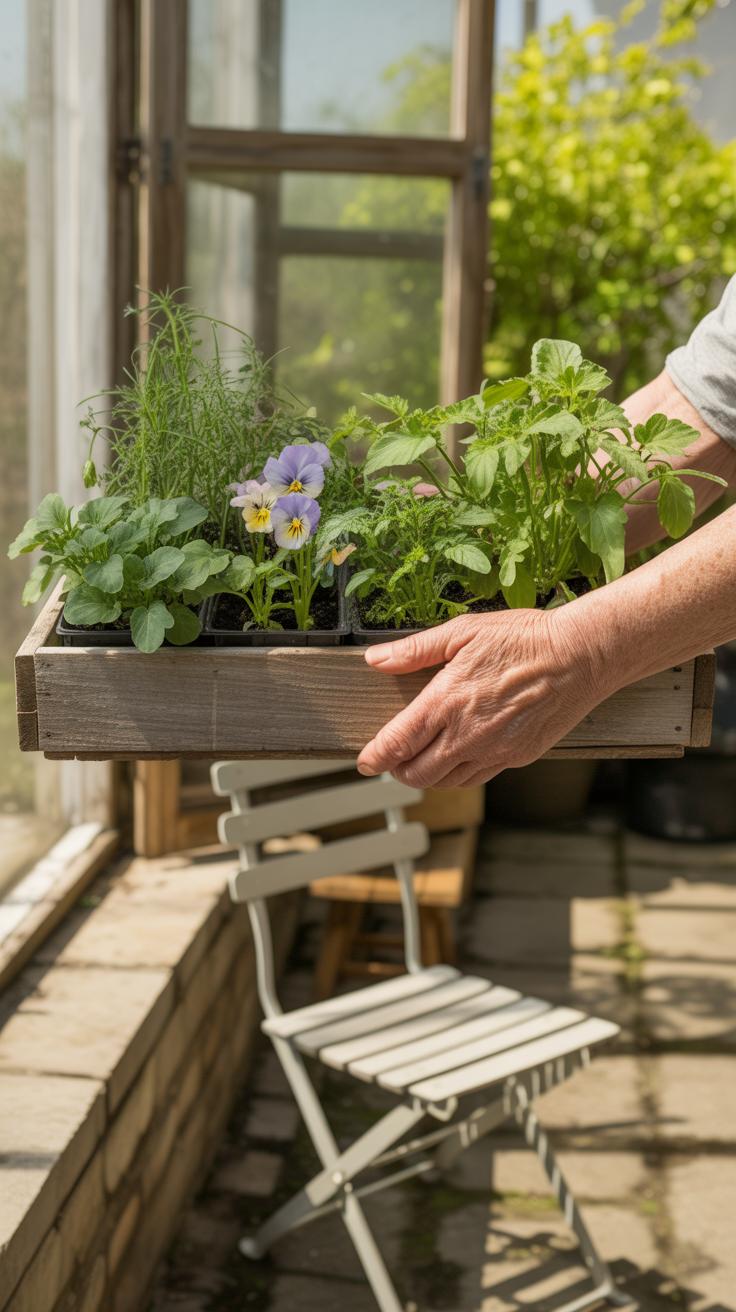
Hardening off sounds fancy but it’s really just toughening up your seedlings to face the outdoor world. Sudden exposure can shock or even kill young plants, so easing them into outside conditions helps. Start by placing your seedlings in a shaded, protected spot outdoors for a couple of hours the first day. Then, gradually increase sunlight and time spent outside over a week or so.
Bring them inside overnight at first, gradually leaving them outdoors longer. Watch for signs they’re struggling—wilting leaves or discoloration means back off a bit. Wind, direct sun, or cold drafts might be too much initially. It’s a slow process, perhaps more patience than many expect, but it pays off by building tough, resilient plants ready for your garden soil.
Troubleshooting Common Problems in Small Greenhouse Seed Starting
Small indoor greenhouses can get tricky. You want consistent warmth, but sometimes things don’t behave as expected. Mold, pests, and temperature shifts pop up more often than you’d like. Let’s break down what’s going wrong and how to fix it when it does.
Preventing Mold and Fungus Growth
Mold thrives when moisture lingers—too much humidity, poor air circulation, or overwatering are usually the culprits. If you notice that fuzzy white or gray stuff on your soil or seedlings, that’s mold creeping in. The first step is to stop overwatering; let the soil dry out a bit before adding more water. A small fan nearby helps air flow and dries excess moisture, which many forget to try. You might also want to remove the greenhouse cover periodically to reduce humidity, especially during warm days.
Sometimes, using a fungicide is tempting, but many gardeners find that increasing ventilation and watering carefully does the trick without chemicals. To prevent mold before it starts, choose your soil mix wisely—using a sterile seed-starting medium lowers the risk. Also, try sprinkling cinnamon lightly on the soil surface; it’s a natural antifungal that some swear by. It might sound odd, but a little experiment with cinnamon gave me much better results one season.
Dealing with Pests Indoors
Pests like aphids, fungus gnats, or spider mites often hitch a ride indoors. They show up in small greenhouses because the plants are closely packed and the environment is warm and moist. You’ll spot tiny bugs on leaves or notice webs and tiny larvae in the soil.
Instead of rushing for chemical sprays, consider natural solutions first. Introducing ladybugs or predatory mites can help if you have space. Small-scale indoors, though, call for gentle methods like neem oil sprays or insecticidal soap—spot treat rather than drench to avoid stressing seedlings. Sticky yellow traps catch gnats before they become a big problem, and always check new plants before bringing them inside.
Lastly, maintaining clean tools and wiping down the greenhouse surfaces helps keep pests away. Sometimes, you’ll feel like pests keep coming back despite your best efforts. That’s when patience and persistence count. Keep monitoring and adjusting conditions, because pests usually don’t just vanish overnight.
Conclusions
Using a small greenhouse indoors allows you to control the temperature and humidity for seed starting. This leads to stronger, healthier seedlings ready to grow in your garden. You can save money and time by giving your plants a stable warm start indoors.
By following these tips, you create an ideal environment for your seeds. Remember to monitor temperature, light, and moisture. Your efforts will pay off when you see your seedlings grow into beautiful plants. Start your small greenhouse today and watch your garden flourish.


