Introduction
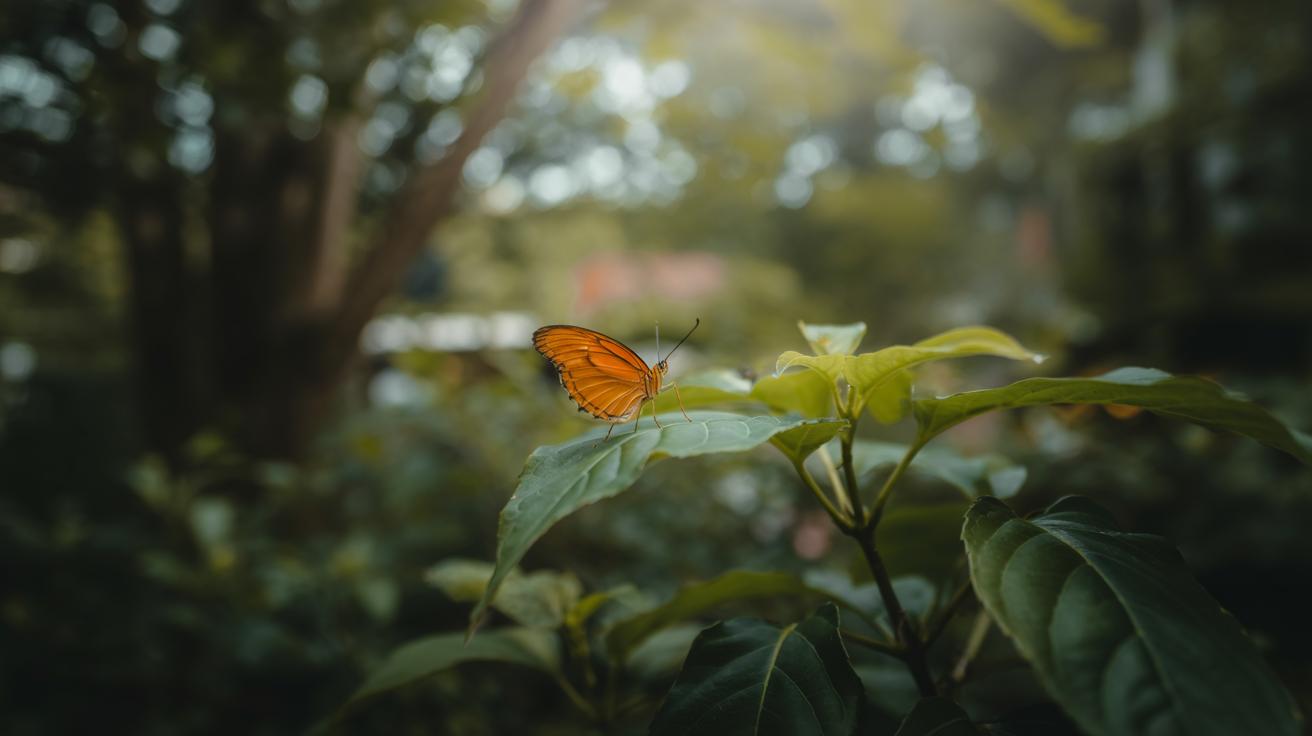
Butterflies fascinate many people with their graceful flight and colorful wings. Their lifecycle, from caterpillar to butterfly, offers a unique way to learn about nature. Crafting simple butterfly projects can bring this learning experience to life. Families can enjoy making these crafts together while exploring the beauty and biology of butterflies.
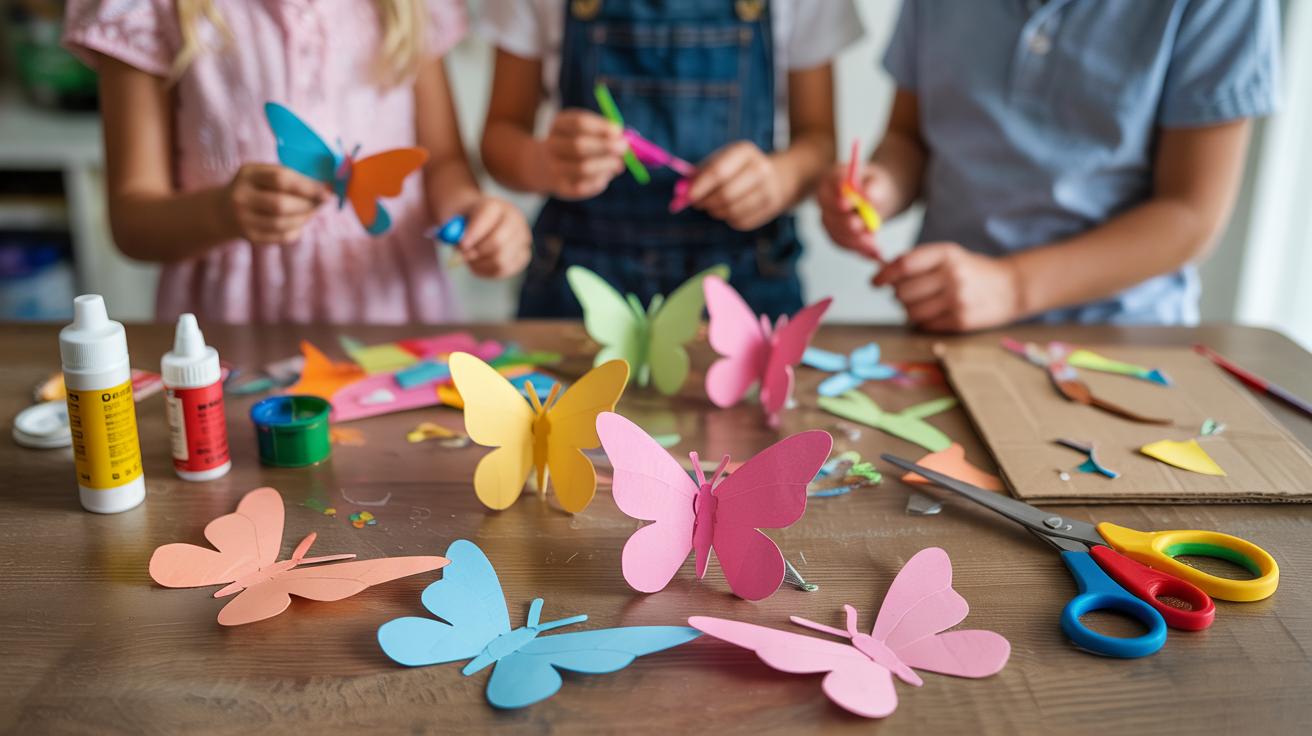
Butterfly crafts are easy to make with materials found around the house. You can use paper, fabric, and natural elements to create stunning designs. These activities encourage creativity, improve motor skills, and provide an opportunity to spend meaningful time with your family. Imagine the joy of crafting a butterfly that looks as real as the ones you spot outdoors.
Understanding Butterflies Basics
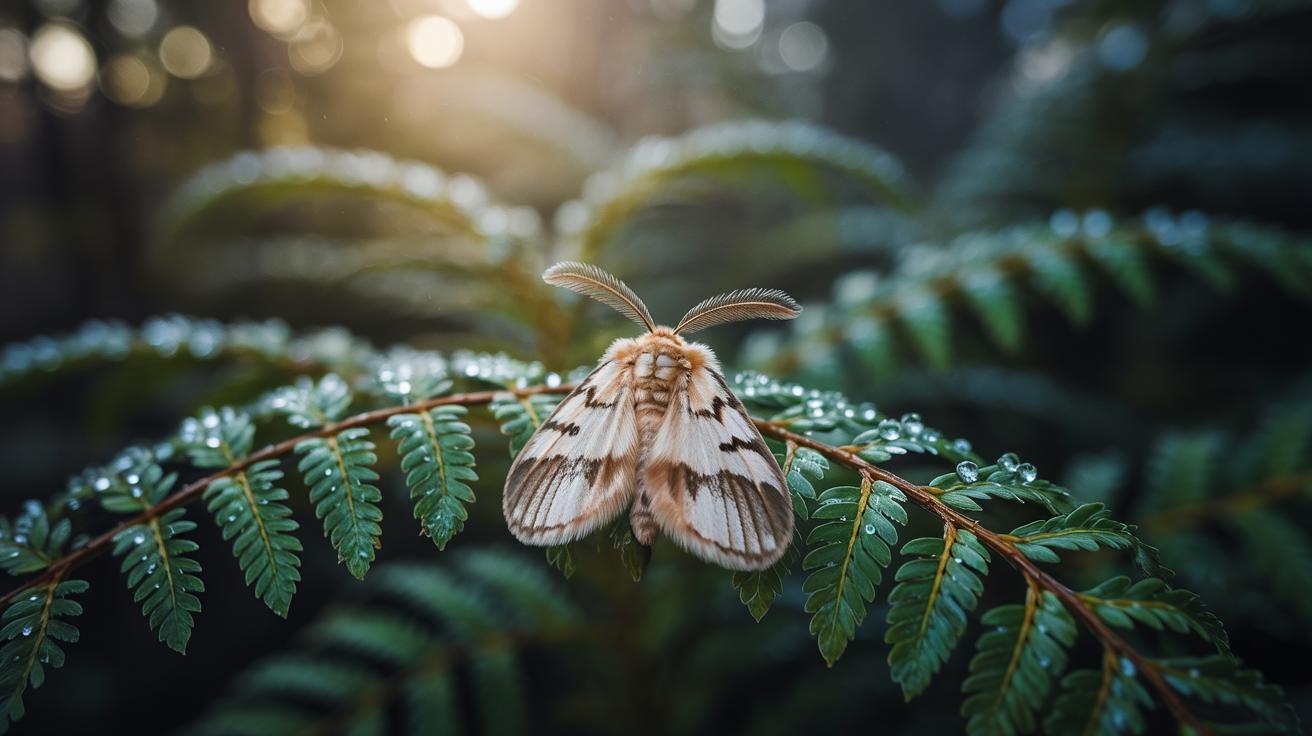
Butterflies are insects known for their colorful wings and delicate flight. They belong to the order Lepidoptera, which also includes moths. These creatures play important roles in gardens and ecosystems by helping with pollination. Watching butterflies can inspire creativity for art and craft projects in your family activities.
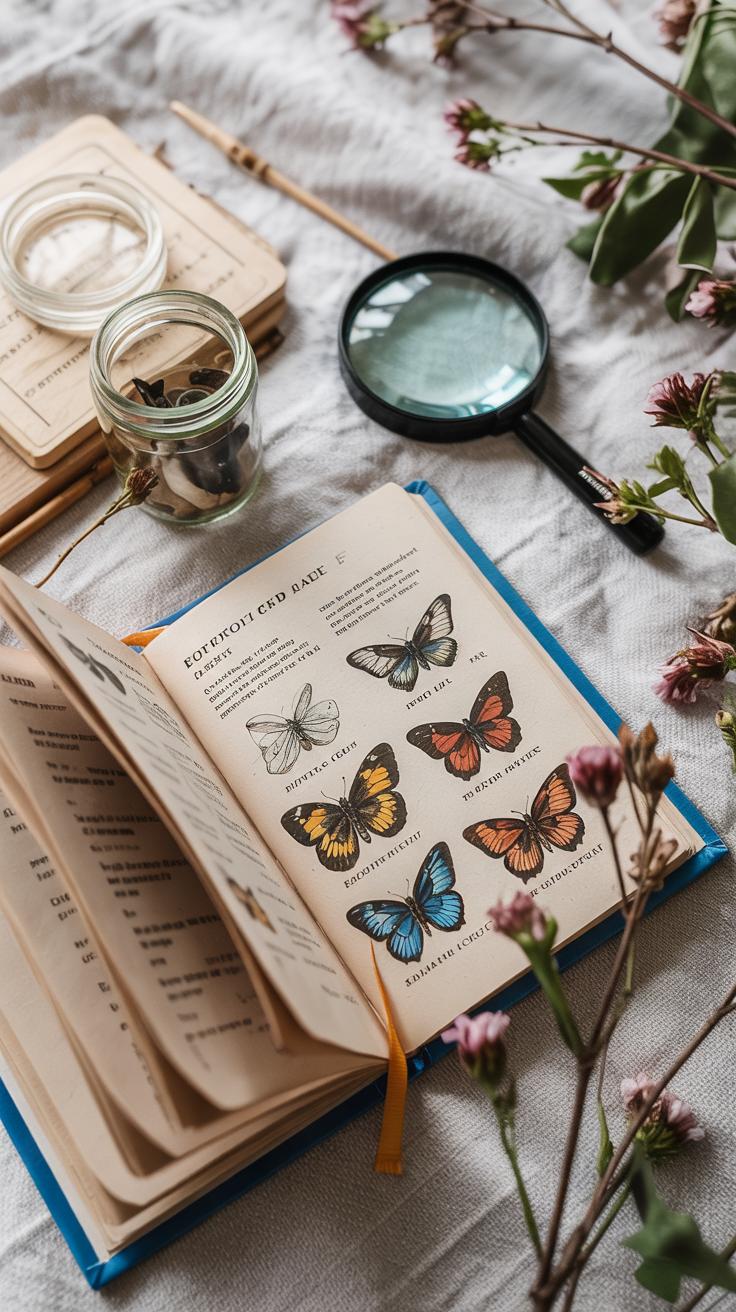
Before making butterfly crafts, understanding their life cycle and features helps you create more realistic designs. You might notice unique shapes and patterns on butterfly wings that can influence your craft choices. Knowing how butterflies transform also adds an educational element to your fun projects. Have you ever seen a butterfly up close? Think about the details that caught your attention and how you could replicate them in your craft.
Butterfly Life Cycle
The life of a butterfly has four main stages. It starts as an egg. The egg hatches into a caterpillar, which is also called a larva. This caterpillar spends most of its time eating leaves to grow.
Once fully grown, the caterpillar becomes a chrysalis or pupa. Inside this stage, it changes completely. Finally, an adult butterfly emerges from the chrysalis. This butterfly will soon fly away and continue the cycle by laying eggs.
Each stage looks very different. When you make butterfly crafts, think about how you can represent these changes. Maybe you can create crafts that show all four stages. What materials could you use to show the transformation from caterpillar to butterfly?
Features of Butterflies
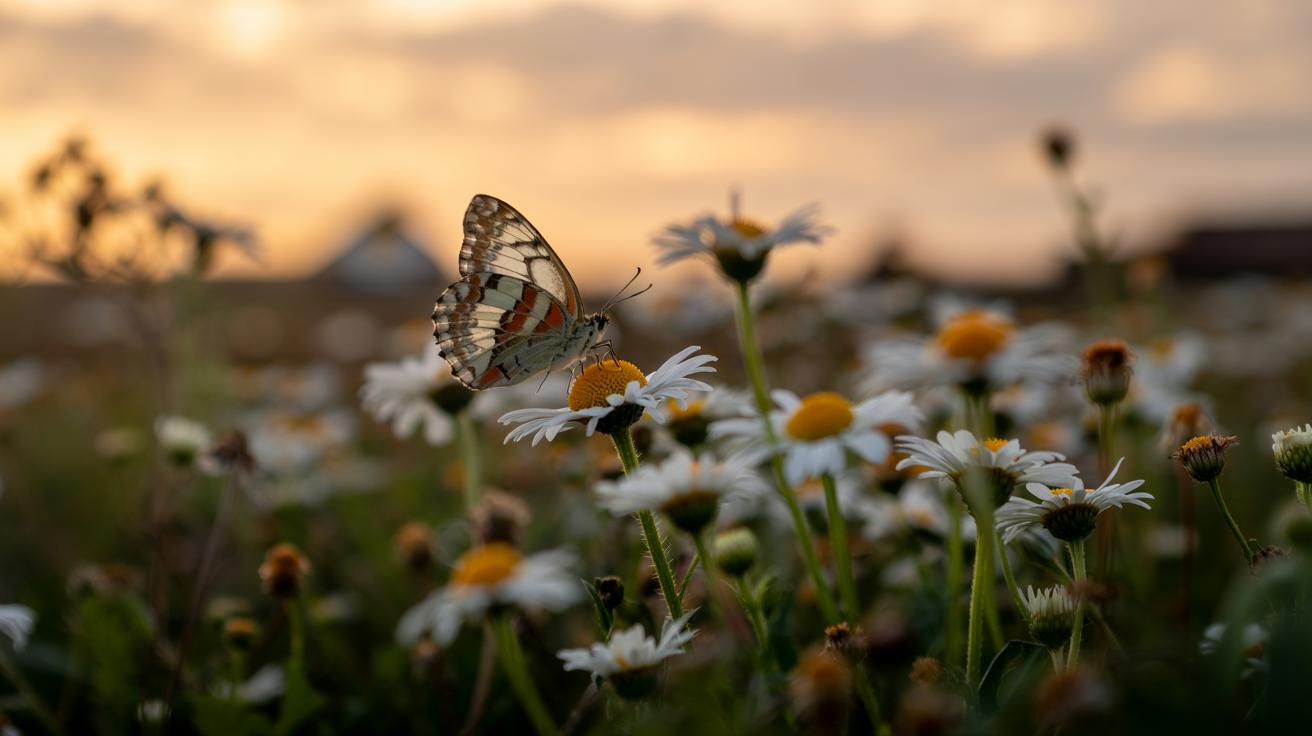
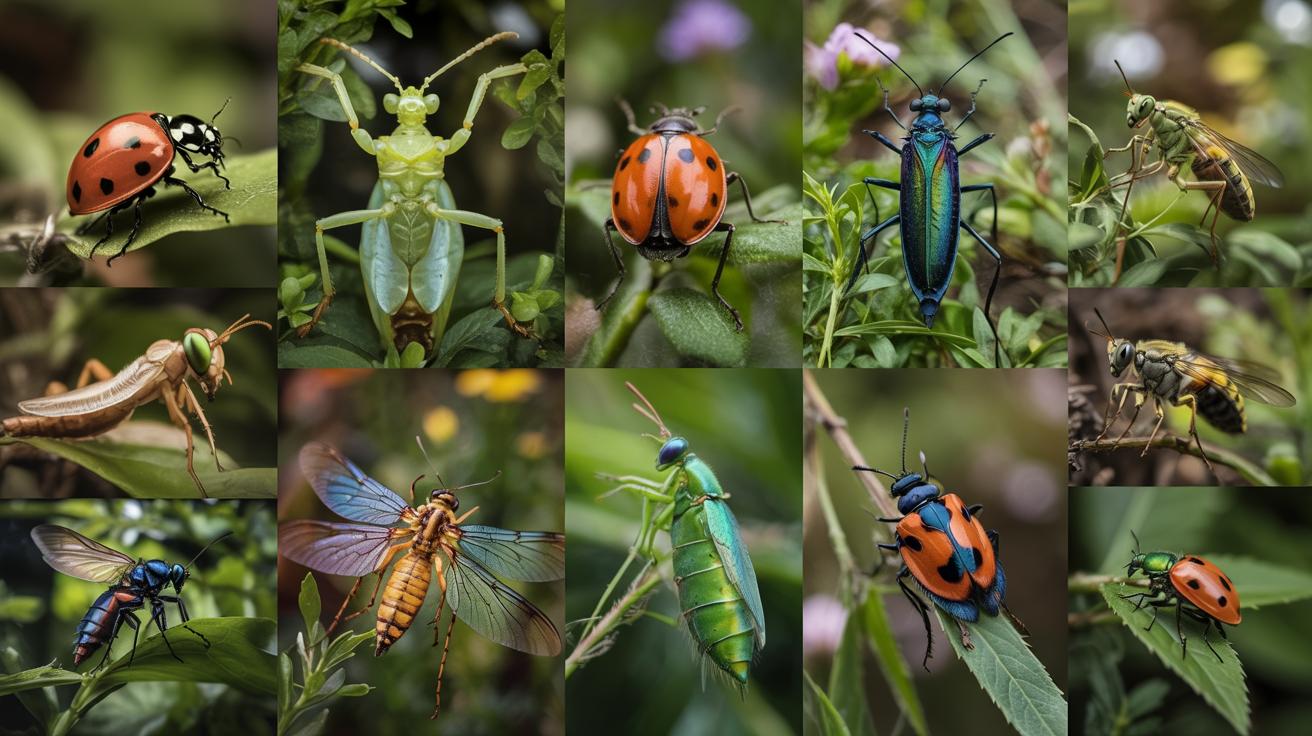
Butterflies have wings covered in tiny scales that create colors and patterns. These patterns help butterflies blend in with their surroundings or warn predators. Their colors range from bright reds and yellows to soft blues and browns. You can use these colors for your crafts to make them lively.
Butterflies fly using their wings in a fluttering motion. Their flight helps them move from flower to flower, spreading pollen. Their senses guide them to food and mates. When crafting, focus on wing shape and color. How can you use paper or fabric to show the patterns? What about using paint or markers?
Understanding these features allows you to appreciate butterflies more and make crafts that show their beauty and role in nature. What do you find most interesting about butterfly wings or their flight? Try to capture this in your crafts to make them unique.
Materials For Simple Butterfly Crafts


You can find everything needed for butterfly crafts right in your home. Using common household items keeps projects easy and safe for everyone, especially kids. Your choice of materials can shape the look and feel of each butterfly you create. What objects around you might transform into colorful wings or delicate antennae?
Starting with the basics saves time and stress. Paper is a must-have; construction paper, printer paper, or even scrap paper all work well. Scissors allow precise cutting of wing shapes, while glue holds pieces together firmly. Markers help to add vibrant colors or detailed patterns. Pipe cleaners bend easily and make perfect butterfly antennae. Tape adds extra support when needed during assembly. These simple tools open the door to endless creativity for your family activities.
Basic Craft Supplies
You already have most of the basic items needed in your craft drawer or school supplies. Paper lets you fold, cut, and decorate the butterfly wings. Scissors should be safe for children, with blunt tips if necessary. Glue sticks or liquid glue work differently but both keep pieces attached well. Markers and crayons give you control over colors and patterns. Pipe cleaners add texture and shape easily, creating antennae that can twist and curl. Tape holds elements temporarily or reinforces weaker spots. Do you have these basics ready? Using what’s on hand will get your family crafting quickly.
Natural Materials
Adding natural elements brings texture and a fresh look to your butterfly crafts. Find dry leaves with interesting shapes or colors to use as wings. Small flowers can decorate the body or wings for extra effect. Twigs or small sticks act as sturdy butterfly bodies or antennae. Recycled materials like old newspapers, cardboard, or fabric scraps give new life to what might otherwise be thrown away. Including natural supplies connects kids to the outdoors and teaches them about reusing materials. What can you gather from your yard or neighborhood to make your butterfly unique?
Creating Paper Butterflies
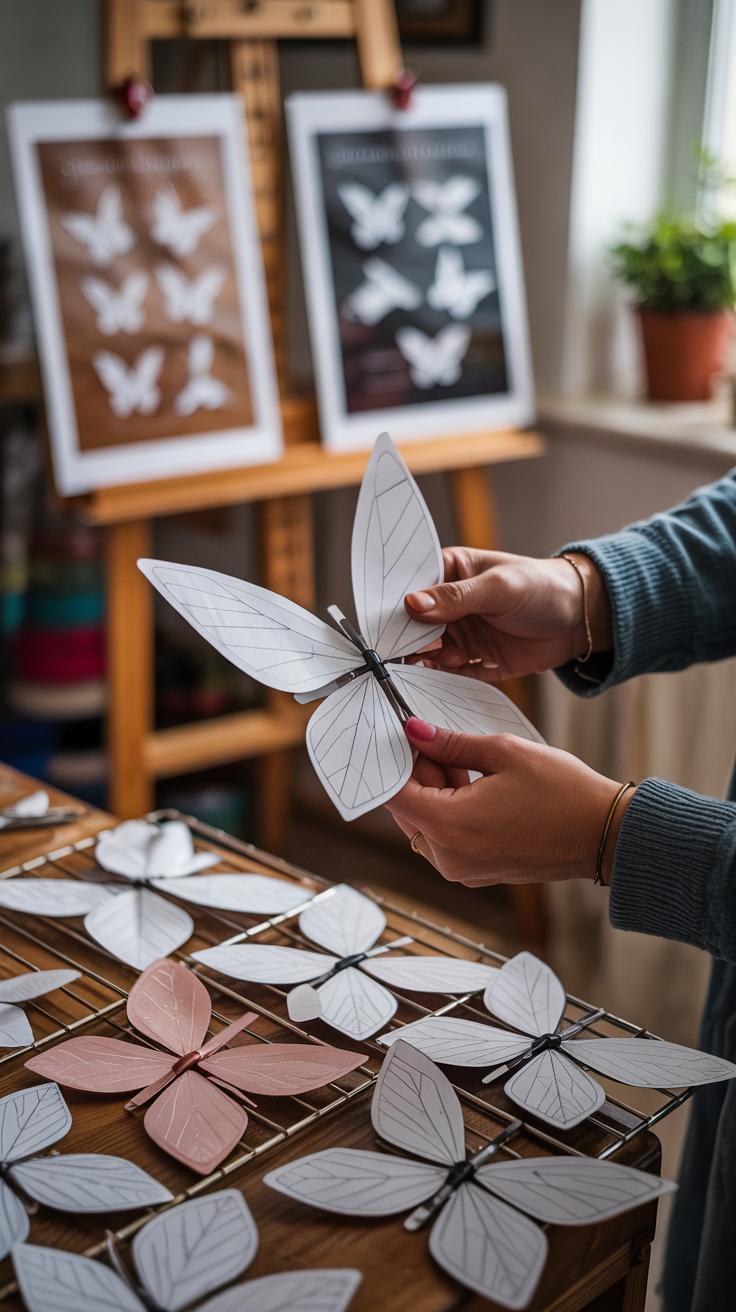
Start with a square piece of paper to keep folding easy for children. Fold the paper in half diagonally, then unfold it. Fold both top corners to the center crease to make a kite shape. Next, flip the paper over and fold the bottom point up to meet the top edge. This forms the butterfly’s body with wings on each side. Secure the center with a small piece of tape or a paper clip to hold the butterfly together. You can gently pull the folded corners outward to give the wings a fuller shape. This simple folding method creates a quick butterfly shape that is easy for kids to follow and finish in minutes.
Encourage kids to experiment with different paper sizes or even patterned paper to see how the butterfly changes. Would the butterfly fly differently if the wings were bigger or smaller? Try folding several butterflies and compare their sizes and shapes. Your family can create a whole swarm of colorful butterflies perfect for decorating any room or sharing with friends.
Folding Techniques
Begin by folding the paper in half vertically to create a central crease. This crease acts as the butterfly’s body and helps guide symmetrical wing folds. Fold each side toward the center crease to form the wings. You want the wings to be evenly sized on both sides, so measure or line them up carefully. After folding, slightly adjust the wings by bending or curving the paper at the edges to give them a natural look instead of flat shapes.
Try folding the wings multiple times to create patterns like pleats or ridges. This gives more texture and allows the butterflies to stand out visually. The key is to keep folds crisp and firm but gentle enough so the paper doesn’t tear. Visualize the wing shape with each fold to help kids understand how simple movements create complex looks. What happens if you fold the wings wider or narrower? Testing these options makes the craft more fun and interactive.
Decorating Tips
Use crayons, markers, or colored pencils to add vibrant designs on your butterfly wings. Encourage children to draw symmetrical patterns on both wings, like dots, stripes, or hearts. You can also add glitter glue along the edges or use stickers to create spots or antenna shapes. If you have access to small craft materials, attach tiny pom-poms or sequins to the body to add texture and sparkle.
Try mixing colors by shading the wings from dark to light tones for a gradient effect. Painting the paper before folding produces interesting patterns once unfolded. Could you create a butterfly with only warm colors? Or try cool colors and see which you prefer. Setting time to decorate allows kids to express their creativity and learn about symmetry and color use while making a craft that brightens any space.
Using Recycled Materials In Butterfly Crafts
Benefits Of Recycling
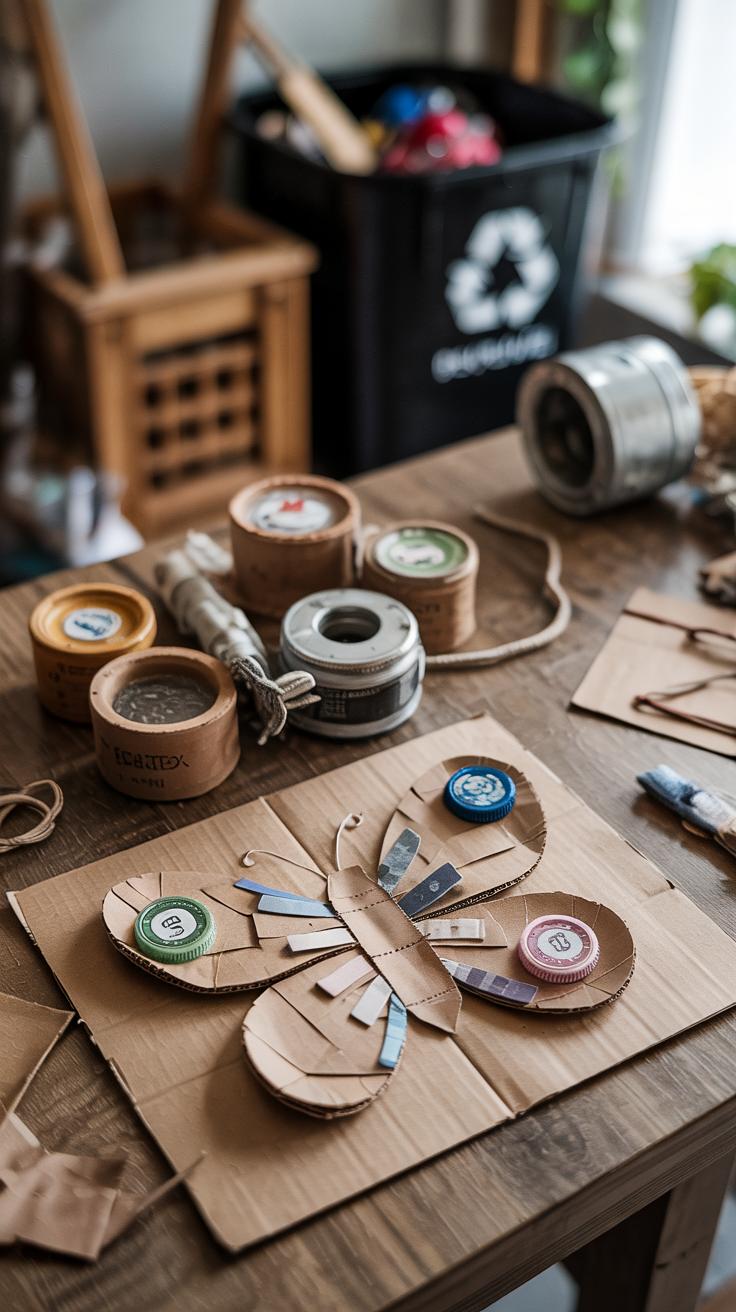
Recycling materials for butterfly crafts helps reduce waste sent to landfills. Using items like egg cartons or bottle caps gives these materials a new purpose instead of throwing them away. This reduces pollution and conserves resources.
Creating with recycled objects encourages you and your family to think creatively. It challenges you to see ordinary trash as fun art supplies. You develop problem-solving skills by figuring out how to shape or decorate unusual items.
Working with recycled items can teach kids about the environment. It shows them how small actions, like reusing old objects, can help protect the planet. What kinds of materials do you already have at home that could spark a craft project?
Project Examples
Turn an egg carton into a butterfly by cutting out one cup as a body. Paint it bright colors. Use pipe cleaners for antennae and glue small paper wings on each side.
You can make butterflies from bottle caps by painting the caps in vibrant colors. Glue two caps together side by side for the wings and attach a small stick or paper strip as the body underneath.
Try using scrap cardboard for wings. Cut wing shapes out and decorate them with markers, glitter, or stickers. Attach the wings to a clothespin body. This creates a simple clip-on butterfly.
How can you combine different recycled items to build your own unique butterfly model? Experiment with what you find around your home and share your creations with family members during craft time.
Butterfly Crafts For Outdoor Learning
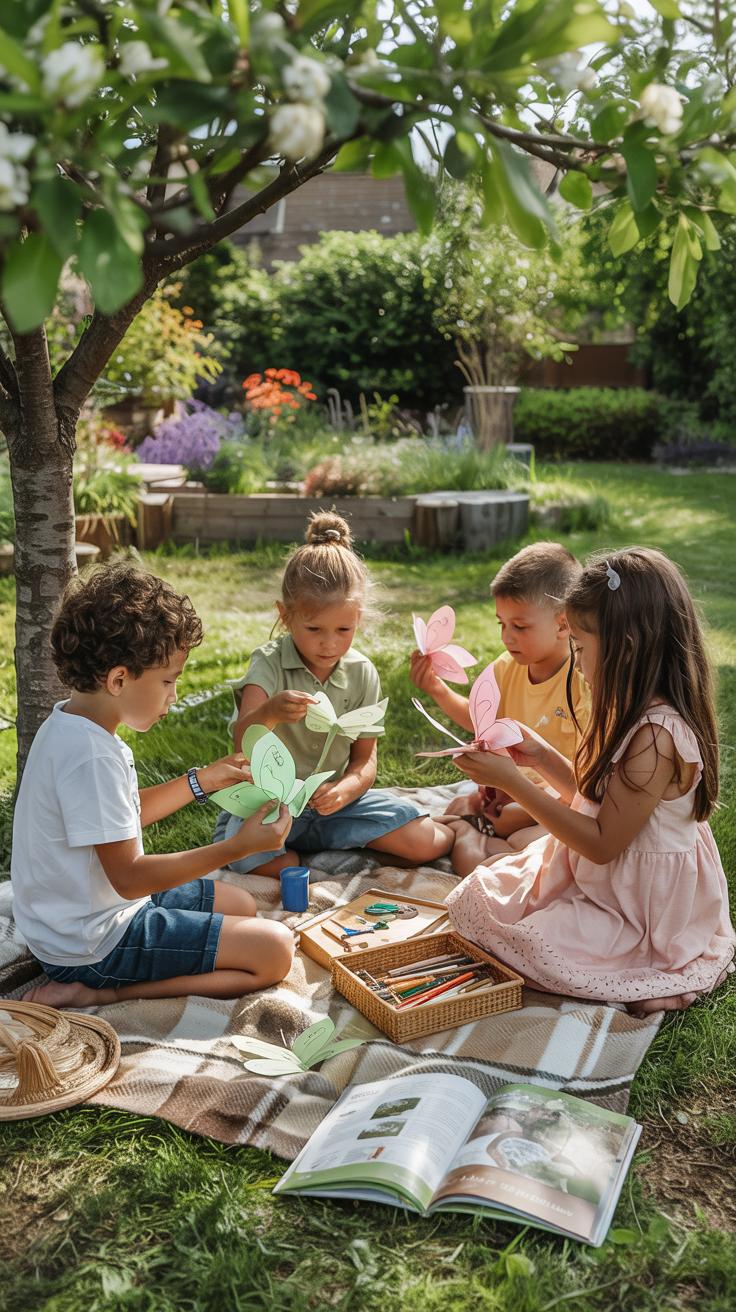
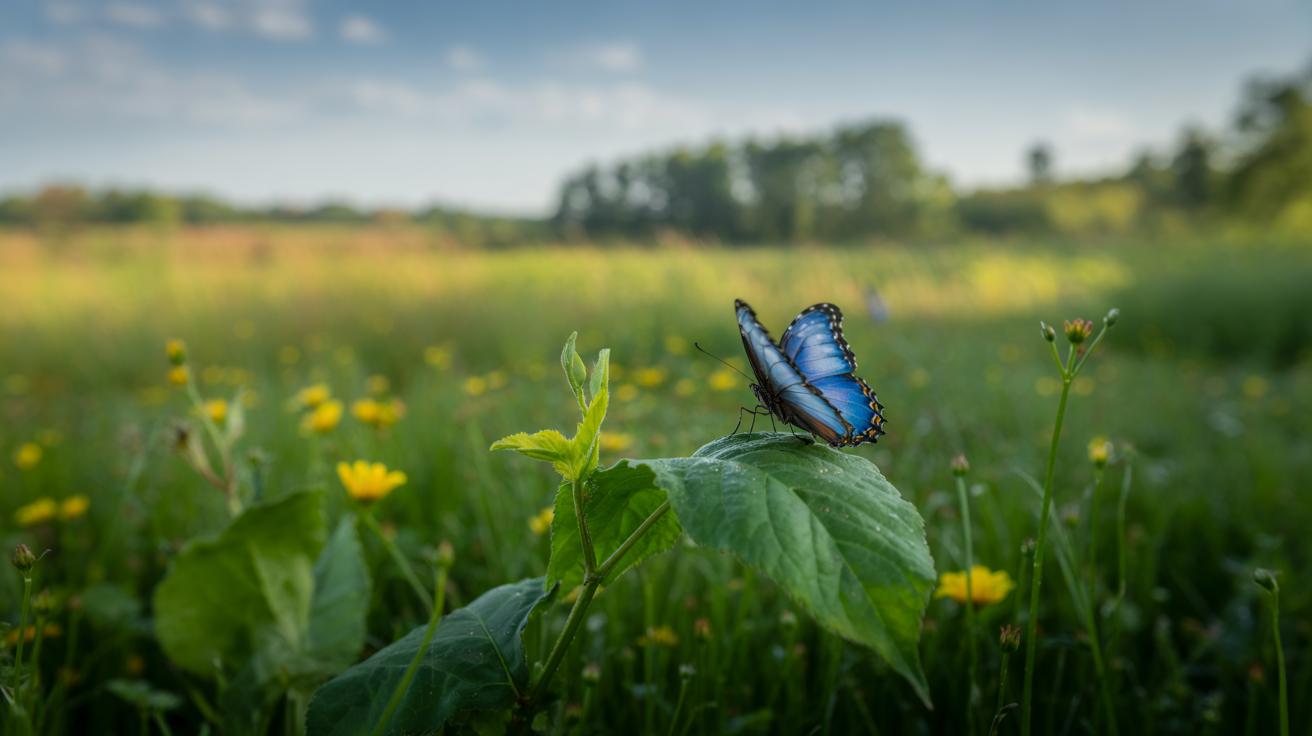
Creating butterfly crafts during outdoor family activities connects children directly to nature and learning. Taking crafting outside turns the backyard, garden, or park into a lively classroom. You and your family can collect leaves, flowers, or twigs to add natural textures to your butterfly art. This hands-on approach helps kids understand the environment by linking their creations with what they see around them.
Crafting outdoors also invites curiosity. You might ask, “How do real butterflies use their wings?” or “What colors do you spot on a butterfly here?” These questions encourage observation and deepen engagement. Making crafts in fresh air invites conversations about the local ecosystem and the insects that live there. This method keeps everyone active and focused while blending creativity with real-world learning.
Exploring Nature
Take time to watch real butterflies before starting your craft. Visiting gardens or parks allows your family to notice different shapes, patterns, and behaviors of butterflies. Ask your children to describe what they see: How do the wings move? Where do the butterflies land? What kinds of plants do they prefer?
Noticing these details makes butterfly crafts more meaningful. You can even take photos or sketches to use as references while crafting. This practice sharpens observation skills and encourages respect for living creatures. Have you ever counted how many different butterflies appear in your neighborhood? Turning this into a game can make the experience both fun and educational.
Crafts As Educational Tools
Butterfly crafts offer a chance to teach about life cycles, habitats, and environmental care. While making a paper or cloth butterfly, you can explain the stages from caterpillar to butterfly. This can lead to discussions about growth and change in nature that children witness firsthand.
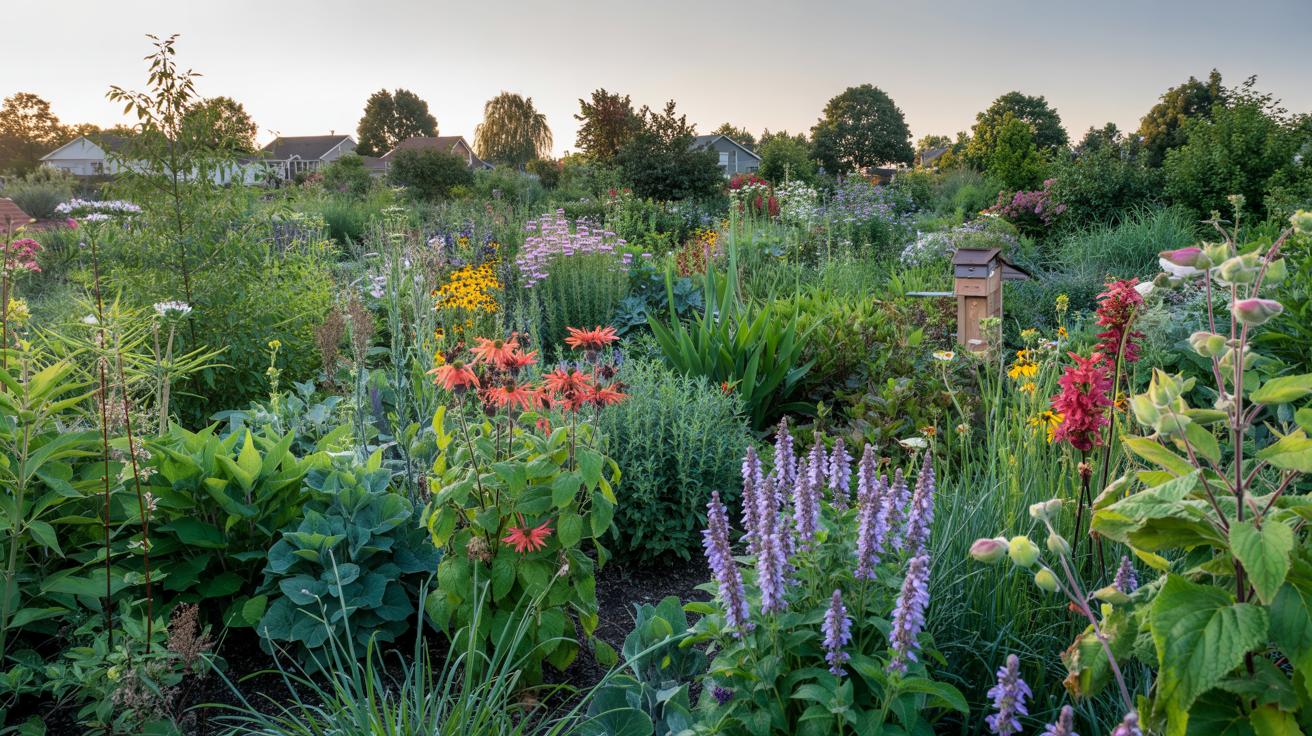
The craft also helps when talking about different habitats where butterflies thrive and why protecting these spaces matters. Creating a garden with butterfly-friendly plants can complement the activity. What happens if we lose these habitats? Craft projects like these help children see the bigger picture of conservation and the role they can play in protecting the environment.
Involving Children In Butterfly Crafts
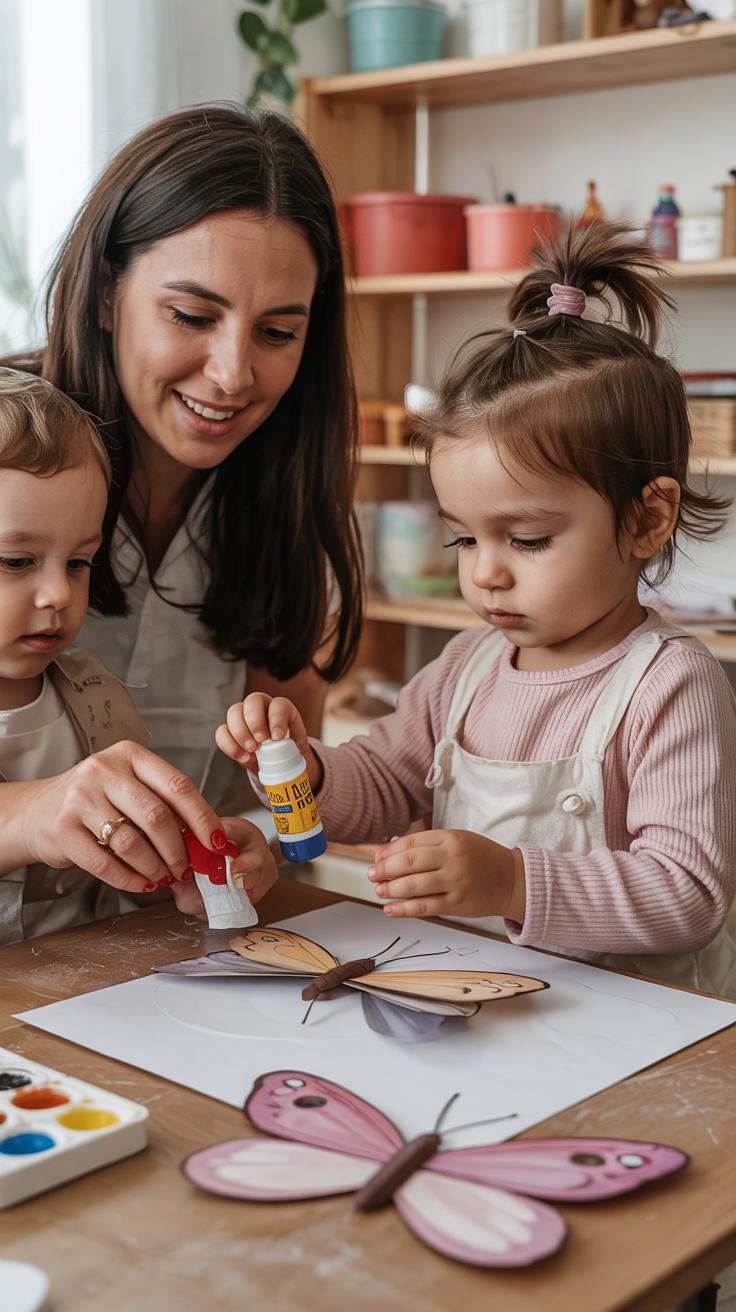
Getting children involved in butterfly crafts means balancing fun and safety. You can give toddlers simple tools like large crayons or washable markers to color paper butterflies. Encourage older kids to use scissors and glue but supervise closely to avoid accidents. Setting up a dedicated crafting space helps keep things organized and safe.
Break down the craft into easy steps. For younger children, assign tasks like decorating wings, while older children can cut shapes or assemble parts. Ask your children questions during crafting like, “What colors do you want on your butterfly?” or “How should we arrange the wings?” This keeps them thinking and engaged.
Make it a shared activity. Show enthusiasm and join in with your child’s ideas. This creates a positive experience and builds fine motor skills along the way. What skills can your child develop through this simple task today?
Adapting Projects For Ages
Adjust the complexity to fit different age groups. For young kids, use bigger shapes and safe materials like felt or foam that don’t require sharp tools. Older children can work on paper butterflies with detailed patterns or try folding techniques like origami.
You can create different challenges. For younger kids, focus on coloring and assembling. With older children, introduce design planning or combining various textures. This keeps kids interested without overwhelming them.

Watching your child’s skills grow is rewarding. How can you tweak this craft so every member of your family feels successful? Tailoring the steps allows each child to enjoy the project at their own pace, providing a sense of accomplishment.
Encouraging Creativity
Give children freedom to choose colors, shapes, and materials instead of sticking to a fixed butterfly template. Let them mix colors or add glitter, stickers, or even natural items like leaves. This sparks imagination and personal connection to their creation.
Ask open questions like, “What would your butterfly look like if it lived in your favorite place?” or “Can you invent new wing patterns?” These inspire kids to think beyond what they see.
Avoid correcting or limiting their choices. Supporting uniqueness builds confidence and creativity. How will your child’s butterfly reflect their personality today? This approach turns crafting into a chance for joyful expression, not just following instructions.
Advanced Butterfly Craft Ideas
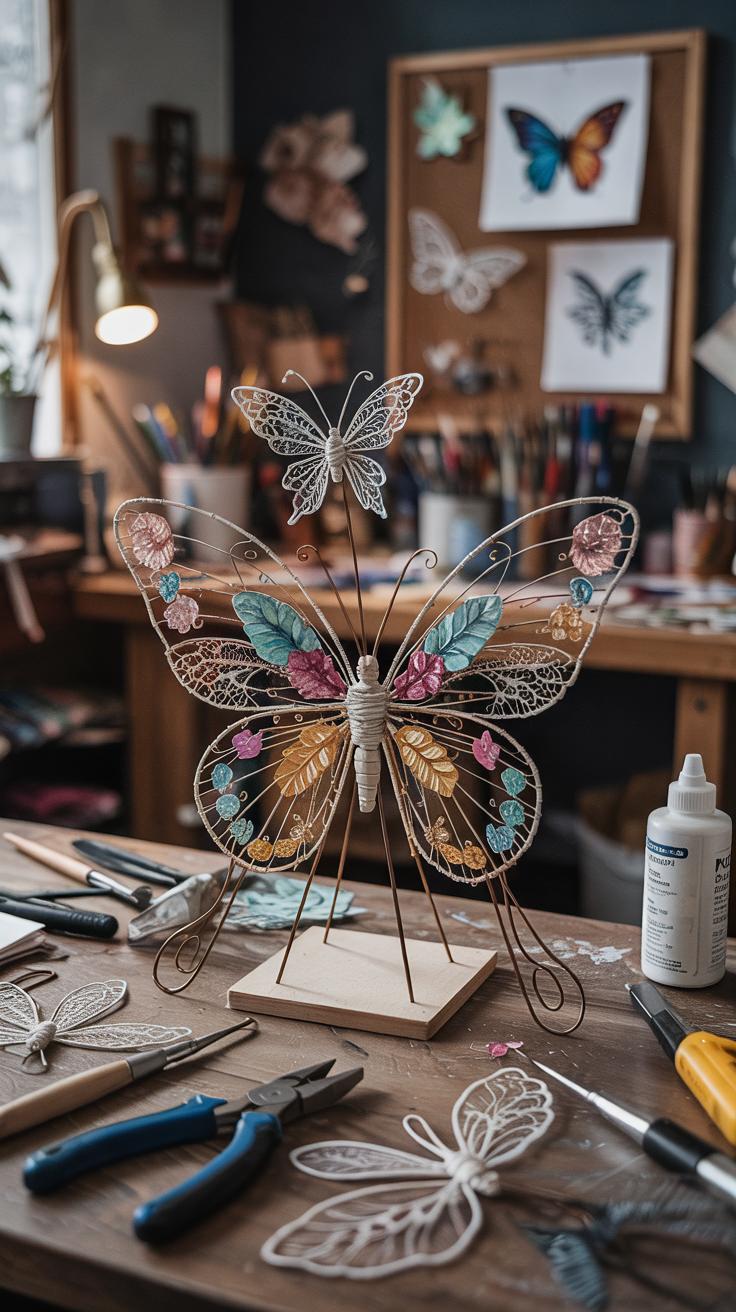
Mixed Media Techniques
Try using different materials to make butterflies that stand out. Begin with a paper base for your butterfly’s shape. Add fabric pieces like scraps of felt or cotton for wings. The texture these fabrics bring makes your butterfly feel more real. You can glue small pieces or sew them on if you want to practice simple stitching. Use paint to add details or blend colors together on fabric and paper. Paint strokes can create patterns on wings that glow with depth.
Layering paper, fabric, and paint builds texture. This method turns a flat craft into a tactile experience. Can you imagine how different it feels to touch a butterfly with soft fabric wings versus plain paper? Try mixing thin lace or netting for a delicate look or thick felt for a bold feel. This lets you explore how various surfaces work together in one project.
3D Models
Create butterflies that pop out from the page using folding and cutting techniques. A simple pop-up butterfly uses folded paper wings that stand up when the card opens. Your family can personalize the wings with markers or glitter to add flair. Pop-ups give crafts movement and surprise when you open them.
Another idea is to build hanging mobiles with several paper or lightweight plastic butterflies. Attach them to a hoop or branch using thread or thin wire. Hanging mobiles add a playful touch to any room and invite gentle movement from air currents. Think about where you want to place your mobile so the butterflies can spin freely. What shapes and colors will you combine to catch the eye? This project offers a challenge in balancing and assembling parts to create a floating display.
Displaying Your Butterfly Crafts
Home Decoration
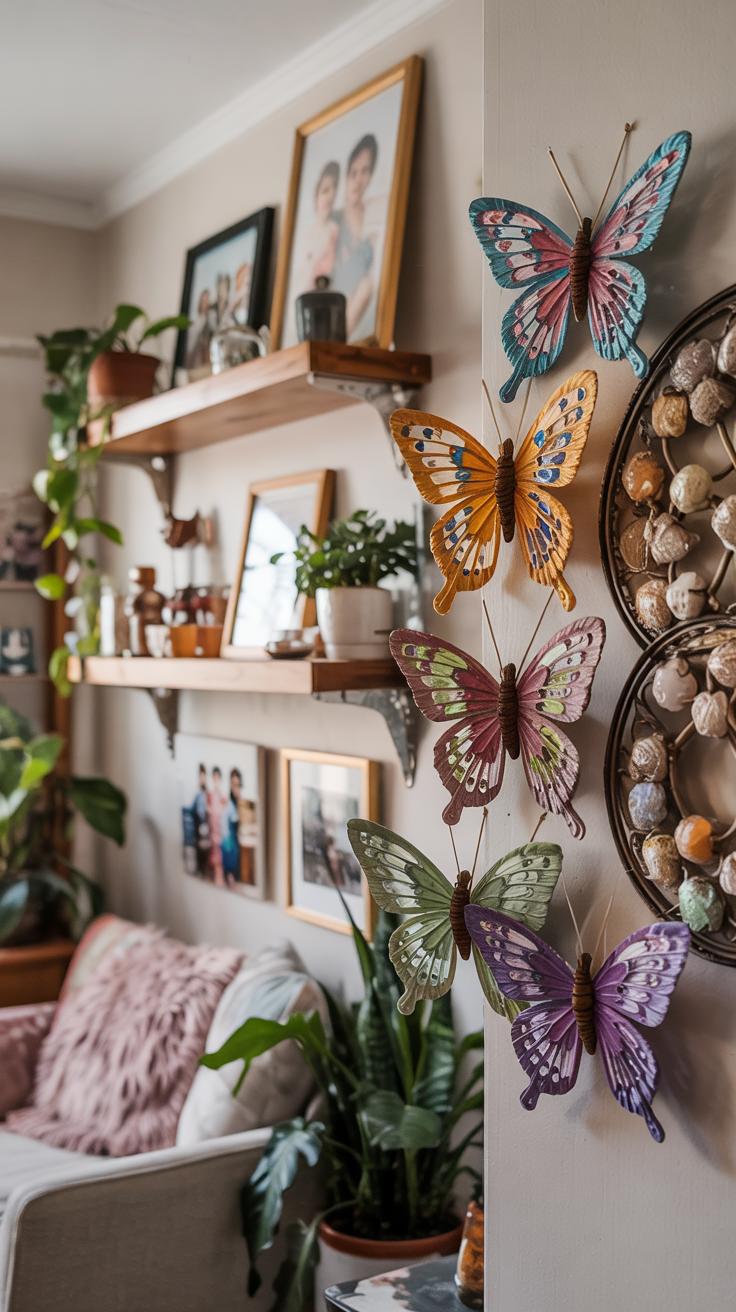
Framing paper butterflies gives your craft a special place in the home. Choose simple frames to match your room’s style and arrange butterflies in patterns or groups. You can create a gallery wall where each family member’s work is displayed side by side. This encourages pride and showcases progress over time.
Using colorful butterfly crafts to decorate windows also brightens any space. Tape or stick them to glass surfaces where sunlight can bring out their colors. You might create a fluttering effect by varying sizes and shapes across the window pane. Walls offer another option: arrange butterflies in a large circle or trail that moves around corners. This adds life and color without taking up floor space.
Have you thought about how your spaces can reflect your family’s creativity? Displaying these crafts turns your home into a living art gallery that everyone can enjoy daily.
Sharing With Others
Invite friends or neighbors to a family craft show at home. Set up a small display table or wall where everyone’s butterfly creations are easy to see. This can spark conversations and encourage social bonding. Children love explaining their process and favorite parts of the craft. It also gives family members a chance to celebrate each other’s efforts outside the home.
Sharing photos of your butterfly crafts online connects you with a wider community. Post pictures on family blogs or private group pages to reach relatives who live far away. This helps keep them involved in your family’s activities. Plus, online sharing can spark ideas for new projects from friends or others with similar interests.
What would it feel like to present your crafts beyond your family circle? Opening up this creative space can deepen connections and bring new energy to your family projects.
Benefits Of Butterfly Crafts For Families
Butterfly crafts offer many benefits for families that go beyond just making something pretty. They help children and adults learn about the life cycle of butterflies, colors, and patterns through hands-on experience. This turns abstract science into a real, understandable activity for everyone.
Working on crafts together encourages family members to talk and share ideas, which improves communication. As you create, you build trust and feel closer to each other. The simple act of crafting lets you enjoy time together without distractions.
These activities also support emotional growth. Crafting can reduce stress and provide a sense of achievement when a project is completed. It invites patience and focus, helping family members feel calm and proud. What memories will you create when your family works on butterfly crafts side by side?
Learning Through Fun
Crafting transforms learning about butterflies into a hands-on experience. Instead of just reading or watching videos, you and your family can cut, color, and assemble. This active involvement makes facts stick better.
When children build a butterfly model or decorate wings, they observe details like shapes and colors. They ask questions like why butterflies have patterns or how they fly. This curiosity makes nature interesting and real.
How could you use crafting to make other animals or plants easier to understand? Try connecting your crafts to nature walks, watching butterflies in your yard, and then recreating them at home for deeper learning.
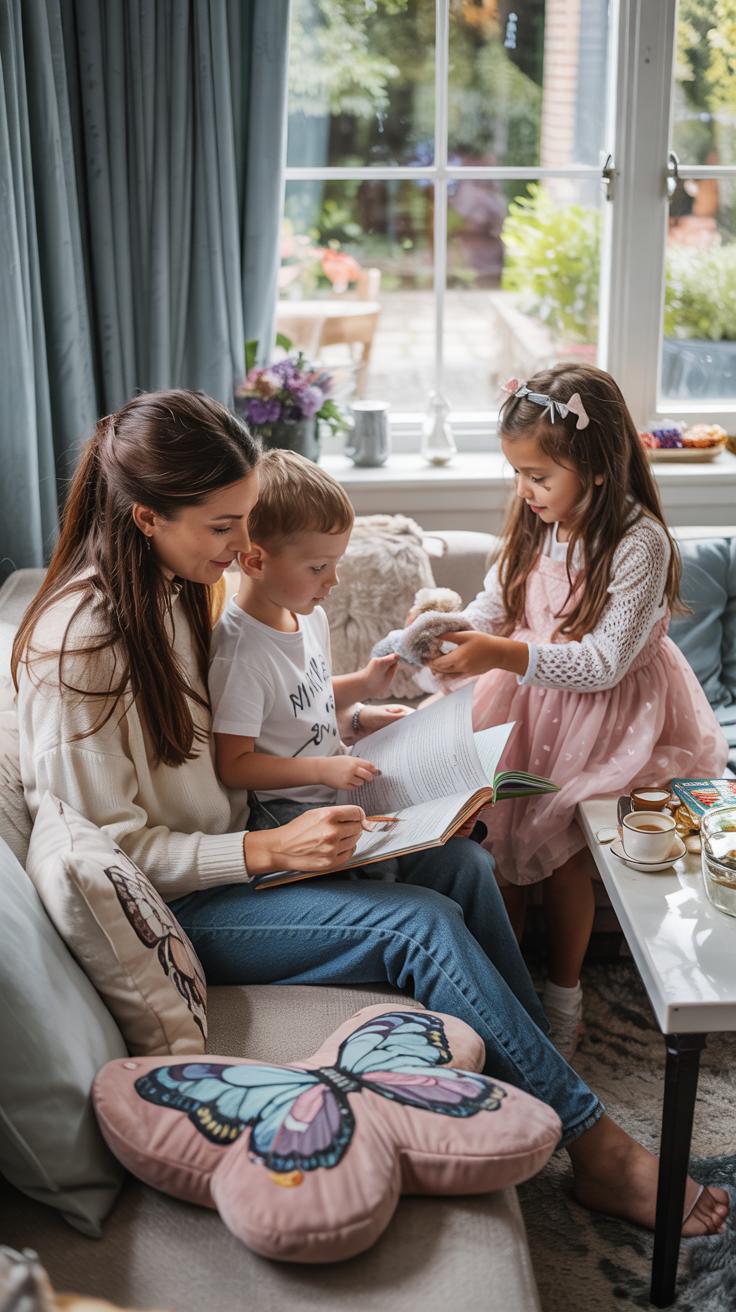
Strengthening Family Bonds
Creating butterfly crafts together sets the stage for quality time. When you all focus on a project, you share ideas, solve problems, and celebrate small successes. These moments create stronger connections between family members.
Conversation flows naturally while choosing colors or figuring how to fold wings. Everyone feels involved and valued. This shared purpose encourages teamwork and builds positive memories that last beyond the craft session.
What stories or memories will your family recall from your crafting days years later? Could these moments help your family work better through challenges by reminding you of how you created together?
Conclusions
Making butterfly crafts offers more than just a creative outlet. It helps you connect with nature and find fun ways to learn about insects in your backyard. These crafts are accessible and enjoyable for all ages, making family time more special. Children often remember lessons learned through hands-on activities like these, which adds lasting value.
The variety of butterfly crafts means you can find one that fits your family’s preferences and skill levels. Whether you like simple paper butterflies or more advanced models, you can make projects that foster teamwork and imagination. Why not start crafting today and see how much fun and education combined can bring to your family?


