Introduction
Beautiful reclaimed wood projects can add warmth and unique character to your home’s decor. Using wood that has been rescued from old barns, factories, or warehouses gives your space a story. Reclaimed wood is strong, durable, and visually interesting because of its history and unique grain patterns.
In this article, you will discover different ways to use reclaimed wood in your home. From simple DIY projects to detailed guides, you will learn how to create cozy and stylish wood pieces. Explore ideas and handy tips that will help you bring out the beauty of reclaimed wood in your projects.
Reclaimed Wood Projects
When you first start looking at reclaimed wood projects, you might be surprised by how many ways this material can be used around your home. From furniture to accent walls, nearly every element of a room can gain a unique touch through reclaimed wood. It feels like you’re giving old materials a new life—almost like the wood itself carries stories with it.
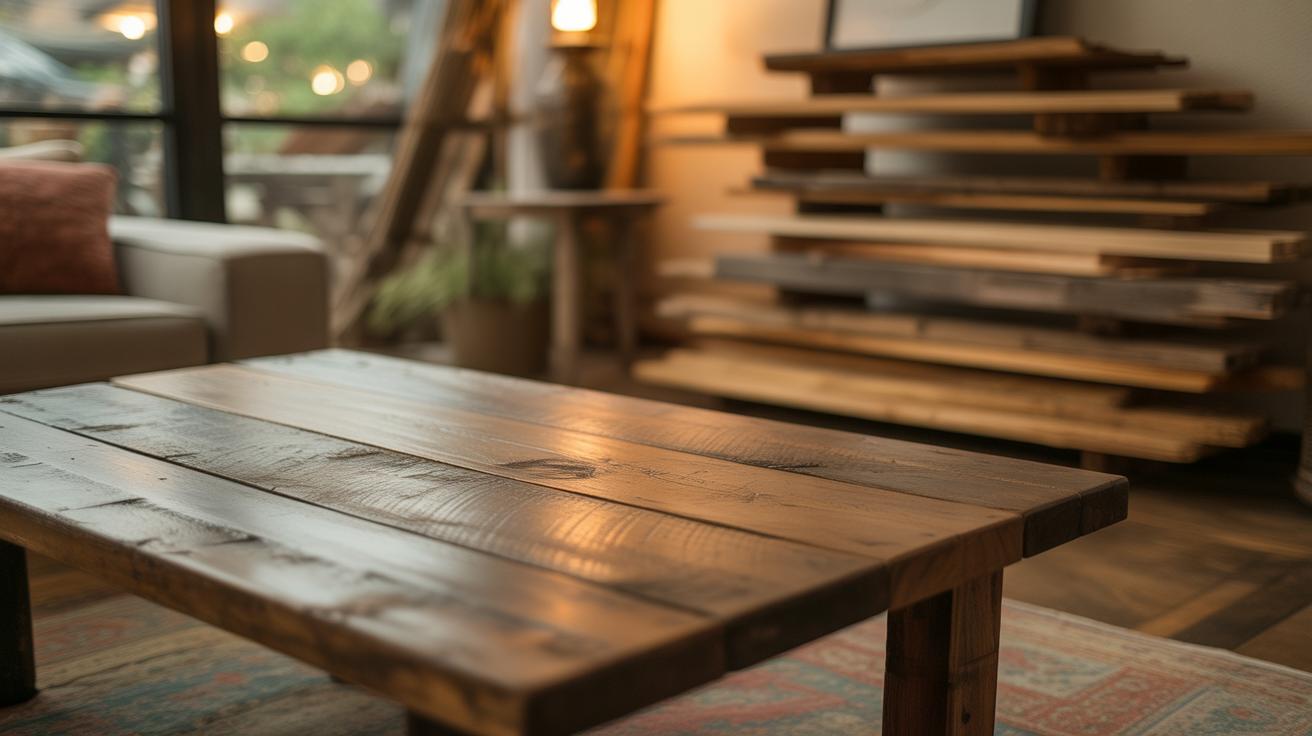
Building a reclaimed wood dining table, for example, is more than just making a piece of furniture. It becomes a focal point in your dining area, with each board showing marks or nail holes that reveal its history. I’ve seen some projects where homeowners layered reclaimed wood on shelves or fireplace mantels, and those details really invite you to pause and notice things you wouldn’t with new wood.
Reclaimed wood can also be turned into headboards, picture frames, and even flooring. The natural imperfections and varied grain patterns within reclaimed boards give character that’s hard to find elsewhere. Sure, it might require extra effort to prep and fit, but that challenge can be quite rewarding.
One thing you’ll probably notice is how the color tones can differ, even within one project. Some pieces are darker, others lighter—and mixing them can produce an eclectic yet harmonious effect. You might think it could get chaotic, but in practice, it brings warmth and an authentic vibe to your space.
Another cool part is the eco-friendly aspect. Using reclaimed wood means you’re saving perfectly good material from ending up in a landfill. Plus, it reduces the demand for freshly cut lumber, which ties into better forest conservation. So, while you’re crafting something to enjoy daily, you’re also helping in a small way to lessen environmental impact.
Have you thought about how the strength of reclaimed wood compares to new wood? Often, it’s stronger because it was harvested from old-growth trees, which grew slowly and are denser. This can translate into durability that’s particularly useful for projects meant to last, like tabletops or floorboards.
So, what kind of project would you start with? Something simple, like shelves, or go straight for a large statement piece? The possibilities almost invite you to experiment, and I think that’s part of the appeal—there’s no right or wrong way when you’re working with reclaimed wood. Just a lot of opportunities to bring warmth and personality into your home.
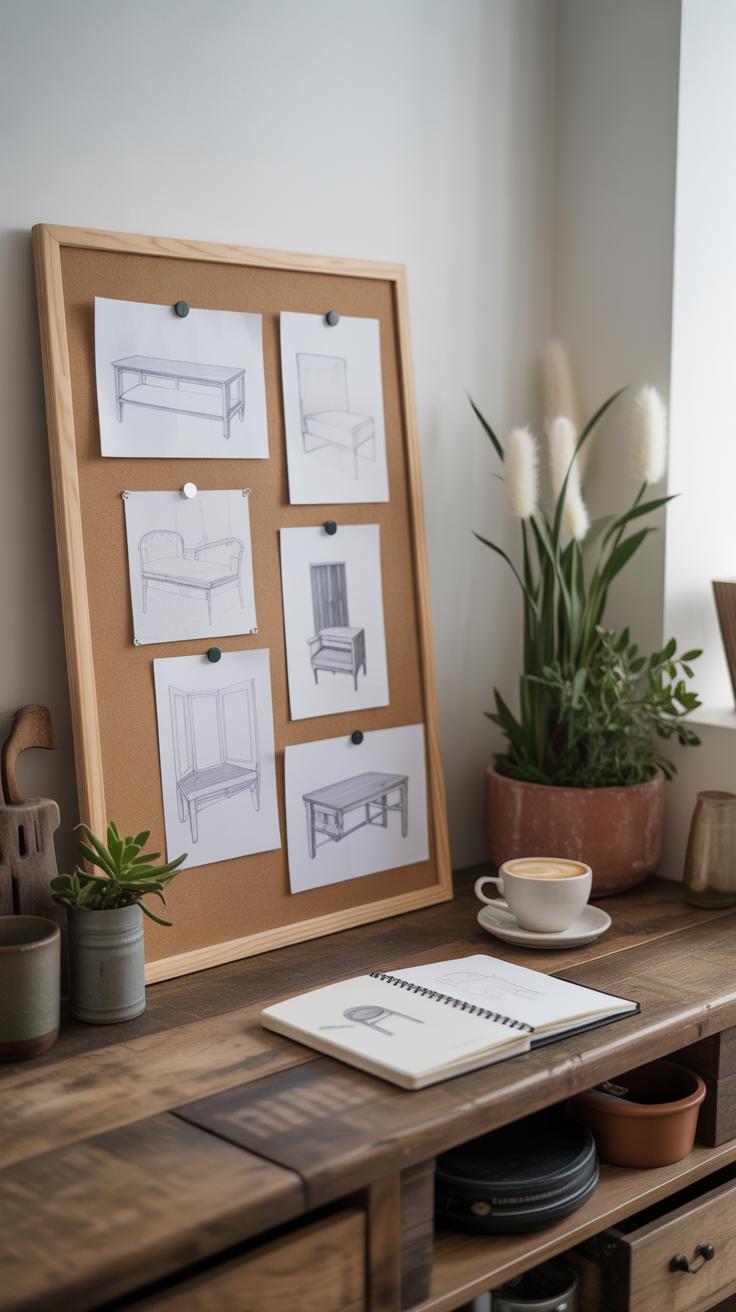
Planning Your Reclaimed Wood Project
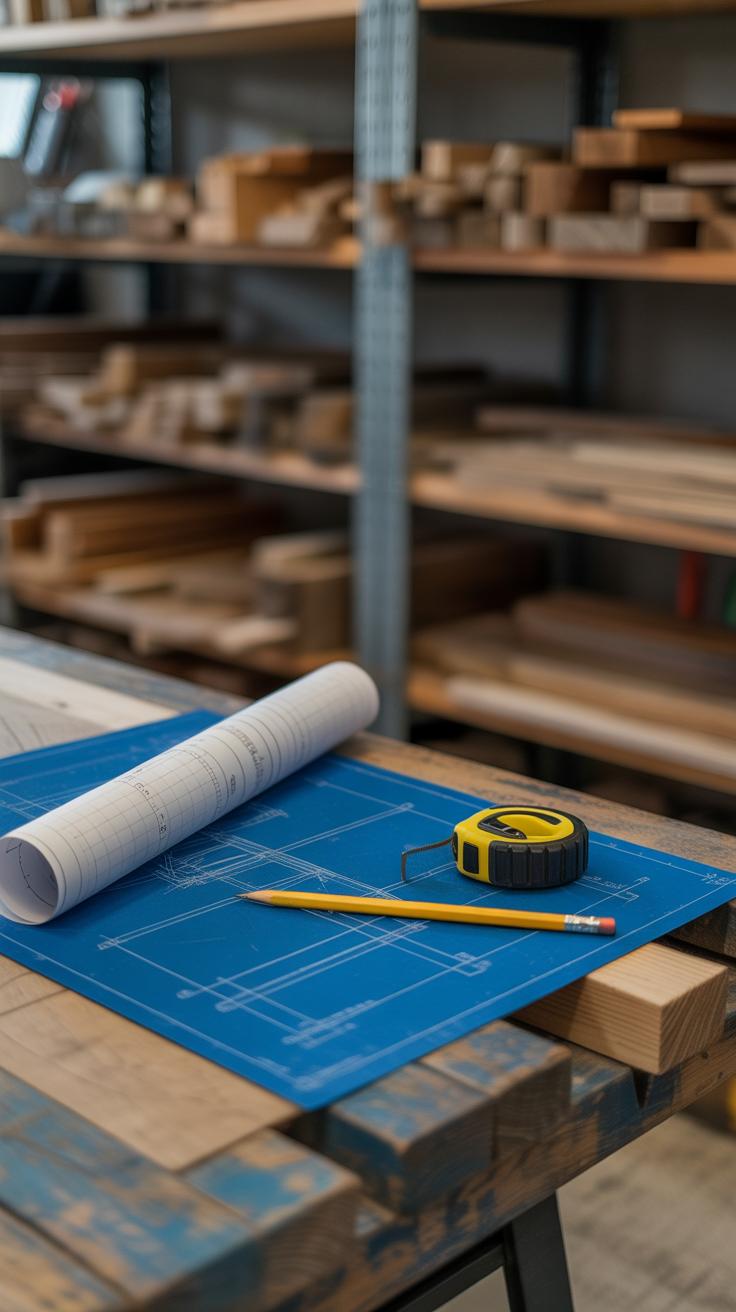
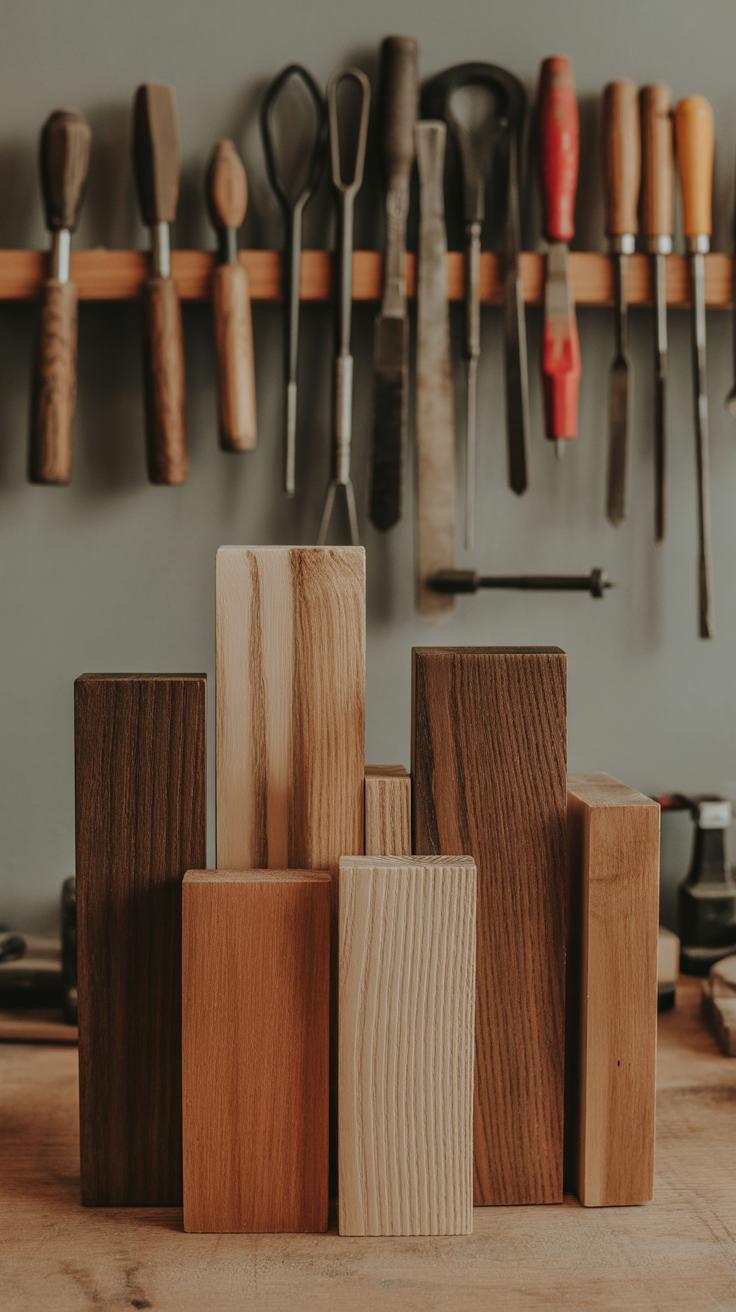
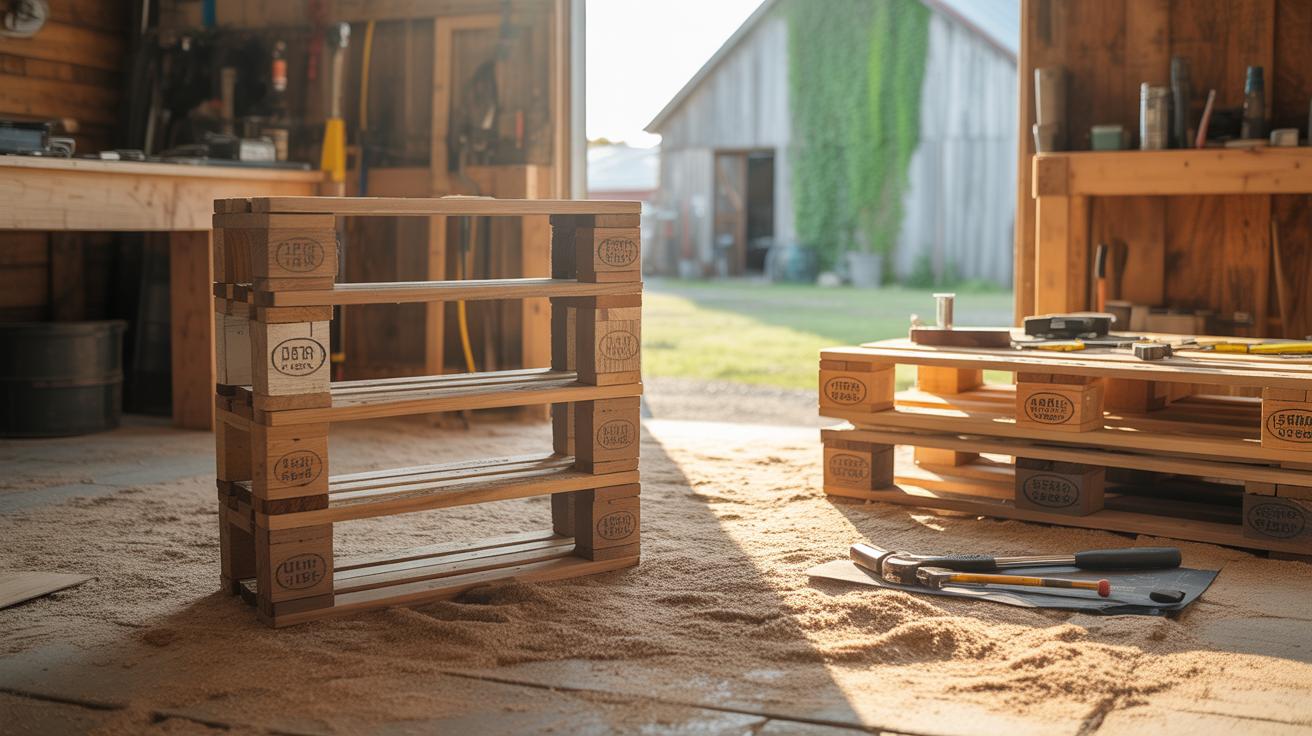
Starting a reclaimed wood project means thinking through a few key details before you even pick up a tool. First, take a moment to consider what kind of wood you want to work with. Reclaimed wood varies widely—old barn wood, pallet wood, factory timbers—all carry different textures, colors, and durability. For example, oak and chestnut tend to be tougher and hold up well over time, while pine might be softer but easier to shape. Your choice will partly depend on the look and feel you want.
Next, set clear goals for your project. What’s the purpose? Are you making a rustic coffee table, a bookshelf, or perhaps wall paneling? The function can change the type of wood you need. Something heavy-duty requires dense, stable wood. Something decorative allows more flexibility. Then, think about style. Do you want a smooth finish or a rough, weathered texture? This will guide not only your wood choice but also the design and finishing steps.
Honestly, planning can feel like a lot, but it saves headaches later. Think about the size of your project, the amount of wood you’ll need, and how much time you’re willing to invest. Sometimes that old barn wood looks perfect, but tracking down enough of it can be tricky or expensive.
So, before diving in, ask yourself: What story do I want this wood to tell? What problem am I trying to solve with this piece? These reflections bring clarity, helping your project end up both useful and beautiful.
Tools and Safety Tips for Working with Reclaimed Wood
Essential Tools
Working with reclaimed wood calls for a few specific tools—some you might already have, others maybe less familiar. A good saw is really essential. A circular saw often works well for straight cuts, but sometimes a jigsaw comes in handy for curves or more detailed sections. If you’re cutting thick or knotty wood, make sure your blades are sharp—dull blades just make the job slower and messier.
Then, there’s sanding. An orbital sander is pretty useful for smoothing surfaces without leaving visible lines, while sanding blocks can help in tight spots. For drilling, a cordless drill is a must, especially with various bit sizes to handle screws or pre-drilling holes to avoid splitting. You might also want clamps—they don’t get enough attention but are crucial for holding pieces steady.
And what about measuring and marking? Don’t skip on a good tape measure and a pencil; precision matters with wood that’s not perfectly straight or uniform. Sometimes you’ll need a chisel or pry bar to remove old nails or fittings, which can slow you down but saves the wood. These tools might seem basic, but they’re the backbone of most reclaimed wood projects.
Staying Safe

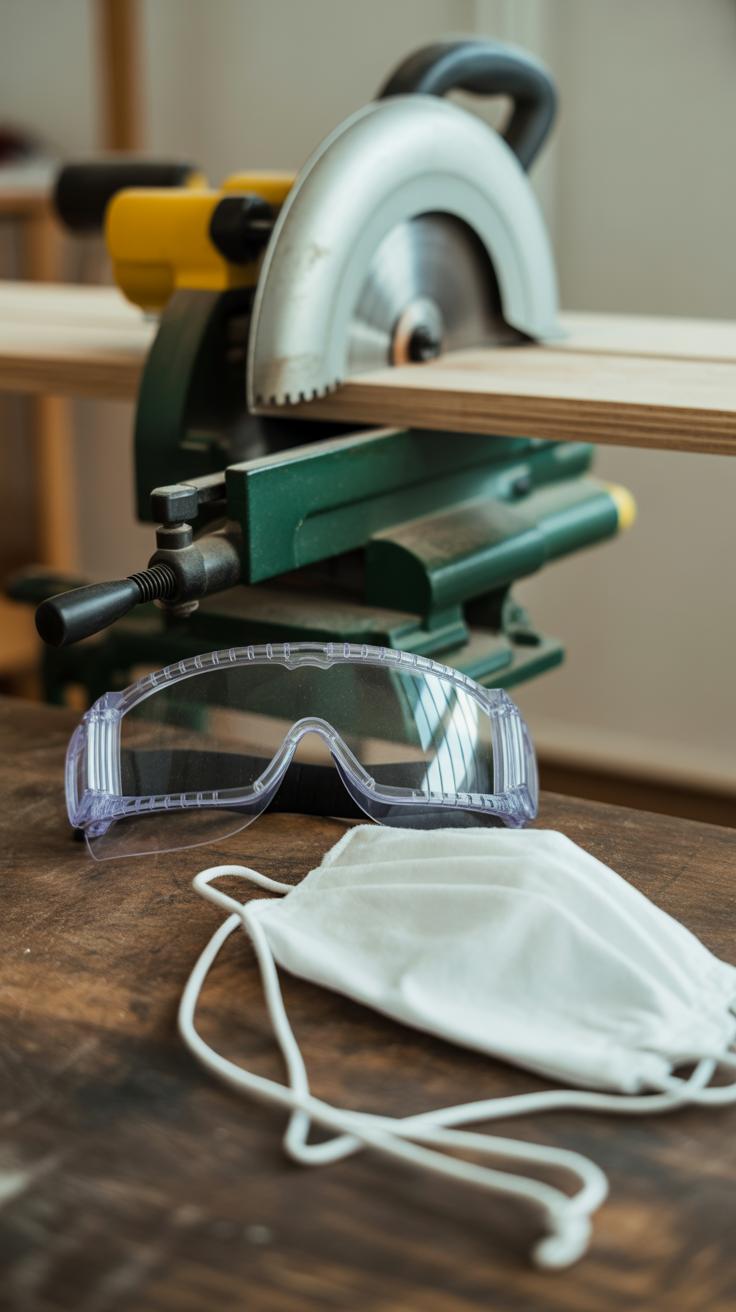
Safety with reclaimed wood isn’t just about avoiding splinters. Old wood can contain nails, staples, or other metal bits that wear down blades or cause accidents. Gloves are almost always a smart choice, at least thick work gloves, to protect your hands when handling rough or dirty boards.
Dust is another thing—you’ll generate a lot of it, especially sanding. A mask or respirator should be more than an option. Some reclaimed wood comes from old buildings, foundations, or even factories, so dust might contain harmful particles. Eye protection isn’t optional either; debris can fly unexpectedly during cutting or sanding.
Don’t forget about your workspace: good lighting and ventilation help you see better and reduce dust buildup. Sometimes, it’s easy to rush and neglect the basics—stop yourself when you’re tired or distracted. A moment of caution now can save you from injuries later.
Have you ever cut into a board only to find a hidden nail? Ever had a dust cloud so thick you couldn’t see your project? Those little surprises are part of the process, but being prepared with the right tools and safety gear makes a huge difference. It’s not just about finishing the project but getting through it without setbacks.
Cleaning and Preparing Reclaimed Wood
Removing Nails and Screws
Reclaimed wood often comes with hidden nails and screws, remnants of its previous life. Before you start building, you’ll want to find and remove these carefully. Using a claw hammer or a nail puller works well for most nails. Sometimes, a nail is stubborn—bent or rusted—and won’t budge easily. In those cases, gently tapping around the nail with a small pry bar can loosen it.
Be patient. Hastily pulling can split the wood or cause damage. For screws, a cordless drill with the right bit will make removal quicker. If the screw head is stripped, gripping it with locking pliers might help. Occasionally, nails break off beneath the surface, requiring you to dig them out with a flathead screwdriver or a chisel. This step can get tedious but is necessary; leaving nails in place can ruin your tools or be a safety hazard.
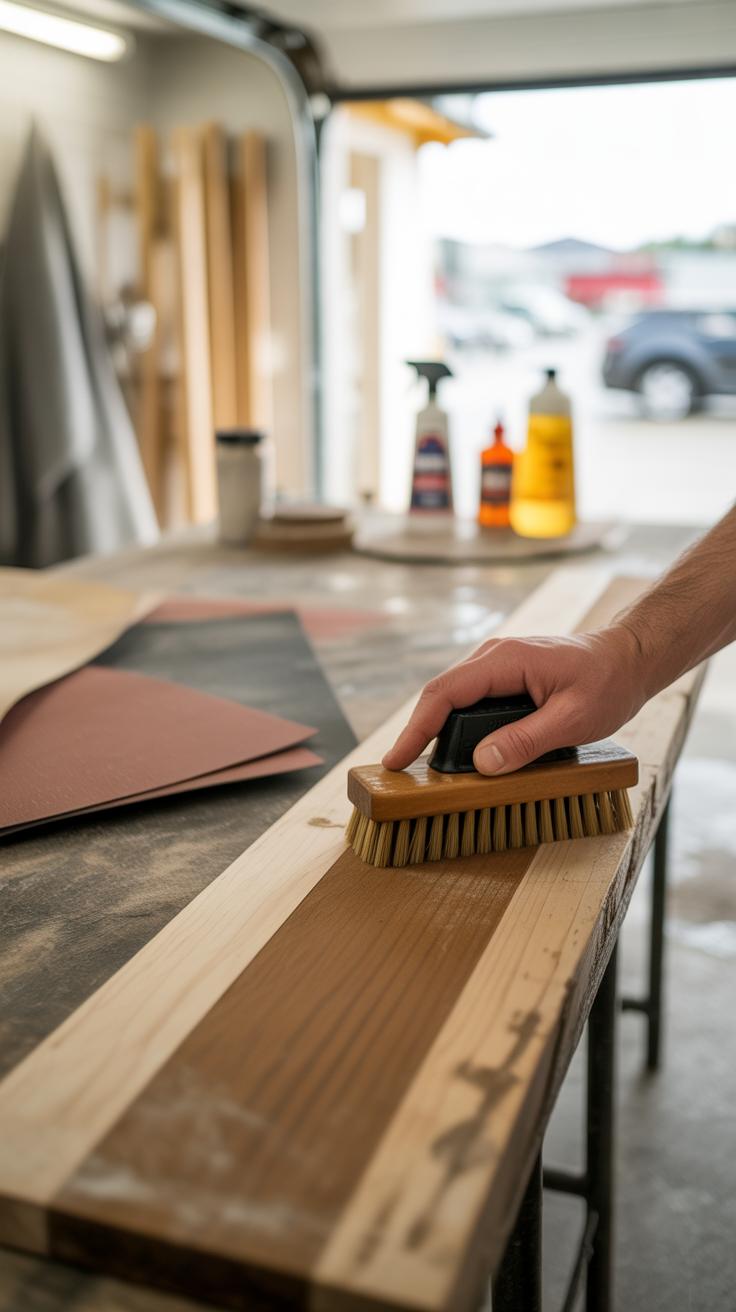
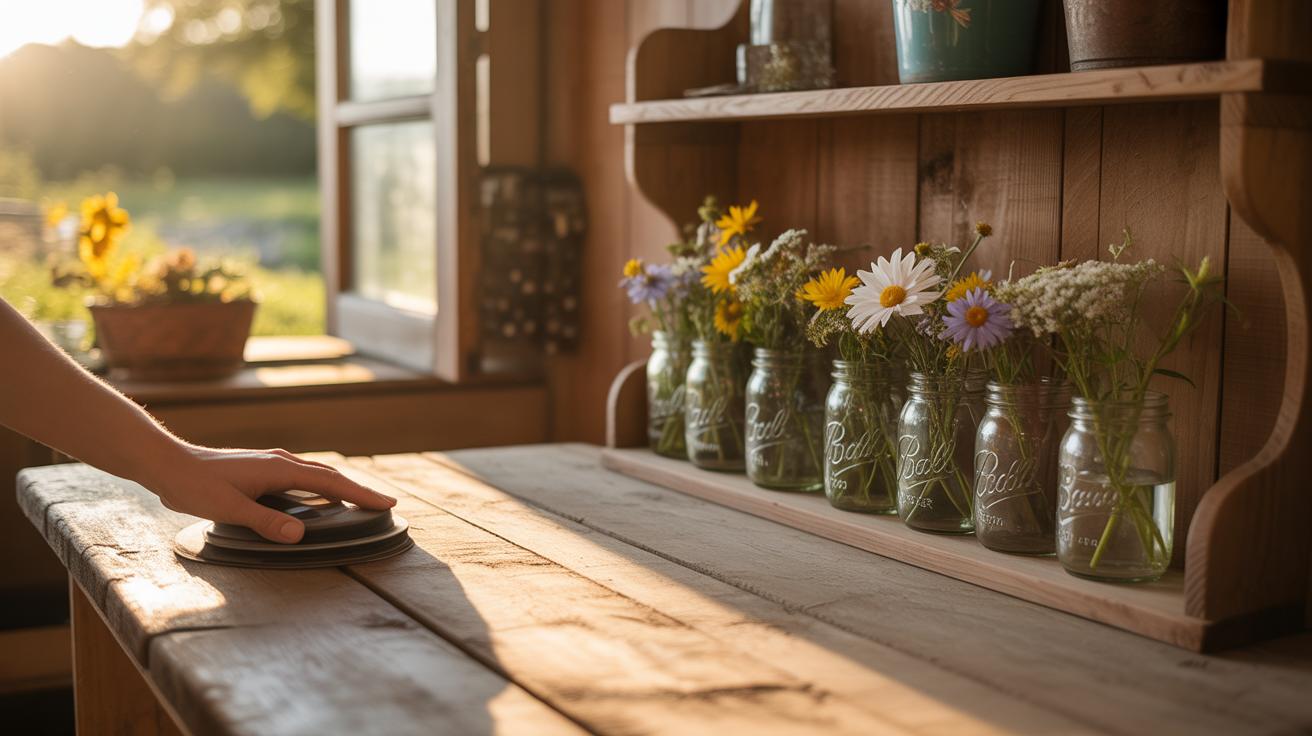
Cleaning and Sanding Wood
Once nails and screws are gone, it’s time to clean the wood. Use a stiff brush to sweep away dust, dirt, and loose debris. If the wood is grimy or sticky, a mild soap solution and water can help, but avoid soaking the wood—too much moisture can warp it. Some finishes might be left from before—old paint, varnish, or sealant—and these need attention.
Sanding is crucial. Start with a coarse grit to strip off roughness and old coatings, then work gradually to a finer grit for a smooth feel. Don’t rush this part; a good sanding job reveals the wood’s character and makes it safer to handle. Your hands will notice the difference. Sometimes patches resist sanding—they might be denser or damaged—so feel free to spend extra time there or try a hand scraper for better control.
Have you found any surprises—nails stuck deep or mysterious stains? They challenge you, don’t they? Taking time with preparation shapes the whole project. It sets a foundation, literally, for your reclaimed wood to shine in your cozy home.
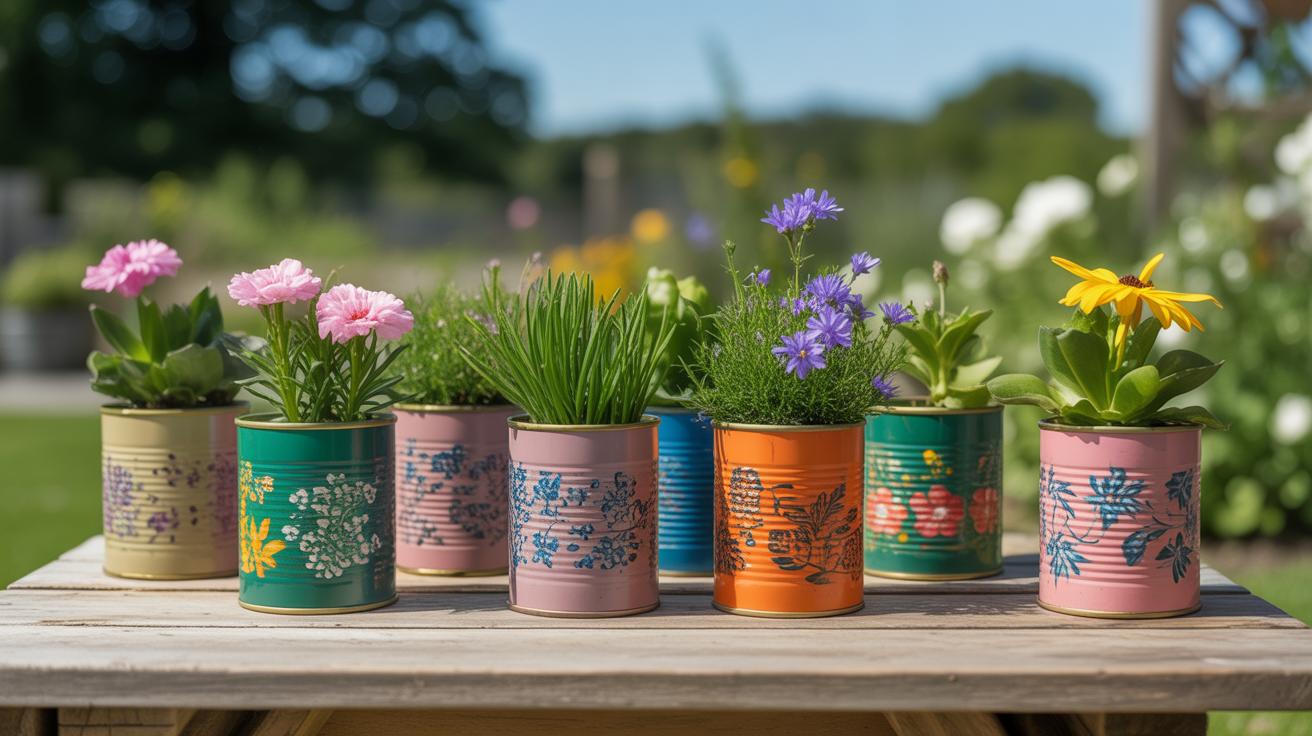
Simple Reclaimed Wood Decor Projects
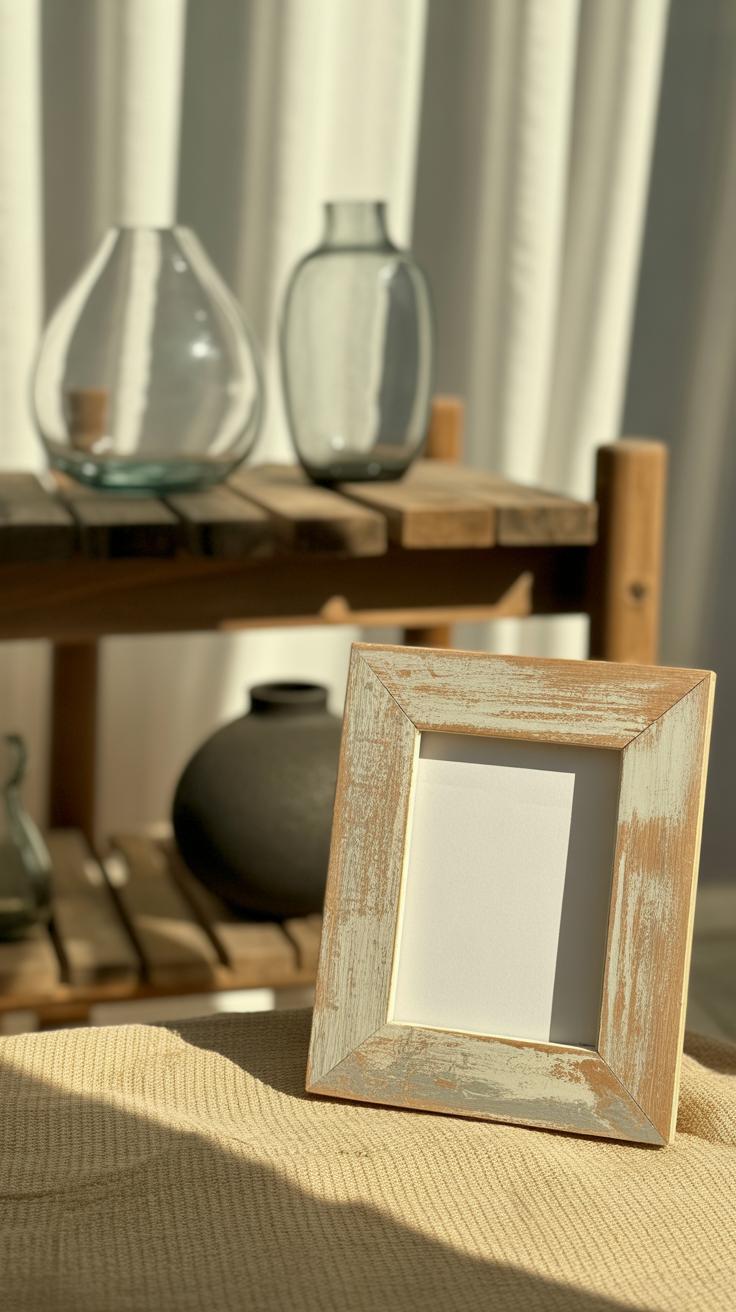
You might be surprised how easy it is to turn reclaimed wood into cozy, charming home decorations. Picture frames and shelves come to mind first—they require only a few basic tools and materials, yet they add a lot of character to your space. Start by cutting the wood to size with a handsaw or power saw. Nail or screw the pieces together, keeping the joints simple. You don’t have to be perfect here; uneven edges can actually add a rustic vibe. Sand the surfaces lightly, just enough to remove splinters but preserve texture. A clear finish or natural oil enhances the wood’s warmth without hiding its age.
Shelves are great because they’re functional and decorative. You can attach brackets directly to the wood or create floating shelves by hiding supports behind the planks. Think about mixing different wood tones if you have a variety of reclaimed pieces—it can break up the monotony and feel more organic.
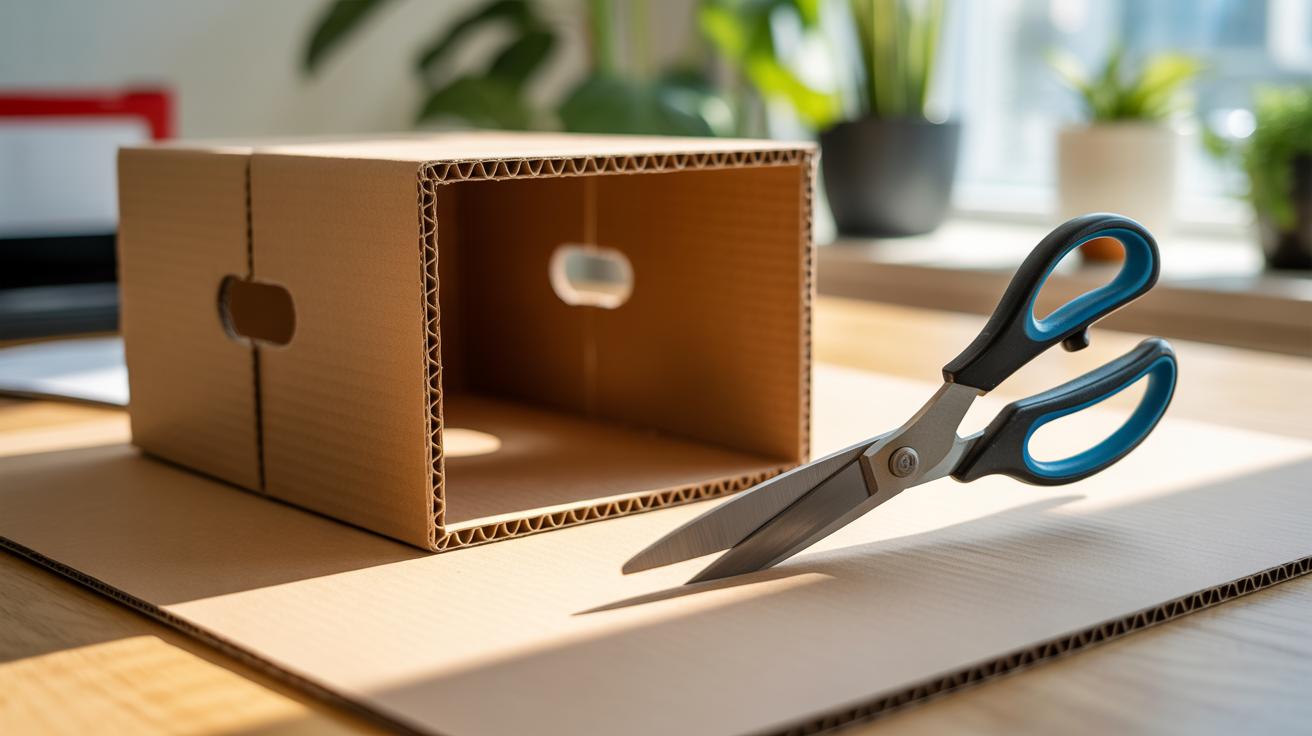
Smaller projects are also rewarding, like coasters and wall art made from reclaimed wood scraps. Cut the wood into squares or rectangles, then sand and seal them. For coasters, you might add felt pads underneath to protect surfaces. Wall art can be as simple as arranging small pieces in a pattern or creating abstract shapes to hang. Painting or stenciling delicate details onto the wood might feel too polished for some, but it’s an option if you want a splash of color.
Have you ever tried making a set of coasters and ended up with one that looks just a bit off? That might actually be the one that sparks conversation. Imperfections give these projects personality—they’re reminders of the wood’s journey and your hands-on effort. Sometimes, less polish brings more warmth.
Creating Functional Furniture from Reclaimed Wood
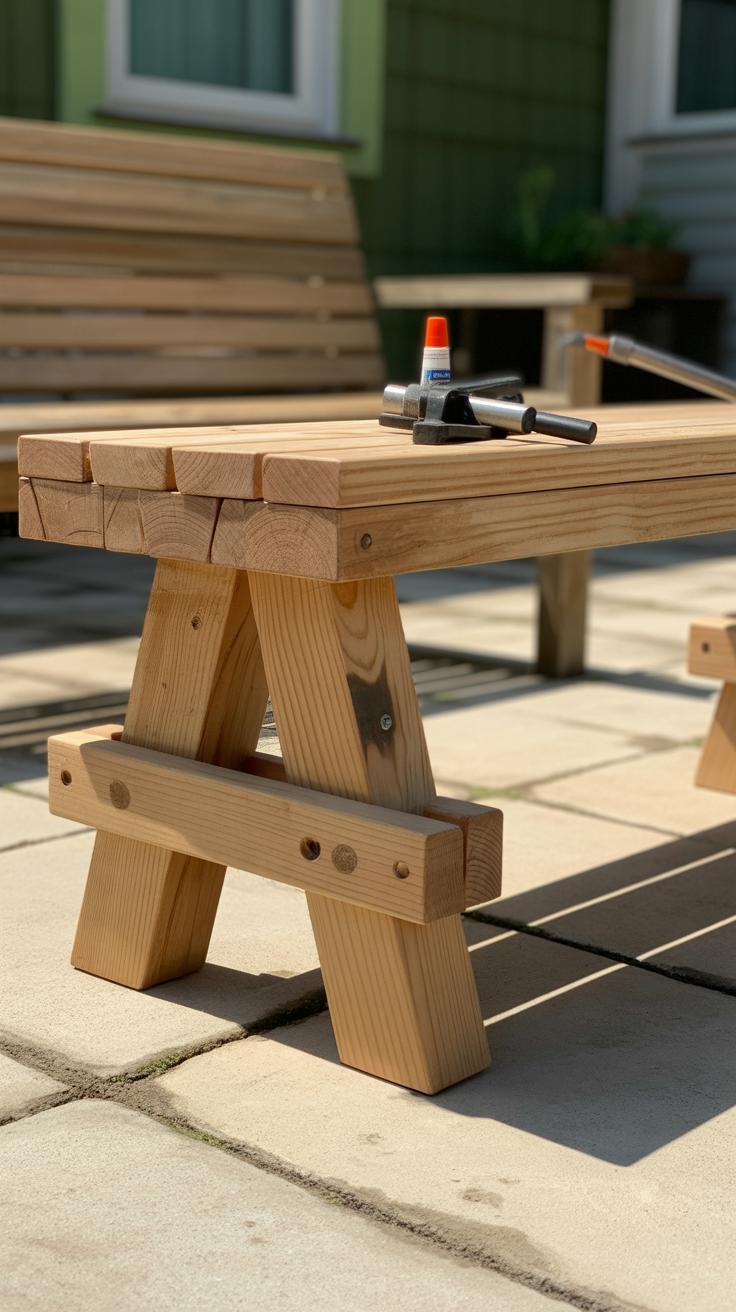
Building Tables and Benches
Making a table or bench from reclaimed wood can be surprisingly straightforward, though it does take some patience and a bit of trial. Start with selecting straight, solid planks for the tabletop or seat surface. Clear off any nails or screws and sand down rough spots, but keep some texture for character—it’s okay if it’s not perfectly smooth.
For a simple table, you’ll need four legs, a frame to support the top, and the planks for the surface. Cut the legs to your preferred height—usually around 28 to 30 inches for tables, slightly less for benches. Assemble the frame first, screwing pieces together to form a sturdy rectangle. Attach the legs to the frame, making sure everything is square; uneven legs can make the whole project feel off, so double-check this early.
Next, fasten the reclaimed planks onto the frame. Leaving a tiny gap between boards can prevent warping. For outdoor projects, choose a matching wood type that holds up to moisture fairly well—or treat it carefully afterward.
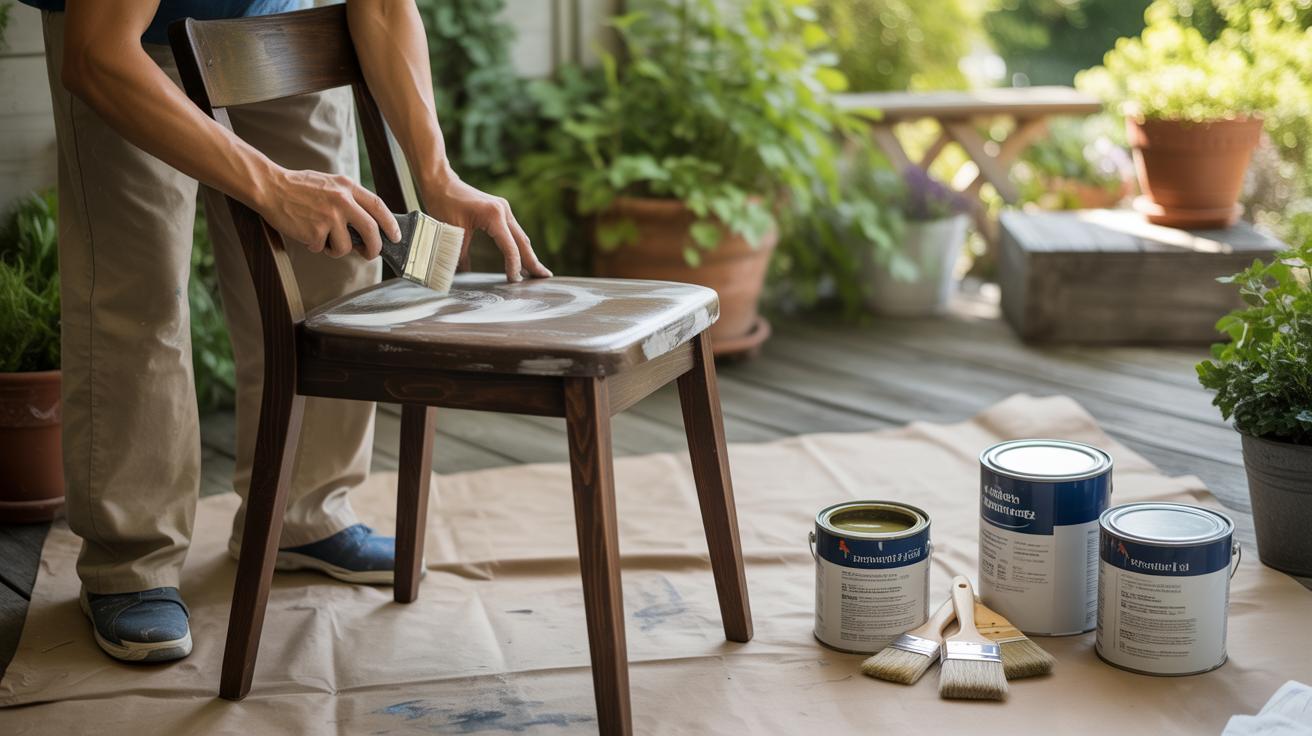
Finishing Furniture for Durability
Applying the right finish is key to keeping your furniture lasting and looking good. Oil finishes like tung or linseed soak into the wood, enhancing color and grain while offering moderate protection. They need reapplication now and then but weigh less on the natural feel of reclaimed wood.
Polyurethane or spar varnish provides a tougher protective layer. This might bring out a slight sheen or richness in color, which some people love—but others may think it veers too far from the wood’s raw appeal.
Whatever finish you pick, don’t rush. Multiple thin coats work better than one thick layer. Sand lightly between coats to avoid a rough texture. Remember, your goal is both protection and showcasing the wood’s story, not hiding it away.
Maintaining Your Reclaimed Wood Projects

Reclaimed wood is strong, but it does need some care to keep its character alive. You’ll want to clean and dust your pieces regularly to avoid buildup. A soft, dry cloth often does the trick—no need for harsh chemicals that could strip the finish or degrade the wood. Sometimes I wipe my reclaimed wood table with a barely damp cloth, just to catch a bit more dust, but I’m careful not to leave it wet. Overdoing moisture can cause issues over time, which brings me to protecting your wood.
Water damage is a slow enemy. Spills or standing water can leave stains or cause warping if ignored. Use coasters or mats whenever possible, even if the wood looks sealed. Scratches happen too—placing felt pads under furniture legs helps, and you might want to avoid dragging heavy objects across surfaces. Direct sunlight also fades or dries out the wood, so rotating pieces away from windows or using curtains can help preserve the color and texture. Taking care of reclaimed wood isn’t about perfection; it’s small habits that keep your projects lasting and looking good.
Inspiring Ideas for Future Reclaimed Wood Work
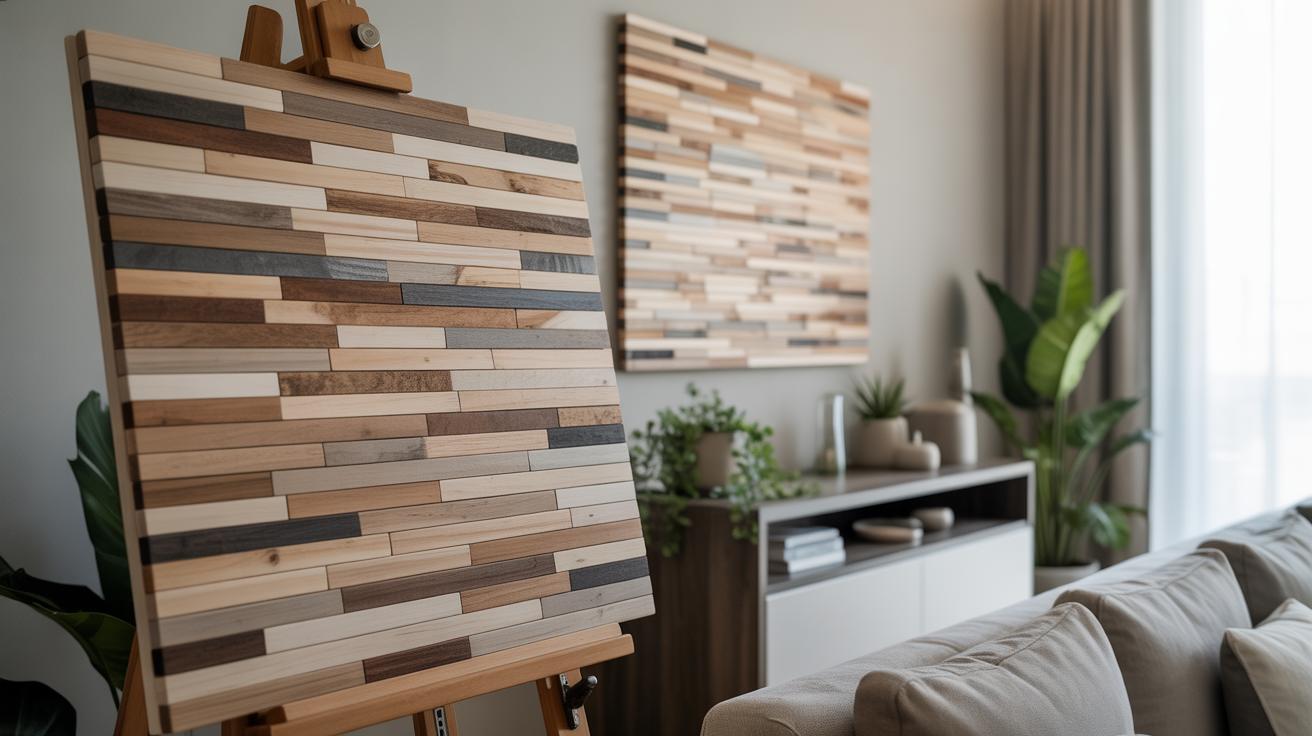
Once you’ve got a feel for working with reclaimed wood, why not push yourself a bit further? You may find that simple shelves or small furniture aren’t quite enough to satisfy your creative urge anymore. That’s where larger, more complex projects come into play—things like custom wood walls or floors. These aren’t just practical additions; they bring real texture and a story to your space. Imagine a wall made of varied wood planks, each telling its own history. The uneven tones and grains add an organic, layered look that no manufactured material can match.
Reclaimed wood floors offer something similar but on a more tactile level. They ground a room, giving warmth underfoot and a timeless appeal. You might hesitate thinking it’s too ambitious, but with patience, the results can be transformative. And there’s freedom in mistakes here—if a plank doesn’t sit quite right, it adds character.
Another path worth exploring is combining wood with other materials. Think metal accents framing a reclaimed wood table, or glass inserts highlighting rich textures. Fabrics paired with wood can soften the overall effect, making a piece feel cozy without losing wood’s raw charm. These hybrids invite experimentation. You might not get it perfect the first time—nor the second—but there’s something rewarding in testing those boundaries. What materials have you been curious to mix? Metal, glass, fabric, or something else? Each offers a new way to look at wood and through it, your home’s personality.
Conclusions
Reclaimed wood projects offer a way to create unique and cozy home decor that lasts. By using wood that has a history, you bring personality and natural charm to your living space. Whether making furniture or simple decorative items, reclaimed wood can fit many styles and needs.
Take what you’ve learned here and imagine what you can build. Each piece of wood has a story waiting to be told through your hands. With simple tools and some patience, you can make warm and inviting projects that bring comfort and style to your home.


