Introduction
Rainwater harvesting systems collect and store rainwater for later use. This method offers many benefits for your garden projects by providing a reliable water source without increasing your water bill. Collecting rainwater helps you manage water wisely and keeps your garden healthy during dry spells.
In this article, you will learn practical ways to set up a rainwater harvesting system for your garden. We will explore simple techniques to collect and use rainwater effectively. Additionally, we cover how this system supports water conservation and improves plant growth.
Understanding Rainwater Harvesting
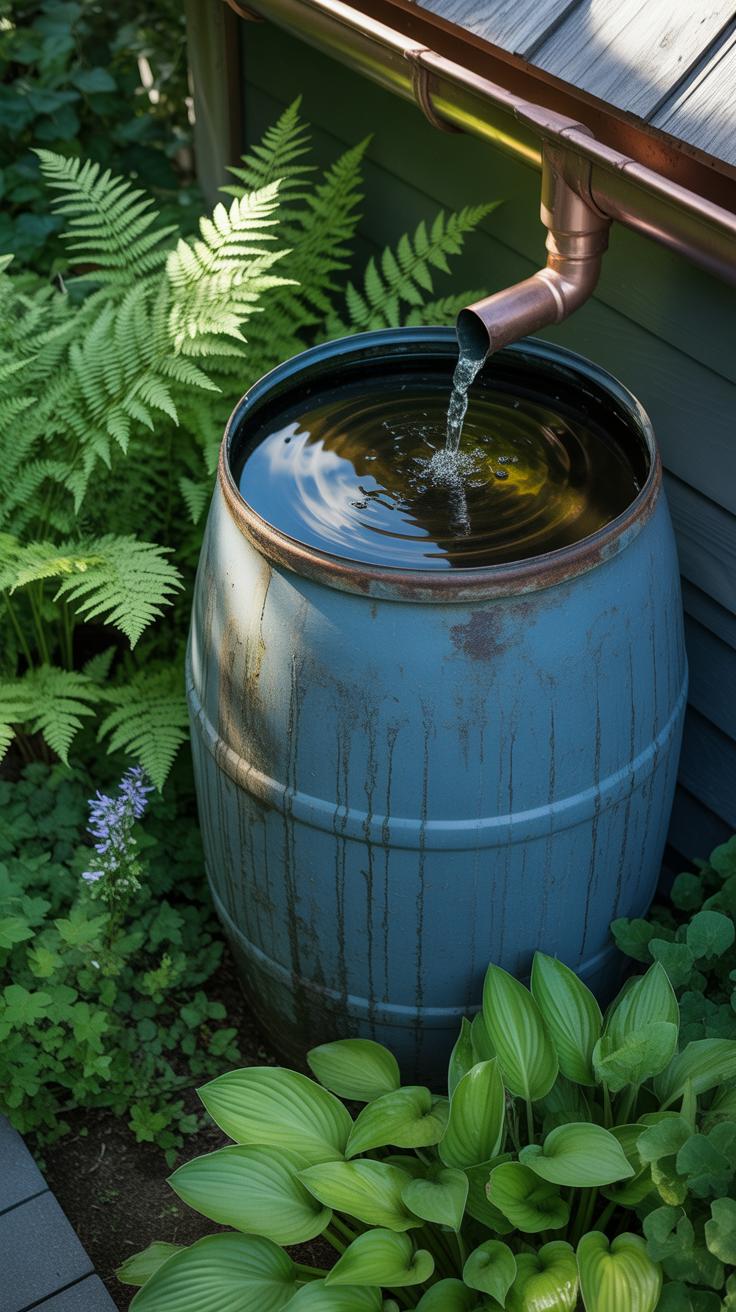
Rainwater harvesting is simply the way people catch rain when it falls and save it for later use. Imagine the roof of your house acting like a big umbrella that collects water. This water then flows down into pipes or gutters and is stored in a container, like a tank or barrel. The main parts of this system are the place where water lands, called the collection surface—usually a roof—and the storage container that holds the water until you need it.

This idea isn’t new at all. People have been collecting rainwater for thousands of years—well before modern plumbing existed. Long ago, communities built ponds, cisterns, or underground tanks to keep rainwater. Ancient cultures in places with little rain relied on these systems because they didn’t have many other options. Sometimes, their methods seem surprisingly clever, like shaping roofs or building catchment areas that channeled water efficiently. So, when you think about using rainwater for your garden, you’re joining a long tradition that humans have trusted over centuries.
Honestly, the simplicity makes me wonder why more folks don’t think about it for everyday use. It’s straightforward and doesn’t require much technology, yet it can make a big difference for plants and saving water. Do you ever wonder if the water from your gutters could actually be the key to a greener garden?
How to Collect Rainwater at Home
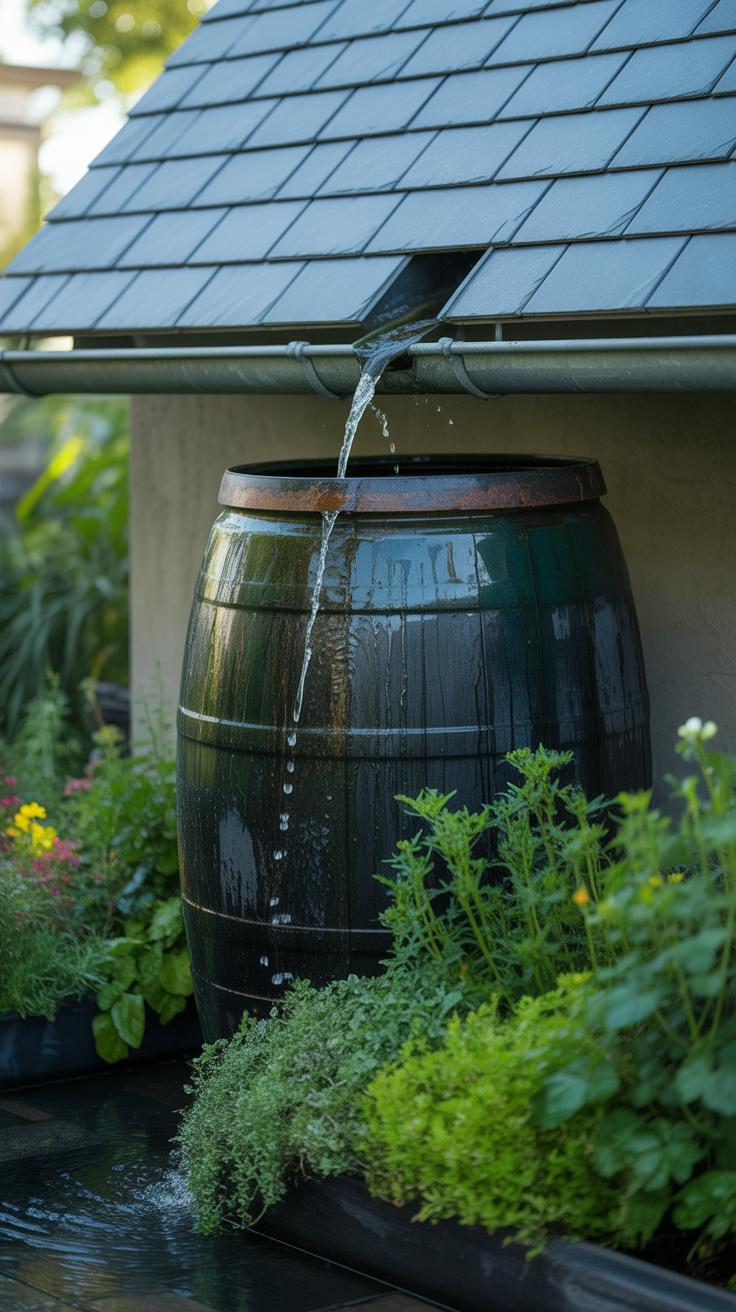
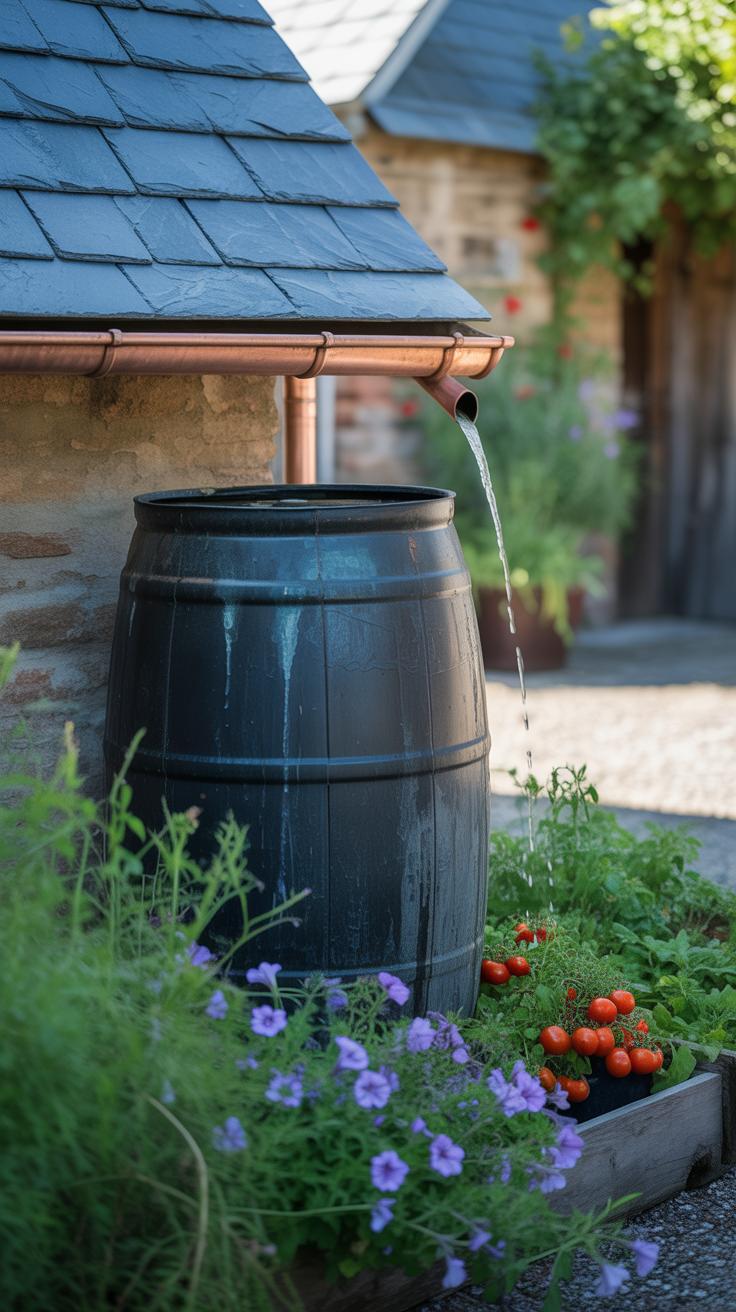
Collecting rainwater for your garden doesn’t have to be complicated. One of the simplest ways is using your roof as a catchment surface. Roofs naturally gather rain, channeling it toward gutters — if you have them. A few things to keep in mind: not all roofs are equal when it comes to collecting clean water. Metal and tile roofs usually work best. Flat roofs or those with organic debris can complicate things, so regular cleaning is a must. I’ve found that even a little buildup on shingles can reduce the water quality, so rinsing the roof or installing screens can help.
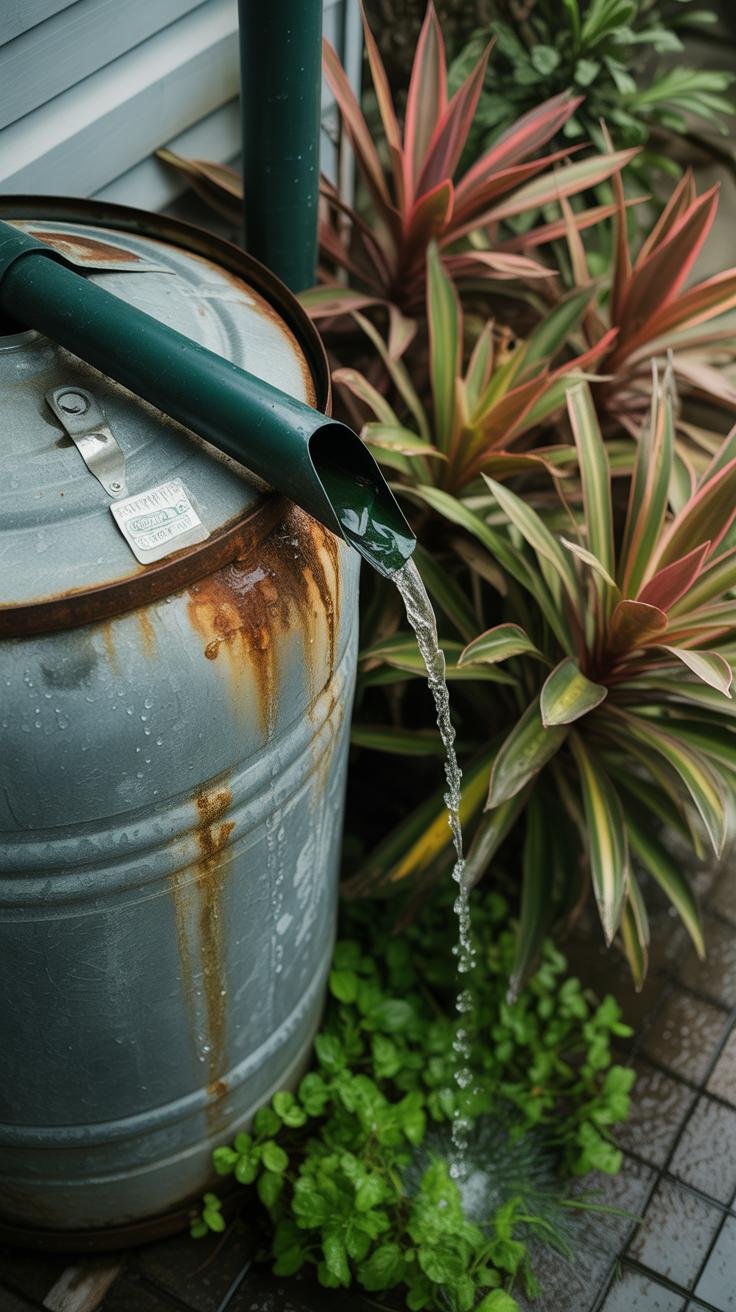
Gutters play a key role here. They act like tiny rivers, moving rainwater from your roof to storage containers. Setting up a basic gutter system is surprisingly straightforward. You’ll need gutters along your roof edges, downspouts to guide the water, and sometimes leaf guards to keep out debris. If gutters aren’t already there, you could install simple ones or adapt what’s available. The goal is to funnel as much water as possible without obstruction.
Here are some easy steps to get started:
- Inspect and clean your roof before the rainy season, making sure it’s free of leaves and dirt.
- Check if your gutters have holes or clogs; repair or clear them to ensure smooth flow.
- Attach downspout diverters or flexible tubing to direct water into barrels, buckets, or tanks.
- Consider adding a screen or filter where water enters storage to keep out insects or debris.
Have you thought about how much rain your roof area can capture? A simple estimate can help size your storage needs. It’s interesting how something as basic as gutters and roofs can be transformed into effective water collectors. Though some setups can get fancy, starting small works just fine for most gardens.
Choosing Rainwater Storage Options
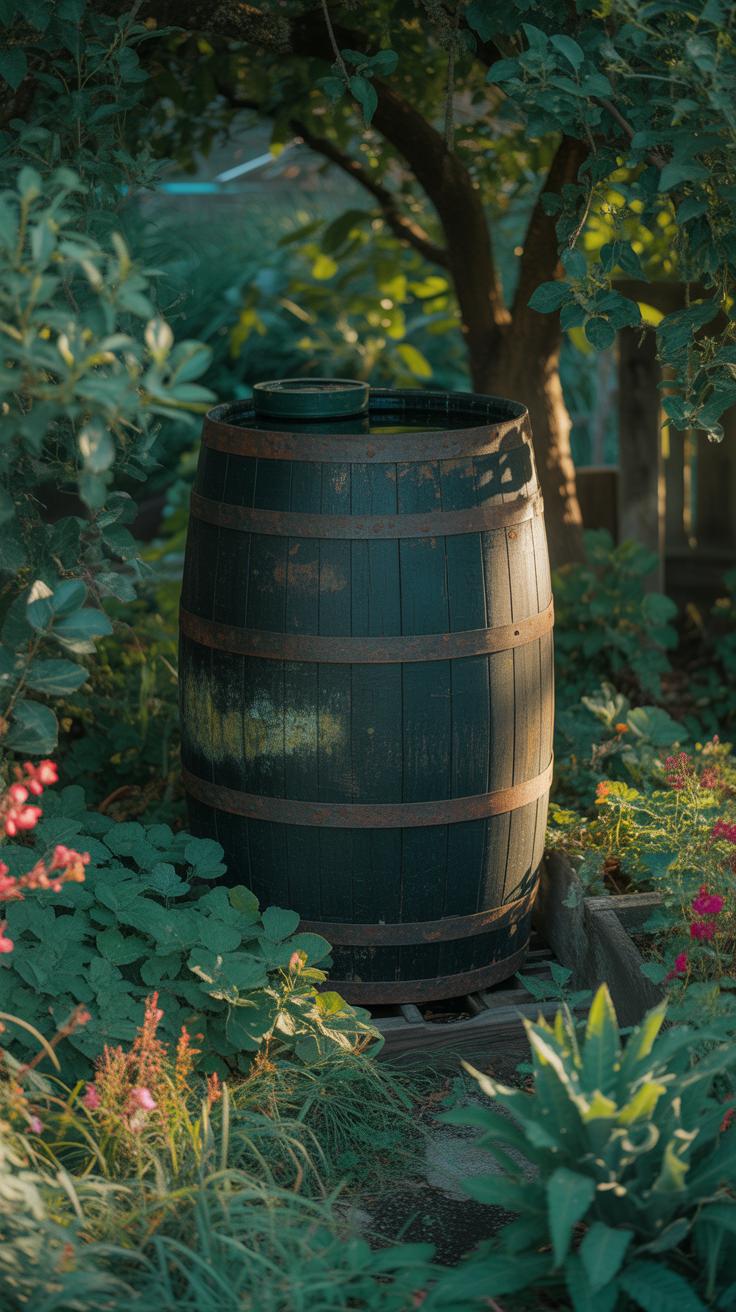
When it comes to storing rainwater for your garden, you have a few main choices: tanks, barrels, and underground reservoirs. Each has its quirks. Tanks vary in size and material—you’ll find plastic, metal, or even concrete versions. Plastic tanks tend to be lighter and easier to install but might not last as long in intense sunlight. Metal tanks are durable but can rust if not coated well. Concrete reservoirs? Tough but costly and require more effort to set up.
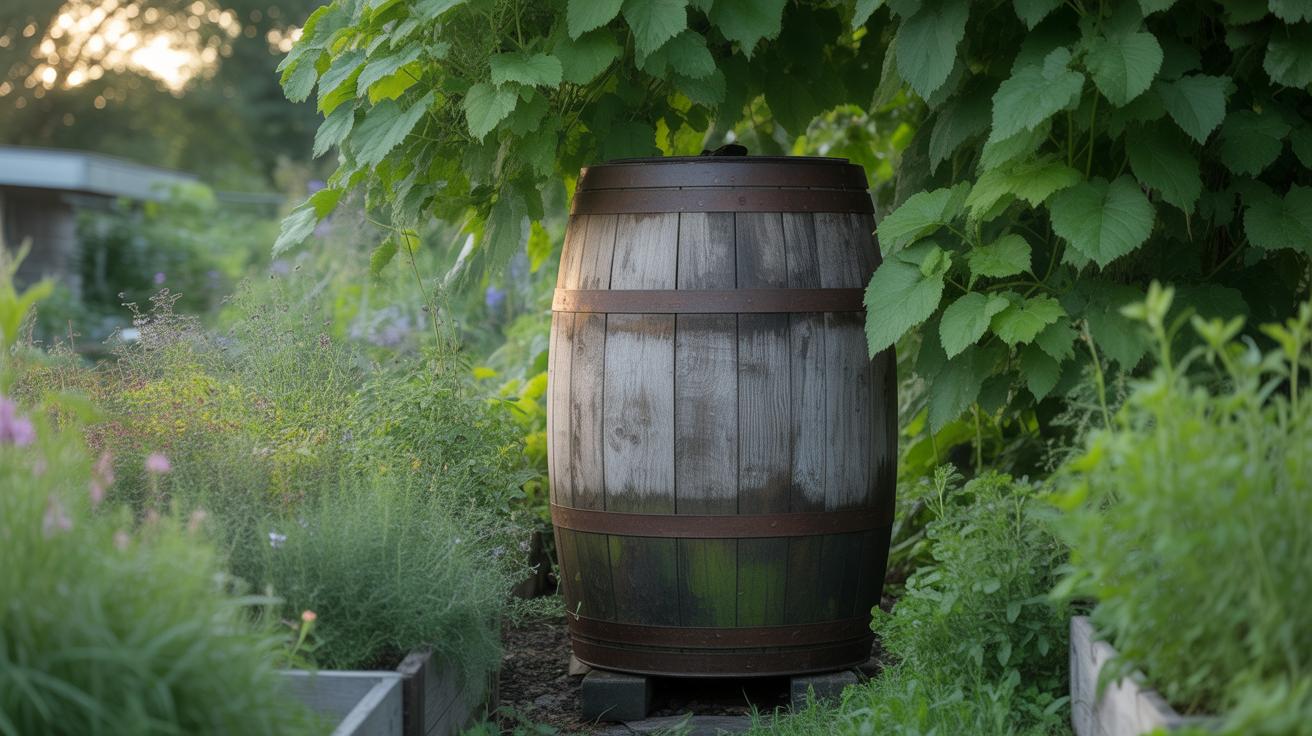
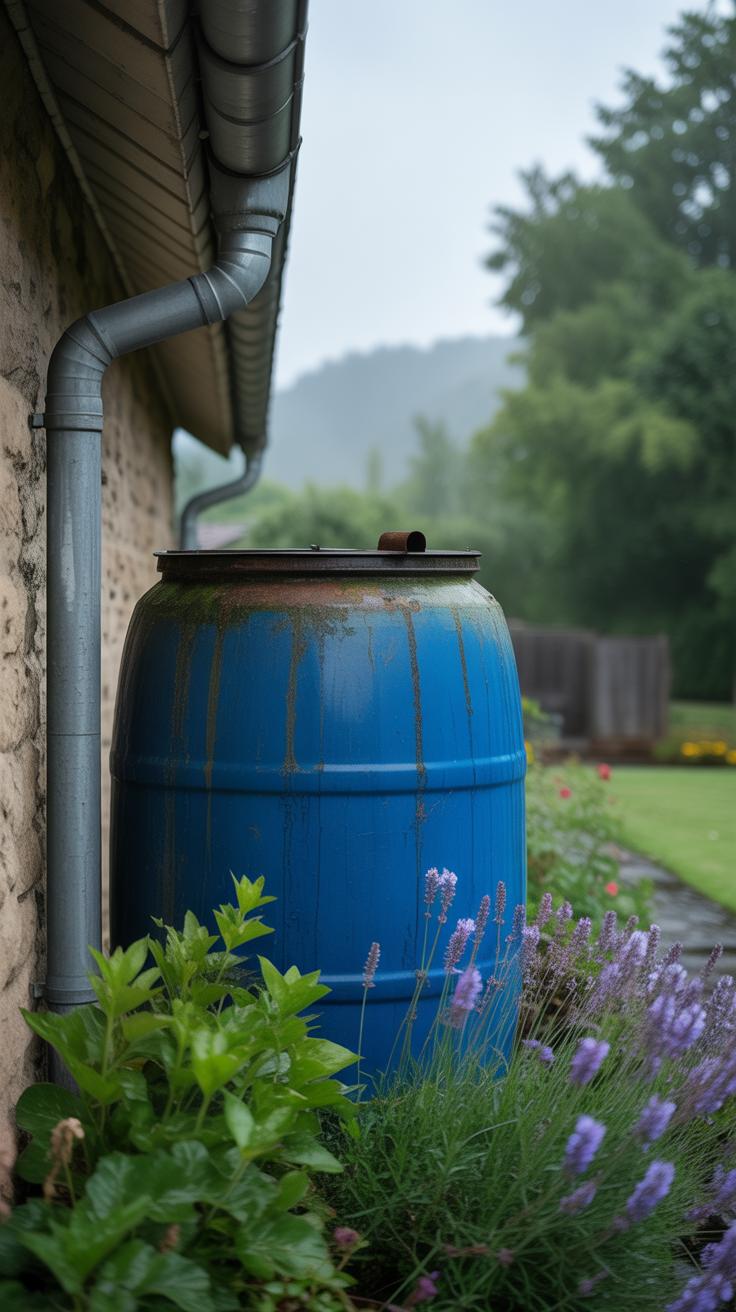
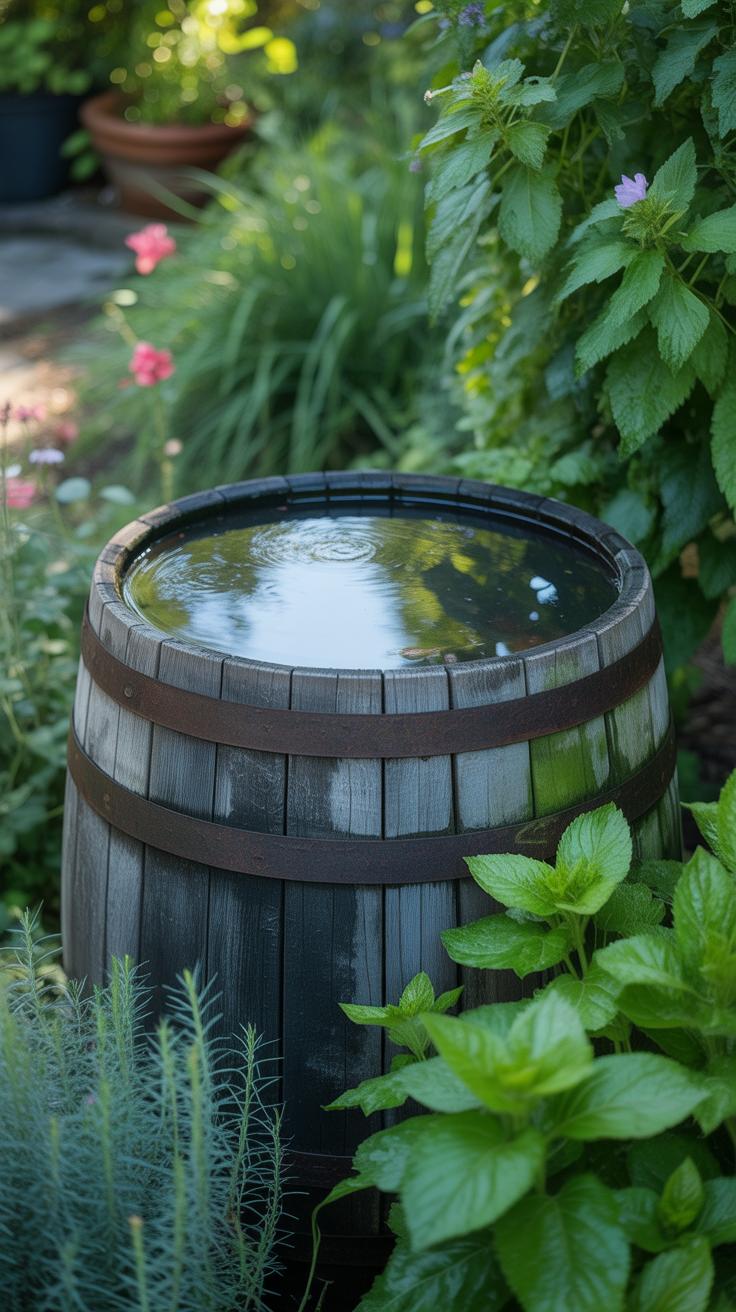
Rain barrels are smaller and generally easier to manage. They’re perfect if your garden isn’t huge or you don’t want a major installation. The downside? They hold less water, so if you’re hoping to catch heavy rains, you might need several barrels or frequent use.
Then, there’s underground storage. These take more planning and money upfront, but they save yard space and keep water cooler, which can be better for plants. Still, digging a big hole and waterproofing it isn’t something everyone can just do over a weekend.
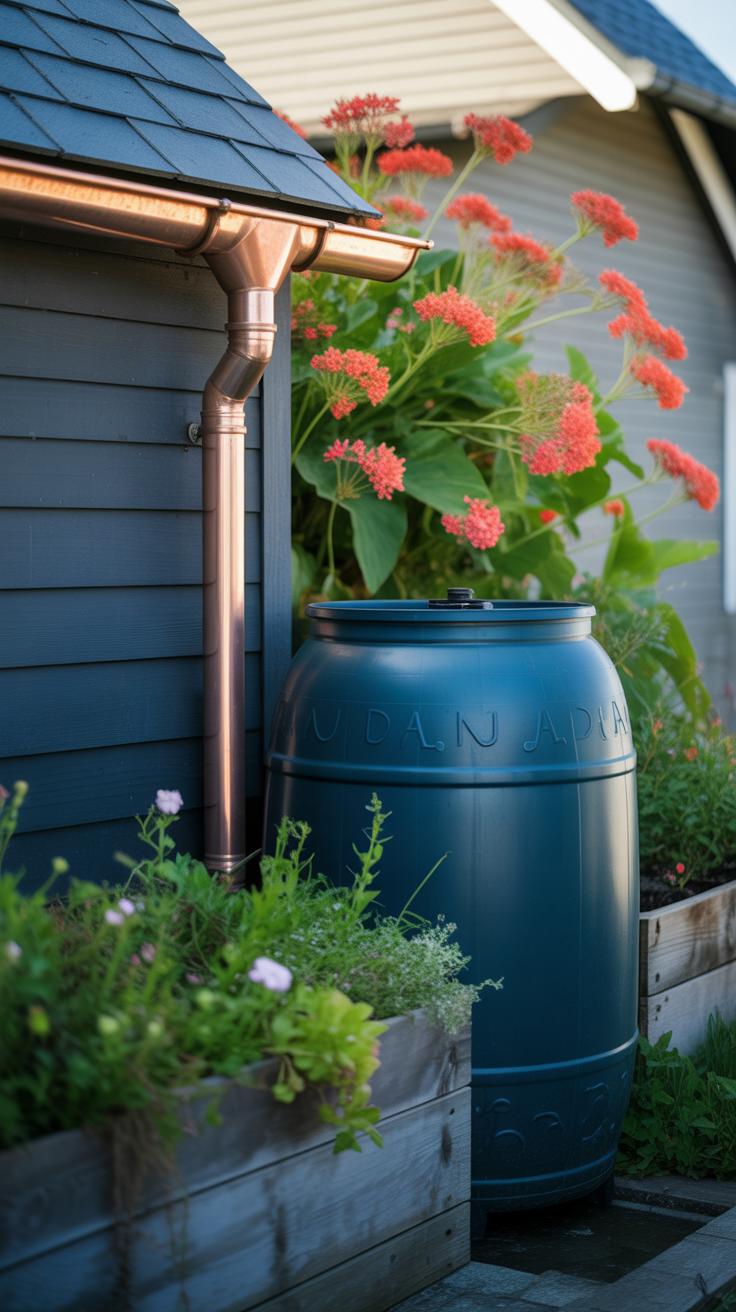
Storage containers come in different shapes and materials. Plastic barrels or tanks are common—they’re light, relatively cheap, and easy to clean. But sunlight can degrade them over time unless they’re UV resistant. Metal tanks hold up better but might need maintenance to guard against rust. Concrete tanks last for years but can crack if soil shifts or if not properly maintained.
Think about what matters most: portability, durability, or capacity. If you want something quick and easy, barrels might do. For larger collections or longer-term storage, tanks or buried reservoirs work better. I’ve heard from some gardeners who started with rain barrels but ended up upgrading because their water needs grew.
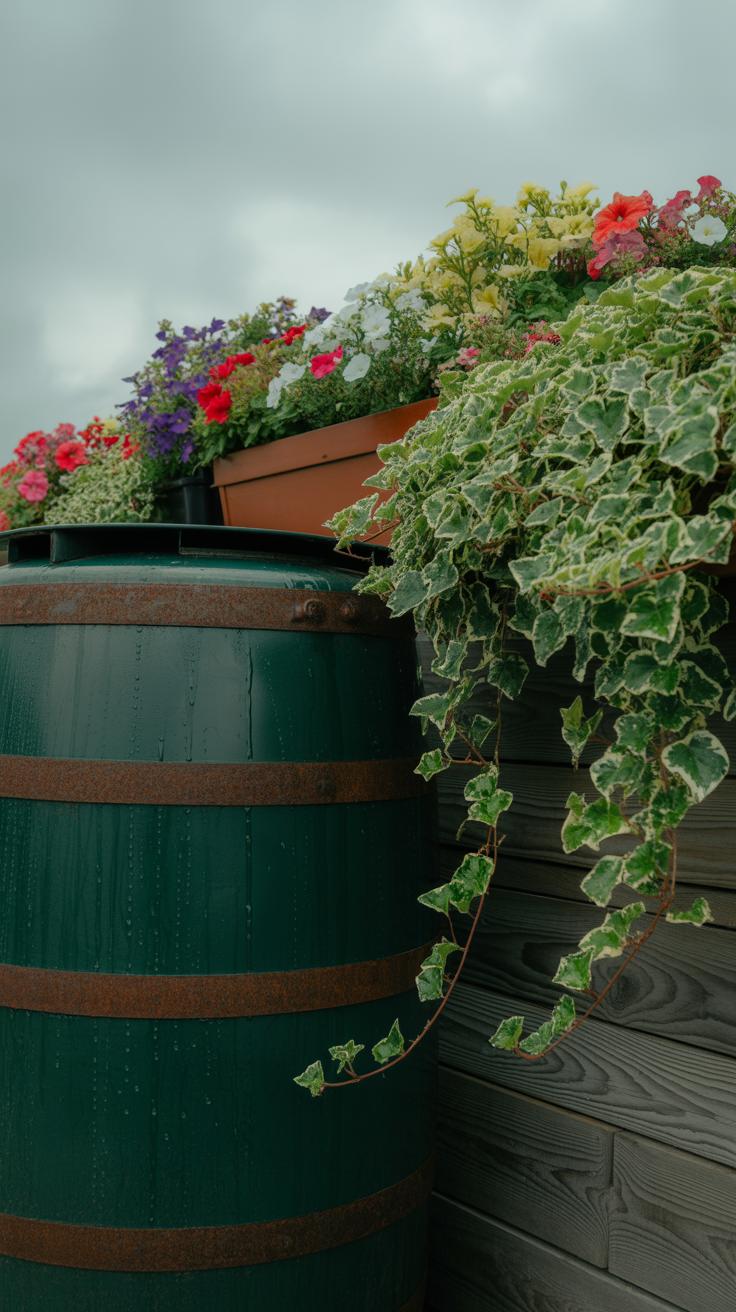
Where you place your storage containers matters quite a bit for how well they work. Position barrels or tanks close to your downspouts—that’s where the water flows, after all. The nearer, the better; you don’t want water losing momentum or spilling over before it gets captured.
Also, placing tanks on a slight elevation can help with water pressure when you’re watering your plants. If your garden slopes, try to put your tank at the highest point to make gravity do some of the work. Shade can also help reduce algae growth in the tank but too much shade might mean less collection efficiency if there’s debris blocking gutters.

Lastly, accessibility is key. If you want to use your rainwater regularly, don’t hide tanks behind dense shrubs or in tight corners. Easy access can make a big difference in how often you actually use the system.
Using Rainwater for Garden Irrigation
Once you’ve got your rainwater stored, the question becomes: how do you actually use it to keep your garden thriving? There are some simple, practical methods that don’t require fancy gear or a lot of technical know-how.
For starters, the classic watering can works just fine. It’s straightforward and lets you control water flow to individual plants. If you have a smaller garden or specific spots that need extra attention, this method is surprisingly effective. Just remember that it might get tedious if your garden is large.
Now, if you want something a bit more hands-off, setting up a drip irrigation system connected to your rainwater tank could be the way to go. It delivers water slowly and directly to roots, which can reduce waste and keep your plants happier. Yes, it requires some setup and maybe a bit of tinkering, but once running, it’s pretty low-maintenance.
Why bother with rainwater instead of regular tap water? Plants seem to respond well to rainwater because it’s free from chemicals like chlorine and fluoride, which are common in municipal water supplies. Plus, rain tends to be slightly acidic, which can help certain plants absorb nutrients better.
So, whether you’re pouring from a can or running a drip line, you’re feeding your garden something closer to what nature intended. It feels a bit more natural, doesn’t it? That little difference might be why your tomatoes taste better or your flowers bloom brighter when watered with rainwater.
Benefits to Your Garden
Soil Health
Rainwater is naturally softer and free from the chemicals often found in tap water, like chlorine and fluoride. This means it interacts differently with your soil, gently nourishing it without causing buildup of salts or minerals that sometimes happen with treated water.
Because rainwater is slightly acidic, it can help balance soil pH, making nutrients more available to plant roots. Over time, this can improve soil structure, encouraging beneficial microbes to thrive. I noticed that after switching to rainwater in my vegetable patch, the soil seemed less compact, and my plants looked happier — I guess the roots were breathing more easily.
Plus, rainwater often contains tiny amounts of dissolved nitrogen, a nutrient plants love. So, when you use it regularly, you’re not just watering—you’re feeding your garden. It’s a subtle benefit, but one that supports healthier growth and better yields.
Cost Savings

Collecting rainwater means you don’t have to rely solely on municipal water supplies for your garden. That’s a clear way to cut down on your water bill—no doubt about it. If your garden’s on the larger side or you have a strict watering schedule, the savings can add up surprisingly fast.
By using rainwater, you also reduce stress on city water systems during dry spells. This might not feel like a personal benefit at first, but I think it’s worth considering how even small efforts help wider communities. Plus, in areas where water restrictions kick in during summer, having a stored supply can keep your garden alive without penalty.
Of course, setting up a harvesting system has upfront costs. Still, many gardeners find that the money saved over time pays for the system within a few seasons. So, it’s both a practical and economical move. You end up paying less, but getting water that’s arguably better for your plants, too.
Maintaining Your System
Cleaning Tips
Keeping your rainwater harvesting system clean takes a bit of attention but isn’t too complicated. Start with your gutters—they catch leaves, twigs, and dirt that can easily block water flow. I find that using a small scoop or even your hands to remove debris works well. Flushing gutters with water afterwards helps clear out lingering dust.
Your storage tanks, on the other hand, deserve a little more care. You can’t just open them up and scrub like a bathtub. Instead, drain some water and rinse the inside walls carefully. A soft brush helps with algae buildup. Filters are probably the easiest to miss; clogged filters reduce water quality and flow. Clean them regularly by rinsing with clean water or replacing them when they look worn out. If you skip this, your plants might not get the cleanest water.
Seasonal Care
Before the rainy season kicks in, double-check your gutters and screens. Clearing out everything beforehand prevents sudden clogs when you expect heavy rain. I’ve learned the hard way that neglecting this step means unnecessary headaches later. Also, inspect pipes and connections for leaks or cracks. A small leak now will only get worse.
After the season settles down, it helps to drain your storage tanks partially, especially if they’ve collected leaves or sediment. Some users suggest adding a mild disinfectant to tanks occasionally, but I hesitate to recommend that unless you’re sure about the dosage. Lastly, disconnect hoses or cover openings to keep out debris and insects during dry months. It sounds like extra work, but it saves time fixing problems later—or wondering why your system suddenly stopped working.
Legal and Safety Considerations
Local Rules
Before setting up your rainwater harvesting system, it’s a good idea to check if there are any local rules about collecting rainwater. Sometimes, rules vary by county, city, or even neighborhood. You might think rainwater is yours to collect freely, but that’s not always true. Some places limit how much you can store or require permits for larger setups. To find out, try looking at your municipality’s website or contacting your local water authority. They often have guidelines or phone numbers to call. It may feel like an extra step, but skipping this might lead to fines or having to remove your system later. I once assumed my area had no restrictions—only to find a rule about maintaining overflow systems, which was a surprise.
Water Safety
Keeping the water safe and clean for your garden means thinking beyond just catching it. Standing water or poorly covered storage tanks can become breeding grounds for mosquitoes or bacteria. You want your plants to benefit, not suffer. Consider using fine mesh screens where water enters the tank to block leaves and debris. Regularly clean gutters and filters to avoid buildup of dirt or algae. It may sound like a hassle, but a little effort prevents foul smells and clogged pipes. Also, avoid storing water near sources of contamination like septic tanks or heavy vehicle traffic. While garden water isn’t for drinking, unsafe water can still harm delicate plants or soil health. Have you noticed a sudden plant wilt after using stored water? Sometimes, that’s linked to poor water hygiene.
Combining Rainwater with Other Water Sources
Using rainwater alone might not always meet your garden’s needs. Some seasons bring less rain than you’d hope. So mixing rainwater with other sources—like tap or well water—can keep plants thriving all year. You might start with rainwater first, saving other sources for dry spells. This way, you stretch your rainwater supply effectively.
When rainwater runs low, tap water is a common backup. It’s reliable but sometimes comes with minerals or chemicals that don’t suit sensitive plants. Well water is another option and often sits somewhere in between. It’s good to test the water quality to avoid surprises. Personally, I’ve switched between these sources depending on what my garden seemed to prefer—and it made a difference.
Managing multiple water sources also calls for smart watering habits:
- Water early in the morning or late in the afternoon to reduce evaporation.
- Use drip irrigation or soaker hoses to target plant roots directly.
- Collect soil moisture data or simply feel the soil to avoid overwatering.
- Prioritize rainwater for new or delicate plants, then reserve tap or well water for established greenery.
One question I often ask myself is whether I’m preserving water enough or just shuffling it around. Sometimes the answer isn’t clear, but staying mindful helps. Combining water sources can feel like juggling, but done thoughtfully, it keeps your garden healthy without wasting resources.
Rainwater Harvesting and Environmental Impact
Reducing Runoff
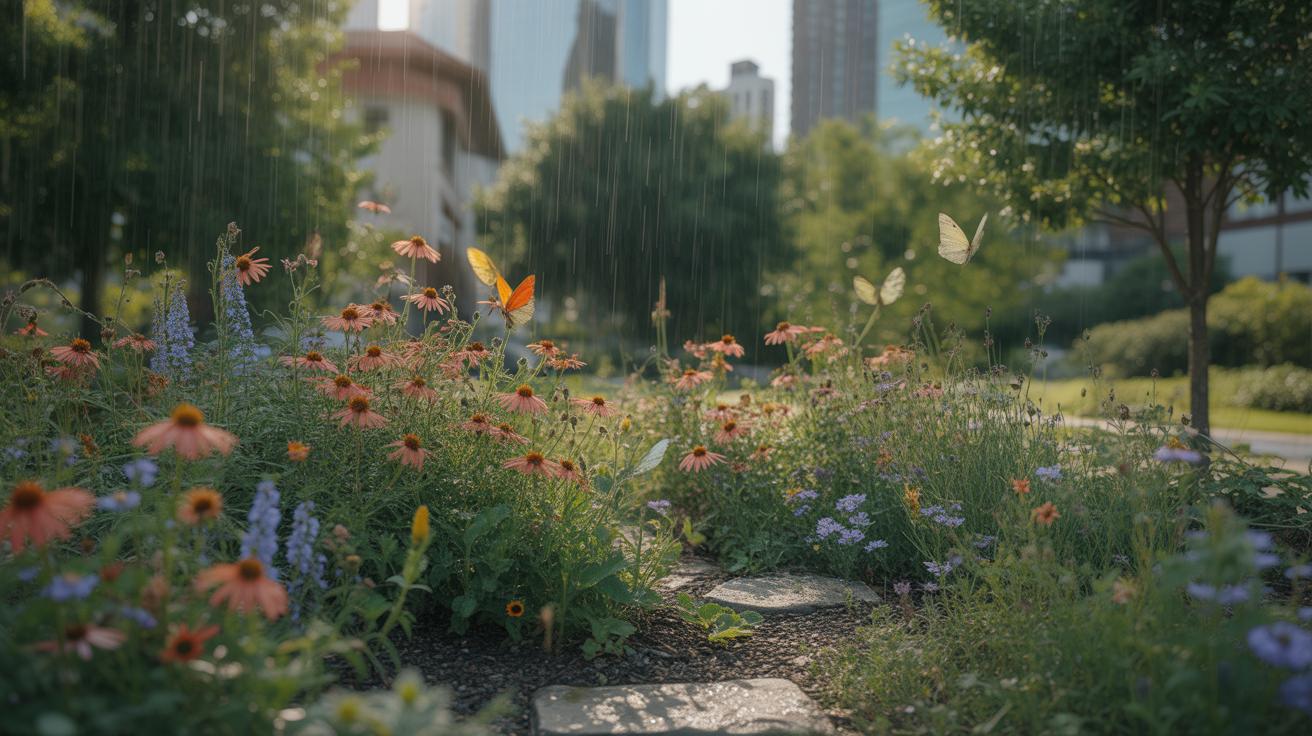
Catching rainwater right where it falls helps slow down the flow of water that would otherwise rush off your property. That runoff can cause problems—not just in your garden but for the surrounding areas too. When water pours quickly over hard surfaces, it can erode soil, washing away nutrients and plants. You might notice puddles forming or even minor flooding after heavy rains.
By collecting rainwater, you’re basically holding onto some of that moisture. It means less water aggressively moving downhill, reducing erosion and lowering flood risks. I’ve seen it firsthand—neighbors without rain barrels have struggling lawns after storms, while my garden stays stable.
Water Conservation
There’s something almost unsettling about reliance on municipal water for something as simple as watering plants. Using rainwater eases the demand on fresh water supplies—those underground aquifers and rivers—in ways that aren’t always obvious. Fresh water isn’t unlimited, and when we pull from those sources for non-essential needs, like watering gardens, it can strain local ecosystems.
Protecting natural habitats means keeping enough clean water flowing in streams and wetlands. Rainwater harvesting steps in by reducing that pressure. It’s not just about saving money on water bills (though that’s a plus). It’s about allowing nature around your home to keep doing its thing without interference. When you think about it, every collected drop is a small act of support to the life around you.
Planning Your Rainwater System
Assessing Needs
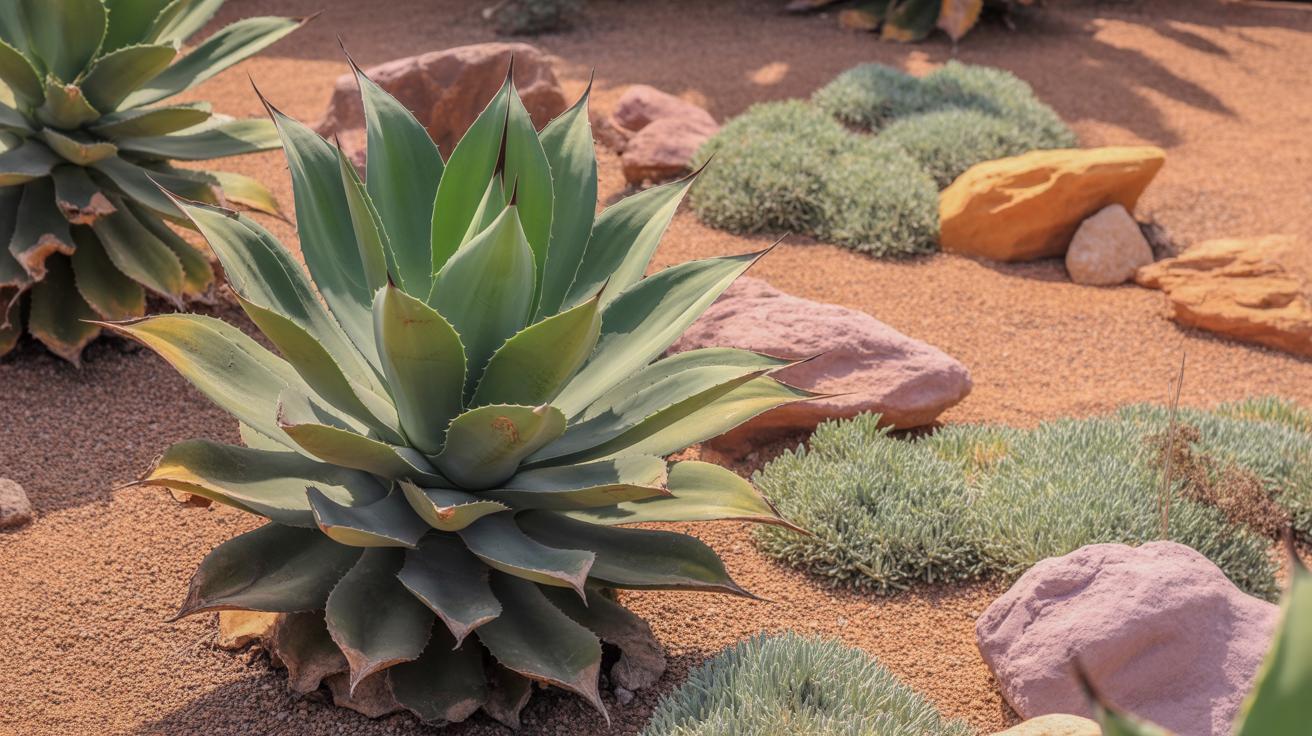
When planning a rainwater harvesting system for your garden, the first step is thinking about how much water your plants actually need. This depends on the size of your garden and the types of plants you’re growing. For example, a vegetable patch might need more frequent watering than hardy shrubs or native plants that thrive with less. You might quickly find yourself wondering, how much water does a square foot of soil really hold, or how much can my plants handle?
Try calculating your garden’s daily or weekly water requirements by estimating the square footage and considering the typical water usage for each plant type. A rough rule of thumb: many gardens require about half an inch of water per week, but this changes with climate and soil. Also, remember seasons and rainfall variability—your needs won’t be constant.
Simple Design Steps
Start small. Even a single barrel connected to a downspout can make a difference. Here’s a straightforward way to begin building a system:
- Choose a suitable collection surface, usually your roof—check its size and material (some roofs collect cleaner water than others).
- Install gutters and direct water into a storage container, like a barrel or tank, sized according to your estimated needs.
- Fit a simple filter or screen to keep debris out—this step sometimes gets overlooked but can save you troubleshooting later.
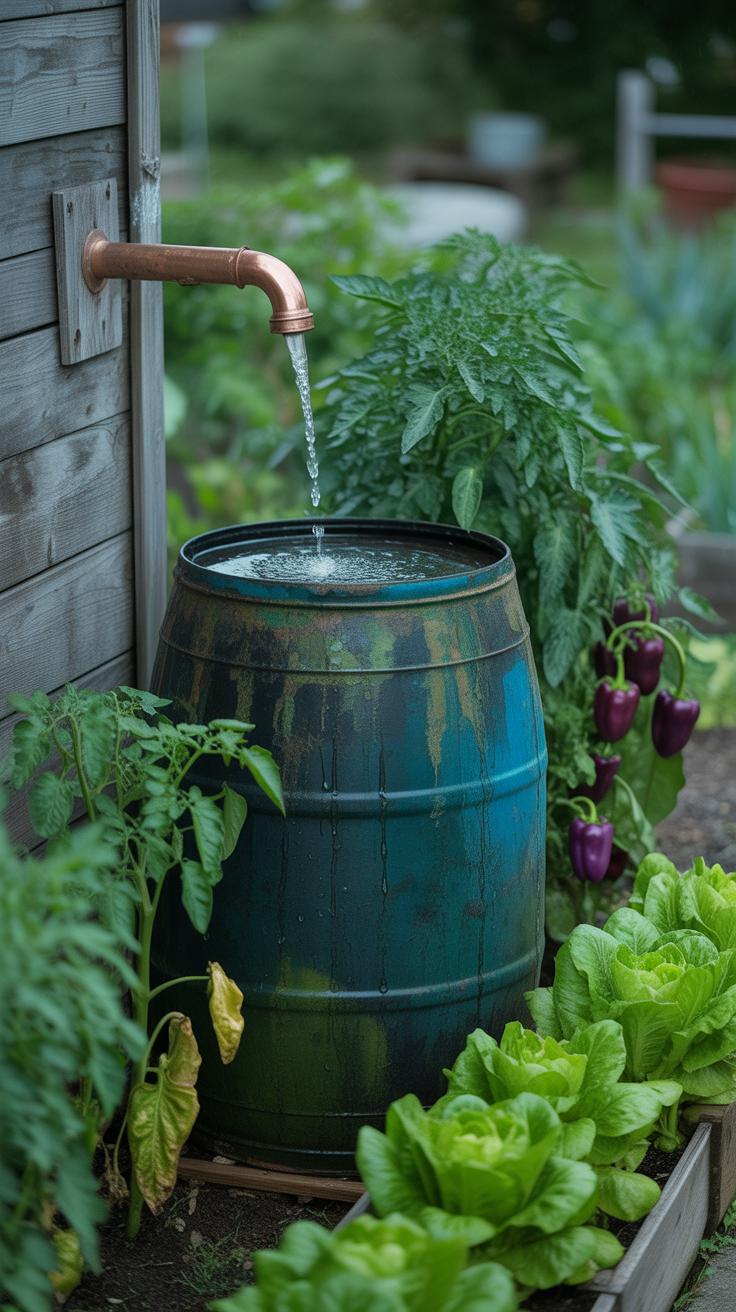
- Add a spigot or tap near the bottom for easy watering access.
- If you want, consider overflow outlets to avoid flooding when the tank fills.
It’s tempting to overbuild, but often simple setups work just fine. Think about how much space you have and how tricky maintenance might be—sometimes the simplest solution encourages regular use and care.
Conclusions
Using a rainwater harvesting system benefits your garden by saving water and money. It gives you a steady water supply, especially when tap water is scarce or expensive. The water collected is free from chemicals found in tap water, making it better for plants.
Installing this system is simple and helps you protect the environment. By collecting and using rainwater, you reduce runoff that can cause erosion. Your garden gains a natural water source that supports its growth and health over time. Try adding a rainwater harvesting system to your garden and see the difference it makes.


