Introduction
Propagating plants from seed indoors is a rewarding way to start your gardening journey right inside your home. It allows you to control the growing environment and see your plants sprout and grow from the very beginning. This guide will walk you through each step in a clear and simple way to ensure your success.
You will learn about choosing seeds, preparing the soil, caring for your seedlings, and so much more. Whether you want to grow flowers, herbs, or vegetables, these easy steps will help you enjoy gardening indoors even if you are a beginner.
Why Propagate Plants From Seed Indoors
Starting plants from seed indoors offers a level of control that’s hard to get outside, especially if you’re just beginning or don’t have much outdoor space. When you grow seeds inside, you choose exactly how much light, warmth, and moisture your plants get. It’s a bit like being their personal gardener, adjusting conditions day by day until they’re ready to thrive. That kind of control can make all the difference in whether your seedlings flourish or struggle.
Also, growing from seed opens up access to a huge variety of plants you might not find at your local nursery. You can experiment with unique vegetables, herbs, or flowers that call for early starts or specific conditions. You’re not limited to what’s currently available nearby.
There’s also a cost angle to consider. Seeds tend to be cheaper than buying established plants. And you get many more growing opportunities from one packet—kind of stretching your gardening budget further than with starter pots.
Protecting seedlings inside shields them from unpredictable weather—late frosts, pests, or heavy rain—things that can quickly derail outdoor starts. Plus, you extend the growing season. Plants get an early jump when outdoor conditions might still be cold or inhospitable.
Growing indoors lets you observe plants closely. You notice every tiny leaf or root progress, which is especially helpful if you’re new to gardening. It’s easier to catch problems like overwatering or nutrient gaps before things go too wrong.
If you’re just starting out, or live in an apartment or somewhere with only a small balcony, indoor propagation can be the only way to grow a garden. It’s practical and often less intimidating. Even if you do have garden space, starting seeds indoors can give you a head start so your plants are ready at the right time.
So, not everyone needs to go this route. But if you want more control, more variety, and a cost-effective way to nurture plants — especially from the very beginning — growing seeds indoors makes a lot of sense.
Choosing the Right Seeds for Indoor Growing
Picking the right seeds is more crucial than many beginners realize. Not every seed thrives indoors—that much I’ve learned the hard way. Some plants just need the fresh air and space of a garden, but others actually do quite well in pots by a sunny window.
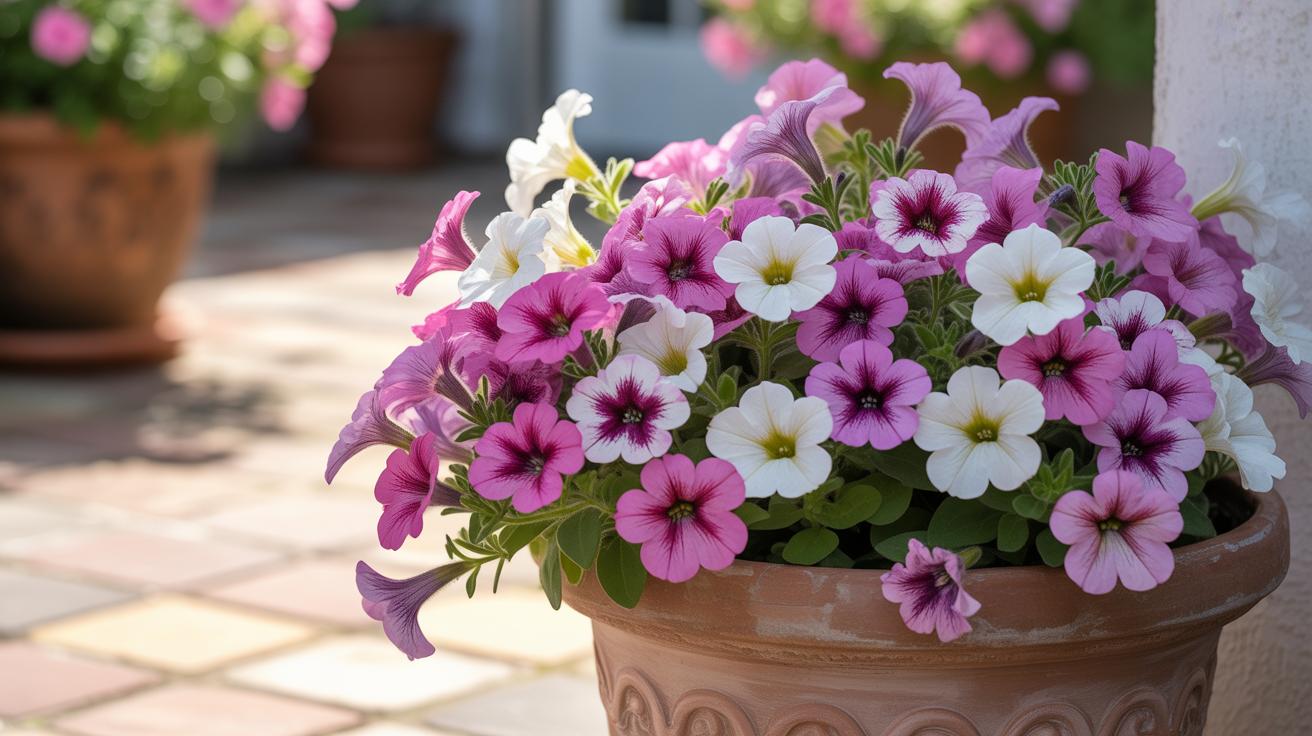
Vegetables like lettuce, spinach, and radishes usually do well inside because they don’t require deep soil or intense sunlight. Herbs such as basil, chives, and parsley also tend to sprout easily indoors—you just need to keep them cozy and watered. Flowers like marigolds, snapdragons, and nasturtiums often surprise with decent germination indoors, and they don’t demand too much fuss.
When you’re at the seed packet aisle, look carefully at the details. Seeds that say “good for containers” or “indoors” deserve a second glance. Avoid packets with expired dates or vague labels that don’t specify the seed source—germination rates may be low or unreliable.
Sources matter. I usually trust local nurseries or brands that specialize in organic or heirloom seeds. These often have better germination rates compared to cheap bulk packets from discount stores. It’s tempting to buy whatever’s cheapest, but saving a little on quality often ends up costing more in wasted effort.
Also, pay attention to the seed age—older seeds usually take longer to sprout and some may never. Sometimes buying fresh seeds can feel like an unnecessary step, but if you want healthy, vigorous plants, it’s worth the little extra investment.
Are you willing to experiment with unusual plants? Or would you rather stick to proven, beginner-friendly species? The choice might seem small now but can shape your whole indoor gardening experience.
Preparing Your Seed Starting Area
Choosing a Location
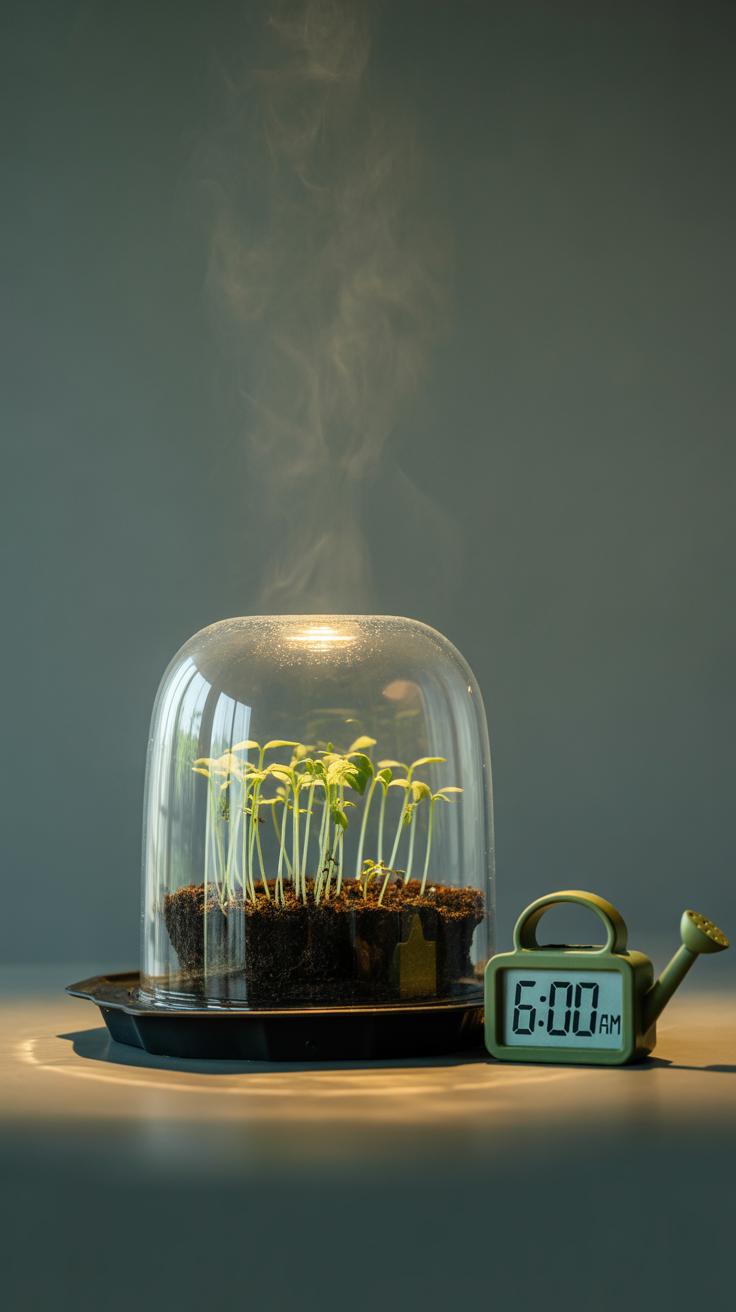
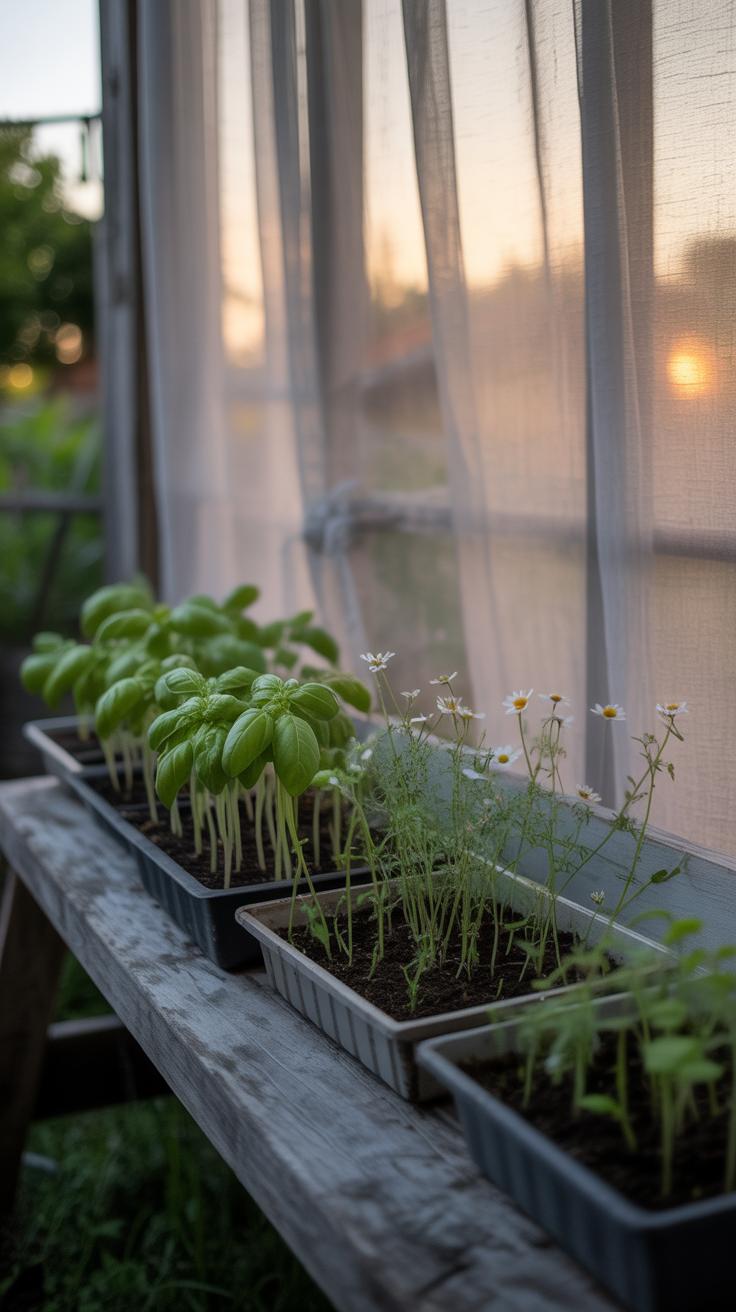
Finding the right spot indoors for starting seeds might take a little trial and error. You want a place that stays consistently warm—somewhere around 65 to 75 degrees Fahrenheit is usually good—without sudden drafts or cold floors. A quiet corner near a south-facing window often works well, as it lets in plenty of natural light. But what if your windows are small or shaded? Then you might need to get creative with supplemental lighting. Avoid busy areas where your setup might get bumped or disturbed. I usually pick a kitchen counter or a spare desk by the window, but it depends on your space and daily routines.
Warmth is essential because many seeds won’t germinate well if it’s too cold. If you notice your space getting chilly at night, consider a heating mat designed for seed trays—it can really make a difference. Just be mindful not to overheat; sometimes I’ve seen seedlings dry out too quickly with too much heat.
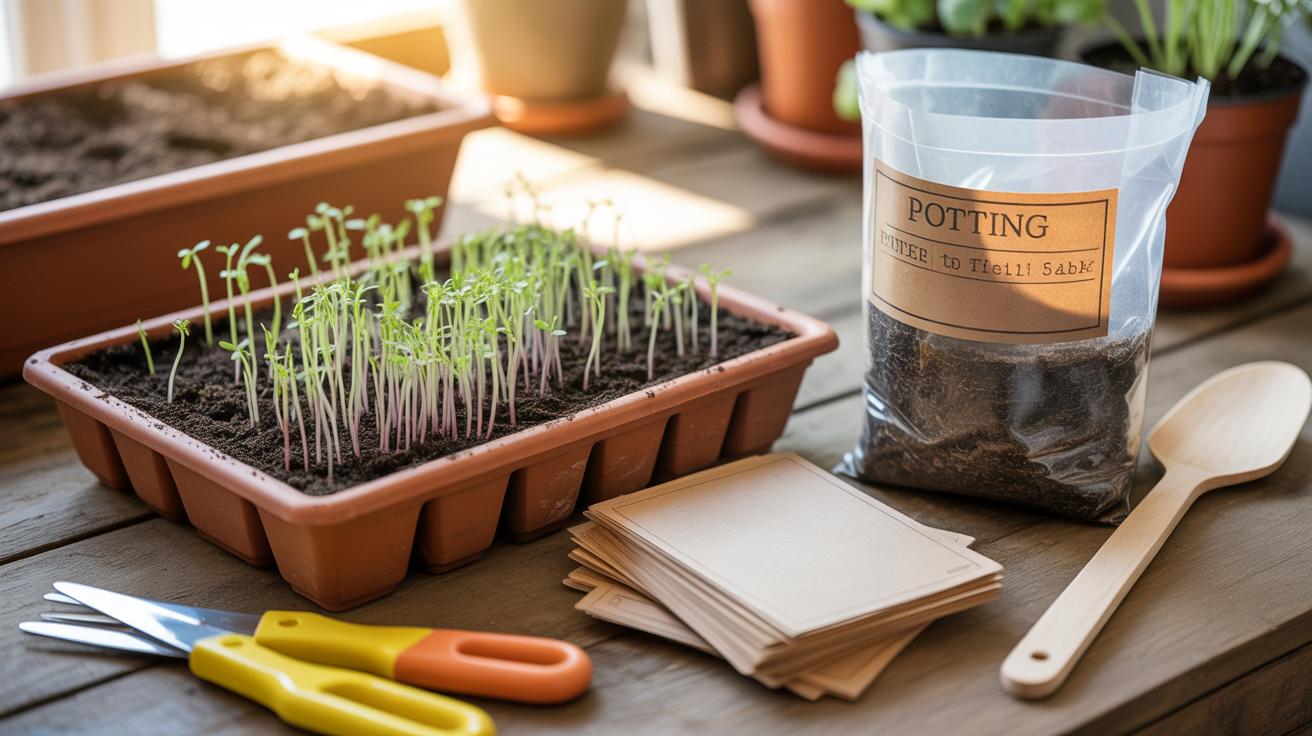
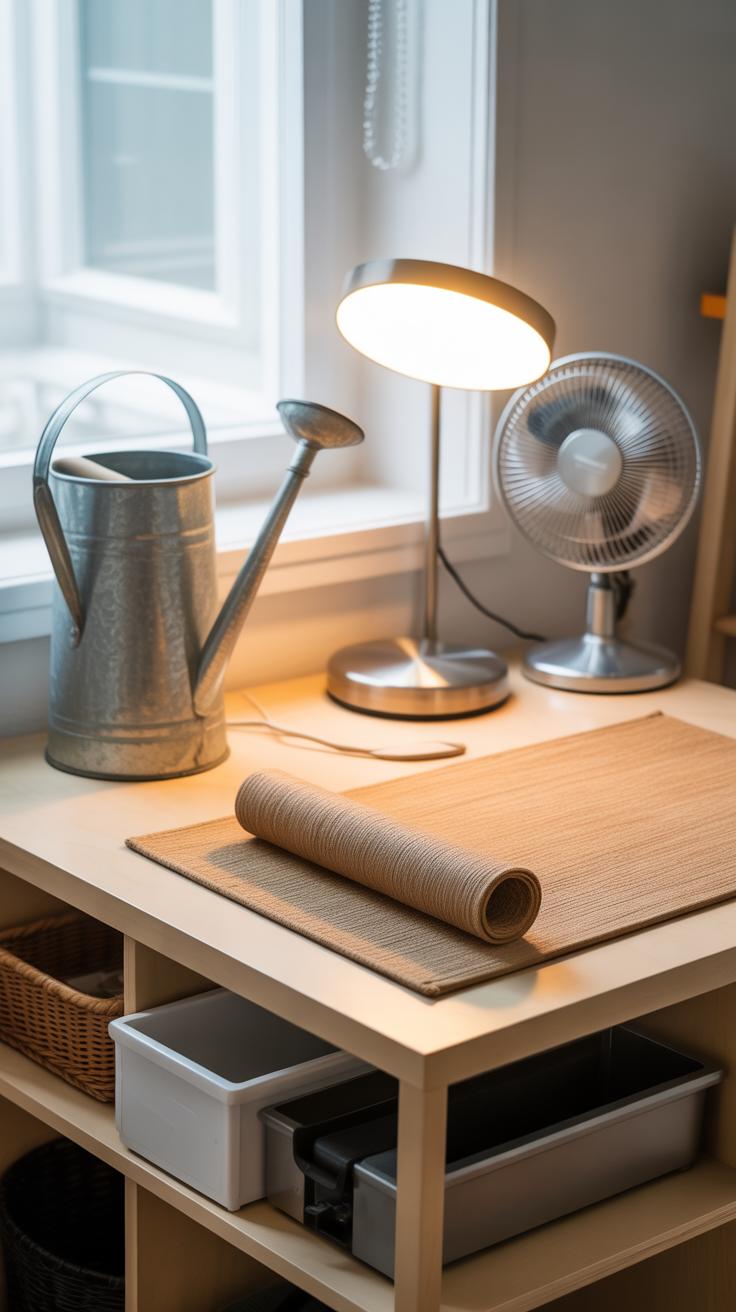
Tools and Materials Needed
Getting the right gear at the start helps you avoid frustration. You’ll want:
- Seed trays or containers with drainage holes—these keep water from pooling and drowning your seeds.
- Clear plastic covers or humidity domes to keep moisture steady during germination.
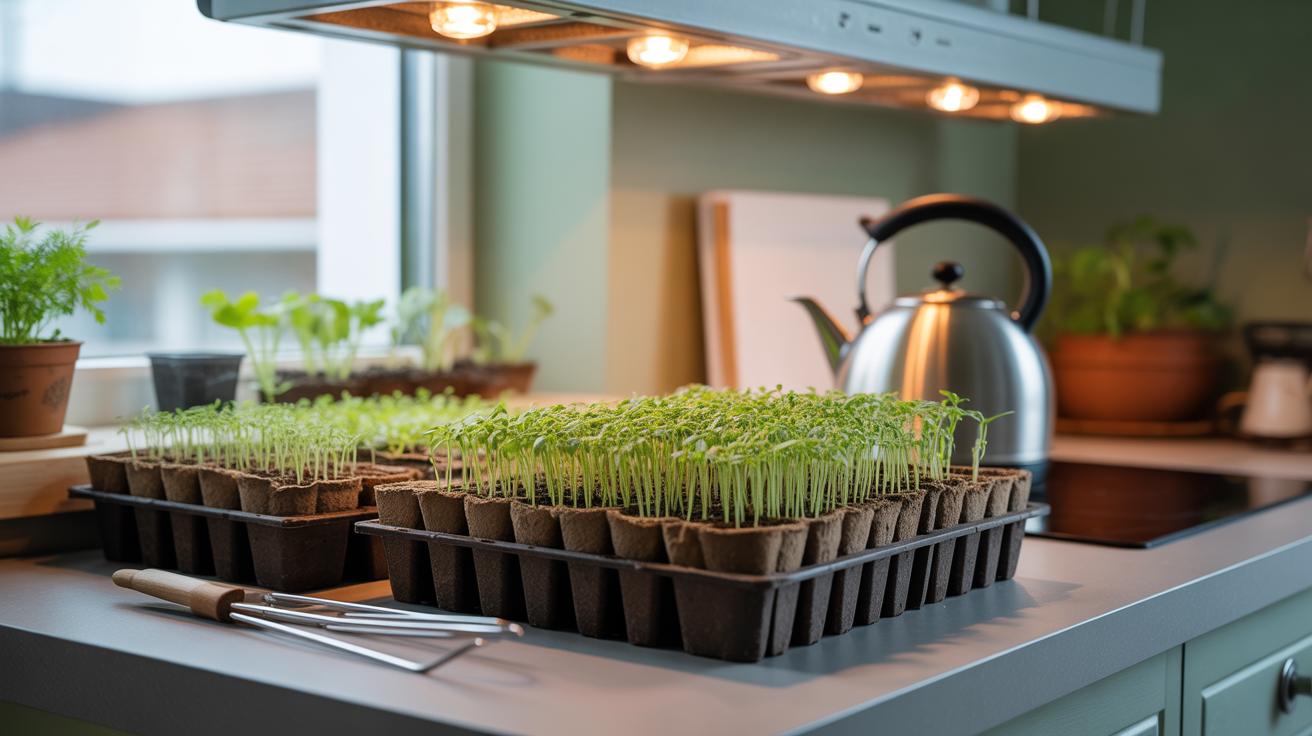
- Grow lights, especially if natural light is limited or inconsistent—LEDs are popular because they use less electricity and don’t get too hot.
- A heating mat to maintain steady soil warmth in cooler rooms.
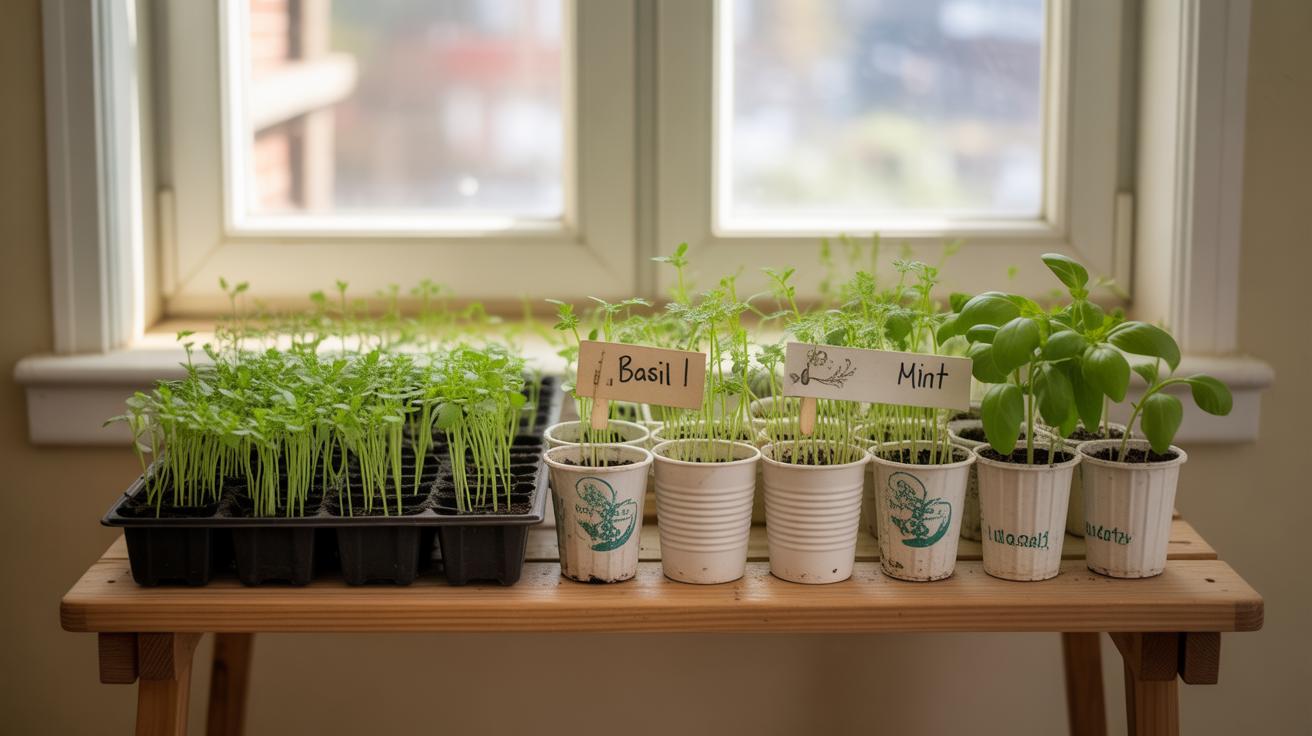
- Labels to mark what you’ve planted where (trust me, it gets confusing fast without them).
- A spray bottle for gentle watering, so you don’t disturb the tiny seeds.
For cleanliness, use fresh containers or make sure you’ve sanitized old ones to prevent mold or diseases. This was something I overlooked during my first try; it slowed down germination and caused some seedlings to fail unexpectedly.
Keeping It Clean and Bright
Cleanliness here isn’t just about looking tidy—it directly impacts seed health. Wash your hands before handling seeds, and wipe down trays or surfaces regularly. Dust and microbes can build up faster than you’d think. Also, keep the area clutter-free. That way, you can spot any issues—like mold or pests—early. Brightness is key, too. Even the best seeds won’t sprout well in dark corners. If natural light runs short in your chosen spot, grow lights can fill the gap. Remember, though, too much heat or light can stress seeds, so balance is what you’re after.
Preparing the Seed Starting Mix
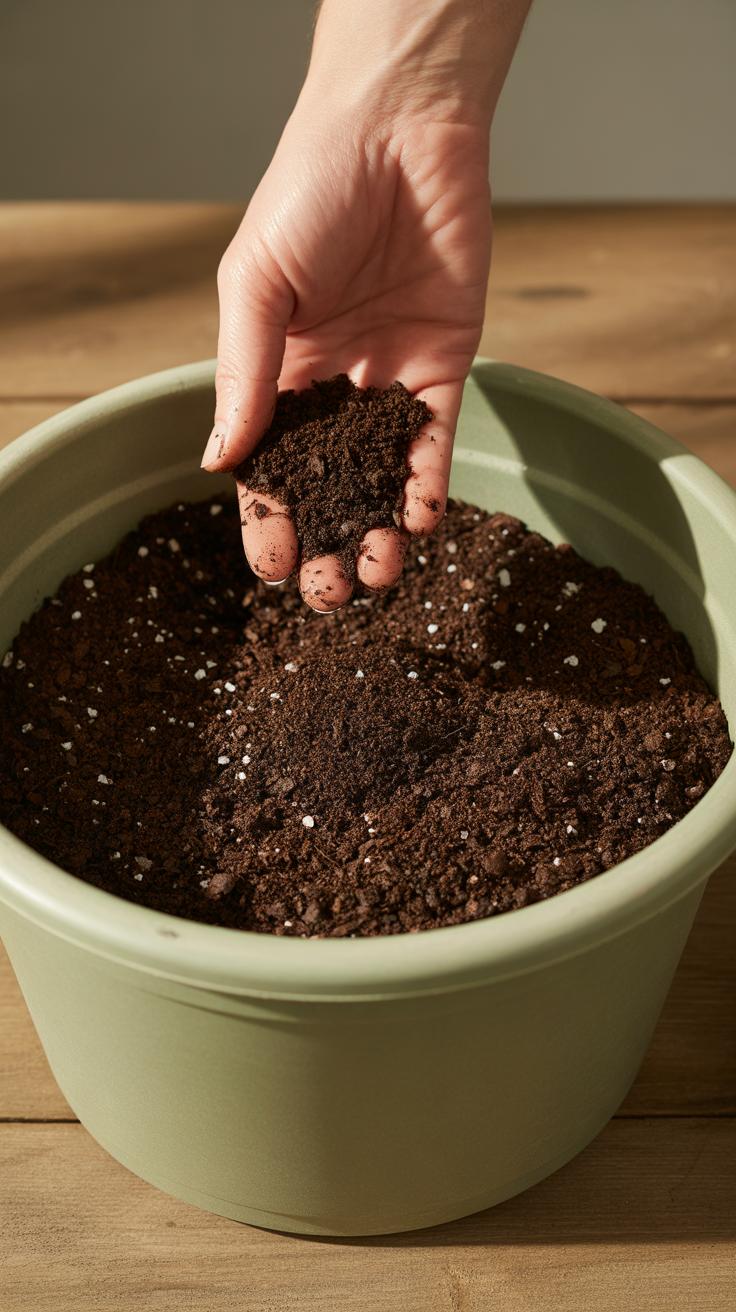
Picking the right mix for starting seeds isn’t just about convenience. It affects how well your seeds sprout and how strong the seedlings grow at the beginning. A good seed starting mix needs to be light enough so that tiny roots can easily push through but still hold enough moisture to keep seeds hydrated without drowning them.
Think about it like this: your seed mix has to strike a balance between moisture retention and drainage. If it’s too dense or soggy, seeds might rot before they sprout. Too dry or crumbly, and the seeds might not get enough water to kick start germination. The texture should be soft, fine, and consistent.
When selecting or making your own mix, keep these properties in mind:
- Lightness – so roots aren’t suffocated or slowed down
- Good moisture retention – but no standing water
- Proper drainage – excess water should escape
- Fine texture – to ensure close contact with the seed
If you’re tempted to buy a commercial seed starting mix, look for one with no added fertilizers yet. Those can be too strong for young seedlings. On the other hand, making your own mix isn’t too difficult. Many gardeners use a simple formula like equal parts peat moss or coconut coir, vermiculite, and perlite. This combo tends to hit the sweet spot for moisture and air.
One thing I found is that coconut coir can sometimes vary a bit in quality—sometimes it holds too much moisture, sometimes not enough. So if you try making your own, it’s worth testing small batches first. The key question: does the mix feel damp but not soggy? If yes, you’re probably on the right track.
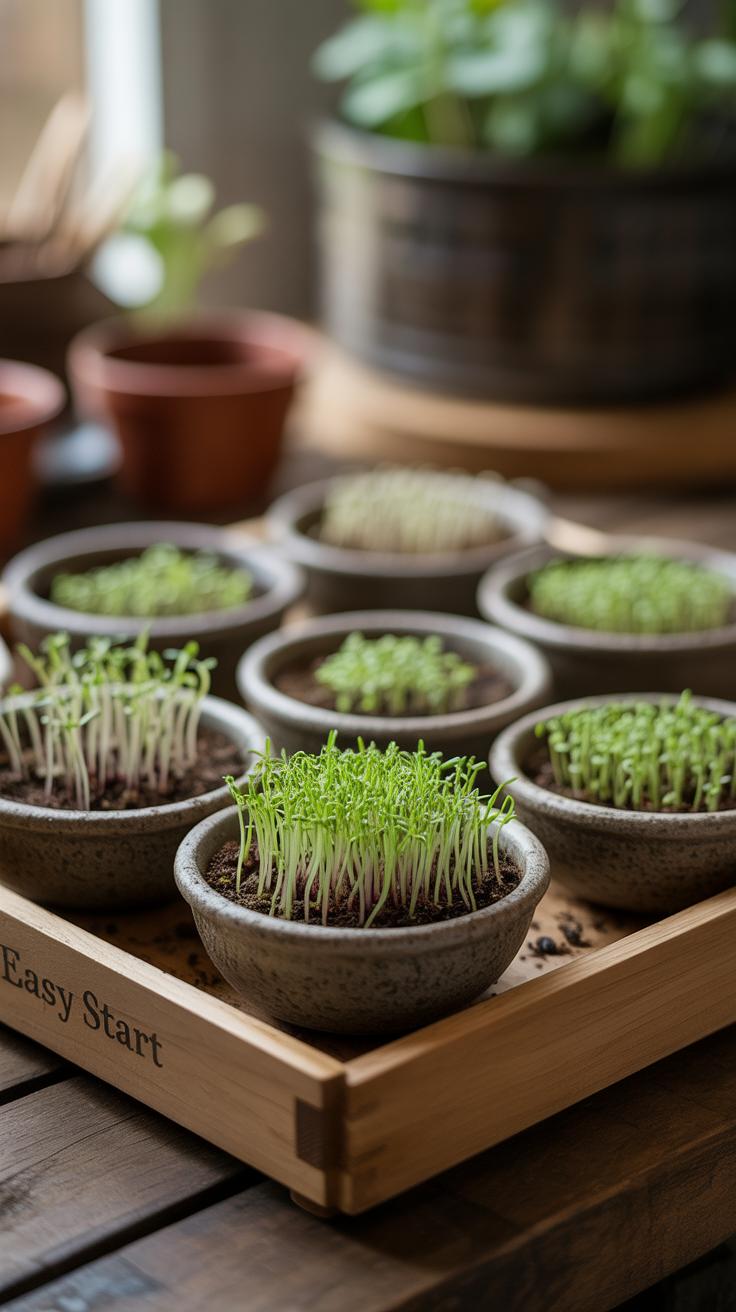
Sowing Seeds Indoors Step By Step
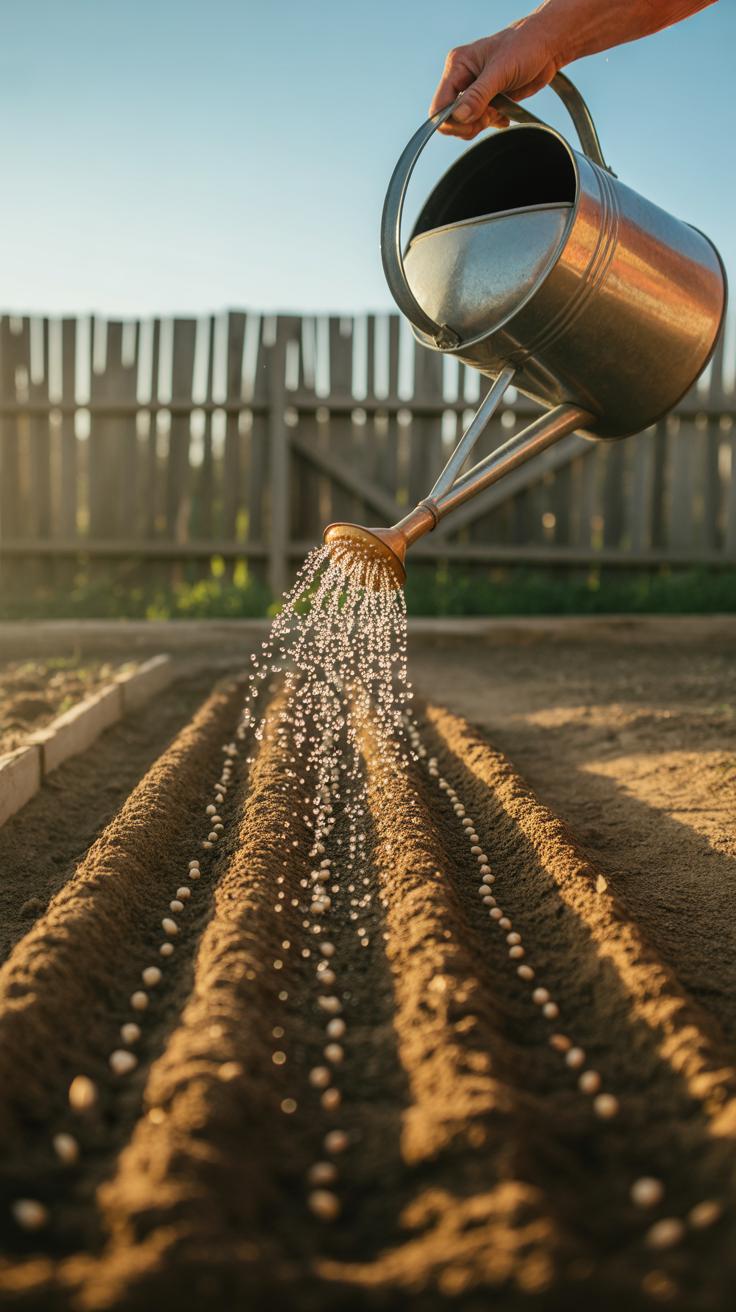
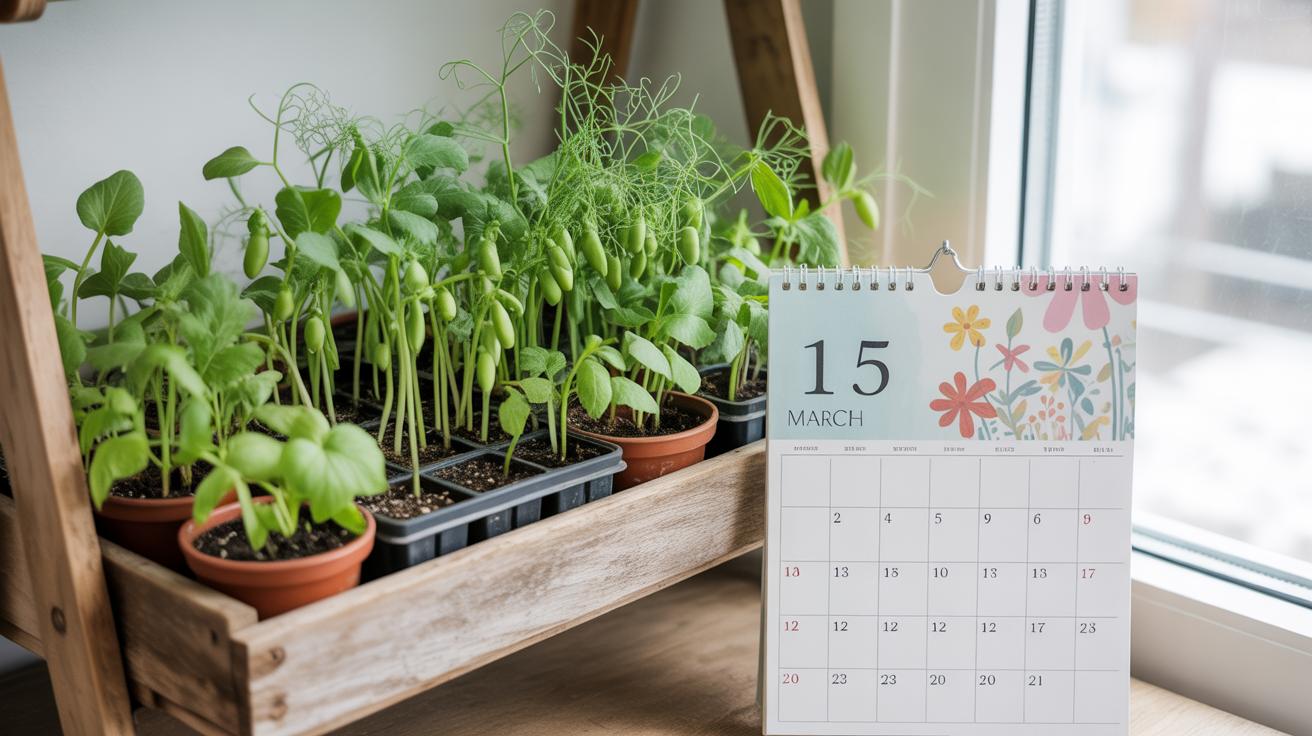
Once you have your seed starting mix ready, it’s time to plant your seeds. The depth at which you place your seeds can really affect if they sprout or not. A general rule is to plant seeds about twice as deep as their size. Tiny seeds like lettuce or herbs should barely be covered with soil—sometimes just pressed on the surface. Larger seeds, like beans or peas, can go deeper, around one inch or so. But of course, this can vary. If you bury them too deep, they may never reach the surface. Too shallow, and they might dry out.
Spacing also matters. Squishing seeds too close together means weaker seedlings and more thinning later on. If you have small pots or seed trays, place seeds about an inch apart. That gives each seedling room to grow without fighting for nutrients early on. Crowding can stunt growth and make damping-off disease more likely.
Watering right after sowing is a bit tricky. You want the soil moist but not soaked. I usually use a spray bottle or gently pour water around the edges to avoid disturbing tiny seeds. Overwatering can make seeds rot; underwatering dries them out before they even sprout. In my experience, consistent, gentle moisture helps keep those seeds happy. It might take a couple of tries to get it perfect, but you’ll get there.
Creating the Right Conditions for Seed Germination
Temperature Control
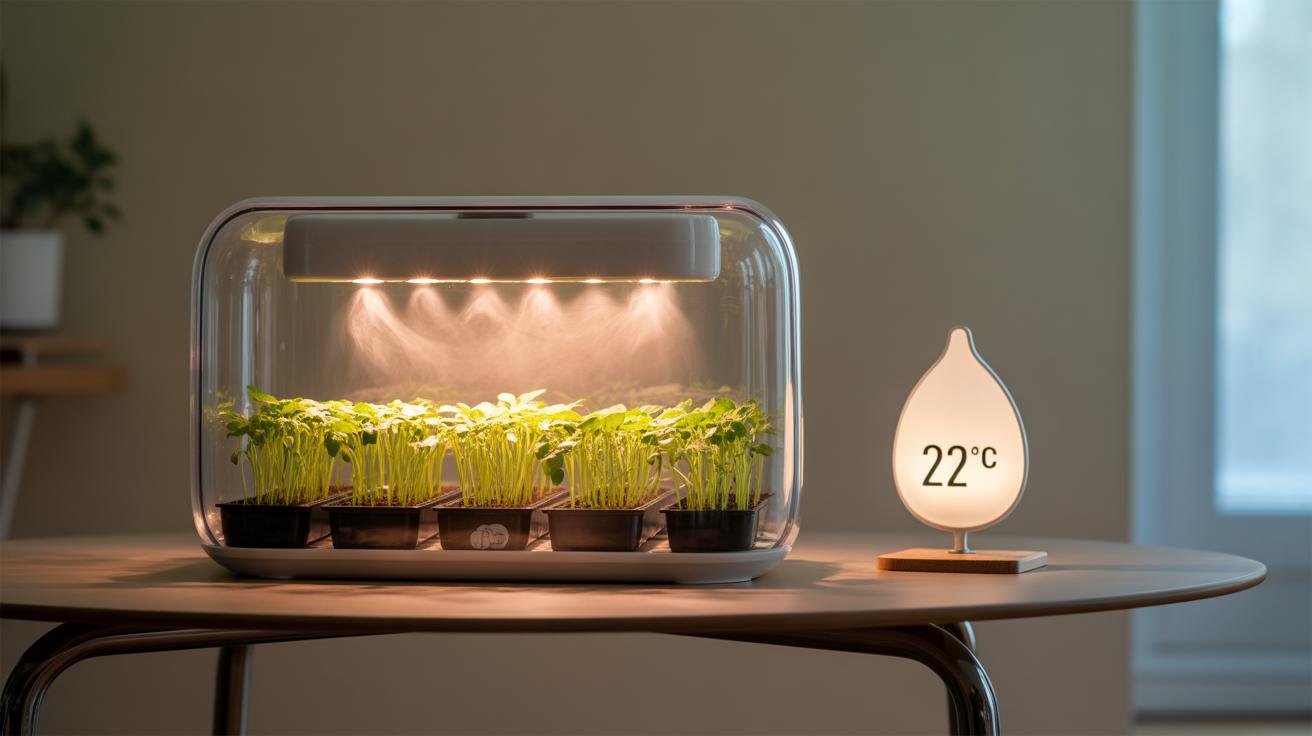
Most seeds prefer soil temperatures between 65°F and 75°F to start germinating well. If it’s cooler than that, you might notice seeds taking longer to sprout, or not sprouting at all. I once set up my seed trays near a chilly window, thinking it would be fine—big mistake. The seed packets usually give a temperature range, so check those before starting.
Keeping soil warm can be simple. You can use heating mats designed for seed starting, which sit under your trays and gently raise the temperature. If you don’t have one, placing trays on top of the fridge or near a radiator can help, but watch out for overheating or drying out the soil. A bit of trial and error might be involved.
Temperature isn’t just about warmth—fluctuations can also delay germination. Avoid cold drafts and extreme heat to keep things steady. It’s almost like seeds need a cozy, balanced environment to coax them out.
Humidity and Light Needs
Humidity plays a surprisingly big role at this stage. Seeds need moisture around them, not just in the soil but also in the air above. A humid atmosphere prevents the surface from drying out too fast, which can stop sprouts from making it through the soil. Covering seed trays with clear plastic domes or wrapping them loosely with plastic wrap works well to trap moisture.
Once your seeds break soil, humidity needs shift. Too much moisture lingering can encourage mold or rot, so it’s good to vent covers slightly or remove them to improve airflow. Remember, the baby plants aren’t just tiny moisture sponges—they need fresh air too.
Light also changes importance after sprouting. Before germination, light isn’t necessary for many seeds. But, right after, it becomes critical. Some seedlings stretch and get leggy without enough light—something I’ve seen firsthand and which is hard to fix once started. Position your seedlings near south-facing windows or use grow lights set about 2-4 inches above the plants. You might have to adjust height daily as seedlings grow.
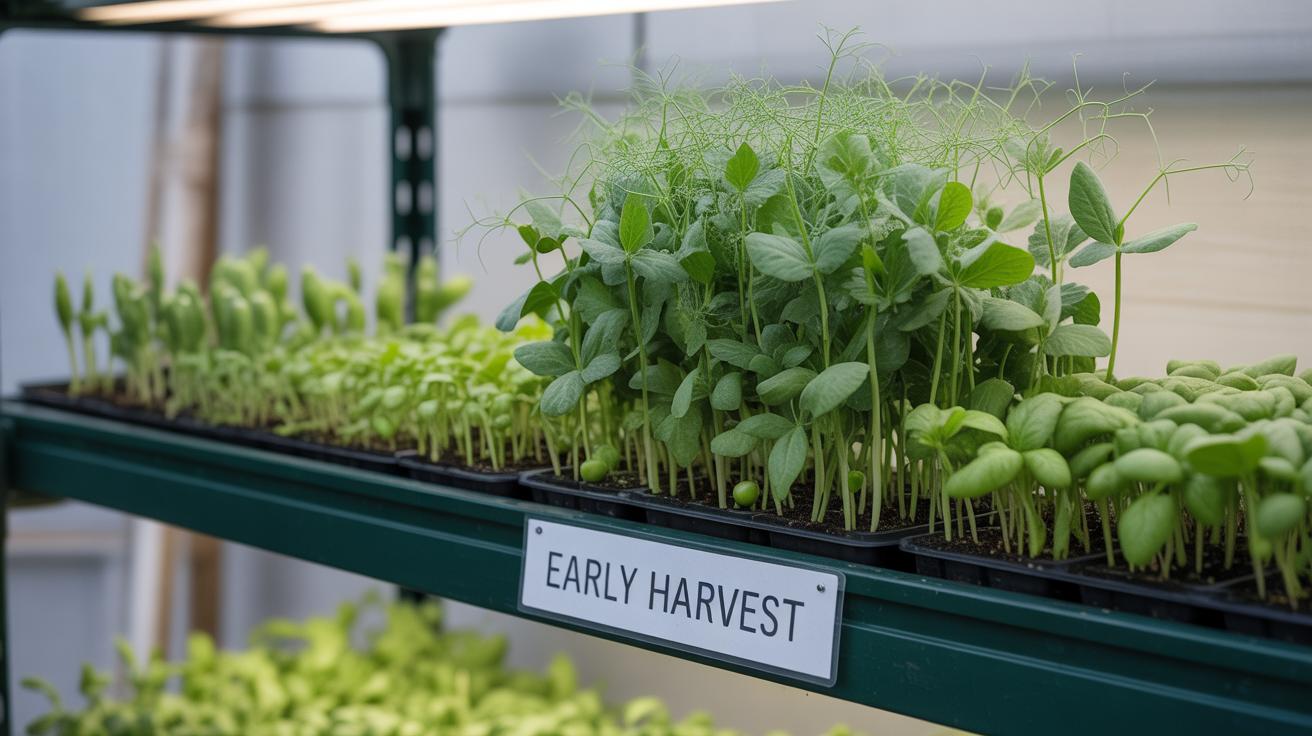
Caring for Seedlings After Germination
Once your seedlings push through the soil, the care routine shifts considerably. At this stage, the biggest mistake I often see people make is overwatering. Seedlings don’t need drenched soil all the time—just keep the surface moist but not soggy. You can tell when they need water by gently touching the soil; if it’s dry an inch down, it’s time to water.
Light is equally crucial. Seedlings may stretch or lean toward a window if the light is weak, so you might have to move them closer or adjust your grow lights. But too strong light can dry them out quickly, so it’s a bit of a balancing act. A good tip I’ve learned: rotate the seedlings regularly to encourage even growth.
Watering and Feeding Seedlings
Watering seedlings often means a light touch. You don’t want to flood their roots, but let’s be honest—it’s easy to mess this up when you’re eager to see results. Usually, watering every couple of days works, but it depends on your home’s humidity and temperature.
Feeding seedlings is something to consider only after they develop their first true leaves, not the initial seed leaves. Start with a diluted, balanced liquid fertilizer—about a quarter strength. Feeding too early or too strong can stress or burn the tiny roots. I remember once rushing it and ending up with droopy seedlings. Lesson learned.
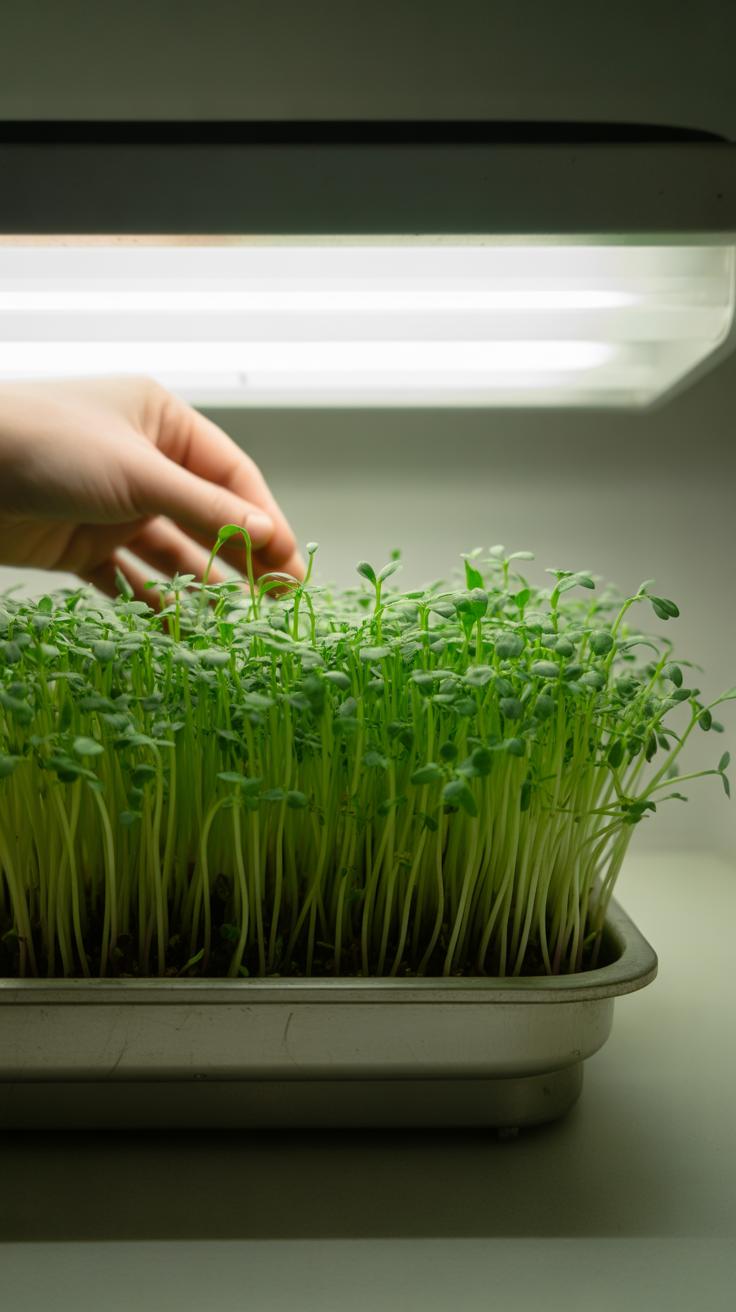
Thinning Seedlings
Thinning is crucial if you sow several seeds in one spot, which many beginners tend to do. Crowded seedlings compete for light, water, and nutrients. Removing the weaker ones early lets the stronger get enough resources and grow sturdier.
When thinning, gently snip the smaller seedlings at soil level rather than pulling them out. This avoids disturbing the roots of the survivors. I find it hard to decide which to remove sometimes, especially when they all look so fragile and promising, but picking the healthiest ones usually does the trick.
Do you ever wonder if thinning slows progress? It might feel like it, but it actually helps the remaining plants develop better in the long run. So, thinning isn’t just about reducing numbers; it’s about giving your seedlings the best shot at thriving indoors.
Hardening Off Seedlings Before Transplanting
You might wonder why seedlings that look healthy indoors suddenly struggle when moved outside. The answer lies in their need to adjust. Hardening off means giving your seedlings a chance to get used to the harsher world outdoors—brighter light, cooler temperatures, and wind—all at once, that can shock them. If you skip this gradual acclimation, your seedlings may wilt or stop growing.
Think of it this way: seedlings started indoors live in a very controlled environment. Sudden exposure to sun, wind, or chilly air can stress their delicate leaves and stems. They need time. The process lets their cells toughen up, their roots strengthen, and their ability to handle natural weather cues improve. Without this, you risk damaging your young plants before they’re even properly planted.
Try hardening off in stages over 7 to 10 days. Start by setting seedlings outside in a shady, protected spot for just an hour or two. Then increase the time daily, slowly introducing direct sunlight for brief periods. Wind can be mild at first—maybe move pots behind a fence or tarp to block strong gusts. And at night, bring them back indoors until they’re used to cooler temperatures.
Here’s a simple schedule you could follow:
- Day 1-2: 1-2 hours outside, mostly shade
- Day 3-4: 3-4 hours, some morning sun, shield from wind
- Day 5-7: Gradually increase sun exposure to 5-6 hours
- Day 8-10: Leave seedlings outside overnight if weather permits
Be alert for signs of stress—drooping leaves, discoloration. If that happens, dial back the exposure a bit. Personally, I found that watching how my seedlings respond beats any fixed rulebook. Every plant seems to have its own pace.
Does it feel a bit tedious? Maybe, but this slow adjustment often means the difference between a plant that bolts fast to life in your garden and one that struggles to survive at all.
Transplanting Seedlings Indoors or Outdoors
Choosing the Right Time to Transplant
You might wonder when’s the best moment to move your seedlings. A good rule is to wait until they have at least two sets of true leaves. The tiny first leaves (cotyledons) don’t count—those are just for early growth. When you see sturdy leaves beyond that first pair, your seedlings are usually ready. Another sign? Roots poking out of the drainage holes or circling the bottom of their current container.
Timing also depends on your environment. If you’re moving plants outdoors, make sure the risk of frost has passed and the soil has warmed. I once transplanted too early and lost most of my seedlings overnight—lesson learned. Indoors, you can be less worried about weather but pay attention to space. Crowded seedlings slow down or get leggy, which makes transplanting tougher.
Transplanting Techniques
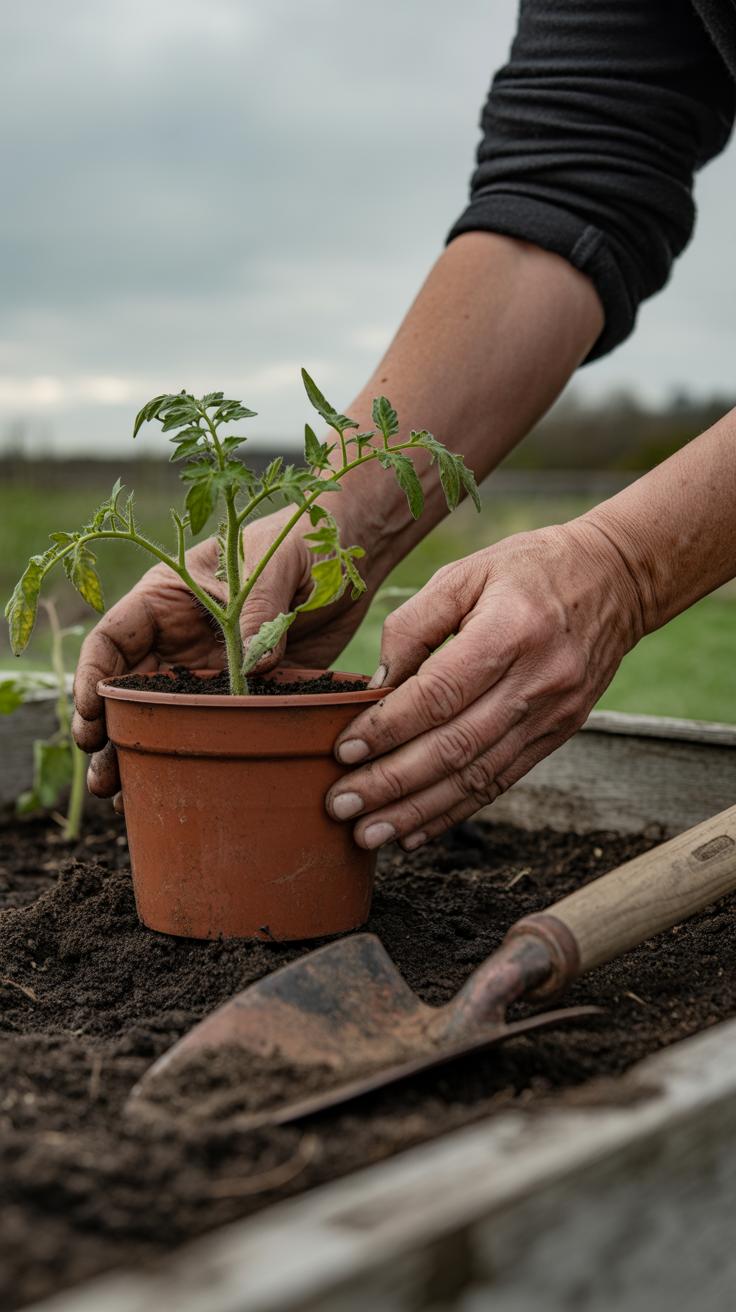
Handling seedlings requires some care—or at least patience. Start by gently loosening the soil around the roots. You can squeeze the container slightly or tap it to release the root ball, but avoid yanking. Roots are sensitive; damage can stunt growth or kill the plant.
When you place seedlings into larger pots or garden beds, dig a hole a bit bigger than their root ball. Place the seedling carefully, making sure the roots are spread out, not bent or crowded. Fill the soil around it firmly but not packed like cement. Press lightly to remove air pockets, which can dry roots.
Water right after transplanting. Not too little, not too much—just enough to moisten the soil and help the roots settle. In my experience, seedlings feel a bit shocked after transplanting. They might droop for a day, but don’t let that discourage you. With patience and proper care, they usually bounce back faster than you expect.
Troubleshooting Common Seed Starting Problems
Recognizing Problems Early
You’ll notice issues with seedlings if you pay close attention. Sometimes, seedlings just fail to germinate, leaving bare soil where green should appear. That can be frustrating, but poor germination often shows itself quickly after sowing.
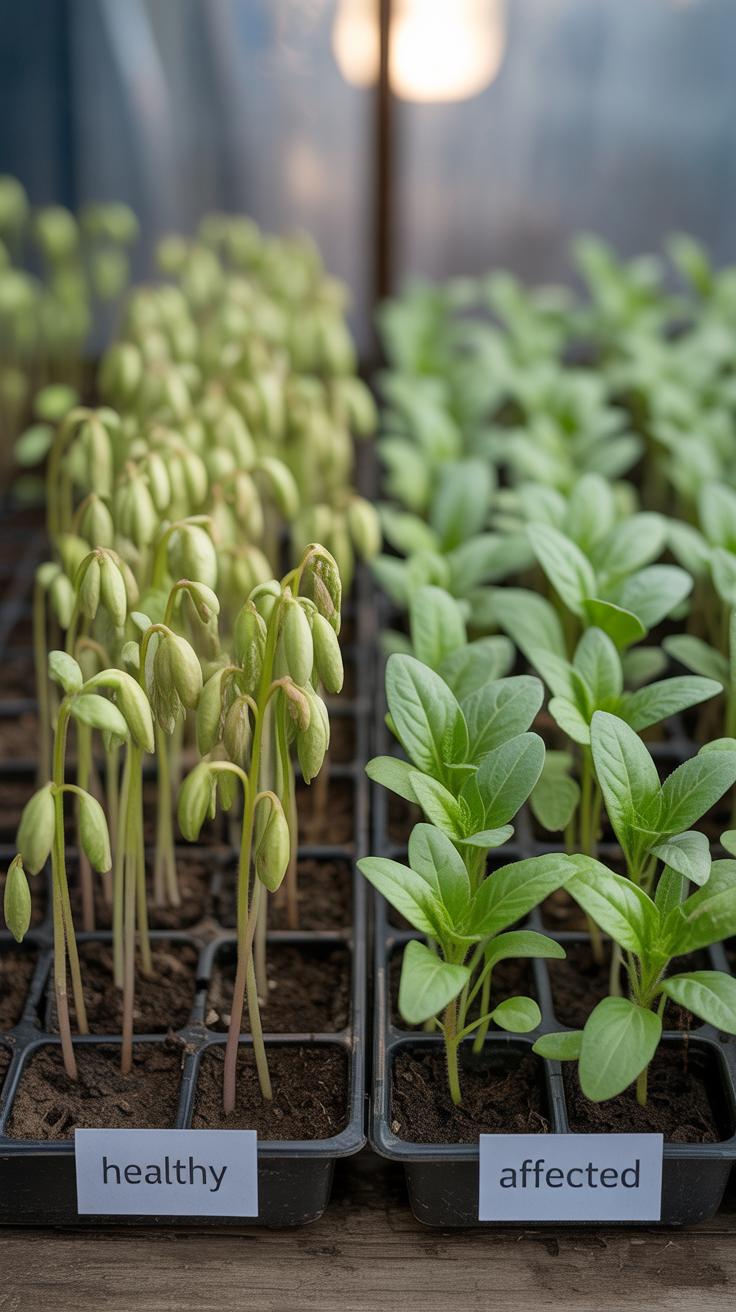
Damping off is another common trouble. This fungal problem causes young seedlings to suddenly wilt, collapse, or develop thin, dark stems at soil level. If you see these symptoms, the seedlings won’t last long—unless you act fast.
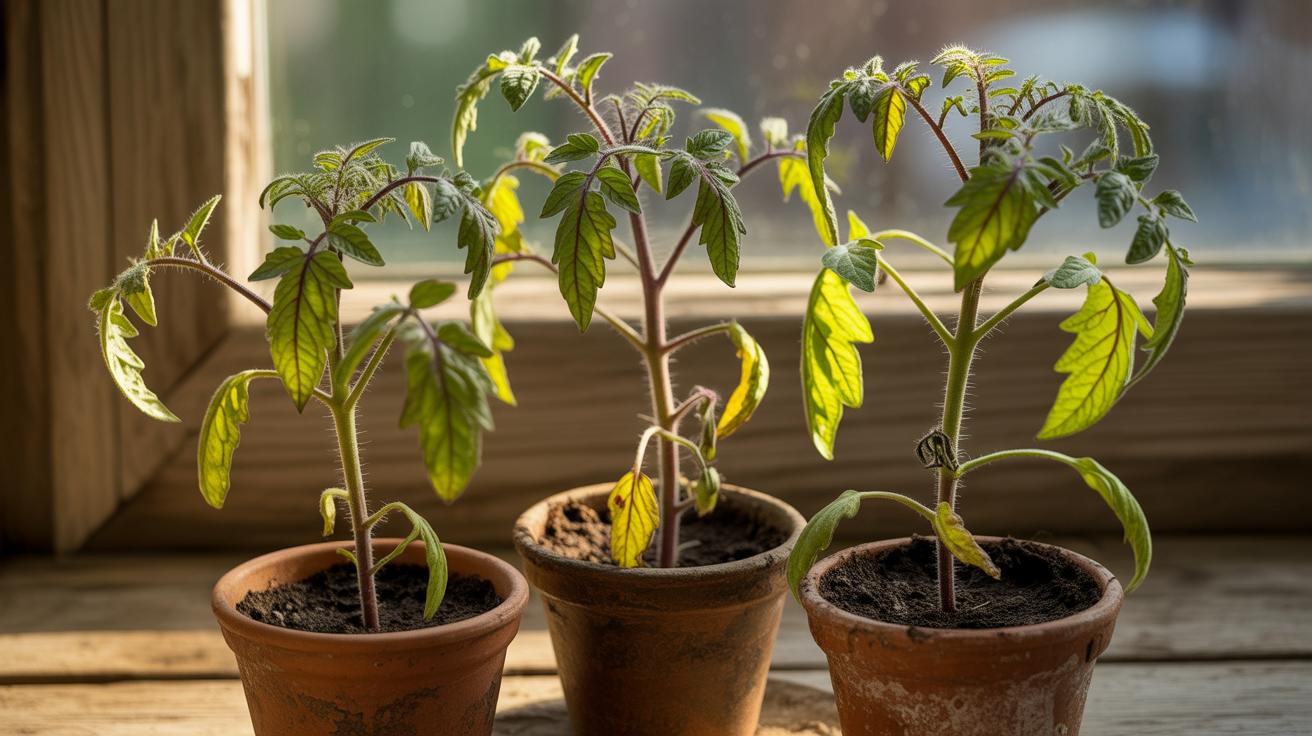
Leggy seedlings stretch awkwardly tall, with weak, thin stems leaning toward the light. It’s a sign they’re not getting enough light or maybe the temperature is too high. You’ll spot this when seedlings look more spindly than healthy.
Simple Solutions and Preventive Tips
To fix poor germination, check seed freshness and ensure the soil stays moist but not soaked. Sometimes seeds just need a bit more patience, but if nothing sprouts after a couple of weeks, it might be time to try a different batch.
Damping off almost always comes down to too much moisture and poor air circulation. Try letting the top dry out between waterings, and make sure your seed trays aren’t overcrowded. Using sterile seed-starting mix and clean containers can really help too.
Leggy seedlings? Move them closer to a window or under grow lights. Turning them regularly can prevent bending in one direction. Cooler temperatures here and there won’t hurt either; warmth encourages stretching.
Early detection saves seedlings. If something looks off, try adjusting conditions right away. Sometimes small tweaks make all the difference before problems get out of hand. Growing from seed indoors isn’t always smooth, but troubleshooting helps you learn and improve.
Conclusions
Starting plants from seeds indoors gives you a front-row seat to watch your plants develop. You control how and when they grow, which can lead to healthier plants and a more enjoyable gardening experience. Remember, preparing your space, choosing good seeds, and caring for your seedlings are key to success.
With patience and attention, your indoor seedlings will grow strong and ready to thrive outside or continue as indoor plants. Keep experimenting and learning as you go, and your confidence and skills will grow just like your plants.


