Introduction
Starting seeds indoors is a practical way to grow plants successfully at home. It makes sure your plants get a great start before moving outside. This method helps you watch over the seeds’ growth and protect them from bad weather or pests.
Indoor seed starting may seem hard at first, but with the right steps, it becomes easy and fun. This article explains how to prepare your space, sow the seeds correctly, and care for your young plants. You will learn tips to make sure your seedlings grow strong and healthy.
Preparing Your Indoor Seed Starting Area
Choosing the Right Spot for Seed Starting
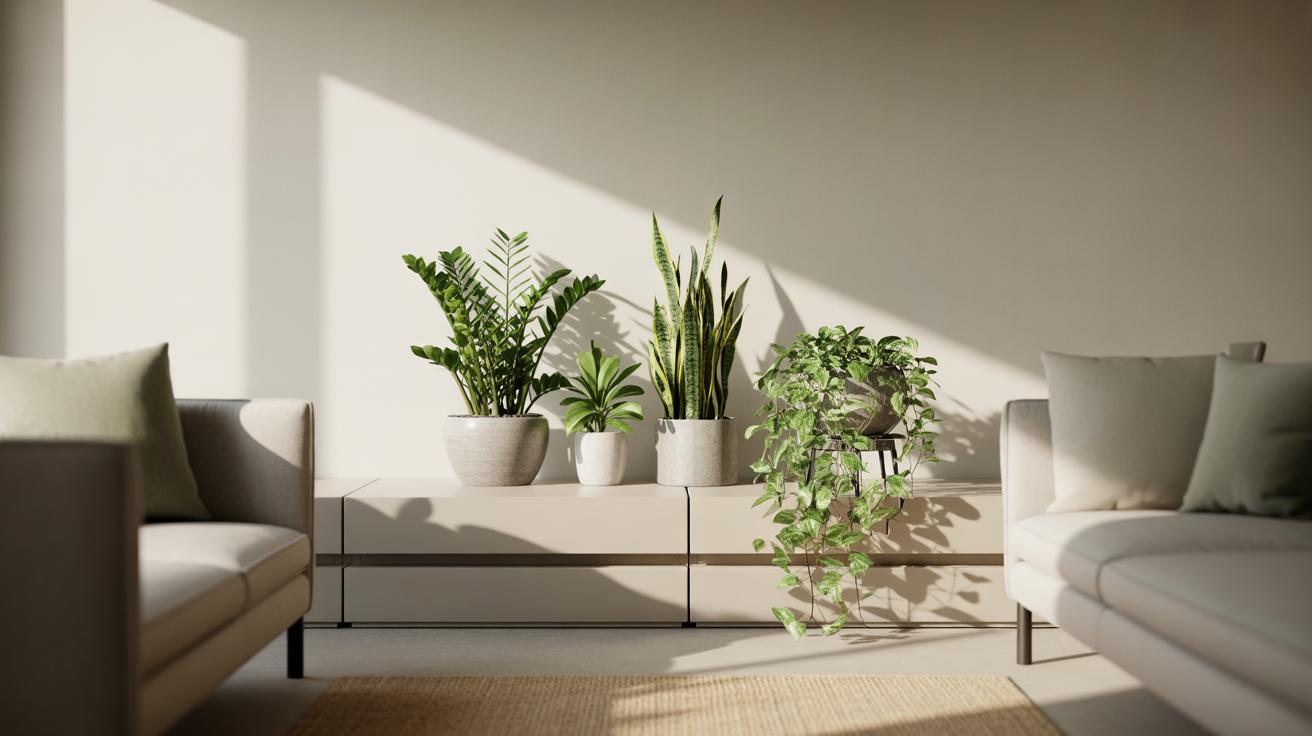
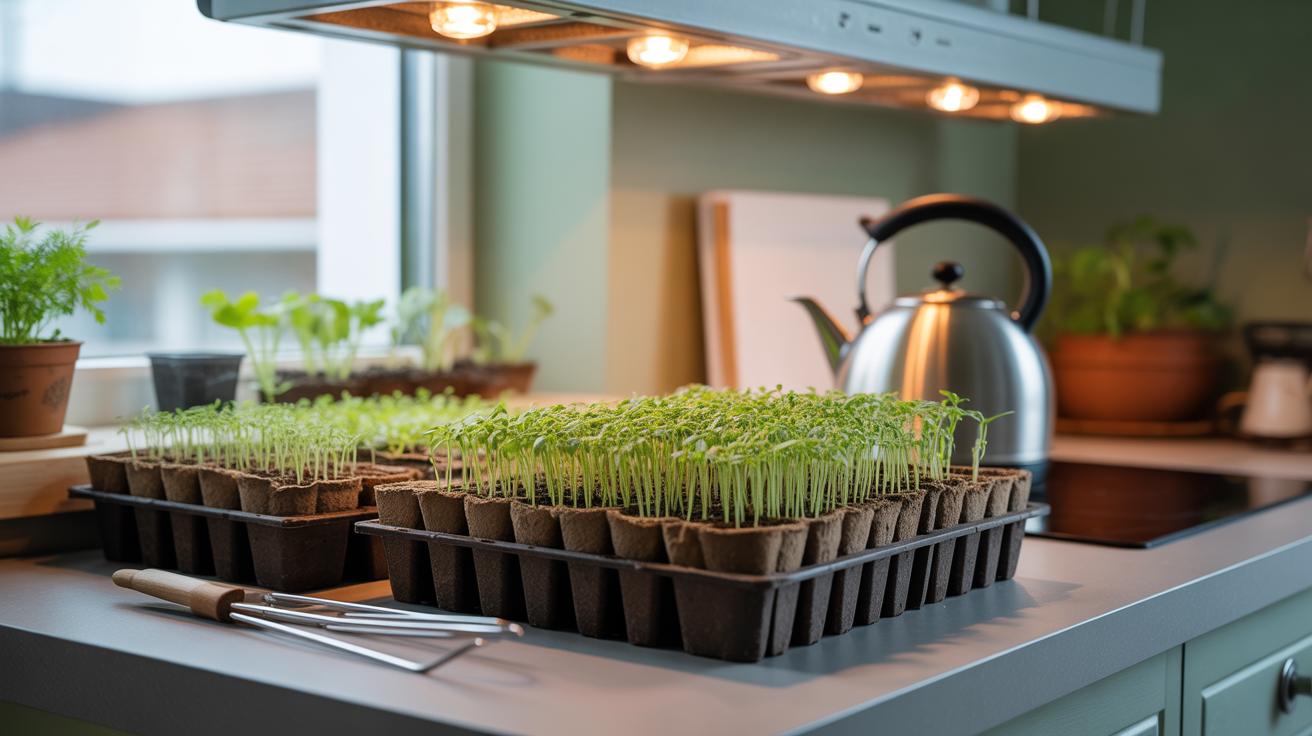
Finding the right place inside your home to start seeds can be a bit tricky, but it’s key to getting reliable sprouts. Seeds need warmth and light to wake up and grow. You want a spot that is warm—ideally around 65 to 75°F—and has good natural light during the day. A south-facing windowsill can work well, though often it’s not quite enough light. Some people have found success near a bright kitchen window or on a narrow table by a well-lit room.
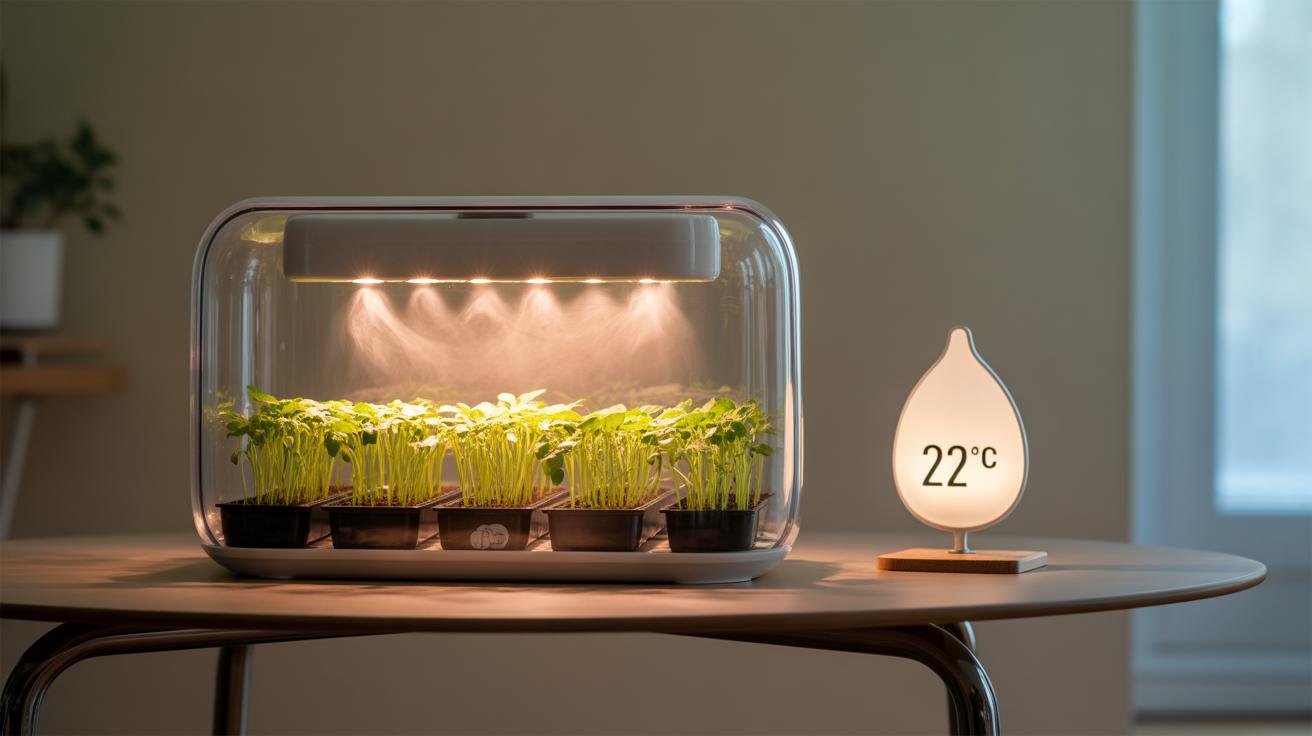
Sometimes, regular household spots don’t get quite enough sun, especially in winter. That’s when artificial lighting becomes more than just convenient—it’s necessary. Avoid drafty areas or places where the temperature swings a lot, like near doors or vents. Your seeds won’t thank you for that.
Gathering Tools and Supplies
Starting seeds indoors calls for a few basic items. You don’t need to gather every gadget out there. A simple setup often works just fine, which I’ve realized after some trial and error:
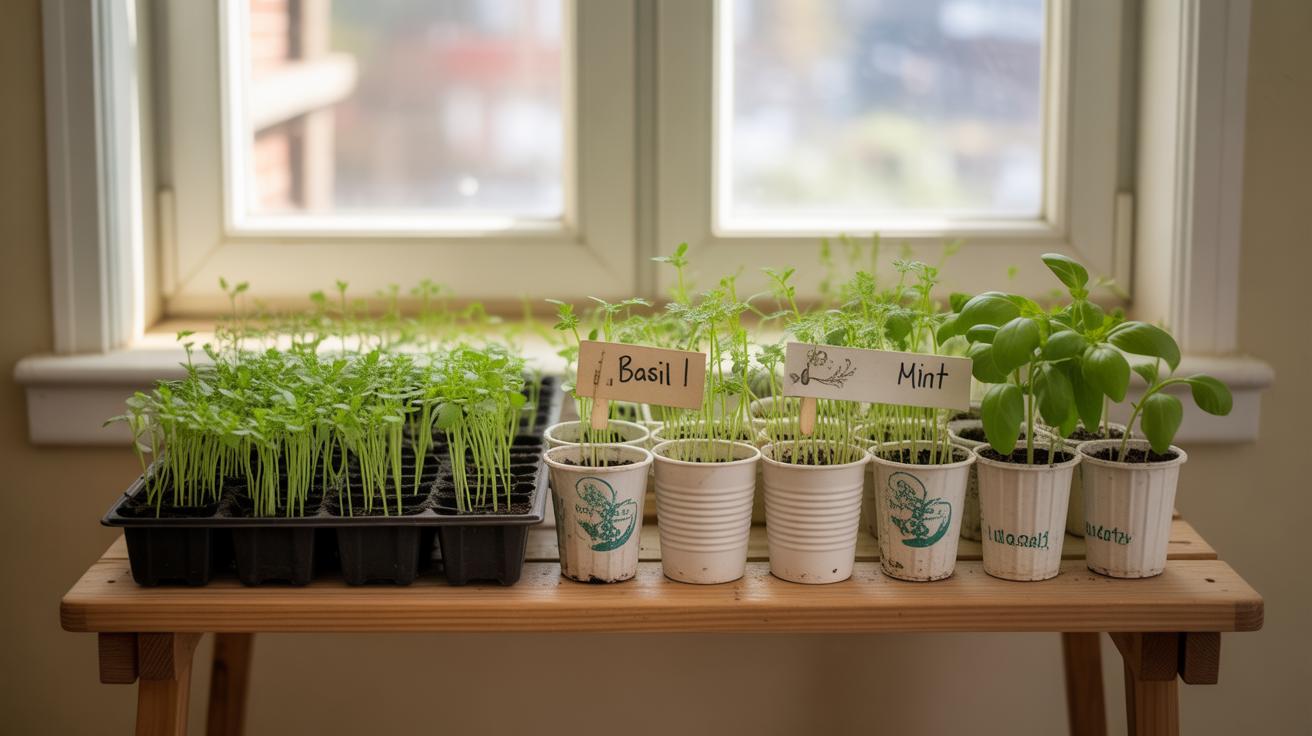
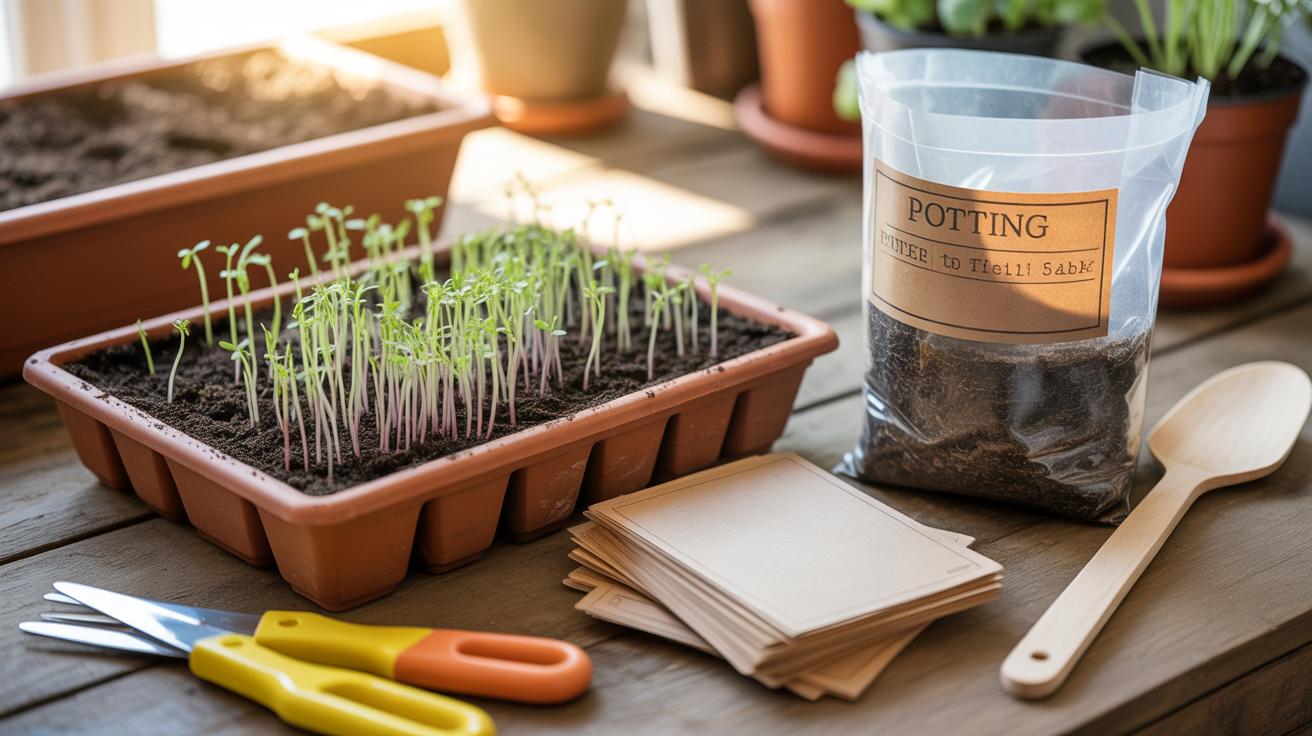
- Seed trays or small pots: These hold your soil and seeds. Trays make watering and managing seeds easier. Pots can be used for individual seedlings if you want to transplant early.
- Seed-starting soil mix: Regular garden soil won’t cut it here. You need a light, well-draining, sterile mix designed to keep moisture without being soggy.
- Grow lights: When natural light falls short, these provide the full spectrum your seeds need. I once skipped grow lights, and my seedlings turned leggy—too much reach for the light.
- Labels and markers: You’ll want to keep track of what’s what. This is especially helpful once multiple varieties start popping up.
- Watering tools: A spray bottle or gentle watering can to keep the soil moist but not drowned.
Setting up with these basics can seem a bit overwhelming at first, but once they’re in place, maintaining your seed-starting station becomes part of your routine. It’s about creating a small environment tailored to your plants’ first steps. You might need to adjust spots or tools a bit as you go—what works for one plant doesn’t always suit another perfectly.
Selecting Seeds for Indoor Planting
Picking Seeds that Grow Well Indoors
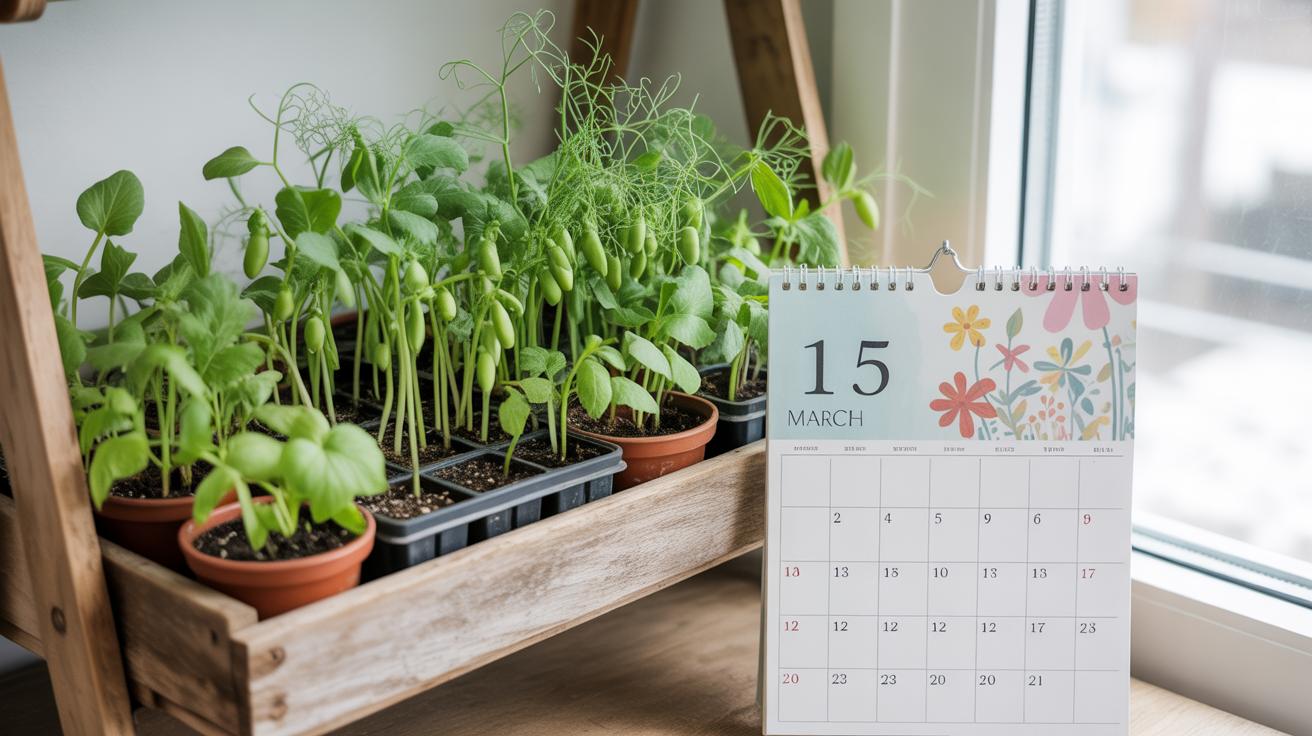
Not every seed will thrive when started indoors, so picking the right ones can save you a lot of trouble. Vegetables like tomatoes, peppers, and lettuce usually respond well to indoor germination. Herbs such as basil, parsley, and chives also do great because they don’t need tons of space early on. Flowers? Some, like marigolds or zinnias, adapt fine, but be careful—others prefer direct soil outdoors.
When you look at seed packets, pay attention to a few key details. Germination time tells you how long seeds might take to sprout inside. Days to maturity give you an idea of when the plants might be ready for moving outdoors or harvesting. And perhaps most overlooked: recommended planting depth and temperature. These hints help you mimic ideal conditions right away.
Buying Quality Seeds
Freshness plays a big role here. Seeds lose vitality over time, so older stock often means lower sprout rates. I once bought a batch from clearance that hardly germinated — frustrating, to say the least. When buying, whether in person or online, look for clear packaging showing the harvest or expiration date.
Seeds from reputable seed companies tend to have better germination guarantees and support. Local garden centers might offer region-appropriate varieties, which can be a plus. Online, customer reviews can hint if seeds tend to be true to type or prone to failure. Don’t shy away from spending a little more for quality; it pays off later when those first sprouts confidently emerge.
Preparing Soil and Containers for Seed Sowing
Choosing Suitable Soil Mix
Your starting point is the soil mix. Most garden soil isn’t the best choice for indoor seed starting. It tends to be too dense, holds too much water, and might carry pests or diseases that could harm delicate seedlings. Instead, look for a mix designed specifically for seed starting—light, airy, and finely textured. These mixes often contain peat moss or coconut coir, vermiculite, and perlite to hold moisture while allowing air flow. These characteristics help seeds germinate without drowning or rotting.
One thing I’ve noticed is that sometimes even seed-starting mixes can feel a bit heavy or dry. If that happens, I add a little more perlite to lighten it up. It’s a little trial and error, honestly. You want something that retains moisture but doesn’t stay soggy.
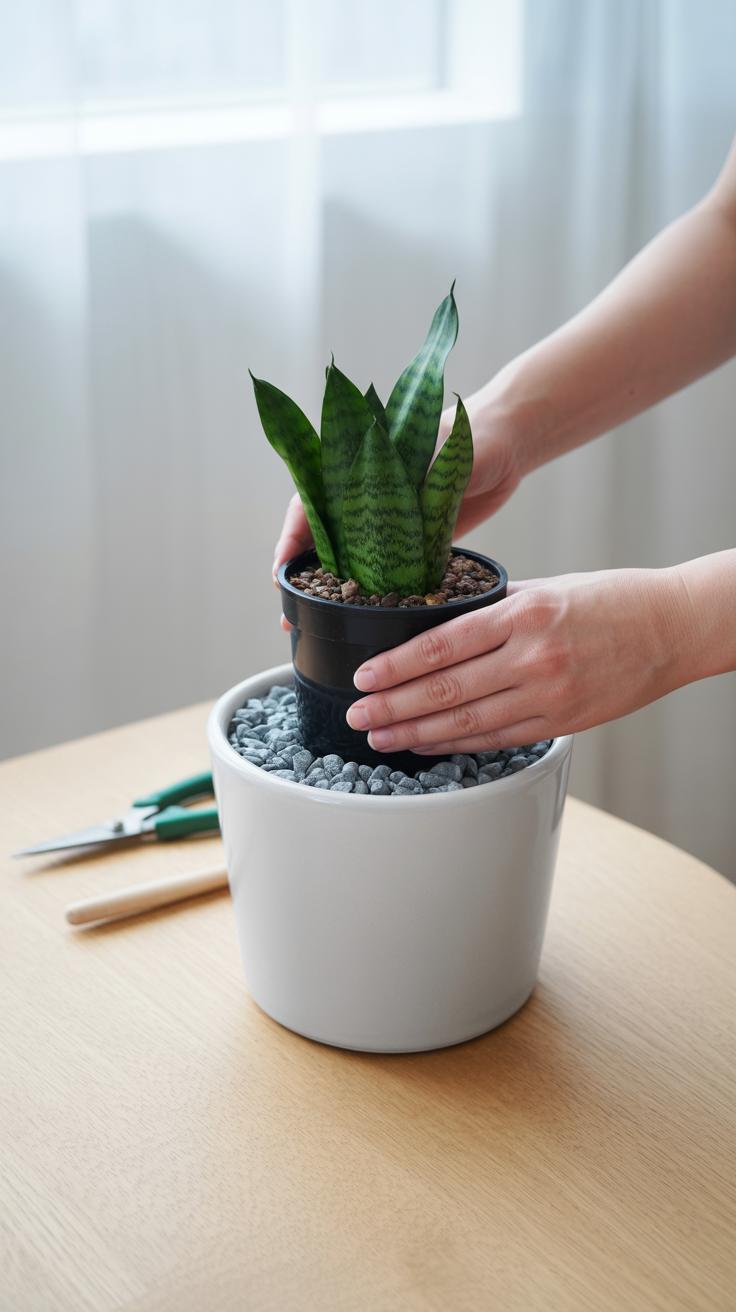
Setting Up Containers Properly
Containers need to have drainage holes—lots of them. Without proper drainage, water sits in the bottom and kills seeds or roots. Plastic trays, peat pots, even repurposed food containers work as long as they drain well. You can poke extra holes if needed. I’ve had good luck with shallow trays; they make managing moisture easier compared to deep pots.
Before filling containers, rinse them if they’ve been used before to avoid leftover pathogens. When you add the soil mix, fill containers gently but don’t pack it down hard. The soil should stay loose enough for roots to spread. You want to create an inviting place—not a compacted one.
Do you have a favorite container for starting seeds? I tend to go for trays with clear covers sometimes; it keeps humidity up but can also lead to mold if you’re not careful. Balancing moisture and airflow is a bit of an art on its own, really. The container and soil together set the stage for germination success. Get this right, and your seeds have a strong chance to thrive.
How to Sow Seeds Indoors Correctly
When it comes to sowing seeds indoors, depth and spacing are often where things get tricky. A simple rule is to plant seeds at a depth twice their size—small seeds like lettuce only need a light sprinkle of soil, while larger ones like beans deserve a bit more cover. If you cover them too deep, they might never break the surface. Too shallow, and they could dry out or get disturbed easily.
Spacing matters just as much. Crowding seeds might seem efficient, but seedlings will compete for light, water, and nutrients. Leaving a bit of room between seeds, say one to two times their width, gives them a fighting chance to grow strong roots and stems. I’ve learned this the hard way after thinnings that felt like a tiny battlefield.
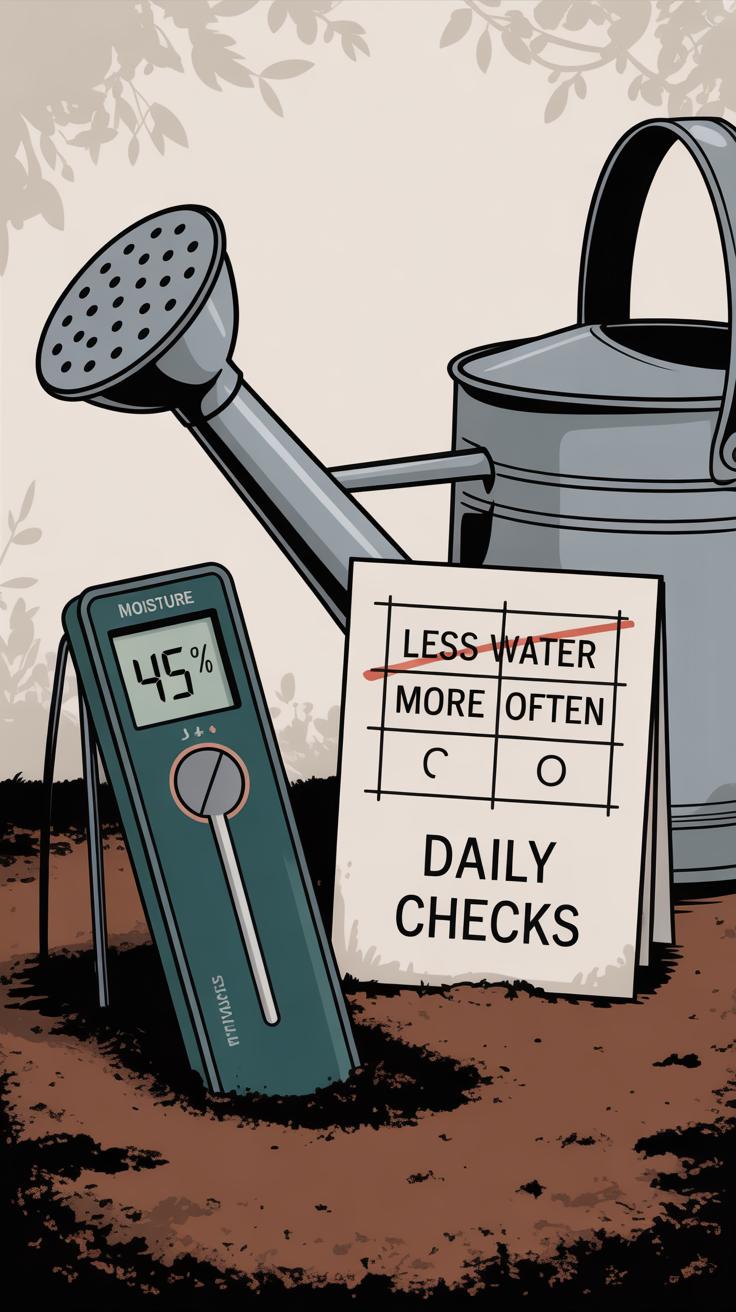
Right after sowing, water gently is key. Instead of pouring water over, use a spray bottle or a fine mist. This keeps soil moist without washing away your carefully placed seeds. Moist soil but not soaked—that balance often feels like walking on a tightrope. Too much water can suffocate seeds, but too little means they just won’t sprout. If the surface dries quickly, a light mist later helps, but beware of overdoing it.
Ensuring Proper Light and Temperature for Seedlings
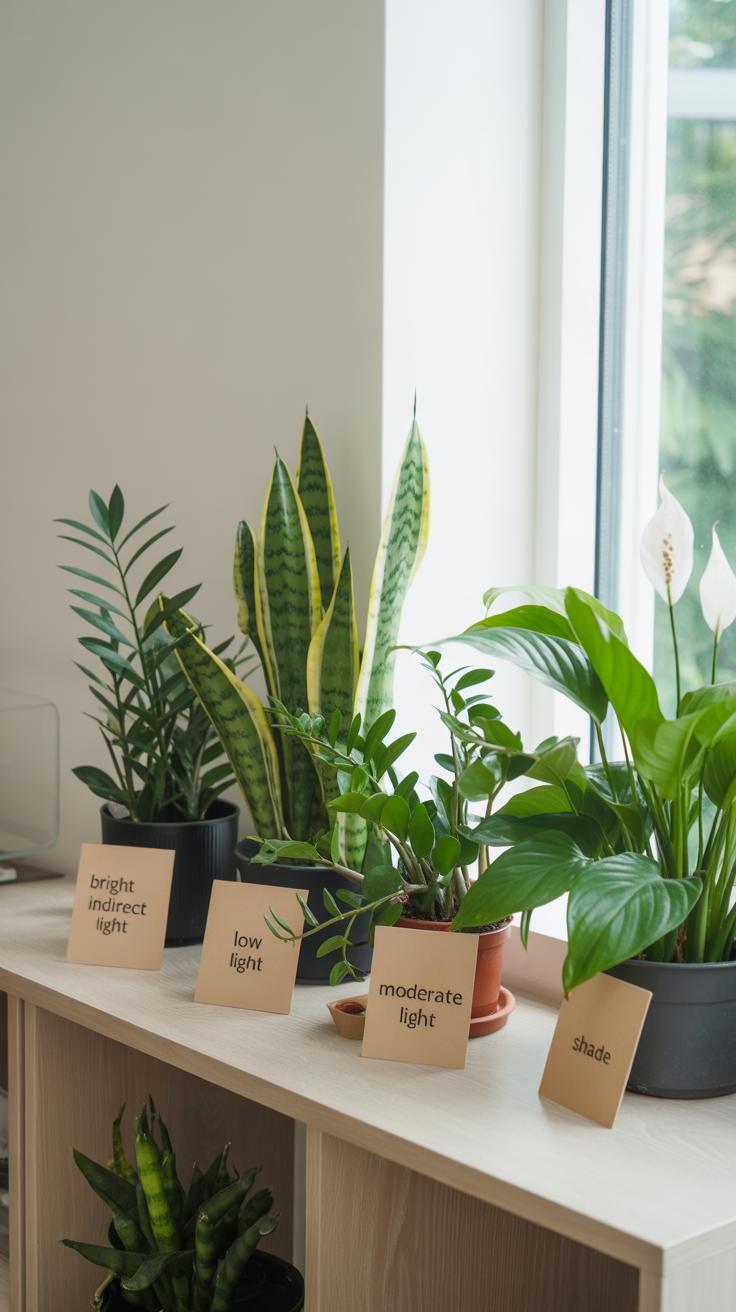
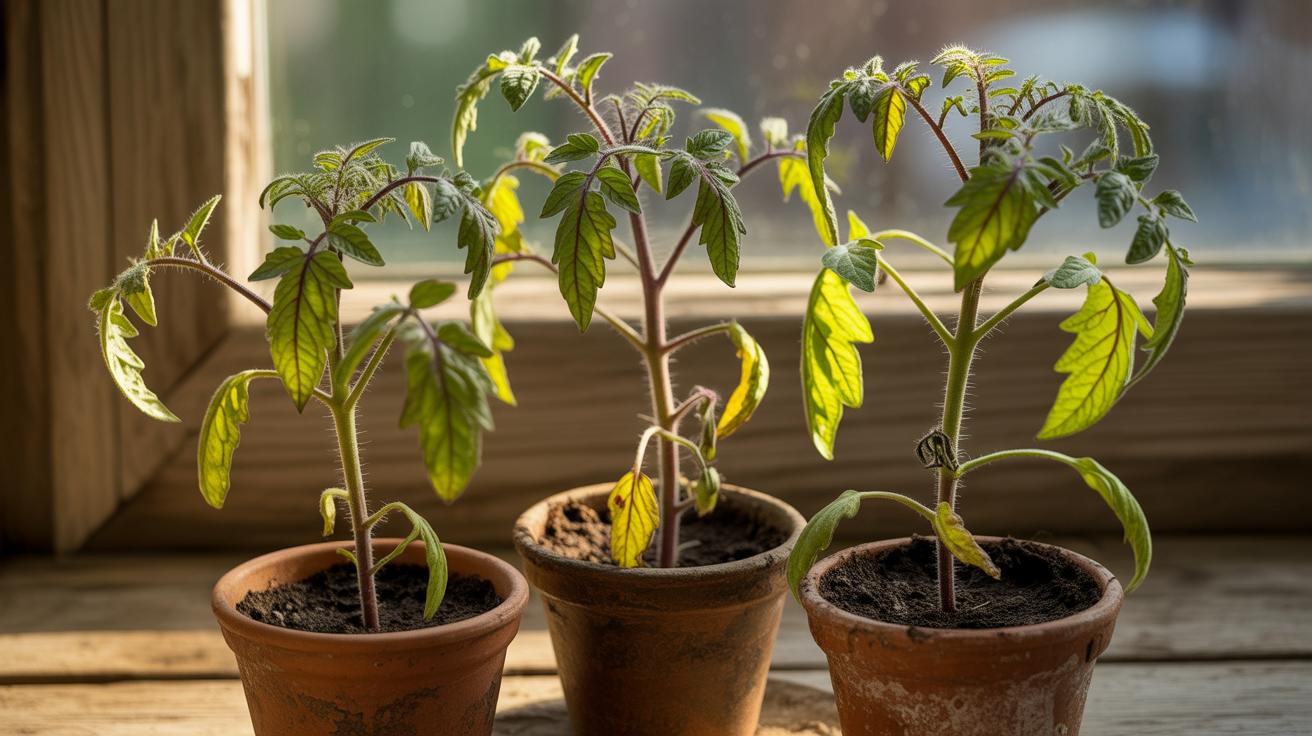
Light and temperature play a pretty big role in how your seedlings develop indoors. Without enough light, seedlings stretch out, get thin, and look weak—this is called legginess, and it’s a common pitfall for indoor growers. You want your little plants to be compact and sturdy, not reaching desperately for some distant sun. If you can, place your seed trays near a south-facing window to catch as much natural light as possible. But, let’s be honest, window light alone often falls short, especially in the early spring or winter months.
Artificial lighting can fill that gap well. Fluorescent tubes or LED grow lights work great. Keep the lights just a few inches above the seedlings, adjusting upwards as the plants grow to prevent burning. A daily light cycle of around 12 to 16 hours usually does the trick—too little light slows growth, too much can cause stress. It’s a bit trial and error, really.
Temperature, meanwhile, can be tricky. Most seeds germinate best around 65 to 75 degrees Fahrenheit. Cooler than that, and germination drags; warmer, and you risk drying out your soil or fostering mold. If your home is chilly, try placing seed trays on top of a warm appliance—like a refrigerator or a heating mat made for seedlings. Some people even use a poorly insulated box with a small lamp inside. It’s far from a perfect solution, but it surprisingly works. You’ll find what fits your space over time.
It can feel like a balancing act, because what works for light might not suit the temperature perfectly. But keeping a close eye on both will help your seedlings develop into solid, healthy plants ready for the next stage.
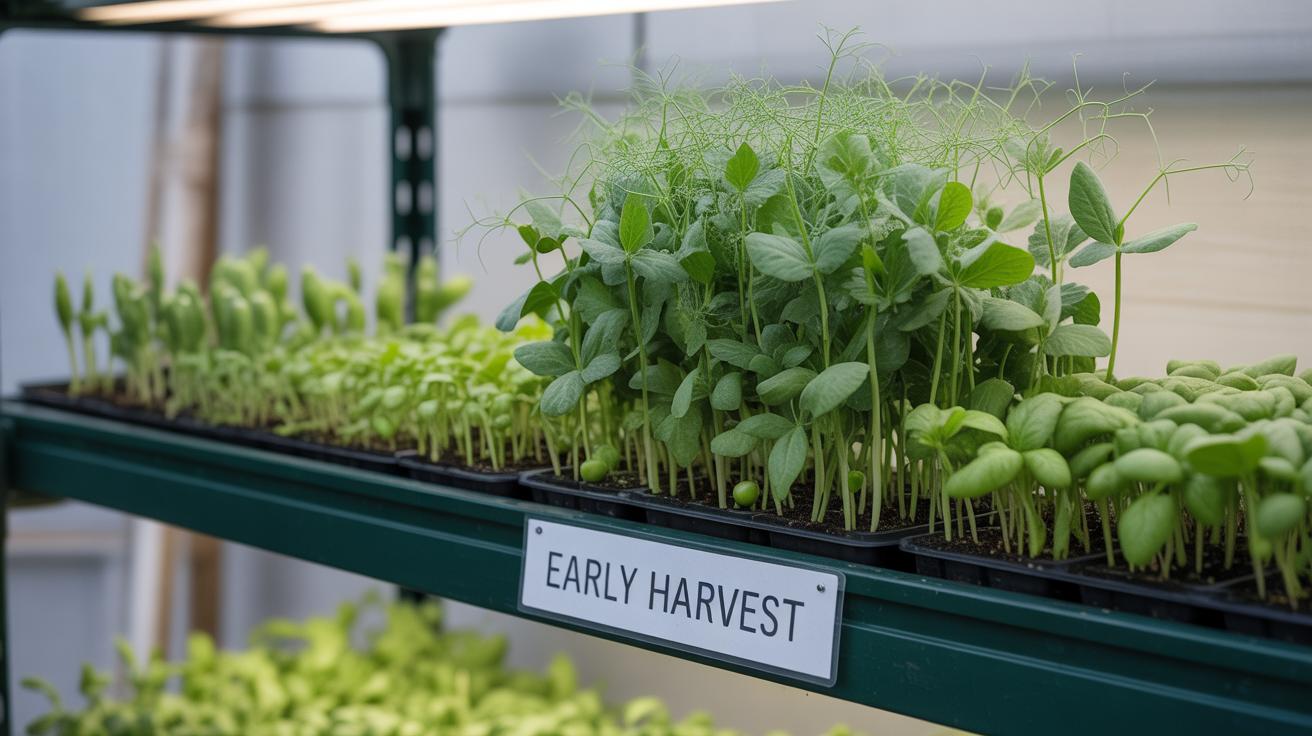
Caring for Seedlings as They Grow
Once your seedlings emerge, the real work begins. They’re delicate and need your attention to thrive. Watering is key—but it’s tricky. Overwatering can drown fragile roots, while underwatering stresses young plants. The soil should stay moist, not soggy. Usually, watering every day or every other day works, but watch the soil closely; if it feels dry an inch below the surface, it’s time. I’ve found using a spray bottle or gentle watering method avoids disturbing the tiny plants.
Feeding seedlings is another step many gardeners forget or delay. Start giving them a diluted, light fertilizer when the first true leaves appear. Seedlings don’t require heavy feeding early on—too much can stunt or burn them. A weak liquid solution every week is generally enough to keep them growing steadily without overwhelming their young roots.
Thinning seedlings—that is, removing the smaller or overcrowded plants—can be tough, almost like choosing favorites. Still, crowded seedlings compete for light, water, and nutrients. Pulling out the weaker ones helps the stronger seedlings develop better. It’s not just about space, though. Proper airflow around plants matters a lot; it prevents fungal diseases and encourages sturdier stems. Moving a small fan nearby, or occasionally opening a window, can make a noticeable difference.
Have you noticed how your seedlings change after thinning and better air circulation? They usually stand taller and look more vibrant. It’s subtle, but it’s there. That extra care sets the stage for healthy growth—and, well, it’s kind of rewarding to see the difference firsthand.
Preparing Seedlings for Planting Outdoors
Hardening Off Seedlings
Before moving your seedlings outside permanently, they need time to adjust to the harsher outdoor environment. This process, called hardening off, is really about easing them into things slowly. You can’t just plop them out into full sun and wind without a bit of preparation—most won’t survive that sudden shock.
Start by placing the seedlings outdoors in a sheltered spot for just a few hours on the first day—maybe morning sun but protected from wind. Over the next week or so, gradually increase their exposure to sunlight and fresh air, letting them stay out longer each day. I usually find this slower approach saves more plants than rushing into it.
Remember, seedlings can be quite sensitive, so pay attention to how they react. If the leaves start looking scorched or wilted, shorten those outdoor sessions for a while. The goal is to toughen them up without overwhelming them.
When and How to Transplant Seedlings
The right timing for transplanting depends on your local growing season and the type of plant. I tend to wait until the seedlings have at least a couple of true leaves and the outdoor soil is warm enough. Planting too early can stunt their growth or even kill them.
Choose a calm, cloudy day if possible. The lower light eases stress on the plants. Before transplanting, water the seedlings so their roots are moist—this helps prevent shock. When placing them in the soil, be gentle. Dig a hole that’s just big enough and avoid handling roots too much.
Press soil gently around the base, but don’t pack it tight. Give the plants a good soak after transplanting. It’s tempting to check on them constantly, but patience can be key. Over time, they’ll settle in and start growing strong outside.
Troubleshooting Common Seed Starting Problems
Recognizing Signs of Trouble
When seeds don’t sprout as expected, it’s tempting to just give up, but often little clues reveal what’s wrong. If you see fuzzy white or gray patches on the soil surface or seedlings, that’s usually mold. It means the environment is too damp or air circulation is poor. Then there’s damping off—this sudden collapse or blackening at the seedling base often kills young plants fast. It’s caused by fungal pathogens thriving in overly wet conditions. Poor germination can mean old seeds, inconsistent moisture, or insufficient warmth. Sometimes the sprouts struggle to break through crusty soil or dry out too quickly. Spotting these issues early is key; ignoring them leads to lost seedlings and frustration.
Easy Fixes for Seedling Problems
Fixing these problems isn’t always complicated. For mold, try gently scraping it off and improving airflow—open a window or use a small fan. Reduce watering frequency but don’t let the soil dry out completely. If damping off shows up, the best reaction is removing affected seedlings and using sterile soil next time. Also, avoid overcrowding—thin those seedlings early. For stubborn germination, double-check your seed packets for viability dates and adjust moisture levels carefully. Sometimes, warming mats help too. Lastly, loosening the soil surface with a toothpick can assist fragile sprouts breaking through. It’s frustrating when things go wrong, but with small adjustments, you can usually set your seedlings back on track.
Conclusions
Growing plants from seeds indoors can give you strong and healthy plants for your garden. With some simple tools and clear steps, you can manage to start your seeds right at home without any trouble. Careful preparation, proper seed sowing, and good daily care are key to seeing your seedlings thrive.
Try the techniques shared here to enjoy the process and get great results. Watching your seeds grow into beautiful plants is rewarding and pays off in fresh, new growth ready to be planted outdoors. Your home seed-starting journey starts with small steps and ends in a green success.


