Introduction
Handmade pallet shelves offer a practical and charming way to add storage space with a rustic touch. Using reclaimed wood pallets, you can create shelves that bring a natural, vintage feel to any room. This approach to storage combines simplicity and eco-friendliness, making it an appealing choice for many people who want to organize their homes while embracing a rustic aesthetic.
This article explores how to make and use pallet shelves effectively. You’ll learn about the materials, design ideas, and construction steps to create your own sturdy shelves. Whether you’re new to woodworking or looking for creative storage solutions, handmade pallet shelves provide a unique option that you can tailor to your space and style.
Understanding Pallet Shelves
What Are Pallet Shelves
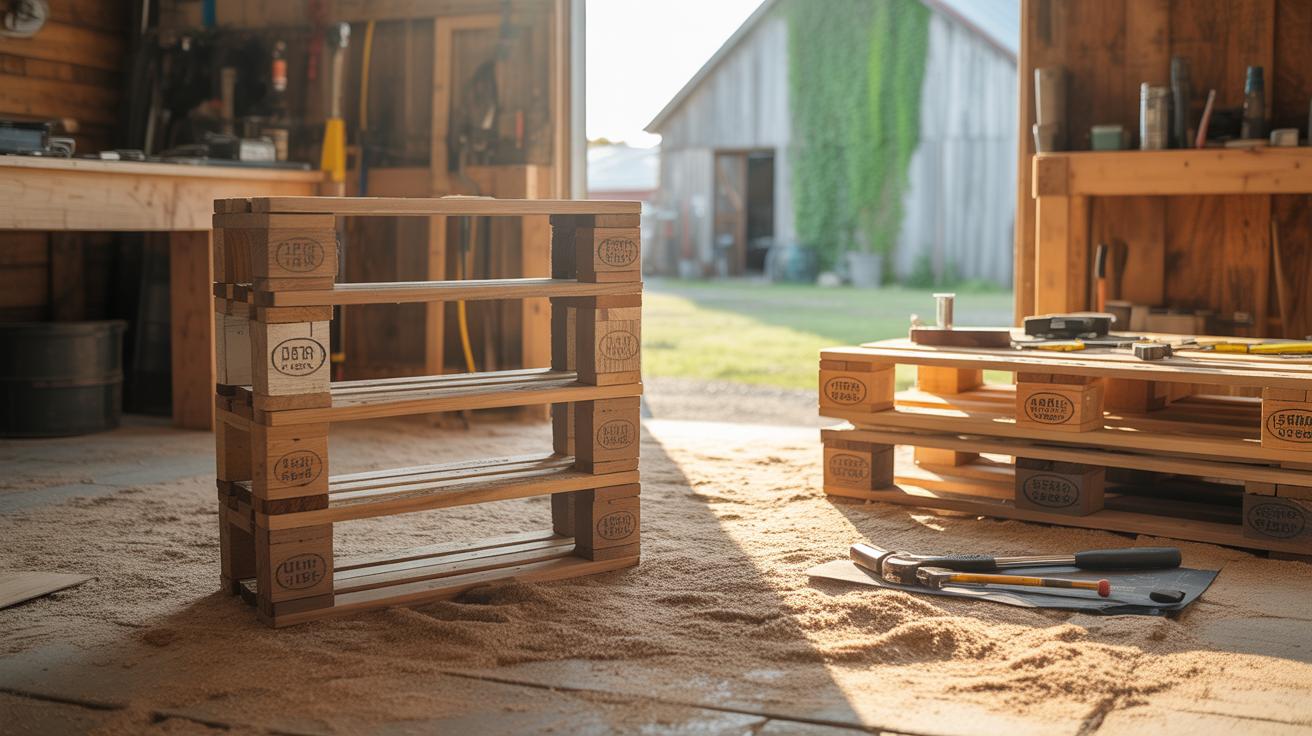
Pallet shelves are storage units crafted from wooden pallets—those flat platforms used to move goods in warehouses and shipping. These pallets are typically made from softwoods like pine or spruce, sometimes hardwoods depending on their original use. The wood is sturdy enough to hold weight, which makes pallets surprisingly suitable for shelves.
When converted into shelves, pallets often retain their rugged, unfinished look. You’ll find that many simply cut the pallets into sections or stack them to create shelving surfaces. Some people prefer sanding and sealing the wood for a cleaner finish, while others embrace the rustic, weathered charm. The way pallets are designed—slats evenly spaced with solid supports underneath—gives a natural framework that’s easy to adapt into shelves.
Common uses? People put pallet shelves in living rooms for books and decor, kitchens for spices and cookware, or garages for tools. Their versatility is part of their appeal. You can think of them as simple, practical, and a bit rough around the edges, which makes them work well in both functional and decorative roles.
Benefits of Using Pallet Shelves
One big advantage of pallet shelves is the cost—you often can get pallets for free or very cheap. This makes them an affordable choice if you’re on a budget. But it’s not just the price; pallet shelves also carry an eco-friendly edge. Repurposing pallets keeps wood out of landfills and reduces demand for new lumber, which feels good if you want to cut down on waste.
There’s also a style factor that’s hard to ignore. Pallet shelves bring a rustic, lived-in vibe to any room—something organic and unpretentious. That aesthetic suits many decor styles, especially if you like the look of reclaimed materials or farmhouse designs. Yet, this rustic charm might not fit every space, which is worth keeping in mind.
Plus, pallet shelves can be surprisingly durable once prepared properly. They’re easy to customize—you can paint, distress, or leave them natural. And because they’re lightweight, moving or rearranging them isn’t usually a hassle. So, whether you want practical storage, a bit of personality, or both, pallet shelves often hit that spot.
Choosing the Right Pallets
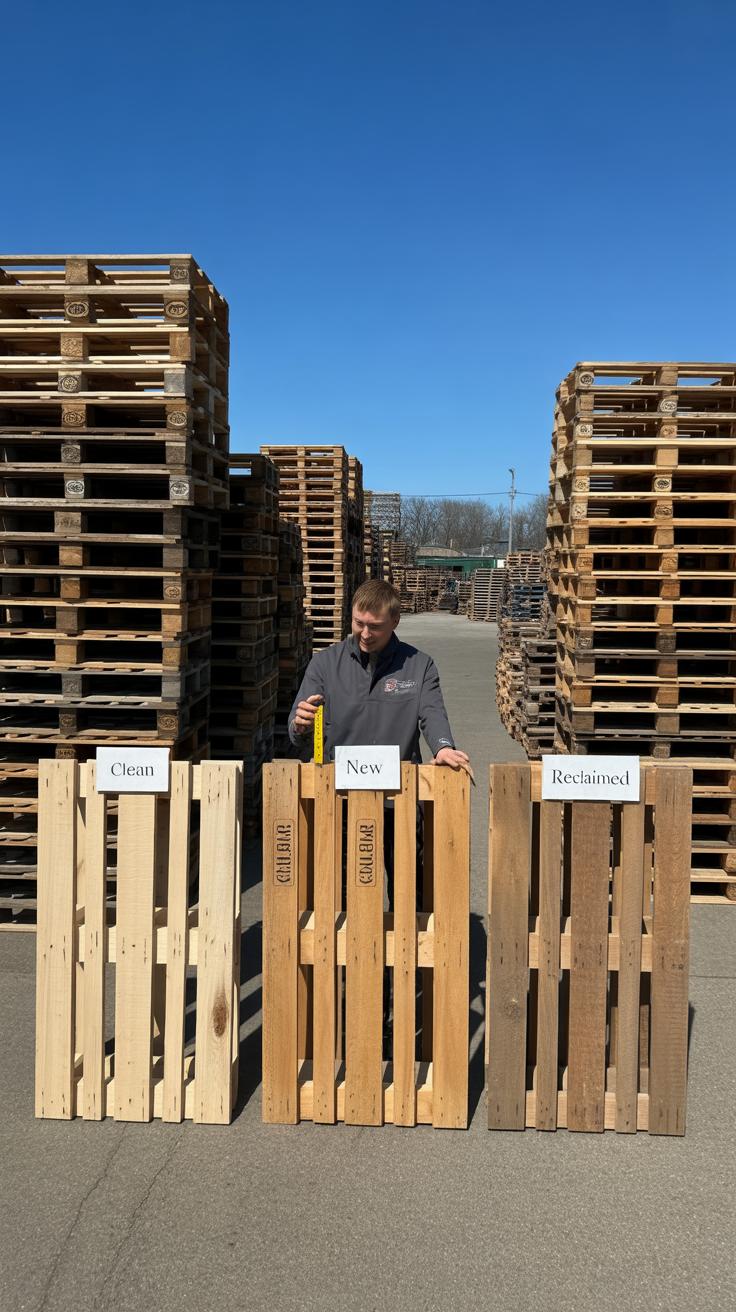
Picking the right pallets for your shelves isn’t as simple as grabbing the first stack you see. Not all pallets are built the same, and some might cause more trouble than help. When I started, I didn’t realize how much difference the type and condition of the wood could make.
Types of Pallets to Use
There are several pallet types, but a few stand out for shelves:
- Hardwood pallets: Strong and durable, perfect if you want solid shelves that last. They’re heavier but can hold more weight.
- Softwood pallets: Cheaper and lighter, but sometimes less sturdy. They can work for lighter storage or decorative shelves.
- Heat-treated (HT) pallets: These have been heat-treated to kill pests, making them safer to use indoors.
- Methyl bromide (MB) pallets: Avoid these. They’re chemically treated and not safe for home projects.
Try to find pallets marked with “HT,” which means they’re treated without chemicals. I once used a pallet without checking and ended up with a weird smell in my room for weeks.
Inspecting and Preparing Pallets
Before you even think about dismantling, give the pallet a close look:
- Check for cracks and broken boards. Damaged wood won’t support much weight.
- Look for signs of pests like holes or sawdust trails. That’s a red flag.
- Smell the wood. Chemical treatments often leave a distinct odor.
- If you spot nails or staples, remove them carefully to avoid injury later.
Once you’ve selected a good pallet, sanding it down is crucial. It smooths rough spots and removes dirt or splinters. I usually give the boards a light wash too, but not too soaked—wet wood can warp.
Do you take time to inspect pallets thoroughly? Sometimes the best pallet is the one you can’t spot the flaws in right away, so patience pays off.
Planning Your Pallet Shelf Design
Measuring and Space Considerations
Start by carefully measuring the space where you want your pallet shelves. Don’t just rush into grabbing pallet boards and cutting them; take your time with a tape measure and a notepad.
Ask yourself: How much wall space do you really have? Is there an outlet, a window, or a radiator that might limit shelf placement? The height and depth matter, too. Pallet wood tends to be thick but uneven, so a shelf too deep might crowd the area or stick out awkwardly.
Think about what you want to store or display. Books, jars, plants, picture frames—they all need different shelf widths and depths. One large shelf or several small ones? This depends on your needs and the wall’s shape. It’s okay to start with a rough sketch or layout on paper; sometimes seeing it visually helps avoid mistakes later.
Design Styles for Rustic Pallet Shelves

Rustic doesn’t mean one style fits all. Pallet shelves can be raw and rugged or smooth and refined, depending on your room and personal taste. If your room’s already cozy with wooden beams or warm tones, rougher, untreated pallets might blend well.
But if the space feels modern or minimal, maybe sand the pallet wood down and stain it lightly to soften the look. Think about how you want the shelves to interact with existing furniture and decor. Do you want them super functional and straightforward? Or a bit more decorative, with creative angled brackets or staggered heights?
Sometimes subtle details—a distressed finish or uneven edges—can add charm, but too much texture may overwhelm a small room. Try imagining the shelves empty, then filled. Does the rustic vibe enhance the sense of comfort, or does it clash? Play around with style ideas before cutting anything; it’s easier to change your mind on paper than later with a saw.
Tools and Materials Needed
Essential Tools for Building Shelves
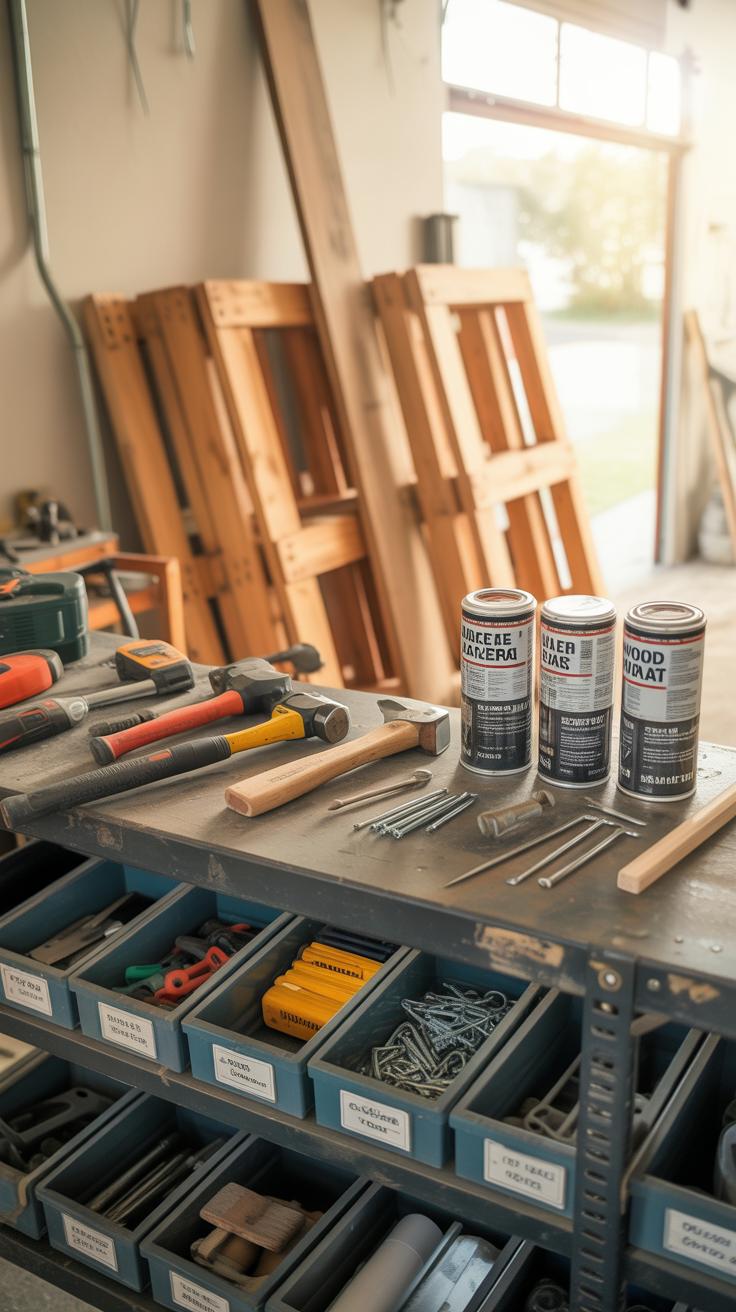
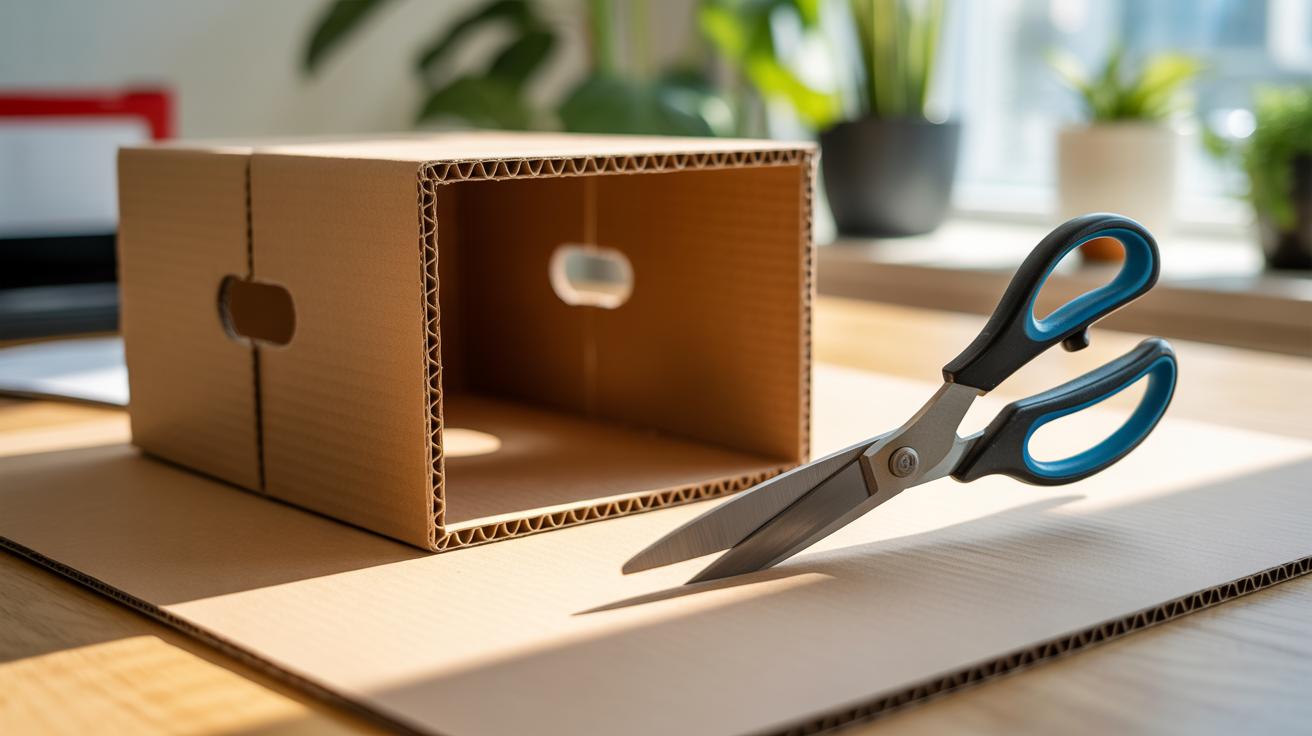
You’ll want a few basic tools before starting your pallet shelf project. A good saw—maybe a handheld circular saw or even a jigsaw—helps cut pallets into the right sizes. If you’re like me, sometimes a handsaw feels just as reliable for smaller cuts, though it takes longer. A power drill is pretty much necessary for fastening everything together quickly and securely. Don’t forget drill bits for pilot holes and screws. Sanding is key too, so have a sander or sanding block ready to smooth rough edges and splinters—you’ll thank yourself later when handling the shelves. Safety gear like goggles and gloves isn’t optional, really; dusty wood and flying bits can surprise you.
Additional Materials and Supplies
When it comes to what you’ll need beyond tools, screws are the obvious choice. Pick ones that resist rust if your shelves might see moisture. Brackets can be useful for extra support or wall mounting, depending on your design. You might want to experiment with paint, stain, or clear finishes to protect the wood and give it a look you like—though sometimes the natural, rough pallet wood is just fine as is. I’ve found that a matte finish shows imperfections less and feels more “authentic.” Some wood glue could help with extra bonding, but it’s not always necessary if your screws are tight. And while clamps aren’t always essential, they do make holding things steady less stressful.
Preparing Pallets for Use
Disassembling Pallets Safely
When you start taking pallets apart, you quickly realize it’s not always straightforward. Those nails hold tight. Trying to pry boards off too aggressively risks splitting or breaking the wood, and that’s frustrating when you want good material. The best approach is patience. Begin by removing the smaller nails with a claw hammer or pry bar, working slowly and at an angle to lessen damage.
Sometimes, it helps to use a reciprocating saw with a metal-cutting blade to cut through nails hidden inside the pallet. This reduces force applied to boards. You might want to support each board on a stable surface as you pry it up to prevent snapping.
One tip I found useful is to work from the underside, where the nail heads are exposed, rather than forcing boards off from the top. It’s a bit of extra work but saves a lot of heartache. Also, not every piece will come apart perfectly—expect some small cracks or imperfections.
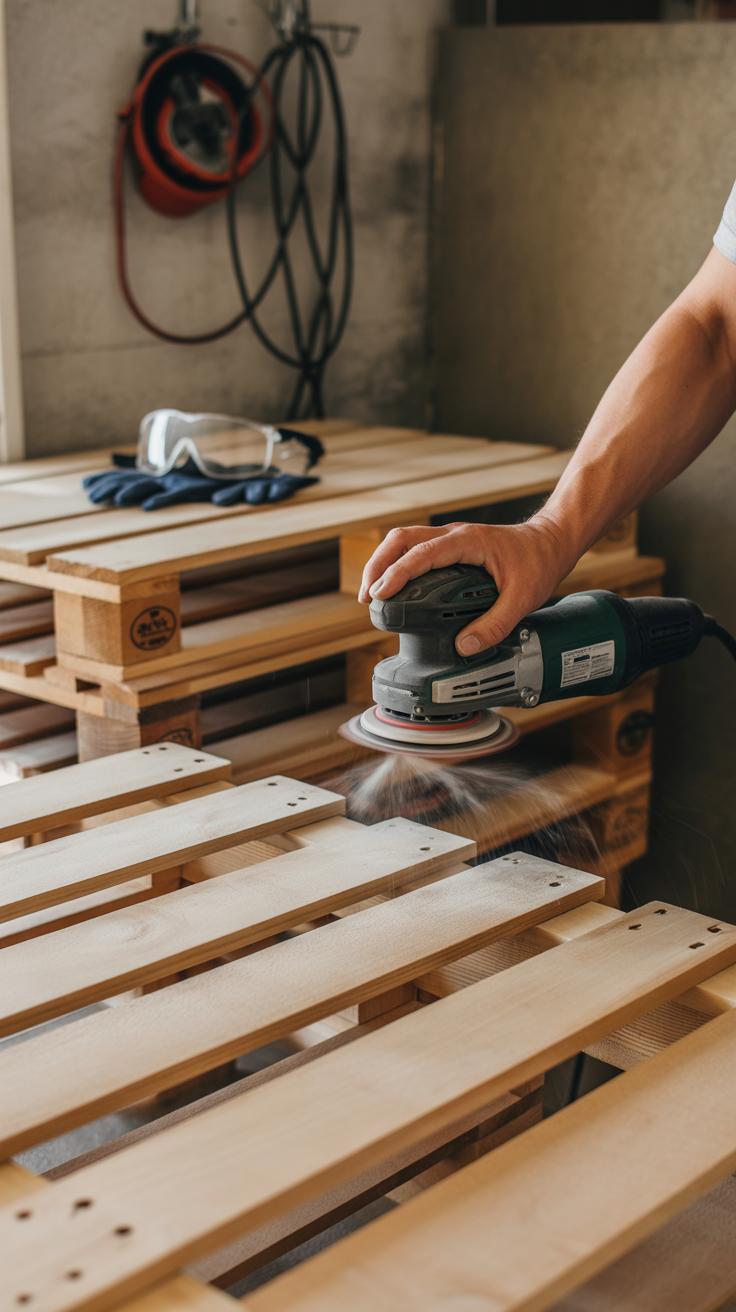
Cleaning and Sanding Wood
Once you have your pallet boards separated, cleaning comes next. Pallets often look grimy and can carry dirt or residue. Start by brushing off loose debris with a stiff brush. Washing with mild soap and water can help, but avoid soaking the wood; pallet wood tends to absorb moisture and warp if over-saturated.
Drying the wood thoroughly before sanding is key. I learned the hard way that damp wood gums up sandpaper and makes the process slow and uneven. You can let the wood air dry or use a fan to speed things up a bit.
For sanding, use a medium-grit sandpaper—like 80 or 100 grit—to remove rough spots and splinters. Then, a finer grit can smooth surfaces where needed. It’s tempting to go too smooth, but some texture keeps the rustic feel intact. Pay special attention to edges and corners where splinters lurk. Running your hand carefully over the wood helps spot these areas.
Have you noticed that sanding also changes the smell of the wood? It’s subtle but adds to the hands-on impression. Cleaning and sanding are steps that make the difference between rough scrap and something that looks good and feels safe to touch.
Building Your Pallet Shelves
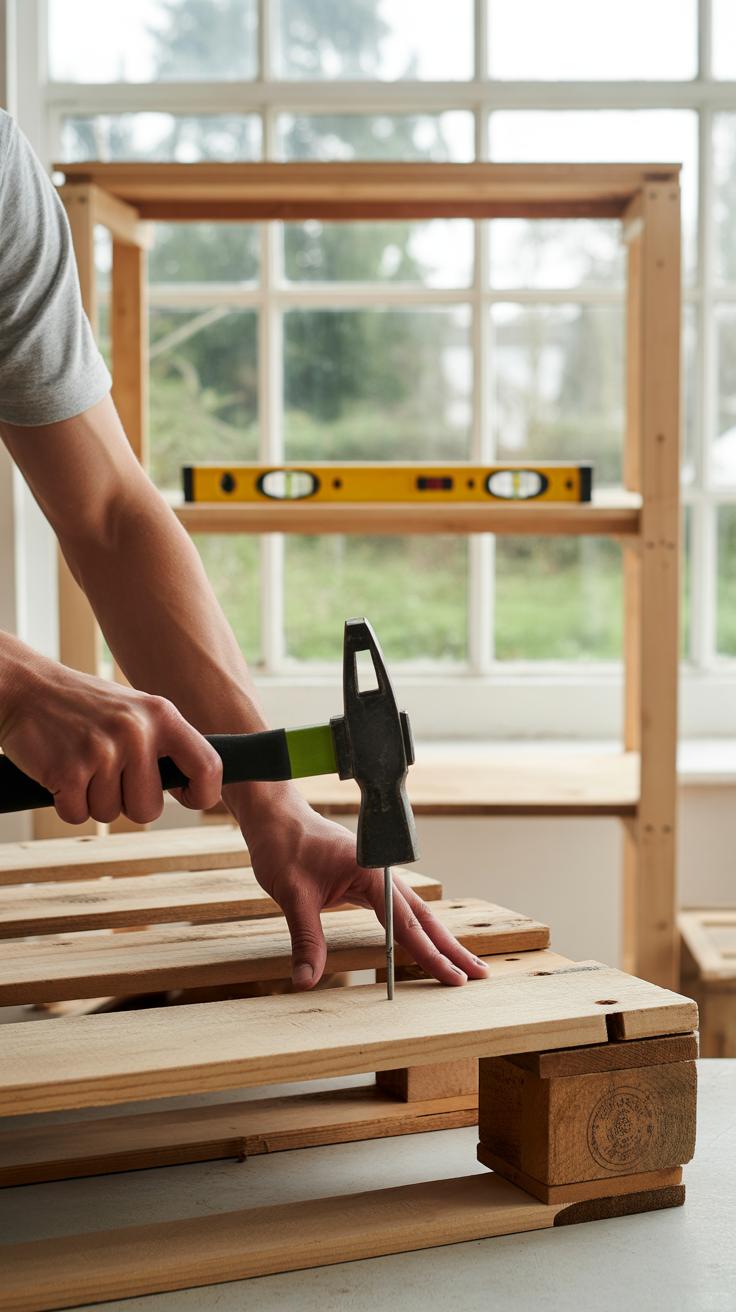
Assembling Shelf Frames and Supports
Start by deciding the size of your shelves to match the space you have. Cut pallet slats into the lengths needed for the frame—top, bottom, and sides. You’ll need sturdy pieces here, typically the thicker boards from the pallet’s base.
Lay these pieces flat and connect them using screws or nails, forming a rectangular frame. Make sure the corners line up well; slight misalignments can cause issues later on.
For the supports, think about how much weight the shelves will hold. Adding vertical braces or crossbars inside the frame improves stability, especially if you expect heavier items. I usually add one or two cross supports; it just feels safer.
Check the frame by placing it on a flat surface. Does it sit evenly? If not, some sanding or adjusting might be necessary. Stability here will make the whole shelf feel solid once it’s finished.
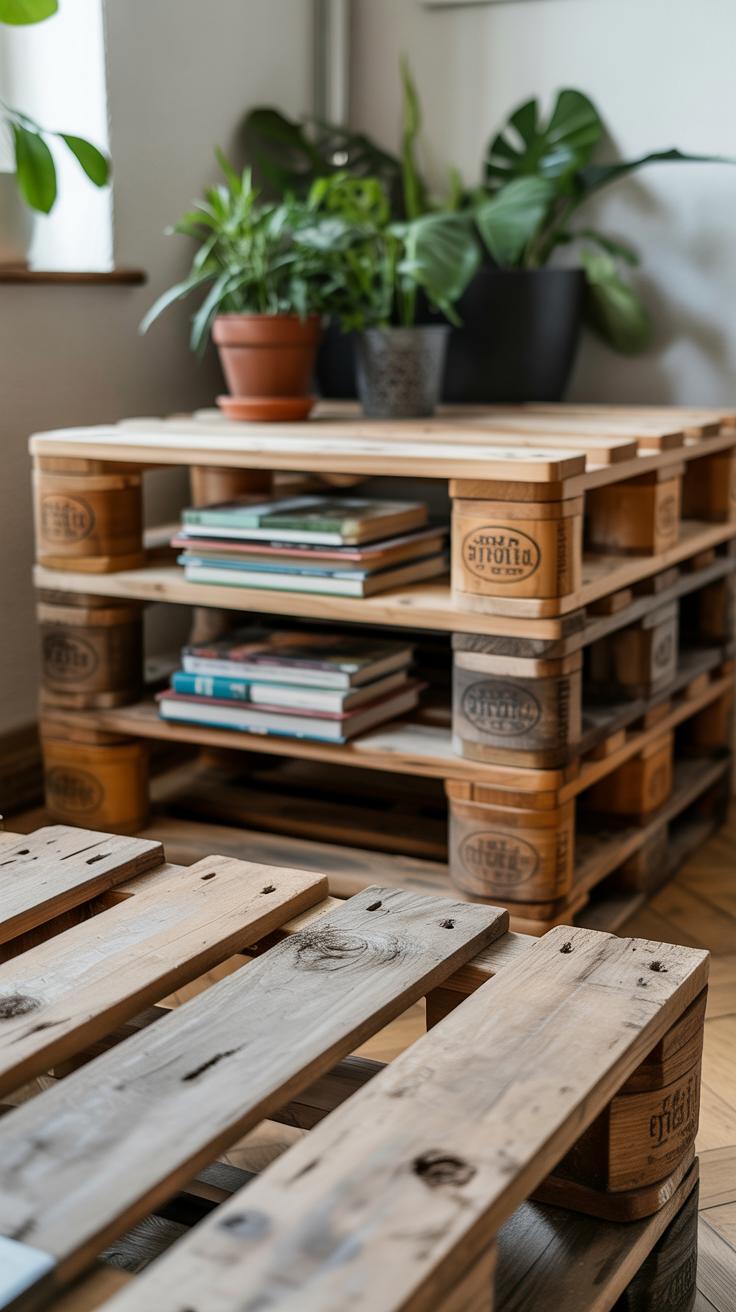
Attaching Shelves and Finishing Touches
Once your frame is ready, attach the shelf boards across the support beams. Use screws, ideally countersunk, so they don’t stick out and snag things later. Align each board tightly to avoid gaps but leave a small space if you want some air circulation.
Pay attention to the edges of the shelves. Rough edges can be a nuisance, so sand them down, but don’t overdo it—you want to keep that rustic feel. I admit, sometimes I’m torn between a polished finish and leaving imperfections; both have their charm.
If you want, add decorative elements like carved details, metal brackets, or small hooks to increase functionality and flair. These touches personalize the shelves and can reflect your style more than you’d expect.
By now, you’ll have a shelf that’s practical but still retains personality. This step-by-step might seem straightforward, but don’t rush it. Building something enduring takes patience, even if the process is simple.
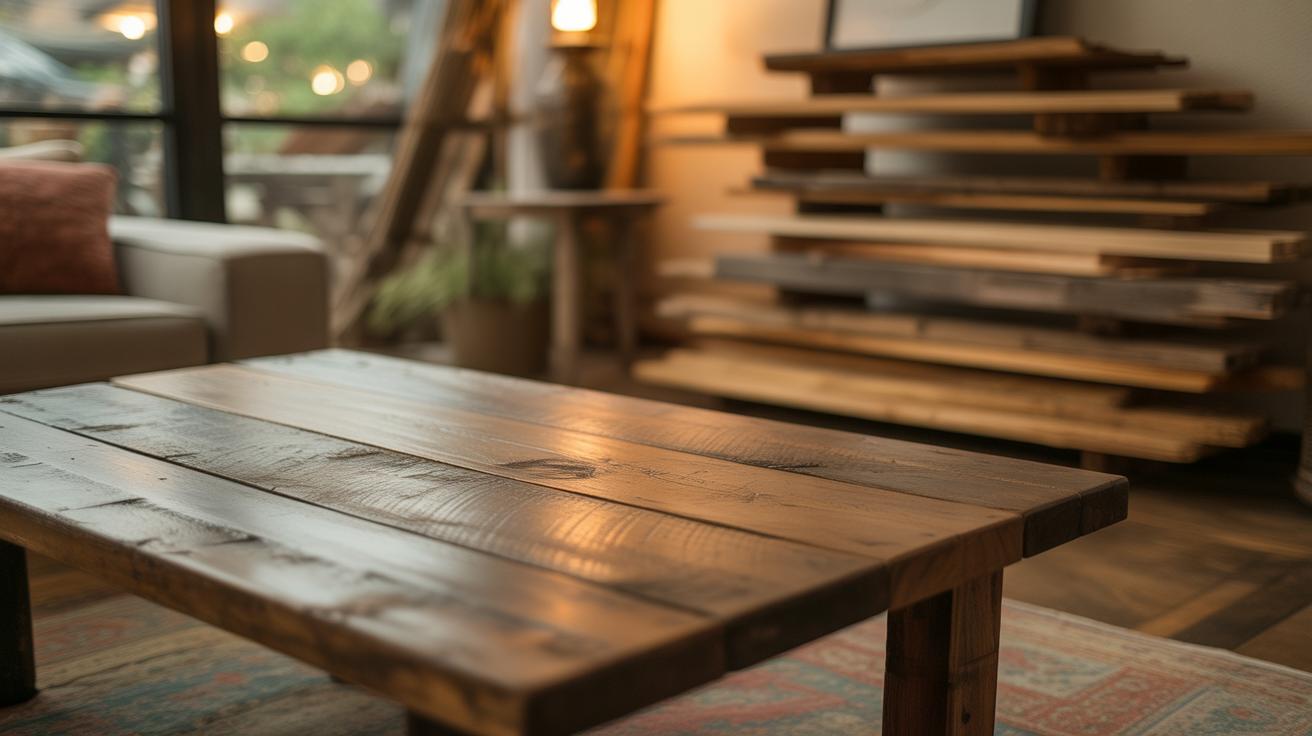
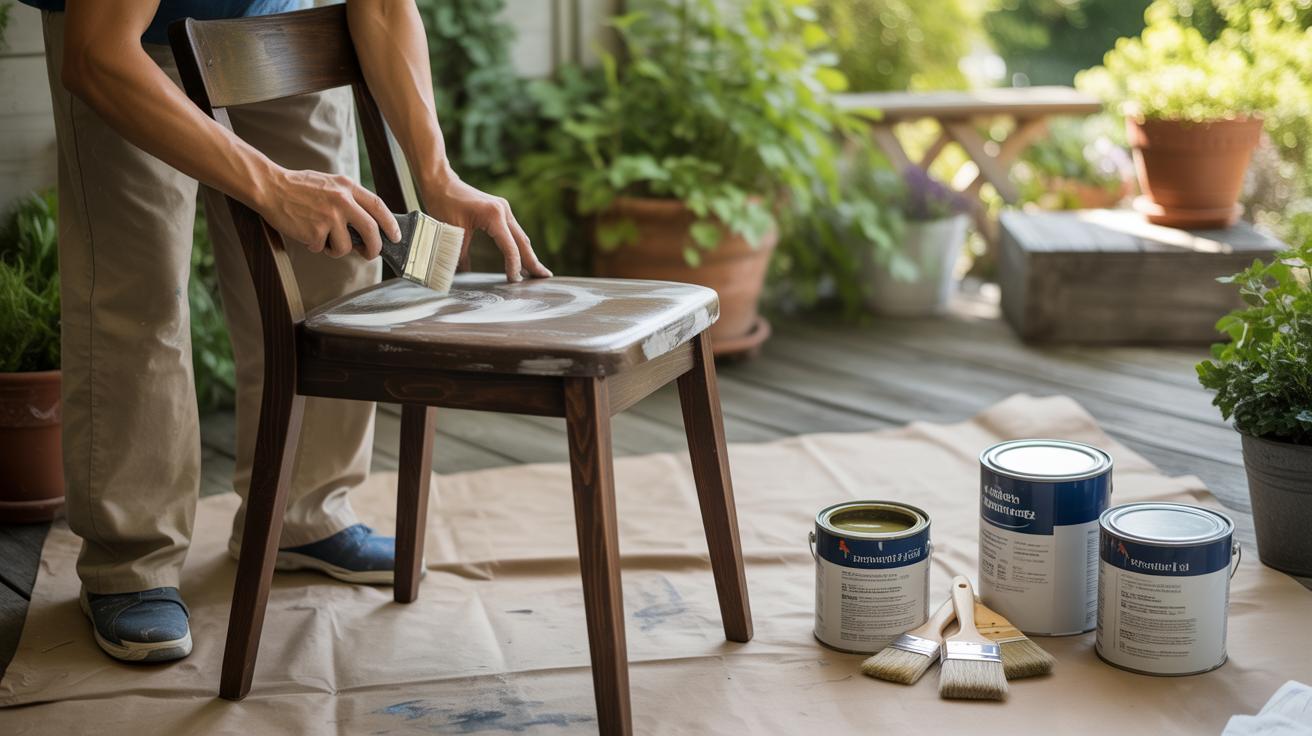
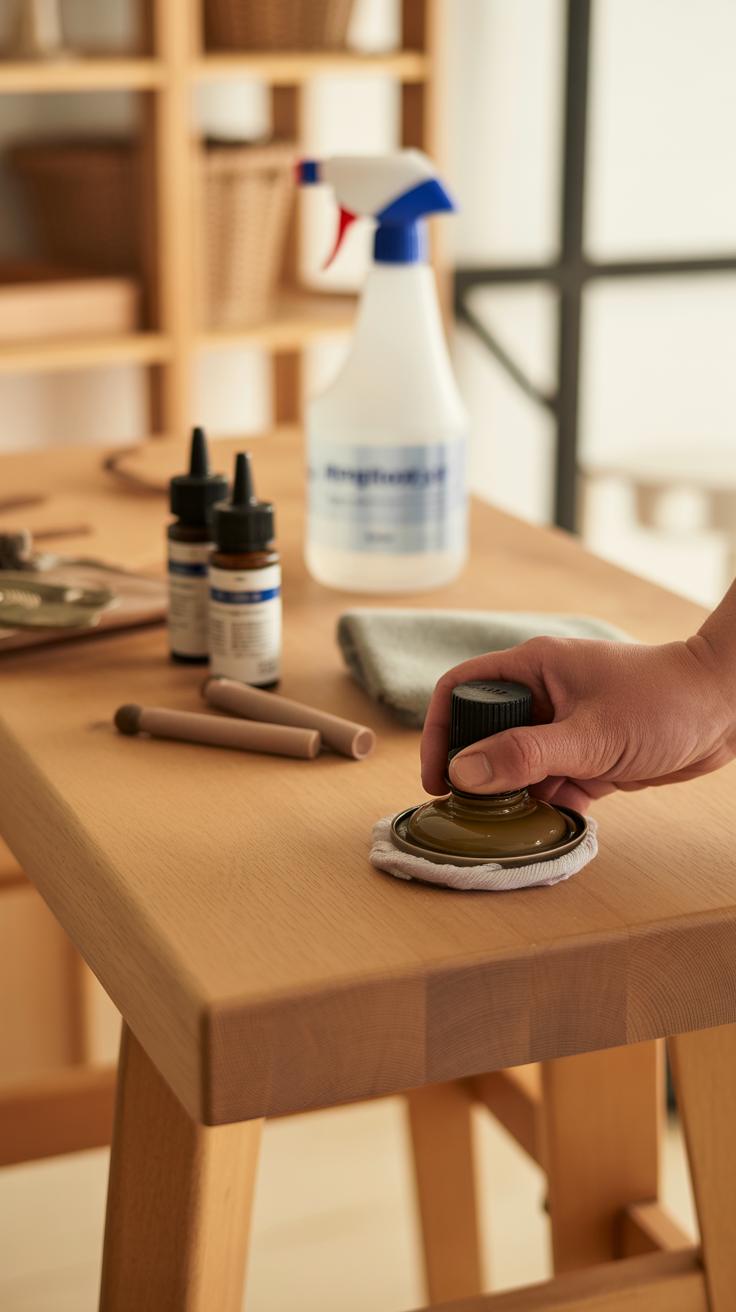
Customizing and Finishing Pallet Shelves
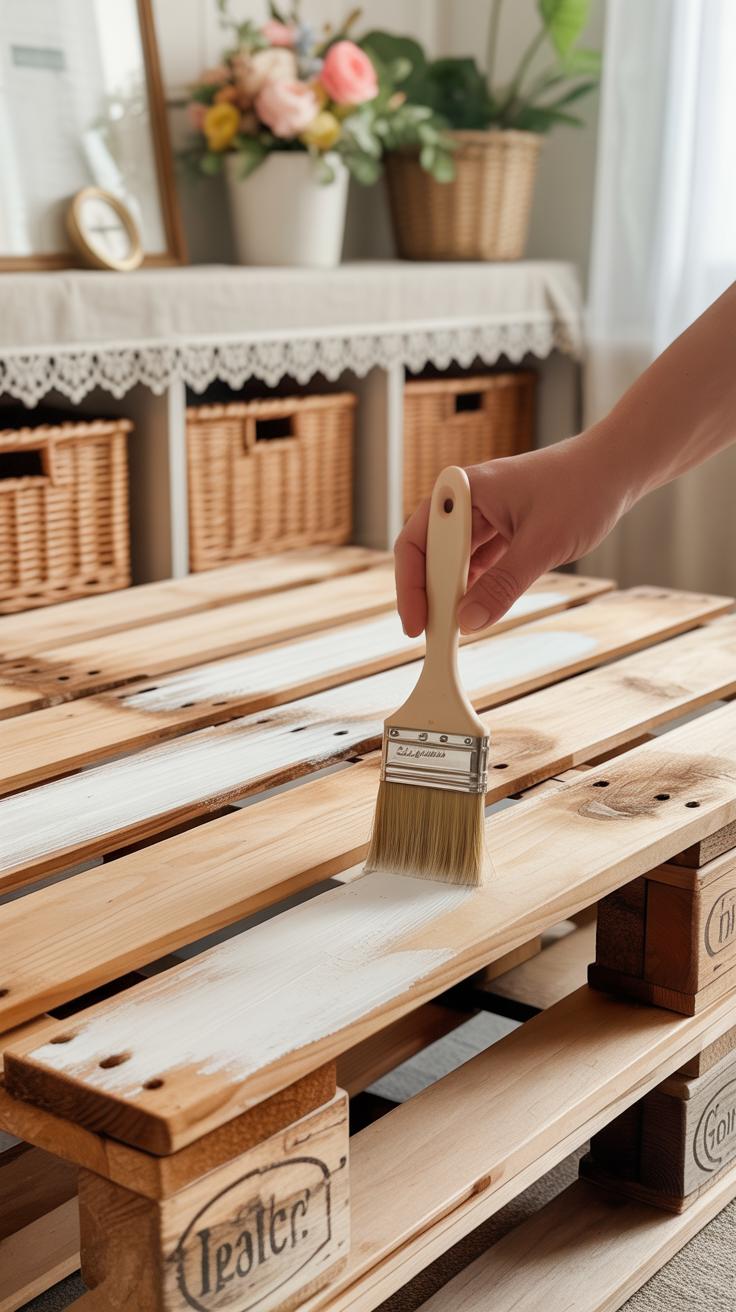
Once you’ve built your pallet shelves, the real fun begins—making them truly yours. Finishing touches can protect the wood and add a personal flair. You might think painting is just about color, but it’s also about durability. Latex paint works well for a smooth, bright finish that resists moisture. Or you could go with chalk paint for a softer, vintage look; it’s easy to distress, giving shelves a lived-in charm.
Staining brings out the wood grain and feels a bit more natural. Oil-based stains tend to penetrate deeper and last longer, but water-based stains dry quicker and smell less. Sometimes, I’ve found that mixing stain with a bit of varnish skips a step by sealing and coloring simultaneously. It’s a little quicker, though you might sacrifice some control over the exact shade.
Beyond paint or stain, think about what makes the shelves practical and interesting. Hooks nailed underneath can hold mugs or keys—handy in a kitchen or entryway. Small chalkboard labels help organize storage spaces, especially if you’re using shelves in a workshop or pantry. And a few decorative knobs or metal corners don’t just protect edges; they add character. You could even weave thin rope along the edges for a rustic touch, though that might not suit every room.
Have you considered mixing textures? A combination of raw wood and metal elements can make the shelf a statement piece. It might feel a bit busy but that’s the point—an imperfect, personal object rather than something too polished. In the end, your choices reflect how you live with the shelves, not just how they look.
Placing and Using Pallet Shelves
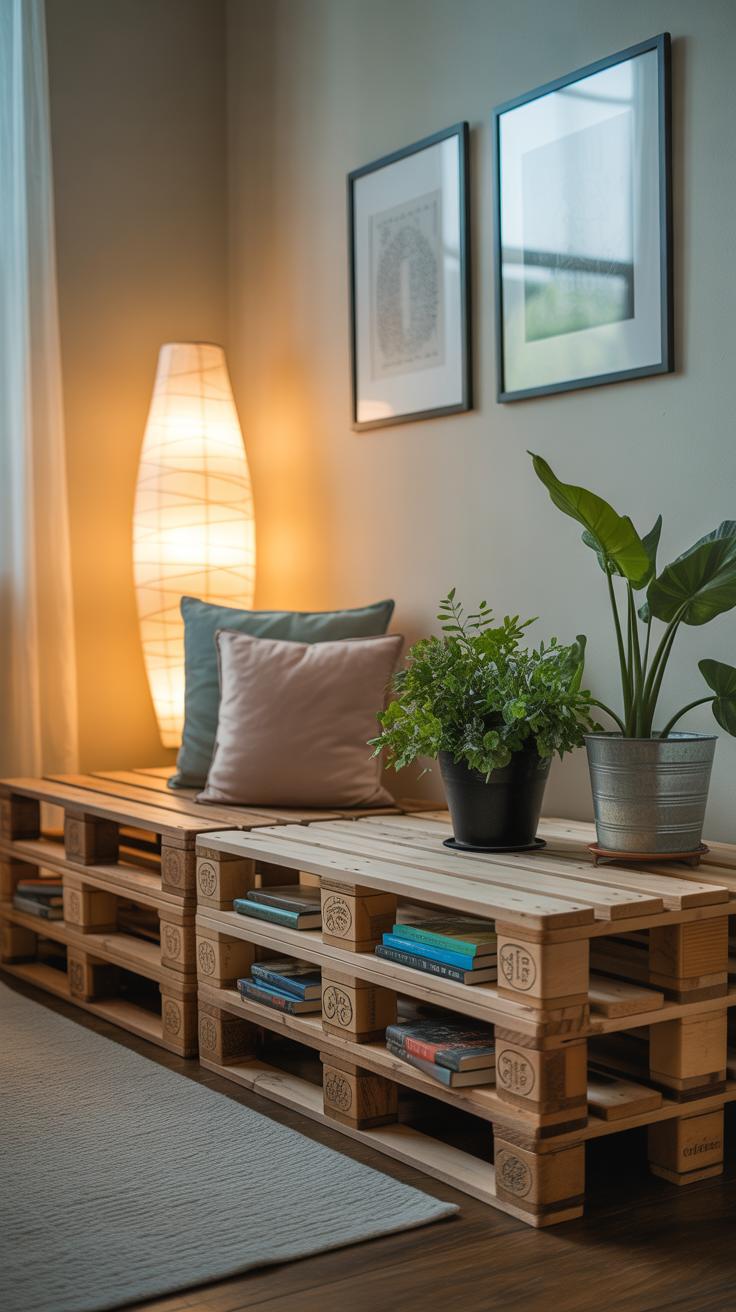
When it comes to installing pallet shelves, the first question is often where to put them. You might consider spaces in the kitchen, living room, or even a garage. The beauty of these shelves lies in their versatility. You can mount them low for accessible kitchen storage or higher up to display plants or tools. I find that thinking about the function first helps—what do you really want to keep or show off? That shapes the best location.
Securing Shelves to Walls
Mounting pallet shelves depends on the wall type, and it’s not always straightforward. Drywall requires anchors or toggle bolts to hold weight without slipping. For brick or concrete walls, masonry screws or plugs work better but need more tools, like a hammer drill. If you have wooden studs behind the drywall, screwing directly into those studs offers the strongest grip. It’s a good idea to use a level each time—for example, when I first hung mine, I skipped that and ended up with a shelf that looked crooked. Don’t rush this part; your shelves’ safety and your belongings depend on it.
Creative Uses for Pallet Shelves
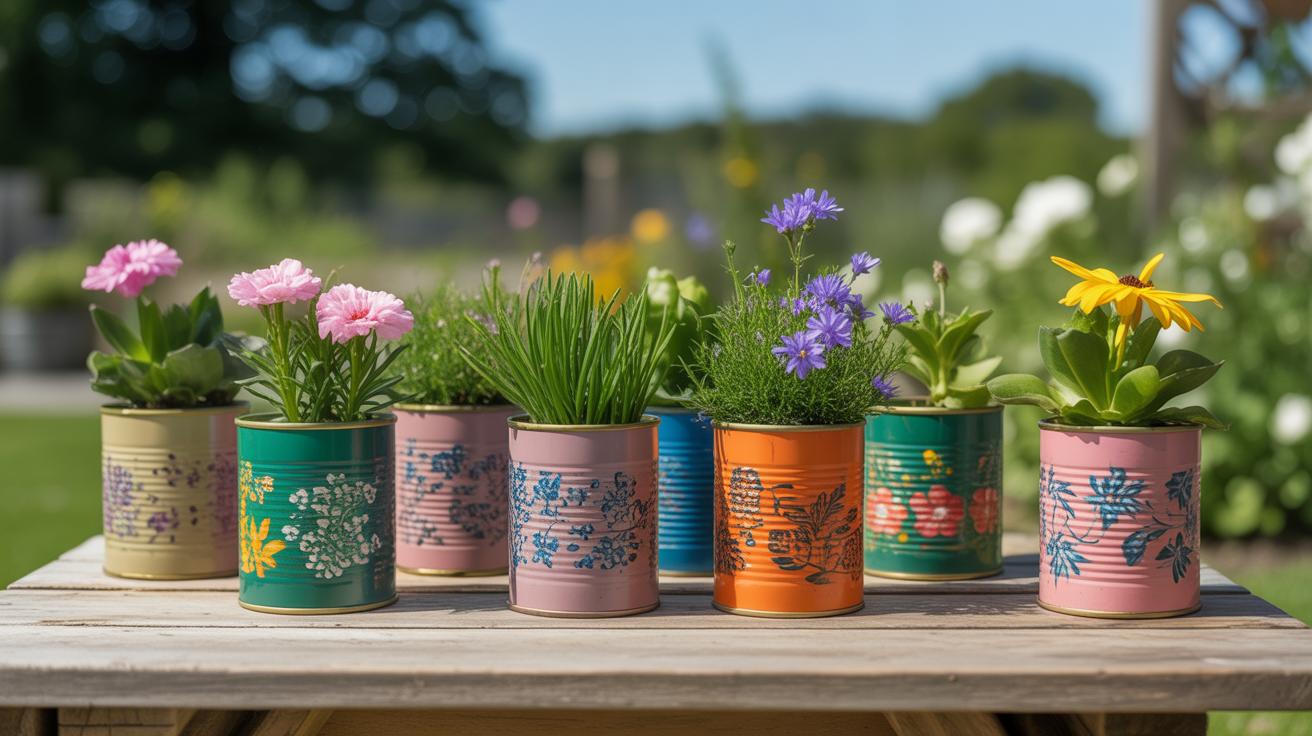
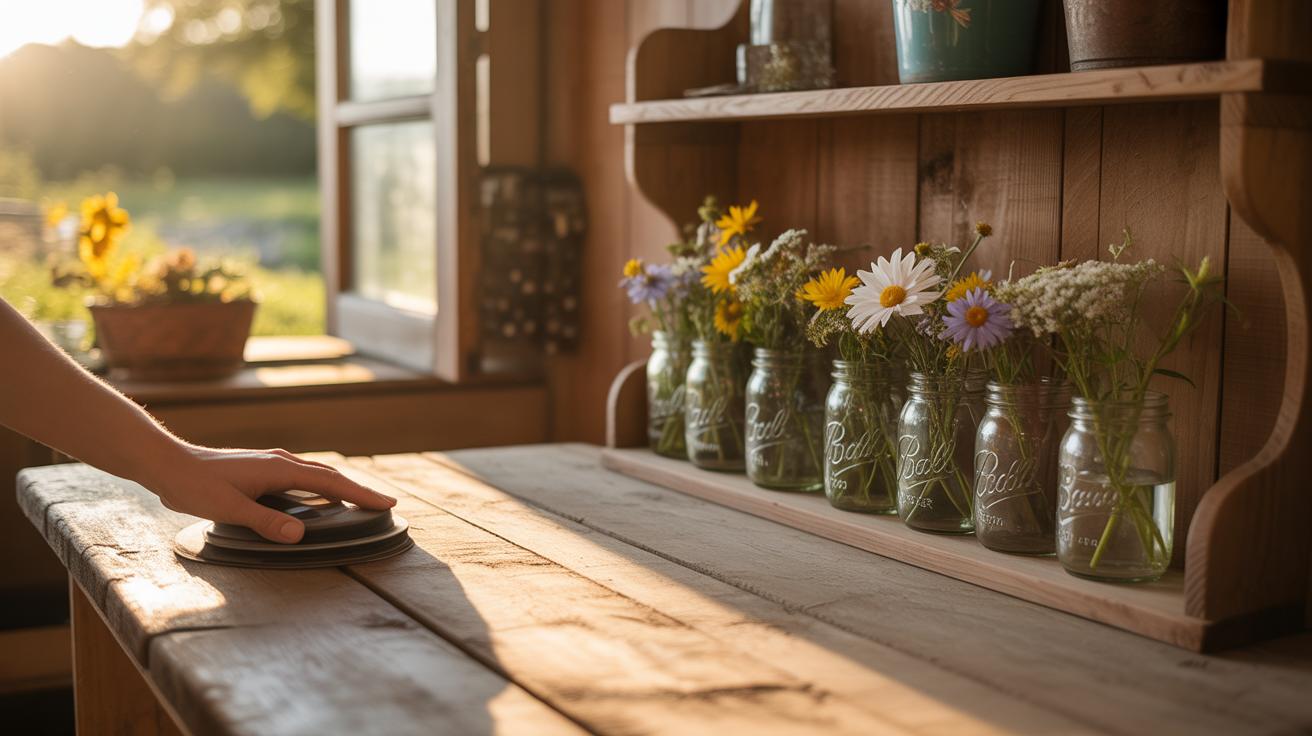
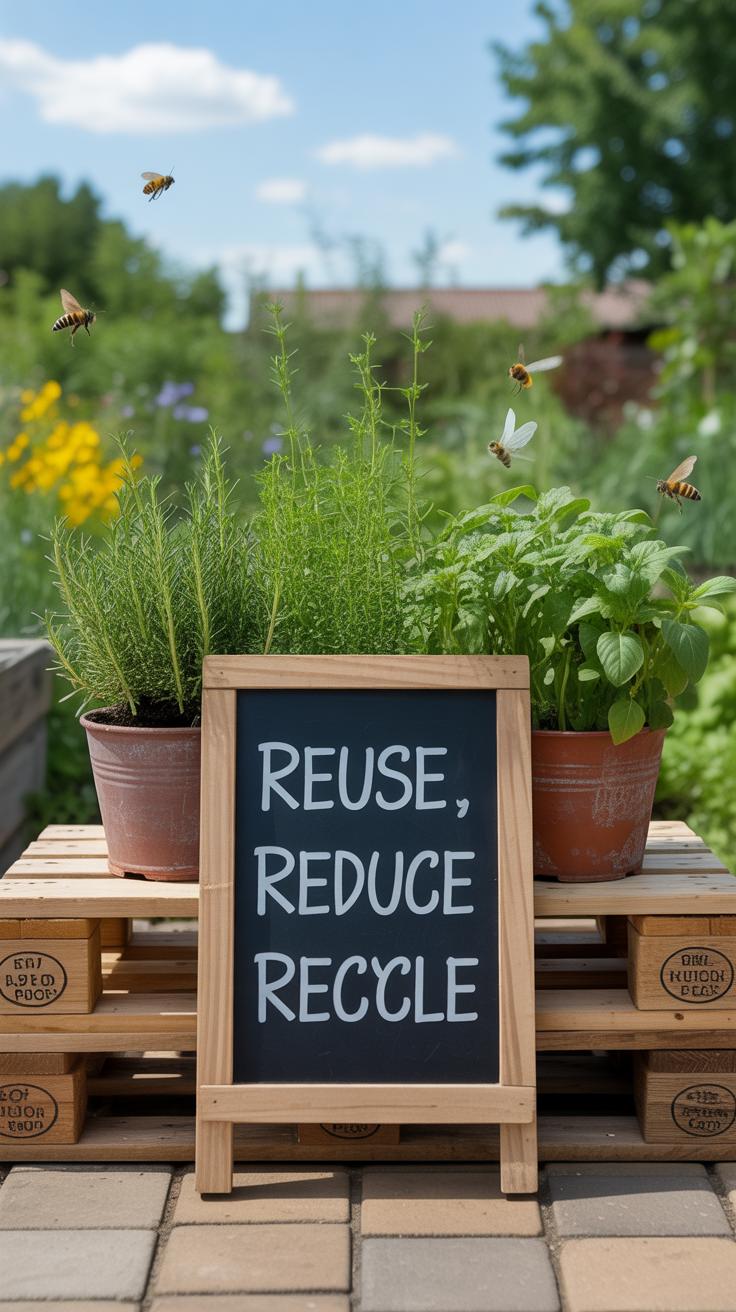
Pallet shelves are more than simple storage; they invite creativity. In kitchens, they hold jars, spices, or mugs—sometimes I toss in herbs in pots. Outdoors, they can become garden displays for small potted plants or an herb garden, which I think adds a nice, earthy touch to a patio. Meanwhile, in workshops, pallets keep tools and supplies organized and easy to grab. You could even stack smaller shelves for a tiered effect. The question is, where could you use an extra surface to declutter your space? Every room offers some surprising possibilities.
Maintaining and Caring for Pallet Shelves
Keeping your pallet shelves looking good and holding up well isn’t too complicated, but it does require a bit of attention now and then. For cleaning, a simple routine works best: dust or wipe down your shelves with a dry cloth regularly. If needed, use a slightly damp cloth to remove stubborn dirt—but be cautious with water. Pallet wood can be sensitive, and too much moisture might cause warping or even mold over time. Have you noticed a faint musty smell? That can be a sign of dampness.
Protecting the shelves from pests is a bit trickier. Pallets are often made from untreated wood, which can attract insects. You might want to treat the wood with a natural insect repellent or sealant. Do keep an eye out for small holes or wood dust—those are signs your shelves need attention sooner rather than later.
If wear and tear show up—maybe a cracked board or a loose nail—don’t rush to toss the shelf out. Repair is often as simple as replacing a plank or hammering in new screws. You can even upgrade the look and strength by sanding rough edges or adding a coat of stain or varnish. Some folks add hooks or small containers for more storage options. Have you thought about reinforcing corners with metal braces? It can extend the shelf’s life noticeably.
Maintaining pallet shelves is a bit like caring for a slow companion. If you bother with small fixes and cleaning, you’ll end up with a piece that holds its charm and function for years.
Eco Benefits of Using Pallet Shelves
Using pallet shelves is more than just a style choice—it’s a way to help the environment, even if in a small way. When you repurpose pallets, you’re diverting wood from landfills. Pallets often get discarded after one or two uses, so giving them second life as shelves reduces waste. It feels good knowing that something destined for the trash gets turned into practical storage instead. It’s a bit like rescuing forgotten materials.
Think about the impact of reclaimed wood like pallets compared to buying new lumber. You avoid cutting down more trees, which means less deforestation and fewer chemicals used in processing new wood. Sure, the scale might seem minor in the grand scheme, but every bit counts if enough people choose reclaimed wood. That’s what initially drew me to pallet projects.
Handmade pallet shelves also mesh well with green living. They’re local—no large carbon footprints from shipping tons of new wood. And they can be customized to your exact needs, cutting down on unnecessary materials. Crafting these shelves could seem old-fashioned, but maybe that’s what makes them fit so naturally into an eco-friendly way of life. It’s about slower consumption, repurposing, and appreciating the materials you already have.
Conclusions
Handmade pallet shelves blend functionality with rustic charm. By using reclaimed pallets, you not only get an affordable storage option but also add character to your home. With some basic tools and guidance, you can build shelves that fit your specific needs and décor.
Considering their versatility and personalization options, pallet shelves are a smart choice for anyone seeking practical storage with a warm, natural look. You can customize your shelves easily, making your space more organized and visually appealing without much expense or effort.


