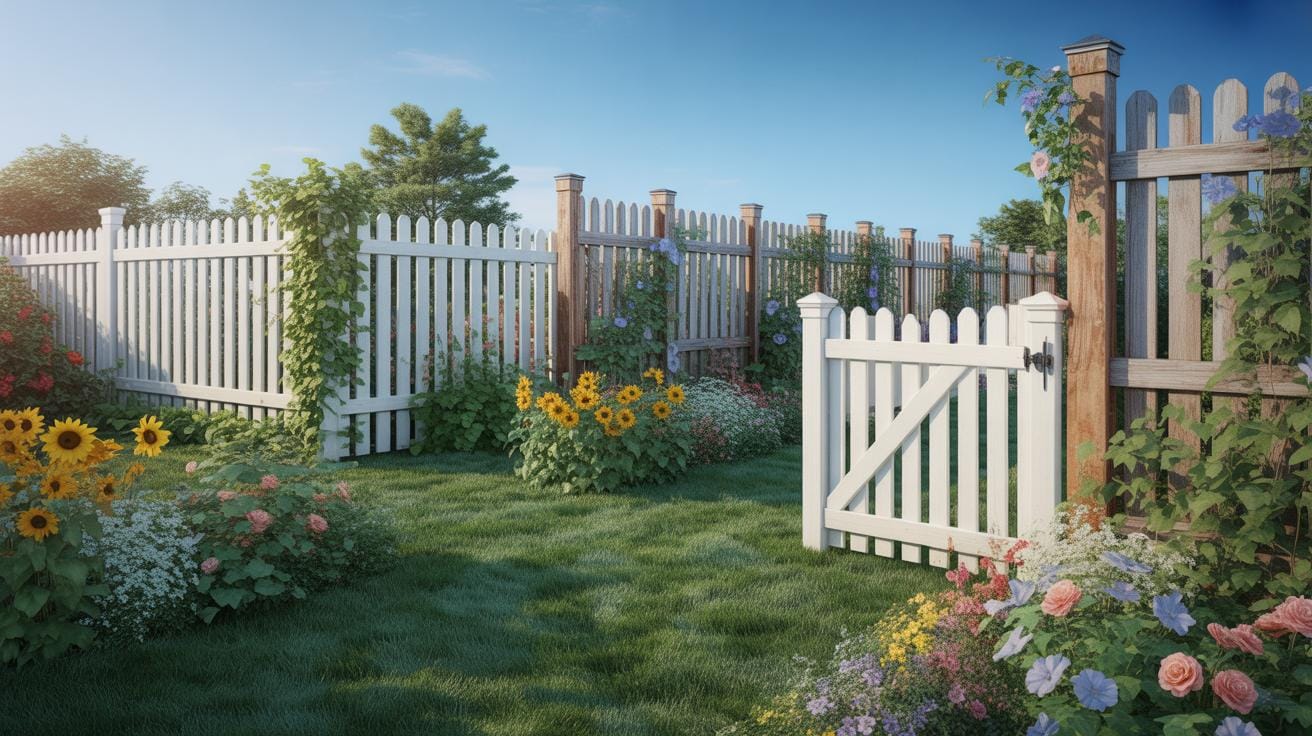
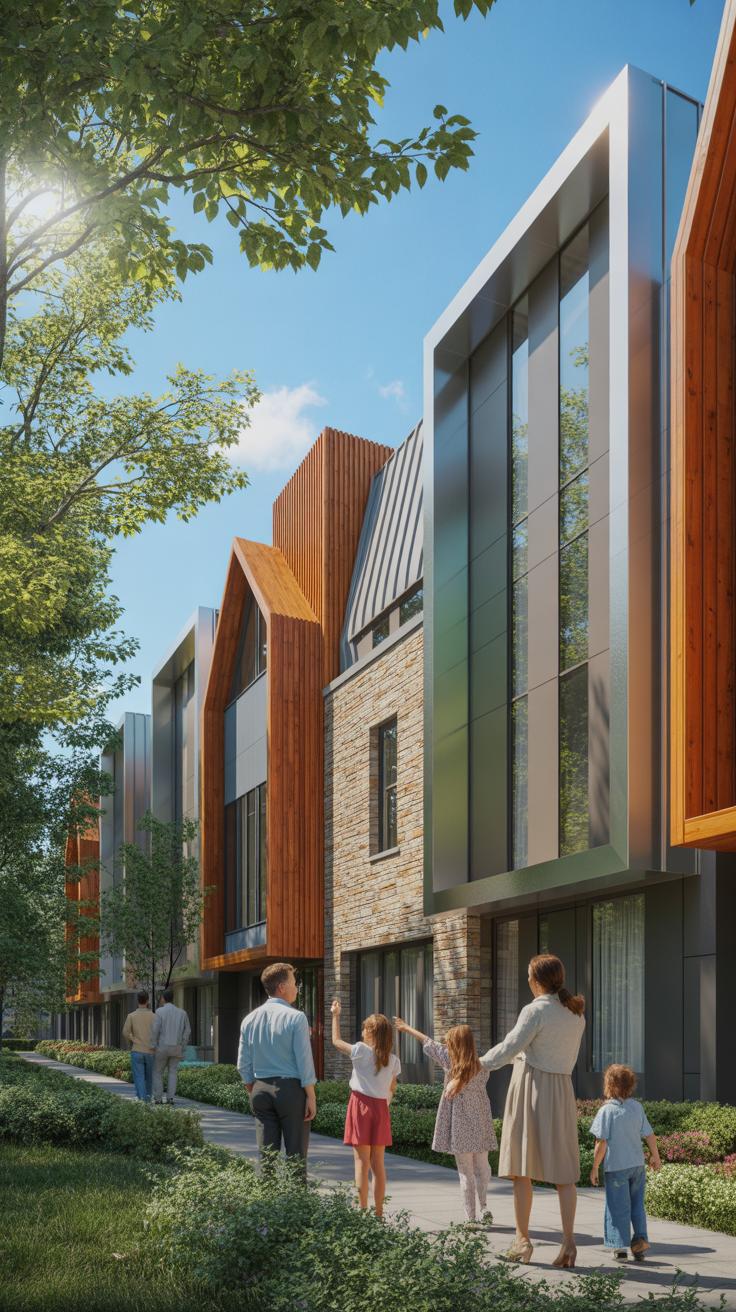
Introduction
Outdoor wall cladding can change the look of your home and make the outside more attractive. This article looks at how you can use different wall cladding ideas to improve the appearance of your house. It covers materials, installation, and care tips so you can pick the right choice.
Enhancing your home’s outer walls is not just about beauty but also about protection. We explore different types of cladding that can help keep weather out and give your home a fresh style. This guide will help you choose and maintain outdoor wall cladding for the best curb appeal.
Selecting Outdoor Wall Cladding Materials
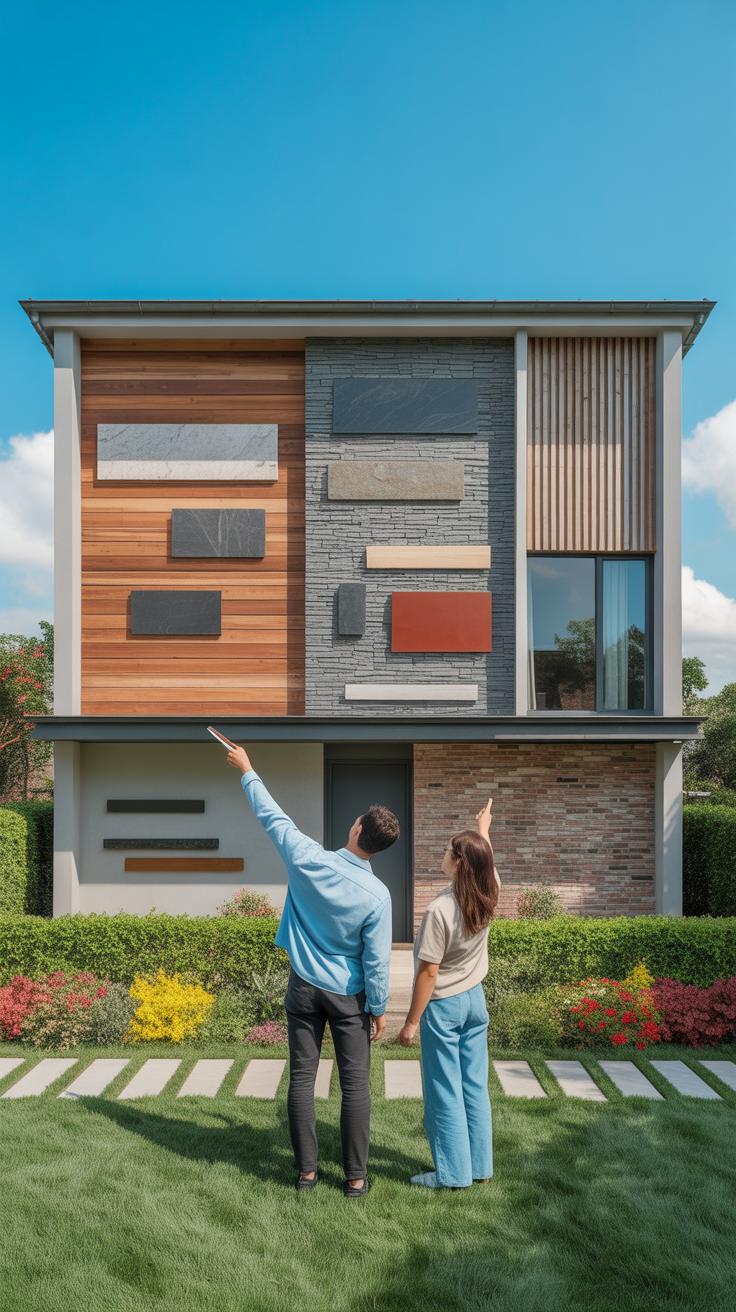
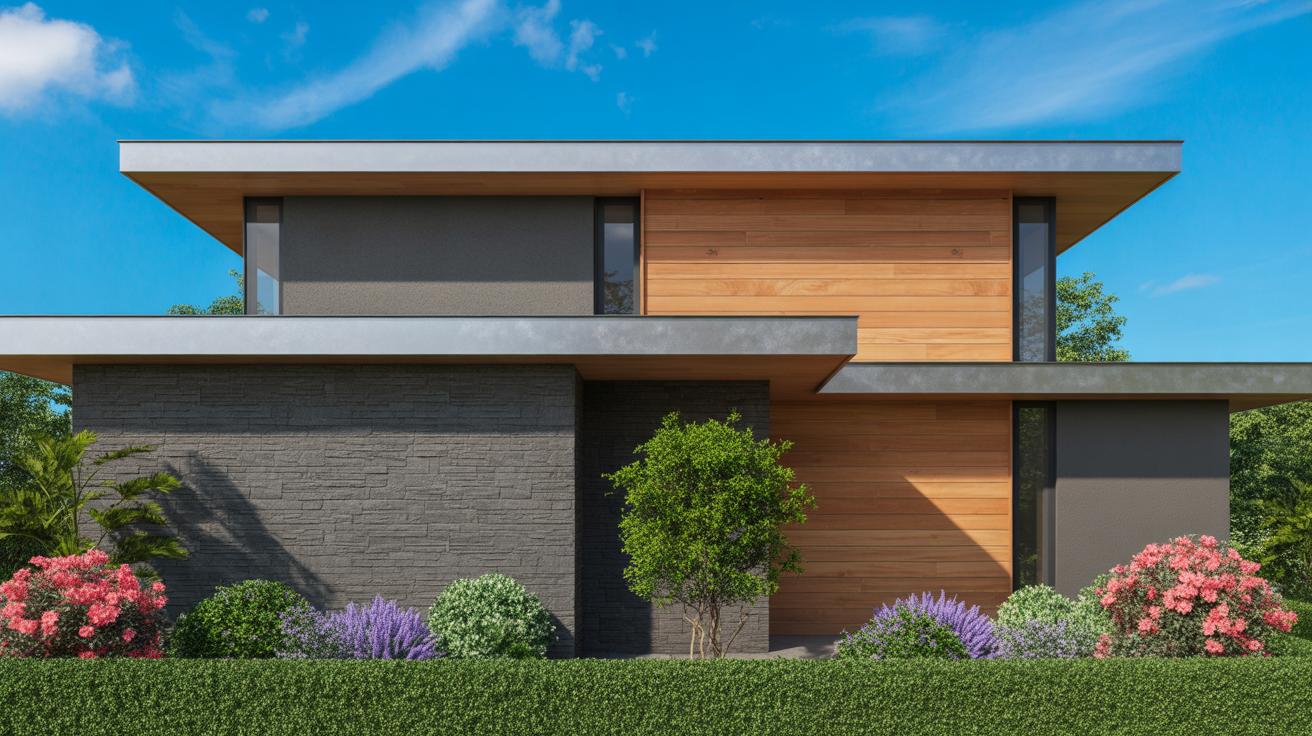
When choosing outdoor wall cladding, the material you pick plays a crucial role not just in looks but also in how long it will last and what upkeep it requires. Wood offers a warm, natural appeal, but it tends to cost more upfront and needs regular maintenance to avoid deterioration from weather. Metal cladding, often steel or aluminum, is durable and low maintenance, but it can be prone to dents or corrosion if not properly treated.
Vinyl siding comes across as a budget-friendly, low-maintenance option. It resists fading and rot, but some find it less visually rich compared to natural materials. Brick, on the other hand, gives you timeless appeal and strength but at a higher price and with a heavier installation process. Stone cladding, like brick, offers great durability and texture but tends to be expensive and labor-intensive to install.
Each material has its quirks—vinyl is easy to maintain but maybe lacking some character, while wood is beautiful but requires constant care. It’s a balance of budget, style, and how much effort you want to put into upkeep.
Comparing Popular Cladding Options
- Wood: Natural, warm look; lifespan around 20-30 years; requires painting or sealing; moderate to high cost.
- Metal: Sleek, modern appearance; 30-50 years lifespan; low maintenance but vulnerable to dents; mid-range price.
- Vinyl: Imitates wood styles; 20-40 years lifespan; minimal maintenance; low cost.
- Brick: Classic, sturdy appearance; 50+ years lifespan; very low maintenance; high installation cost.
- Stone: Rich, textured look; 50+ years lifespan; minimal maintenance but high installation cost.
What’s interesting is how lifespan and maintenance are somewhat inversely related in some cases—less upkeep can mean a higher initial investment. For example, stone and brick last long but cost more, while vinyl may fade or crack over time but costs less upfront.
Step by Step Installation Checklist
- Prepare the wall surface by cleaning and repairing any damage.
- Gather tools: measuring tape, saw (material-specific), drill, level, fasteners, and safety gear.
- Install a moisture barrier or house wrap over the sheathing.
- Start cladding installation from the bottom, ensuring the first piece is level.
- Secure panels or boards according to manufacturer instructions, leaving expansion gaps if needed.
- Cut pieces precisely to fit corners, windows, and doors for a clean finish.
- Inspect and seal edges and joints to protect from water infiltration.
- Check the overall alignment frequently for uniformity.
- Once installed, conduct a final cleaning and touch-up paint or sealant if applicable.
Installation might feel straightforward, but overlooking preparation or details like sealing can reduce the cladding’s durability. Taking your time upfront often prevents lingering problems later on.
How Weather Impacts Outdoor Wall Cladding
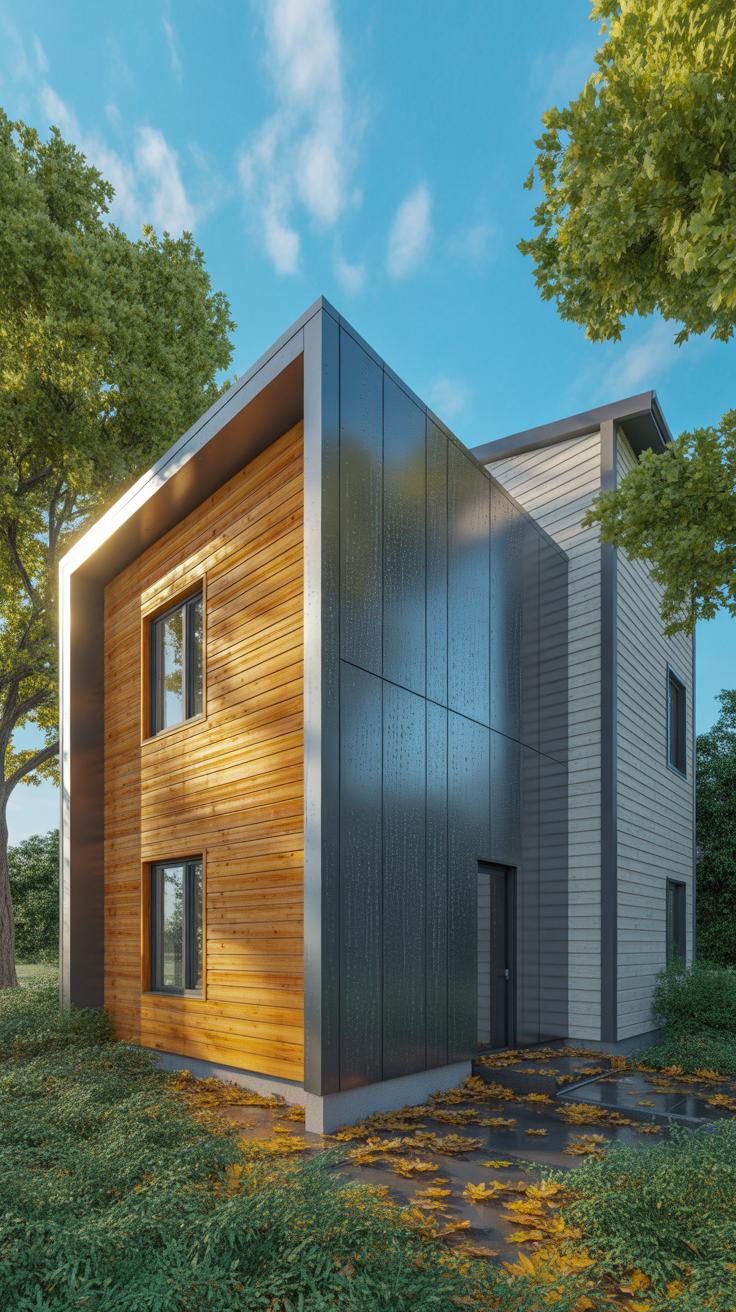
Outdoor wall cladding faces a range of weather-related challenges that can affect its longevity and appearance. Moisture is a major concern. Rain, snow, and humidity can seep into certain cladding materials like wood and some composites, leading to swelling, warping, or even mold growth if not properly treated or ventilated.
Sun exposure also takes a toll. UV rays can fade colors and degrade surface finishes over time—especially on materials like vinyl or painted wood. Stone and brick fare better in this regard but may still experience surface weathering.
Cold temperatures cause some materials to contract and become brittle; for example, certain plastics or fiber cement might crack under freezing conditions if moisture has penetrated them. Wind can drive rain or debris against cladding surfaces with force, causing physical damage or accelerating wear, particularly in exposed locations.
Each cladding material reacts differently:
- Wood needs sealants and regular upkeep to resist moisture and sun damage.
- Metal cladding can corrode if coatings wear off and water accumulates.
- Brick and stone are more resilient but require proper mortar maintenance to prevent water ingress.
Taking precautions like ensuring good drainage, choosing materials suited to local climate, and applying protective coatings can help mitigate many of these effects.
Protective Measures To Extend Cladding Life
To keep cladding in good shape, protective treatments are essential. Coatings and sealants form barriers against moisture, UV rays, and pollutants, prolonging the material’s life.
Applying these treatments demands some care. Surfaces should be clean and dry before application. For wood, oils or water-repellent stains can work well, but they must be reapplied every couple of years. Paint provides UV protection but may peel if not maintained. For metals, rust-inhibiting primers followed by quality paint or powder coatings help prevent corrosion.
It’s practical to schedule these treatments seasonally or after severe weather events. Over time, these layers wear thin, so keeping a calendar for checkups and reapplications can save you from costly repairs down the road.
Routine Checks For Weather Damage
Regular inspections of your cladding can catch minor issues before they grow. Look closely for cracks, peeling paint, mold spots, or loose panels.
Check at least twice a year, ideally after harsh winter or heavy storms. Early signs like small cracks might seem trivial but can allow moisture to penetrate and expand damage.
A simple repair—like filling gaps with suitable filler or repainting—can prevent structural problems. Don’t overlook hidden areas, such as behind gutters or near rooflines, where water tends to accumulate.
Keeping notes on what you find helps track recurring issues and informs maintenance choices. It’s a bit of effort, but it pays off by preserving your home’s look and its value.
Selecting Outdoor Wall Cladding Materials
When considering outdoor wall cladding, you’re not just picking a surface for your home but deciding on the first impression it creates. It’s worth pondering how the material interacts with both the environment and your home’s design. For example, wood offers warmth and a natural feel, but it demands upkeep to resist weather damage. Stone cladding impresses with durability and a rustic charm, yet it can weigh heavily on structure and budget.
Metal panels bring a sleek, modern aesthetic and resist rot, but their cold finish might not suit every style. Vinyl cladding may seem a practical choice—low cost, easy care—but it sometimes lacks that genuine texture that truly stands out. And what about composite materials? They often balance appearance with enhanced durability, but they vary widely in quality.
As you select your cladding, think about climate, maintenance willingness, cost, and desired look. How much personality do you want your walls to express? Sometimes mixing materials gives unexpected appeal—like combining stone and wood or metal and vinyl. It’s a bit like a conversation between textures and colors that shape how your home feels from the outside.
- Wood for classic warmth, but needs care.
- Stone for rugged strength with natural appeal.
- Metal for modern sharpness, though potentially cold.
- Vinyl for budget-friendly, less texture.
- Composite for balanced looks and durability.
The material you settle on sets the stage for your curb appeal—so maybe take a moment to visualize not just the surface but how it ages, weathers, and harmonizes with the rest of your home and surroundings.
Cost Breakdown Of Cladding Materials And Installation
Typical Costs For Materials And Labor
When considering outdoor wall cladding, it’s helpful to look at the numbers. Material costs vary widely depending on what you choose—natural stone and high-quality timber usually sit at the higher end, sometimes exceeding $50 per square foot. On the other hand, vinyl or fiber cement panels might be closer to $10 to $20 per square foot. Labor is another story: professional installation can add 30% to 60% on top of material costs. Labor rates can swing heavily depending on location and the complexity of the installation. For example, intricate patterns or uneven surfaces can increase time and thus prices. Sometimes you get what you pay for; cheaper materials might require more upkeep later, so think about long-term costs, not just the initial outlay.
Budgeting For Your Cladding Project
Budgeting for wall cladding projects isn’t as straightforward as multiplying material costs by the area. Hidden expenses—like permits, scaffolding, or disposal fees—often sneak up and make budgeting tricky. It’s wise to add an extra 10-20% contingency to your estimate. Don’t cut corners on preparation either; poor surface prep can lead to problems that get costly fast. If you’re set on saving money, maybe prioritize where you splurge—quality fastening systems and weather-resistant materials pay off in durability. It’s tempting to pick the cheapest option, but a few dollars saved in the short term could mean more repairs down the line. Consider your local climate as well—materials that hold up in dry regions might struggle under damp conditions.
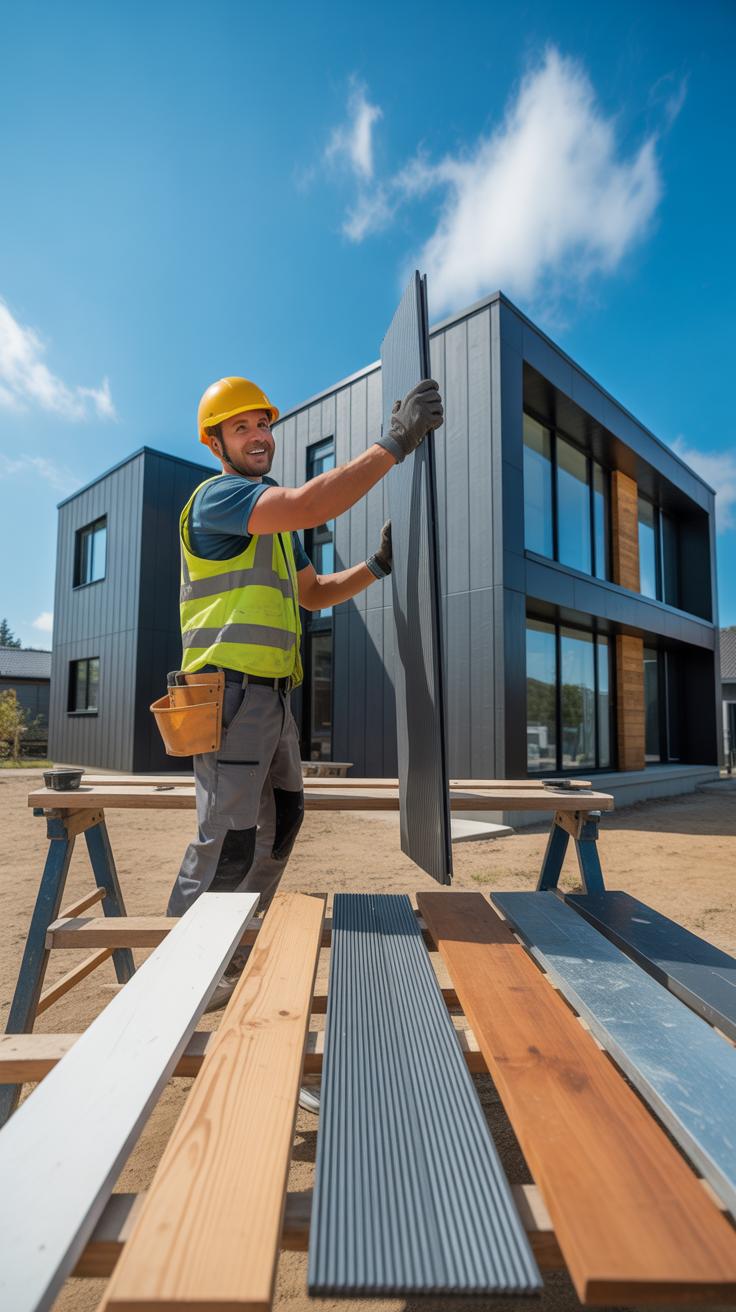
Hiring Professionals Versus DIY Approach
Deciding between hiring pros or tackling the cladding yourself is not always simple. Professional installers bring experience that can reduce mistakes and save time; they might finish in days what could take a novice weeks. But their service comes at a price—sometimes a third or half the total project cost. Going DIY can weigh heavily on your schedule and may involve a steep learning curve, especially with complex materials like fiber cement or stone. Mistakes can be costly and frustrating. Yet, doing it yourself means control over every step and potential savings on labor. If you’re comfortable working with tools and have some familiarity, DIY might be doable, but if you’re uncertain, hiring professionals might spare headaches later.
Common Installation Mistakes And How To Avoid Them
Improper Surface Preparation Issues
Before you even think about attaching cladding, the surface needs thorough cleaning and repair. Skipping this step often means the cladding won’t stick well or could trap moisture. Dirt, loose paint, or cracks are common culprits that reduce adherence and can lead to peeling or warping later. A well-prepped surface ensures you get a solid, lasting bond.
What you want to do is scrub away dirt and old coatings, fix any damage, and make sure the wall is dry. This might seem tedious, but failing here usually means more work down the road. Don’t underestimate how much a freshly cleaned and patched surface can improve your results.
Incorrect Fastening And Sealing
How you attach and seal the cladding panels matters a lot. If fasteners are too loose or over-tightened, they won’t hold properly or could damage the material. Gaps between panels occur when fastening is uneven, letting water sneak in. Water gaps cause rot or rust behind the cladding, quietly destroying the structure.
Use the right screws or nails suited for your cladding material and follow manufacturer spacing guidelines. Seal all joints carefully to create a continuous barrier. It’s easy to overlook tiny gaps, but these small spaces can become big problems. I’ve seen houses with what looked like a perfect finish—until those unseen gaps led to serious moisture damage.
Maintaining Outdoor Wall Cladding For Longevity
Keeping your outdoor wall cladding in good shape isn’t just about looks—it’s about protecting your investment. Ideally, you should create a routine cleaning schedule. For most materials, twice a year is fine, but more frequent checks soon pay off, especially in harsh climates. Simple soap and water often work well, but sometimes a gentle commercial cleaner is needed. I’ve found that using a soft bristle brush helps dislodge dirt without damaging the surface.
For quick repairs, having a basic toolkit with filler for cracks, touch-up paint, and a sealant comes in handy. Addressing minor damage right away stops it from turning into major headaches. I remember once ignoring a small dent on vinyl cladding; it got worse after heavy rain. So, fixing dents or discoloration swiftly is worth the effort.
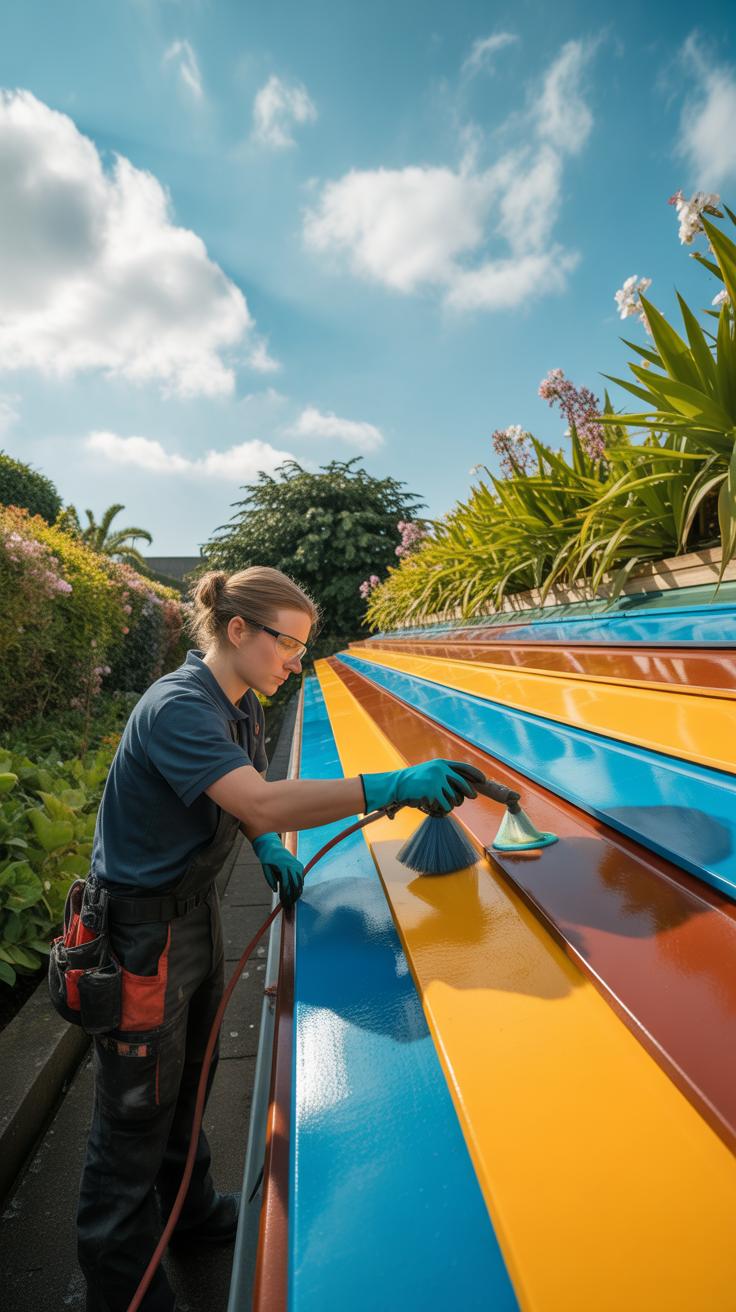
Cleaning Techniques For Different Materials
Different cladding types need different care. Wood demands gentle cleaning to avoid stripping finishes—soap and water with a sponge works well, but avoid harsh scrubbing. Metal cladding can tolerate more aggressive cleaning; a mix of water and mild detergent usually does the trick, but avoid abrasive pads that might scratch. Vinyl surfaces respond well to soft brushes and soapy water, and stone cladding usually needs pressure washing, but carefully—too much power can erode the surface.
Frequency varies, too. Wood and metal might need cleaning twice yearly, but stone can handle annual washes, while vinyl might be fine with one good wash every year unless it’s exposed to severe pollution or moss buildup.
Fixing Minor Damages Quickly
Small cracks and dents don’t usually require a professional if you act fast. For wood, filler products formulated for exterior use and some light sanding will usually restore the surface. Metal dents may be gently hammered back into place and touched up with rust-resistant paint. Vinyl cladding cracks can be sealed with specialist adhesives but replacing panels might be necessary if damage grows.
Discoloration often comes from sun exposure or staining. Mild bleaching solutions or specialized stains contoured to the material can restore color without repainting. Keeping supplies like filler, sealants, and cleaning agents on hand means you’re ready to respond immediately. It’s a bit like nursing your cladding back to health before bigger problems set in.
Comparing Outdoor Wall Cladding With Painting

Longevity And Weather Resistance
When you think about durability, outdoor wall cladding often outlasts paint by a significant margin. Cladding materials like stone, brick, or copper can endure harsh weather, from heavy rains to strong sun, without showing much wear. Paint, on the other hand, tends to fade, crack, or peel, especially under intense sunlight or frequent moisture. For instance, a good quality brick cladding might last several decades, sometimes 50 years or more, whereas paint might need refreshing every 5 to 10 years depending on conditions. That said, certain modern paints with UV and water resistance have improved, but still rarely reach the lifespan of robust cladding.
Cost And Maintenance Differences
At first, painting is usually less expensive than installing cladding. Paint materials and labor cost less upfront, making it tempting if you’re on a budget. Yet, maintenance costs pile up over time—regular repainting every few years adds both expense and effort. Cladding, conversely, tends to require less frequent attention. Maybe occasional cleaning or minor repairs; nothing like scraping and reapplying paint. But cladding installation is more complex and costly initially, so you might spend more upfront but less in the long haul. Perhaps it depends on your priorities—a quick fix or a longer-term solution.

Aesthetically, cladding offers texture and depth paint can’t match. You can achieve a truly three-dimensional look that stands out, something paint generally lacks. However, paint provides flexibility—you can easily change colors or update styles without major work. So it boils down to whether you want something more permanent or something you can tweak every now and then.
Outdoor Wall Cladding Case Studies
Let’s look at two different homes where outdoor wall cladding really changed the game. It’s interesting how materials and styles can shift the entire vibe of a house, and sometimes in ways homeowners didn’t expect.
Modern Wood Cladding Example
One family decided to go with wood cladding to bring a fresh, modern look to their otherwise dated home. The choice was tricky because wood requires careful selection to withstand weather, but they opted for treated cedar for its natural resistance and visual warmth. Installation was a bit challenging—aligning the planks evenly took longer than planned, and the team had to be vigilant about sealing every joint to prevent moisture problems. The end result? The house felt instantly more inviting, and the owners said it gave their home a much-needed personality boost without shouting for attention. They mentioned occasional upkeep but felt the aesthetic payoff made it worth the effort.
Stone Cladding For Classic Look
Another case involved a century-old residence, which received a stone cladding facelift. The owners wanted to preserve the home’s historic charm but add a subtle touch of durability and elegance. They chose natural limestone, carefully balancing rough and smooth textures to keep the classic appeal intact. This choice dramatically changed the home’s curb appeal, making it look sturdier and more refined. Interestingly, the homeowners appreciated how the stone helped with insulation, though they admitted the cost was higher than they initially expected. Still, many neighbors stopped by to comment on the timeless quality the stone brought to the façade.
Tools You Need For Installing Outdoor Cladding
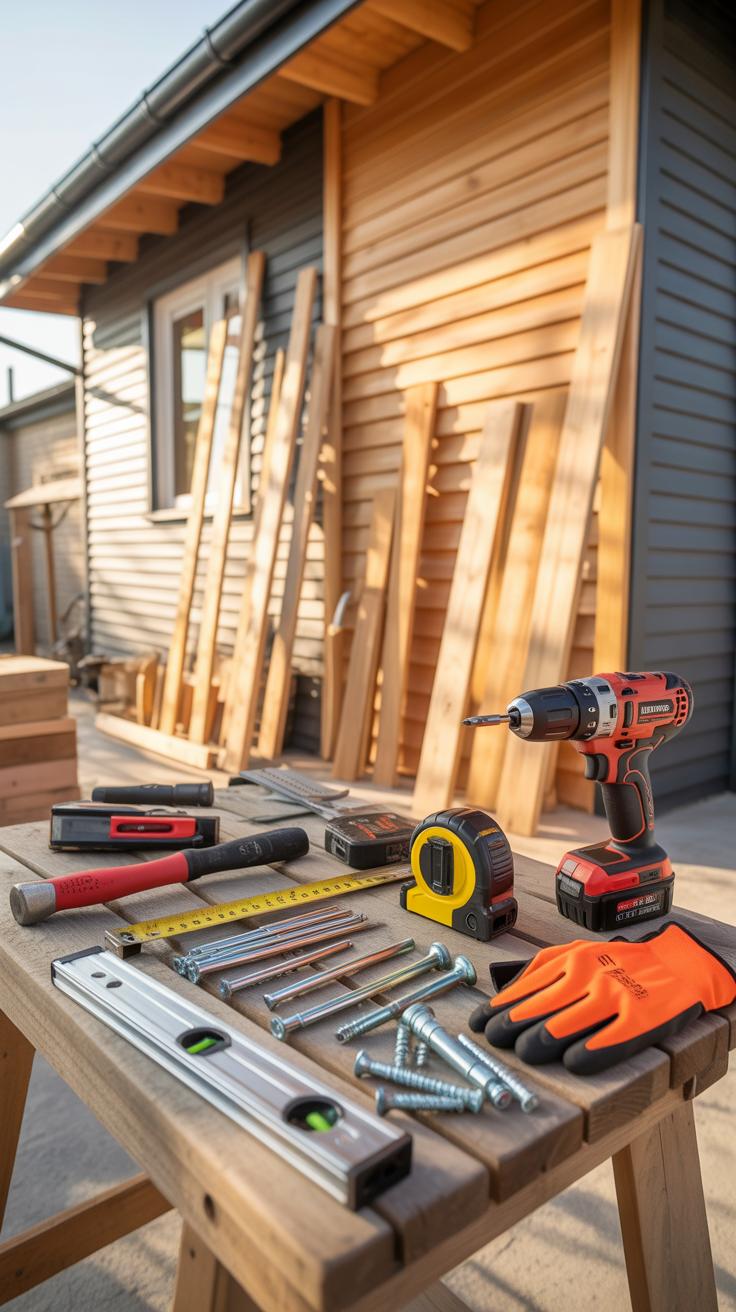
Measuring And Cutting Tools
When you start installing outdoor cladding, precise measurements are the foundation of a tidy job. You’ll need a reliable tape measure to get accurate dimensions of your walls. A carpenter’s square helps keep corners right and edges sharp. For cutting, a circular saw or a miter saw suits most cladding materials, giving you clean, straight cuts. Sometimes, a jigsaw comes in handy for curved or intricate cuts. Don’t forget a pencil or chalk line to mark measurements clearly. It sounds basic, but spending extra time measuring and marking repeatedly saves you headaches later.
Fastening And Sealing Equipment
Securing your cladding requires the right nails or screws, usually corrosion-resistant to withstand weather. A good drill with adjustable torque settings is crucial—it ensures fasteners go in cleanly without splitting the material. Some prefer nail guns for speed, but they can be tricky if you’re not experienced. Sealants protect your work from moisture penetration; choose a high-quality exterior-grade silicone or polyurethane caulk. Applying it carefully around edges and joints keeps the elements at bay and extends the life of your cladding. These tools don’t just hold things together; they guard your investment against wear over time.
Checklist For Planning Your Cladding Project
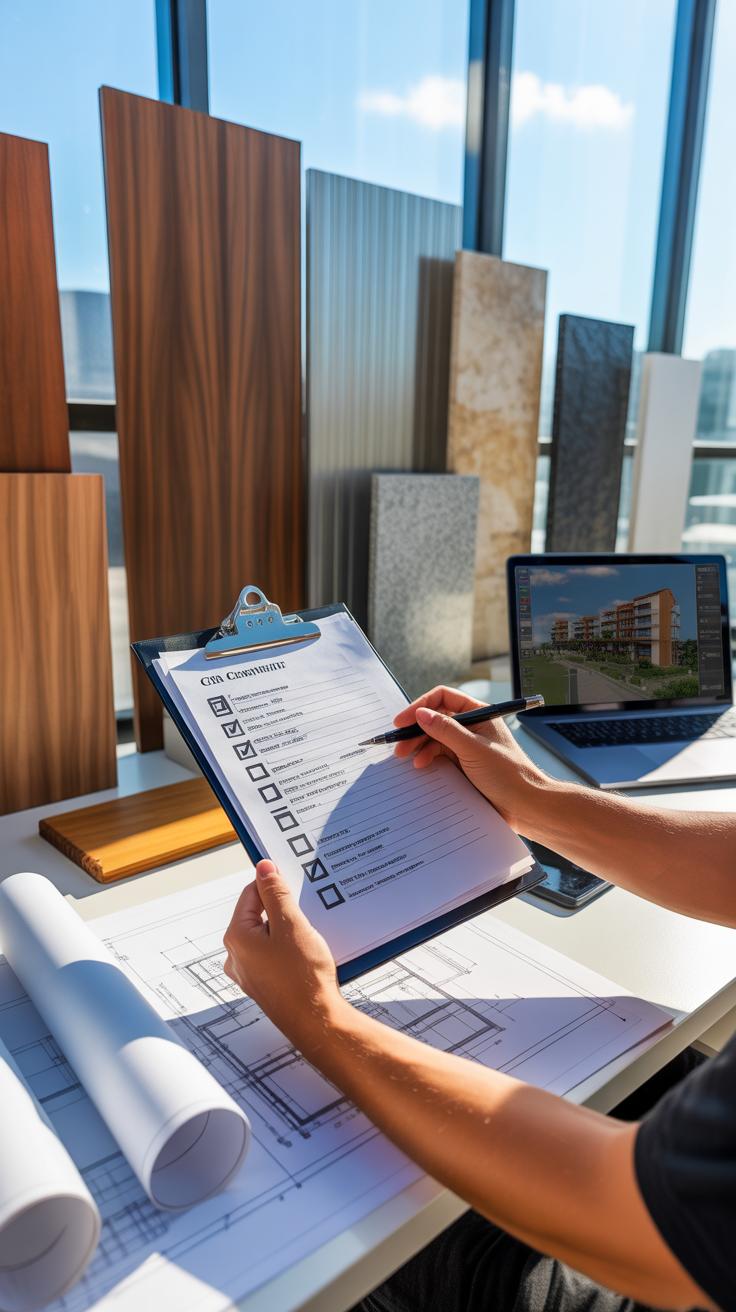
When you’re about to dive into an outdoor wall cladding project, a clear plan is crucial. It helps avoid headaches later on—trust me, I learned this the hard way. Start with a realistic budget. Think beyond just materials; factor in installation, tools, and unexpected extras. Setting a firm budget means fewer surprises but gives some flexibility—because who really knows what might come up?
Next, select your materials carefully. Consider your home’s style, the climate, and maintenance needs. Maybe you prefer the warmth of wood, or perhaps the durability of fiber cement fits better. This choice isn’t just about looks—it affects the project’s overall cost and longevity.
Tools and manpower are often overlooked. Will you hire professionals, or do it yourself? Make a checklist of required tools or rentals. You don’t want to pause midway because you’re missing something essential. It’s okay to ask for help or consult with experts here.
Permits might slow you down if ignored. Depending on your location, certain cladding projects require approval. Start the paperwork early to avoid delays. And timing—plan around weather and your personal schedule. Working in the rain is no one’s favorite experience.
Breaking down the project into these clear steps makes the whole process more manageable—and maybe even enjoyable.
Conclusions
Outdoor wall cladding is a strong way to boost your home’s curb appeal. Choosing the right material and installing it carefully can change how your home looks and feels to others. Simple steps like following installation tips and caring for the cladding keep it looking good longer.
Using wall cladding creatively adds style and guards your building from the weather. Now that you know about types, costs, and care, you can make smart choices that fit your needs and budget. This leads to a beautiful and lasting outdoor wall setup.


