Introduction
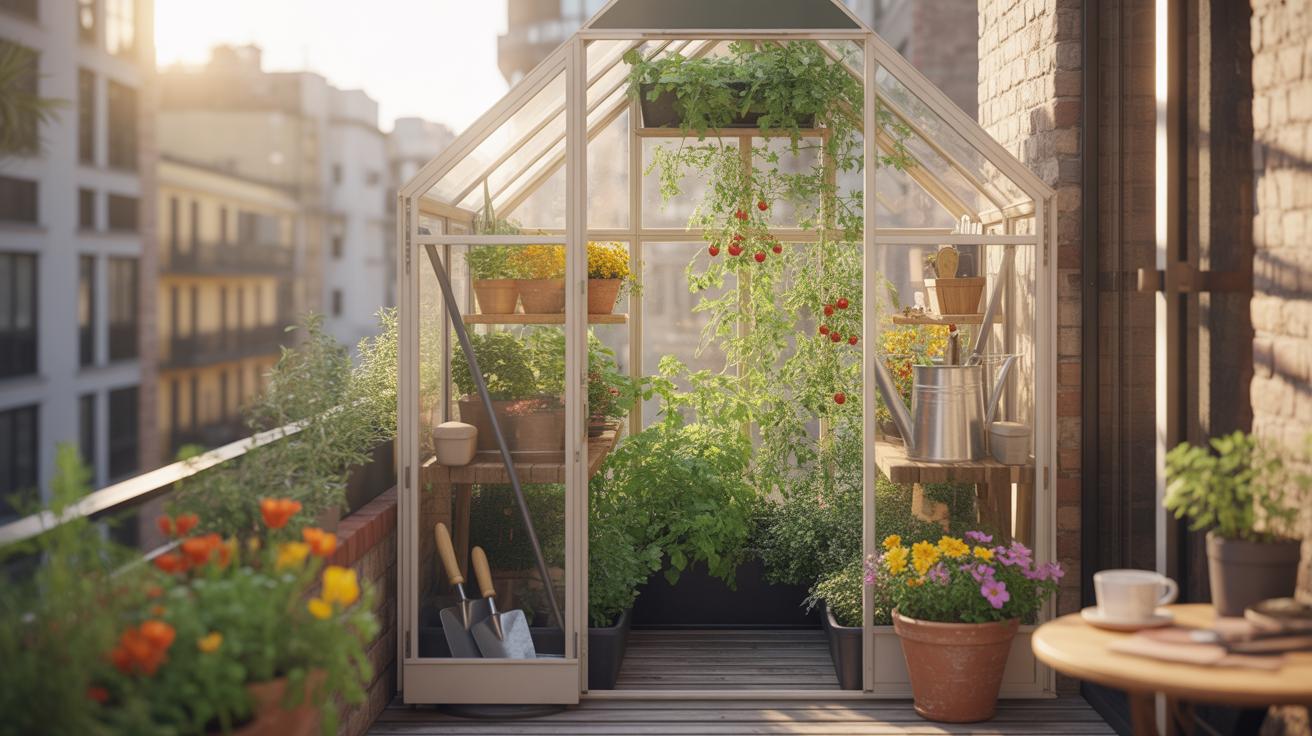
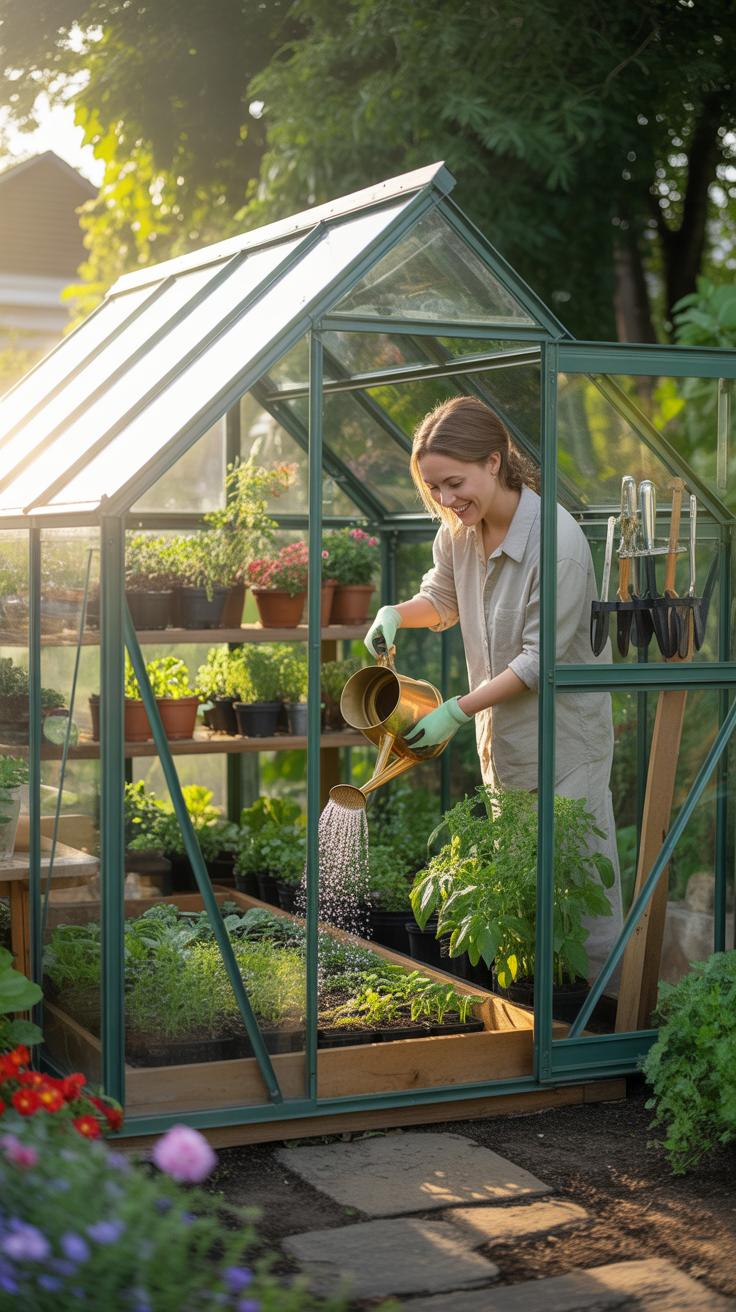
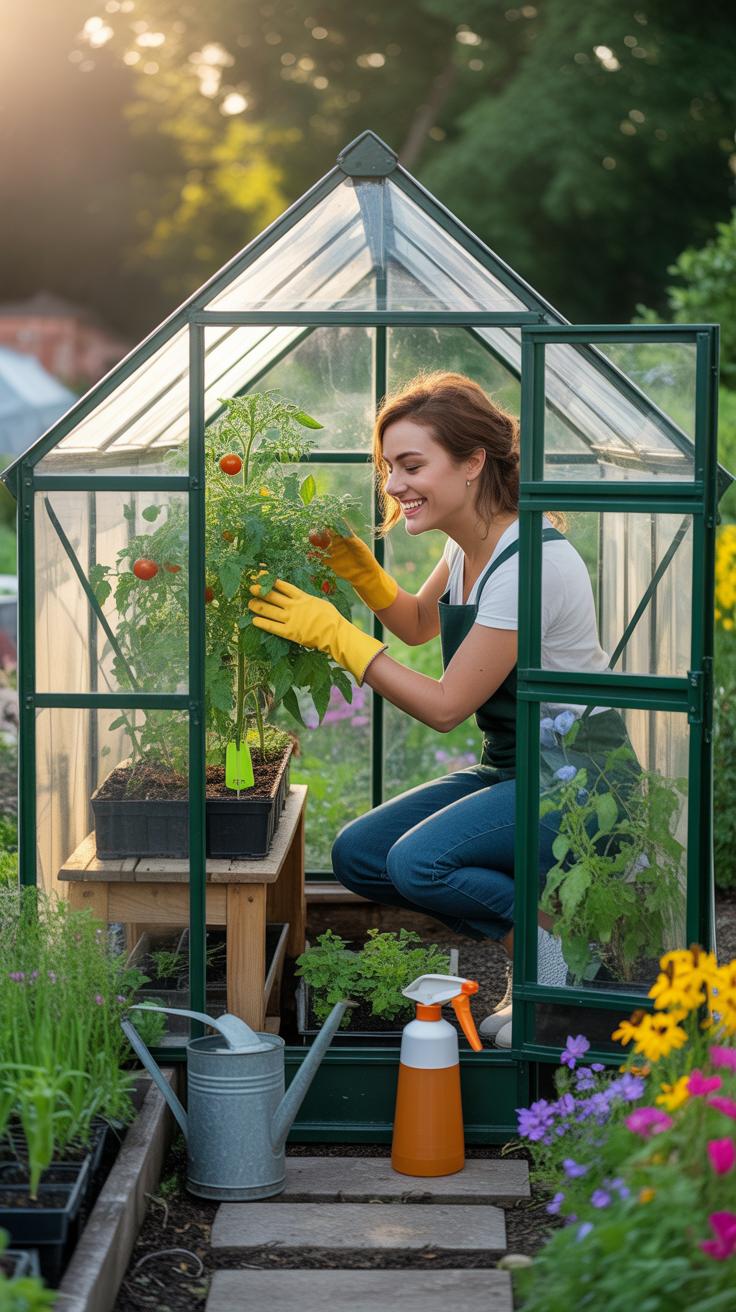
Mini greenhouses offer an excellent way to grow plants when outdoor space is limited. They provide a controlled environment that helps protect plants from harsh weather and pests. This allows you to extend your growing season, improving plant health and productivity.
This article will guide you through practical plans for mini greenhouses. You will learn about their benefits, how to set them up, and tips to maintain them successfully. Whether you want to grow vegetables, flowers, or herbs, the mini greenhouse can be a vital addition to your small space gardening.
Benefits Of Mini Greenhouses
What exactly are mini greenhouses? Think of them as small, often portable structures designed to create a microclimate that favors plant growth. They come in different shapes—boxes, tents, or even shelf-like units—but all share the goal of providing a protective, controlled environment.
For small spaces, mini greenhouses offer several advantages:
- They conserve space—you don’t need a big garden or yard to grow plants effectively.
- You get better control over temperature and humidity, which helps plants thrive when outdoor conditions are less than ideal.
- Protection from pests and harsh weather keeps seedlings and delicate plants safer.
- They extend the growing season by sheltering plants from early frost or late cold snaps.
- Because of their size, they can fit on balconies, patios, or kitchen windowsills, which is great if you’re limited on outdoor area.
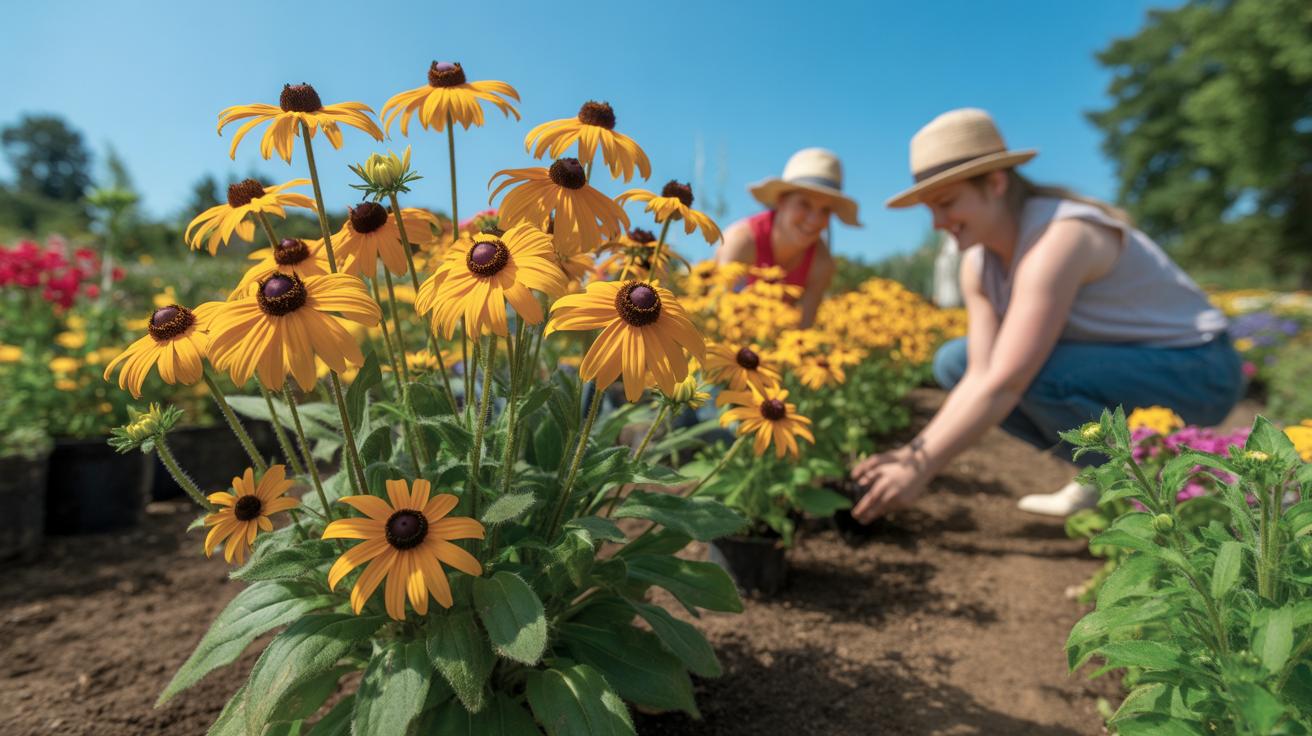
I’ve found that even with a tiny balcony, a mini greenhouse gave me more confidence to try growing herbs that would have otherwise struggled outdoors. They feel like a little plant sanctuary, quiet but effective.
Why Mini Greenhouses Boost Plant Growth
Mini greenhouses improve growing conditions by creating a steady environment that plants generally prefer but don’t always get outdoors. Here’s how they do it:
- Temperature control: The enclosure traps heat from sunlight, warming up the air around the plants. This is especially helpful on cool mornings or chilly evenings.
- Humidity regulation: The confined space holds moisture better, reducing water stress and helping seeds germinate more reliably.
- Protection: Mini greenhouses shield plants from wind, heavy rain, and unwanted visitors like insects or curious pets.
One time, I tried starting tomato seedlings inside a mini greenhouse during early spring. The warmth and moisture kept them from languishing, and by the time I moved them outdoors, they were sturdier than usual. But sometimes, you do have to watch out—too much heat or humidity can cause problems too. It’s a bit of a balancing act.
Choosing Space For Your Mini Greenhouse
Picking where to place your mini greenhouse matters a lot, especially when space is tight. It’s not just about finding a spot that fits.
Here’s some advice I’ve gathered:
- Sunlight: Aim for a place that gets plenty of natural light, ideally 4-6 hours a day. Without enough light, the mini greenhouse loses much of its purpose.
- Accessibility: You want to be able to reach your plants easily—for watering, ventilation, or harvesting.
- Protection from harsh elements: If the spot is open to strong winds or heavy rain, consider positioning the mini greenhouse near a wall or under some cover so it won’t get battered.
- Ventilation potential: Even a small greenhouse needs airflow to prevent mold and overheating. If the area is too cramped or enclosed, ventilation might be tricky.
In my experience, placing a mini greenhouse on a sunny balcony corner that’s shielded from wind works well. But sometimes, you have to choose: better sunlight or more protection? There’s rarely a perfect spot, so just try to balance the factors depending on your specific space.
Planning Your Mini Greenhouse

When planning a mini greenhouse for a small space, start by measuring the exact area you can dedicate to it. This helps avoid buying or building something too big or too small, which can be frustrating. Think about the types of plants you want to grow—some need more room or height than others. Do you prefer vertical growing, or more of a ground-level setup? It shapes the whole design.
Next, consider sunlight exposure carefully. Does the spot get morning sun only, or does it bake all afternoon? That affects ventilation and maybe where to orient doors or vents. Ventilation itself—don’t underestimate it. Even a small greenhouse can overheat quickly, so plan for airflow.
Think about access too. You want to reach your plants easily without squeezing or disturbing them. If the greenhouse will stand on a balcony, check its weight and how it attaches, especially if you rent or share the space.
Finally, sketch a rough design. It doesn’t have to be perfect, but mapping out shelves, doors, and planting areas can highlight problems early. Planning involves some guesswork, sure, but it pays off when your mini greenhouse fits just right and functions well.
Materials Needed For Construction
Choosing materials for your mini greenhouse depends on budget, durability, and weight. Commonly, people use:
- PVC pipes: Lightweight, affordable, and easy to cut. Good for simple frames, but might not hold up well under heavy wind or snow.
- Wood: Offers a natural look and is sturdy. Weather-treated wood lasts longer, but it can be heavier and maybe pricier than PVC.
- Metal frames: Aluminum or galvanized steel provide strength and more weather resistance. They are often pricier and need tools for assembly.
- Covering materials: Clear plastic sheeting is common, inexpensive, and helps retain heat, though it can tear over time. Polycarbonate panels last longer and insulate better but cost more.
- Glass panels: More permanent but heavier and fragile—usually for very small, permanent setups.
Each material choice involves trade-offs. For instance, I once built a frame with PVC that started sagging after one season, pushing me to rethink sturdier options. What feels right often depends on personal patience and how long you want the project to last.
Design Choices For Space Saving
Saving space means thinking vertically and smartly. Some designs that work well in tight areas include:
- Wall-mounted mini greenhouses: These use vertical frames against a wall, perfect for balconies or narrow patios. They take up almost no floor space.
- Stacked shelving units inside a small greenhouse: Allows you to grow more plants vertically without increasing footprint.
- A-frame or lean-to structures: These slant against a wall or fence, using vertical space without sprawling outwards.
- Portable mini greenhouses on wheels: Though slightly larger, these can be moved as needed, so you can optimize sunlight during the day.
Sometimes smaller, simpler designs work better than trying to cram everything into one box. It might feel limiting at first, but forcing yourself to choose just a few plants or growing methods can make the whole gardening experience less overwhelming. Have you considered combining hanging planters inside a mini greenhouse? It’s a neat trick if you want to go even further with saving space.
Building Steps For Mini Greenhouses
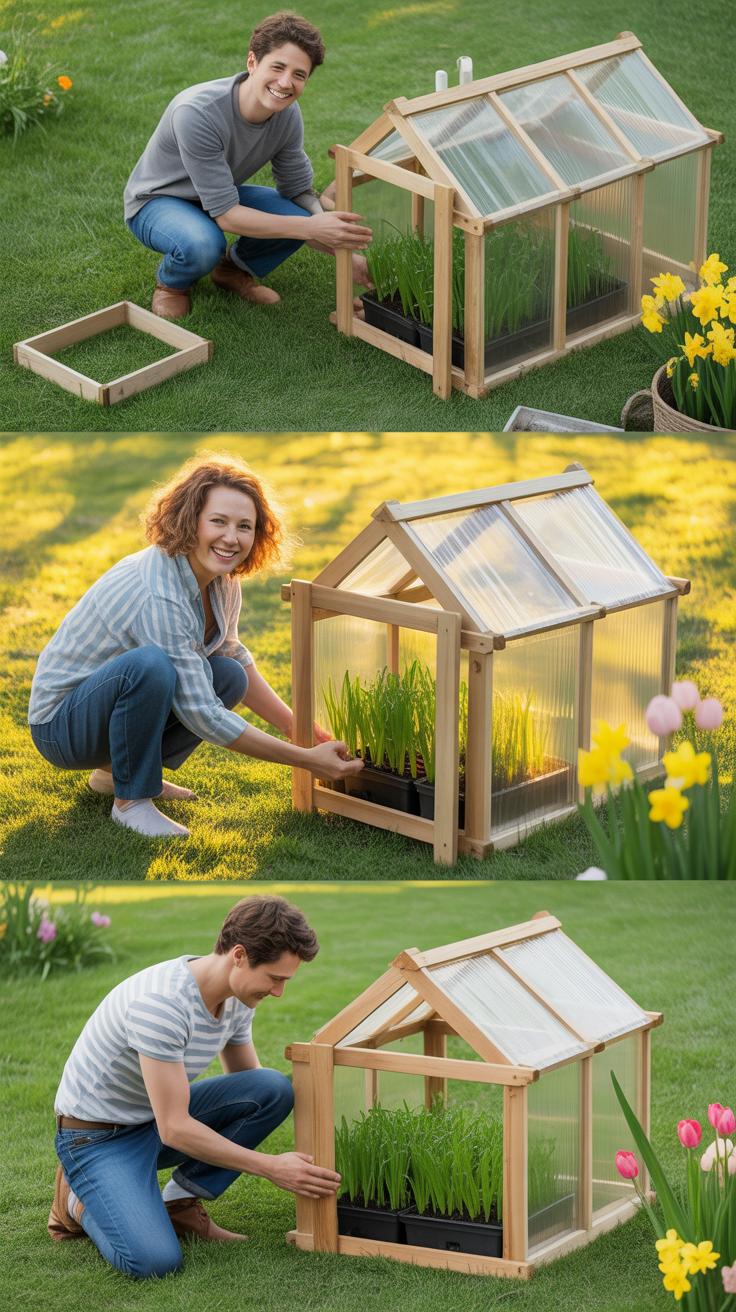
Foundation And Frame Setup
Start by choosing a flat, stable spot for your mini greenhouse. It doesn’t need to be perfectly level, but some leveling makes the rest easier. Lay down a simple base—pressure-treated wood works well and resists rot over time. You can screw or nail together a square or rectangle frame that matches your desired greenhouse footprint. This foundation holds everything steady, so don’t rush.
Next, the frame. Light but firm materials like PVC pipes or wooden dowels are popular. You want something easy to work with but rigid enough to support the covering. I’ve found PVC pipe especially convenient—you can cut it to size with a handsaw and connect the pieces with elbow joints or T-connectors. Arrange the frame as a simple box or even an A-frame shape if you’re aiming for better water runoff.
Make sure all joints are tight; loose connections will mean trouble when the wind picks up or when you try to add the covering. At this stage, do a quick check—does the structure feel stable if you press on it lightly? If it feels wobbly, reinforce with extra screws or zip ties before moving on.
Adding Covering Materials
Choosing the right covering comes down to what you want inside the greenhouse and your budget. Clear plastic sheeting is common because it’s cheap and lets in plenty of light. Polycarbonate panels last longer but cost more. You can also use garden row covers or greenhouse film. Whatever you pick, cut it slightly larger than your frame to ensure full coverage.
Attach the covering by draping it over the frame and securing it with staples, clips, or even strong tape. Staples on wood bases work well, but if you’re using PVC, clamps or zip ties might do better. It’s tempting to pull the covering very tight, but a little slack helps reduce tearing as the material expands or contracts with temperature changes.
Don’t forget ventilation options—cutting small flaps or windows that you can open and close adds airflow and prevents overheating. This might sound complicated, but you can simply roll up the sides and fix them with clips when needed. In one attempt, I overlooked ventilation and my plants suffered from too much heat build-up—lesson learned.
Once covered, walk around and check for any gaps where air might escape or pests might enter. Seal these lightly with tape or additional covering pieces. It’s a small thing but helps keep a more consistent environment inside. So yeah, taking the time here really pays off later.
Maintaining Your Mini Greenhouse
Maintenance Checklist To Keep Your Mini Greenhouse In Good Condition And Plants Healthy
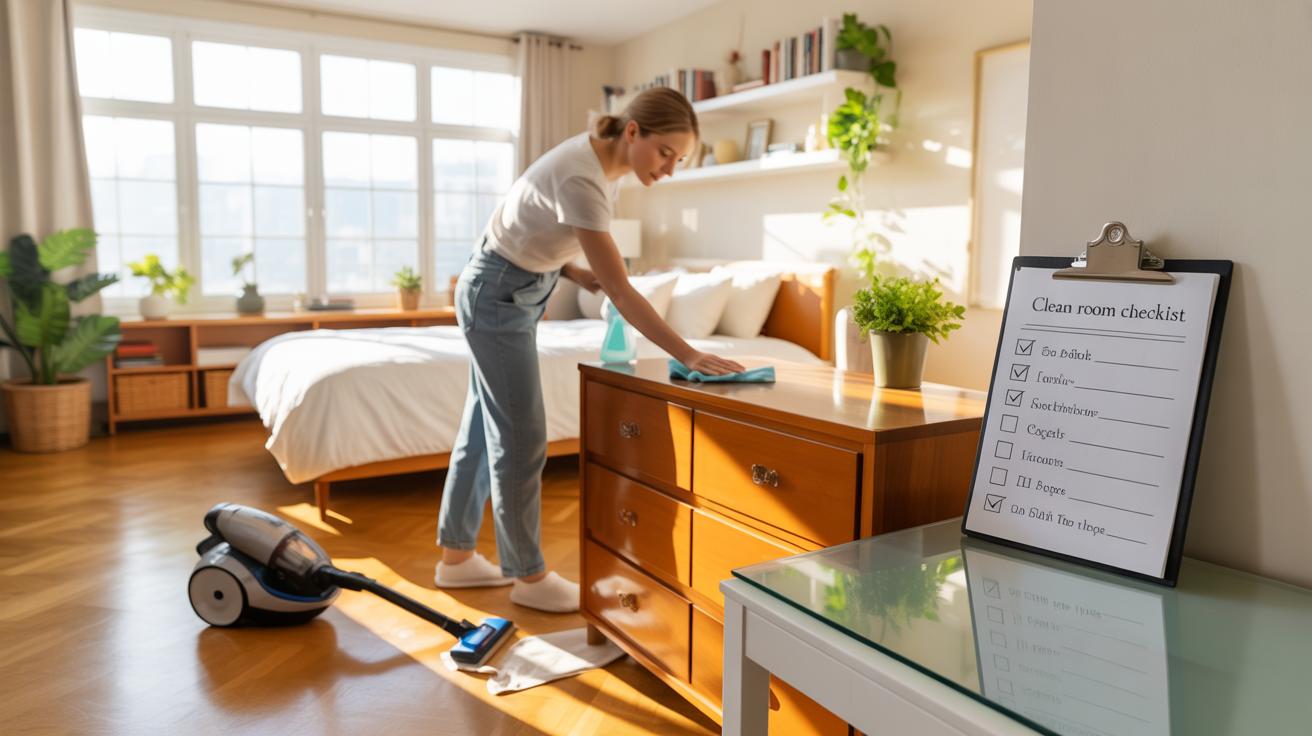
Keeping a mini greenhouse in shape takes a little work but it’s manageable if you stay consistent. Start with regular cleaning—wipe down the glass or plastic panels to ensure sunlight passes through well. Dirt can block light more than you might think.
Check for leaks or drafts, especially where panels meet the frame. Tiny gaps can make a big difference to temperature control. Tighten screws and look for any damage after storms or strong winds.
Clear away fallen leaves or old plant material inside. It’s tempting to leave debris, but that can breed mold or pests. I’ve learned the hard way that a quick daily sweep prevents trouble later on.
Keep track of plant health by inspecting leaves weekly. This helps spot early signs of diseases or stress before things escalate.
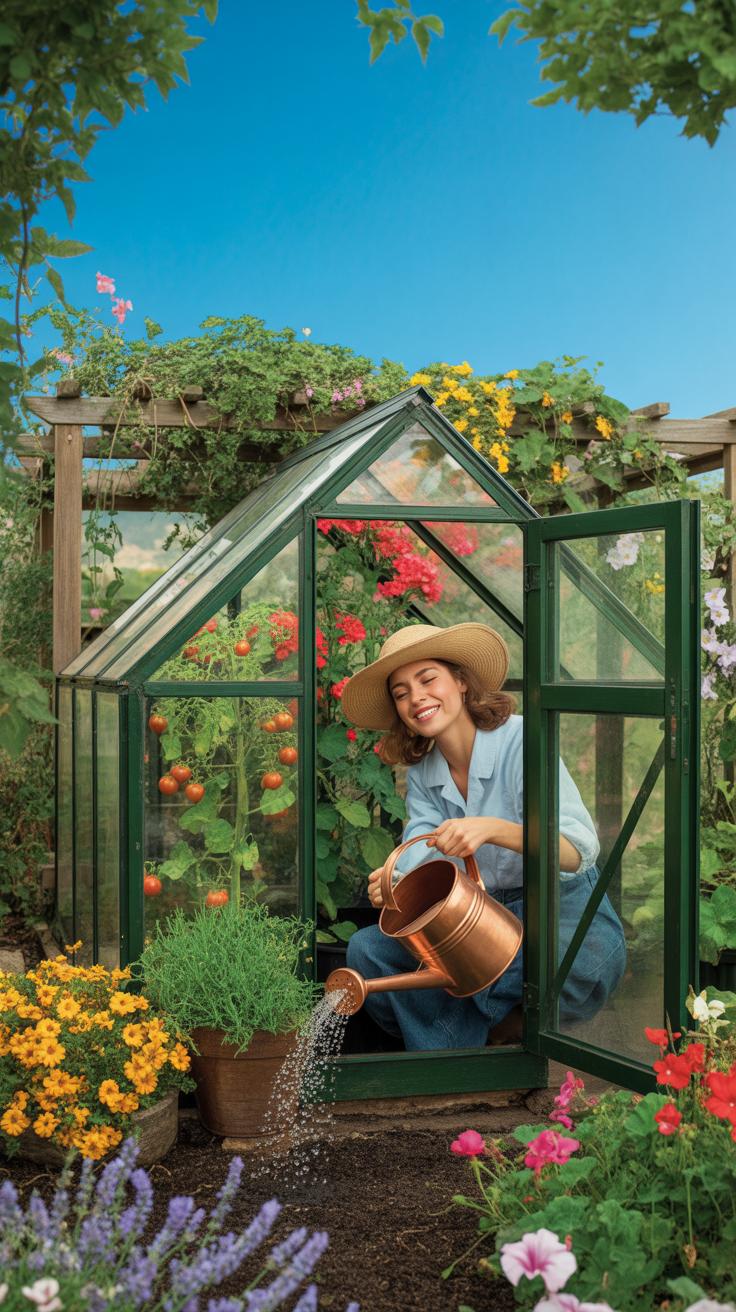
Watering And Ventilation Tips
Watering inside a mini greenhouse isn’t the same as outdoors. Plants don’t dry out as fast, so you really want to avoid overwatering. A good rule of thumb: check soil moisture before adding more water. Feel the top inch with your finger; dry means it’s time to water.
Ventilation is a bit tricky since mini greenhouses have limited airflow. Opening vents or doors during warmer parts of the day helps regulate humidity and temperature. I usually leave the door cracked in the afternoon unless it’s very cold. It’s a delicate balance—you want fresh air, but not a sudden cold draft that might shock your plants.

Watch out for condensation on the inside panels. That’s a sign ventilation needs adjusting.
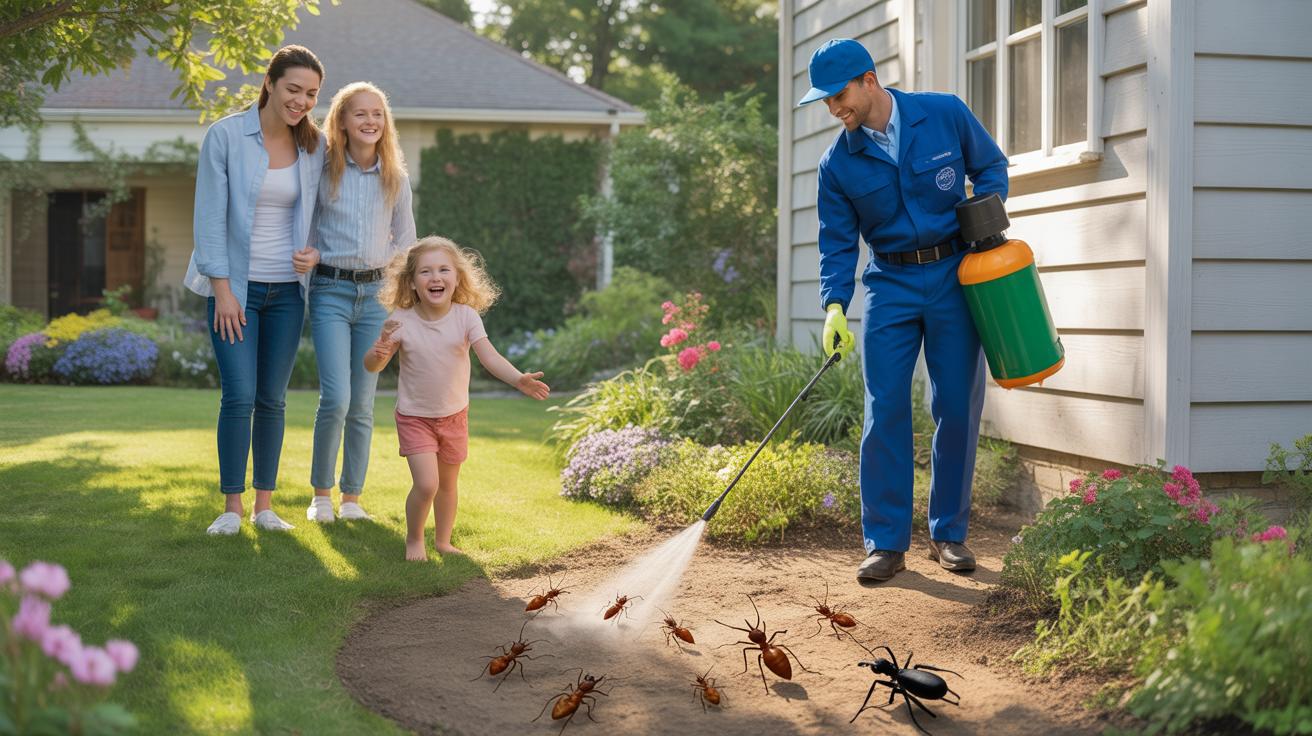
Pest Control In Small Greenhouses
Pests can sneak in even with a small setup. But you don’t have to reach for harsh chemicals. Try using sticky traps to catch flying insects. It’s simple and keeps things visible so you know what you’re dealing with.
Introducing natural predators like ladybugs is another option if you feel adventurous, though they don’t always stick around in tiny spaces. I’ve found neem oil sprays effective for maintaining a pest-free environment without hurting your plants.
Inspect new plants before bringing them inside; a single infested plant can cause a quick outbreak. And clean tools regularly to stop spreading anything.
Does pest control in a small, closed space feel like a balancing act to you too? Sometimes it’s about staying attentive more than anything else.
Plants Suitable For Mini Greenhouses
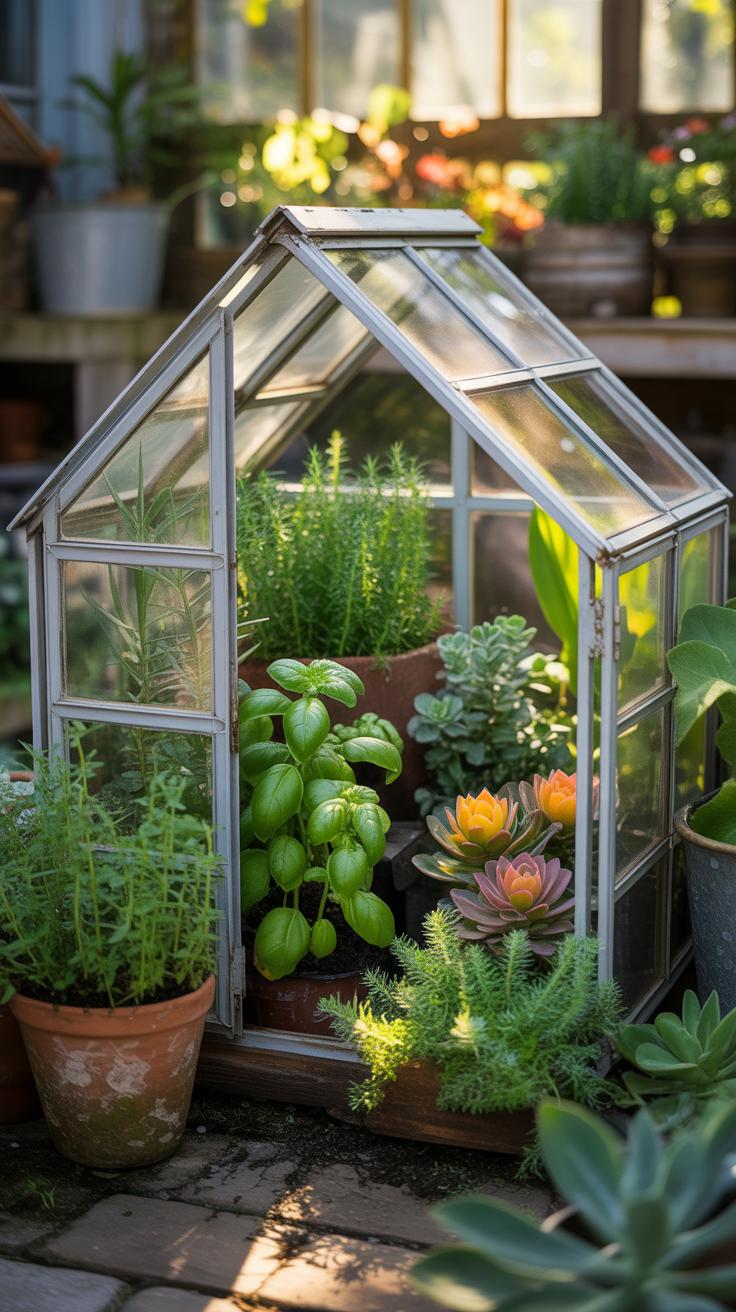
Mini greenhouses create a unique environment, warm and slightly humid, that suits many plants but not all. Some plants actually seem to prefer that contained space, especially those needing steady temperatures and protection from sudden weather shifts.
Take for example seedlings like tomatoes and peppers. They start off delicate and hate cold drafts. Inside a mini greenhouse, they get a more stable start. Lettuce and spinach also do well because they like consistent moisture without heavy winds.
Then there are tropical and subtropical plants that struggle outdoors in cooler regions. Small varieties of pineapple or even some orchids can thrive here because the mini greenhouse traps enough warmth during the day.
It’s interesting that some succulents don’t do as well in these setups, probably because the air tends to be a bit wetter. So, when you think about filling your mini greenhouse, focus on plants that like warmth and humidity but not excessive dryness.
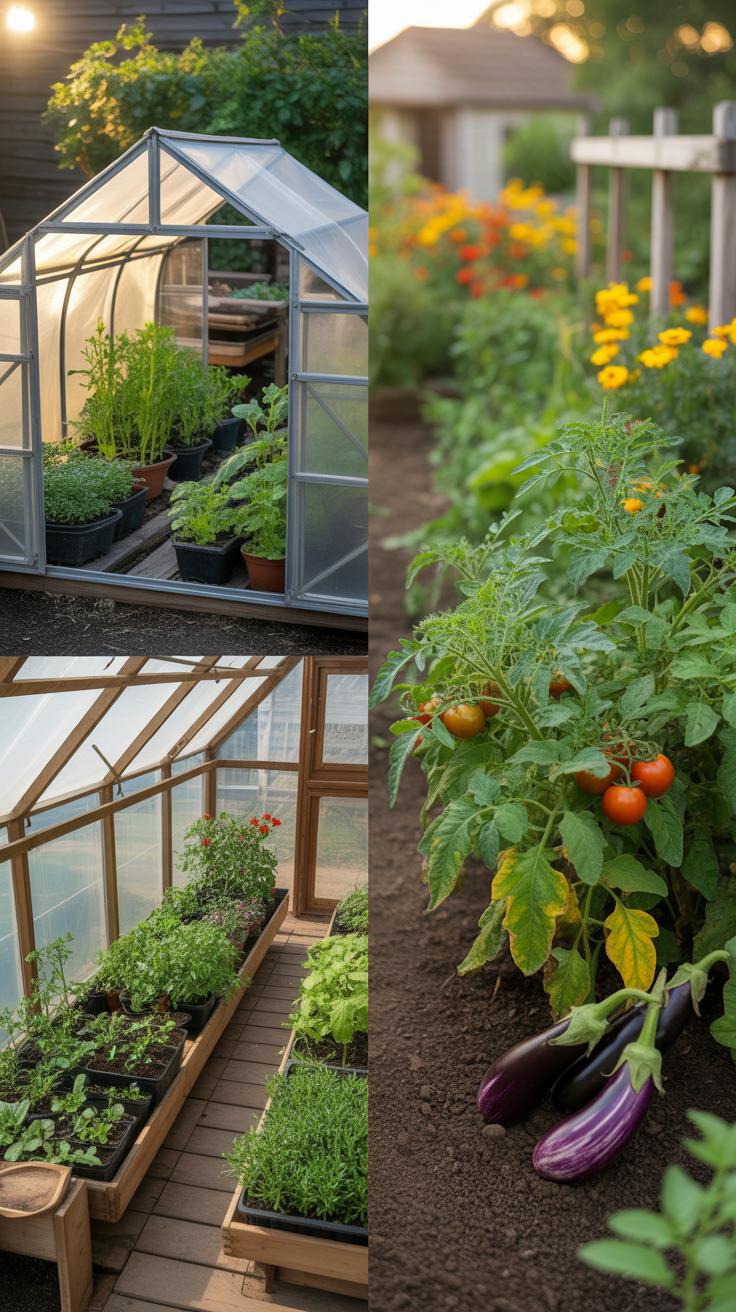
Vegetables Fit For Mini Greenhouses
Vegetables with quick growth cycles or those sensitive to cold often benefit from mini greenhouse conditions. For instance, young tomato, pepper, or eggplant seedlings thrive when protected early on. The shelter keeps frost and harsh winds away, which is crucial early in the season.
You can also try greens like arugula, kale, and Swiss chard. They like cool but steady temperatures – the mini greenhouse buffers against sudden drops during cool nights.
One advantage is you can get seedlings going earlier in spring and extend the harvest into fall. That’s a real draw if your outdoor growing season is short or unpredictable. Though, keep an eye on airflow because these plants don’t like it too stuffy.
Herbs And Flowers For Small Green Spaces
Herbs are often perfect companions for mini greenhouses. Basil, parsley, and cilantro easily adapt to container life here, enjoying the sheltered warmth while you keep control over watering. Lemon balm and thyme also do well, not needing vast roots or space.
As for flowers, marigolds and pansies make great options. They’re tough, compact, and brighten the small space with color. Even some violas can fit, adding charm without taking up much room.
It’s tempting to try larger flowers, but most prefer open-air conditions. Mini greenhouses suit smaller species that don’t mind a bit of crowding and can handle the warm, moist air – almost like a little protected oasis.
Mini Greenhouse Vs Outdoor Planting
Growth Speed And Yield
Plants in mini greenhouses often spring up faster than those planted outside. The small greenhouse traps heat and moisture, creating a microclimate that nudges seedlings along. I’ve noticed that tomatoes, for instance, tend to ripen several weeks earlier under such conditions compared to my outdoor garden.
But yield isn’t always straightforward. While some crops thrive and produce more fruit inside a mini greenhouse, others may not enjoy being enclosed. For example, certain herbs might grow lush outdoors but become cramped or overwatered inside. It makes you wonder—does faster growth always mean better harvests? Not necessarily.
Space And Weather Protection Differences
Space is a prime reason people pick mini greenhouses. When your garden space is limited—like on a balcony or small backyard—a compact greenhouse fits neatly without demanding too much room. Outdoor planting spreads out, but it requires more area to avoid crowding.
Weather protection is a real plus worth considering. Mini greenhouses shield plants from heavy rain, strong winds, and sudden temperature drops. I’ve had seedlings survive unexpected cold snaps inside a tiny greenhouse when outdoor ones didn’t. Still, sometimes that enclosure means you’re more responsible for ventilation and moisture control. So, while the greenhouse offers shelter, it also asks for a bit more care.
Troubleshooting Common Mini Greenhouse Issues
Dealing With Overheating And Poor Ventilation
You might notice your plants wilting or leaves turning yellow even when watering seems fine—that often hints at overheating inside your mini greenhouse. Small spaces trap heat quickly, especially on sunny days, and without airflow, the temperature spikes fast. If the air feels still or humid, that’s a sign ventilation isn’t doing its job.
Try these simple fixes:
- Open vents or doors whenever outdoor conditions allow. Even a slight breeze can cool things down.
- If your greenhouse lacks vents, consider cutting a small flap or multiple tiny holes covered with mesh to keep pests out but encourage airflow.
- Place a small fan near the opening to circulate air when it’s warm—that often makes a surprising difference.
- Shade the mini greenhouse during peak sun hours using shade cloth or movable panels.
Sometimes, you’ll need to experiment a bit. I remember having to test several vent positions before finding one that prevented overheating without chilling the plants too much at night.
Managing Mold And Mildew Issues
Mold and mildew tend to show up when humidity stays high for too long in your greenhouse. You might see fuzzy patches on leaves or a musty smell lingering inside. This environment suits fungal growth, which can quickly damage delicate seedlings.
To keep mold at bay, focus on balancing moisture and airflow:
- Avoid overwatering. It’s tempting to keep soil wet, but damp conditions promote mildew.
- Remove dead leaves and plant debris promptly; these provide perfect spots for mold to grow.
- Increase ventilation as discussed earlier to dry out excess humidity.
- If mold appears, wipe affected areas with diluted vinegar or a mild baking soda spray—both help without harsh chemicals.
- Consider using natural antifungal agents like neem oil if problems persist.
Controlling mold is partly about the environment but a bit luck plays a role too. Sometimes, despite your best efforts, you’ll need to trim affected parts or restart seedlings in cleaner soil. It’s just part of gardening in tight spaces.
Cost And Time Investment For Mini Greenhouses

Budget Friendly Options For Small Spaces
Mini greenhouses don’t have to break the bank. You can find lots of affordable materials if you look around a bit. For instance, old windows or glass doors make great frames, and clear plastic sheets work well too. Using PVC pipes as the frame can cut costs even more—you just bend and connect them with cheap fittings. Sometimes, repurposing wooden pallets or scrap wood gives you a sturdy base without spending much.
Some folks swear by buying kits, but that might not suit every budget. Making your own from scratch can save money, but it also means putting in the elbow grease. And honestly, that’s part of the joy for many people: it’s simple, creative, and flexible to your space. You could spend as little as $20 to $50 building a very basic mini greenhouse if you’re resourceful. Or a bit more if you want sturdier materials or added features like vents.
Time Required For Setup And Upkeep
Setting up a mini greenhouse can be pretty quick, sometimes just a weekend project. If you buy a kit, expect a few hours of assembly. DIY builds might stretch over a couple of days, but you set the pace.
Maintenance is usually minimal but doesn’t disappear entirely. You’ll spend some time watering, checking ventilation, and maybe adjusting coverings depending on weather changes. I find, roughly, 10 to 20 minutes a few times a week is typical unless pests or other issues pop up.
Keep in mind, the smaller the greenhouse, the easier it is to manage. But that also means being a bit more hands-on to keep conditions right, especially since tiny spaces warm up and cool down faster.
Conclusions
Mini greenhouses are a practical option for gardeners with limited space. They create favorable conditions for plants, protect them, and help you grow more even in less room. With the right plans and care, you can enjoy fresh plants year-round.
Careful planning and understanding how to maintain your mini greenhouse can make all the difference. By choosing the correct location, materials, and plants, you will make the most of your available space. A mini greenhouse is a smart solution for efficient, manageable gardening in confined areas.


