Introduction
Hydroponic gardening offers a way to grow plants without soil. It uses water mixed with nutrients to help seeds sprout and grow quickly indoors. This method keeps your sprouts clean and gives them the best chance to grow strong. Hydroponics is a useful skill if you want fresh vegetables or herbs year-round, no matter the weather outside.
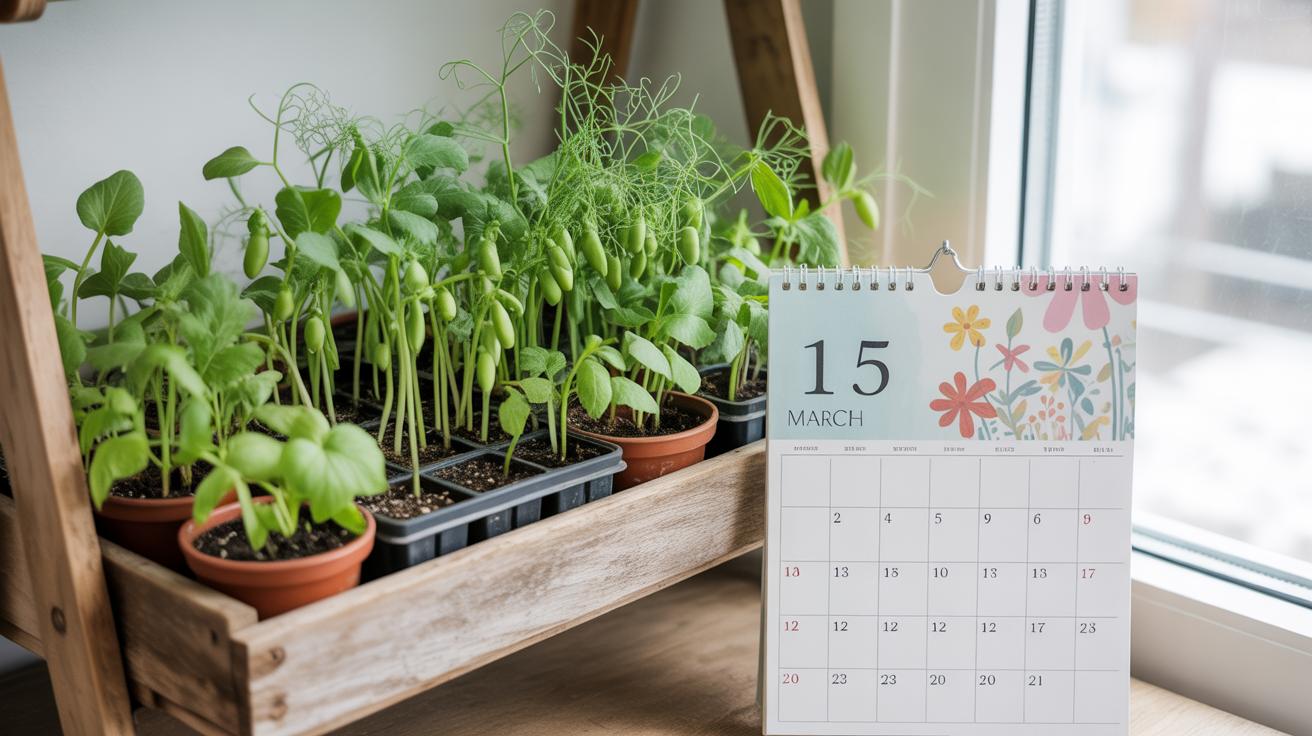
In this article, you will learn how to start seeds indoors using hydroponics. We will explore the benefits, tools, and step-by-step guidance to help you create a fast and healthy garden inside your home. By the end, you’ll know how to give your plants a fresh start for a great harvest.
Understanding Hydroponic Gardening
What is Hydroponics
Hydroponic gardening is essentially growing plants without soil. Instead, plants root in water that’s enriched with nutrients they need. The idea sounds simple—just water and plants—but there’s a bit more going on beneath the surface. The plants absorb nutrients directly from the water, avoiding the usual struggle roots face in soil, like searching for food or dealing with pests underground.
This method offers some clear advantages. For one, because soil isn’t involved, there’s less mess and fewer worries about soil-borne diseases. Also, the plants often grow faster since nutrients are readily available and can be carefully controlled. Imagine telling your plants exactly how much food to eat, rather than hoping they find it on their own.
How Hydroponics Helps Seed Starting
When it comes to starting seeds indoors, hydroponics can really speed things up. Seeds germinate quicker because they sit in a perfectly moist environment without the risk of drying out or getting waterlogged like in soil. Plus, it’s cleaner—no soil dust or tiny bugs around your pots.
You get more control, too. Temperature, light, and nutrients can be fine-tuned exactly to what young seedlings need, which is not always easy with soil. This control often produces healthier, stronger sprouts that are ready to move outdoors or into bigger hydro setups sooner.
Still, it’s a bit different from traditional gardening, and not every seed loves hydroponics right away. Sometimes you have to tweak conditions or give seeds extra encouragement. But for a clean, quick start, especially inside your home, it’s hard to beat.
Choosing Seeds for Hydroponic Starting
Best Seeds for Hydroponics
Not all seeds behave the same when it comes to hydroponic sprouting. Some plants seem to take to water and nutrients much more readily than others. If you’re starting indoors with hydroponics, you might want to lean toward seeds that have shown good, consistent success in this setting.
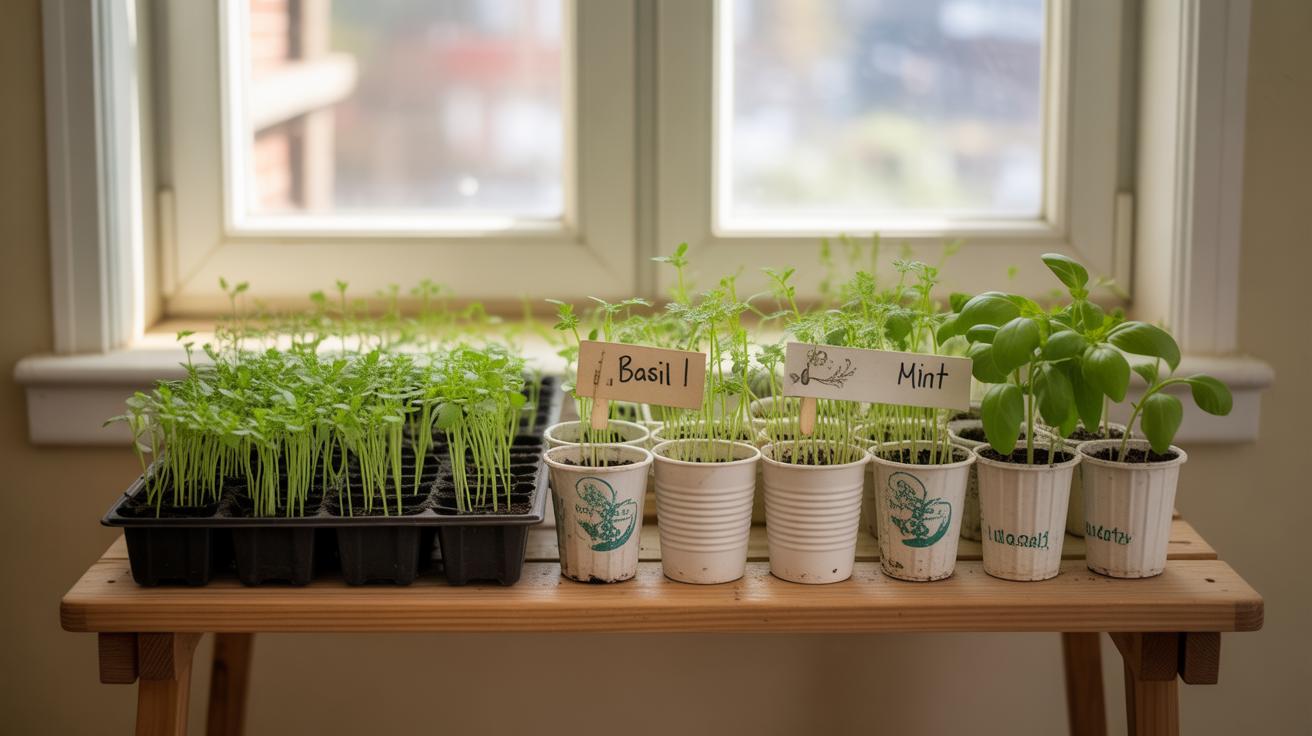
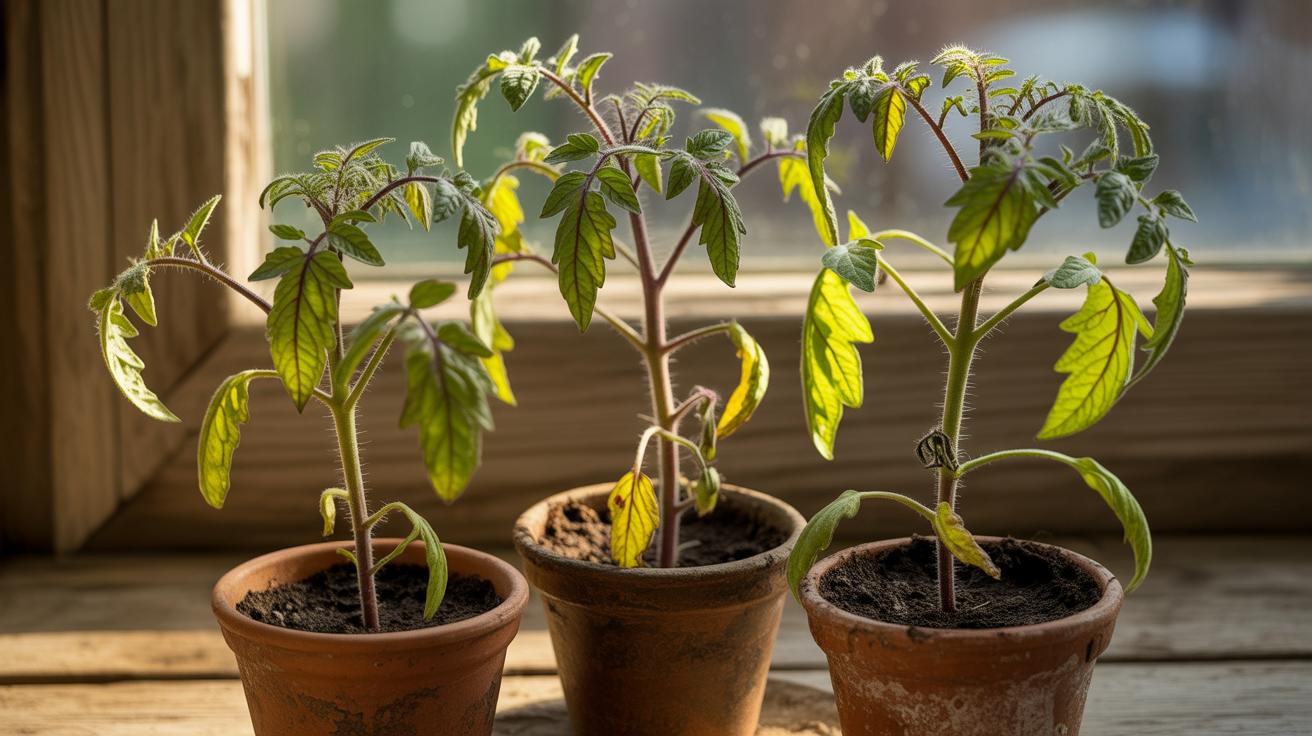
Lettuce seeds are often the go-to choice. They germinate fast and don’t demand much before they’re ready to harvest. Herbs like basil, mint, and cilantro also respond well; their seeds sprout quickly, and they’re generally pest-resistant in indoor systems. Tomatoes are another popular option—though they take a bit longer, the payoff is in their flavorful, juicy yields.
Other interesting choices include spinach, kale, and even some peppers. But frankly, it depends on how patient you feel and the kind of space you have. Have you tried radishes hydroponically? They sprout quickly but might need more attention later.
How to Pick Healthy Seeds
When buying seeds for hydroponics, the freshness of the packet matters more than you might think. Old seeds can be sluggish or fail to sprout at all, which can be frustrating when you want quick results. Checking the packaging date or asking the supplier about harvest times helps.
Seed size sometimes hints at viability, but bigger isn’t always better. Tiny seeds like basil might surprise you with their robust sprouting. What matters more is the reputation of the supplier. Reliable sources who specialize in hydroponic or organic seeds tend to offer better quality and consistency.
Sometimes, I’ve picked up seeds from a local store only to find them underwhelming. Buying from specialized suppliers online, even if slightly more expensive, often saves you the guesswork. Also, consider if the seeds are untreated and non-GMO, especially if you want to keep your garden as natural as possible.
Preparing Your Indoor Hydroponic Setup
Hydroponic Equipment Basics
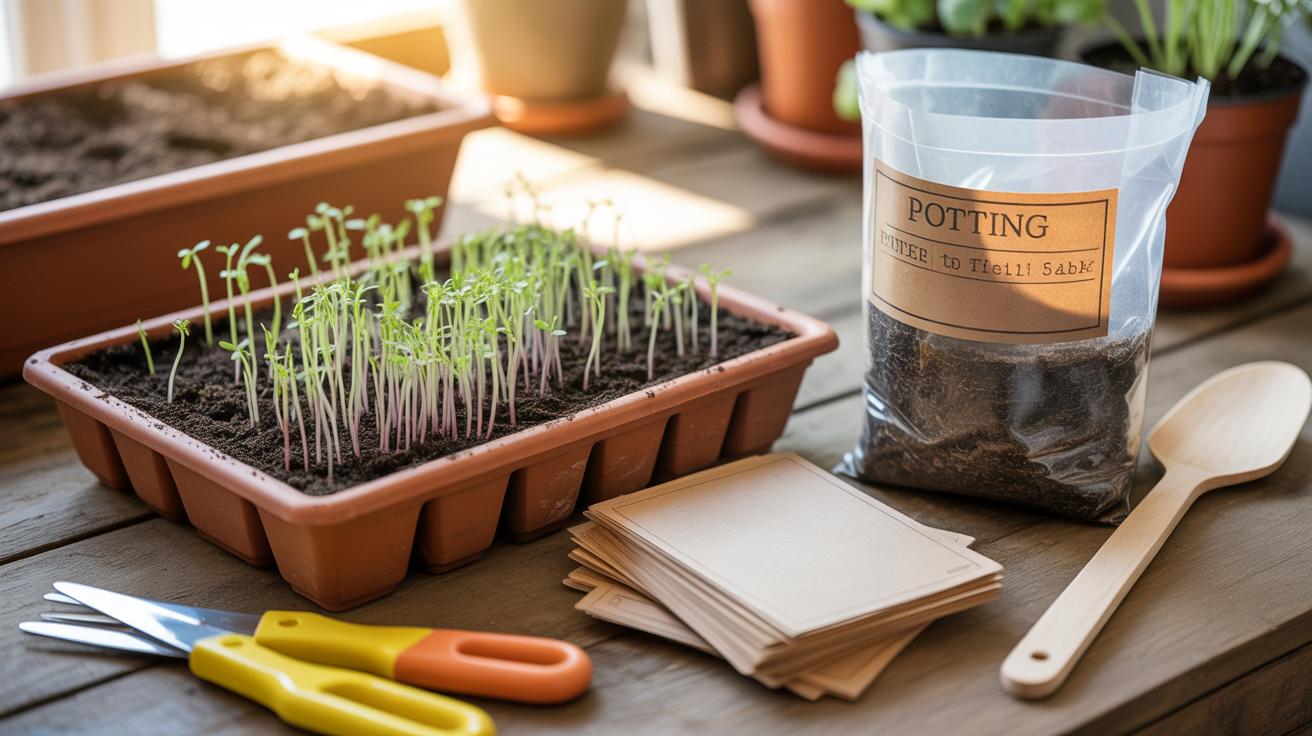
Starting seeds indoors with hydroponics calls for a few key items, nothing too fancy but specific enough to get you going. You’ll want containers that can hold water and support your seedlings—these can range from simple trays with holes to specialized net pots. Growing media are also essential since seeds need something stable to rest in; materials like rockwool, coconut coir, or even clay pellets do the job. They don’t just anchor; they help retain moisture without drowning the seeds.
Then there’s the nutrient solution—this is where things can get tricky. Seedlings don’t need the full adult plant formula, so a diluted mix or one designed specifically for young plants works best. Too strong, and you risk harming delicate roots; too weak, and growth slows dramatically. It’s a balancing act that may take some trial and error as you find what suits your setup.
Setting Up Your Space Indoors
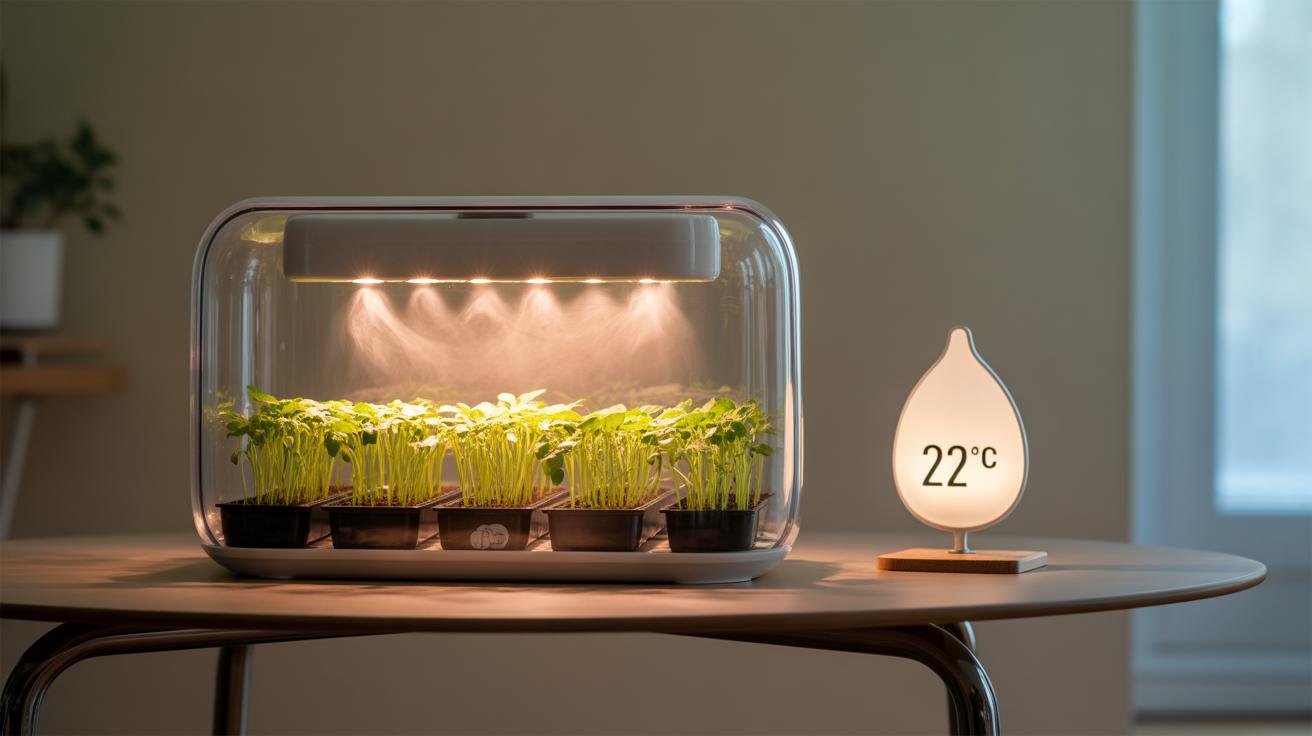
Finding the right spot indoors can be more challenging than anticipated. You want consistent light—natural sunlight filtered through a bright window is ideal, but if that’s limited, a grow light can fill in the gaps. Seedlings need about 12 to 16 hours of light daily, or they get leggy and weak. Temperature-wise, keeping things steady around 65 to 75°F is generally good, though some plants might prefer it a bit warmer or cooler.
Air circulation often gets overlooked but matters quite a bit. Stale air invites mold and slows growth, so a small fan on low speed can work wonders. Just don’t blast your seedlings; gentle breezes mimic outdoor conditions and strengthen stems. Oh, and watch your humidity. It shouldn’t be too dry or too damp—too much moisture causes damping-off, a fungal problem that can ruin your whole batch.
Setting all this up isn’t complicated, but it’s worth spending time experimenting. You might find your spot by the window gets too cold at night, or the fan’s breeze needs adjusting. It’s part of the process—getting your indoor garden just right.
Preparing Nutrient Solutions for Seedlings
Getting the right nutrient solution is crucial for young seedlings in hydroponics. Seedlings don’t need as much fertilizer as mature plants, but they do require a balanced mix that supports root growth and early leaf development.
What Nutrients Do Seedlings Need
Key nutrients include nitrogen for leaf growth, phosphorus to encourage strong roots, and potassium which helps overall development. Calcium and magnesium also play smaller, but necessary, roles, stabilizing cell walls and aiding photosynthesis.
Seedlings are delicate, so you want to keep nutrient concentrations lower than you would for older plants. Too strong a mix can burn tender roots. Think of it as giving just enough to get them started without overwhelming.
Mixing Your Nutrient Solution
Start by filling your clean container with water, ideally filtered or distilled to avoid unwanted minerals.
Then, add a pre-measured seedling-specific nutrient concentrate if you have one. If mixing from separate salts, dissolve each carefully, starting with calcium nitrate, then follow with others like potassium phosphate and magnesium sulfate.
Stir well between additions. Make sure everything dissolves fully before testing the solution’s electrical conductivity (EC) and pH. For seedlings, aim for a lower EC around 0.5 to 1.0 and a pH close to 5.5 to 6.0.
Adjusting pH might feel tricky at first, but small shifts make a big difference in nutrient uptake.
If you’re unsure, it’s safer to err on the weaker side and watch how your seedlings respond. Over time, you’ll tune your mix based on growth and health signs.
Starting Seeds Indoors Hydroponically

Planting Seeds in Hydroponic Media
To begin, select a suitable growing medium like rockwool cubes, coconut coir, or peat pellets. These materials hold moisture well without drowning the seed, which is key. You’ll want to gently place each seed on or just below the surface of the medium—some seeds need a light covering, others prefer to sit right on top. This can vary by plant type, so checking specific seed instructions helps, though trial and error often teaches just as much.
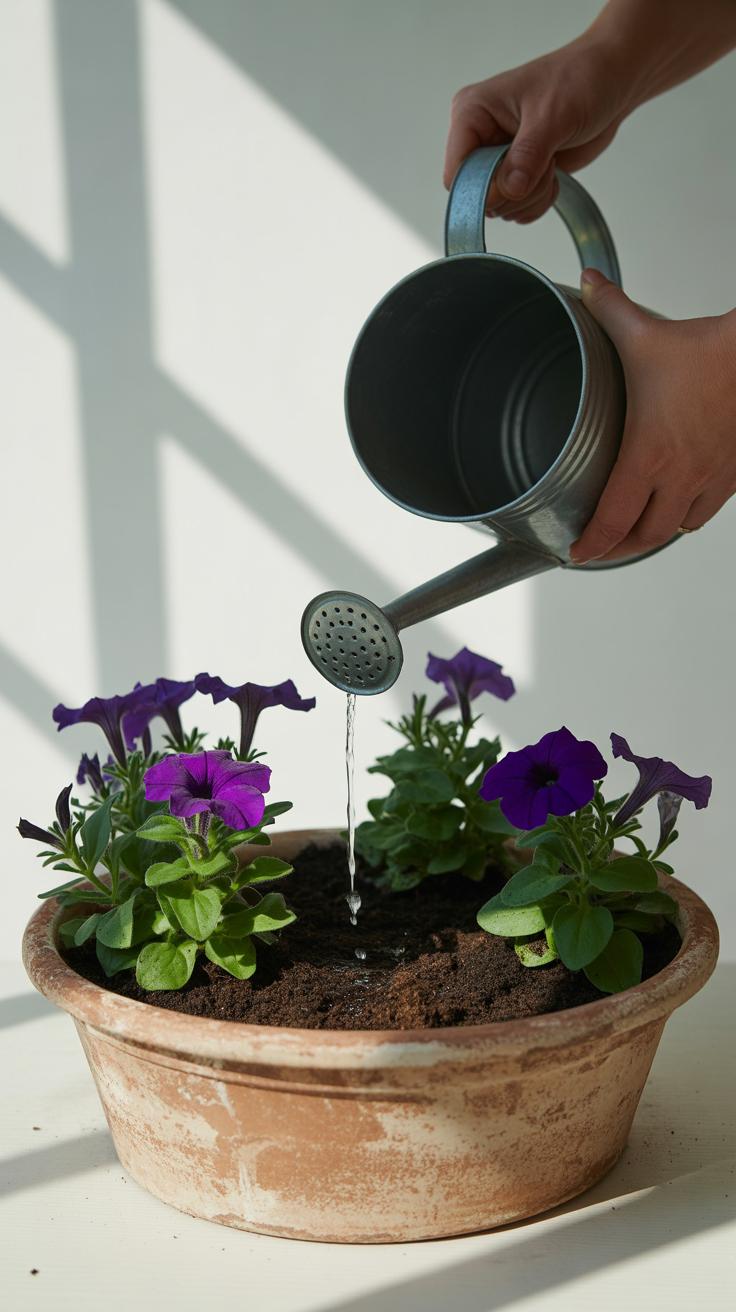
Once seeded, moisten the medium carefully with water or your prepared nutrient solution. Avoid soaking it too much—seedlings don’t need to swim, but they do need consistent moisture. After placing the seeded medium in a tray or net pot, ensure it sits above or partially submerged in water to encourage roots to grow downward toward nutrients. I sometimes find that letting the bottom stay damp while the top remains just moist encourages faster sprouting.
Caring for Your Seeds After Planting
After planting, your seeds need steady conditions. Keep the growing medium moist but not soggy; this usually means checking once or twice daily. Temperature around 65 to 75°F tends to work well for many common seeds, though some prefer cooler or warmer—so you might adjust a bit. Too cool, and germination slows; too warm, and you risk mold. I’ve noticed small fans can help keep air moving and reduce dampness issues.
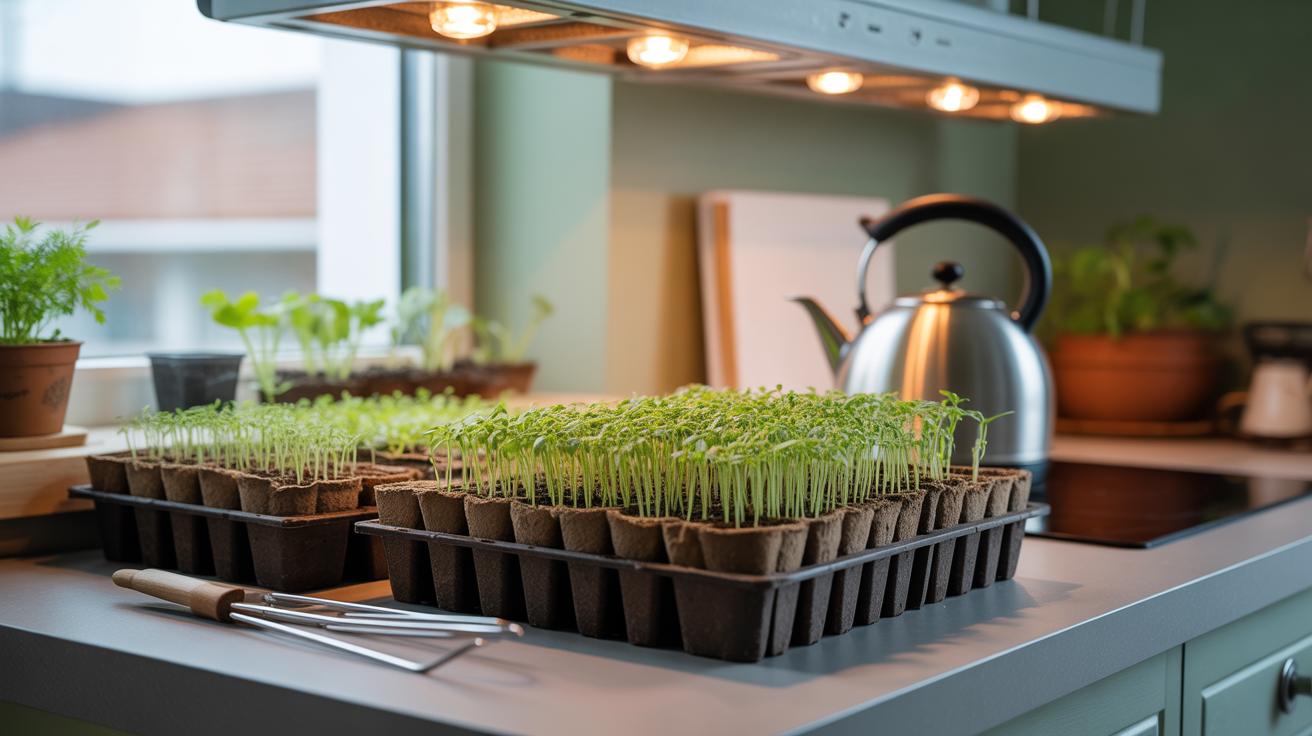
Light also plays a role even before sprouting. Using a fluorescent or LED grow light positioned several inches above the tray helps mimic natural conditions. A timer set for about 12 to 16 hours daily usually gets good results. Watch your seedlings—if they stretch too tall, it might mean they want more or closer light. It takes a bit of attention but very rewarding when those tiny sprouts finally burst through the medium.
Managing Light and Temperature for Seed Growth
Light and temperature play crucial roles in seed germination and early seedling growth, especially when you’re working with hydroponics indoors. Seeds need the right signals to break dormancy and start growing, and both factors influence that process in different ways.
Providing Enough Light
Most seedlings require bright light to grow strong, but not all types of light are equal. For indoor hydroponic seedlings, fluorescent or LED grow lights tend to work best. LEDs can be tailored for the specific red and blue wavelengths plants absorb, which can boost growth. Fluorescents work well, too, particularly if you want to keep costs down. I’ve tried both, and noticed LED lights help seedlings develop sturdier stems quicker.
How long should the lights be on? It’s generally good to keep them on for about 12 to 16 hours daily. Too little light makes seedlings weak and leggy, but too much light can stress them, causing slow growth or leaf burn. I’ve found a timer useful to keep a steady schedule rather than guessing each day.
Keeping Temperature Ideal
Temperature influences how fast seeds germinate and how well those delicate sprouts grow. Most seeds sprout best at temperatures around 65 to 75°F (18 to 24°C). Some plants prefer it a little warmer. Too cool, and germination drags on painfully. Too warm, and seedlings can become leggy or even suffer heat stress.
Maintaining temperature indoors can be tricky though. A spot near a heater can be too hot, while areas near windows can swing too cold, especially at night. Using a heat mat under your seed trays often helps keep the soil or medium consistently warm. If a heat mat feels like too much fuss, even placing trays in a warmer part of the room can make a difference, but that’s hit or miss—so, just keep an eye on it.
Managing light and temperature together gives your seeds the environment they need to take off quickly and cleanly. It’s a balance you learn through a bit of trial and error, but worth the effort when you see healthy seedlings pushing through so fast.
Maintaining Hydroponic Seedlings
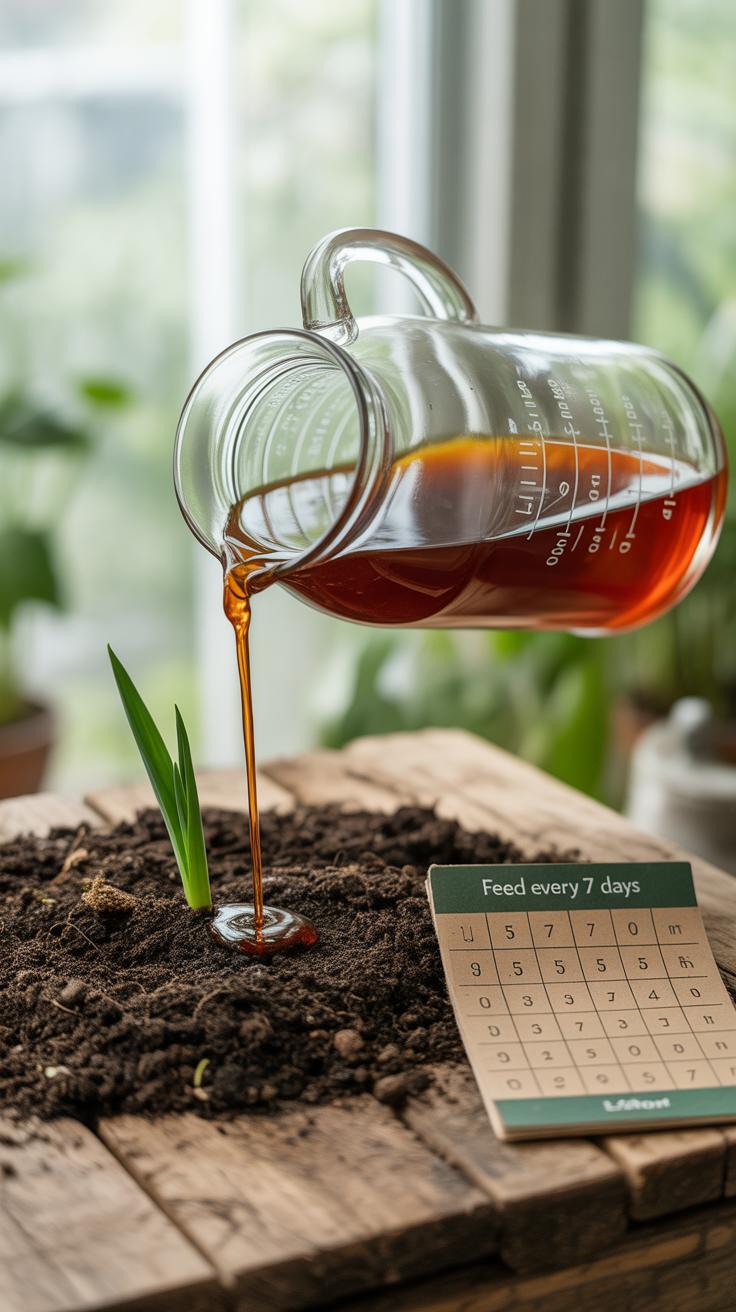
Once your seedlings sprout, the real care begins. Monitoring the nutrient solution is key. It’s not just about giving them food, but making sure the right balance stays consistent. Nutrient levels can shift quickly as seedlings absorb what they need, leaving the solution depleted or unbalanced.
Check the electrical conductivity (EC) of your nutrient solution regularly. Aim for a lower EC at the seedling stage—around 0.5 to 1.0 mS/cm usually works well, though it depends on the plants. If the EC climbs too high, dilute the solution with fresh water. If it falls too low, add nutrient concentrates cautiously. A good rule is to adjust slowly to avoid shocking the roots.
Keep an eye on pH too. Seedlings like something close to 5.5 to 6.0. Fluctuations here are common but correcting quickly can prevent nutrient lockout—when roots can’t absorb what’s available despite it being there.
Seedlings can run into a few problems early on. Root rot is a frequent issue in stagnant or overly wet conditions—watch for yellowing or wilting leaves. Fungal infections might appear as small spots or fuzzy growth. Spot these early and improve airflow or change water to tackle the root cause.
Also, watch for nutrient deficiencies or toxicities. Slow growth or discolored leaves can hint at this, even if you’re feeding them. If something feels off, don’t hesitate to test your water source or try a fresh batch of nutrients. Sometimes the simplest fix is just a fresh start.
It may seem like a lot, but spending a few minutes each day checking solutions and seedlings pays off. Have you ever noticed how tiny changes in nutrient mix can speed up—or stall—growth unexpectedly? It’s almost like the plants are telling you what they need if you listen carefully.
Transplanting Hydroponic Seedlings Outdoors
Preparing Seedlings for Transplant
Before moving your hydroponic seedlings outside, you need to get them ready for the harsher conditions outdoors. This isn’t just about moving pots from indoors to outdoors—seedlings have lived in a very controlled environment, and sudden changes can shock or weaken them.
Start by hardening off, a process where you gradually expose seedlings to outdoor light, temperature, and wind over a week or two. For example, place seedlings outside in a shaded spot for a few hours the first day, then slowly increase their exposure. This helps toughen up leaves and stems so they don’t wilt or burn once transplanted.
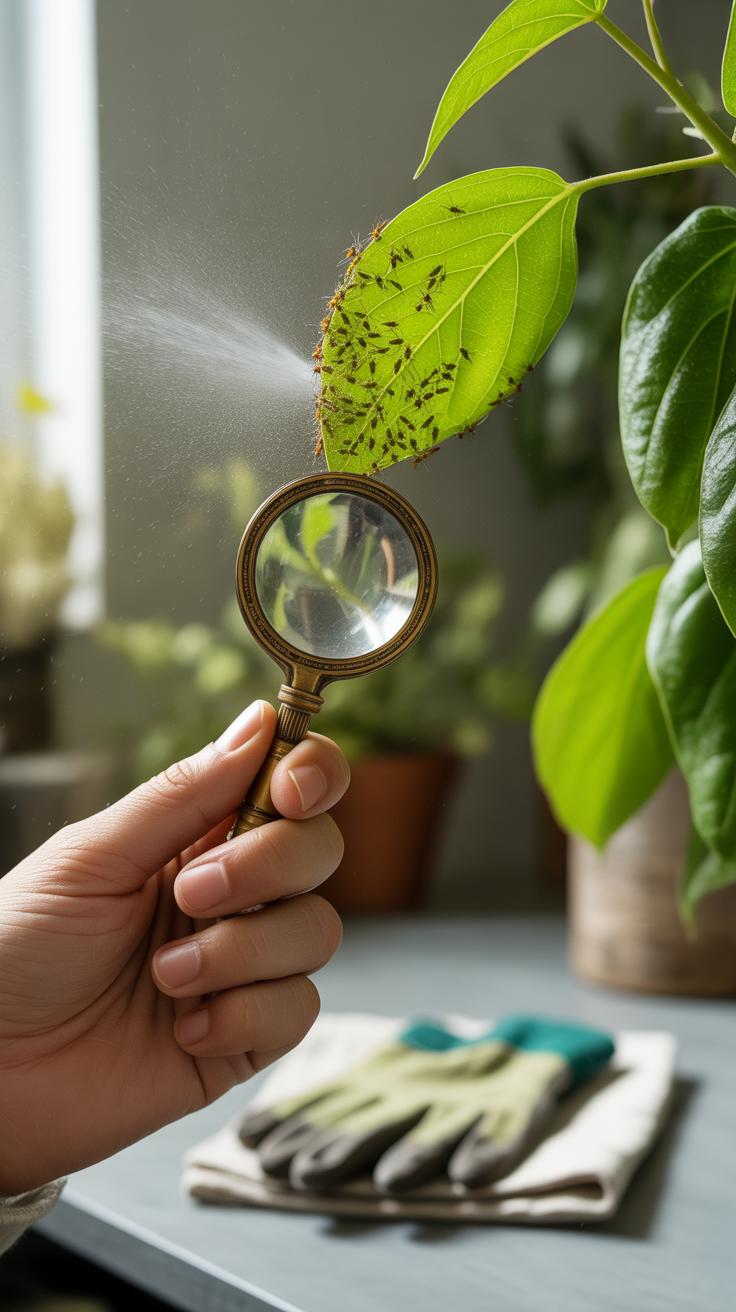
Check your seedlings for signs of stress or pests before transplanting. It’s tempting to rush because you see growth, but if they aren’t sturdy enough, transplanting will just set them back.
Transplanting Techniques
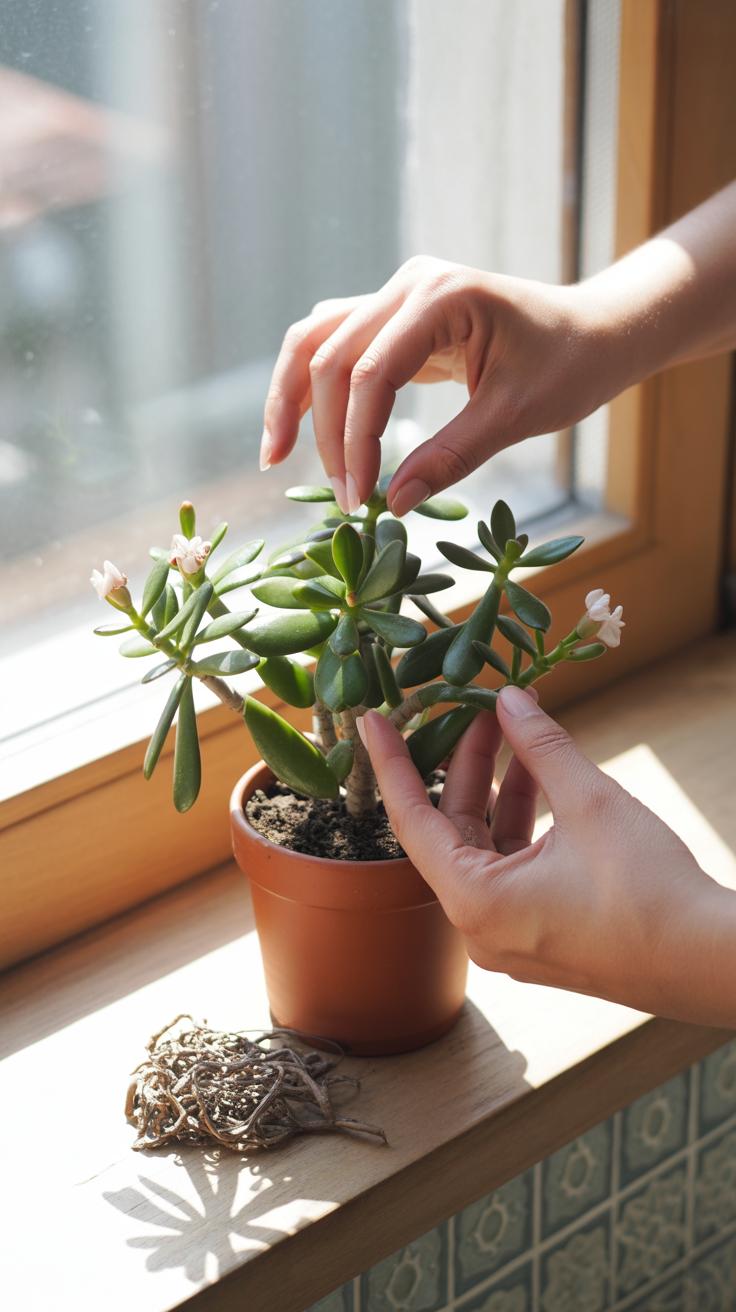
When it’s time to transplant, careful handling is key. Roots grown hydroponically tend to be delicate, often finer and less tangled than soil-grown roots, which makes them easier to damage unintentionally.
Here’s a straightforward approach to protect roots and plant health:
- Gently lift seedlings from your hydroponic trays, supporting the stem and root structure without pulling.
- If your roots are exposed, keep them moist with a light mist or dunk briefly in water before planting.
- Prepare the soil or the larger hydroponic system with enough space and nutrient support — don’t overcrowd your plants right away.
- Place the seedlings carefully, making sure roots spread naturally and aren’t cramped or bent.
- Firm the medium lightly around the roots to prevent air pockets but avoid compacting it too much.
You might need to be patient after transplanting — seedlings often pause in growth as they get used to their new environment. But with proper care, they pick back up faster than you might think.
Benefits of Hydroponic Seed Starting Indoors
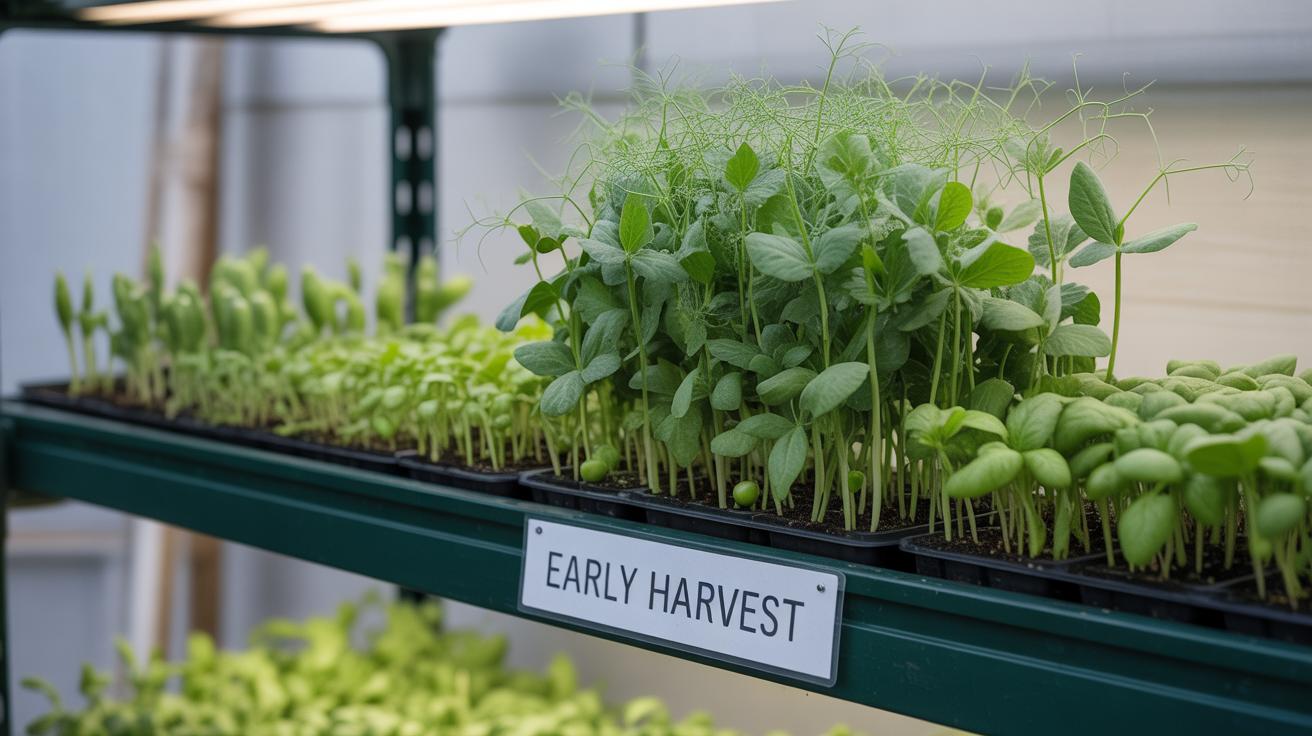
Starting seeds indoors with hydroponics can speed up growth noticeably. Without soil to slow things down, seeds seem to sprout faster—sometimes by several days. I’ve found this especially true with herbs like basil and cilantro. The absence of soil pests really stands out too. No gnats, no soil-borne fungi lurking around, which means fewer worries and less chance of losing delicate seedlings early on.
You also get a surprising level of control over everything your seeds need. From the exact amount of water and nutrients to the kind of light they receive, hydroponics lets you customize the environment around each seed. This kind of control can make all the difference, especially if you’re aiming for uniform growth or want to experiment with different varieties. You might wonder if this sounds a bit fussy—but honestly, it’s gratifying to watch your seedlings thrive under conditions you can tweak on a whim.
Some key advantages you might want to consider:
- Cleaner plant starts, free from soil-related pests and diseases
- Quicker germination times because roots aren’t competing or struggling to spread
- Precise control over nutrient delivery, tailored exactly to what your seeds need at any stage
- The ability to tweak light exposure or humidity without waiting for outdoor weather changes
Though it requires more attention upfront, this method often leads to stronger seedlings ready for transplant sooner than you might expect. So, if you’ve ever felt impatient waiting for seeds to sprout, hydroponic seed starting could be just the nudge your indoor garden needs.
Troubleshooting Common Hydroponic Seed Starting Problems
Dealing with Poor Germination
When seeds don’t sprout as expected, it can feel frustrating—and it’s tricky to pin down just one reason. Maybe your seeds are old or stored improperly, which reduces their viability. Sometimes the growing medium is too wet or too dry, leaving seeds struggling to break through.
If you suspect poor germination, try soaking seeds in water for a few hours or overnight for tougher varieties. Ensuring the environment stays warm and consistently moist without drowning the seeds often helps. Also, pay attention to seed depth; too deep can prevent sprouting, while too shallow might dry out seeds quickly.
Experiment with gentle warmth sources—heat mats can work wonders—but watch closely. Occasionally, what you think should work might slow things down instead. It’s a balance, so patience paired with small adjustments usually makes a difference.
Handling Nutrient or Water Issues
Seedlings reveal problems before you might expect. Yellowing leaves or stunted growth often signal nutrient imbalances—too much or too little. In hydroponics, it’s easy to forget nutrients need careful calibration. If roots look slimy or smell off, overwatering or poor oxygenation could be the culprit.
Check your nutrient solution’s strength and pH frequently; small shifts can change seedling health fast. Dilute the solution if nutrient burn appears or feed more gently if plants seem starved.
Water quality matters too. Using tap water with high chlorine or minerals may hinder young roots. Try filtered water or let tap water sit out to reduce chemicals before use. The key is watching seedlings closely and tweaking as signs develop—trust your eyes more than any recipe.
Conclusions
Using hydroponics to start seeds indoors can speed up your gardening process and deliver clean, strong plants. This soil-free method gives you continuous control over the plant’s environment and nutrients. You can enjoy fresh and healthy sprouts any time of the year right in your home.
Hydroponic seed starting removes many soil-related challenges and lets you focus on growing your plants well. It’s a simple, efficient way to take gardening indoors and watch your seeds become thriving plants. Try these techniques to boost your gardening success and fresh food supply.


