Introduction
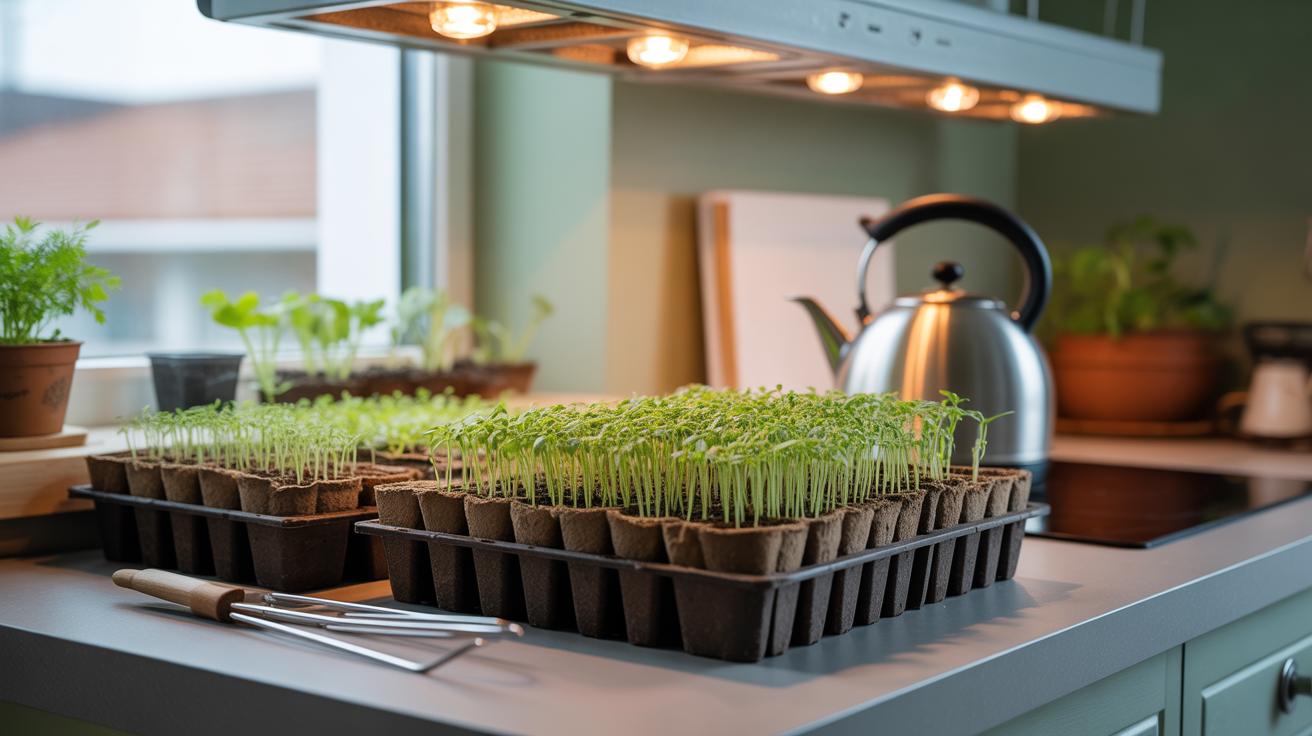
Starting a garden indoors from seeds can seem challenging, but with the right ideas, it becomes easy and rewarding. Home gardening ideas for indoor seed starting focus on helping beginners and experienced gardeners get the best results by creating the right environment for seeds to grow. This article explores simple and practical methods to start seeds indoors successfully. You will learn about preparing the soil, picking the right containers, and providing the best light and water conditions.
Indoor gardening not only brings fresh plants into your home, but it also helps you grow vegetables and herbs year-round. Home gardening ideas for indoor seed starting that actually work will help you avoid common mistakes and enjoy watching your plants grow strong and healthy. Let’s explore these ideas to make your indoor gardening efforts fruitful and fun.
Understanding the Basics of Seed Starting
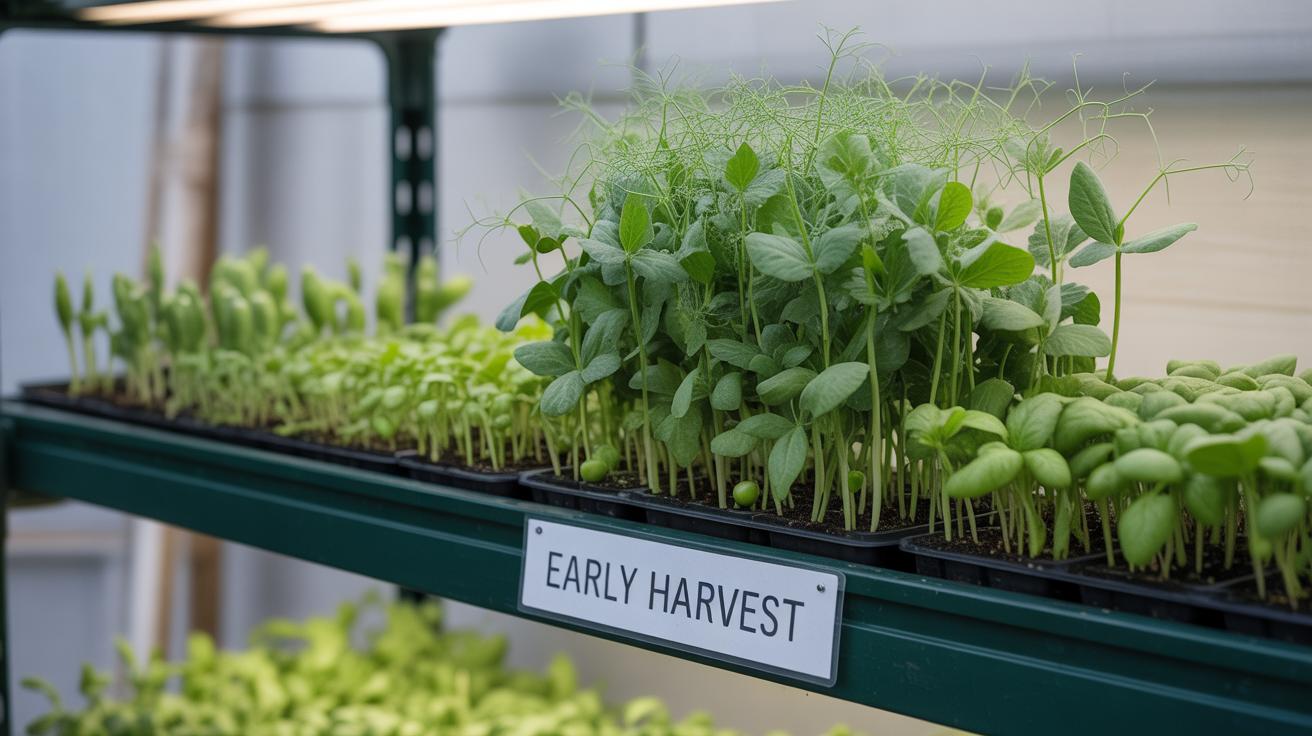
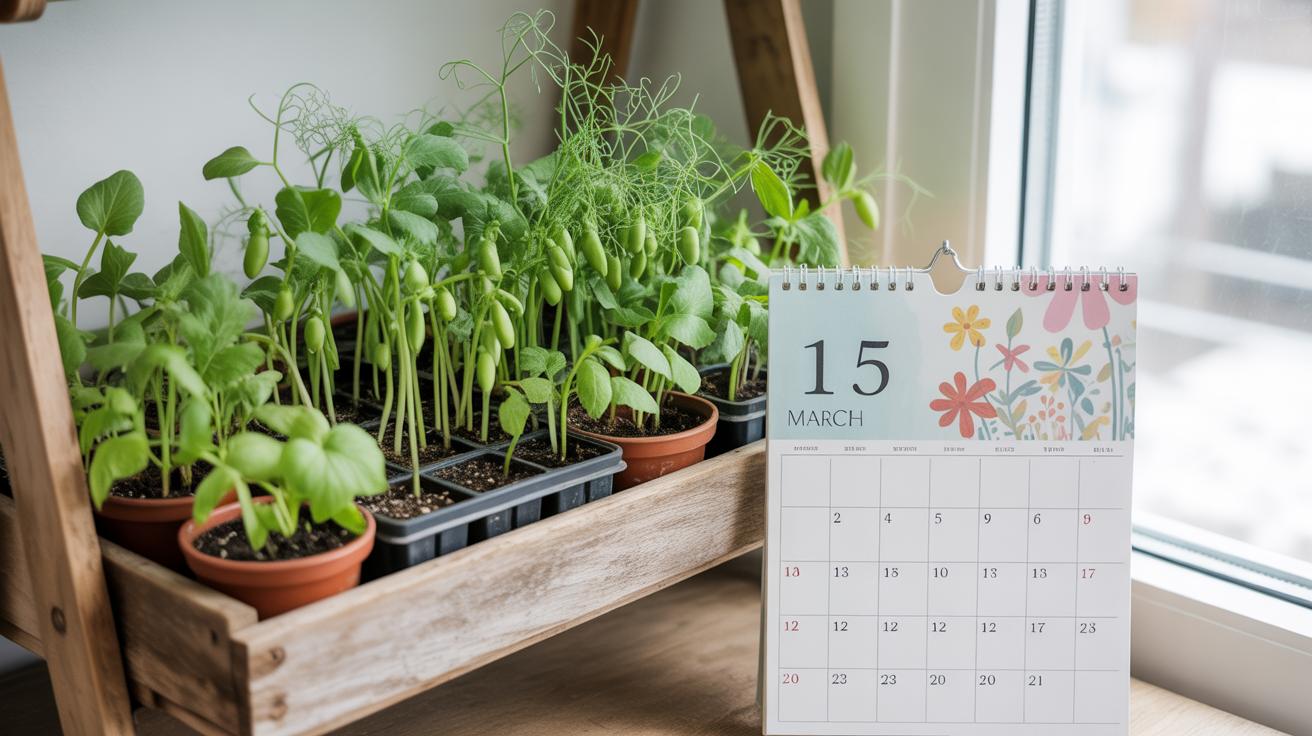
Seed starting indoors lets you control the beginning stage of plant life. This control can make a big difference, especially when outdoor conditions aren’t ideal yet. Starting seeds inside means you get a head start on the growing season, and it often leads to stronger, healthier plants once they move outside—or just stay indoors if that’s your plan.
The basics you need aren’t complicated. A good seed, suitable soil, water, consistent temperature, and enough light are the essentials. Seeds need a proper environment to break dormancy and begin growing. Without the right warmth and moisture, they might just sit there, doing nothing. Soil holds the nutrients and water they need. And light eventually guides their young growth toward health.
You don’t need fancy equipment to get going, but understanding these elements is key. Some people expect instant results, but patience pays when conditions match what seeds require.
What Seeds Need to Grow
Seeds are surprisingly simple in what they need to start their journey, but getting those conditions just right indoors requires care. Warmth is critical since seeds rely on temperature signals to know when to sprout. Too cold, and they wait. Too hot, and they might dry out or fail.
Moisture jumpstarts the growth process by softening the seed coat and activating enzymes. Yet, too much water can drown them, which is an easy mistake when you’re just starting out. Seeds also draw nutrients from the soil until they can make their own food through photosynthesis.
You’re basically balancing moisture and air—a tricky dance. Too wet, and fungus appears. Too dry, and seeds stall. It’s a delicate, hands-on observation game.
Common Seed Starting Materials
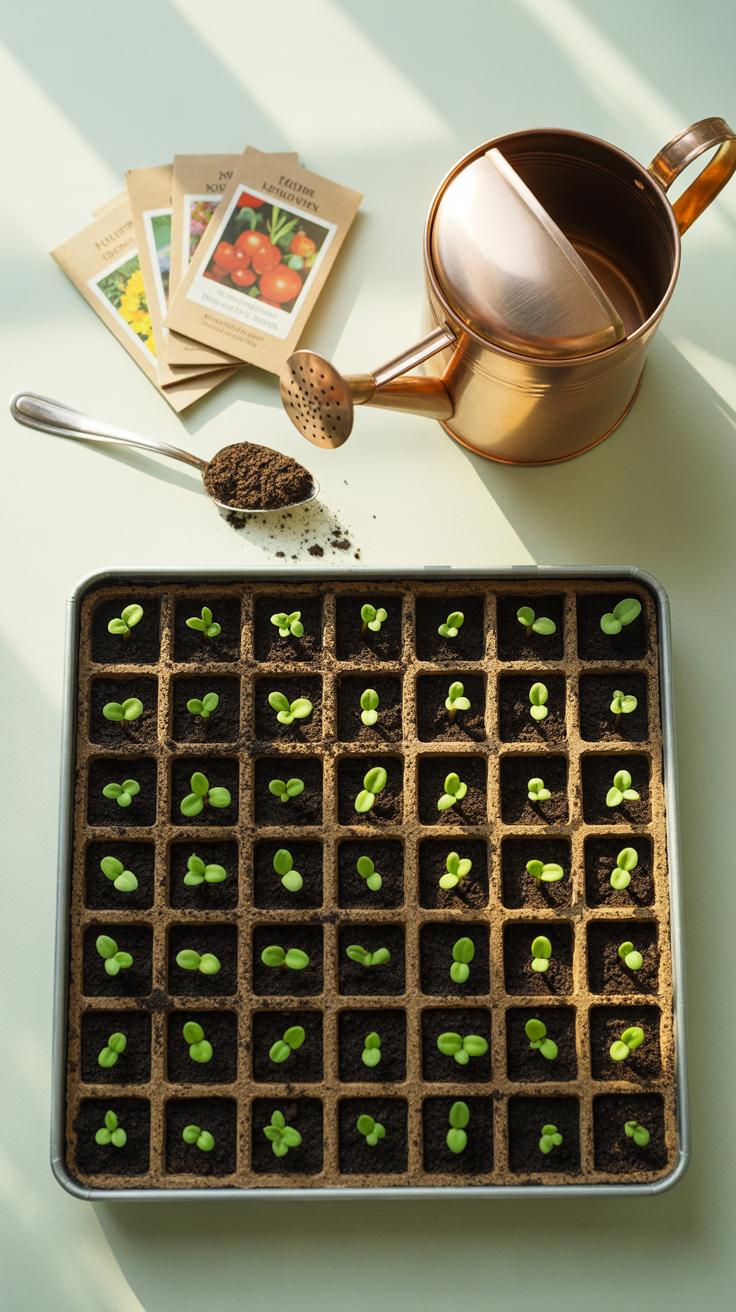
Many gardeners turn to seed trays and small pots as a first step. Seed trays keep things compact and organized, while pots allow for easier transplanting later. Using a light, well-draining seed starting mix matters more than ordinary garden soil. It reduces risks of mold and helps roots spread without resistance.
Clear plastic covers or domes help keep humidity steady, which some seeds benefit from during germination. I’ve found a makeshift cover with plastic wrap works fine for small batches, but you’ll see seedlings breathing more easily once you lift the cover after sprouting.
Simply put: choose materials that make managing water and light easier. You don’t need to overthink it—often basic materials get the job done if handled right.
Selecting the Right Seeds for Indoor Starting
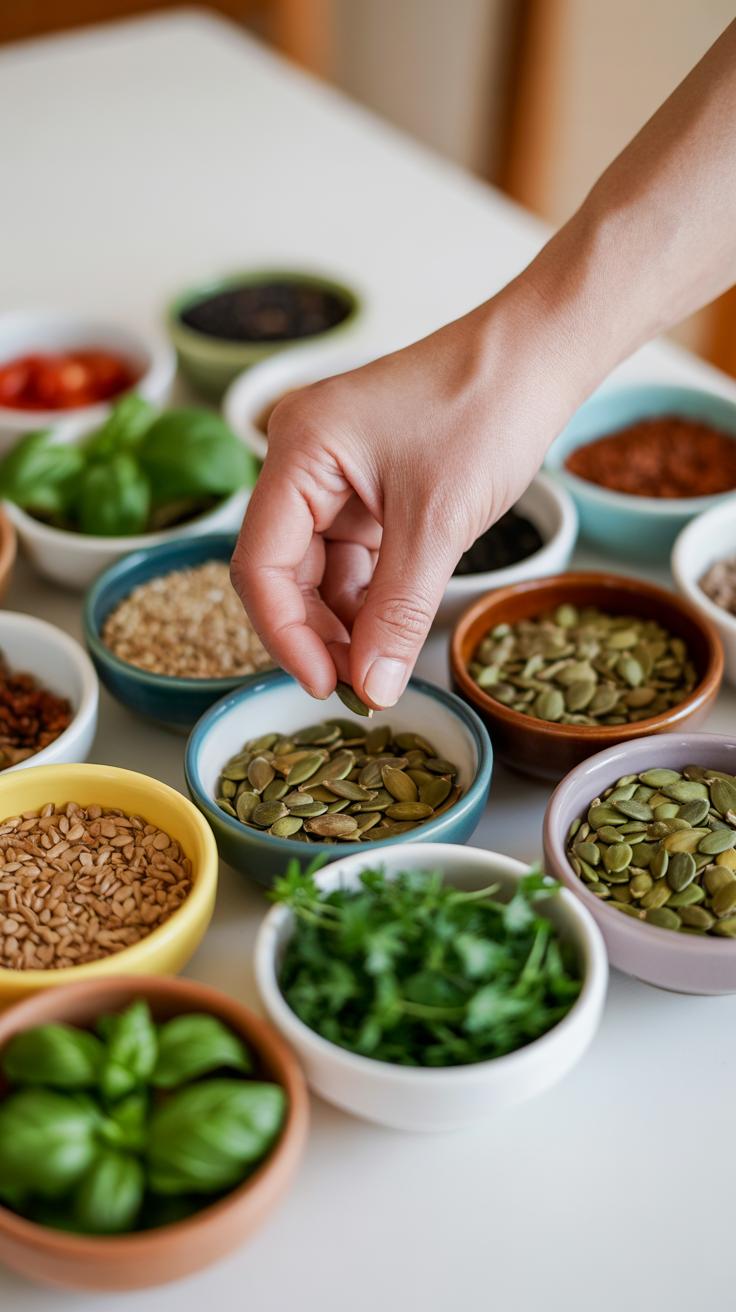
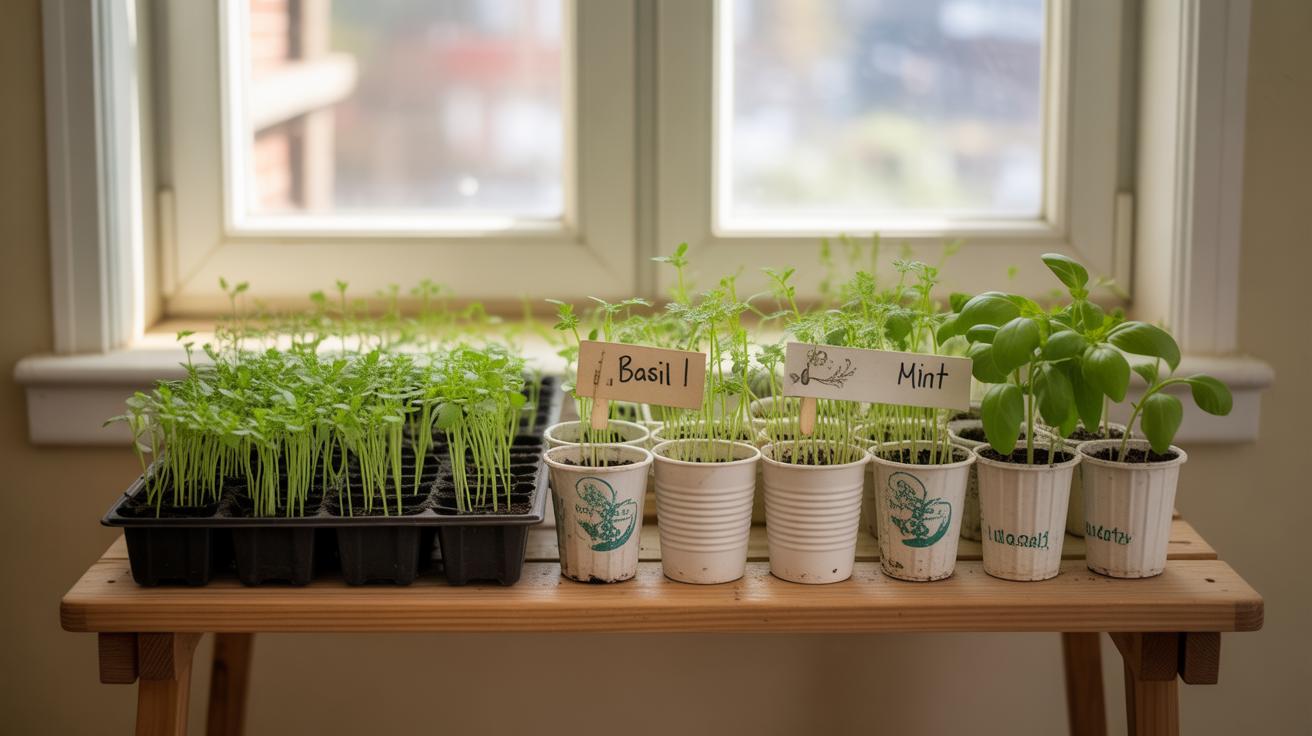
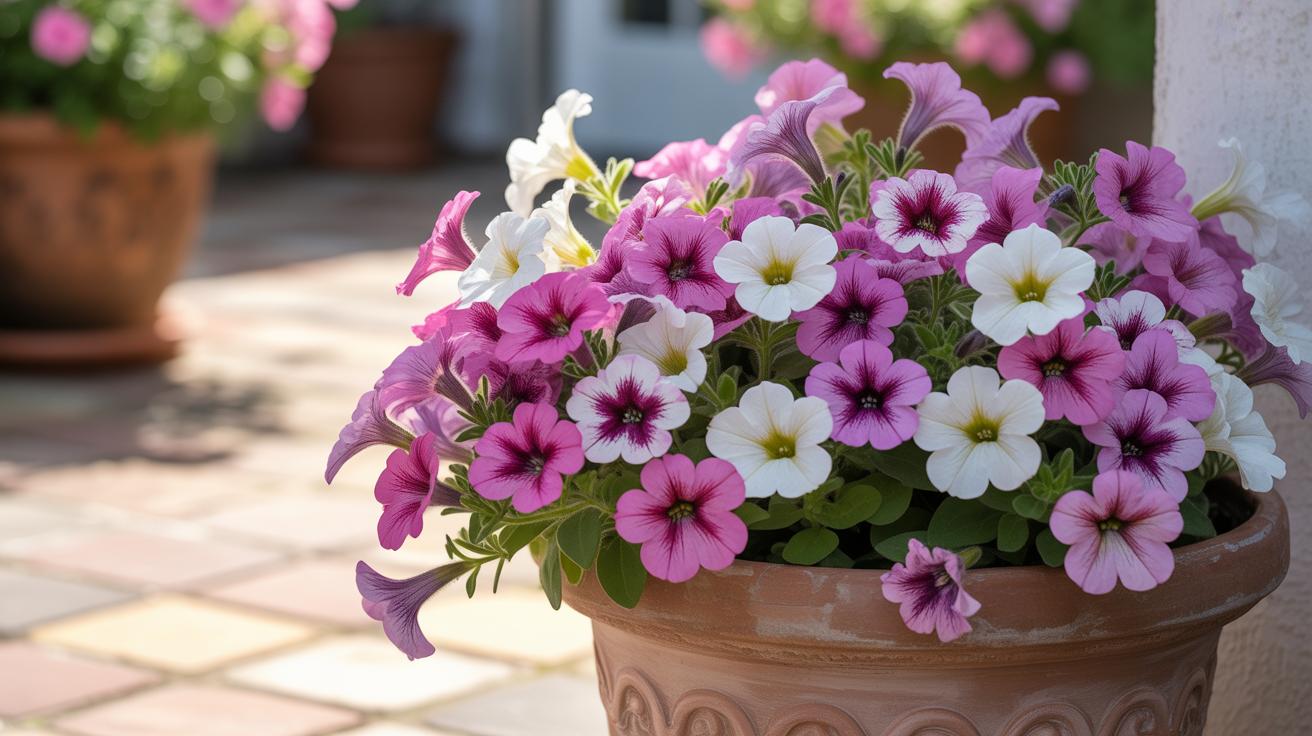
Choosing seeds for indoor starting isn’t as straightforward as it might seem at first. Some plants just handle the indoor environment better than others. Think about what you want to grow and how much space and light you can provide. Vegetables like lettuce and radishes often do well because they don’t need a ton of room or super intense light to sprout and grow a bit. Herbs such as basil, parsley, and chives tend to be forgiving and sprout quickly too. Flowers like marigolds and zinnias can brighten up your indoor garden early on—they germinate fast and don’t fuss much.
For beginners, it’s often best to stick with seeds that sprout quickly and don’t demand constant attention. Lettuce, radishes, and most common herbs fit that bill. They usually germinate within a week or two, which keeps you motivated. You get to see progress faster, which sadly can sometimes be the only thing that keeps me going!
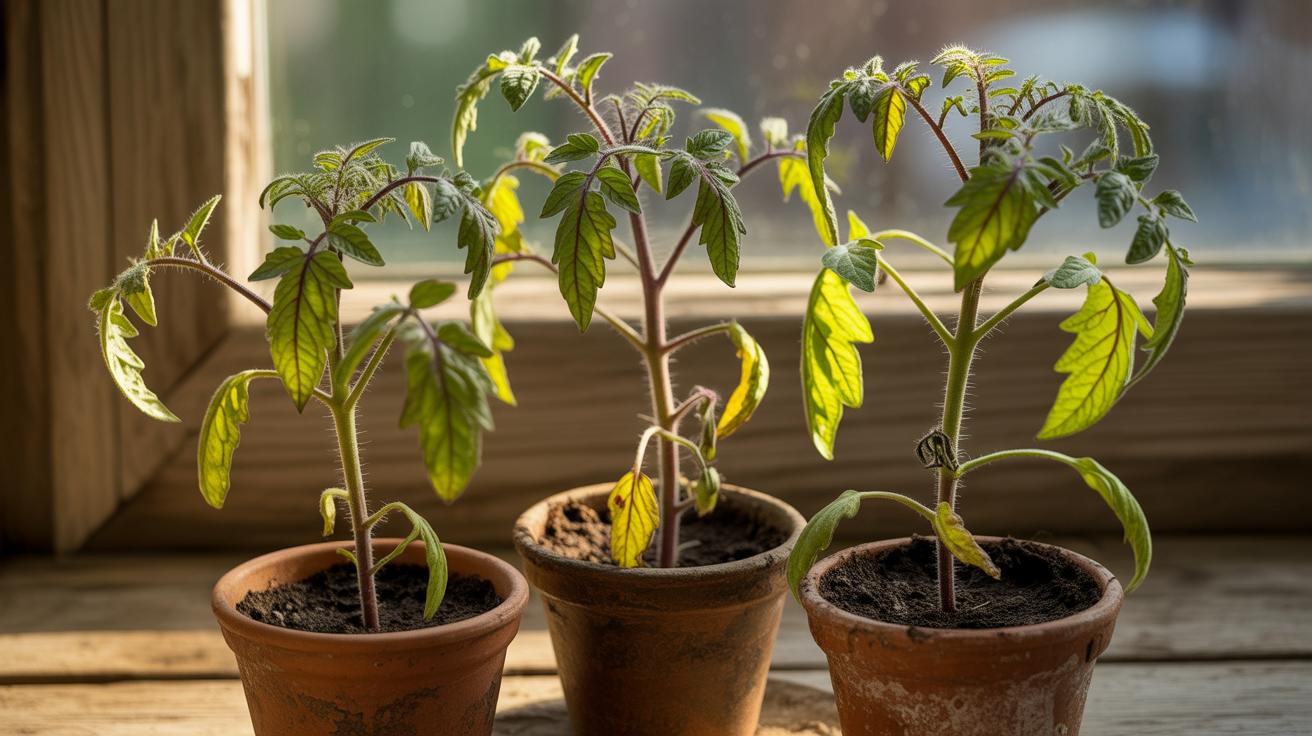
On the other hand, some seeds are best avoided indoors. Larger seeds like beans and peas tend to struggle without outdoor conditions. Plants that need heavy pruning or large pots right away, like tomatoes and peppers, can be frustrating to start inside unless you have the right setup. They often grow leggy or weak before it’s time to move them outdoors. Also, root vegetables like carrots and beets don’t transplant well — they hate having their roots disturbed, so sowing them directly outside usually works better.
Picking the right seeds for your indoor space is part practicality, part patience, and maybe a little luck. What’s your space like? What do you crave to grow? Starting out with forgiving seeds can boost your confidence—and your harvest.
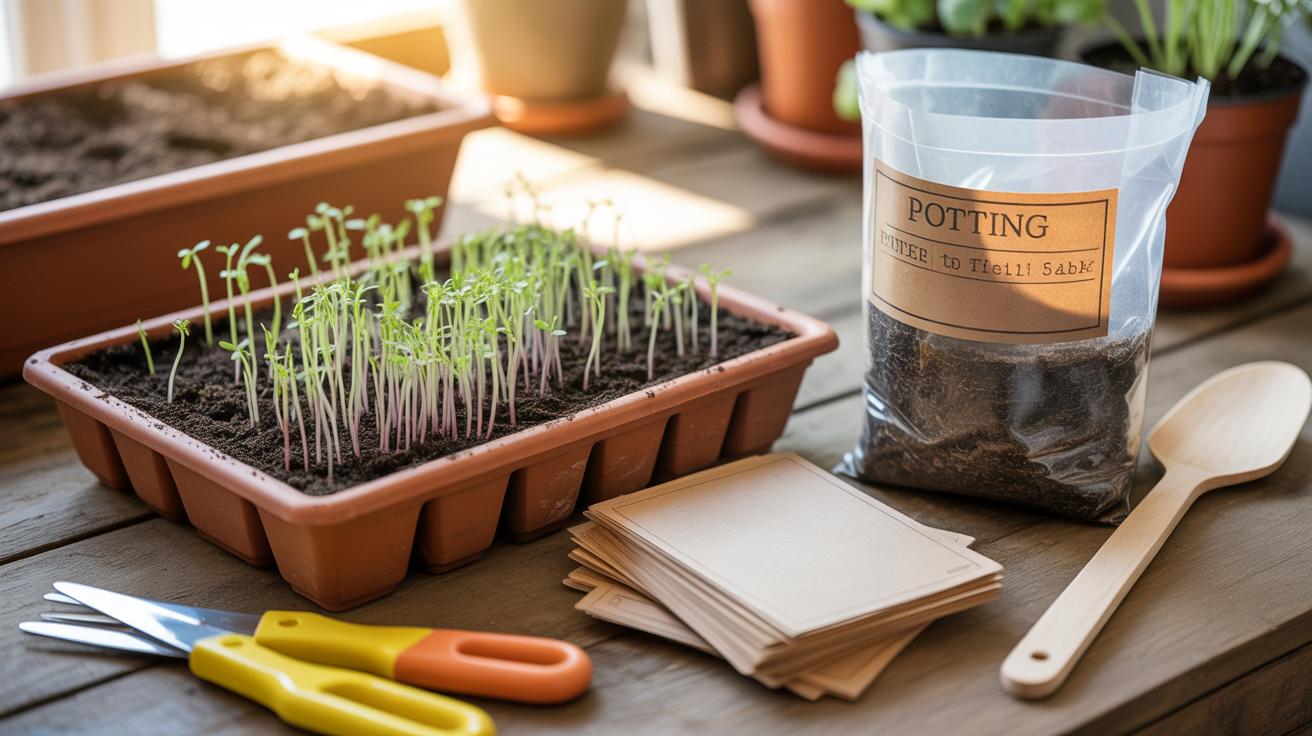
Preparing Soil and Containers for Seed Starting
Picking the right soil for indoor seeds can feel tricky, but it’s mostly about balance. You want a soil mix that holds moisture without drowning your seeds and drains well enough to stop roots from rotting. A good seed starting mix usually contains components like peat moss or coconut coir for moisture retention, combined with vermiculite or perlite to improve drainage and air flow. The texture should be light and crumbly, almost like fine sand but softer.
Try to avoid regular garden soil indoors; it’s often too heavy and can carry diseases. Sterilizing your soil mix by heating it in the oven or microwave sometimes helps to eliminate pests or fungi that might otherwise sabotage your seedlings, although some gardeners skip this step—opinions vary.
Containers come in all shapes and sizes, and choosing the right ones can be a bit personal. Seed trays with drainage holes work well, giving you control over watering and easy transplanting. Peat pots are biodegradable, which means you can plant the whole thing directly outdoors later if the timing’s right. If you’re like me and prefer to recycle, clean yogurt cups or egg cartons can serve as inexpensive alternatives—just make sure to poke drainage holes in the bottom, or your seeds might sit in soggy soil.
Before planting, rinse reused containers to remove any lingering residues or bacteria. It’s surprising how often something as simple as a quick wash can save a batch of seedlings.
Creating the Ideal Indoor Growing Environment
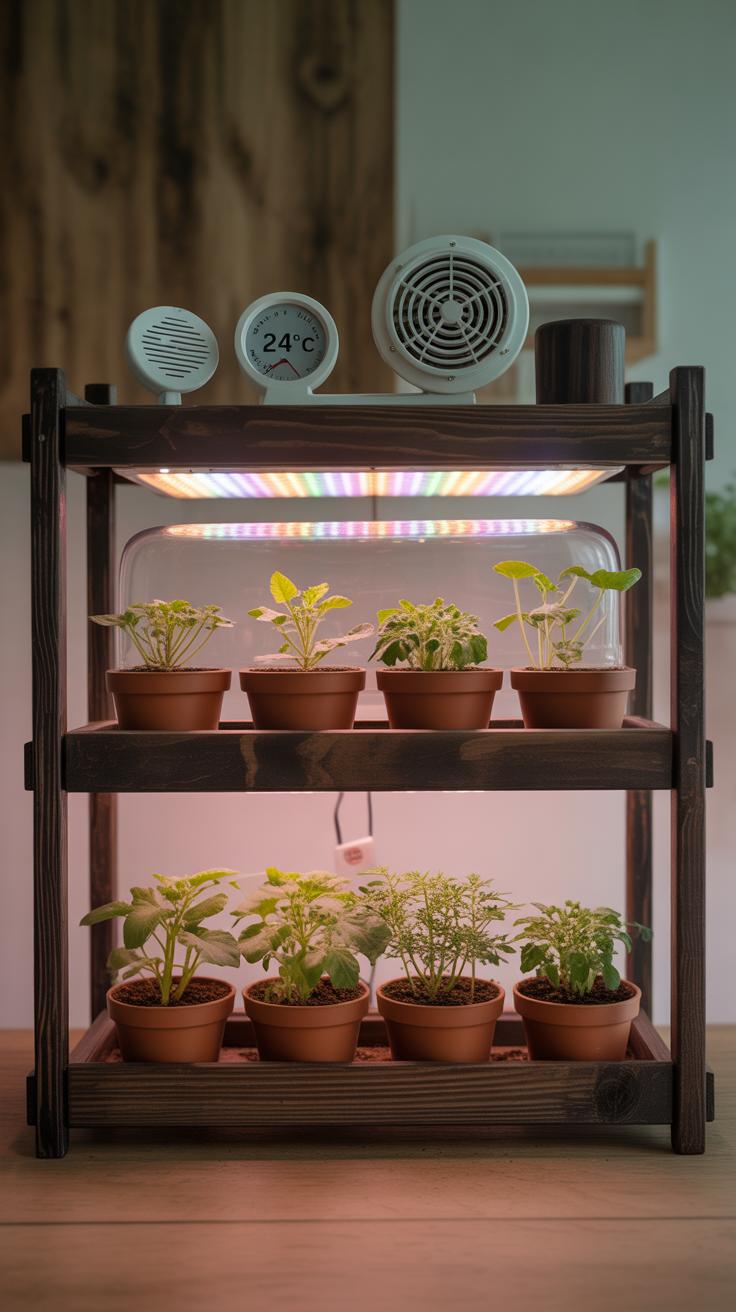
Light Needs for Seedlings
Seedlings need a good amount of light—usually around 12 to 16 hours daily—to grow sturdy. Natural light is great if you have a bright, south-facing window but often, it falls short. I remember trying to germinate seeds on a windowsill, thinking it’d be perfect. Still, those seedlings stretched and became leggy, craving more light.
That’s where grow lights come in. They’re probably the most reliable option. Place your seed trays about 2 to 4 inches below the light. Keep them on a timer so they mimic daylight hours without burning out. Fluorescent or LED lights designed for plants work well; LEDs tend to run cooler and last longer.
Think about rotation, too—turn containers every few days so all seedlings get even light exposure. If your setup isn’t near a window, artificial light is almost necessary. You might ask yourself how much light is “enough,” and honestly, it depends on the seed type and your space. Still, erring on the side of more light usually beats too little.
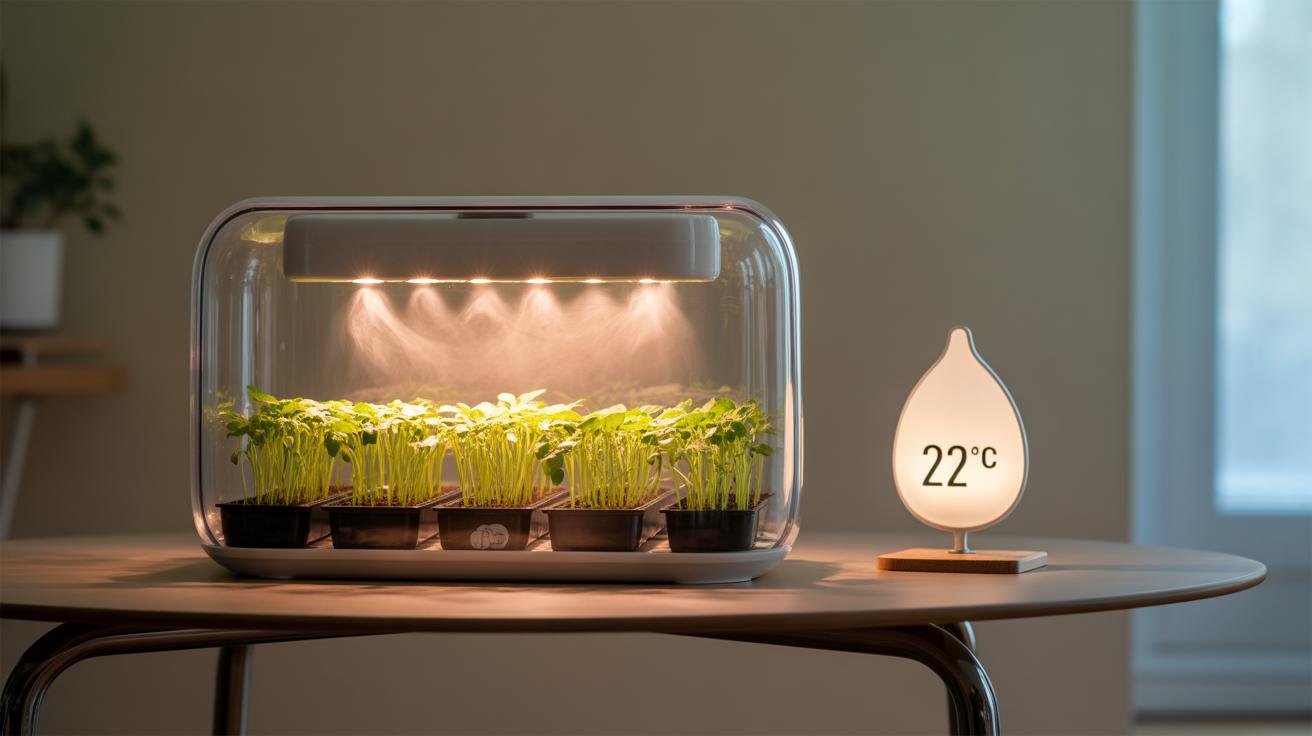
Temperature and Humidity Control
Each seed has its own preferred temperature range, but many sprout best between 65 and 75 degrees Fahrenheit. Some seeds like warmth—think peppers or tomatoes—might need closer to 80. Others, like lettuces, tolerate cooler rooms. If your indoor space gets too chilly, consider a heat mat beneath your seed trays. It makes a noticeable difference.
Humidity is another factor that people often overlook. Seeds and young seedlings benefit from a humid environment, especially during germination. A simple way to raise humidity is by covering the seed trays with a clear plastic dome or wrap. Just be sure to vent it occasionally to prevent mold.
Another old trick is a humidity tray—place a shallow tray of water under your seed container, but don’t let the pots sit directly in water. It raises moisture in the air nearby without drowning roots. It might seem tedious, but controlling temperature and humidity can really push your seedlings from fragile to strong within days.
Watering and Caring for Seeds and Seedlings

Getting the watering right feels like walking a fine line. Too little water, and seeds dry out; too much, and they rot or drown. I’ve learned that checking soil moisture by touch is probably the best way to keep tabs on things—you want the soil damp, not soggy or crusty. Lightly pressing your finger about half an inch into the soil can tell you if it needs water or can wait a bit longer.
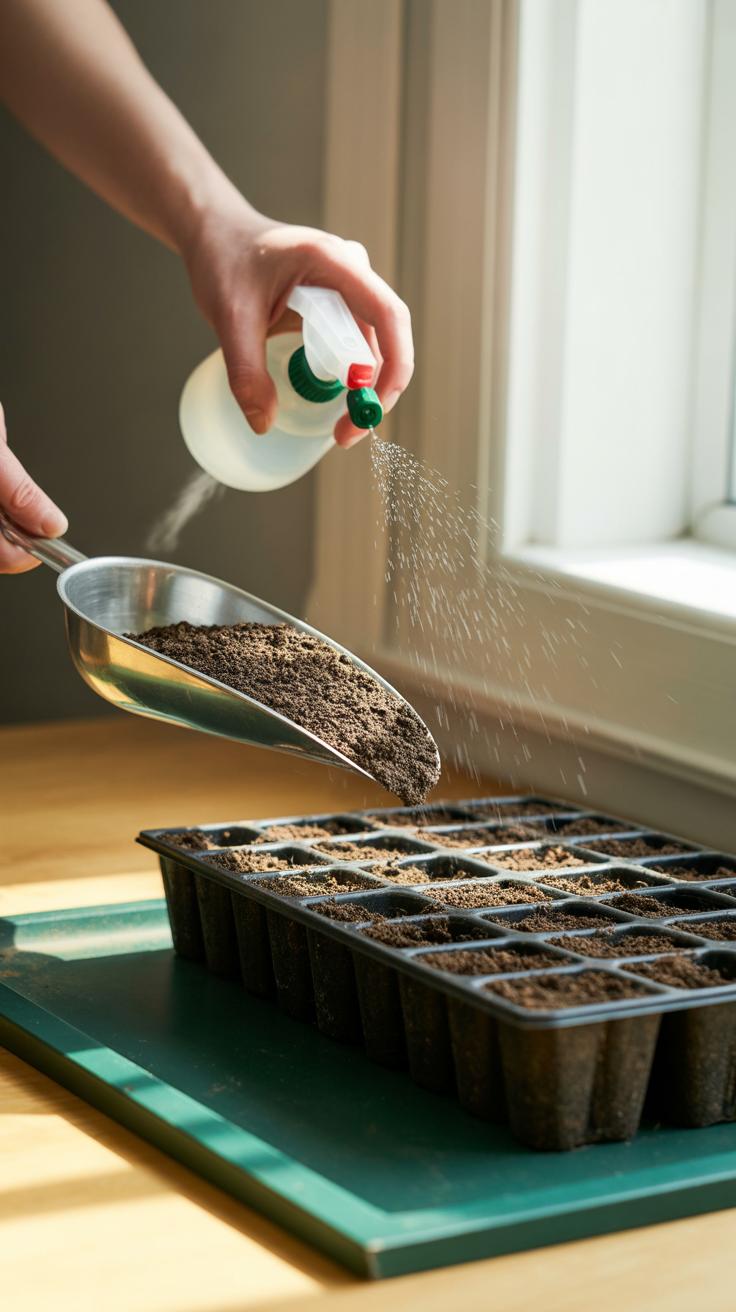
There are a few watering methods worth trying. Bottom watering, where water soaks up through drainage holes, can be gentle on fragile seeds because it avoids disturbing the soil surface. Misting with a spray bottle works well for very young seedlings, keeping humidity high without drenching the soil. If you use a spray bottle, remember it’s easy to overdo it—just short bursts, enough to keep the surface moist.
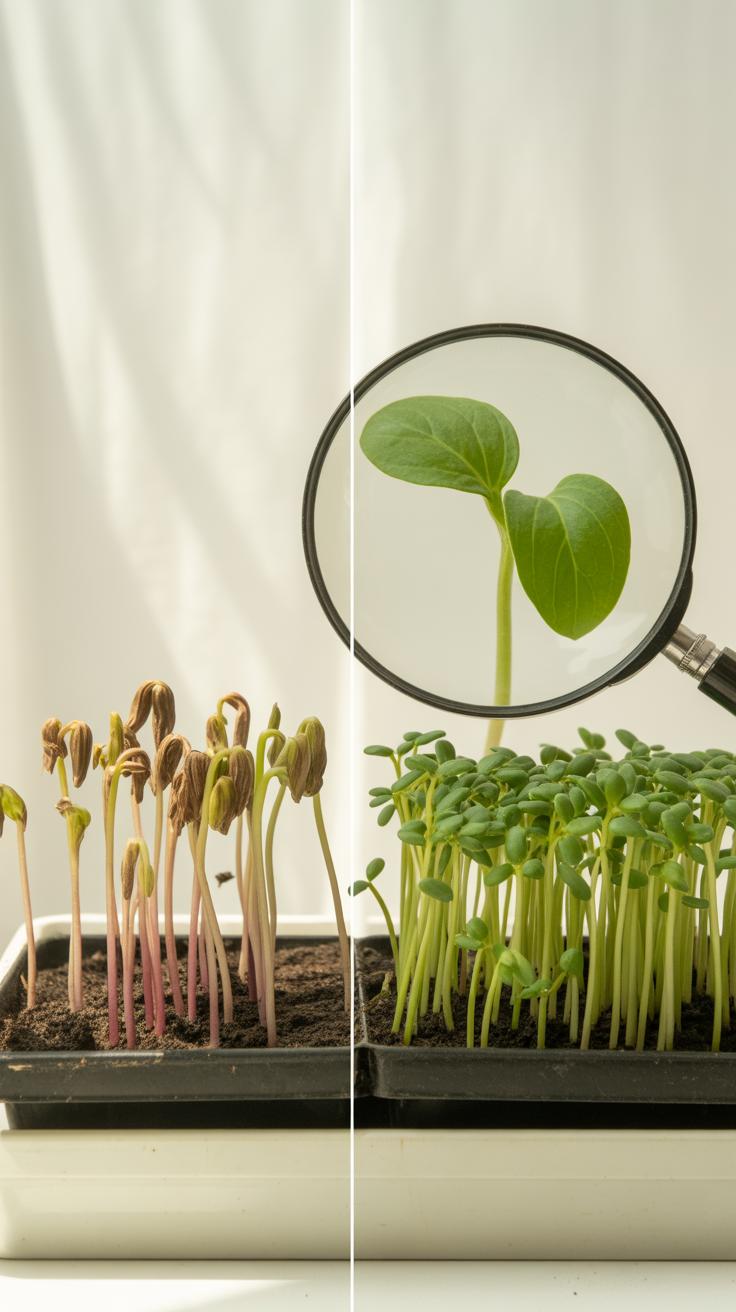
Healthy seedlings usually show several clear signs. They have a bright green color, indicating good nutrition and light. Their stems should be sturdy, not spindly or floppy, even if they’re still quite thin. Leaves appear well-formed, not curled or discolored. If you notice seedlings leaning toward the light or stretching too tall, it might mean they’re not getting quite enough light or need a little airflow.
Sometimes, despite care, seedlings hesitate to thrive. In those moments, I ask myself—am I watering right? Is the soil drying out too soon, or is it waterlogged? Watching seedlings closely lets you catch problems early, before they turn serious. After all, seedlings don’t hold back on showing if something’s off, if you just know what to look for.
Troubleshooting Common Problems
Starting seeds indoors is rewarding, but it’s not without its hiccups. Mold often shows up as a fuzzy white or gray layer on the soil surface. It might look harmless, but it can stunt your seedlings’ growth or worse. Usually, mold appears when the soil stays too moist and lacks airflow. To fix it, reduce watering a bit and open a window or use a small fan near your seed trays. Sometimes, removing the top layer of soil helps, too.
Damping off is trickier and sneaky. Seedlings suddenly wilt, turn brown near the base, and collapse. Fungal spores cause this, thriving in overly wet, crowded conditions. You’ll want to space your seeds better and avoid standing water. Using sterile seed-starting mix and clean containers can reduce risk.
Weak seedlings are another common issue. They stretch tall, thin, and pale—often because they’re not getting enough light. Moving seedlings closer to a bright window or setting up a grow light can thicken stems and green things up again.
Common Diseases and Pests
Fungal diseases inside aren’t uncommon. Aside from mold and damping off, seedlings can catch powdery mildew, which looks like a white dust on leaves. Good airflow helps prevent this, along with avoiding high humidity.
Pests like fungus gnats can become a nuisance. These small flies lay larvae in damp soil, which chew on roots. You might notice tiny black flies around your tray. Sticky traps can catch adults, while letting the soil dry a bit helps reduce larvae numbers.
Prevention and Care Tips
Mastering prevention is easier than fixing problems later. Clean your containers before every planting. Wash hands or tools to avoid transferring pathogens. Aim for moderate watering—you want soil moist but not soggy. Good ventilation is key, so open a window occasionally or place a small fan nearby to circulate air. This cuts down on mold and fungal builds.
Don’t hesitate to monitor your seedlings every day. Sometimes it’s a subtle change—like drooping leaves or small spots—that signals an issue before it snowballs. With a little attention, these problems usually clear up or don’t even show in the first place.
When and How to Transplant Seedlings

Signs Seedlings Are Ready
It’s tricky sometimes to know the right moment to move seedlings from their starter trays. You don’t want to rush things—seedlings can be fragile. But waiting too long can also stunt growth. Usually, look for these signs:
- They have at least two sets of true leaves, not just the initial seed leaves.
- Their stems look thick and sturdy enough to handle.
- You see roots beginning to peek through drainage holes or feel crowded when you gently lift them.
- The plants seem to be outgrowing their current container—they might start leaning or crowding each other.
Your seedlings might seem fine but still not ready. If leaves are pale or stems are thin, hold off a little longer.
Step-by-Step Transplant Guide
Moving your seedlings carefully makes all the difference. Here’s one way that usually works well:
- Water your seedlings a few hours before transplanting—moist soil sticks together and protects roots.
- Prepare bigger pots or your garden space ahead of time with good soil.
- Loosen the soil around each seedling gently. You can use a spoon or your fingers, just be very gentle.
- Grab seedlings by their leaves, not stems—that helps avoid crushing the delicate stem.
- Lift the seedling with a small soil plug around its roots to keep the root system intact.
- Make a hole in the new soil, place the seedling in, and firm the soil gently around it.
- Water them well but avoid drenching freshly moved seedlings.
It sounds simple, but I once accidentally squished a few by grabbing the stems. So take your time. Sometimes, it’s a bit messy, and you might lose a seedling or two. That’s part of the process.
Creative Indoor Gardening Ideas to Support Seedlings
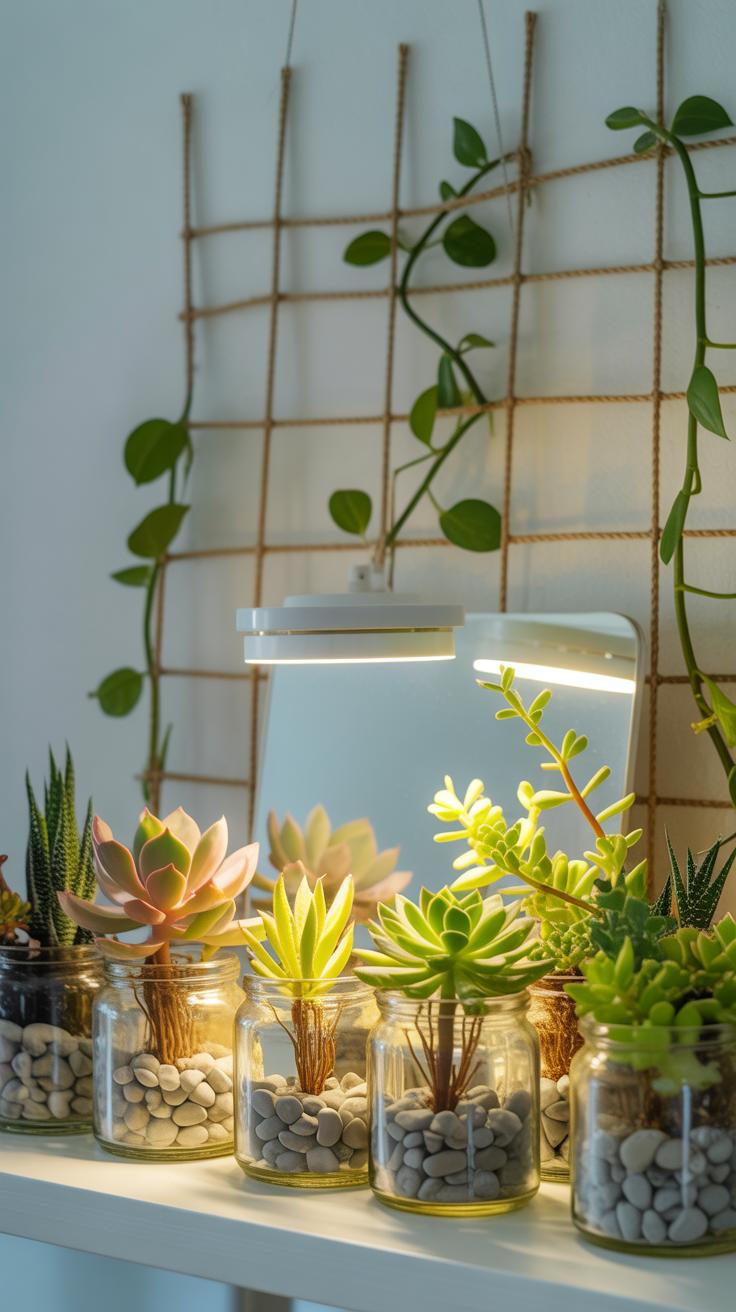
Getting your seedlings enough light can be tricky indoors, but you don’t need fancy equipment to help them thrive. Reflective surfaces like aluminum foil or white boards work surprisingly well to bounce light back onto your plants. I once taped a few sheets of foil around a small tray, and my seedlings definitely seemed perkier by day three. The catch—foil can be a bit harsh if it’s too close, so giving some space helps avoid leaf burn.
For lighting, you don’t have to splurge on expensive grow lights. A simple clamp lamp fitted with a daylight LED bulb can give your seedlings the boost they need. Setting it just a few inches over your plants and keeping it on for about 12-14 hours daily makes a noticeable difference. I sometimes worry about electricity use, but these LEDs are pretty modest.
Seed starting containers don’t have to be store-bought. You can save a lot by repurposing things around the house. Egg cartons, yogurt cups with holes poked in the bottom, or even cut-up milk cartons provide perfect little nurseries for seedlings. I’ve found that kitchen scraps containers work best because they’re lightweight and fit neatly on windowsills.
- Try turning an empty pizza box into a mini greenhouse with cling film stretched on top.
- Use old butter tubs for moisture retention; just make sure to add drainage holes.
- Match the container size with the seed type to avoid drowning tiny seedlings in too much soil.
Playing with these ideas feels almost like a low-key experiment each season. Some setups work better than others, depending on space and light. But that’s part of the process, right? Maybe your seedlings will surprise you, too.
Conclusions
Starting seeds indoors is a great way to enjoy gardening regardless of the season or space available. By following the home gardening ideas for indoor seed starting that actually work, you create the ideal conditions for your seeds to sprout and grow. Remember to choose quality seeds, provide enough light, and keep the soil moist but not too wet. These simple steps will help you see your seedlings flourish.
Your indoor garden can become a source of fresh herbs, vegetables, and relaxation. With patience and care, the seeds you plant today can grow into beautiful plants that brighten your space and your life. Keep experimenting with different seeds and methods, and enjoy the process of nurturing your indoor garden to success.


