Introduction
Heirloom tomatoes are a special type of tomato grown for their wide variety of flavors, colors, and shapes. Many gardeners enjoy growing heirloom tomatoes because their fruits often taste better compared to regular tomatoes. Starting heirloom tomato seeds indoors gives you a head start on the growing season and helps you enjoy fresh tomatoes earlier in the year.
In this article, you will learn how to prepare heirloom tomato seeds for indoor planting. We break down the steps from sowing seeds, taking care of seedlings to eventually transplanting your plants outdoors. These clear and simple instructions will help you grow healthy tomato plants that produce rich and tasty fruits early in the season.
Choosing the Right Heirloom Tomato Seeds for Indoor Starting
Selecting heirloom tomato seeds for indoor starting can feel a bit tricky, especially when you’re aiming for an early and flavorful harvest. The first thing to think about is your taste preference—heirlooms come in a riot of flavors, from sweet and fruity to bold and tangy. If you want a classic garden tomato taste, varieties like ‘Brandywine’ or ‘Cherokee Purple’ might catch your fancy. But if you prefer something with a punch of acidity, try ‘Green Zebra’ or ‘Paul Robeson.’
When it comes to growth habits, some heirlooms are indeterminate, meaning they keep growing and producing fruit over time, while others are determinate and tend to ripen all at once. For indoor seed starting, determinate types may be easier to manage because they have a more predictable harvest period. Yet, if you like the challenge and longer season, indeterminate varieties could be worth the effort.
Keep disease resistance in mind—a lot of heirlooms don’t have it built-in, which can be frustrating. Look for varieties that mention some resistance to common tomato diseases like blight or fusarium wilt. I’ve had better success starting ‘Mortgage Lifter’ indoors than some more delicate types, partly because it stands up to issues better.
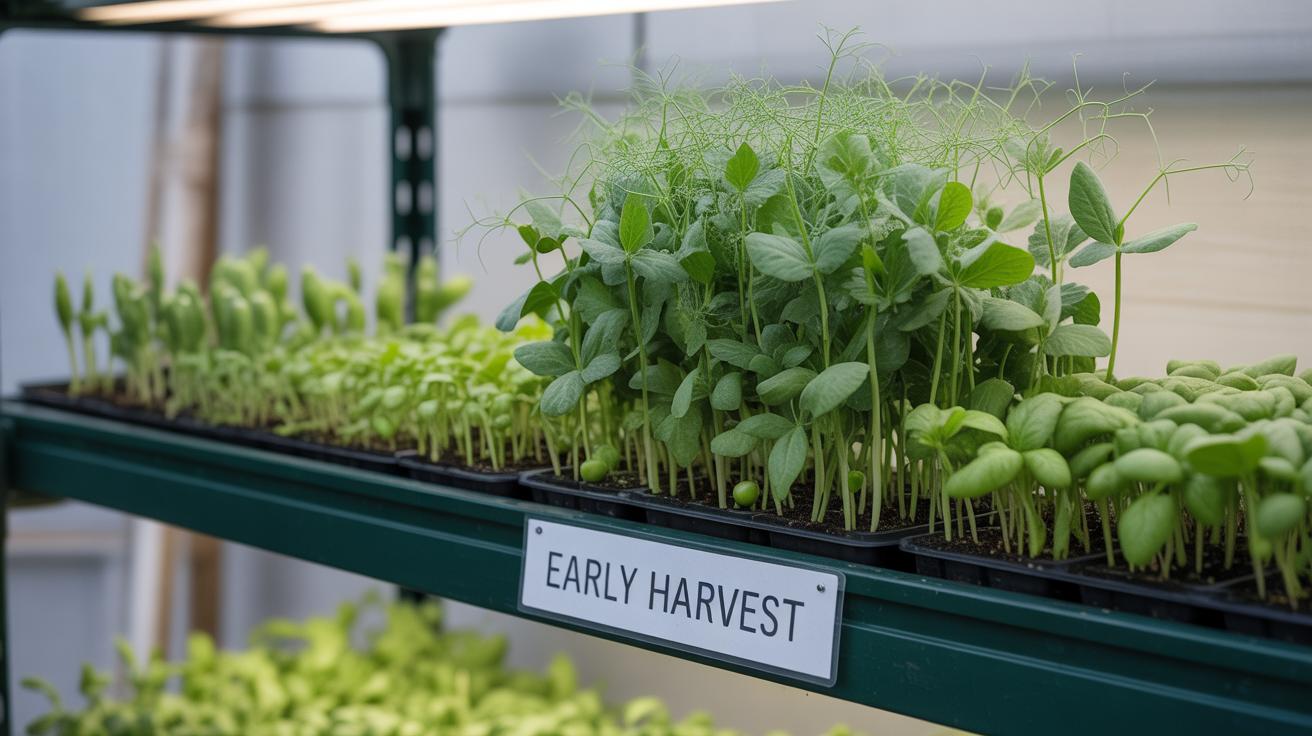
Varieties That Thrive When Started Indoors
Not every heirloom tomato loves starting indoors, but a few varieties tend to handle it well and even give you an earlier taste of summer. For instance, ‘Early Girl’ isn’t always labeled as heirloom, but it’s close and blossoms quickly after indoor sowing. Then there’s ‘Stupice,’ a cold-tolerant heirloom that can kickstart your season in cooler areas.
‘Red Currant’ tomatoes germinate fast and produce tiny, sweet berries early on, which is surprising for their size. On the other hand, larger-fruited types like ‘Brandywine’ or ‘Mortgage Lifter’ take longer but reward you with rich, complex flavors you won’t find in hybrids. So, your choice affects how early and what kind of taste you get; think of it as a trade-off between speed and richness.
Factors to Consider in Seed Selection
When selecting heirloom tomato seeds, where you get them matters. Seeds saved from reliable sources tend to have better germination rates and true-to-type traits. Freshness of seeds is another factor; old seeds can struggle to sprout, leading to frustration.
Look for detailed seed packets or catalogs that specify whether a tomato has some disease resistance or a particular growth habit. High yield potential is tempting, but sometimes a lower-yielding variety offers superior flavor or resilience indoors. It’s a balance—do you want quantity, quality, or a bit of both?
Lastly, think about your climate and the amount of indoor space you have. Small, compact varieties might be better for limited indoor setups, while sprawling types need more room and support once transplanted.
Preparing Your Indoor Seed Starting Setup
Choosing Containers and Soil for Seed Starting
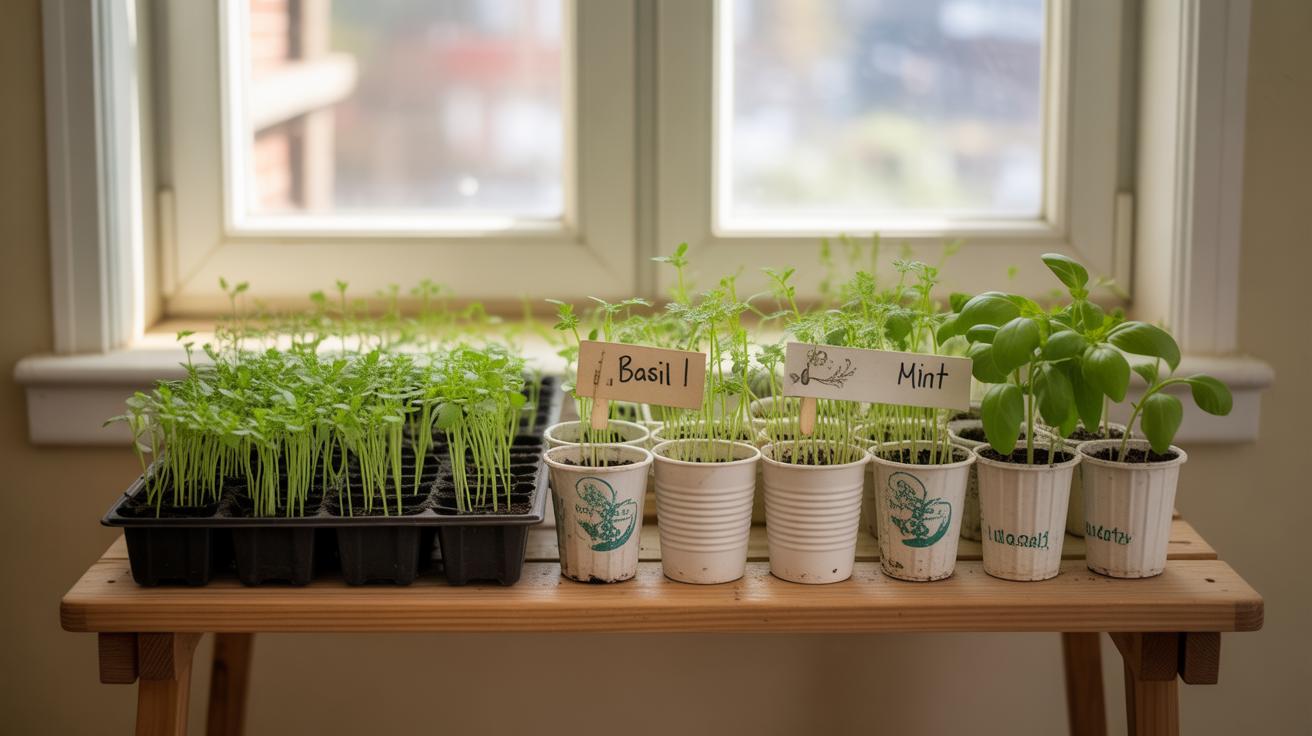
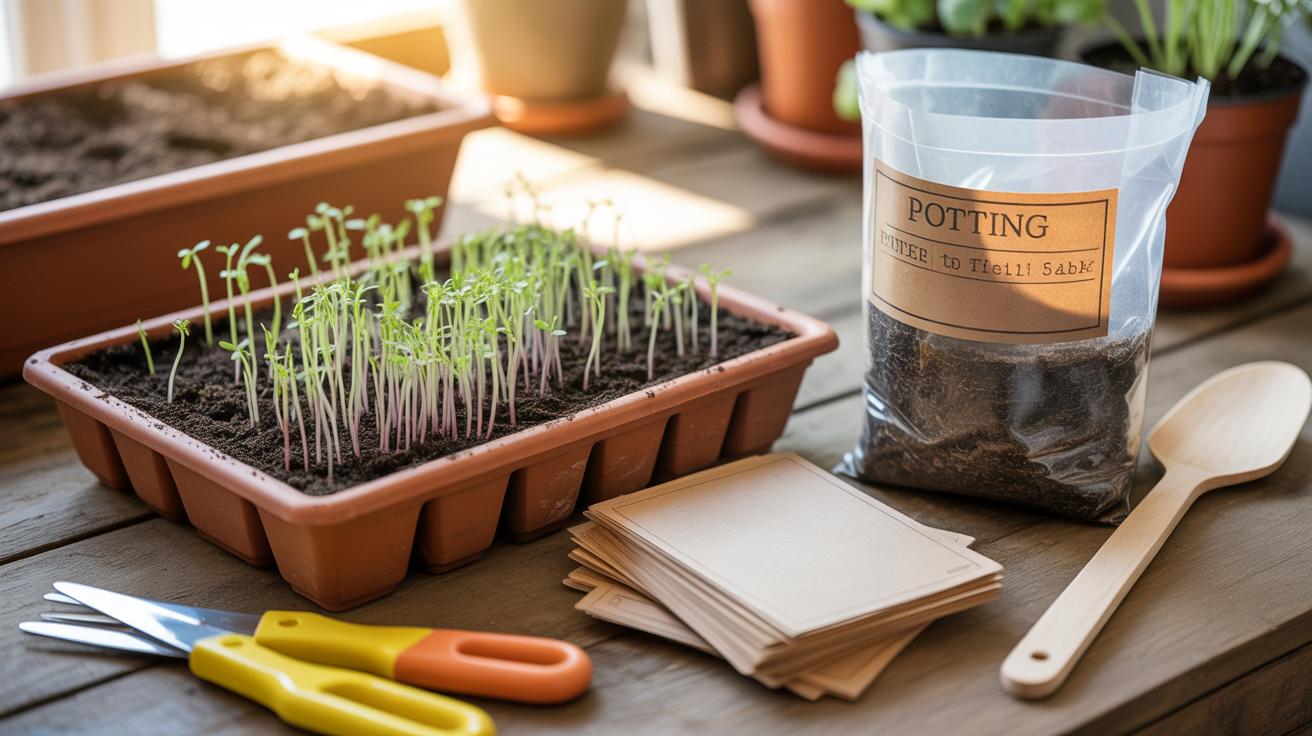
When it comes to containers for heirloom tomato seeds, size and drainage really matter. Small seed trays with individual cells are a popular choice because they keep seedlings organized and reduce root disturbance later. I’ve also found that biodegradable pots made from peat or coir work well—they make transplanting less stressful, although they can dry out faster, so watch for that. Anything with good drainage holes is preferable; soggy soil will kill those delicate roots fast.
For soil, avoid garden dirt or regular potting mix. You want a light, finely textured seed starting mix that retains moisture but doesn’t stay wet. Look for mixes with peat moss or coconut coir and some perlite or vermiculite. This kind of soil promotes airflow and helps prevent damping off, which seedlings are prone to. I usually buy a pre-made seed starting mix to make things easier, but you could experiment with your own blend if you’re feeling adventurous.
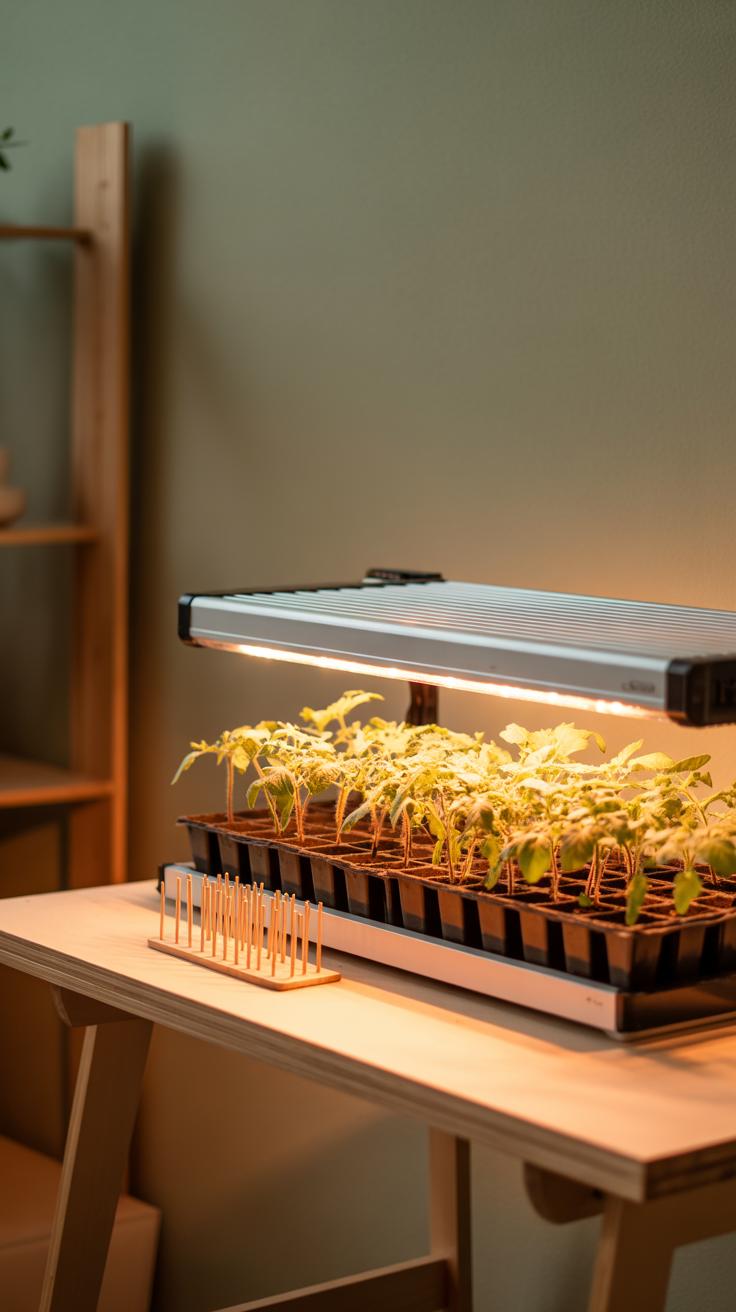
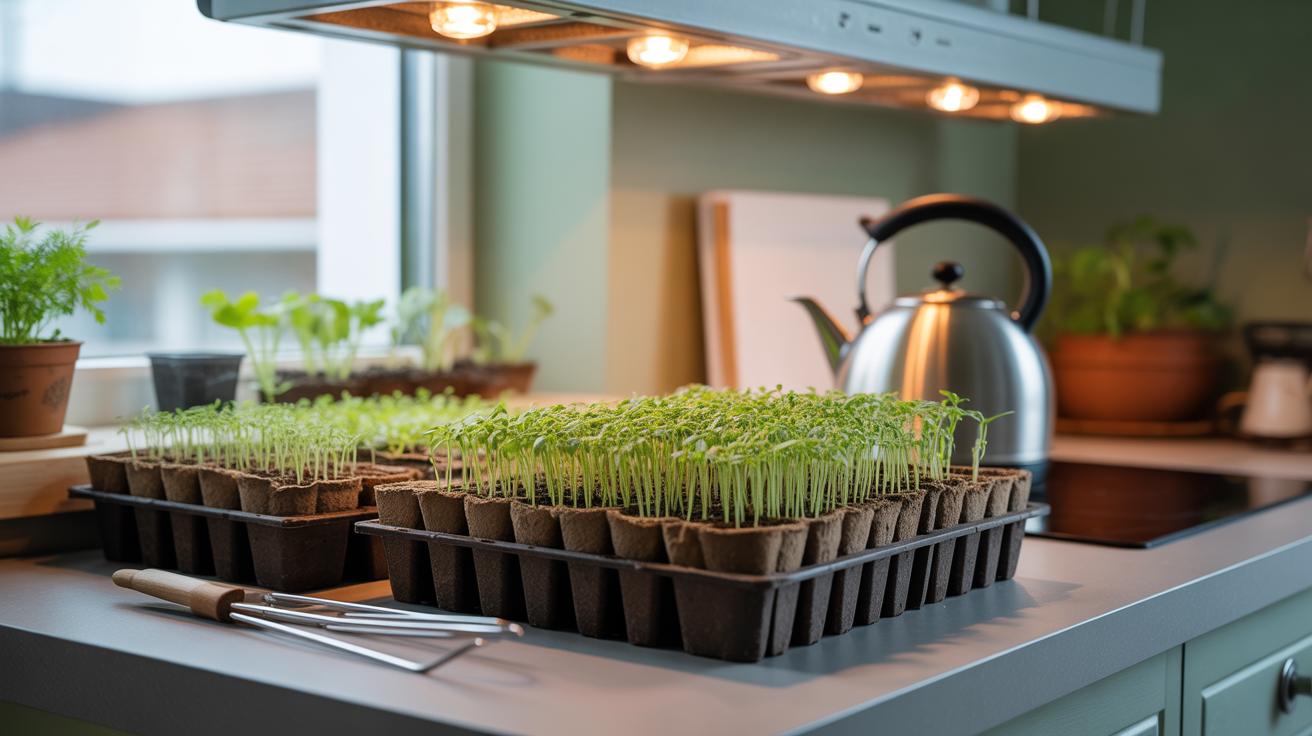
Setting Up Light and Temperature Conditions
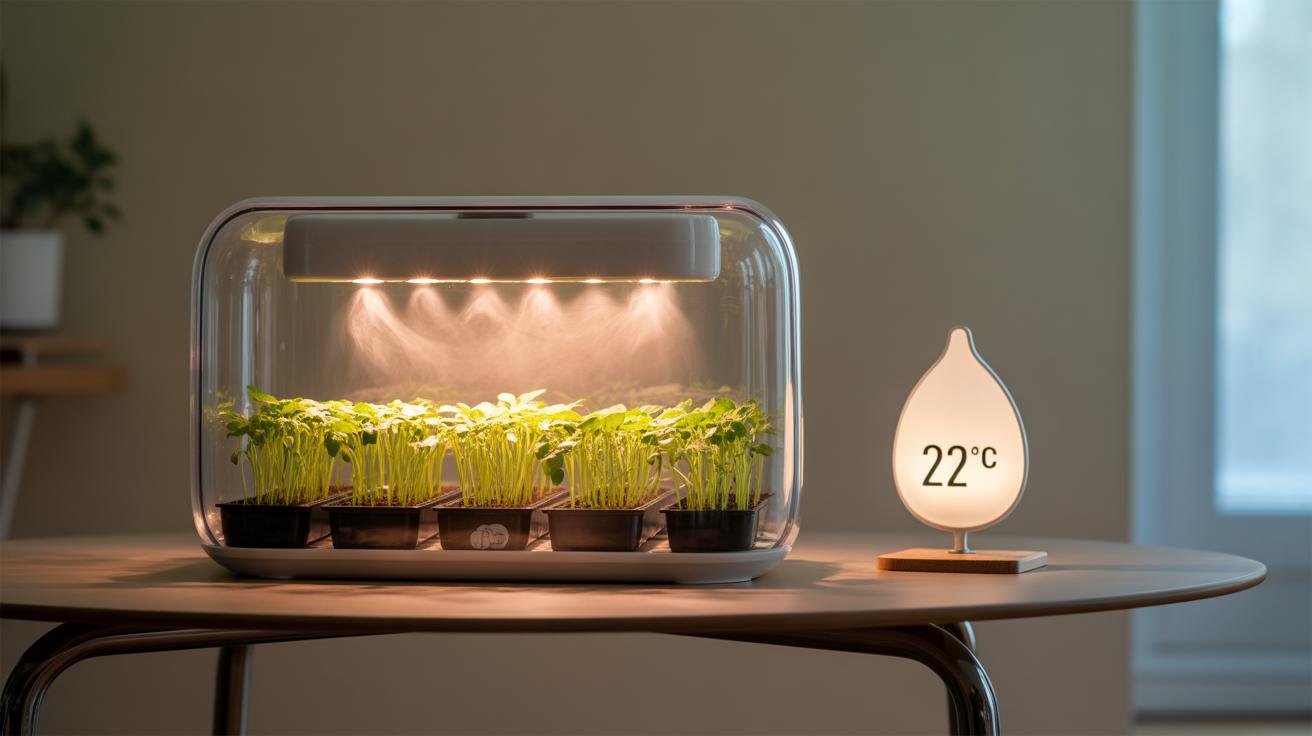
Heirloom tomato seeds need warmth and light to germinate well indoors. The temperature should ideally stay between 70 and 75 degrees Fahrenheit. Too cool, and germination slows down; too warm, and you risk fungal problems. I use heat mats under trays to keep the soil cozy. If you don’t have one, placing the tray on top of a fridge or near a radiator might help, but watch for drying out.
Lighting is trickier than you might expect because natural light sometimes isn’t enough. Fluorescent or LED grow lights work best, especially those designed for plants—they provide the right kind of light spectrum. Position the lights about 2 to 4 inches above seedlings once they sprout and keep them on for around 14 to 16 hours daily. If the light is too far, seedlings will stretch and weaken—something I learned the hard way. You want firm, stocky growth right from the start.
It might seem like a lot of gear just for a few seeds, but setting this up early gives you a better chance of a flavorful and timely harvest. The little extra effort indoors helps you avoid the unpredictability of early spring outside.
StepbyStep Guide to Sowing Heirloom Tomato Seeds Indoors
Preparing Seeds for Planting
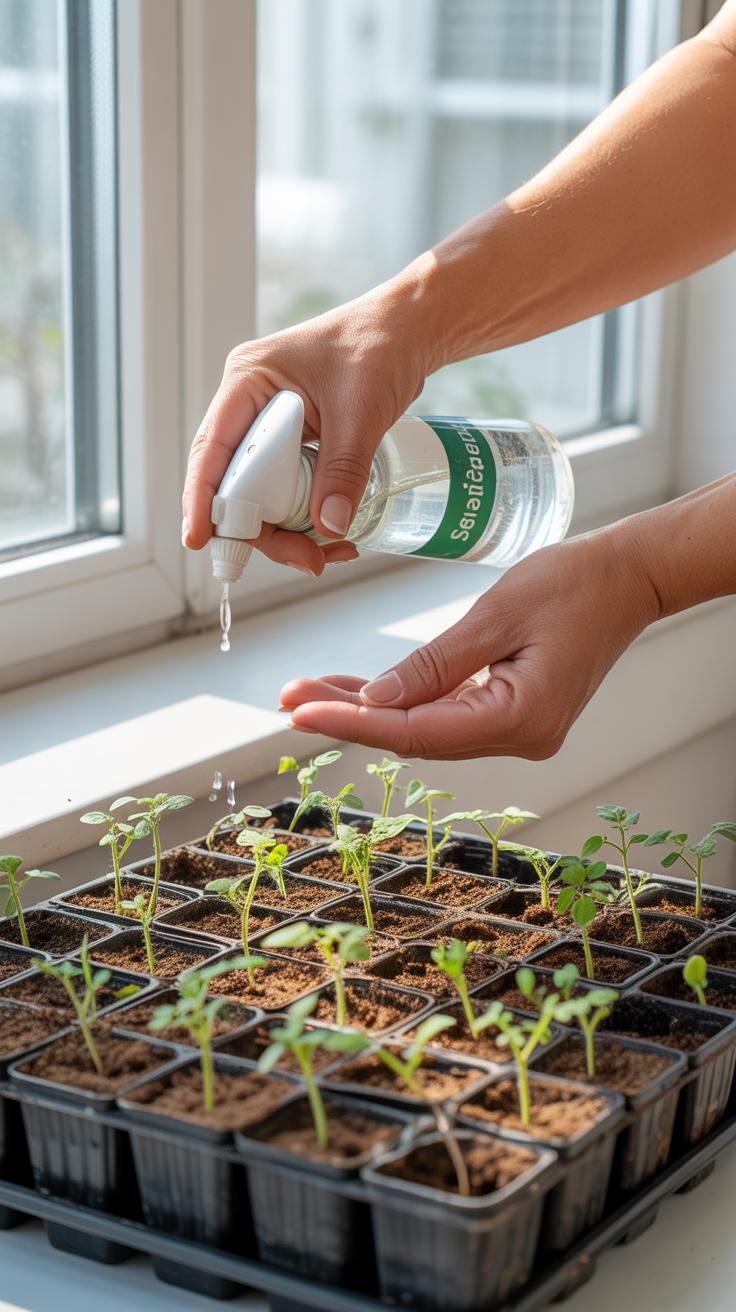
Before you plant your heirloom tomato seeds, a little prep goes a long way. Some gardeners swear by soaking seeds in warm water for a few hours—sometimes overnight—to soften the seed coat and nudge germination along. It doesn’t always make a huge difference, but it can’t hurt, especially if your seeds have been sitting a while. If you want to try it, just place the seeds in a small bowl of lukewarm water and leave them there. I’ve noticed seeds tend to swell slightly, ready to sprout once planted. You don’t need any special treatments beyond that—no need for complicated chemicals or sprays—just clean seeds and gentle soaking can often do the trick.
Planting Depth and Watering Tips
Plant your heirloom seeds roughly 1/4 inch deep. Think of it as barely covering them with soil—just enough to shield but not smother. Too deep, and they might struggle to break through; too shallow, and they dry out quickly. Lightly firm the soil over the seeds but don’t compress it hard. For watering, use a fine mist or gently pour to keep the soil evenly moist but never soggy. Standing water can drown the seeds or lead to mold, which is frustrating to deal with. If you’re unsure, touching the surface daily helps—if it feels dry, add a little water. But if it’s wet or muddy, hold off. This balance can be a bit tricky and feels like second-guessing sometimes, but after some practice, you’ll get a feel for your setup.
One tip I learned: watering from the bottom—placing trays on a shallow water dish and letting soil draw moisture up—works well once the seeds are planted. It keeps moisture consistent without washing seeds away. You might want to experiment a little to find what suits your indoor conditions best.
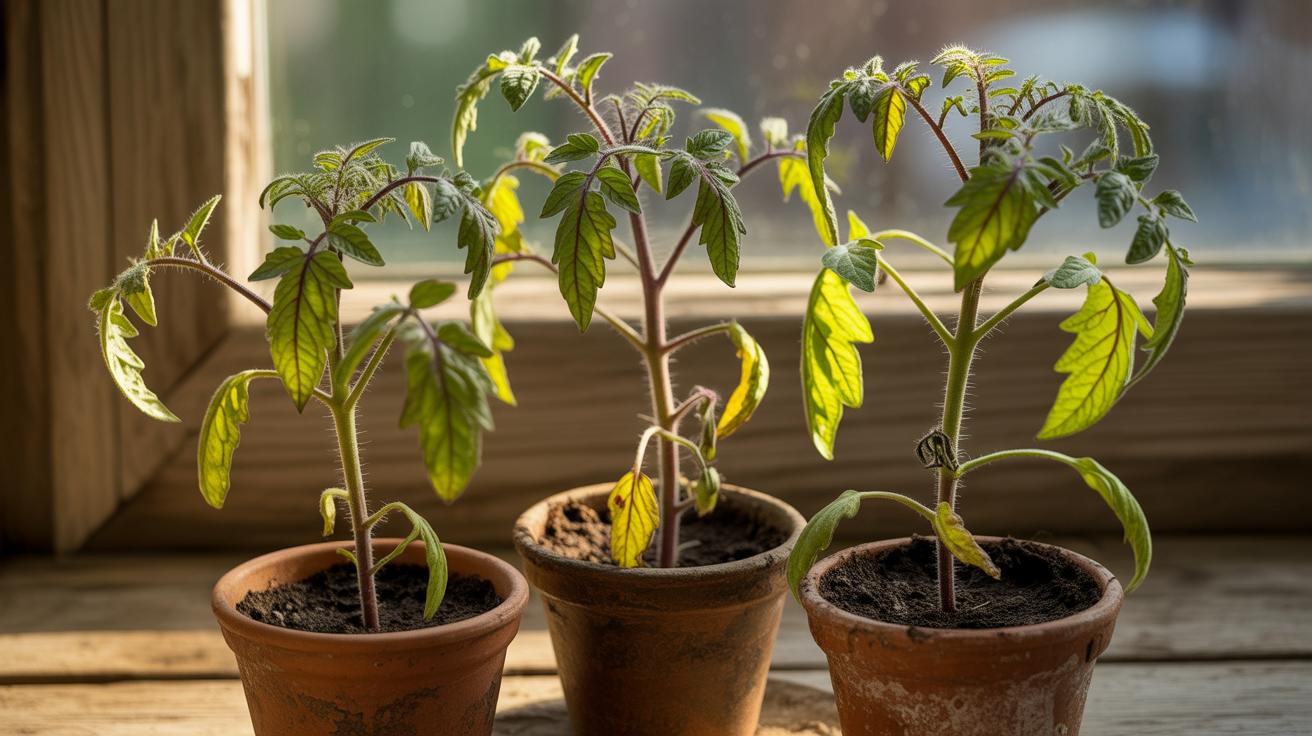
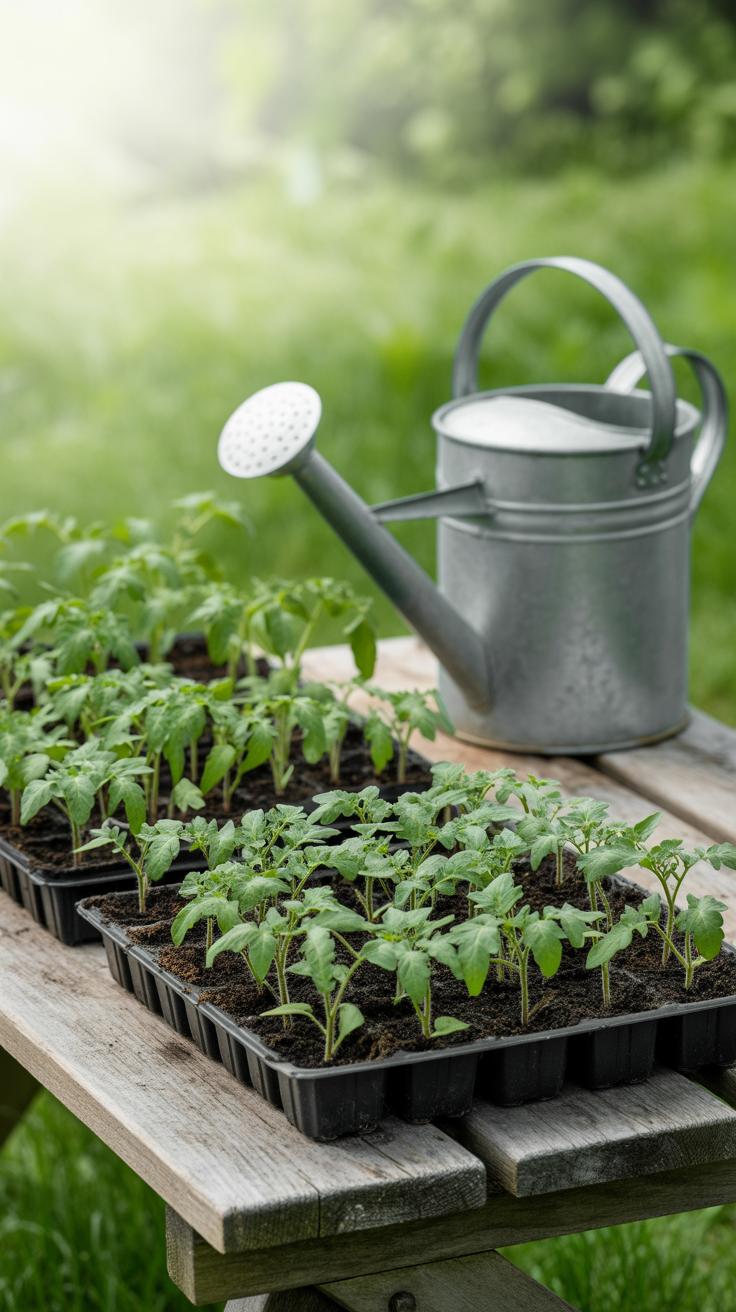
Caring for Heirloom Tomato Seedlings
Once your heirloom tomato seeds sprout, each day counts toward growing healthy seedlings. You’ll want to keep a close eye on them daily—not just to check if they look okay, but to catch subtle changes that might signal trouble. For instance, if the leaves start curling or yellowing, it could mean they’re stressed or thirsty. But don’t overthink it too much; sometimes seedlings seem a bit sensitive but recover fine.
Watering needs are modest but regular. The soil should stay moist, not soggy or bone dry. Overwatering can be as harmful as underwatering—leading to root rot or fungal issues. A good rule? Water when the top layer feels dry to your touch. Usually, every couple of days works, but this really depends on your home’s humidity and temperature. You’ll notice seedlings perk up right after watering.
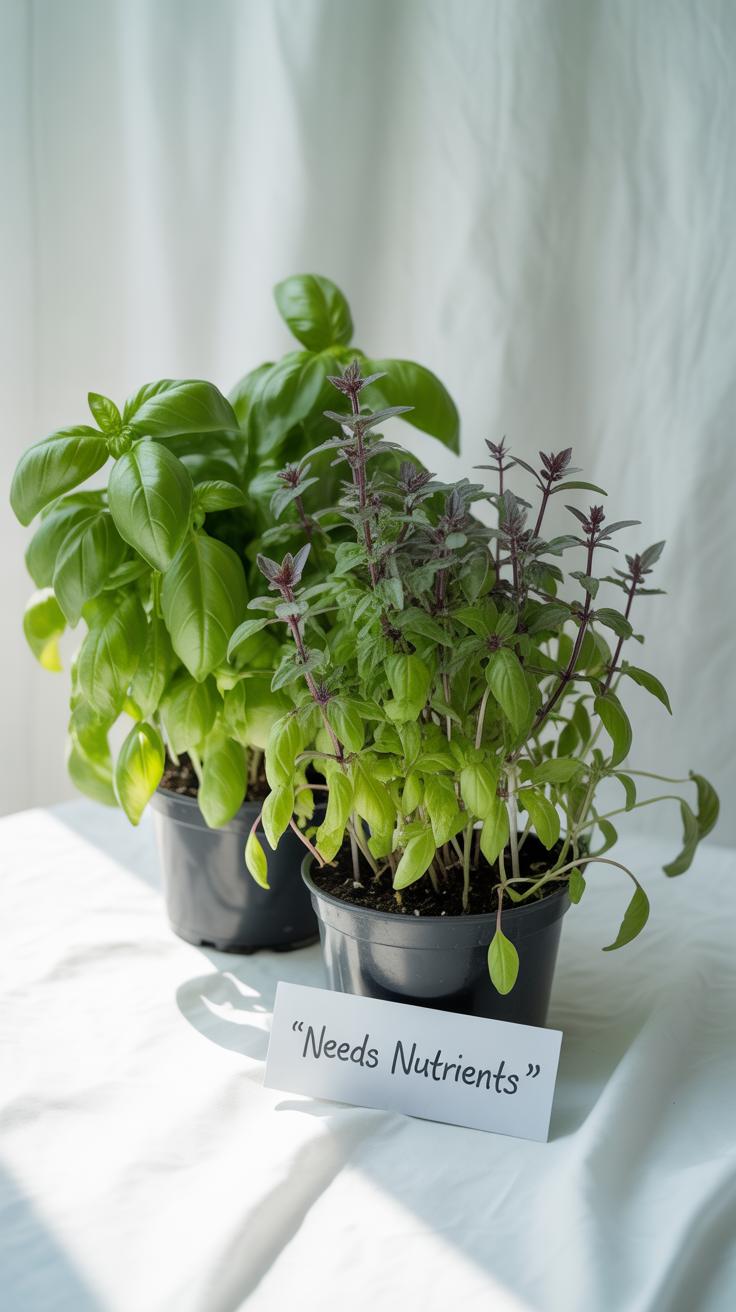
Feeding comes next, but hold off on fertilizers right away. Wait until your seedlings develop their first true leaves—that’s a sign their roots can handle nutrients. Use a diluted, balanced fertilizer, maybe quarter- or half-strength. Give them food once a week. Too much fertilizer might push weak, spindly growth, something you definitely want to avoid.
Light and air circulation shape how sturdy seedlings become. Place your seedlings where they get plenty of bright light, like a sunny window or under grow lights. Without enough light, they’ll stretch out, thin and leggy, reaching desperately for the sun. Even then, sometimes you’ll wonder if your lights are strong enough. A small rotating fan gently blowing air helps too. It can help strengthen stems and prevent damp mold or fungal growth. Yet, keep it gentle; strong drafts might stress those delicate seedlings.
So, your care routine might look like:
- Check soil moisture daily and water when dry to the touch.
- Start feeding with weak fertilizer after true leaves appear.
- Ensure 12-16 hours of light; rotate seedlings for even growth.
- Use a gentle fan daily for better airflow and stronger stems.
This daily attention—subtle but steady—really pays off when you see those seedlings turn into vigorous plants, ready to face the outdoors.
When and How to Transplant Seedlings Outdoors
Timing the Transplant for Best Results
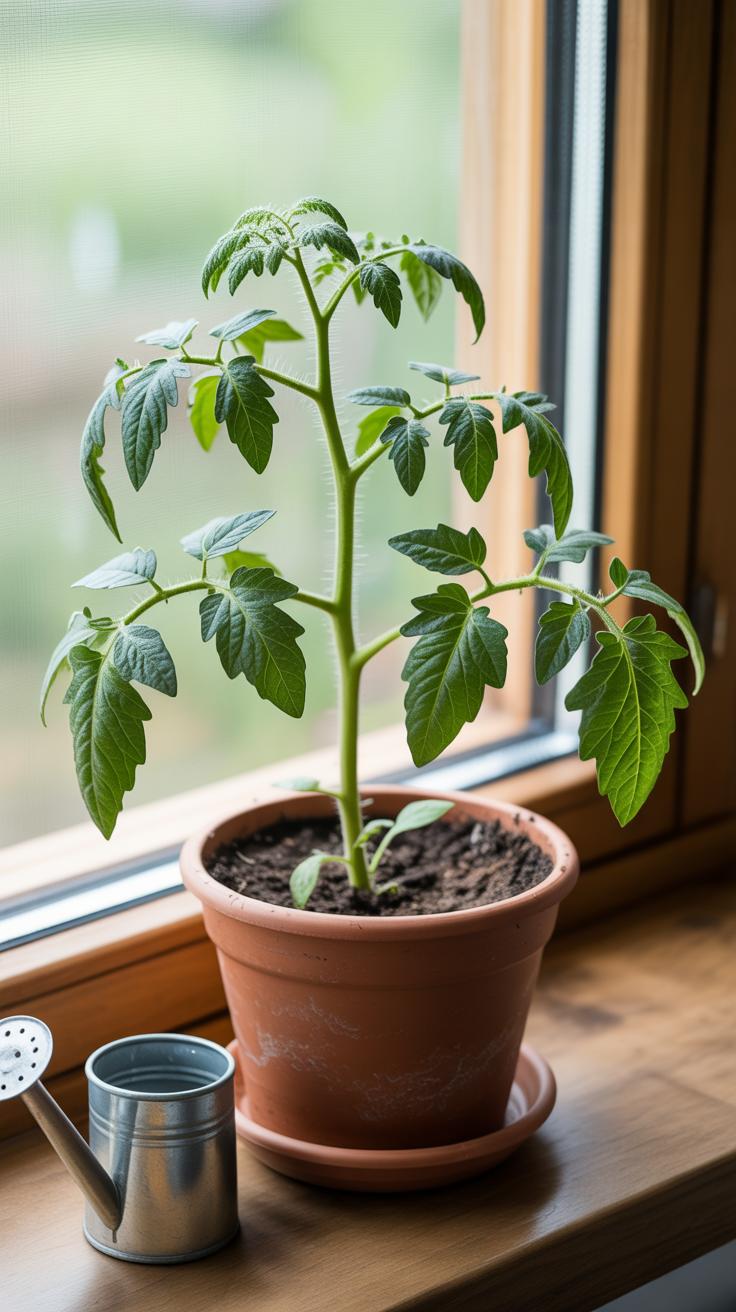
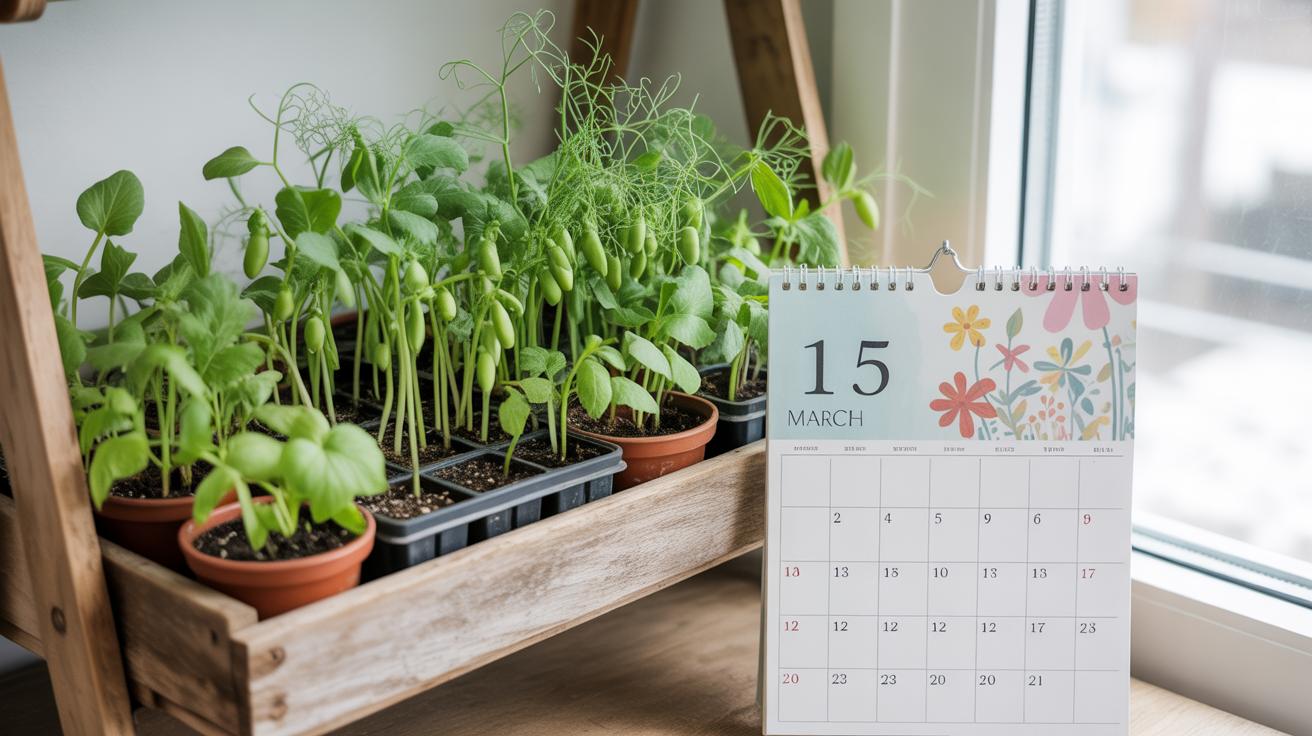
You’ll know your heirloom tomato seedlings are ready to move outside when they have at least two or three sets of true leaves and stand about 6 to 10 inches tall. The stems should feel sturdy, not spindly or weak. If your seedlings still look stretched or pale, they likely need more time indoors.
Check the outdoor temperatures carefully. Tomatoes don’t tolerate frost, and even a mild chill can stunt their growth. Ideally, wait until nighttime temperatures consistently stay above 50°F (10°C). Daytime temps in the 65-75°F range give seedlings the best jump start. Sometimes, that timing feels tricky, especially in spring when weather swings unexpectedly.
Hardening Off and Planting Technique
Before planting, harden off your seedlings by gradually exposing them to outdoor conditions. Start by placing them in a sheltered spot with indirect light for a few hours, then increase time outside over 7-10 days. Wind, sun, and temperature fluctuations can be a shock otherwise.
When it’s time to plant, choose a calm day, preferably overcast to reduce stress. Dig a hole deep enough to bury most of the stem; heirloom tomatoes will form roots along buried stems, which makes the plants stronger. Be gentle with roots. Water the hole before and after planting to help settle the soil around the roots.
Using mulch around your transplanted tomatoes can keep soil moisture steady and protect roots. It helps, especially if you can’t water daily. Don’t rush planting just to beat the calendar; sometimes, waiting a few days for better conditions pays off.
Common Issues When Starting Heirloom Tomatoes Indoors
Troubleshooting Germination Failures
Starting heirloom tomato seeds indoors can be tricky. Sometimes, seeds just won’t sprout, and that’s frustrating—especially when you’ve been looking forward to an early harvest. The reasons vary, but often it boils down to a few key things:
- Seed age – Old seeds lose viability over time.
- Soil temperature – If it’s too cold, seeds stay dormant.
- Moisture – Too dry, or too wet conditions can stop germination.
- Light – While tomatoes don’t need light to germinate, inconsistent lighting afterwards can stress seedlings.
If your seeds don’t show signs of life within 10-14 days, try soaking new seeds overnight before planting next time. Also, using a heat mat to keep soil around 70-75°F helps quite a bit. I once tossed a batch thinking it was bad but realized the room was just too cool. Still, I sometimes wonder if certain heirloom varieties just take longer to wake up, maybe because they’re more particular than hybrids.
Dealing with Seedling Diseases and Pests
Seedlings are vulnerable, and it’s easy to overlook warning signs until it’s too late. Watch for wilting, yellow spots, or fuzzy growth—that’s often damping-off, a fungal issue. Seedlings may suddenly topple over, which feels like a mystery until you spot the culprit.
Pests like fungus gnats appear as tiny flies and can harm roots. Sticky traps can catch adults, while letting the soil dry between waterings may discourage larvae. For fungi, improving air circulation and using a light dusting of cinnamon—a natural antifungal—can help. I remember being careless with watering and lost a whole tray overnight. It taught me to water from the bottom and keep things ventilated, but sometimes you just can’t avoid disease no matter what.
It’s a bit of a balancing act. Should you intervene early with treatments, or let nature take its course? I think erring on the side of caution with natural remedies nearly always pays off. After all, those delicate seedlings deserve the best chance possible before facing the outdoor world.
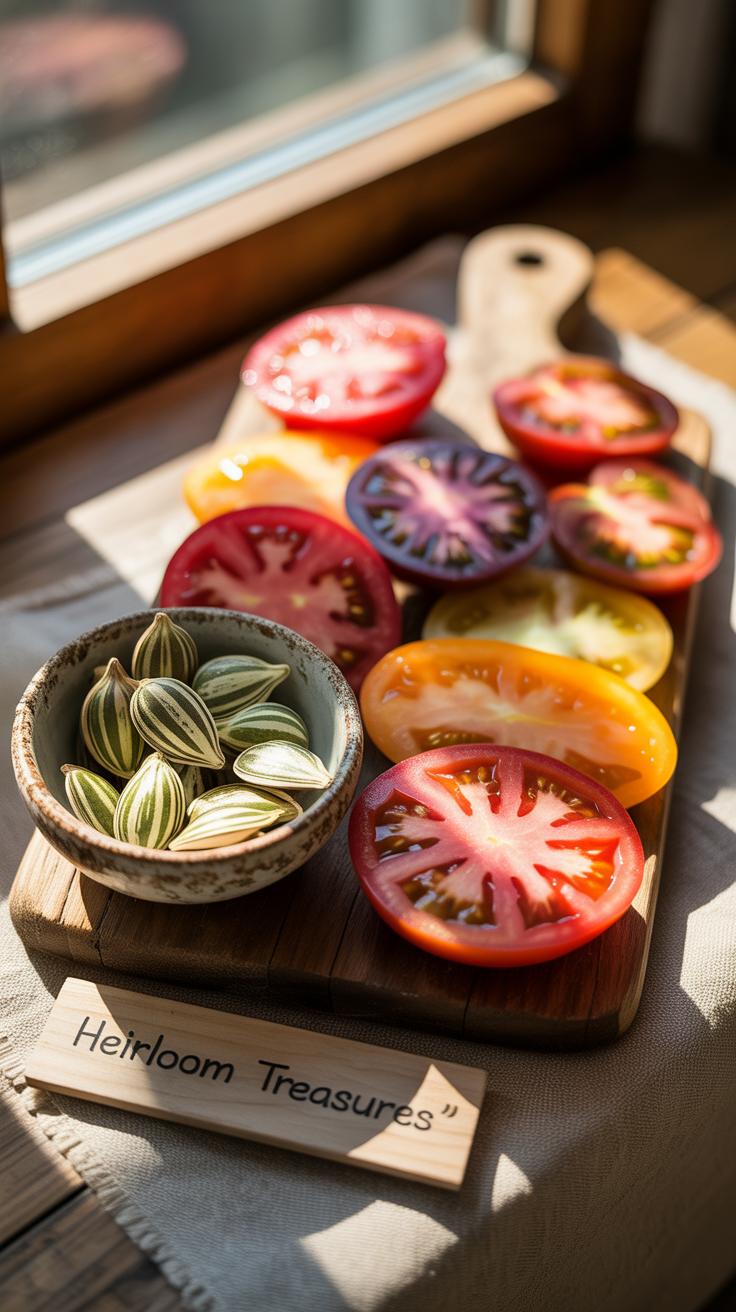
Saving Seeds from Heirloom Tomatoes

Saving seeds from your heirloom tomatoes lets you carry forward those unique flavors and traits year after year. It’s a bit of a ritual, really—almost like a quiet nod to your garden’s past while planning for its future. But keeping the variety true means choosing only the healthiest, fully ripe fruits. Immature tomatoes rarely produce good seeds, so patience pays off here.
Seed Collection and Cleaning Methods
Once you’ve picked a ripe tomato, slice it open and scoop the seeds into a container. The seeds sit in a gel-like coating that you’ll want to remove before storage. Some people just rinse the seeds, but fermenting them briefly—about two to three days in a jar with a little water—softens that coating naturally. The process can smell a bit funny, so I usually do it somewhere airy.
After fermentation, rinse the seeds well and spread them on a paper towel or screen to dry. Make sure you give them enough space to avoid clumping, or else mold can take hold. This step requires some patience. Seeds stiff and crunchy to the touch are good for storage, while any that remain sticky or soft should be discarded.
Storing Seeds for Long-Term Use
Once dried, store your seeds in a cool, dark, and dry place. I typically use small envelopes or glass jars, labeling each with the tomato variety and date. Clear labeling saves headaches later, especially if you have many types or skip a season.
Seeds stored well can stay viable for several years, though germination rates might drop gradually. To be safe, test a small batch before planting big crops. You might wonder if it’s really worth saving seeds when you can buy new ones—but for heirlooms, preserving the exact traits often matters more. This way, your garden keeps its personality alive season after season.
Maximizing Flavor and Yield of Heirloom Tomatoes
Caring for heirloom tomatoes after transplanting is where the real work begins—and where flavor and productivity really come to life. It’s tempting to just set them in the sun and water when you remember, but steady attention pays off in ways that show up in each juicy fruit.
Optimizing Sunlight and Water for Flavor Development
Tomatoes thrive on sunlight. At least six to eight hours daily feels right, but more sun often means better sugars—and sweeter fruit. Yet, too much glaring heat can stress plants, dulling flavor instead of brightening it. Finding that middle ground outside, maybe with morning sun and some afternoon shade, often helps.
Watering consistently is key, but less is more when it comes to sweetness. Overwatering dilutes sugars and can cause cracking or blight. Let the top inch of soil dry before watering again. Deep, infrequent watering encourages roots to dig deeper, creating healthier, more balanced plants. It’s a tricky balance; thirsty plants do better, but too much water risks bland tomatoes.
Using Fertilizers and Pruning to Boost Growth
Feeding your heirlooms is about timing and type. Early on, a balanced fertilizer supports steady growth. Once flowers appear, shifting to a phosphorus-rich feed nudges fruit set and development. Overdoing nitrogen often means more leaves and fewer tomatoes—something I’ve learned the hard way.
Pruning also plays a role. Pinching off suckers—those shoots growing between main stems and branches—helps redirect energy to fruit production. It might feel like you’re cutting away potential growth, but it often increases both size and flavor of the harvest. Still, too much pruning can reduce overall yield; sometimes, letting plants run a bit wild works better depending on the variety and growing conditions.
All these care steps add up. They may feel a little like guesswork at first, but watching your heirlooms respond to light, water, feeding, and careful pruning is rewarding—and tasty.
Benefits of Growing Heirloom Tomatoes from Seeds Indoors

Starting heirloom tomato seeds indoors isn’t just about convenience; it really changes what you can expect from your garden. For one, you get to bypass the limited selection at garden centers. There’s a whole world of heirloom varieties that rarely make it to nurseries—those unique flavors and colors you wouldn’t find otherwise. When you start indoors, you pick exactly what you want, whether it’s a rare green zebra or a classic Brandywine, and you get a head start on the growing season.
Plus, getting your seedlings going inside means your tomatoes can begin growing before the soil outside warms up enough. That early head start often translates into earlier harvests—so you’re enjoying fresh tomatoes weeks before neighbors even pot up their trays. It’s like having a secret stash of summer’s best right when you want it.
But there’s more to it than timing and variety. When you grow from seed yourself, you have better control over plant health. You choose the seeds, ensuring they come from reputable sources or previous harvests you trust. Watching seedlings develop indoors means you catch problems before they even get outdoors—no nasty surprises from pests or disease. Your plants get a stronger start, and that often leads to healthier, more productive tomatoes once they’re outside.
Do you ever wonder if buying seedlings is really saving time or just limiting your options? I’ve found that growing my own seeds indoors, despite the effort, gives a satisfying sense of control and connection to the plants—like you’re involved in every step of their journey from a tiny seed to a ripe fruit.
Conclusions
Starting heirloom tomato seeds indoors is a great way to enjoy fresh tomatoes earlier in the season. By planting seeds inside, you control the environment and help young plants get a strong start. This method also allows you to choose from many different heirloom tomato varieties for unique flavors and colors.
Remember that caring for seedlings with proper lighting, watering, and temperature is key. When it is time to move them outside, do it carefully to encourage healthy growth. With these steps, you can look forward to a season full of delicious and vibrant heirloom tomatoes grown right from your own seeds.


