Introduction
You can create a relaxing green space even in small areas. Transforming limited spaces into green retreats brings nature closer to you. This article shows ways to plan, design, and maintain your own green area, whether it’s a balcony, small yard, or corner garden.
Green spaces improve health and lift your mood. They offer places to relax and enjoy fresh air. Follow the steps in this guide to turn your small space into a refreshing green spot. You will learn practical ideas and smart tips for your green space journey.
Planning Your Small Green Space
Assessing Your Space and Light
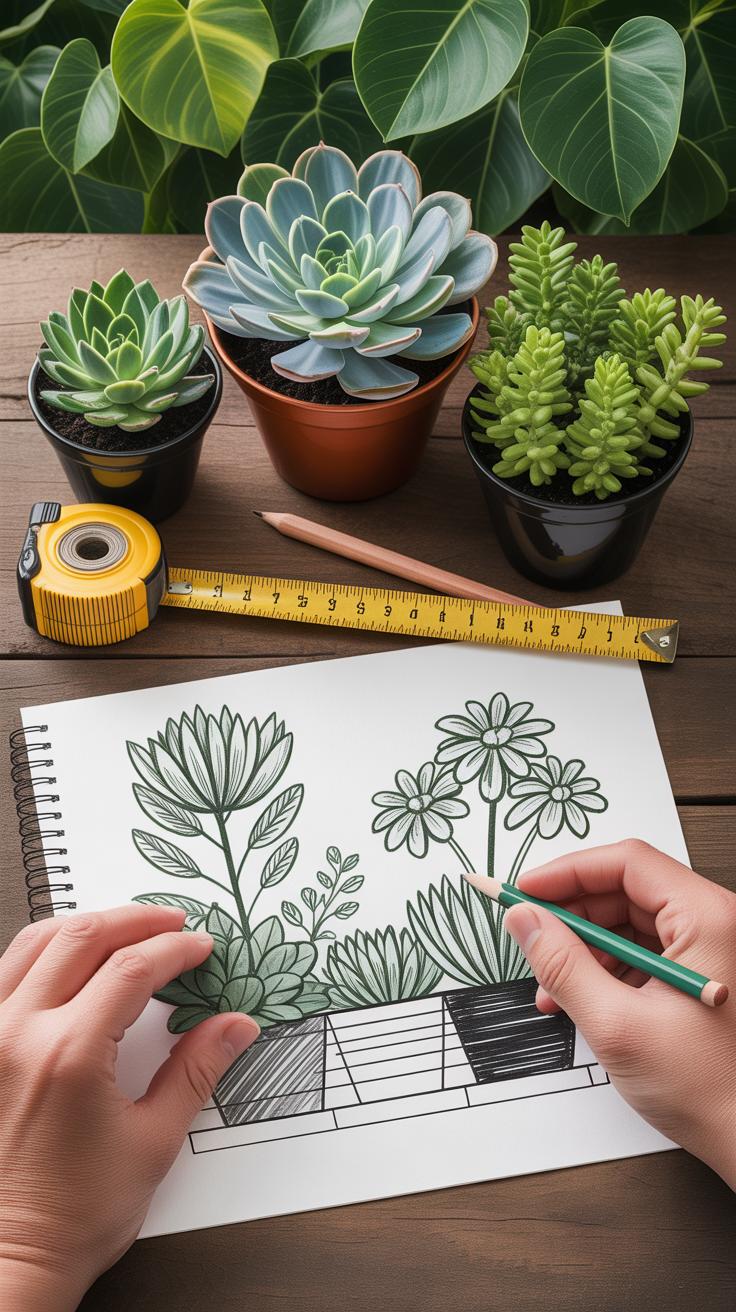
Begin by measuring the available area carefully. Take a tape measure or simply pace it out, jotting down rough dimensions—length, width, and height if relevant. Don’t forget to consider any unusual shapes or obstacles like walls, fences, or overhangs that could affect space use.
Sunlight matters a lot. Spend a day observing how the sun moves across your space. Does it get direct sun in the morning or afternoon? Or is it mostly shaded? Mark these patterns on paper or your phone. This helps because most plants need a certain amount of sunlight to thrive. If you’re unsure, watch for a few days. Some spots may surprise you with pockets of sun you hadn’t noticed before.
Determining Your Green Space Goals
Ask yourself: what do you want from this space? A quiet corner to unwind? A spot to grow fresh herbs or vegetables? Or maybe a visually pleasing area that adds charm to your home? Your purpose will shape every choice you make—from the plants you pick to the furniture or containers you bring in.
Try to be clear but open-minded. It’s easy to start with one idea and realize later you want something else. For example, a small patio might begin as a veggie patch but could evolve into a cozy reading nook. Think about how often you’ll use the space and who else might share it. These questions guide practical decisions so the green space feels right for you.
Choosing the Right Plants for Small Spaces
Selecting plants for a small green space isn’t always straightforward. You need to think about climate, sunlight, and how much room you actually have. For example, if your area gets a lot of hot sun, succulents like echeveria or sedum can handle the heat and won’t take up much space. On the other hand, if you’re in a cooler, shadier spot, ferns or hostas might suit better—they tend to stay compact and thrive without intense light. It’s a bit like matchmaking, really. You want plants that won’t just survive but feel like they belong.
Sunlight can be a deal-breaker. Some plants demand direct sun for six hours or more—think lavender or tomatoes. Others prefer shady corners, like begonias or ivy, which can add greenery where the sun rarely reaches. Placing these correctly matters because even a hardy plant can struggle if you ignore its light needs.
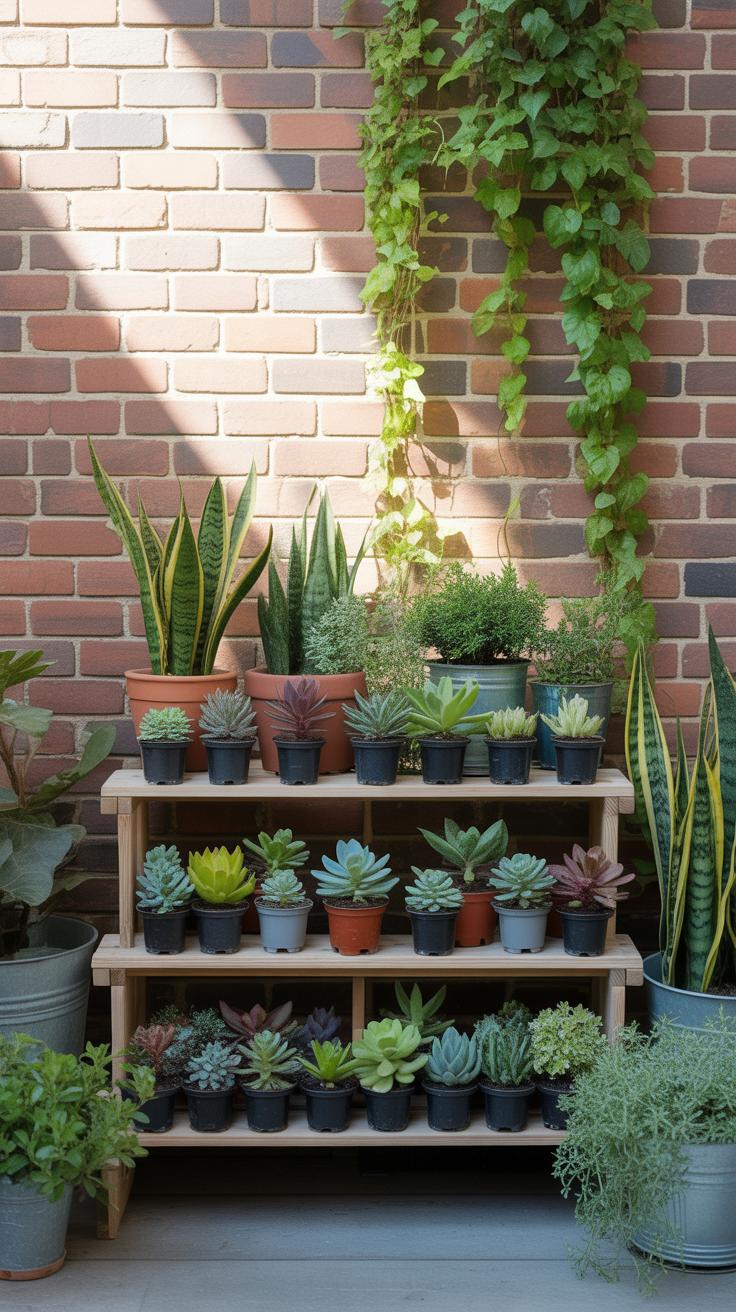
For small spaces, go for plants that stay manageable. Dwarf varieties of shrubs, creeping thyme, or even herbs like chives work well and won’t overwhelm you. If the ground space is tight, vertical options like climbing jasmine or a wall-mounted planter with strawberries save room and add interest. Honestly, container gardens are lifesavers for small areas—pots let you experiment without commitment.
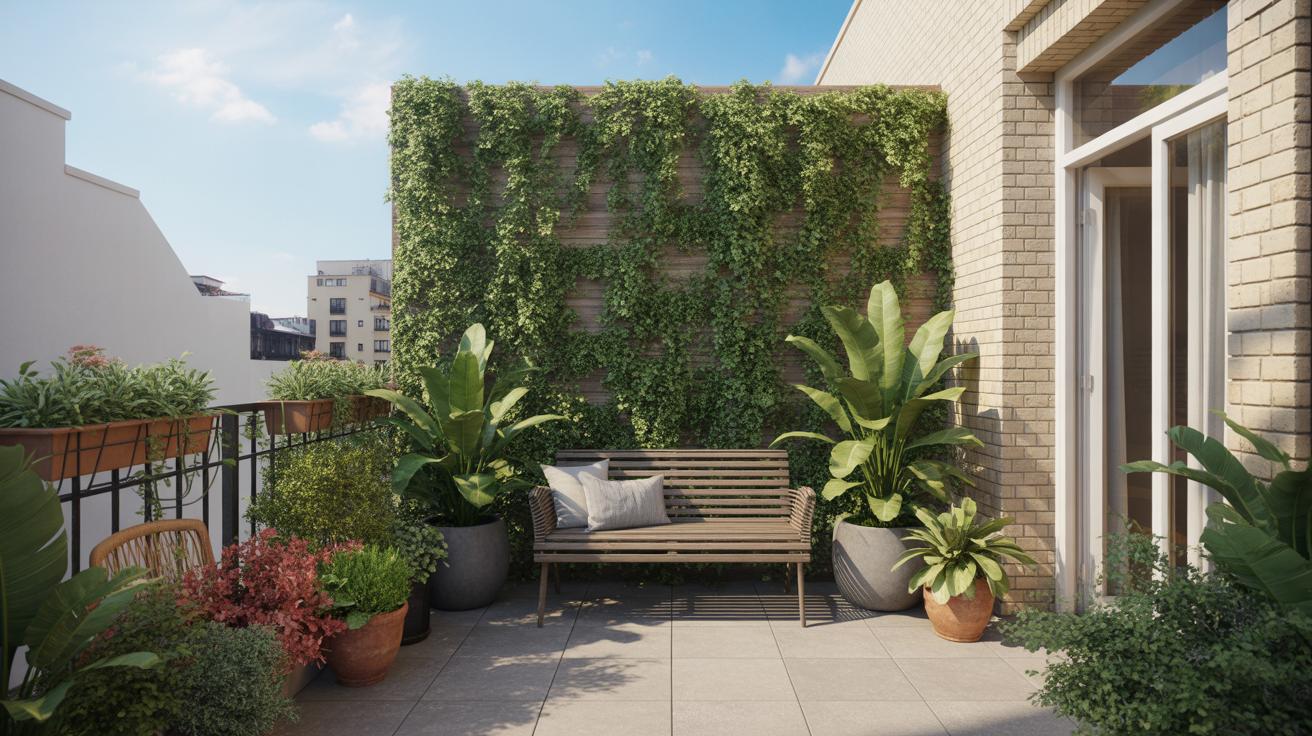
Designing Your Green Space Layout
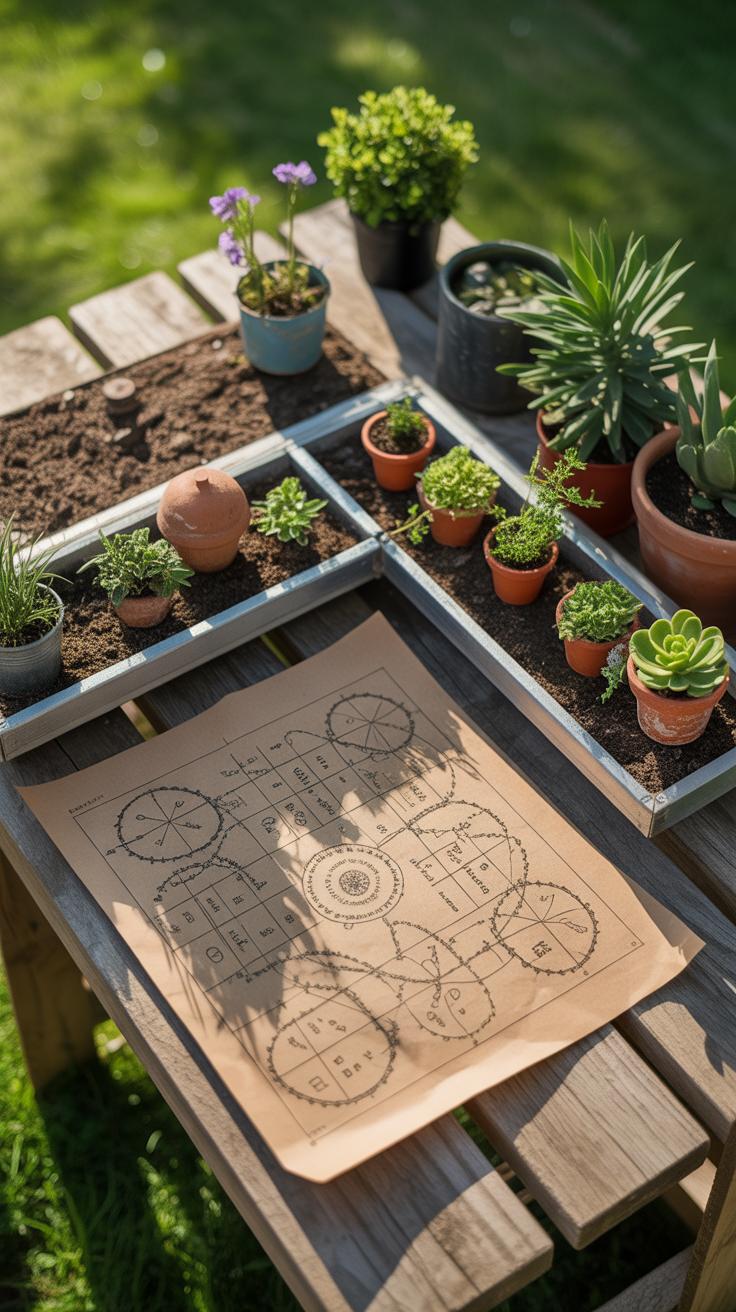
Arranging plants and features in a small green space can feel tricky—finding balance without overcrowding is key. You might start by placing taller plants towards the back or corners, allowing medium and low-growing plants to fill in front. This simple layering offers a sense of structure without feeling too rigid.
Containers and shelves come in handy, especially if floor space is limited. Think vertical: stacked pots on a sturdy shelf or hanging planters can add greenery without taking up much room. They also let you play with different textures and colors up high, which draws your eye upward.
Don’t overlook garden furniture. A small bench or a couple of chairs can act as both a practical spot to pause and an aesthetic anchor in your design. Sometimes, I find that even a single chair tucked beside a large pot makes the space feel more inviting, something I didn’t expect at first.
What’s your balance between open space and planted areas? It’s okay if it doesn’t feel perfect right away—layouts often benefit from a bit of trial and error.
Creating Layers and Depth
Layers do more than look nice; they create a sense of depth that can make a small area feel less cramped. Start with tall plants—like small shrubs or bamboo sticks—to make a backdrop. Then add medium-height plants such as ferns or flowering bushes in the middle. Finally, place low-growing plants, maybe some groundcovers or succulents, near the front or edges.
This arrangement isn’t just about height. Mixing leaf shapes and colors also adds interest. For example, pairing spiky plants with soft, round leaves often works well, though it depends on what you like. I sometimes find myself shifting plants around quite a bit before finding the right combination.
Consider planting in clusters rather than lines, which can feel too formal and flat. Even a few well-placed groupings can guide the eye more naturally through your space.
Incorporating Functional Elements
Functional pieces can enhance both your enjoyment and the look of your green space. Benches aren’t just for sitting—they can also serve as low tables or supports for pots. I’ve noticed that placing a bench near a flowering corner makes the area feel more intentional, inviting you to linger.
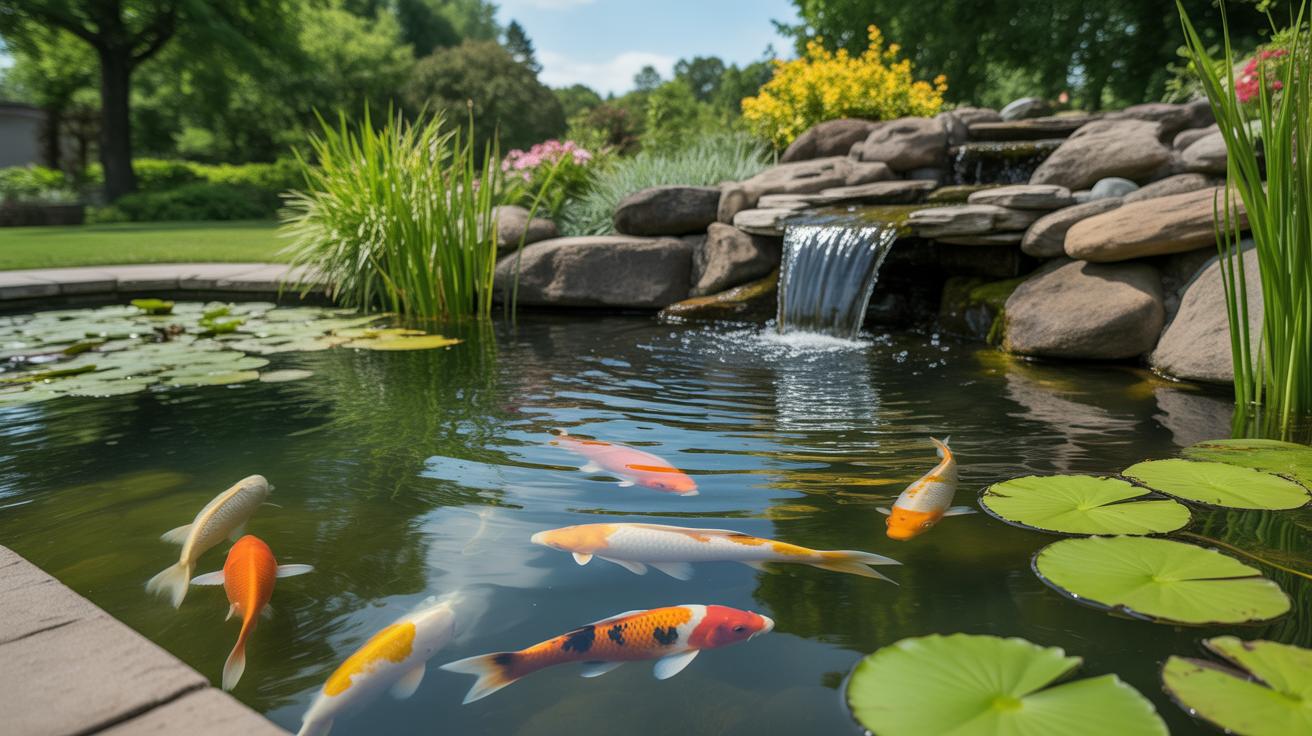
Water features, even small ones like a tabletop fountain or a tiny pond, add sound and movement that breaks the stillness. It’s subtle, but it changes the atmosphere quite a bit.
Decorative pots offer an easy way to introduce personality. Choosing different sizes, shapes, or colors can break monotony and tie your design together. Sometimes, a unique pot can become a focal point in a corner that otherwise feels dull.
Have you thought about which elements would make your space feel not just prettier, but more useful? It’s a balance that looks different for everyone.
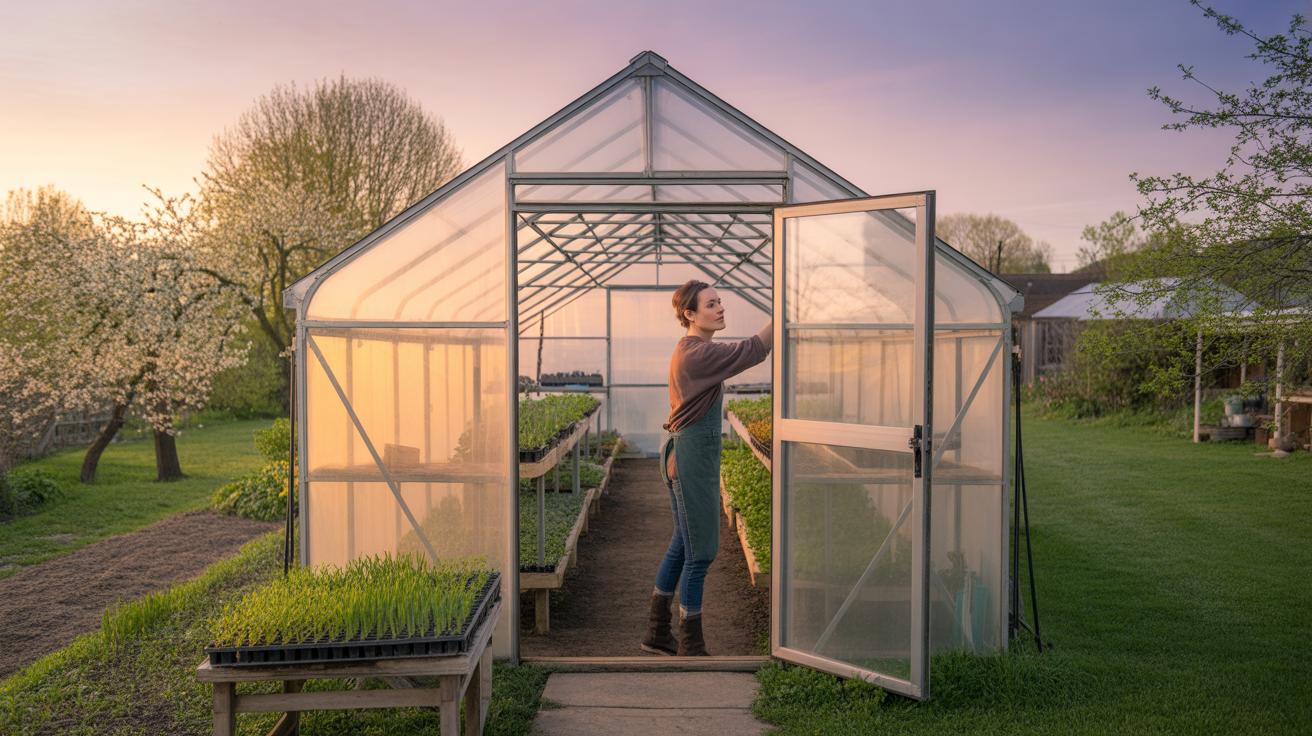
Building Your Green Space Step by Step

Preparing Soil and Containers
Start with the soil—it’s the foundation of your green space, after all. If you’re working with garden beds, loosen the soil thoroughly to improve aeration. Mixing in organic matter like compost or well-rotted manure helps retain moisture and feeds plants gradually. You might think regular potting soil works for everything, but I’ve found that customizing soil for each plant type makes a real difference.
When it comes to containers, size matters more than you might expect. Small pots dry out too fast, but huge ones can hold excessive moisture. Choose containers with drainage holes to avoid waterlogged roots. Before planting, rinse new pots to remove any dust or residues that might harm seedlings. Sometimes I skip this step, but then I spot mold and regret it later. So, better safe than sorry.
Planting Tips and Tricks
Whether you start with seeds or seedlings, don’t crowd your plants. Space them based on the instructions or a bit more if you’re unsure—overcrowding can stunt growth and invite pests. Place seeds at the right depth; too shallow, and they dry out, too deep, and they might never sprout. I learned this after several failed attempts with herbs.
Handle seedlings gently—avoid disturbing roots. If planting in containers, tap the soil lightly around them rather than packing too firmly. Some people swear by watering immediately after planting, but I sometimes wait if soil’s still moist to prevent rot. You might want to experiment and see what works best for your setup.
Consider grouping plants with similar light and water needs together. It makes caring for them easier later on. Lastly, don’t forget to label what you’ve planted. I often wish I had when those mystery sprouts popped up, leaving me guessing what to expect.
Watering and Feeding Your Plants
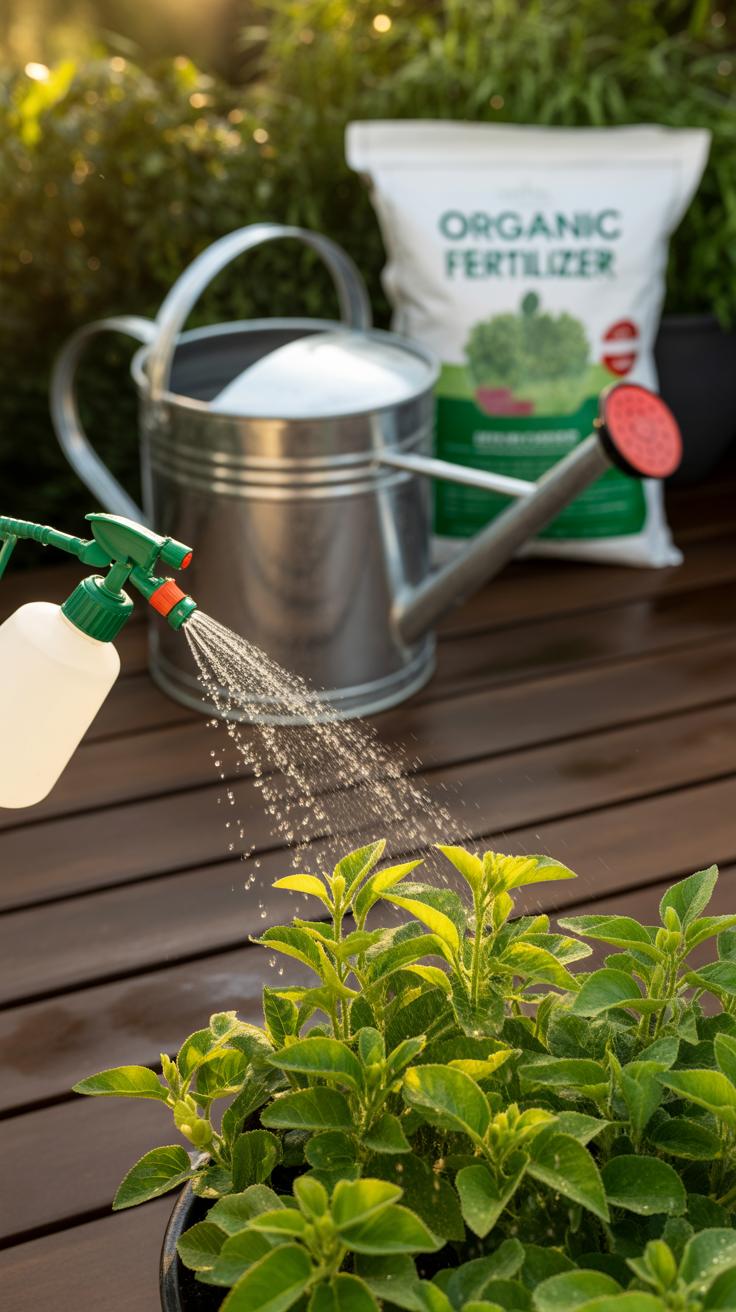
Knowing when and how much to water your plants isn’t always straightforward. A common mistake is watering on a fixed schedule without checking the soil first. Instead, try to feel the soil—if it’s dry an inch or two below the surface, it’s time to water. It’s better to water deeply and less often than to give small amounts frequently. Overwatering can drown roots and cause problems like mold or root rot, which can be hard to spot until it’s too late.
Early mornings or late afternoons usually work best for watering, since the sun isn’t at its peak and water won’t evaporate as quickly. You might be tempted to water in the heat, but this can stress plants or leave water sitting on leaves, leading to disease.
When it comes to fertilizers, there are plenty of options—organic ones, like compost or fish emulsion, and synthetic formulas, such as granular or liquid fertilizers. Both have their place, but be cautious with synthetic fertilizers: they feed plants quickly but can build up salts in the soil if overused. Natural fertilizers improve soil health over time but act slower.
Feed your plants every 4-6 weeks during growing seasons, though some heavy feeders like tomatoes need more frequent feeding. Apply fertilizer carefully, following package directions, and avoid getting it on leaves to prevent burns. It might take a bit of trial and error to find what works best for your specific plants, but watching their response will guide you.
Maintaining Your Green Space
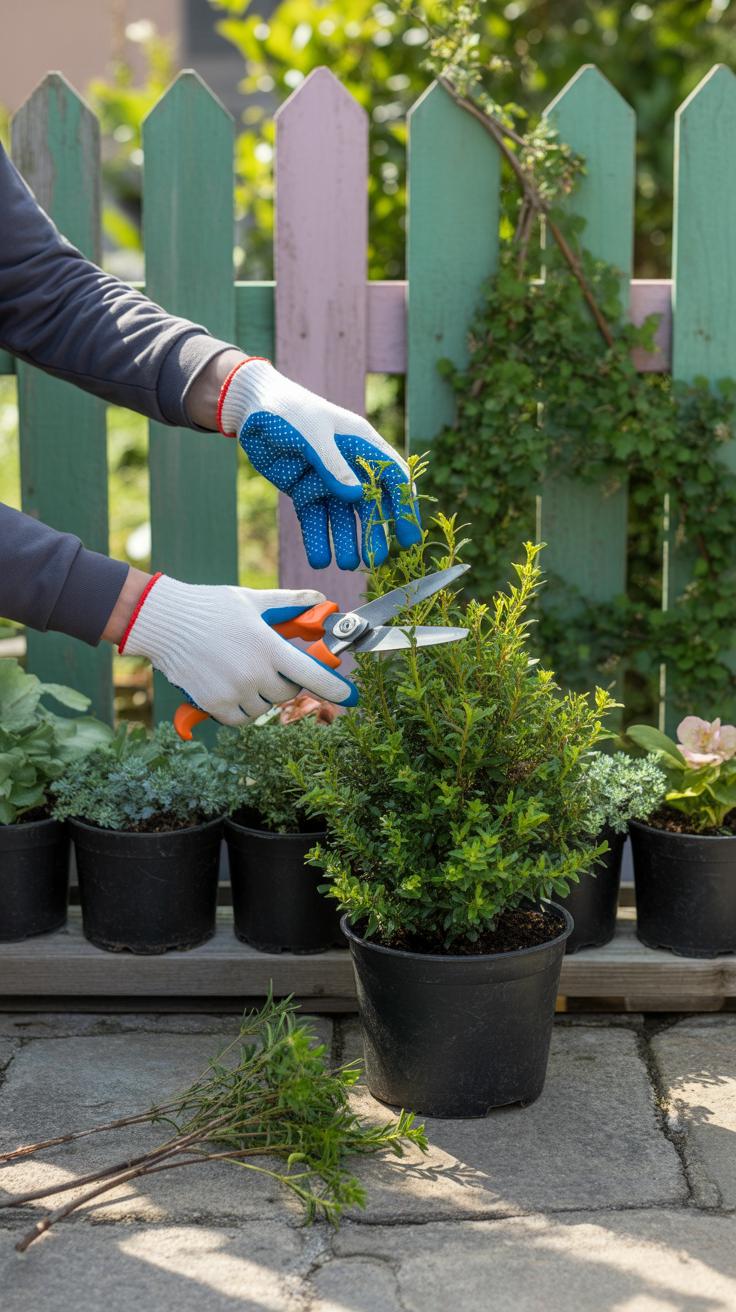
Keeping your small green area looking its best means doing a bit of regular care—though it doesn’t have to be a big chore. Pruning plays a key role; cutting back overgrown branches or spent flowers doesn’t just tidy things up, it actually encourages healthier growth. For example, shrubs often benefit from pruning in late winter or early spring, right before new growth starts. But be careful—some plants, like spring-flowering shrubs, should only be trimmed after blooming, or you might lose the flowers next year.
Pruning and Trimming for Growth
When you prune, focus on:
- Removing dead or damaged branches to prevent disease.
- Shaping plants gently to keep them manageable and attractive.
- Cutting back leggy growth to encourage bushier shapes.
Sometimes, it feels tricky deciding how much to cut. Generally, less is better—you can always trim more later. Check your plants periodically; a quick look every few weeks helps you spot anything out of place.
Pest Control and Weed Management
Weeds compete for nutrients and water, so pulling them out early is key. Try to catch them before they seed—hand-pulling works well in small areas. Mulching with organic material also suppresses weed growth and keeps soil moist, which is a nice bonus.
For pests, natural options often work fine and keep your green space safe from chemicals. Introducing ladybugs or using neem oil can help with aphids and other common bugs. Also, keeping plants healthy with good pruning and proper watering makes them less likely to suffer infestations.
Sometimes pests sneak in despite your best efforts. Don’t stress—spot treat affected plants and monitor closely. A little patience goes a long way in this.
Using Vertical Gardening to Save Space
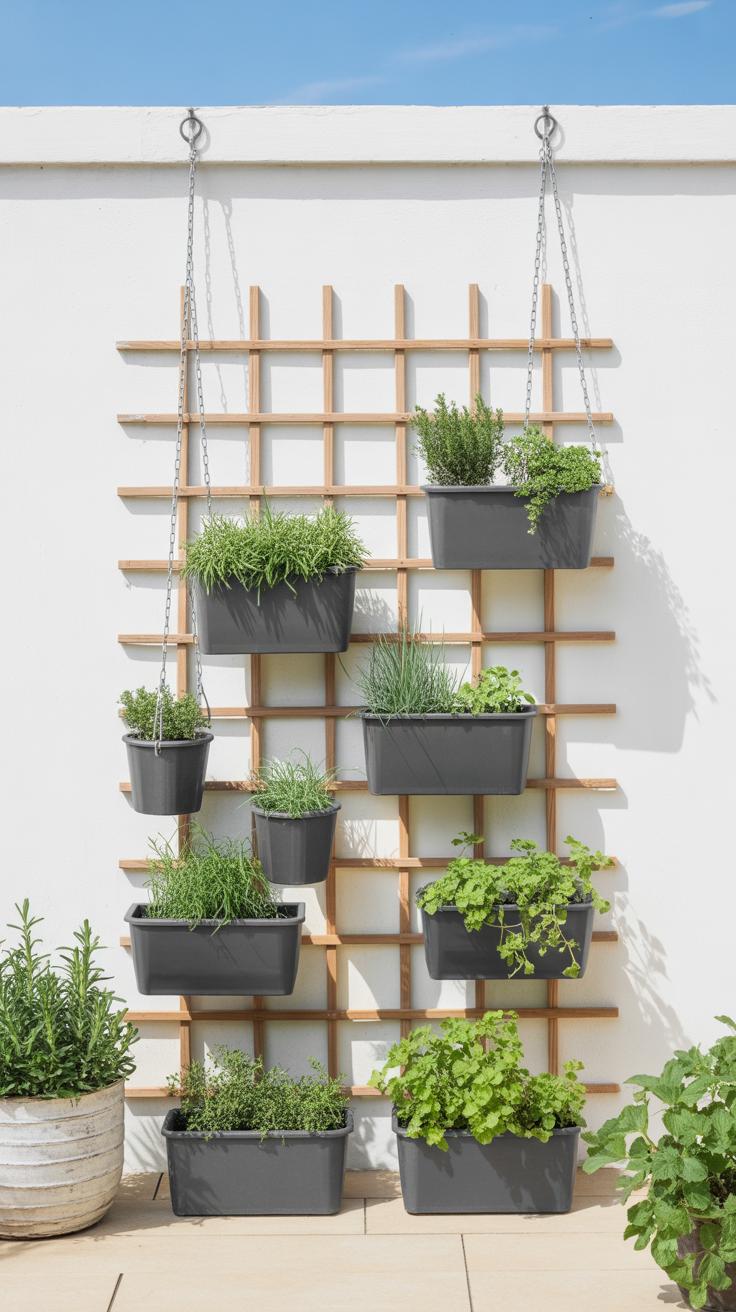
When your outdoor space is tight, going vertical might be the answer you didn’t think of. Wall planters, hanging pots, and trellises take advantage of height instead of floor area. It’s a way to pack in more greenery without crowding your patio or balcony.
There’s also something satisfying about a green wall or a string of planters fluttering with leaves—it makes small spaces feel less cramped. Plus, vertical gardening can create natural screens for privacy or shade, which is neat. Though, I realize not everyone has the perfect wall or beam for hooks.
Even if you have a tiny balcony, slatted trellises or tiered hanging systems might work. They let plants climb up or cascade down, freeing up precious ground room. It’s almost like building your garden upward, layer after layer.
Types of Vertical Garden Structures
There are many ways to support vertical gardens and some fit better than others in limited areas.
- Wall-mounted planters: Shallow boxes or pockets you attach to bricks, wood, or metal fences. Lightweight materials like felt or plastic work well so you don’t risk damage.
- Hanging pots: Hooks or rails let you suspend pots at different heights. It looks good and can be rearranged easily, which is handy if you need more sun or shade.
- Trellises and lattices: Great for climbing plants or vines, these can be freestanding or fixed. Bamboo and metal are popular — bamboo feels natural, metal tends to last longer outdoors.
Best Plants for Vertical Gardens
Some plants seem to love growing up rather than out. Think about:
- Succulents: They take up little soil, need less water, and look striking in small wall planters.
- Herbs like thyme, mint, and parsley: These are practical since you can clip fresh leaves. They grow compactly and handle vertical setups well.
- Climbing plants such as sweet peas or clematis: They add color and fragrance, but need good support.
- Ferns and trailing plants: Many do well in hanging pots, spilling greenery downward.
Watering can be a bit tricky; because vertical gardens drain faster, you might want to check moisture levels regularly. Some people set up simple drip irrigation or just keep an eye on dry spots. It can feel like a delicate balancing act, but it’s rewarding.
Bringing Wildlife to Your Green Space
Small green spaces can play a surprisingly big role in supporting local wildlife. Even a tiny garden or balcony can become a refuge for birds, bees, and butterflies if you offer the right comforts. These creatures don’t need vast wilderness; they need spots to feed, rest, and nest close to their natural routes.
By intentionally creating habitats, your space can become part of a larger network that helps pollinators thrive. It might feel like a small gesture, but the effects ripple outward. Plus, seeing life buzzing around your plants feels quite rewarding. Have you noticed how a single bee visiting a flower can brighten a dull afternoon?
Plants That Attract Pollinators
Choosing the right plants matters—you want flowers and shrubs that draw bees and butterflies throughout the seasons. Consider:
- Lavender and Salvia for their nectar-rich blooms
- Milkweed, especially if you want to invite monarch butterflies
- Bee balm and coneflowers which offer extended blooming periods
- Wildflowers adapted to your area, they support native pollinators better
Some might think just any flower will do, but including a mix that blooms in waves keeps your green haven buzzing longer. You’ll get to watch different pollinators visiting, which is kind of fascinating if you pay attention.
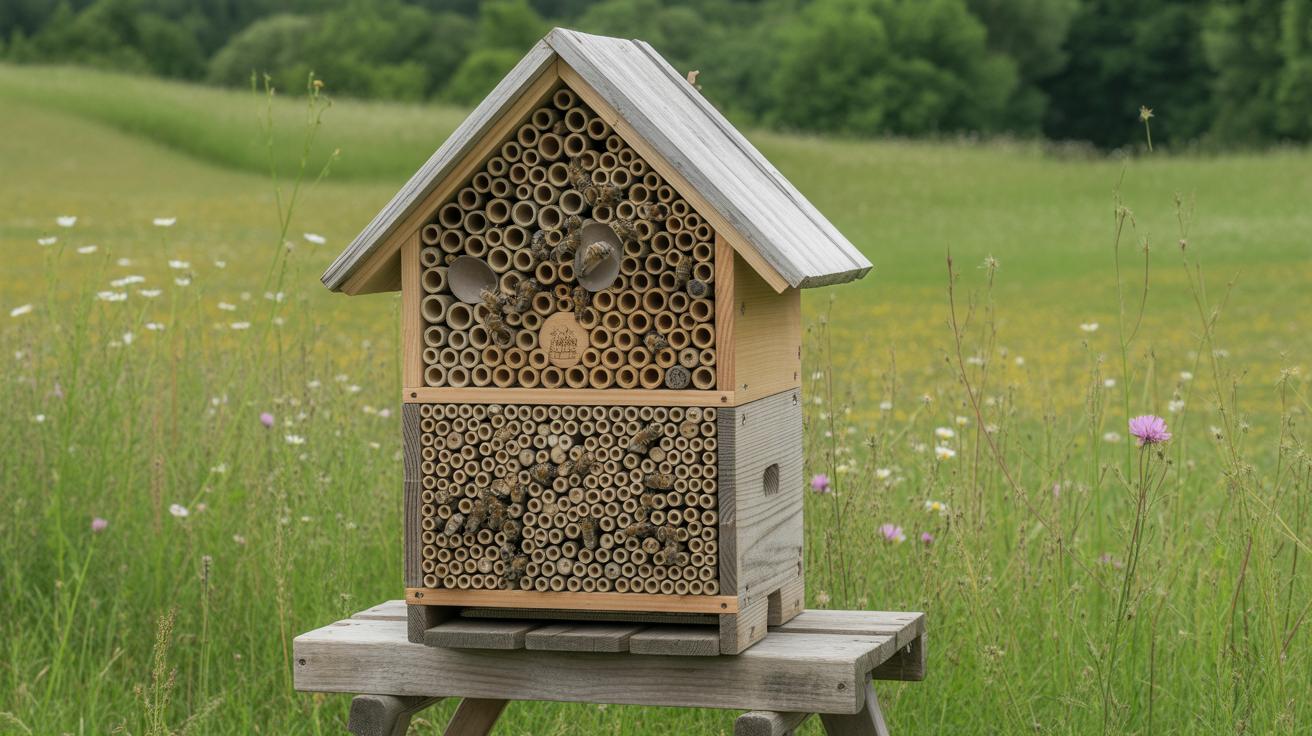
Building Small Habitats
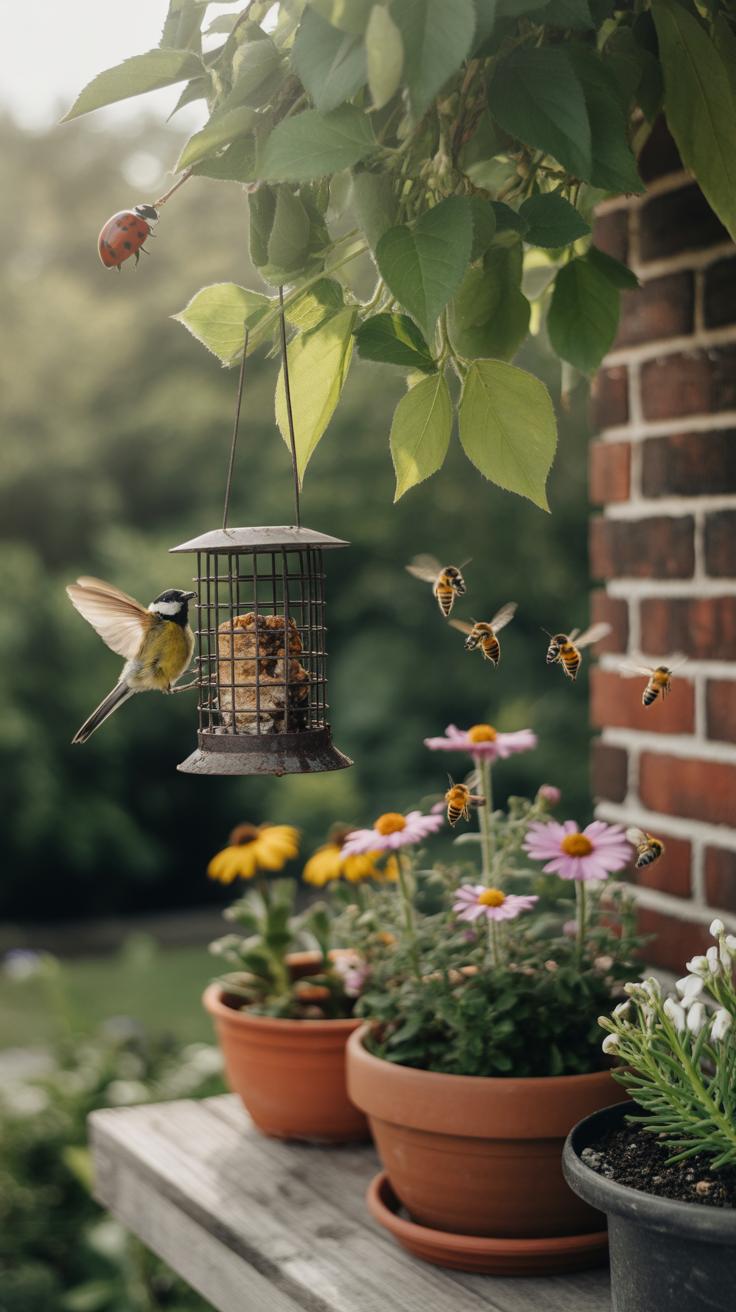
Adding features like bird feeders, butterfly houses, or water sources can encourage wildlife to settle nearby. A few ideas:
- Install a shallow dish with fresh water for birds and bees—changing it regularly keeps it safe
- Hang a butterfly house in a sunny, sheltered spot; remember, it won’t attract all butterflies, but some appreciate the shelter
- Choose bird feeders that suit local species; sunflower seeds attract many small birds
- Leave small piles of twigs or create small brush piles as natural hiding spots
It’s easy to forget, but wildlife also needs safety. Avoid pesticides and keep feeding stations clean. I once put out a small birdbath in a cramped backyard, unsure if it would help. Surprisingly, birds started visiting almost immediately, even on busy city streets.
Could your tiny garden be their next stop? It’s worth trying. Creating a wildlife-friendly green space lets you feel connected—somewhat gently—to the natural world outside your door.
Enjoying and Expanding Your Green Retreat
Making Time to Enjoy Your Space
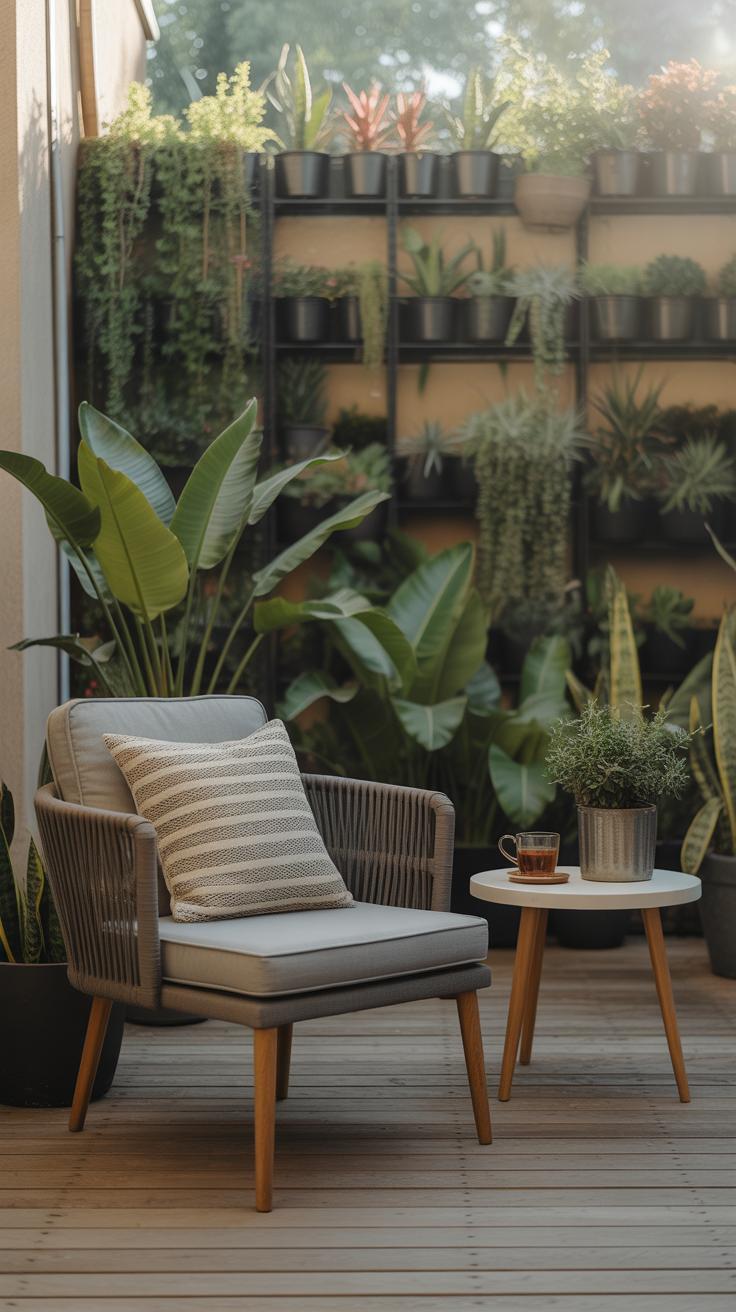
It’s easy to think of a green space as just a project to finish, but the real value comes in using it. Try to carve out even a few minutes each day to be in your garden or green nook. Maybe it’s reading a book under a tree branch or stretching with some gentle yoga amid the plants. Don’t feel pressured to schedule a big event—small moments count.
Sometimes, just sitting quietly and noticing the changes around you can be surprisingly refreshing. And you might find that a quiet morning coffee outside brightens the day more than you expected. The point—make that space yours, not just visually, but as part of your daily rhythm.
Expanding Your Green Space Over Time
Adding more plants or features doesn’t have to be overwhelming. Start small. Maybe place an extra pot with herbs on a windowsill or a new flowering shrub at the edge of your garden. Slowly, as you feel comfortable, you can stretch the boundaries bit by bit.
Think about what sparks your interest—do you want more colors? Edibles? A spot for birds? Let your choices evolve naturally. Sometimes, adding a simple bench or a new trellis encourages you to extend the area without rushing. You don’t have to have a complete plan from the start; some of the best green spaces grow like that.
Have you noticed how a tiny change can invite new life or a fresh perspective? It might even inspire you to rethink unused corners or awkward edges. Over time, those small steps accumulate, and suddenly your green space feels more welcoming and alive.
Conclusions
Your small space can hold a lot of green life with the right care. Planning well helps you use space wisely and pick plants that thrive in your spot. This brings beauty and peace that you can enjoy every day.
Keep your green space healthy by regular watering, pruning, and feeding. A small green retreat can boost your mood and improve your environment. Start your green space project now and watch it grow into your personal nature spot.


