Introduction
Creating garden paths can bring structure and charm to your outdoor space. Garden paths guide you through your yard and highlight plants and other features. They can make your yard look neat and welcoming. Whether you want a simple gravel trail or a stone walkway, paths add both beauty and function.
This article will help you understand how to plan and build garden paths that fit your yard. You’ll learn about different path materials and designs. With these ideas, you can start making paths that are both pretty and easy to walk on. Let’s explore garden paths that make your yard look amazing today.
Benefits of Garden Paths

Garden paths do more than just fill space in your yard—they shape how you experience it. When you add a path, you create clear directions for where to walk, which helps protect delicate plants from accidental trampling. You might not always realize it, but guiding foot traffic this way can keep your garden healthier and more vibrant over time. Paths also add structure to what might otherwise feel like a random collection of plants and grass, giving order to the space.

Visually, paths create a sense of neatness. They outline different garden areas, making your yard look more organized and intentional. I’ve found that even a simple path tends to draw your eyes along it, highlighting flower beds or special features you want to show off. Movement around the yard becomes easier too; instead of stepping awkwardly over wet grass or uneven ground, you have a dedicated route that feels almost natural to follow.
Safety is another reason paths are practical. When the weather turns wet, muddy, or slippery, paths offer a solid surface that keeps your footing steady. This reduces the risk of slipping or tracking mud into your house. Up close, you’ll notice how paths often invite you outside more often—walking is just easier and more comfortable. It’s a small thing that can change how you use your outdoor space every day.
Planning Your Path Layout
Before you start digging or laying stones, take some time to measure your yard carefully. Grab a tape measure or even pace it out roughly—either works. The key is knowing how much space you truly have to work with and spotting where people tend to walk naturally. Sometimes, observing daily routines helps—where do you or your family walk most often? Which spots get the most use, and which areas feel a bit neglected or awkward?
Focus on identifying the important areas your paths need to connect. Think about main doors, garden beds, patios, seating spots, or perhaps a shed or compost bin. You want paths to link these points so moving between them feels easy and direct, but not rigid. It’s ok to prioritize certain connections over others—sometimes, a casual detour makes your garden more inviting.
Choosing the shape and flow of your paths depends on your garden’s character. A modern, minimalist yard might call for straight lines—they feel clean and clear, guiding guests efficiently. On the other hand, a garden that’s a bit wild or natural might benefit from gentle curves that invite wandering or exploration. Curves can soften harsh edges but take up more space and require more careful planning.
So, what fits best for your yard? Straight paths often save space and materials but might feel less relaxed. Curved paths add personality but can be tricky if your yard is small or oddly shaped. Maybe a mix of both? You might find yourself second-guessing a bit while testing different layouts with chalk or string, and that’s okay. Let your yard’s feel guide you rather than rigid rules.
Choosing Materials
When it comes to picking materials for your garden path, the choices can feel a bit overwhelming. Do you want something permanent? Or maybe something more flexible that you can change later? Let’s break down some of the common options—gravel, stone, brick, and wood—and weigh their ups and downs.
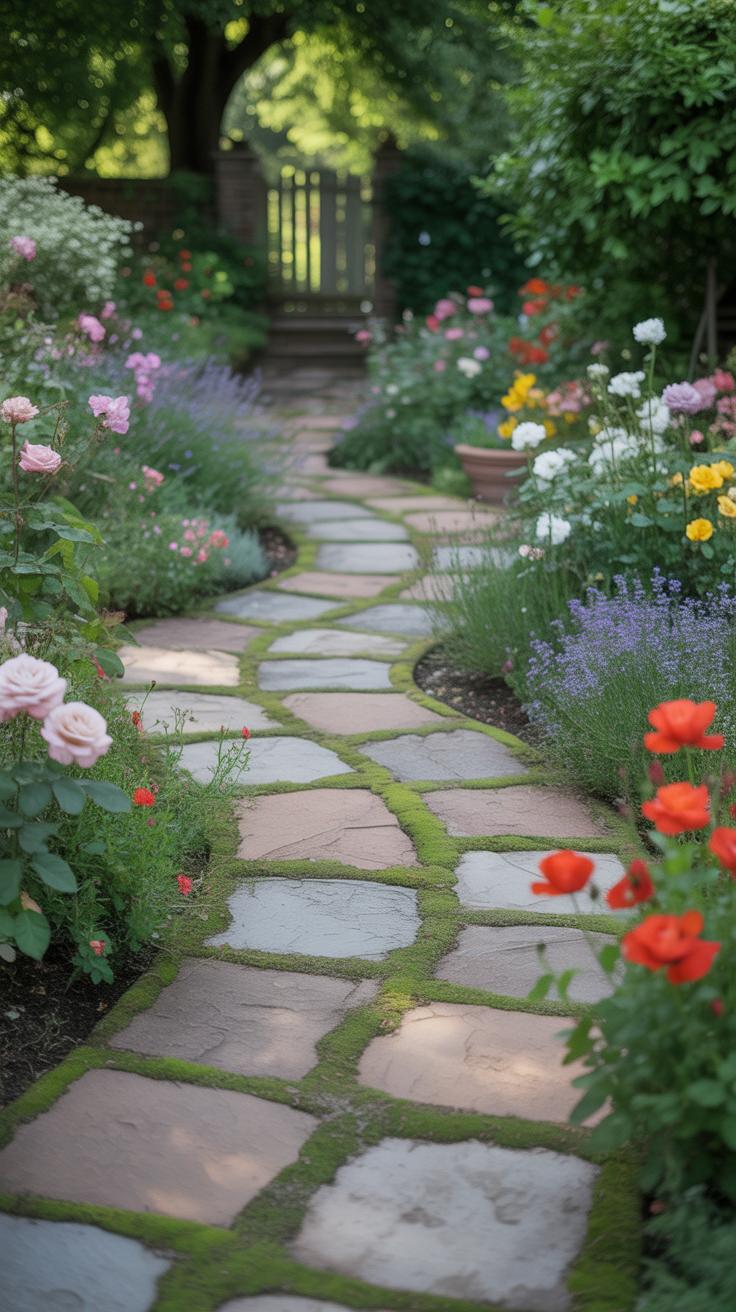
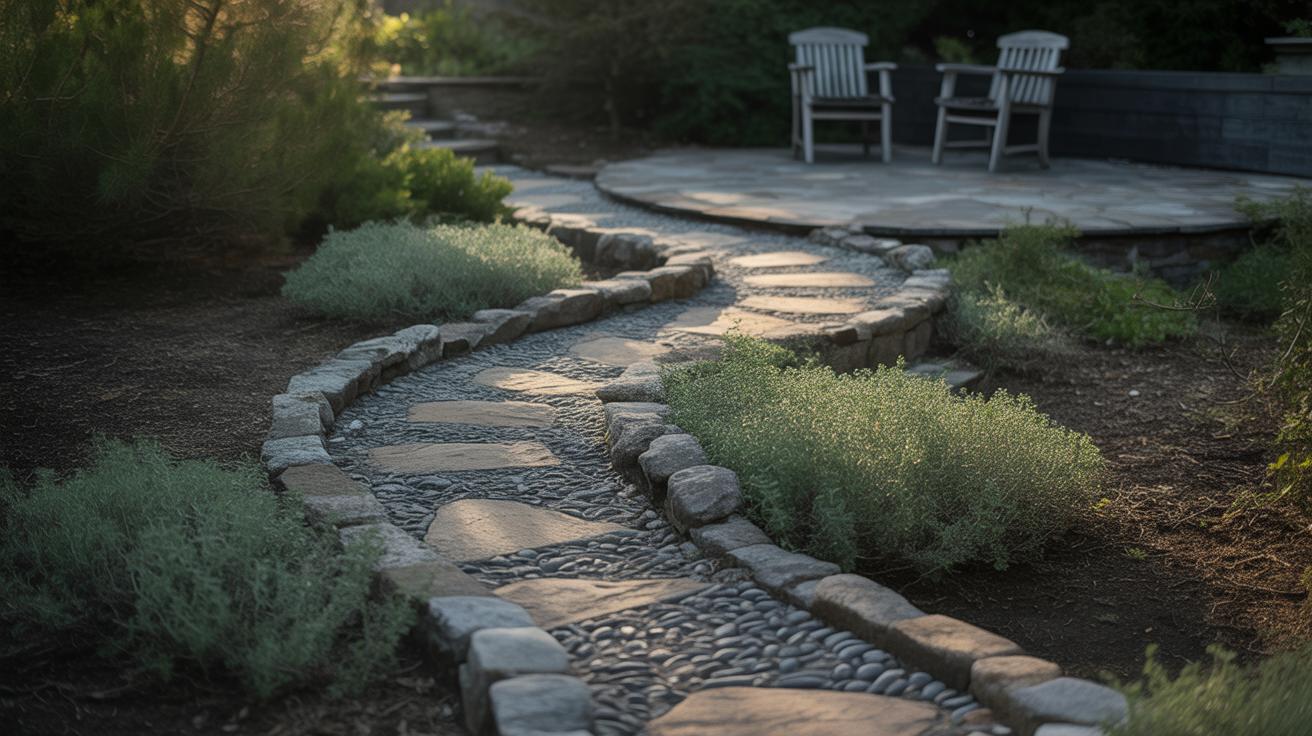
Natural Stone and Brick
Stone and brick have this timeless quality. They last a long time, often decades if placed right. Stone, like flagstone or slate, offers a rugged, natural look that blends well with almost any garden style. Brick, in contrast, brings a classic, orderly feel, and often feels a bit warmer visually. Both materials are heavy, which means installation takes some effort and a solid base, but that heaviness also means they stay put through seasons and weather. I’ll say, though, stone can sometimes be uneven underfoot, which might not be great if you prefer a smooth walk.
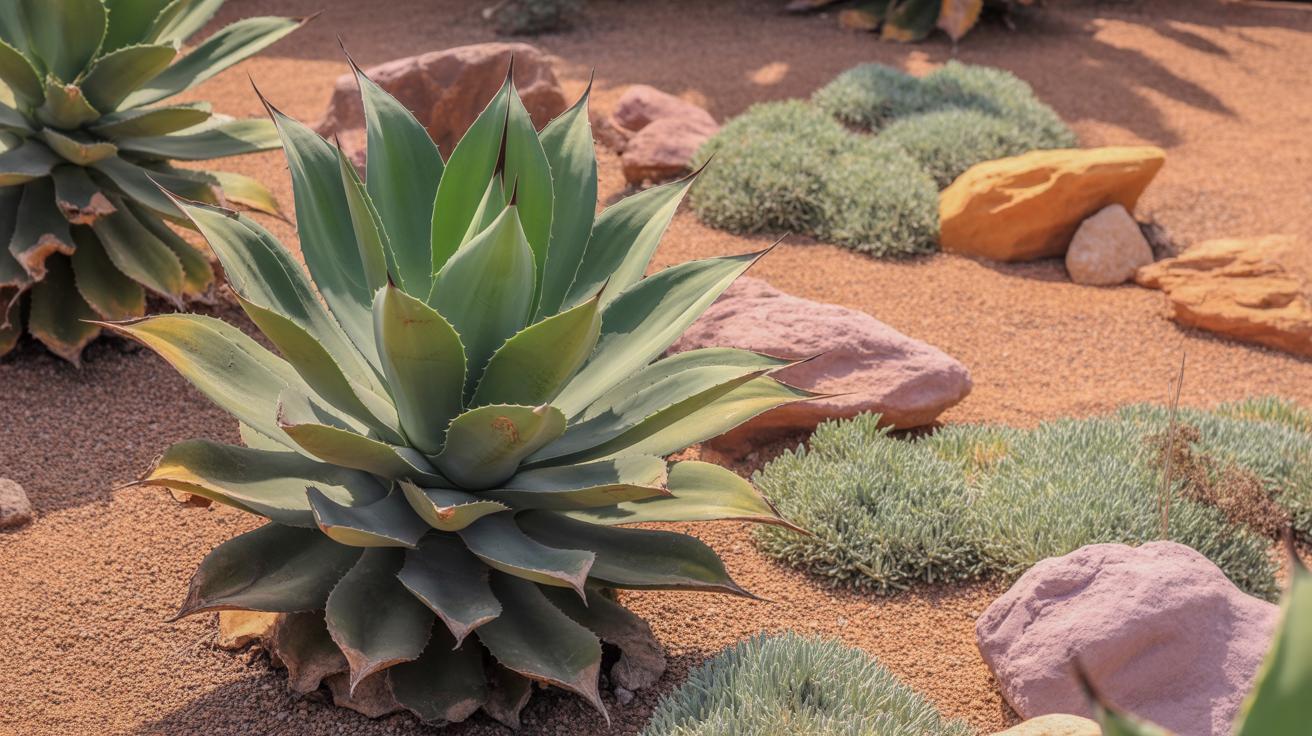
Gravel and Mulch
Gravel and mulch catch attention mainly because of their affordability and ease of use. Installing these feels almost immediate—you just spread them over the cleared path and tamp it down. Gravel drains well, which is handy if your yard retains water. But it shifts and needs occasional topping up. Mulch, often made from wood chips, looks natural and soft, but it breaks down over time, so its lifespan is shorter than stone or brick. Both aren’t as sturdy for heavy foot traffic or wheeled carts.
Ground Preparation
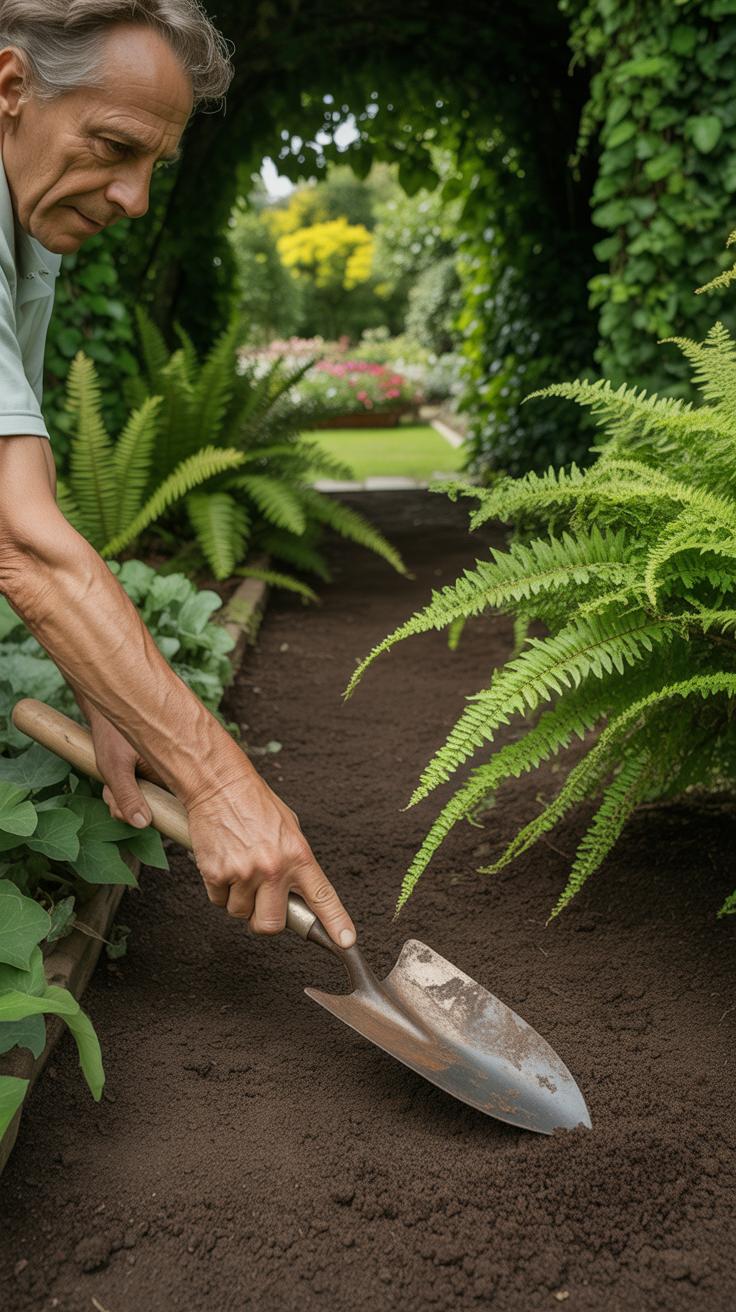
Preparing the ground before laying your path materials is a step that can’t be skipped if you want your garden path to last. It’s not just about digging a hole and laying stones or gravel on top. There’s more to it, and it often determines how stable and even your path will be.
Clearing and Marking
Start by removing all grass, weeds, and debris along the intended path. You can use a spade or even a sod cutter if you want to get the job done faster, though that might feel a bit like overkill for a smaller path. Once the space is clear, mark out the shape using something visible—string lines, garden hoses, or spray paint all work. The clearer the outline, the easier it will be to stay within bounds. You might think you know where you want your path to go, but seeing it drawn out really helps avoid second-guessing later.
Adding Base Layers
Now, here’s where many people stumble. Just putting materials on bare soil won’t hold up. You need a solid, compacted base—sand or gravel is the usual choice. It gives stability, helps with drainage, and keeps your path from shifting with the seasons. The layer should be a few inches thick and compressed with a tamper or plate compactor if you have one. It might feel like tedious work, but getting this base right saves headaches later. Sometimes I wonder if people rush this part because it’s not the visible layer, but trust me, it matters. You want your stones or bricks steady and evenly supported, not sinking or wobbling underfoot.
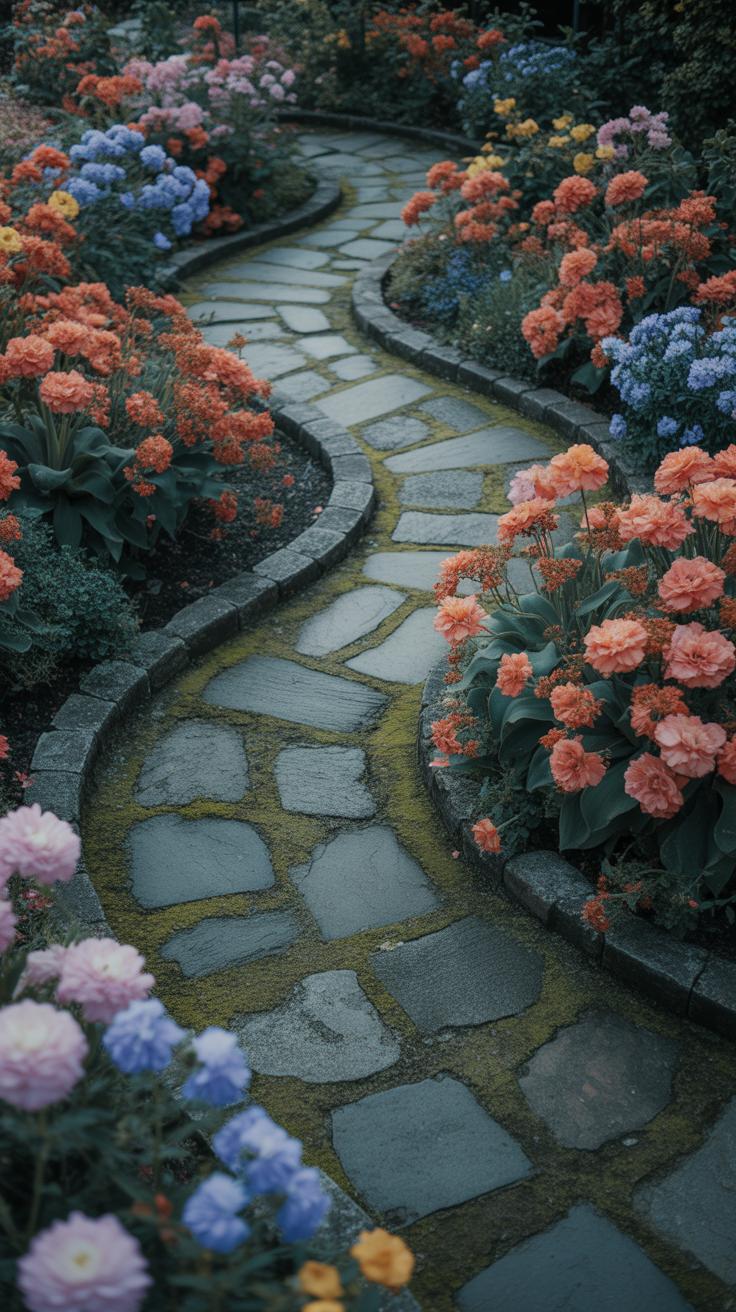
Building Stone and Brick Paths
Once your base is ready, laying stones or bricks becomes about patience and precision. Start by placing each piece snugly next to its neighbor. The goal? Even gaps, just wide enough for sand or mortar to settle in, usually around a quarter to half an inch. Too wide, and the path looks scattered; too narrow, and the sand won’t hold well.
Work from one end to the other, checking alignment regularly. Use a rubber mallet to tap stones or bricks down gently, ensuring a firm, level seating. A spirit level helps here — yes, it might feel tedious, but small slopes can throw off the whole path over time. Little adjustments now save frustration later.
After all stones or bricks lie flat and evenly spaced, sweep fine sand into the gaps. Keep filling and sweeping until the sand barely moves. This locks everything in place as it compacts. Some prefer polymeric sand for extra hold, but natural sand works just as well if the path isn’t too busy.
Finally, sealing the surface can make a difference. A breathable sealant guards against weeds breaking through and helps resist water damage. Sealers won’t make the path shiny or artificial, but they do reduce maintenance and keep stones or bricks from loosening.
Does this sound like a bit more work than you expected? Maybe yes, but a well-laid stone or brick path feels sturdy and timeless underfoot, and somehow, it makes the whole yard feel more complete.
Making Gravel Paths
Installing Edging
Gravel tends to wander if you don’t keep it corralled. So, adding edging is crucial to maintain a neat path. You can go with a variety of materials: metal, plastic, wood, or stone. Each has its quirks, and what works for one garden might not fit another.
When installing edging, dig a shallow trench along the path’s border—just deep enough to anchor the edging securely. Then, set it firmly, making sure it’s level or slightly angled inward. This slight tilt helps keep gravel from spilling out without looking odd. Stakes or spikes can hold the edging in place, though some materials snap together for easier installation.
Don’t forget to leave small gaps between sections, especially if you live where temperatures fluctuate. The edging expands and contracts, and without space, it might buckle or crack. I once missed this step, and it became a hassle later on.
Spreading Gravel
Spreading gravel evenly isn’t just about appearance—comfort matters too. Uneven gravel can lead to awkward walking or even tripping. Start by dumping gravel in small piles along the path rather than one big heap. This lets you distribute it more easily.
Use a rake to spread the gravel thinly and evenly over the path. Layering gravel in 1 to 2-inch spreads works well; piling too thick initially only means more effort later. After raking, compact the gravel thoroughly. You can rent a plate compactor or try a hand tamper if the area is small.
Compacted gravel feels solid underfoot and stays put, but don’t overdo it—too much pressure can crush the gravel, leaving dust and loose stones. It took me a few tries to find the right balance. After compacting, sprinkle a thin final layer to fill in any gaps.
Adding Decorative Features
Lighting Your Path
Lighting garden paths isn’t just about safety. It can totally change how your yard feels at night. Think about simple options like solar-powered stake lights. They’re easy to install—just stick them in the ground along the edges, and they charge during the day. No wiring fuss.
String lights hung along nearby bushes or low posts bring a cozy touch, though you’ll want to be mindful of weather and maintenance. If you prefer something a bit bolder, small lanterns or even LED strips hidden under edging stones offer soft, subtle glows that highlight the path without overwhelming it.
When choosing lights, consider the style you want. Warm tones create a relaxing vibe, while cooler white lights might feel a bit more modern. Also, think about how much light you actually need. Too much, and it feels artificial; too little, and it’s not functional. Finding the right balance is a bit of trial and error, I guess.
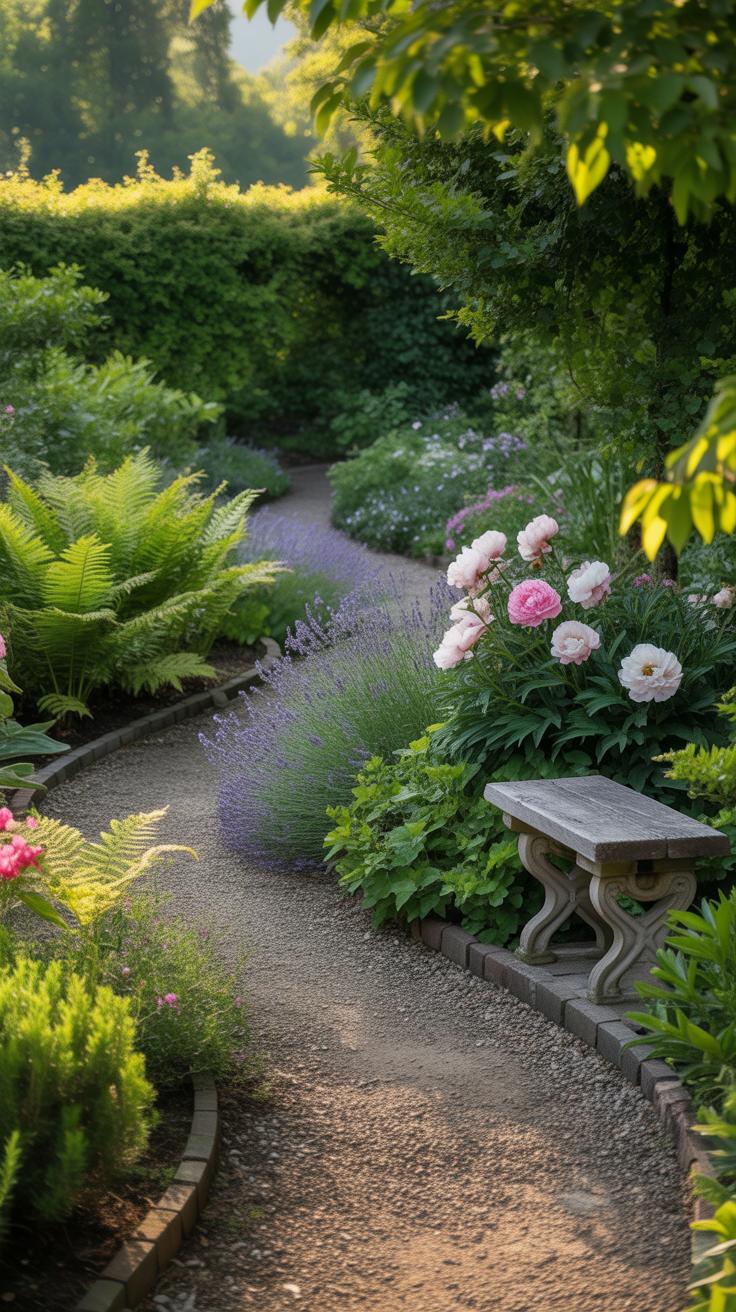
Plant Borders and Accents
Low-growing plants along your path can add layers of color and texture without blocking the way. Plants like creeping thyme or low sedum work well—a bit of green or small flowers right at your feet makes the path feel more part of the garden, not just a walkway.
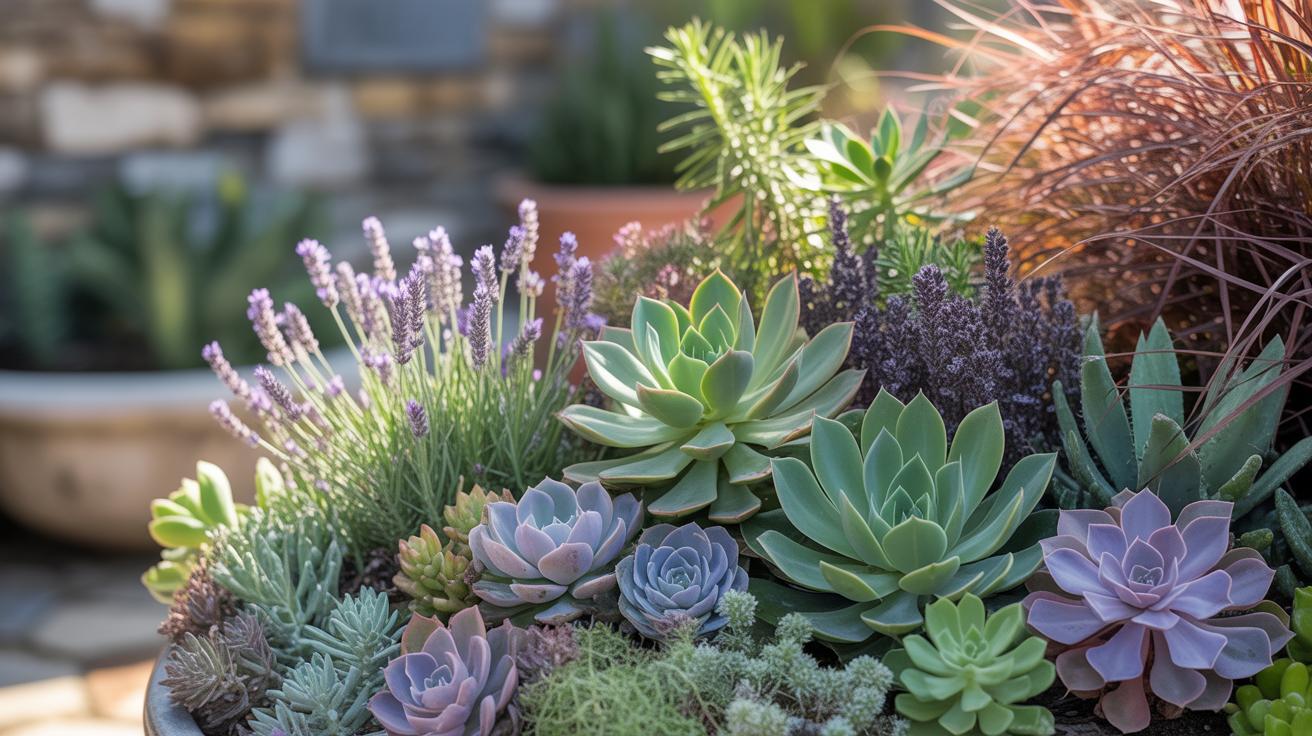
If you’re hesitant about plants that might encroach on the path, edging materials can help. Bricks, flat stones, or metal edging create clear lines and actually keep soil and mulch contained. Plus, some of these materials develop interesting colors or textures over time, which adds charm.
Mixing materials and plants might be the trick. Imagine soft moss growing between evenly spaced stones, paired with a row of dwarf lavender. It adds both scent and a subtle visual border. But be mindful—too much contrast or overly neat edges may look artificial rather than inviting. Do you want your path to feel precise or a bit wild? That choice shapes which decorative features work best.
Maintenance Tips
Cleaning and Weed Control
Keeping your garden path clear can feel like a never-ending chore, but a few simple habits make a difference. Leaves, twigs, and dirt tend to gather quickly, especially after windy days or rain. Sweeping regularly with a broom designed for outdoors is often enough to keep things tidy. For stubborn debris caught between stones or bricks, a stiff brush or a handheld vacuum can help—sometimes it’s just about getting down on your hands and knees to reach those tight spots.
Weeds are another challenge. They pop up through cracks and edges, spoiling the neat look you worked hard to create. Pulling by hand is effective for small patches and gives you a closer look at your path’s condition. For larger areas, a natural weed killer or a solution of water and vinegar sprayed carefully on the unwanted growth can work—but be cautious; it might affect nearby plants if you’re not careful.
Repairing Damage
Loose stones or bricks don’t just look untidy—they can be a tripping hazard too. When you spot a loose piece, it’s best to fix it early. Often, you’ll need to lift it out, clear away old mortar or dirt underneath, and reset it with fresh mortar or sand. For graveled paths, filling holes with more gravel and compacting it keeps the surface even.
Erosion can also cause dips or uneven areas. Adding a bit of compacted soil or sand helps level the path again, though this might need to be repeated over time. Sometimes repairing feels like a bit of trial and error—what holds well one season might shift next year. But if you stay attentive, small fixes prevent bigger headaches later on.
Inspiring Path Ideas
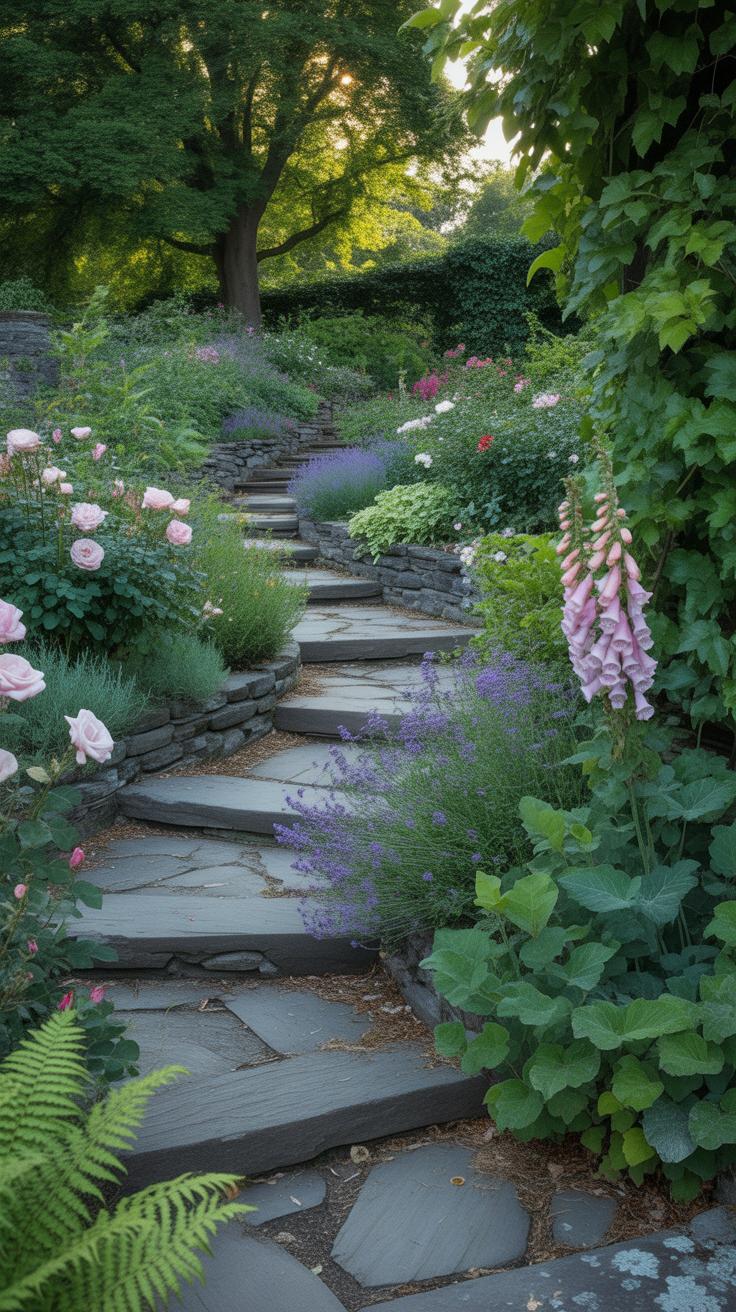
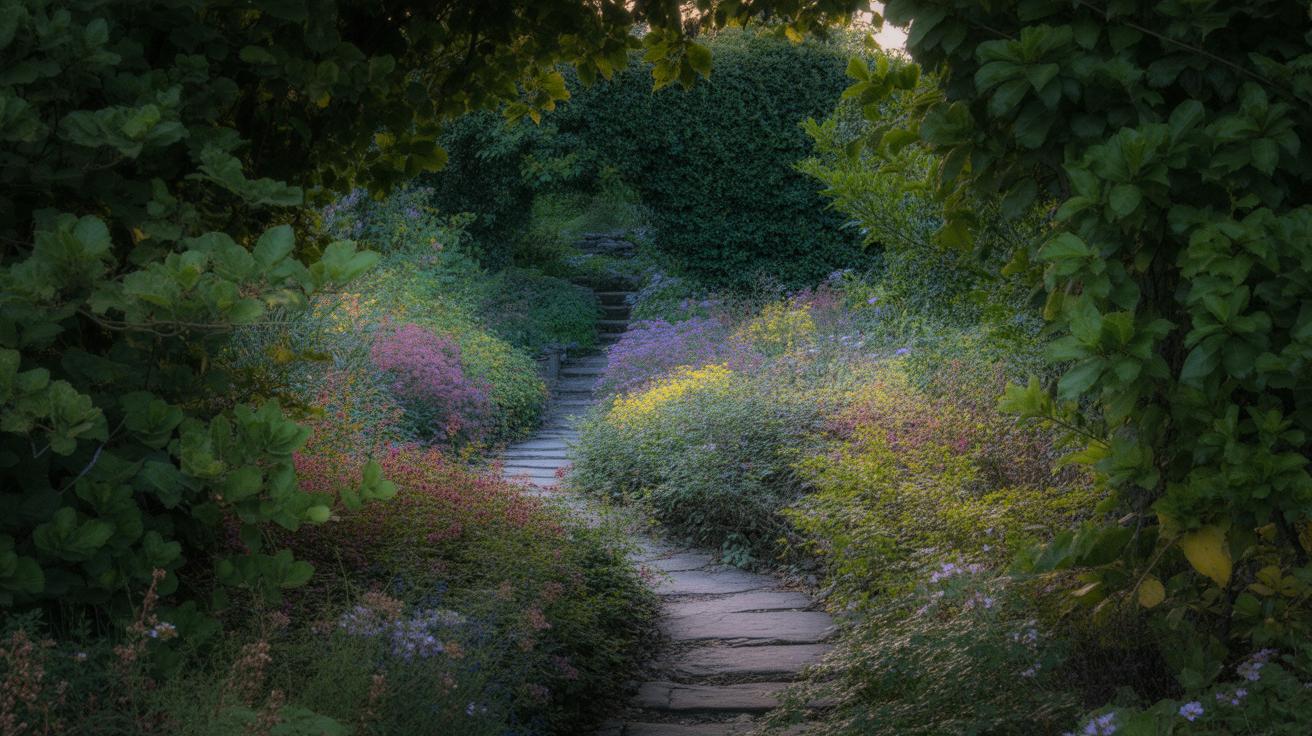
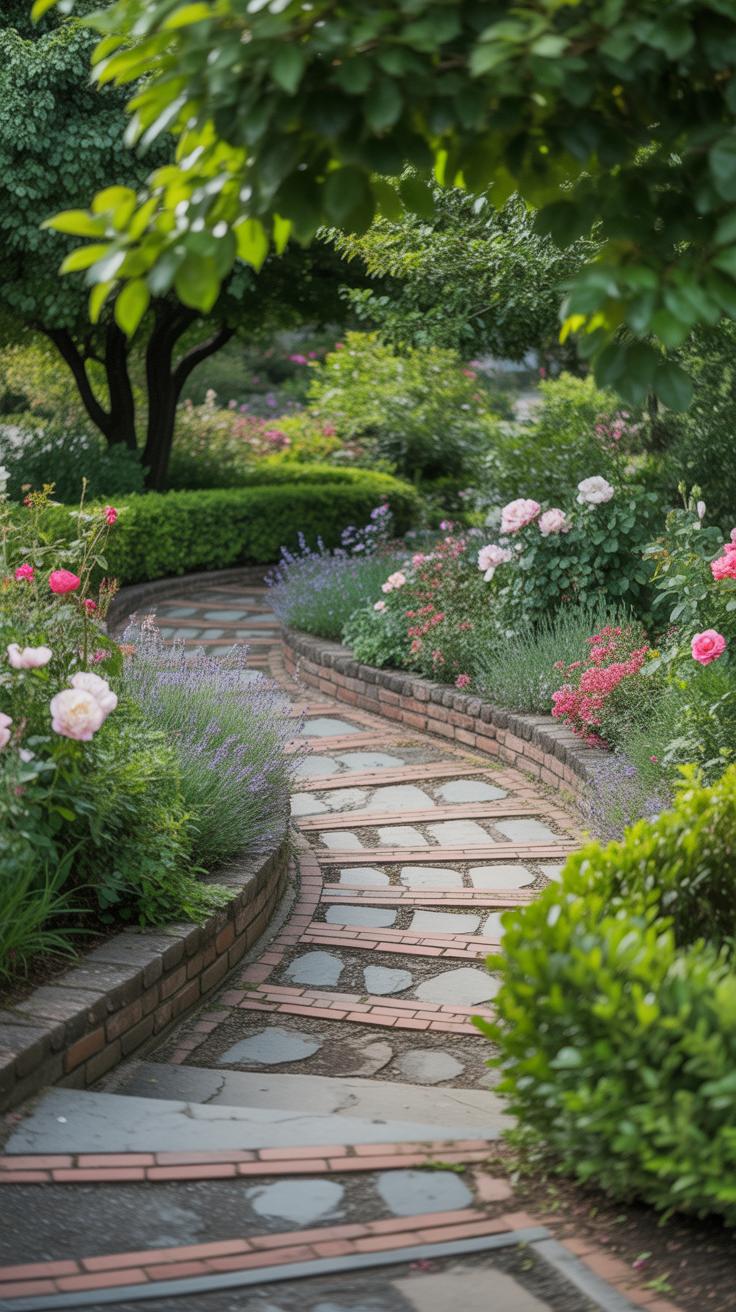
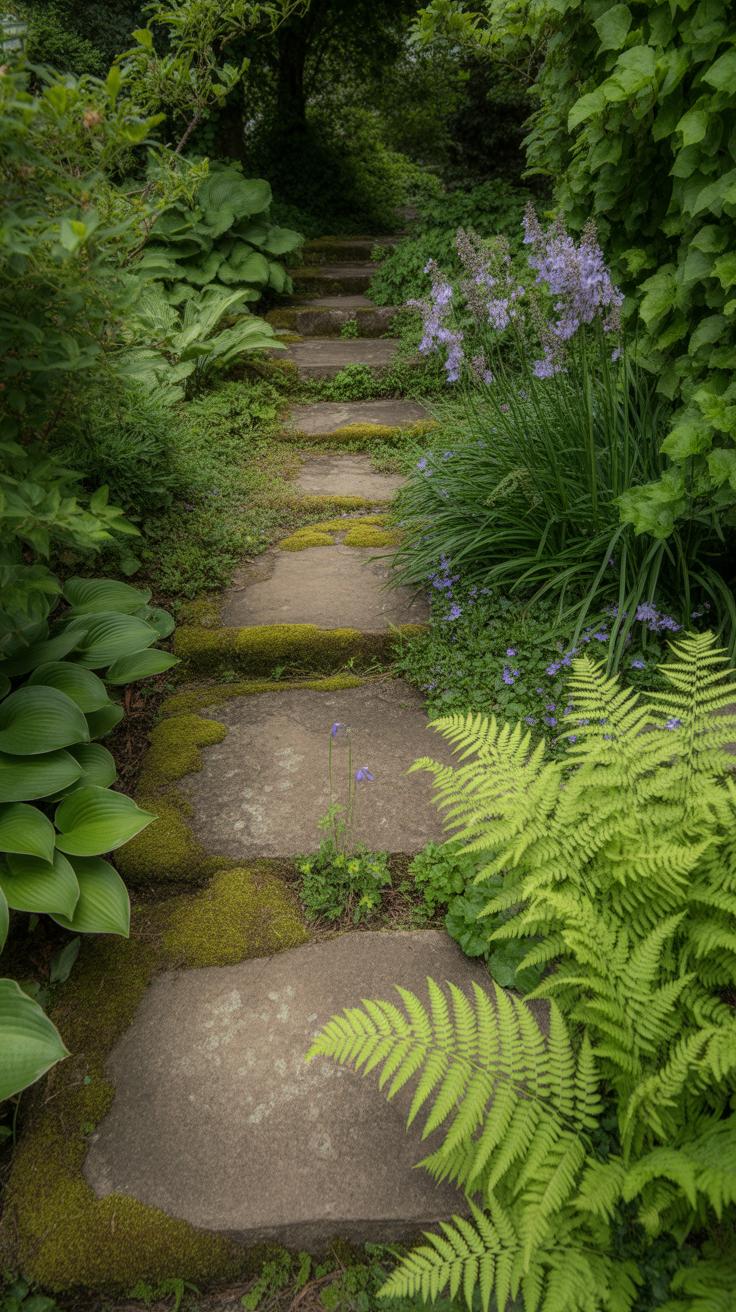
Curved and Natural
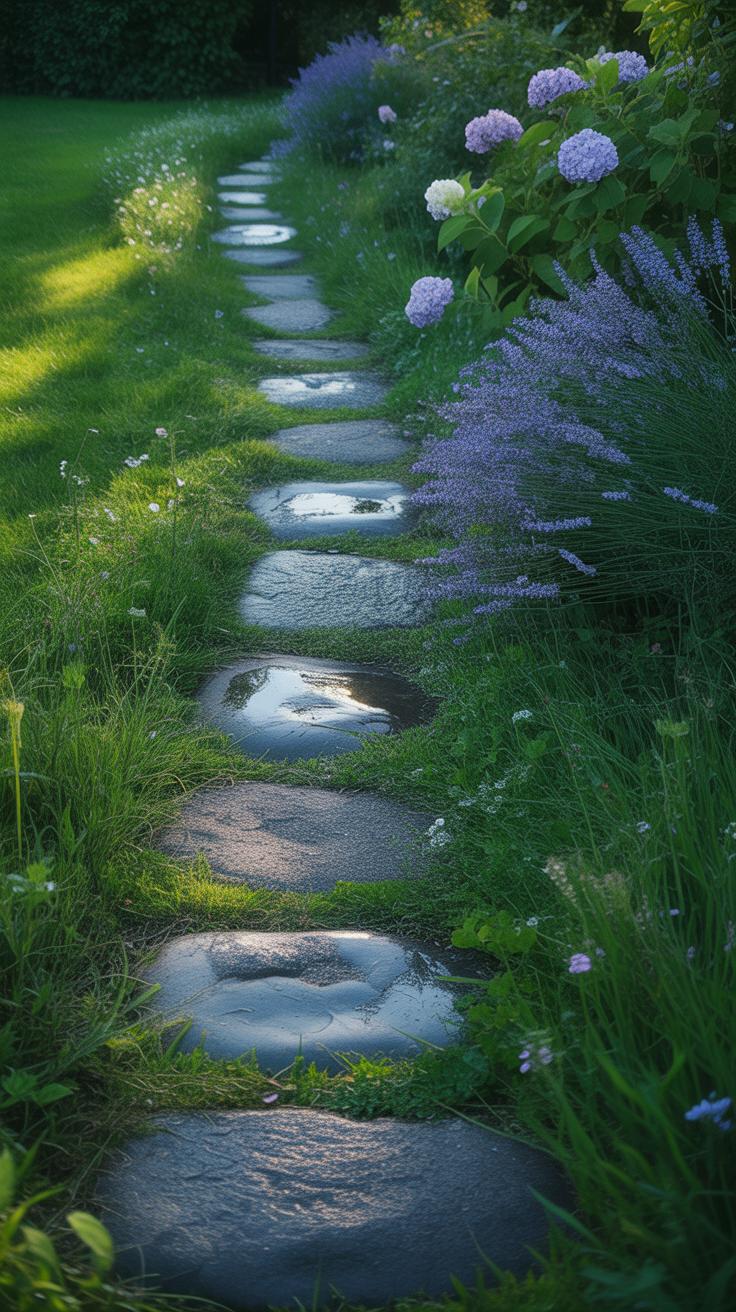
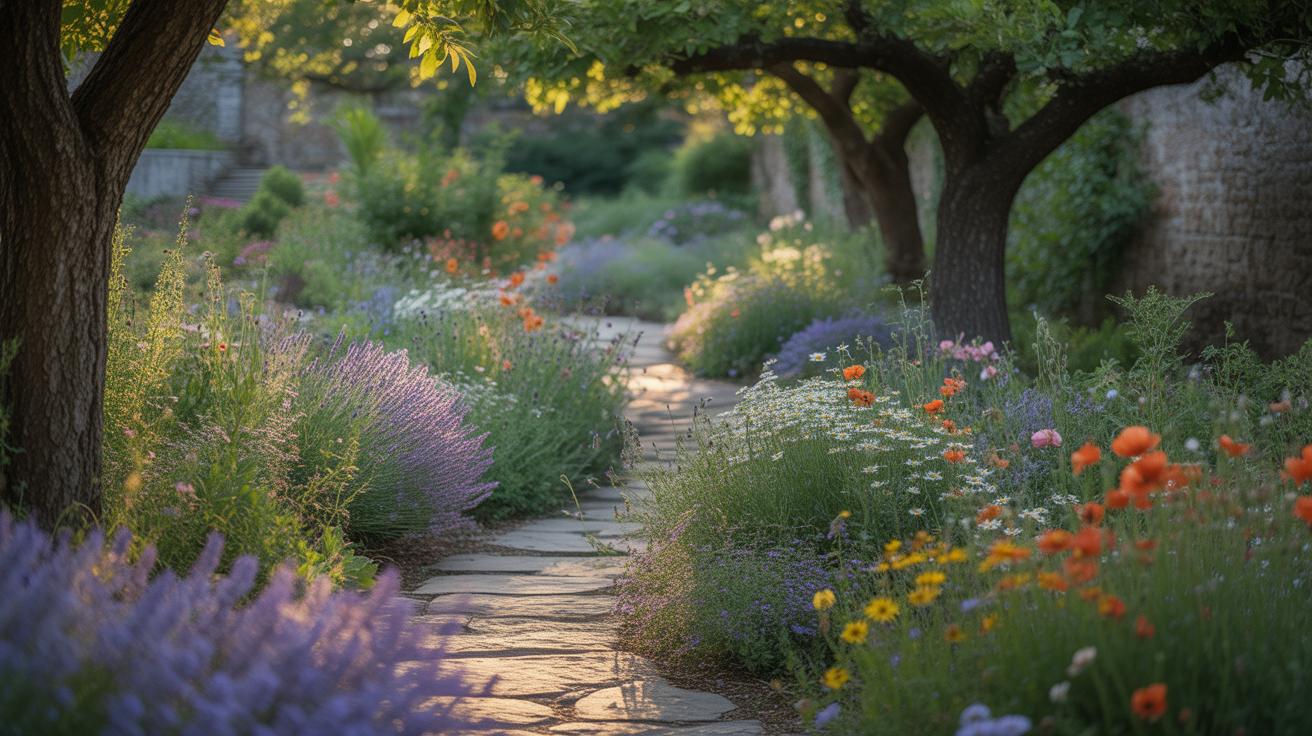
Curved garden paths bring a certain calmness to your yard. They don’t rush you along; instead, they invite a slow, wandering pace. When you follow a gently bending path, it feels like the garden itself is guiding you. It’s less about getting somewhere quickly and more about enjoying what’s around you—plants, flowers, maybe a bench tucked away. I’ve noticed in my own garden that the curves soften the hard edges of fences or walls, making everything feel more connected.
These paths often mimic natural shapes—like how a stream weaves through a forest. If your garden isn’t perfectly symmetrical, curved paths can mask that imperfection, or maybe celebrate it. They aren’t rigid, so they fit better with wildflower beds or irregular layouts. Maybe you don’t see that right away, but your eye isn’t forced to go in a straight line. Instead, it moves around, exploring.
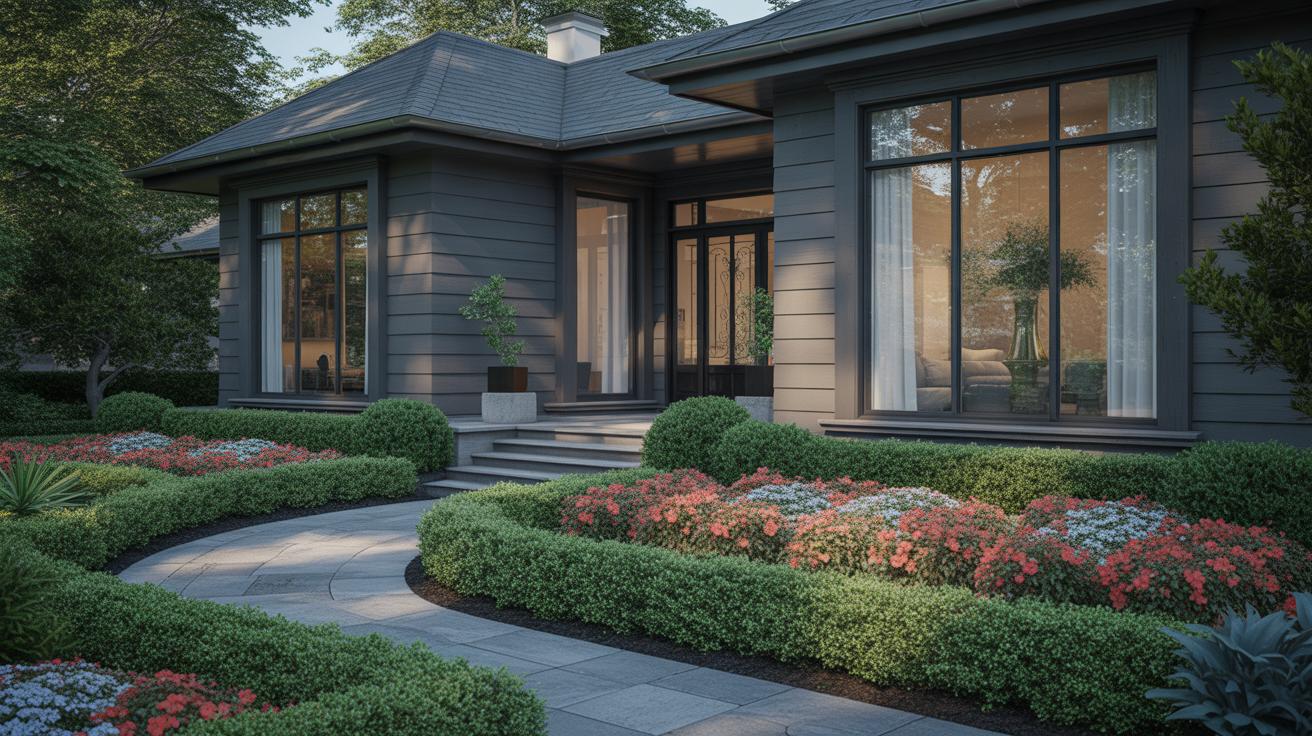
Straight and Formal
Straight paths, by contrast, suit gardens that want to feel structured and intentional. They send a clear message: this is where you walk, this is the direction to take. If you want to highlight something at the end of the path—a statue, a fountain, a doorway—straight paths point you exactly there without distraction.
In formal gardens, straight lines echo balance and order. That’s kind of the point, isn’t it? The crisp, clean lines can make the yard feel larger or more deliberate, and they work well with box hedges or manicured lawns. But it’s odd—I’ve sometimes found straight paths feel less welcoming at first. They can seem a bit too purposeful, like they expect you to follow rules. Still, for clarity and focus, there’s nothing quite like them.
Conclusions
Garden paths shape how you experience your yard. Choosing the right materials and design helps you create paths that last and look good. Simple steps like planning the route and preparing the ground are important for success. You don’t need to be a pro to build paths that enhance your garden’s look and feel.
Start small and use what fits your style and space. A well-done garden path invites you and guests to explore and enjoy your yard every day. Use the tips here to get inspired and take action on building garden paths that make your yard look amazing today.


