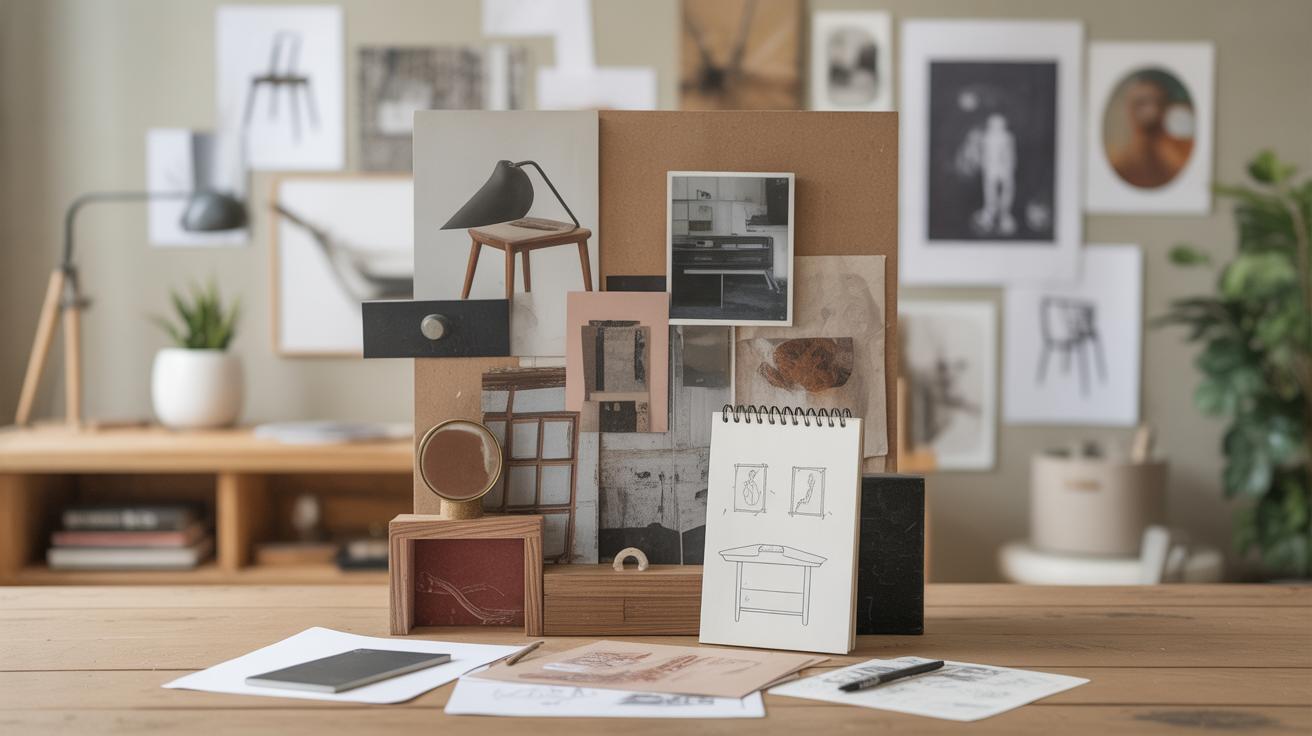
Introduction
Refreshing your furniture can completely change the look and feel of your home. Stunning Furniture Makeover Ideas To Revive Your Space offer solutions that are easy to do and affordable. Whether your furniture looks old or just a bit worn, making it look new again can brighten your rooms and make your home more enjoyable.
This article explores practical and easy ideas to makeover your furniture. From painting and reupholstering to adding new hardware or assembly tricks, you will find ways to update your space with creative methods. You will learn how to give your furniture a fresh start without needing to buy new pieces.
Choosing the Right Furniture for Makeover
Assessing Furniture Condition
Before diving into a project, you need to really look at the piece you’re considering. Check for obvious damage like broken legs, loose joints, or large cracks. A wobbly chair might suggest deeper structural issues that aren’t worth the time. But don’t shy away from some wear and tear; sometimes those little scars give character.
Feel the sturdiness—give it a gentle shake or sit on it if possible. Will it support regular use after a makeover? That’s key. Also, check hidden spots like underneath drawers or the back of cabinets. Hidden damage often sneaks up there. If the piece is unstable or rotten, you might be better off passing on it.
I once found a chair with worn-out fabric but very solid frame underneath, and flipping it to a fresh upholstery gave it new life without hassle. So, condition matters, but the potential beneath the surface counts too.
Material Types and Makeover Approaches
The material really shapes which makeover routes you can take. Wood furniture can usually be sanded, stained, or painted, making it versatile. Though some woods react poorly to certain finishes, so testing a small area first is wiser. Metal pieces can be great for repainting but might need special primers to avoid rust returning.
Fabric furniture is trickier—you’ll probably need to reupholster or use slipcovers. Fabrics also wear differently; delicate cloth may not stand up long-term unless you’re careful. On the other hand, synthetic or leather pieces respond well to cleaning and conditioning treatments but don’t expect miracles if it’s damaged deeply.
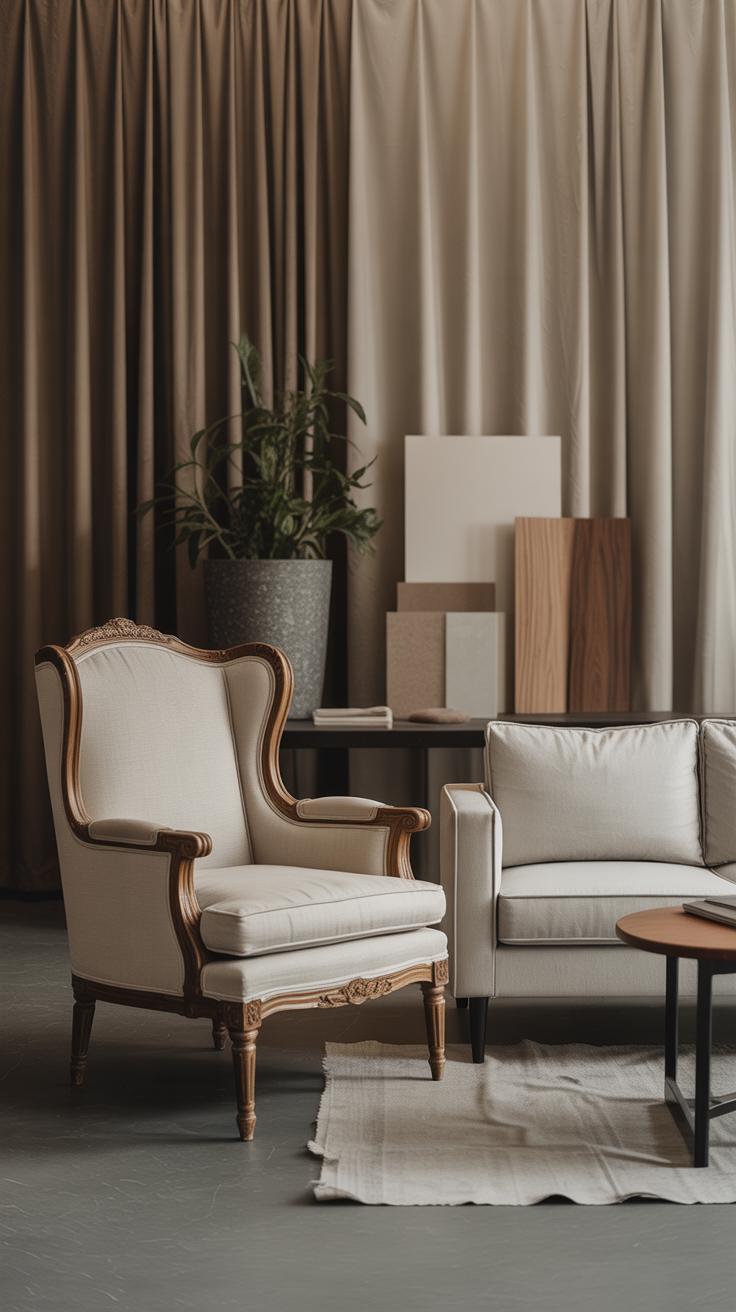
Sometimes, a style just fits or doesn’t. A mid-century modern chair, for example, might not look right with a rustic paint job. So, consider if the makeover will respect the piece’s original vibe or if you want to shift it completely. Either way, the material guides your options—wood, metal, fabric, each with its own quirks and demands.
Preparing Your Furniture for the Makeover
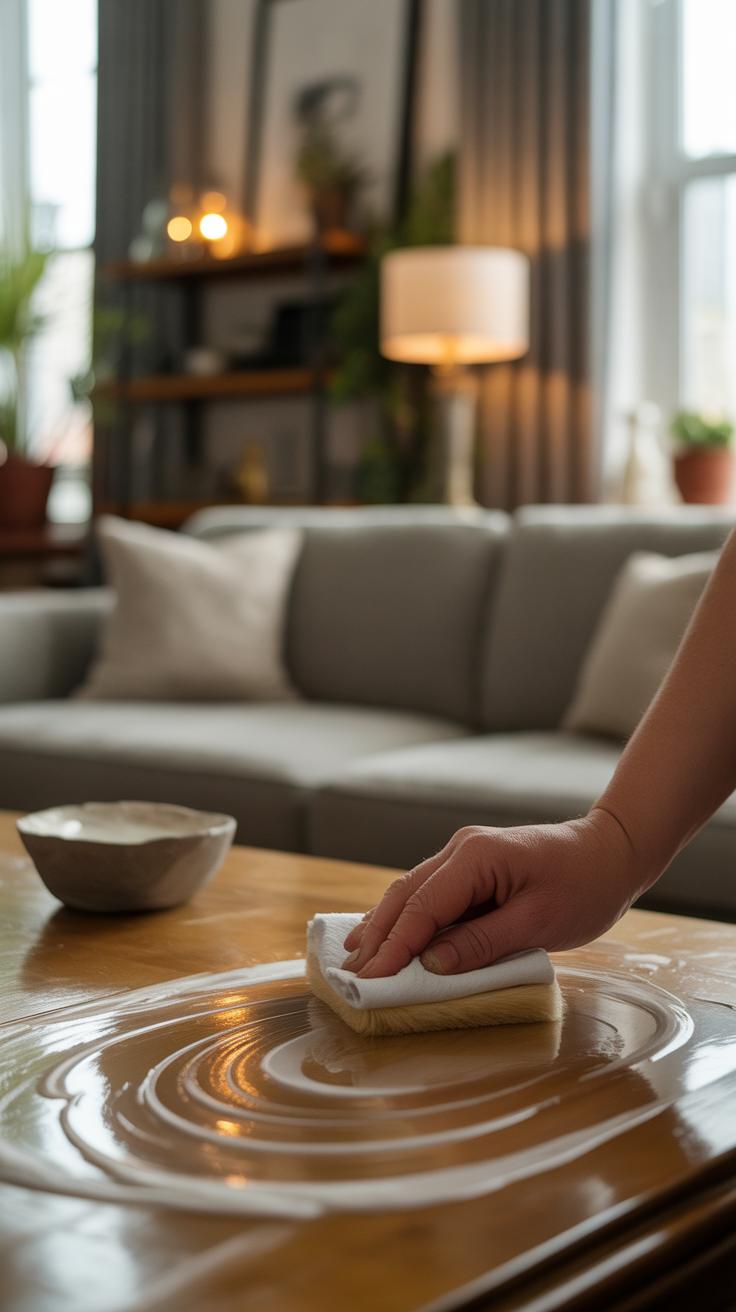
Before you start breathing new life into your furniture, there’s some groundwork to handle. Cleaning is the very first step, though it’s easy to underestimate its importance. Dirt, oils, and grime can really get in the way of paint or stain adhering properly, so take it seriously—even if it feels tedious.
Cleaning Techniques

Different surfaces call for different approaches. For wood pieces, a simple mix of warm water and mild dish soap usually does the trick. Use a soft cloth or sponge, and avoid soaking the wood—too much moisture can damage it. If you’re dealing with laminate or veneer, wipe gently with a damp cloth and mild cleaner; abrasive scrubbing can peel or scratch surfaces.
For stubborn spots, try a bit of white vinegar diluted with water. It’s gentle but cuts through residue surprisingly well. Leather or upholstered furniture needs extra care: vacuum first, then use appropriate fabric or leather cleaners to avoid stains or damage. You don’t want to start your makeover with a stained or sticky surface beneath the finish.
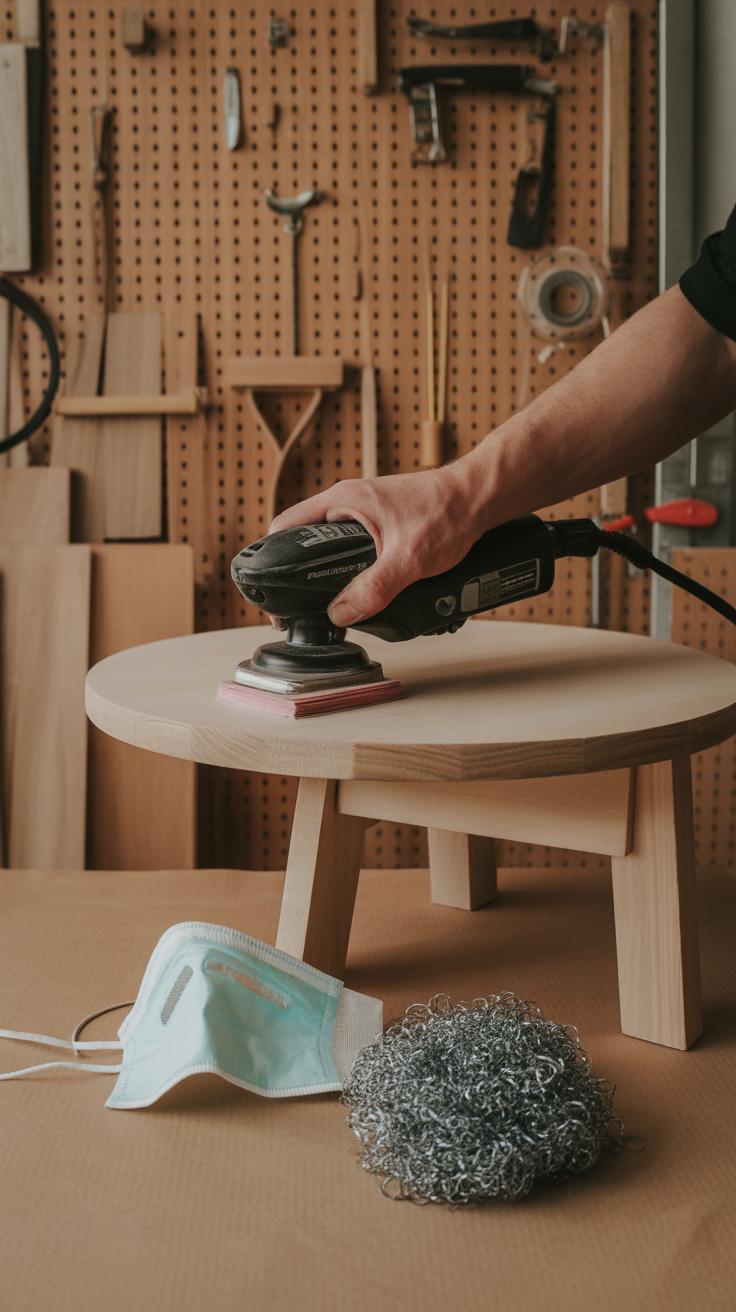
Sanding and Stripping Paint
Once clean and dry, it’s time to prep the surface. Sanding doesn’t just rough up the finish—it creates a better “grip” for whatever comes next, whether that’s paint or stain. For soft wood or delicate pieces, use fine-grit sandpaper (220 grit or higher) to avoid damaging the grain. If your furniture has thick layers of paint or varnish, you might need a coarser grit to start (around 80-120) before finishing with finer paper.
Paint stripping is sometimes necessary, especially if old finishes are peeling or bubbling. Chemical strippers work well but require care and ventilation; you don’t want harsh fumes lingering as you work. Mechanical methods like scraping or sanding can do the job but risk gouging the wood if you’re not careful. A mix of patience and trial here helps—sometimes sanding alone is enough, other times stripping is unavoidable.
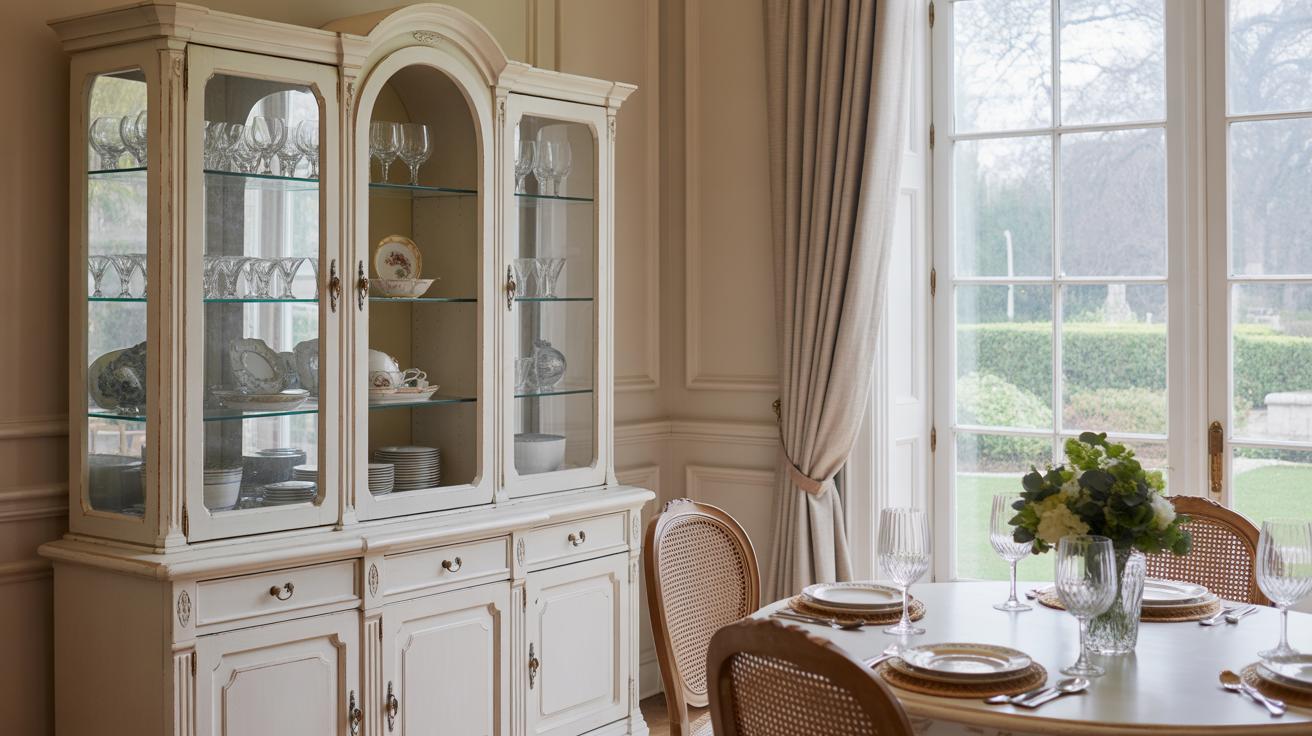
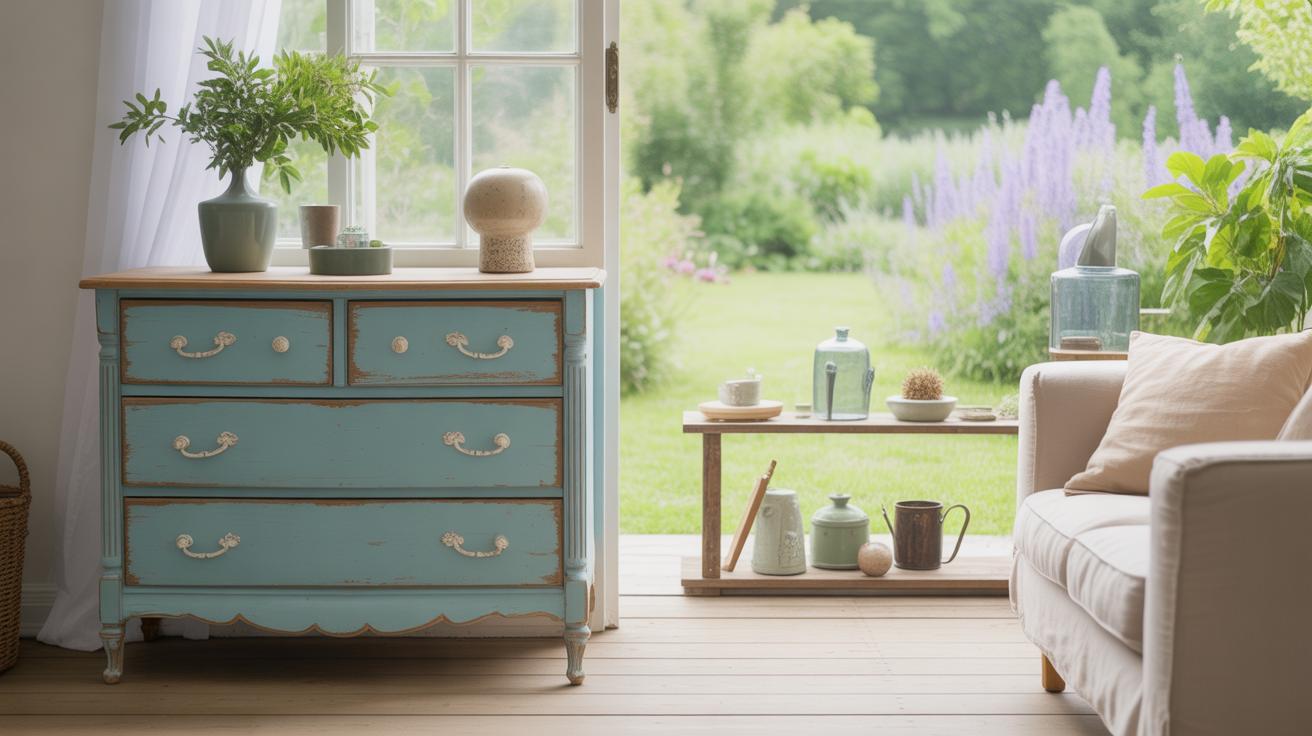
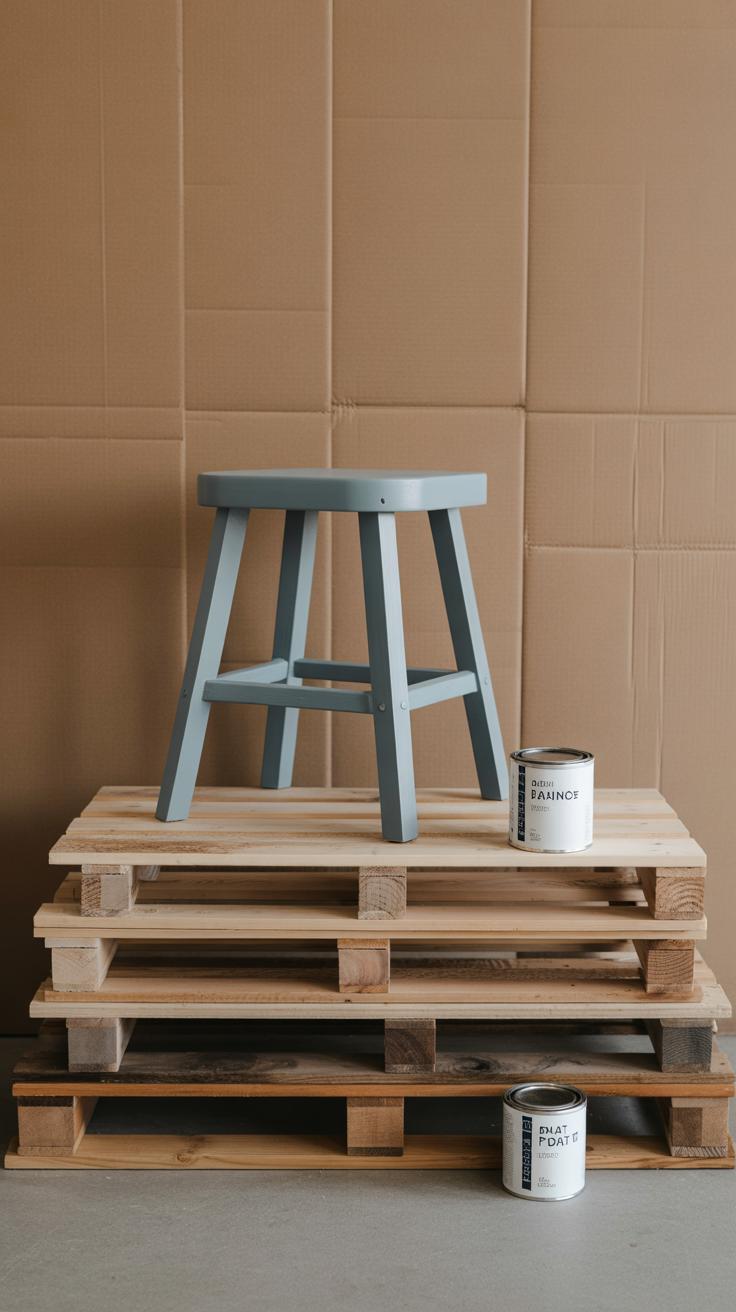
Painting and Staining to Refresh Furniture
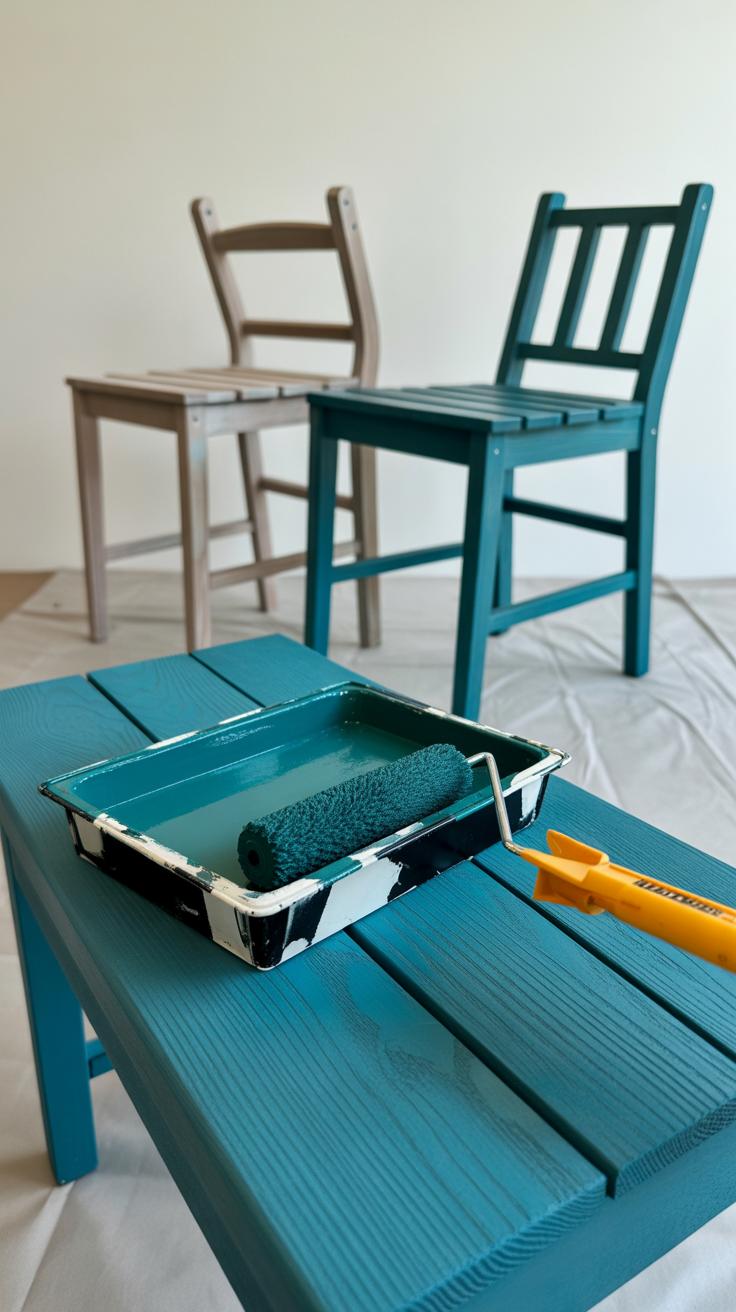
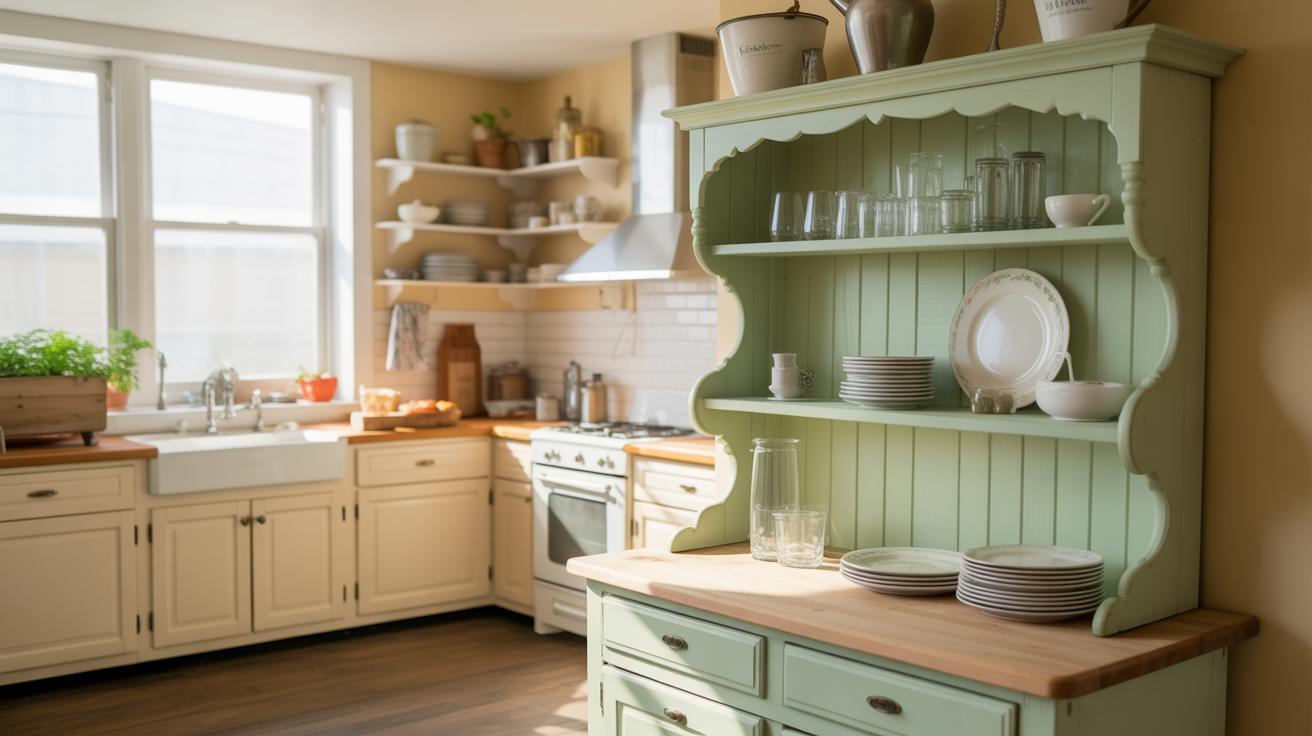
Once your furniture is prepped and ready, paint and wood stains are the natural next step to give it a fresh look. Choosing between paint and stain depends on the effect you want. Paint covers the surface completely, hiding any flaws and offering endless color options, while stains soak into the wood, highlighting its grain. Both require some patience but can change a piece entirely.
When picking paint, think about latex or acrylic for ease and cleanup, or go for oil-based paints if you want durability—though these take longer to dry. Stains vary too, from water-based to oil-based, with different drying times and effects. Using a brush or foam applicator, apply thin, even coats to avoid drips. I’ve found that multiple light layers always look better than one heavy coat—it feels slower, but the result is cleaner.
Choosing Colors and Finish Types
Color choice feels tricky. Should you match the room exactly, or pick something bold to contrast? It partly depends on your style goals. Soft neutrals are safe and blend well, but a splash of color can lift the whole room’s mood. Think about existing fabrics, walls, and lighting. For finishes, matte hides imperfections, satin offers some shine without gloss, and gloss is more reflective but shows every little scratch.
Sometimes the match you imagine isn’t what you get in real life. Paint samples on hidden spots first, or test full swatches near where the furniture will sit. It helps avoid surprises and lets you see how light changes the color through the day.
Painting Techniques for a Smooth Look
The tools you pick matter. Natural-bristle brushes often work best for oil-based paints; synthetic ones for water-based. Foam rollers or pads can provide a smoother, bubble-free finish if you’re careful. Before painting, stirring the paint thoroughly and straining it can reduce clumps.
Spraying is tempting, but it takes practice and space. For most, brushing is enough if you’re patient. Let each coat dry fully—rushing leads to tacky spots and uneven layers. Light sanding between coats with fine-grit sandpaper smooths the surface, but don’t overdo it or you’ll rub off the paint itself.
One trick I picked up: painting in the direction of the wood grain helps hide brush marks. Also, opening windows or using a fan speeds drying, which feels better than sitting forever waiting. Overall, the key is to slow down, work in layers, and keep your workspace dust-free.
Reupholstering Chairs and Sofas
Selecting Fabric and Tools
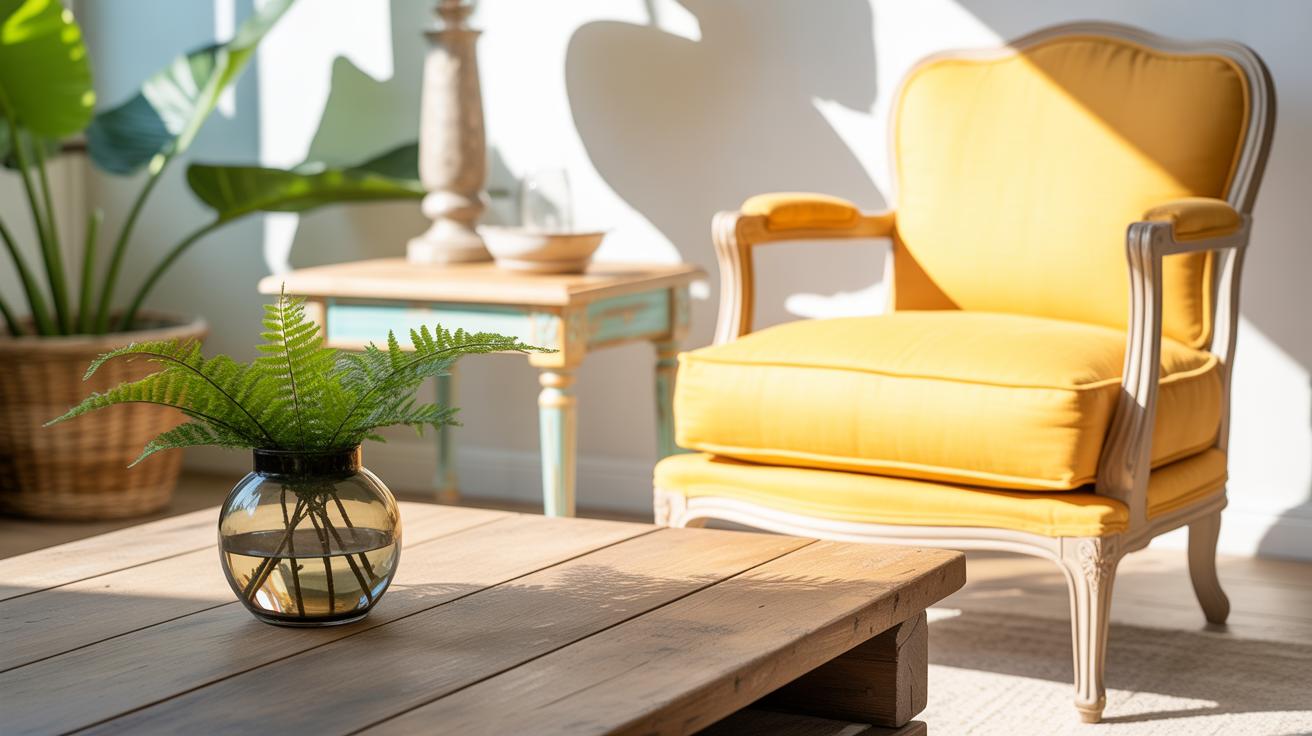
Picking the right fabric can feel overwhelming. You want something durable enough to stand up to daily use but also stylish enough to refresh your space. Cotton blends and microfiber are practical choices. They wear well and clean relatively easily, which might be a relief, honestly. If you prefer a bolder look, consider velvet or linen, but keep in mind they may need extra care.
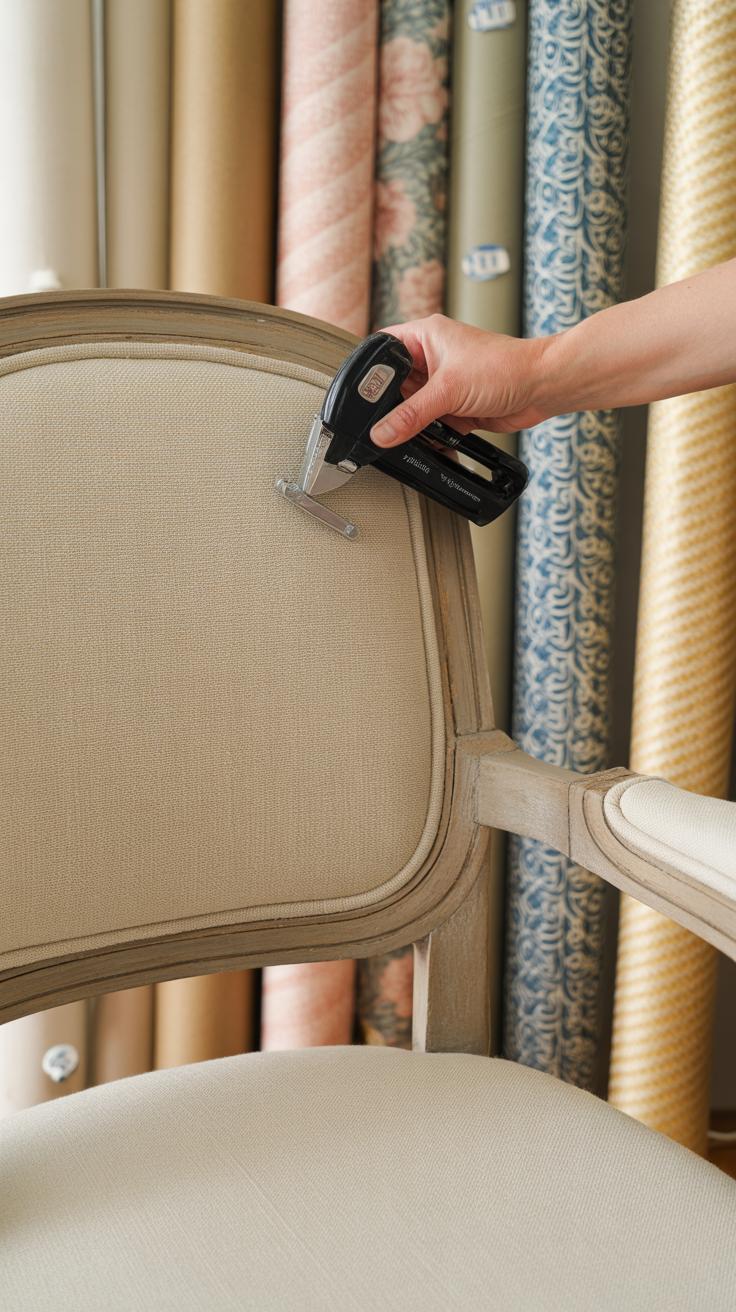
Tools? You’ll need some basics like a staple gun, upholstery needle, scissors, and maybe pliers to pull out stubborn staples. A good upholstery screwdriver helps to disassemble parts without damage. Oh, and don’t forget a spray adhesive for securing new foam—more on that in a moment.
Step-by-Step Upholstery Process
Reupholstery starts with patience. Begin by carefully removing the old fabric—usually stapled underneath or behind the frame. Keep the old fabric pieces; they’ll act as perfect templates for cutting the new material. You might be surprised how helpful that little trick is.
Next, inspect and replace the cushions or foam if needed. New foam can dramatically increase comfort, and layering batting smooths out any rough edges. Attach it with spray adhesive or sew it in, depending on your skill level.
When you tack on the new fabric, pull it tight but avoid overstretching—it can cause distortions later. Start stapling from the center of one side, then move to the opposite side, alternating sides as you go along. Working your way toward the corners last helps with neat folds and creases. Don’t rush here; you’ll see how a slow, steady pace pays off.
Finally, trim any excess fabric and give everything a good press where possible. If you find some spots tricky, it’s normal—you’re learning. With this approach, you’ll breathe new life into your chairs or sofas without spending a fortune or sending them off for professional work.
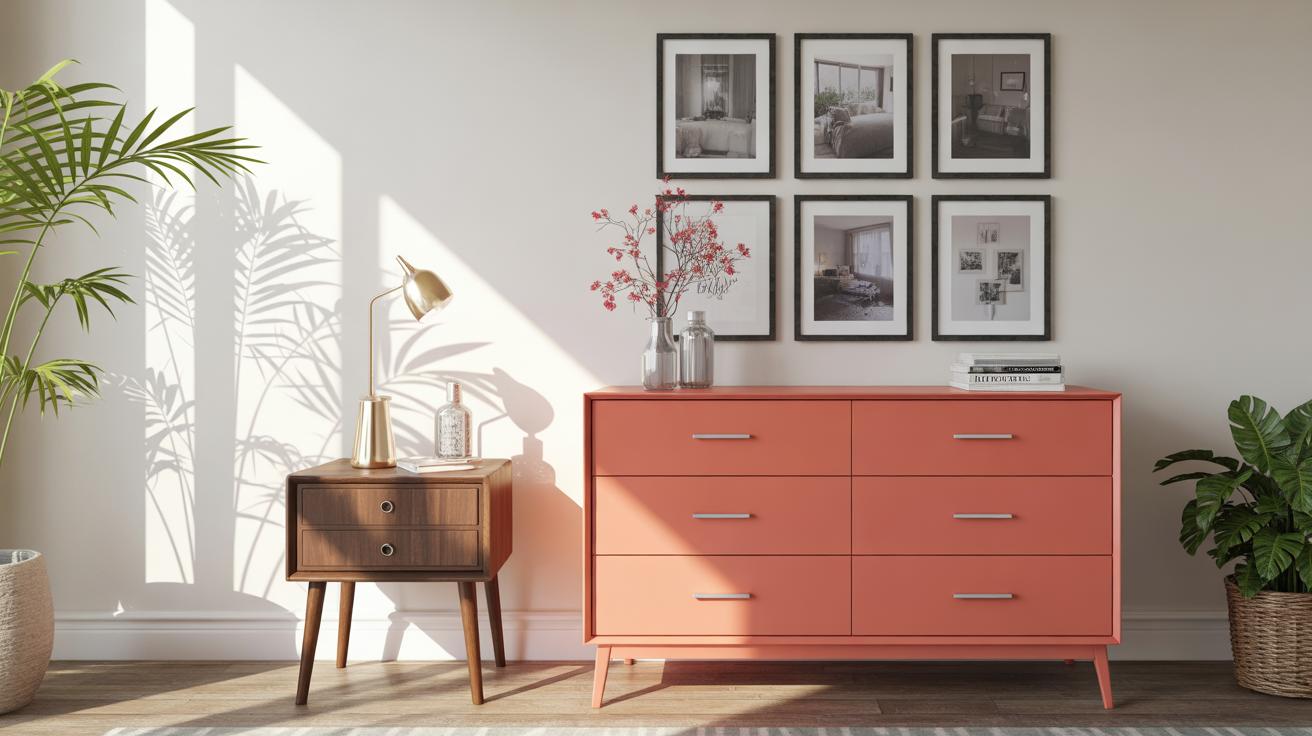
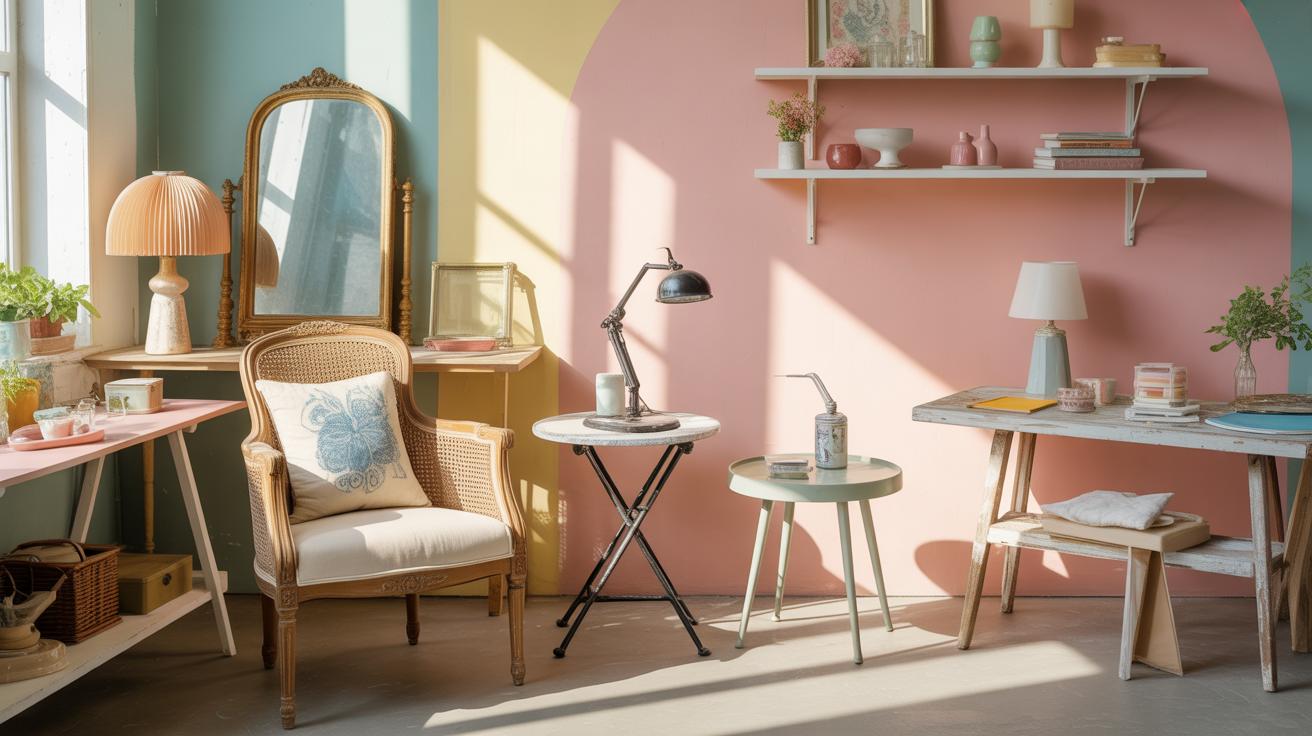
Adding New Hardware and Decorative Elements

Giving furniture a fresh look doesn’t always mean a full makeover. Sometimes, swapping out old knobs and handles can make a surprising difference in just minutes. New hardware can instantly give a tired dresser or side table a more modern vibe—or even a quirky twist if that’s what you’re going for. I’ve found that even simple changes, like matte black pulls replacing shiny brass ones, can shift how a piece fits in a room. But choosing the right hardware isn’t just about looks; function matters, too. You want sturdy handles that feel right in your hand and don’t interfere with daily use.
Hardware Selection Tips
When picking out knobs or handles, consider these points:
- Match the hardware style to the piece’s era—vintage furniture often pairs well with classic or ornate knobs, while modern styles suit sleek, minimal pulls.
- Think about the size and scale—oversized knobs on a small drawer can look odd, and tiny handles on a big cabinet may feel impractical.
- Consider the finish and how it relates to other elements in your room—do you want the hardware to blend in or stand out?
- Test the feel—hardware used frequently should be comfortable to grasp and durable enough for regular wear.
Sometimes, you find a knob or handle that just clicks with a piece—it’s oddly satisfying. Other times, you realize that what looked good in the store feels off at home. That’s part of the fun, I guess.
Applying Decorative Accents
If swapping hardware feels too minor, adding decals, stencils, or trim can take your furniture makeover a step further. Applying a subtle stencil pattern or a border of decorative trim on cabinet doors can refresh an old dresser or nightstand without overwhelming the original design. Decals offer a flexible way to experiment—you can commit, adjust, or remove them as you go along.
Here are a few ideas you might try:
- Use painter’s tape to create sharp stencil edges for geometric or floral patterns.
- Attach lightweight wood or metal trim along edges to add dimension. It’s easier than it seems but gives a surprisingly polished result.
- Try mixing finishes—matte paint with glossy decals or textured trim to add visual interest.
Sometimes I wonder if the best part is the chance to play around and not worry too much about rules. You can do quite a lot with just some well-placed accents. What do you think your furniture would say if it could choose its own decoration?
Creative Uses of ReadytoAssemble Furniture
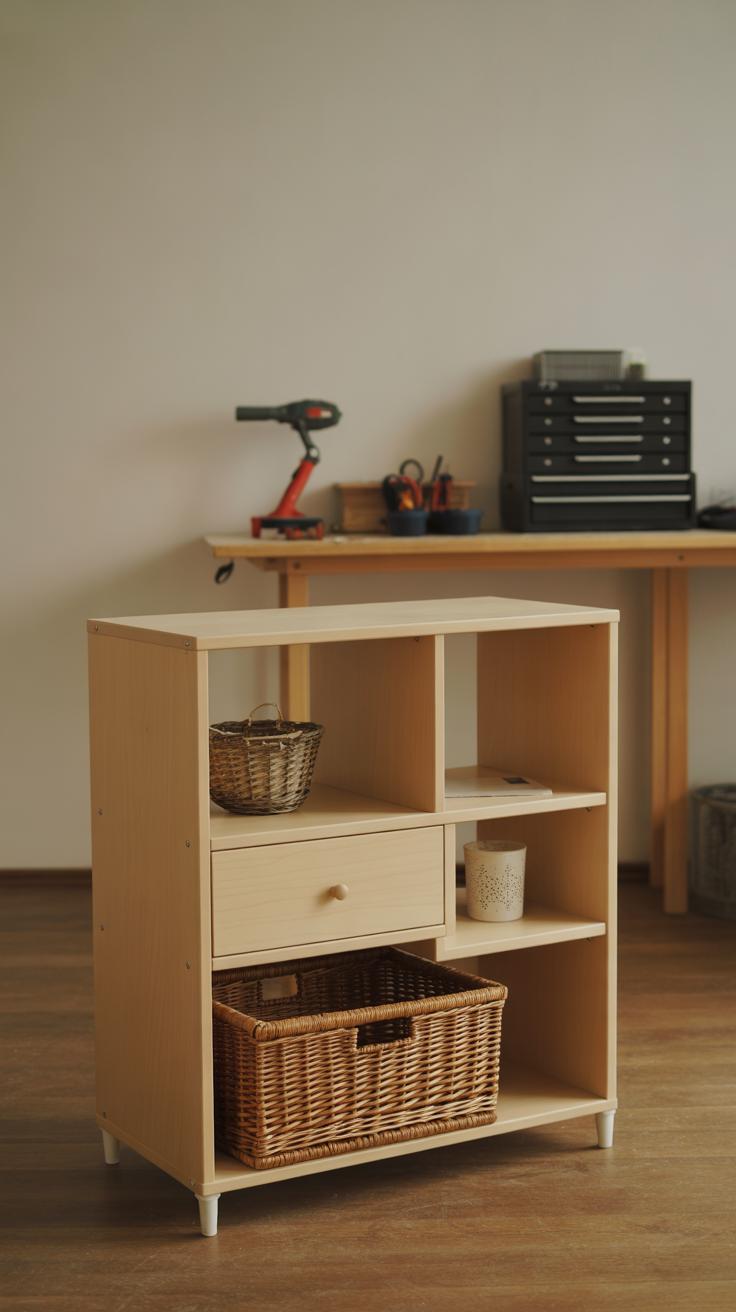
You might have noticed how flat-pack furniture has become a go-to choice for many when refreshing a space. It’s flexible, budget-friendly, and, honestly, a bit of a blank canvas waiting to be shaped by your tastes. Sure, it arrives in pieces and instructions can be, well, a bit puzzling sometimes. But that’s also part of the charm—assembling it yourself gives a sense of ownership right from the start.
One reason flat-pack furniture appeals is the range of sizes designed to fit smaller rooms or tricky corners, which can be a lifesaver when your space isn’t exactly spacious. It saves money compared to fully assembled pieces, yet you don’t have to sacrifice style or functionality.
There are plenty of ways to make these basic items feel truly yours. Painting surfaces with unexpected colors can change the tone instantly—maybe try matte black or pastel blue rather than the standard white. Adding contact paper or fabric to surfaces can bring texture and personality. Some folks even combine parts from different kits to create furniture that’s one-of-a-kind. Ever thought about stacking shelves horizontally as a bench? It’s a simple rearrangement with impact.
Really, it’s about seeing potential where others might just unpack and assemble without a second thought. What can you do that goes beyond the instructions? This bit of creative freedom lets you refresh your space on your terms—without a huge investment.
Sustainable Furniture Makeover Ideas
When refreshing your furniture, choosing eco-friendly methods can make a difference—not just in your home, but for the planet too. Using non-toxic paints and finishes limits harmful chemicals in your space, making the air cleaner and safer. I once swapped out my usual paint for a water-based, low-VOC one, and honestly, the smell was barely there, which was a relief.
Picking materials carefully matters. Look for natural fabrics like organic cotton or linen for reupholstering, and avoid synthetics that shed microplastics. There are paints made from mineral pigments or plant-based oils that last well and feel better to work with. These choices might cost a bit more, but they tend to age gracefully and feel right.
Repurposing parts from old furniture is another way to practice sustainability. Maybe a drawer front becomes a wall shelf, or some sturdy wood planks transform into a tabletop. Hardware such as knobs and hinges can be cleaned and reused, giving new pieces a unique character. It’s a bit like giving objects a second chance rather than tossing them out.
Do these approaches always fit into a quick makeover? Not always. But they add a layer of value that might surprise you. What’s your take on balancing green choices with practicality? It can be tricky, but even small steps help.
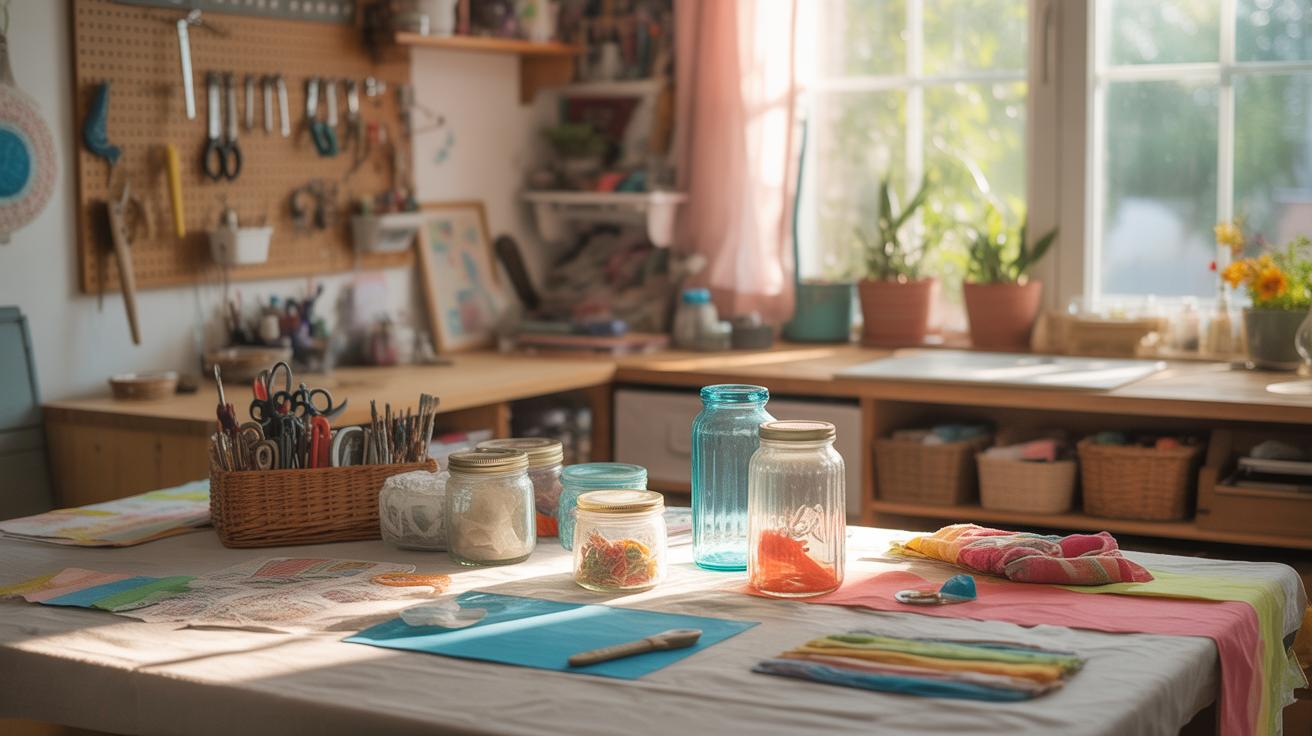
Tools and Safety Tips for Furniture Makeover

Basic Tools Overview
When you’re ready to tackle a furniture makeover, having the right tools really makes a difference. You don’t need a huge toolbox, but a few essentials come in handy. Sanders, for example, are great when you want to smooth surfaces or remove old finishes. There are different types—orbital, belt, and detail sanders—and picking the right one depends on your project. Brushes are another must-have, especially for painting or applying stains. Flat brushes cover large areas, while angled ones help with edges and corners.
A staple gun might seem a bit specialized, but it’s surprisingly useful for upholstering or attaching fabric. You might also want clamps, screwdrivers, and a good tape measure. These basics cover a lot of ground, though sometimes you’ll find yourself reaching for a tool you didn’t expect.
Safety Precautions to Follow
Using these tools safely can’t be stressed enough. When sanding, dust is everywhere, and inhaling it isn’t good. Wearing a dust mask or respirator is a solid move—don’t skip it just because you think it’s a quick job. Eye protection is also a must; even a tiny splinter can cause trouble. Gloves come in handy but remember, sometimes gripping tools firmly is tricky with bulky ones on, so balance comfort and safety.
Handling power tools calls for respect. Start slow, control your movements, and don’t rush through. Keep your workspace tidy to avoid tripping over cords or bumps. And here’s a question for you—have you ever felt tempted to skip these precautions when you were just “touching up”? It’s easy to think it won’t matter, but accidents tend to happen in those moments.
Finishing Touches and Maintaining Your Makeover
Applying Protective Finishes
Once you’ve given your furniture a fresh look, protecting that surface is key. You have choices like varnish, sealants, or wax, each with its quirks. Varnish creates a hard shell, shielding against scratches and moisture. It’s usually glossy, but matte versions exist if you want a subtler effect. Sealants, often water-based, dry faster and keep the wood breathable, which might be better for certain pieces. Wax offers a softer finish, which some prefer for touch and feel, but it requires more frequent reapplication.
Think about where your furniture will be used. A dining table might need a tougher finish than an occasional side table. Also, remember that applying these finishes takes time and patience. Sometimes the first coat doesn’t look perfect, but a second or third can really build up protection and depth. Try testing a small, hidden area before committing—it saves hassle later.
Cleaning and Care Tips
Maintaining your makeover isn’t complicated, but regular care does make a difference. Dust often with a soft cloth to avoid tiny scratches building up. Avoid harsh chemical cleaners—they can break down the finish and dull the look you worked hard to create. Instead, a damp cloth, sometimes with a bit of mild soap, usually does the trick.
Pay attention to spills right away. Even protected surfaces can stain if substances sit too long. And if your furniture has wax, remember you’ll need to buff and reapply every so often to keep the surface looking fresh. It’s a bit like skincare for furniture—small rituals help a lot.
Have you noticed how some pieces develop a character over time? That’s partly due to use and care. Your approach to maintenance might evolve with your taste. Maybe you start off fussing more, then relax into enjoying the natural wear. Either way, these protective steps keep your furniture from degrading too fast, letting your makeover stay striking for years.
Conclusions
Reviving your furniture is a great way to improve your home’s atmosphere without spending much money. By using the makeover ideas shared here, you can turn old or plain furniture into unique items that reflect your style. Many methods require basic tools and supplies and allow you to add personal touches.
Try these ideas to bring fresh energy to your furniture and home. Small changes can make a big difference. Focus on one project at a time and enjoy the process of transformation. Your space will soon feel renewed and more inviting.


