Introduction
Fun DIY recycled projects offer a way for you to turn everyday household items into new, useful creations. This approach helps reduce waste by giving old items a new life. It encourages creativity and helps save money while protecting the environment.
In this article, you will find practical projects to upcycle household items. You will learn how to transform common waste into valuable items. These ideas are easy and require simple materials. You can follow the steps to make your home more eco-friendly and unique.
Understanding the Benefits of Recycling and Upcycling
Recycling and upcycling aren’t just about tidying up your home or cutting down on clutter. They carry real environmental and economic weight. By reusing household items, you actively reduce the amount of waste sent to landfills. That’s a big deal, because less waste means fewer resources getting buried and less pollution released into the air and water.
Think about the energy saved. Recycling materials like aluminum cans or paper uses far less energy than creating those products from raw resources. This energy saving can be surprisingly significant when multiplied by millions of households. The same goes for upcycling, though it stretches creativity further—it often requires less processing than recycling.
On the economic side, both practices can save money. You avoid buying new items, and sometimes even create products with higher value than the original. Upcycling, especially, invites you to see trash as potential treasure, encouraging inventiveness and resourcefulness.
What if we started looking at our old stuff as a resource, rather than just waste? That shift alone might change how much we throw away and how much energy we consume every day.
What is Recycling and Why It Matters
Recycling means taking materials that would otherwise be discarded and turning them into something new. For example, when you toss plastic bottles into a recycling bin, those plastics can be melted down and remade into new containers or fabric fibers.
This process reduces the need to extract fresh materials like oil or wood, preserving natural resources. Plus, recycling usually uses less energy compared to producing items from scratch. For example, recycling aluminum saves up to 95% of the energy required to make it from raw ore.
Besides energy, recycling cuts down on pollution and greenhouse gases. It’s not a perfect system, but it gently nudges us toward less waste and more mindful consumption. Have you ever paused before throwing something away, wondering if it could be recycled?
Upcycling as a Creative Reuse Process
Upcycling is recycling’s more inventive cousin. Instead of breaking down items to their base materials, upcycling reimagines and reshapes waste into new products—usually of higher value or artistic appeal.
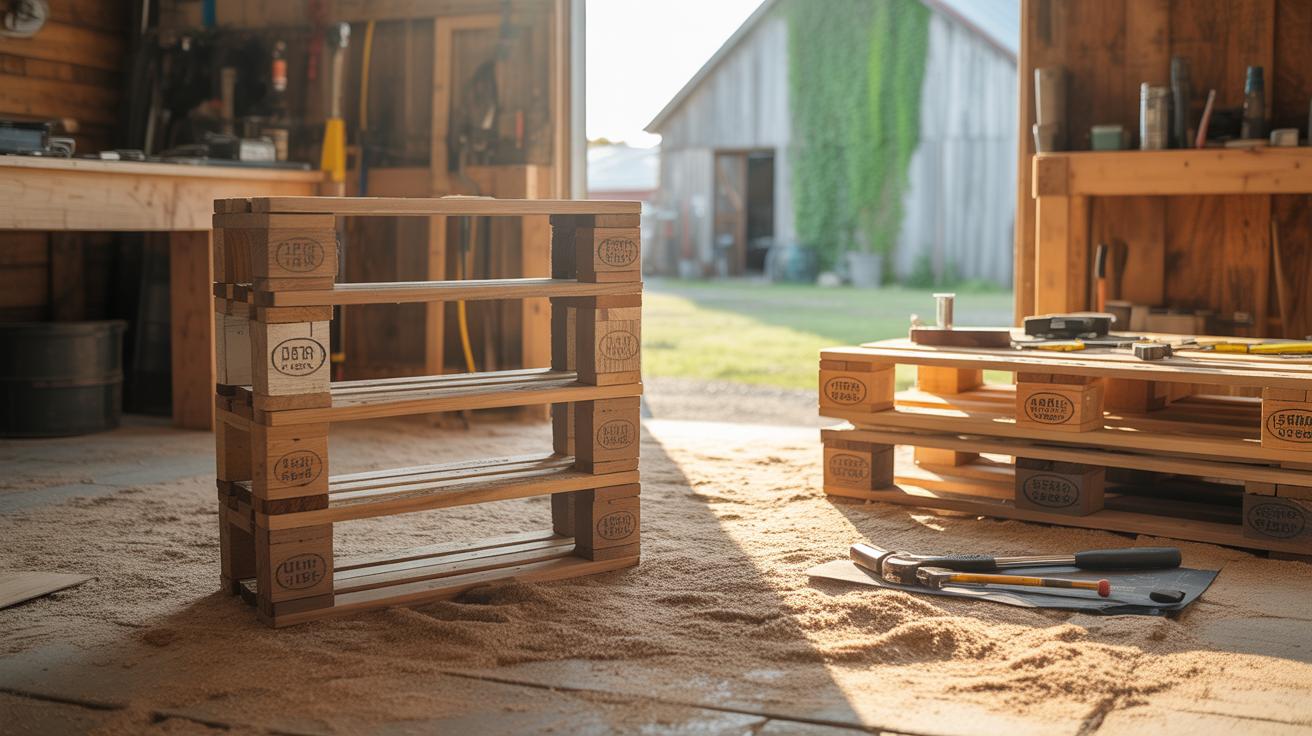
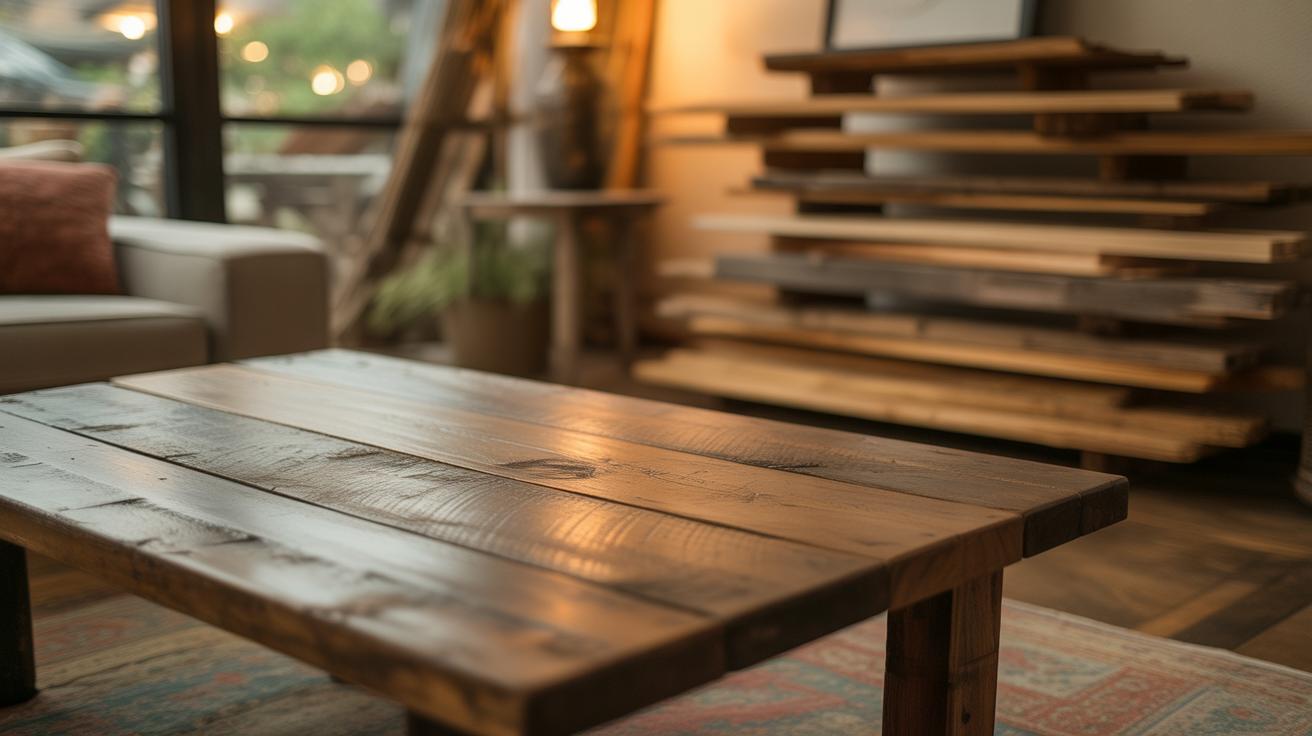
Take an old wooden pallet, for example. Instead of shredding it for particleboard, you might turn it into a rustic coffee table or a garden planter. This approach preserves the original form but gives the item a fresh purpose.
Upcycling breathes creativity into sustainability. It invites you to ask, “What could this be instead of what it was meant to be?” This mindset often leads to unique and personal projects that no recycling plant could replicate. While recycling focuses on efficiency, upcycling invites flair and individuality.
Getting Started with DIY Recycled Projects
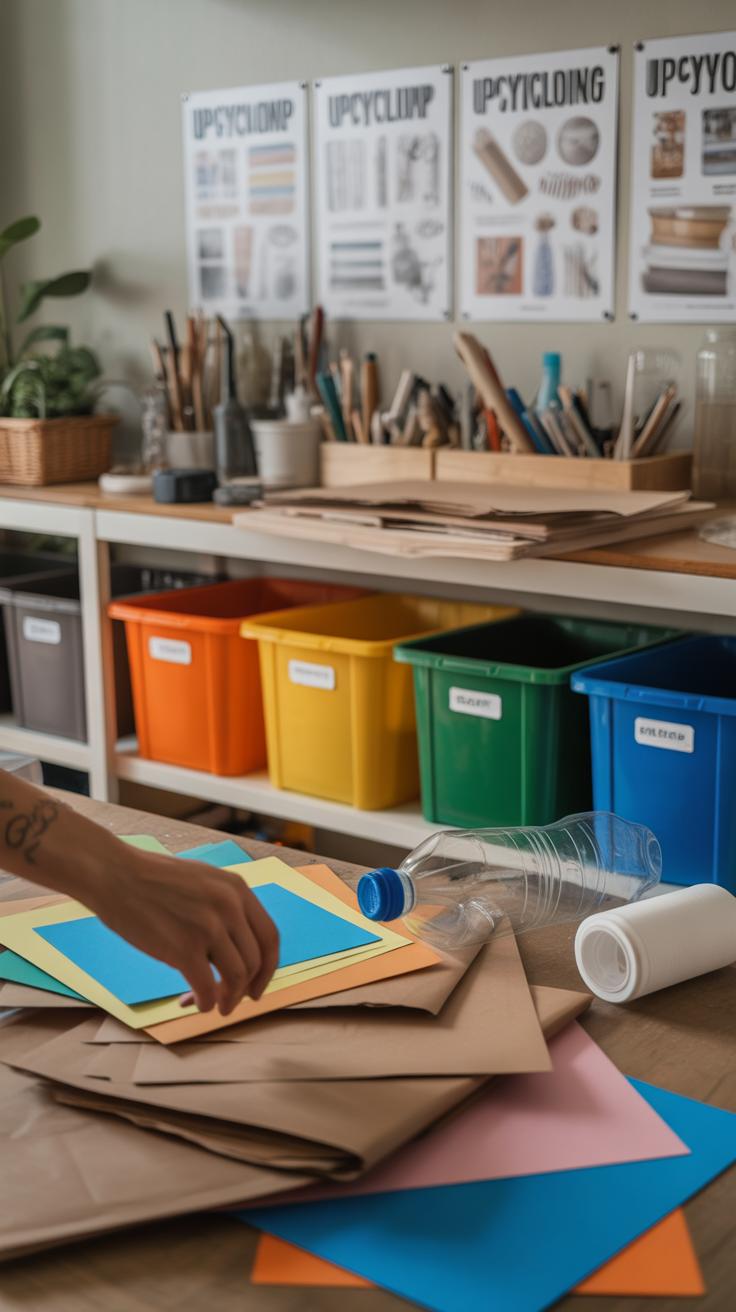
When you decide to jump into DIY recycled projects, the first thing to figure out is what tools and materials you really need. Don’t overthink it—sometimes a few simple things can get you far. For starters, scissors are probably the most basic tool you’ll reach for. Pair those with glue—either white craft glue or a stronger adhesive like a hot glue gun depending on what you’re making. Some paint and brushes come in handy too if you want to add color or texture. It might seem obvious, but don’t forget a ruler or measuring tape; it helps keep things neat.
Think about the materials you already have around. Old jars can become storage or lanterns, fabric scraps might turn into coasters or patchwork decor, and cardboard—well, that’s surprisingly versatile for making boxes or fun sculptures. Paper rolls, bits of string, even broken jewelry can get new life. Just be cautious with items that could be dirty or sharp.
Setting up your workspace can be a bit tricky. Ideally, grab a flat surface—maybe your kitchen table or a corner in the garage—but make sure it’s clean enough to work on. Comfort matters too. If you’re standing for hours or sitting on a hard chair, you might lose steam. Also, good lighting helps avoid accidents, especially when cutting or gluing. Keep trash bins nearby—you’ll need them—and try to organize tools and materials within easy reach. A cluttered space can slow you down or even feel overwhelming.
Safety isn’t just about avoiding cuts or burns. Sometimes working too long without breaks can affect your focus. So, take short pauses. If you use strong glue or paints, work in a well-ventilated spot. And don’t rush. That eagerness to finish is normal, but careful crafting will save you from mistakes and frustration. Remember, these projects are meant to be fun, so if you feel overwhelmed, step back and breathe.
DIY Recycled Craft Ideas to Brighten Your Home
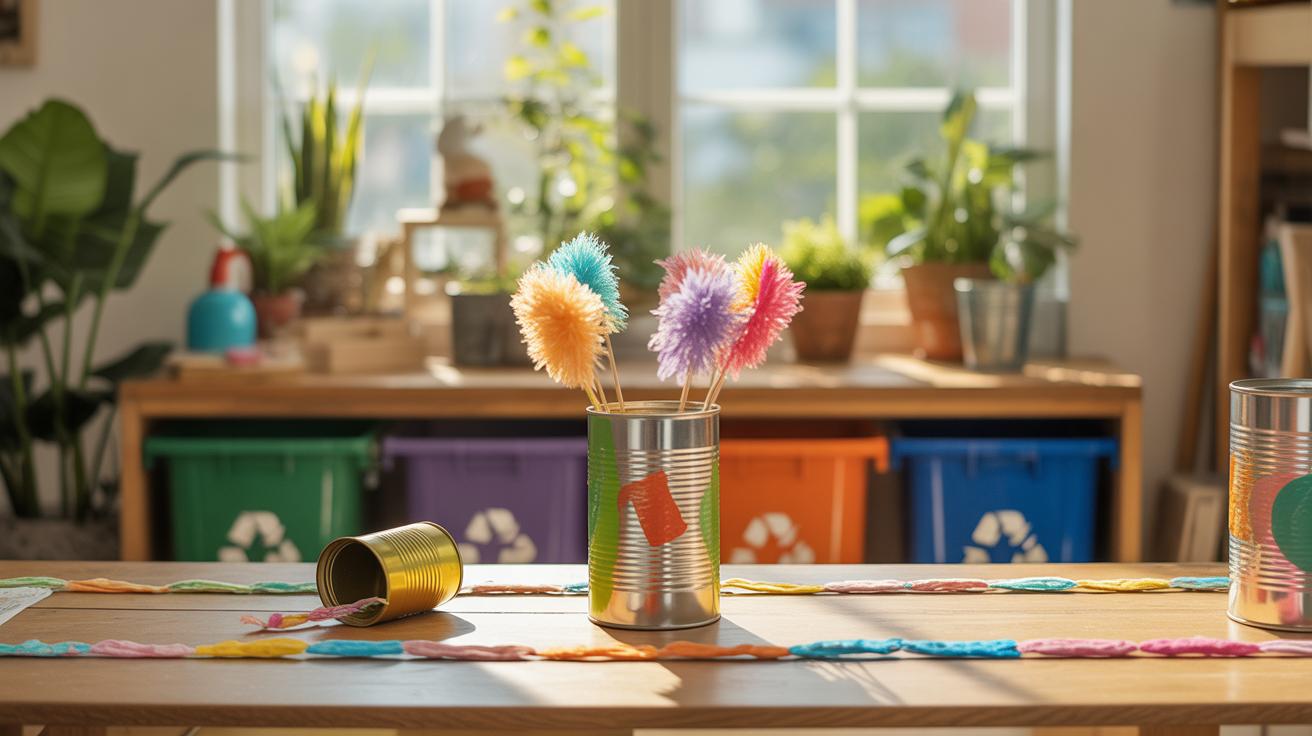
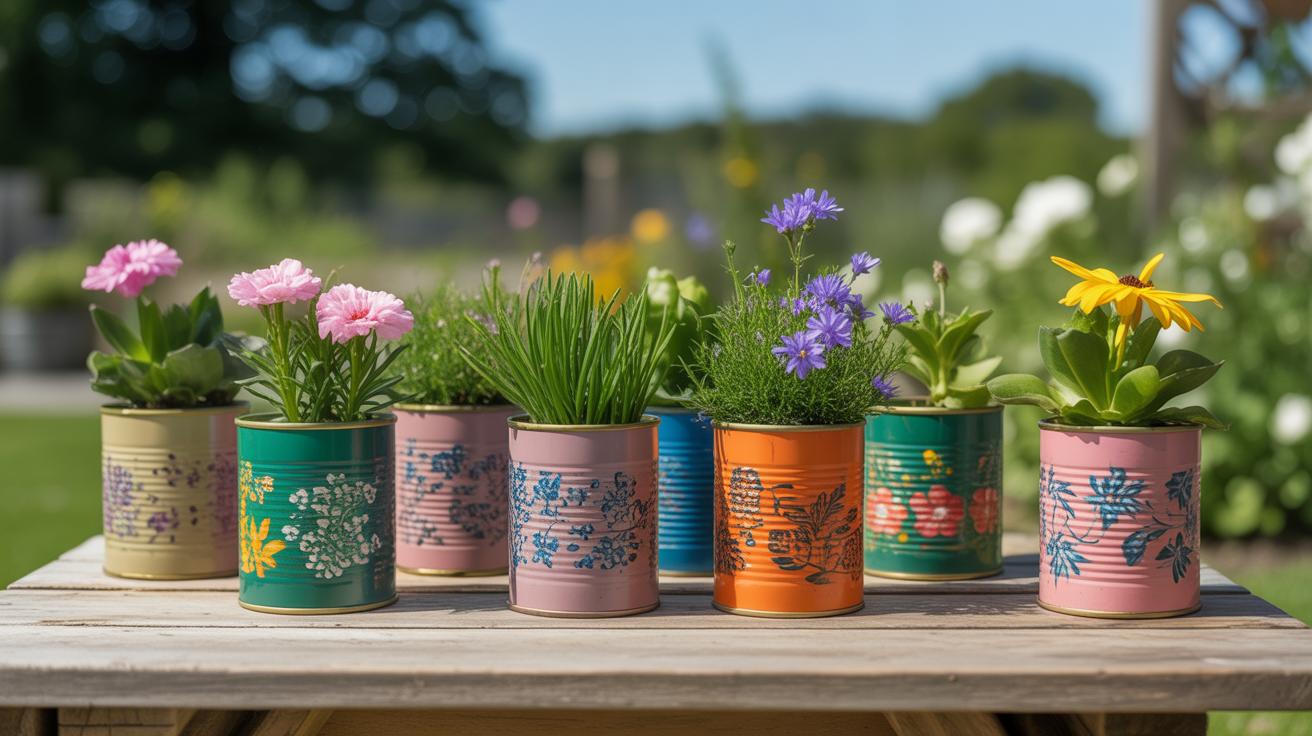
Making Flower Pots from Old Containers

You might have some cans or jars lying around that seem too ordinary to keep—but they can actually become charming flower pots with a bit of effort. First, give them a thorough clean. Soap and water work fine, but for stubborn labels or sticky residue, soaking helps. Sometimes scraping takes patience, I find.
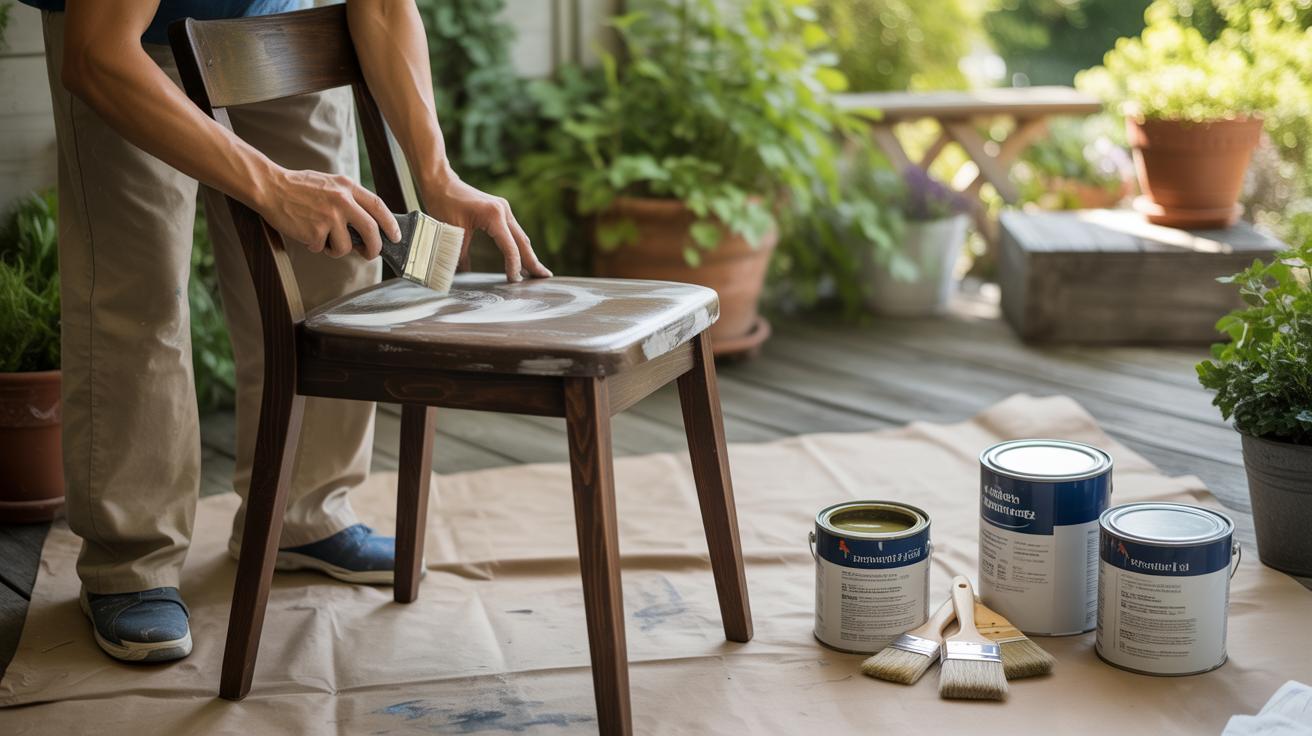
Once clean, think about how you want to decorate. Paint is an easy option; acrylics stick well and dry quickly. Or wrap containers with fabric scraps or twine for a textured look. You don’t need fancy tools—tape, glue, or even just tying things on can do the trick. If drainage is a concern, poke small holes in the bottom of metal or plastic containers to keep plants happy.
These flower pots can brighten corners of your home without costing much. Plus, repurposing gives these items a new life. Have you tried making pots like this? Sometimes, I enjoy the unpredictability of how they’ll turn out—a bit messy, but that’s part of the charm.
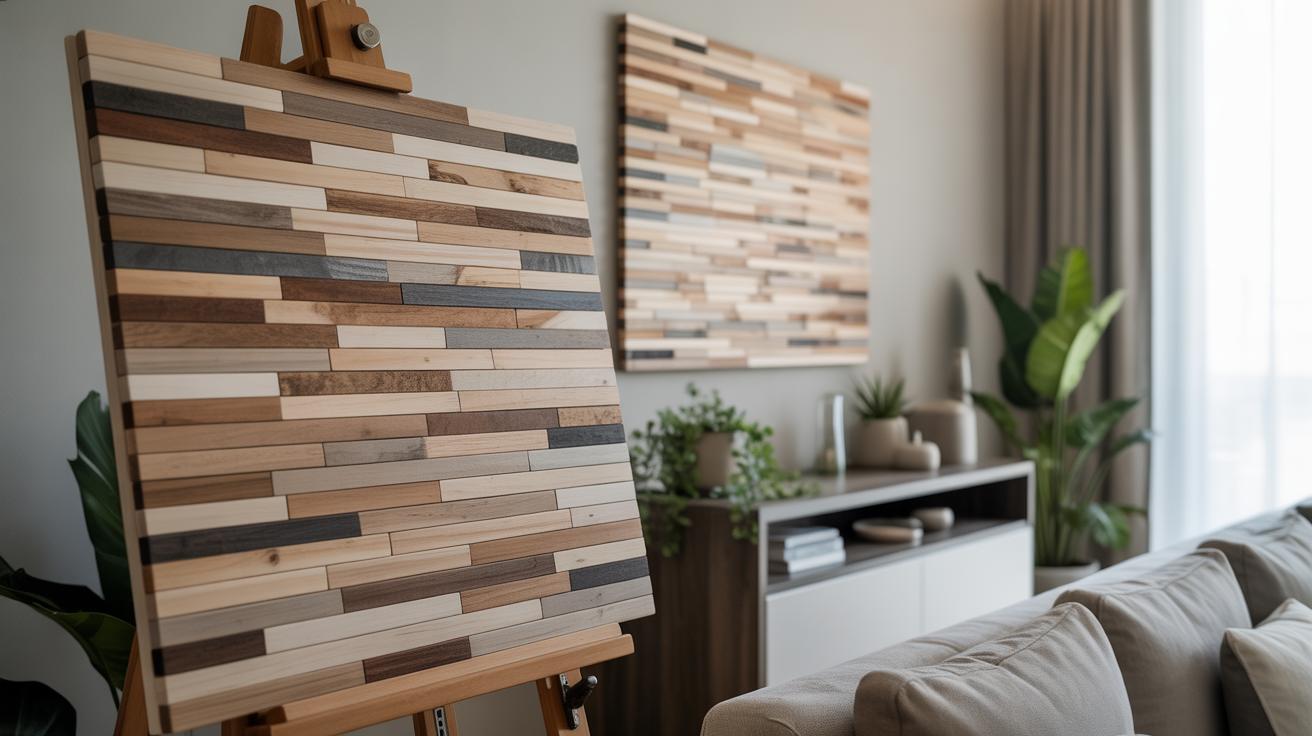
Creating Wall Art from Scrap Materials
Scrap paper, fabric pieces, old wood bits—they’re all supplies for unique wall art that you might overlook. Start by gathering colorful or textured leftovers. Arrange them on a base you have on hand, like cardboard or thin plywood.
Cutting shapes is easier than you think, even if your tools are basic. Collaging paper or fabric adds layers and depth. Sometimes, mixing materials feels a bit random, but that unpredictability often yields something interesting. You might glue strips, layer patches, or even nail small wooden pieces into patterns.
Don’t aim for perfection. Imperfection can make a piece stand out more. What matters is how the arrangement feels to you. This kind of project can create a focal piece for a room or simply turn an empty wall into something livelier. It’s flexible and surprisingly satisfying to see scrap bits become eye-catching art.
Transforming Glass Jars and Bottles
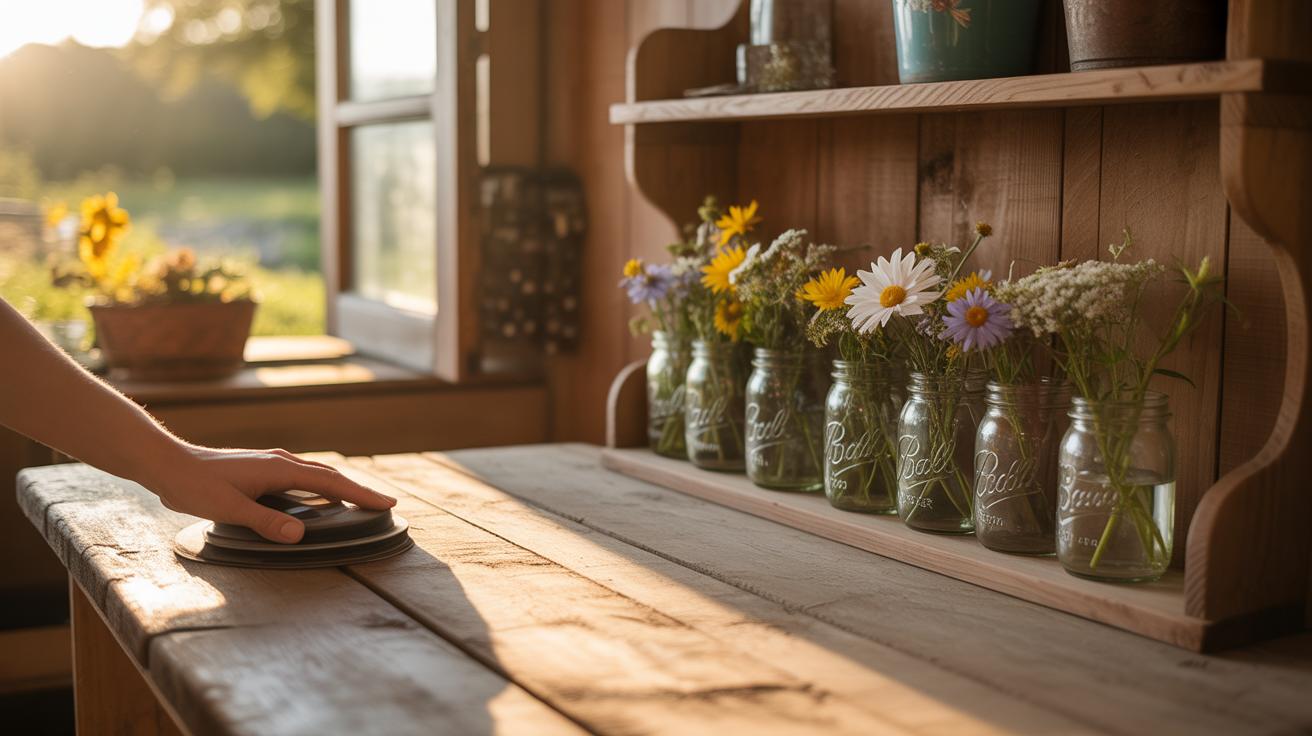
Turning Jars into Storage Solutions
Glass jars offer more than just a container for food—they can become tidy organizers for small household items. Start by washing them thoroughly and removing any stubborn labels. Soaking jars in warm soapy water usually does the trick, and gently scraping off glue with a sponge often works well too.
Once clean, think about labeling. You don’t have to get fancy. Masking tape and a marker serve just fine if you want to keep things simple. Or, if you feel a bit creative, decorate the lids with paint or fabric to add some personality.
These jars make perfect homes for buttons, screws, spices, or even office supplies like paper clips and push pins. Stacking similar jars together can clear up drawer clutter quickly. You might find yourself reaching for those jars more often than plastic containers because they’re just so handy—and somehow nicer to look at.
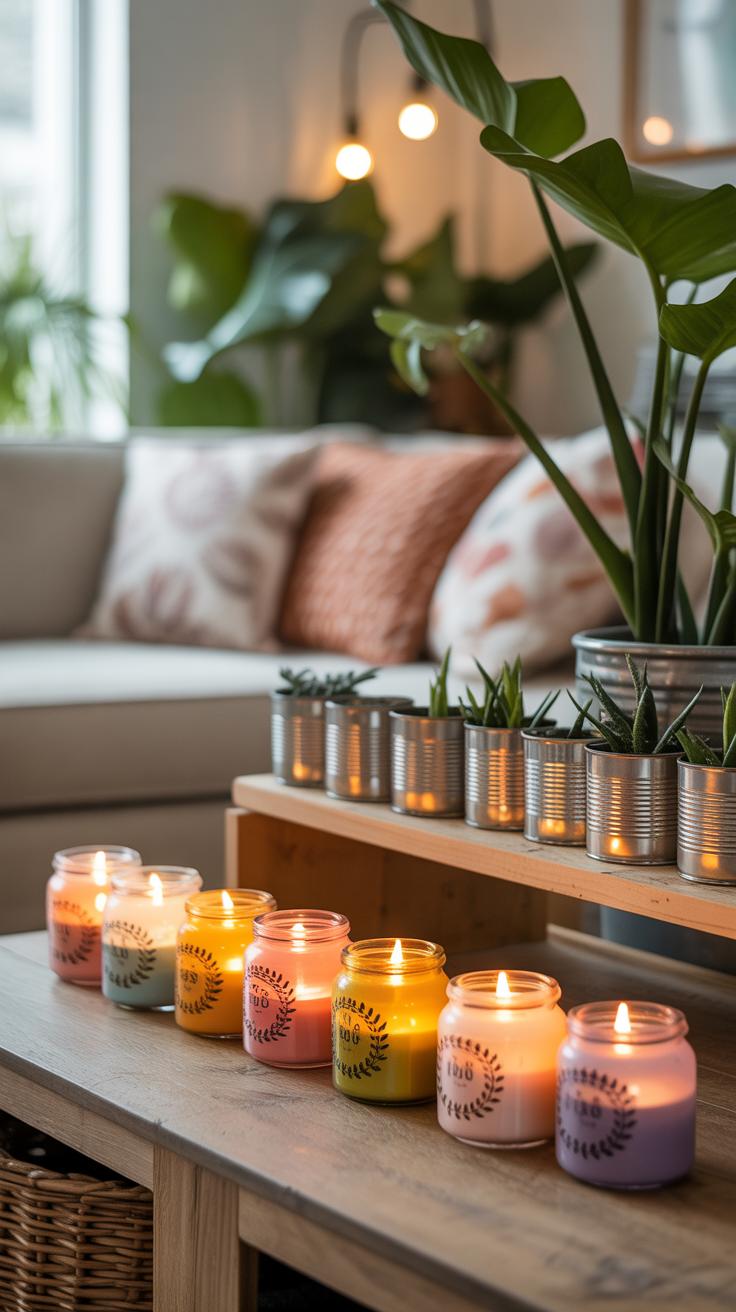
Making Decorative Lighting with Bottles
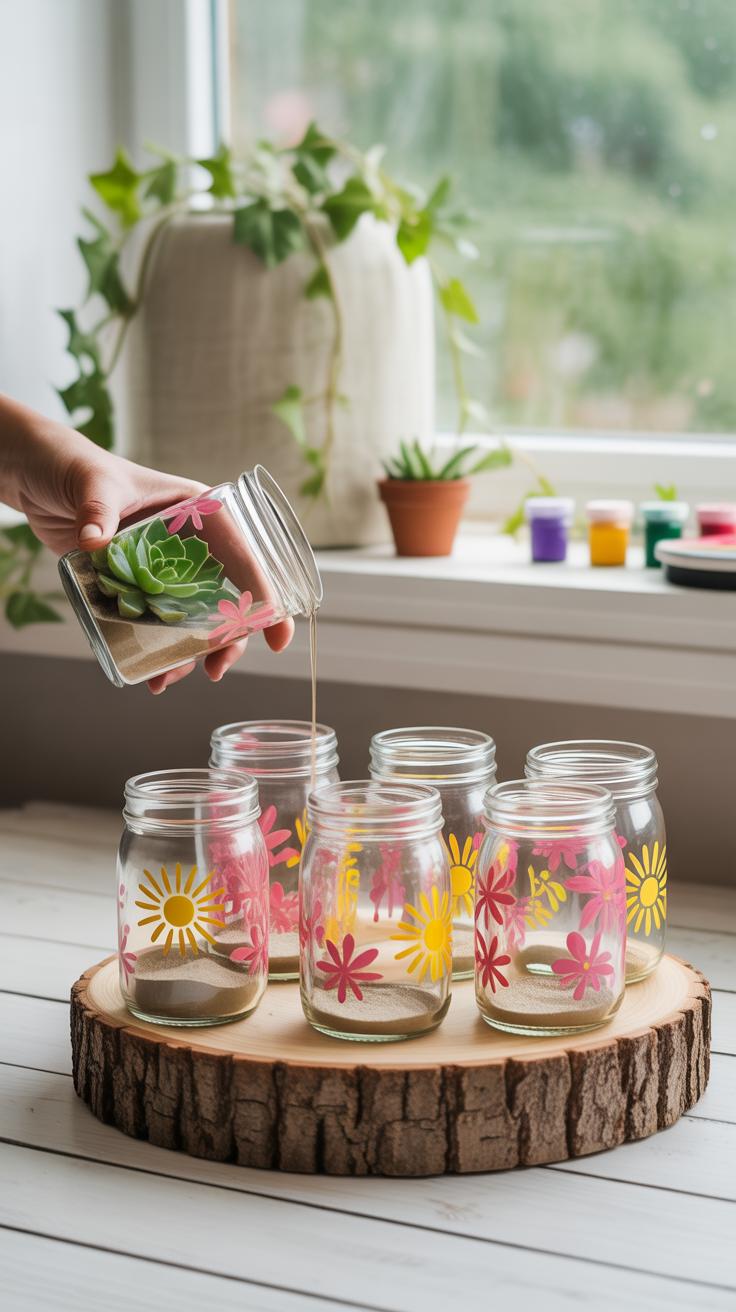
Turning bottles into lighting elements can change the mood in any room. Start by picking bottles that stand stable and have an interesting shape or color. Before you do anything, make sure you clean them thoroughly inside and out.
To create candle holders, remove the labels and make sure the bottle opening fits a tea light or small candle snugly. You can fill the bottom with sand or small pebbles for stability if needed. For a softer glow, try placing string lights inside the bottle. Battery-operated LED lights work best since they stay cool and are safer.
If you want to get a bit more adventurous, drill small holes in the bottle neck or sides to let light escape in patterns. Just take your time and protect your hands. Watching the light flicker through colored glass—it’s oddly satisfying, almost meditative. You might enjoy playing with how bottles cast shadows more than you expect.
Upcycling Old Clothes and Fabrics
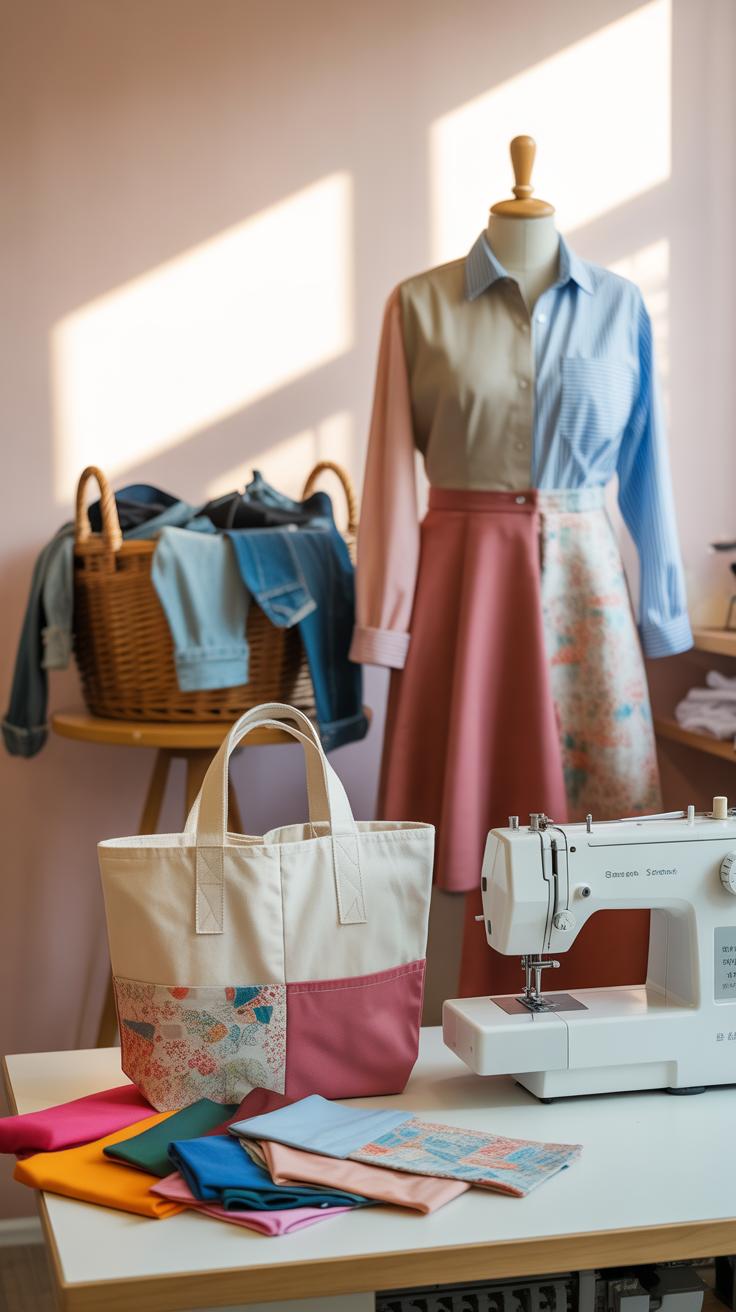
You might have worn-out clothes or fabric scraps lying around, and instead of tossing them, there are easy ways to give them new life. One idea I’ve found really useful is making tote bags from old T-shirts. You just cut off the sleeves and neckline, sew the bottom shut, and suddenly, you have a lightweight, washable shopping bag. No complicated patterns or fancy stitching needed. Actually, I wasn’t expecting much the first time I tried this, but it ended up being sturdy enough for groceries or a quick errand.
Another practical project is turning fabric scraps into coasters or small mats. You can braid strips together or simply sew small patches in a square or circle pattern. It’s surprisingly relaxing, though it takes a bit of patience. I’ve used old cotton shirts for this; thicker fabrics make more durable coasters. Plus, it’s a good way to experiment without wasting anything valuable. Do you ever wonder if these little projects might actually reduce clutter more than bulkier recycling efforts? It’s worth a try.
Both these ideas make repurposing fabric simple and do-able, even if you’re not an expert at sewing. Try to keep the stitching loose at first to adjust if needed. Sometimes, your second attempt will be… better. But hey, it’s all part of the process. And at the end, you’ll have something useful instead of just scraps tossed in a bin.
Working with Paper and Cardboard Waste
Paper and cardboard pile up faster than we realize. But before tossing them away, think about simple projects that can give these materials new life right at home. Reusing paper and cardboard doesn’t have to be complicated or messy. In fact, with just a bit of creativity, you can craft useful items that reduce waste and add a personal touch to your space.
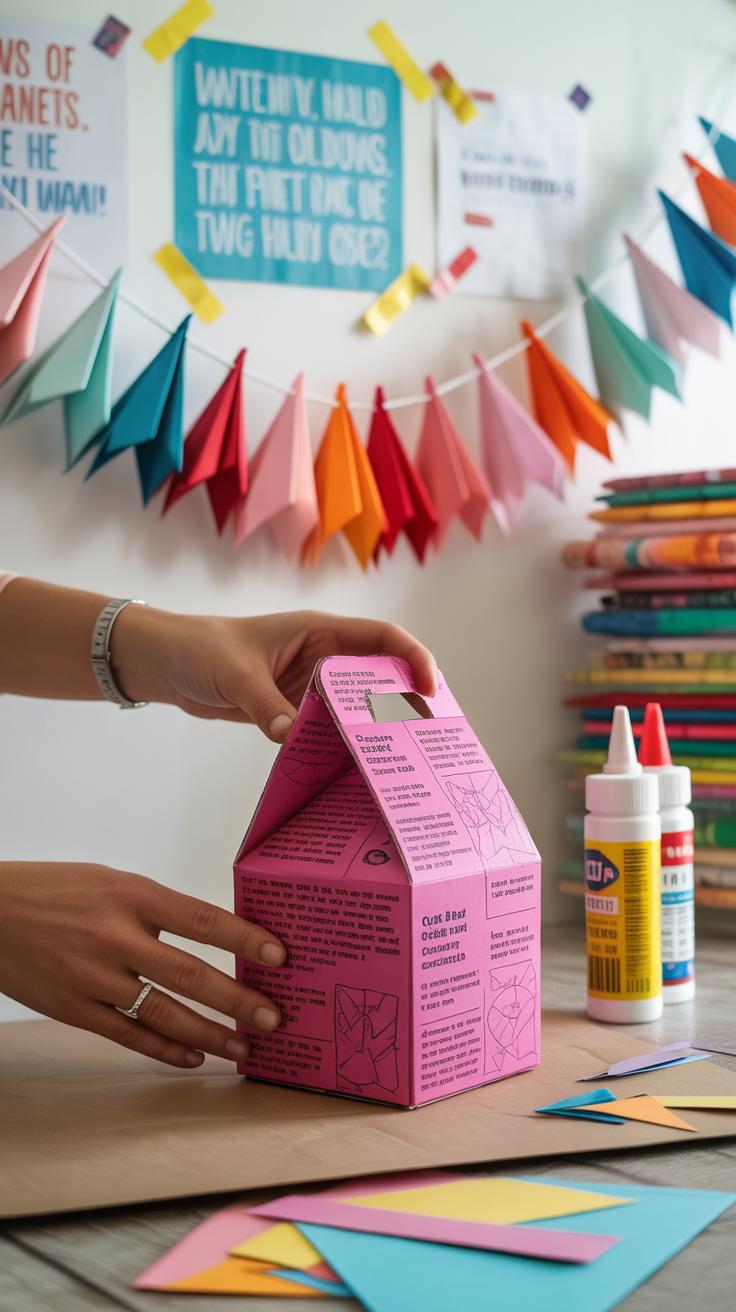
Crafting Gift Boxes and Cards
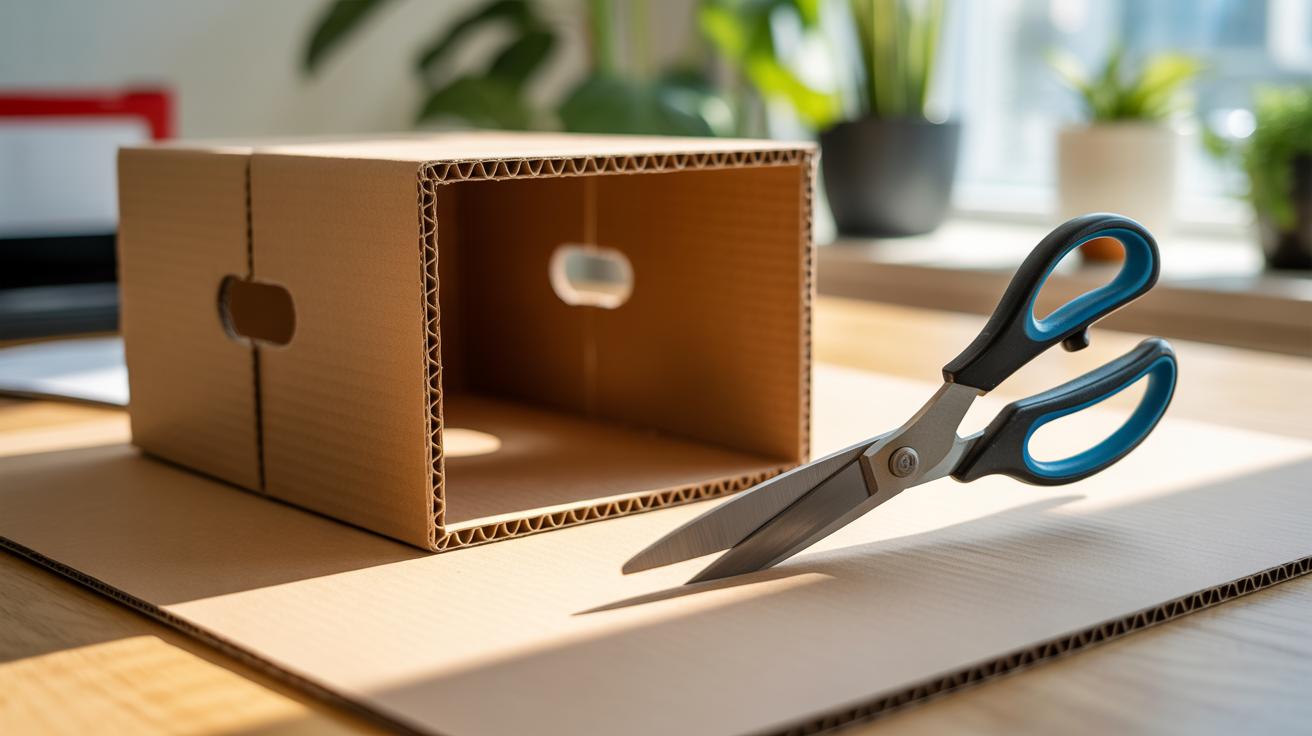
Making your own gift boxes and cards from scraps can be surprisingly satisfying. Cut cardboard into neat shapes to create boxes tailored to fit small gifts. You might want to decorate them with colored paper, old magazine clippings, or even fabric scraps—whatever’s around really. For cards, folded pieces of heavy paper work well, and you can personalize them with drawings or hand-written notes. It’s a nice way to reuse what would otherwise be thrown out, and your gifts will feel more thoughtful.
Building Organizers Using Recycled Cardboard
One project I kept coming back to is building organizers from sturdy cardboard pieces. You can measure and cut sections to make compartments and slots, perfect for desks or drawers. These holders keep things tidy without spending money on plastic containers. If you’re a bit unsure about making straight cuts, using a ruler and a box cutter helps. Sometimes the cardboard might seem flimsy, but layering several pieces or doubling the cardboard often strengthens the structure enough. I didn’t expect much at first, but a few coats of glue and patience can turn scraps into surprisingly solid organizers.
So, why not give it a try? Paper and cardboard might seem dull, but they hold more potential than you’d guess—waiting quietly for a creative nudge.
Recycling Plastics into Useful Items
Plastic waste tends to pile up quickly, and it’s easy to feel overwhelmed by just how much ends up in the trash every week. Yet, with a bit of effort, you can turn some of those plastics into things that actually serve a purpose around your home.
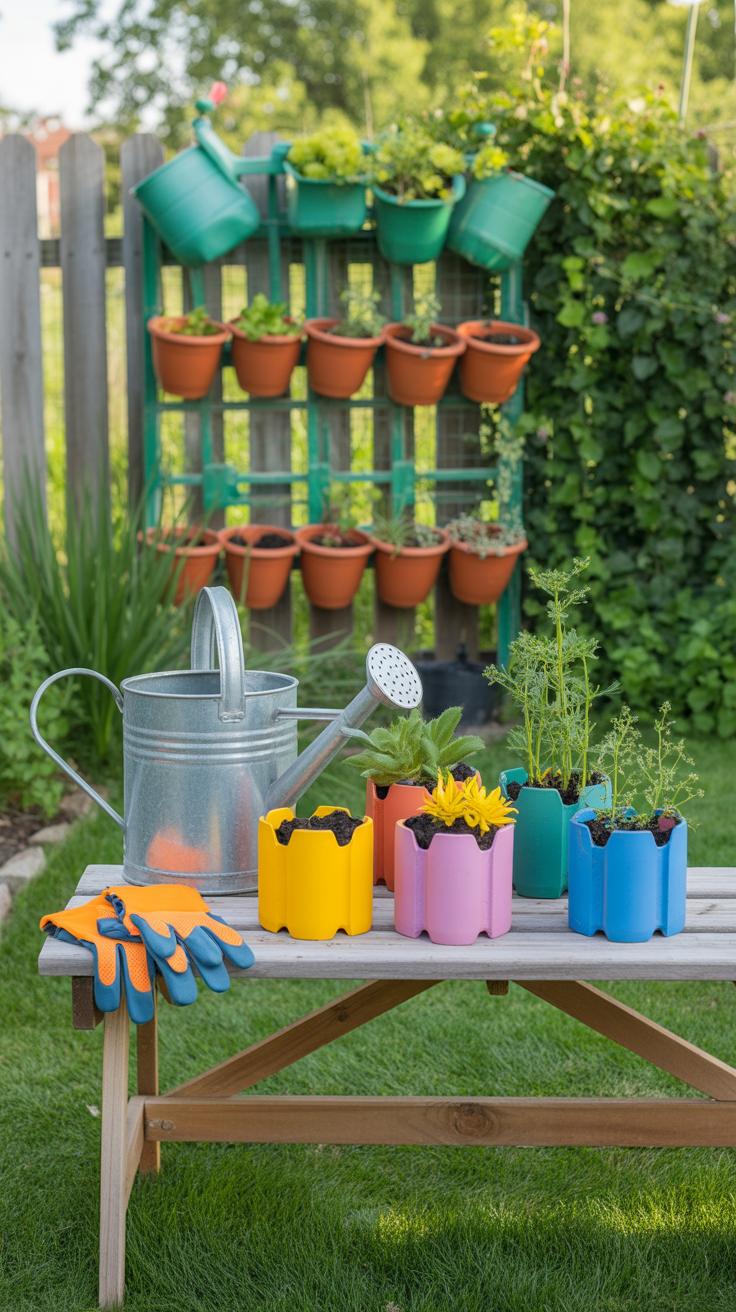
Making Planters and Storage Containers
Start with plastic bottles or containers, and make sure they’re clean—you don’t want dirt or leftover food contaminating your project. Cut off the tops of bottles to make small planters. You can poke holes in the bottom for drainage, then fill them with soil and seeds. It’s a simple way to grow herbs in a tiny space, especially if you’re tight on room.
Plastic containers can work as organizers too. Cut one side open or trim the top to create storage boxes for pens, craft supplies, or even leftover scraps. Sometimes, a sharp pair of scissors and patience is all you need, though you might want gloves just in case the edges get jagged.
Creating Jewelry and Accessories from Plastic
Turning plastic waste into wearable pieces feels surprisingly rewarding. You could cut shapes from thicker plastic packaging or lids, smooth the edges with sandpaper, then paint or decorate them with markers. Once dry, poke a small hole and hang them on threads or metal rings to make keychains, earrings, or simple necklaces.
One thing I noticed when trying this is that plastics behave differently depending on their type and thickness. Some bend easily when warmed (careful—don’t burn yourself), letting you curve shapes. Others stay rigid but chip nicely for layered effects. What kind of plastic do you have around? It might be worth testing a few pieces first before jumping in.
Working with plastic is a bit unpredictable, but it can give you neat homemade items that are far from boring mass-produced stuff. Plus, it’s a way to make those plastic scraps feel a bit less guilty hanging around your house.
Combining Materials for Mixed Media Projects
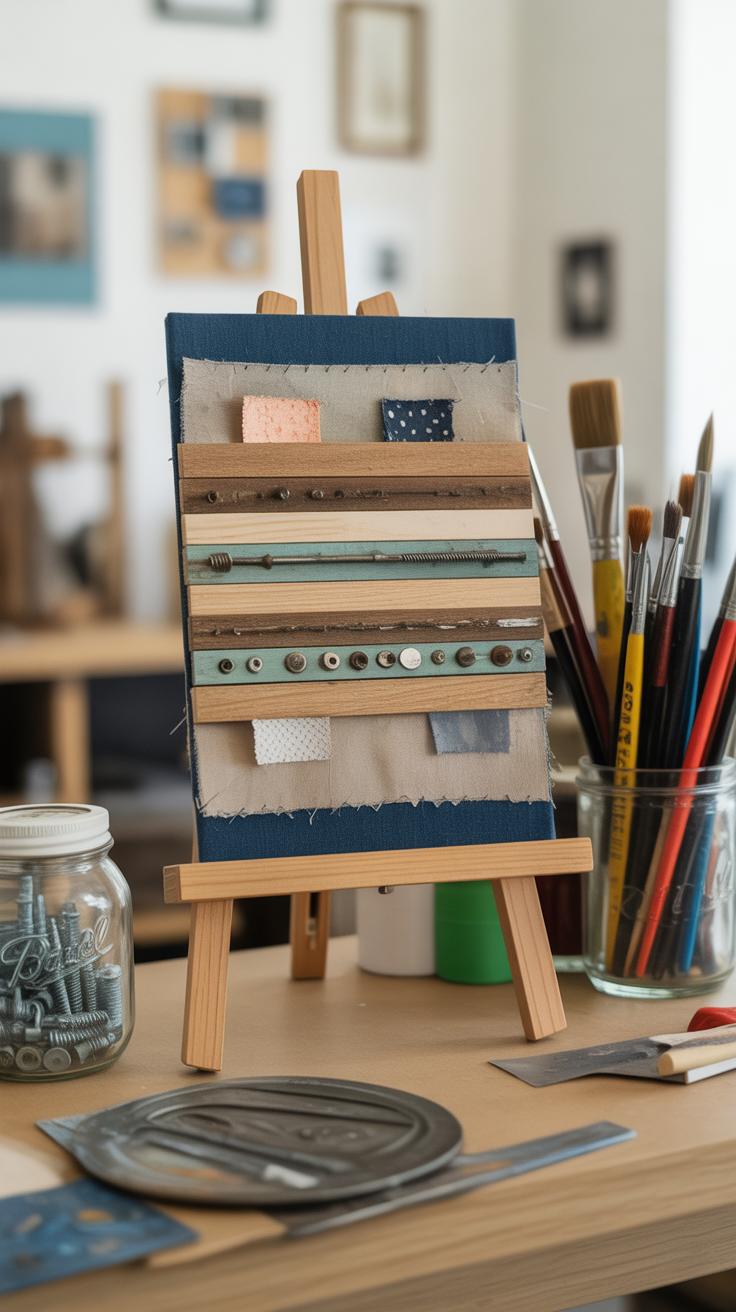
Working with mixed recycled materials opens up so many possibilities. You don’t have to stick to one type of waste; wood scraps, fabric pieces, old paper, and plastic bits can all come together to create something totally new. Sometimes, just experimenting with textures and colors can lead to unexpectedly cool results.
Take building decorative frames as an example. Using leftover wood—maybe from a broken shelf or old furniture—you cut and sand it down to size. Then, wrap or glue on strips of fabric, like old T-shirts or upholstery scraps, to add color and some visual depth. This combo lets you play with rough and soft surfaces at once. I found that uneven edges made the frames feel less “manufactured,” more handmade, which adds charm even if you’re a bit clumsy with glue.
Another fun direction is making collages or mobiles from assorted bits—paper torn from magazines, small plastic pieces, fabric scraps. Hanging mobiles are great because you can layer shapes and materials that flutter or catch light differently. You can hang them near windows and watch how shadows shift during the day. Collages, on the other hand, are more fixed, but they let you explore themes or moods by overlapping colors and patterns.
- Mix wood, fabric, paper, and plastic for unexpected textures.
- Look for scraps you might usually toss—old clothes, packing material, magazine pages.
- Try combining rough wood with soft fabrics to build something tactile.
- Use hanging mobiles to make lightweight, dynamic displays.
- Collages let you focus on visual storytelling through layers.
Maybe you won’t love the first few attempts, but that’s part of the process. What materials do you have lying around that feel like they’re almost begging for a new life?
Sharing Your DIY Recycled Projects
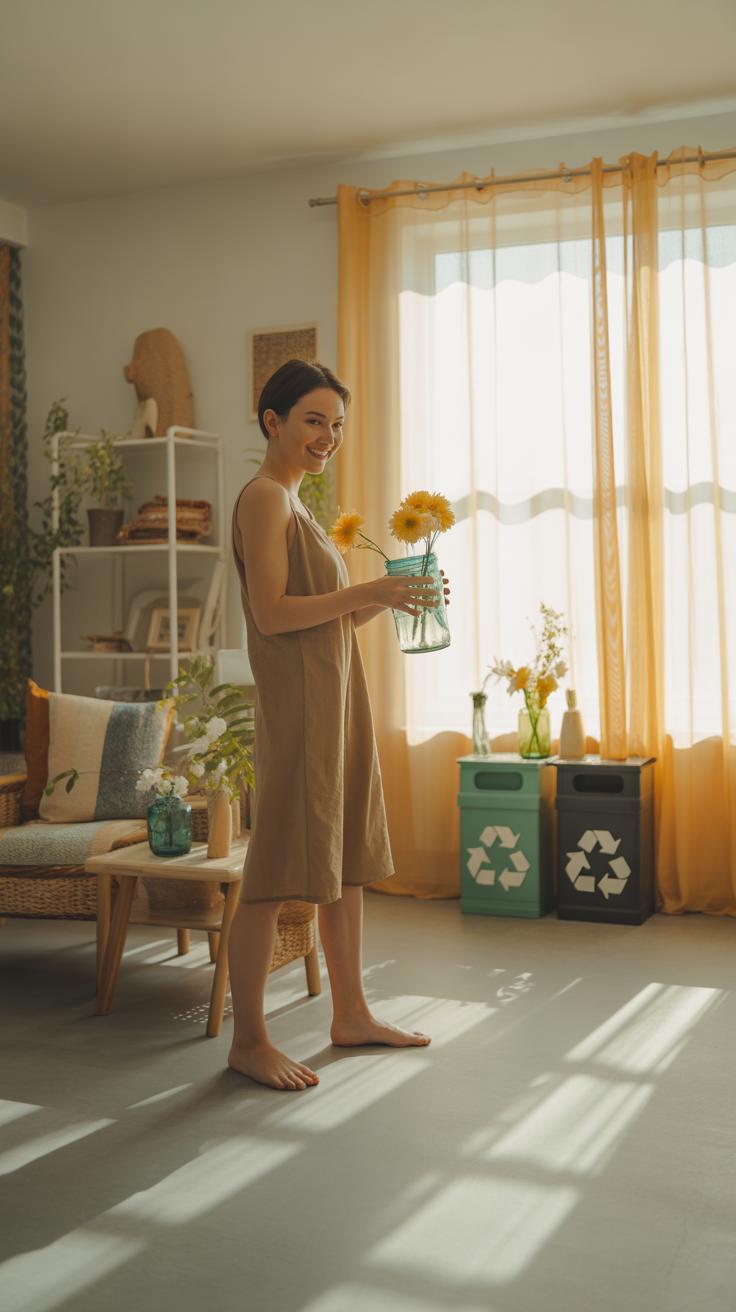
Once you’ve put together a project from recycled materials, sharing it with others can feel surprisingly rewarding. It’s not just about showing off your work but about sparking ideas and maybe encouraging someone else to give it a try. Sometimes, a simple photo of a repurposed jar or a handmade basket can catch someone’s attention and motivate them to look at their household waste differently.
Don’t hesitate to reach out to local groups where people swap ideas or share leftover materials. You might find clubs at community centers, libraries, or even neighborhood bulletin boards. Sometimes, local art studios offer workshops or meetups focused on sustainable crafting. I’ve found these gatherings helpful—not only do you get feedback, but you also pick up fresh twists on upcycling that you’d probably never think of alone.
Online space opens even wider possibilities. Posting your projects on platforms like Instagram or Pinterest lets you connect with others worldwide. Try writing short descriptions about the materials you used or challenges you faced. It invites feedback and might even lead to collaborations. Plus, watching your follower count grow—or simply seeing encouraging comments—reminds you that these small projects have a community cheering them on. Have you ever wondered how far your creative spin on waste could really reach?
Conclusions
Trying DIY recycled projects helps you see waste differently. It shows how old things can be made useful again. This practice cuts down trash and saves resources. You learn creative skills and develop a habit of caring for the environment.
By upcycling household items, you make your home personal and green. You join many people who want to live with less waste. Start small and share your projects with friends. Fun DIY recycled projects bring meaning to everyday objects.


