Introduction
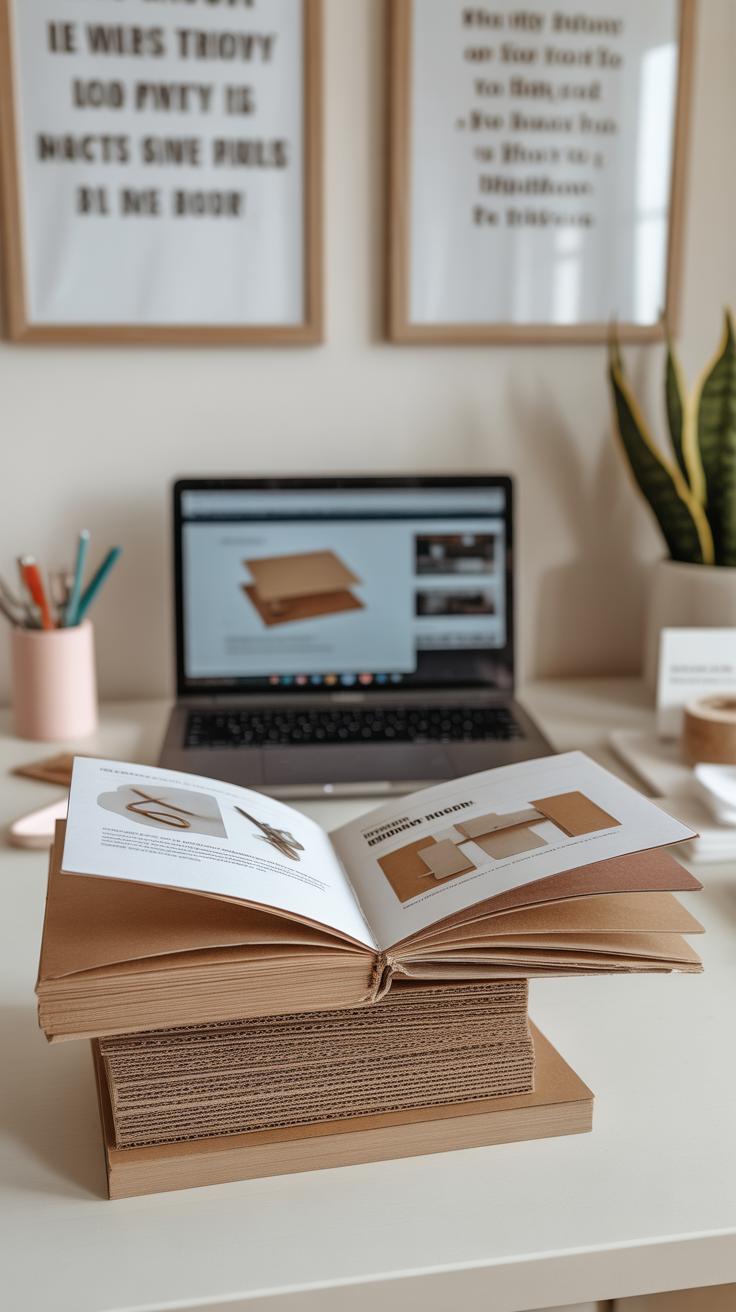
Easy DIY Cardboard Creations For Functional Decor opens a door to creativity and sustainability. Cardboard is a versatile material available in many homes. It is strong, light, and easy to work with. With simple tools, you can turn it into functional items that add a unique touch to your decor.
In this article, you will learn the basics of working with cardboard, gather ideas for your own projects, and follow clear steps to create pieces that serve a purpose. From storage solutions to decorative shelves, each project is designed to be easy to make and useful in your daily life. You don’t need to be an expert to start crafting with cardboard.
Why Choose Cardboard For DIY Projects
When thinking about materials for DIY decor projects, cardboard often doesn’t get the credit it deserves. Yet, it’s probably one of the most practical options you can pick up, especially if budget is a concern or you want something easy to handle. Cardboard is everywhere — from old shipping boxes to packaging that you might have lying around your home. You don’t have to go out of your way to find it, which makes starting a project feel less intimidating.
There’s also something satisfying about using something so simple to rebuild and repurpose. It’s cheap, sometimes free, but more than that, it quietly pushes you to be resourceful. You can cut, fold, paint, or glue cardboard without needing special tools or skills. I remember this one time I made a small shelf out of leftover boxes; it looked pretty basic at first, but it lasted longer than I expected.
Beyond the cost and availability, cardboard is an environmentally friendly choice. Since a lot of cardboard is made from recycled materials already, reusing it for projects keeps those fibers in play instead of heading straight to the landfill. It feels good to give new life to old boxes, though I sometimes wonder if the process of recycling and reusing always makes a big difference. Still, cutting down on waste can’t hurt, right?
So, if you’re debating what to pick for your next DIY decor idea, cardboard might be worth a closer look. It’s affordable, easy to grab, and can support a greener way of crafting — a small step that can fit perfectly in your creative journey.
Gathering Your Cardboard Supplies
Common Supplies Needed for Cardboard DIY Projects
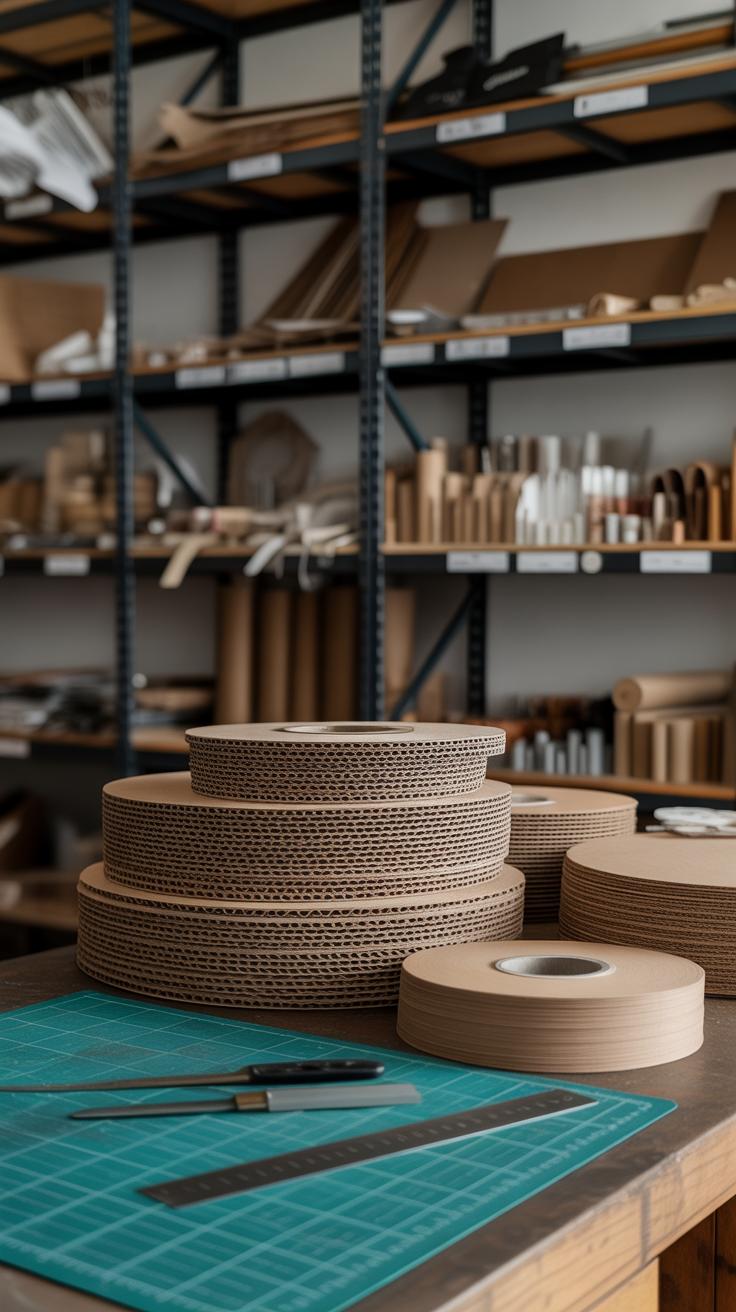
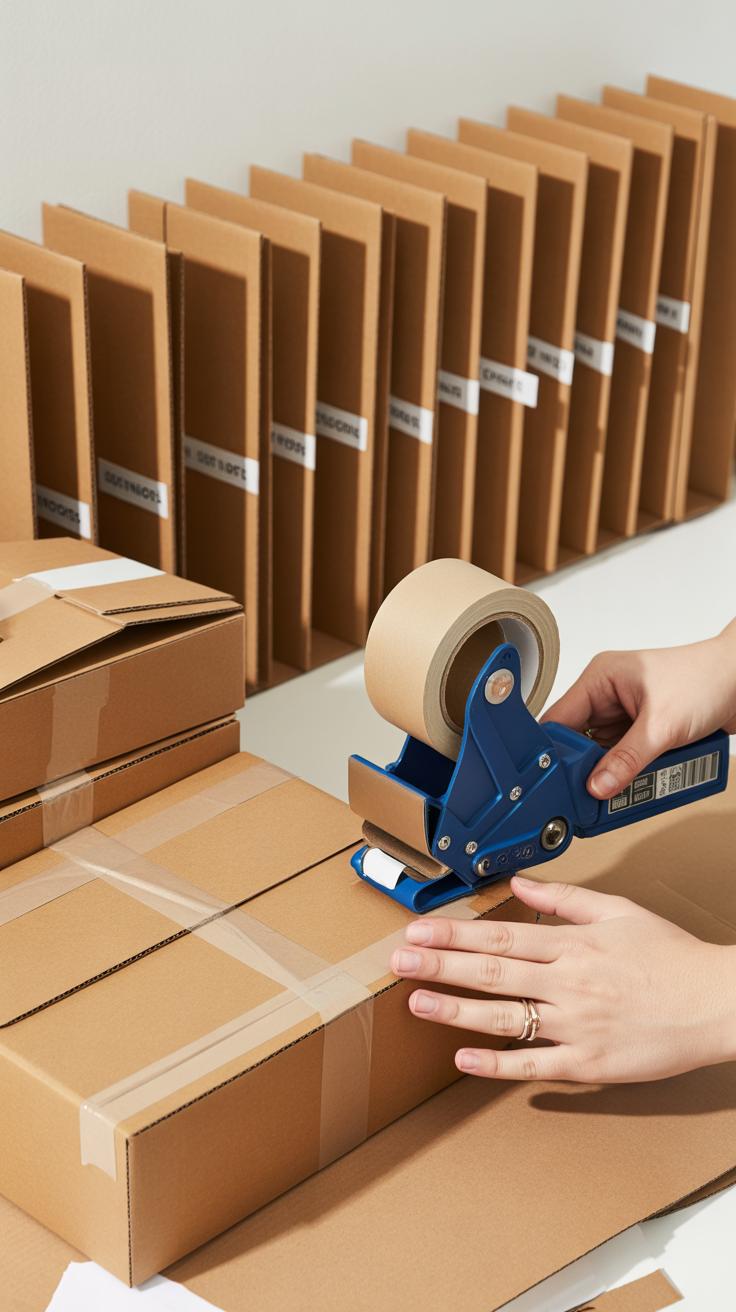
When you set out to create functional decor from cardboard, gathering the right supplies feels like half the battle won. You’ll need good-quality cardboard, of course, but also some basic tools and adhesives to bring your ideas to life. Think sharp cutting blades, a sturdy ruler, and a pencil for marking. A cutting mat can protect your surfaces nicely. Simple glue sticks may work for lightweight pieces, but stronger options like hot glue or PVA glue are better for holding thicker sections together. Don’t forget some sandpaper or a file for smoothing edges—cardboard can be rough on your fingers. And tape? Masking or duct tape often comes in handy to hold parts temporarily while glue dries.
Honestly, the list may grow depending on your specific project, but starting small keeps things manageable. Have a couple of clips or clamps nearby too—it’s surprising how often those make adjustments easier.
Types Of Cardboard To Use
Cardboard isn’t just cardboard. You’ve got choices. There’s paperboard, usually thin and smooth, ideal for light, decorative pieces like picture frames or lampshades. It’s easy to cut and bend but lacks durability for heavy use.
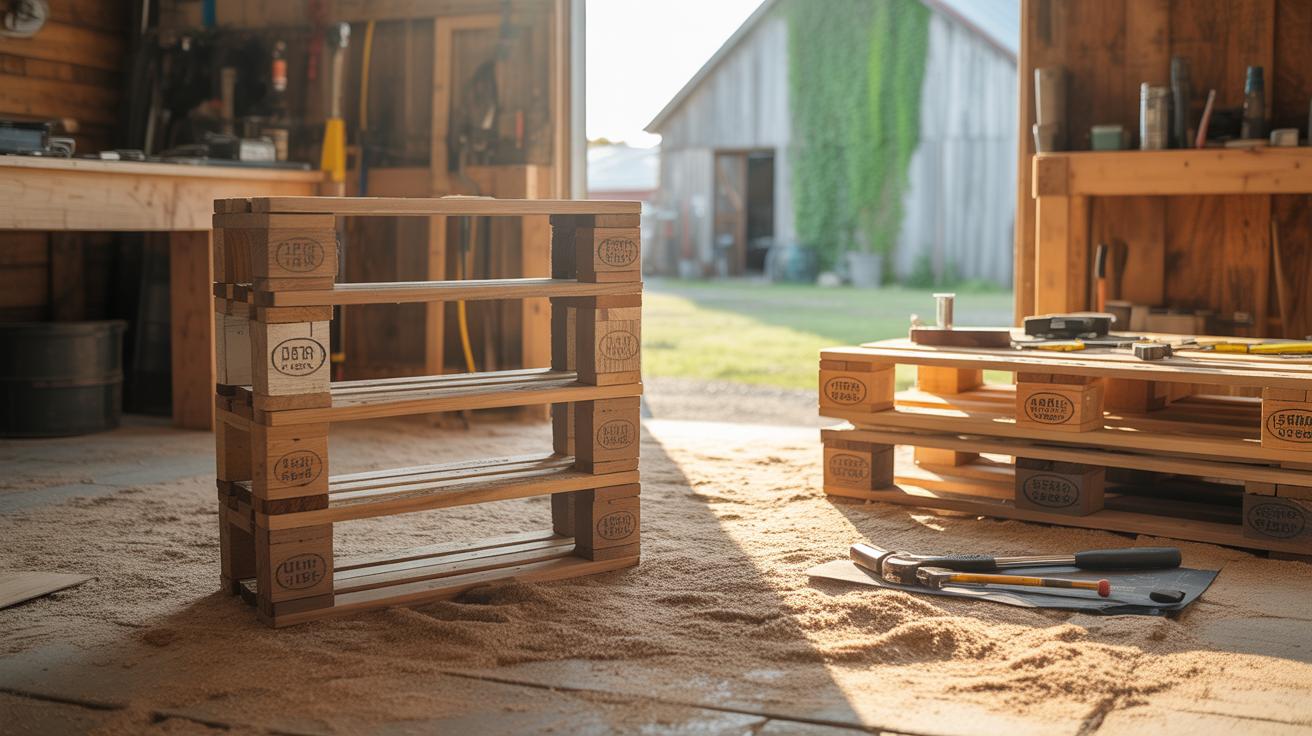
Then there’s corrugated fiberboard. This one’s bulkier, with its characteristic fluted middle layer sandwiched between flat liners. It’s sturdy enough for shelves, organizers, or even small furniture. The corrugations give it strength but you’ll find it less flexible. I like to use single-wall corrugated board for most projects. Double-wall or triple-wall types exist, but those can be challenging to shape and cut unless you’re prepared for some serious effort.
Sometimes, mixing types works too. A solid base of corrugated fiberboard with a paperboard finish can look neat and hold up well. Have you tried layering thinner cardboard for extra thickness? It’s an easy trick that not many think about at first.
Tools And Accessories
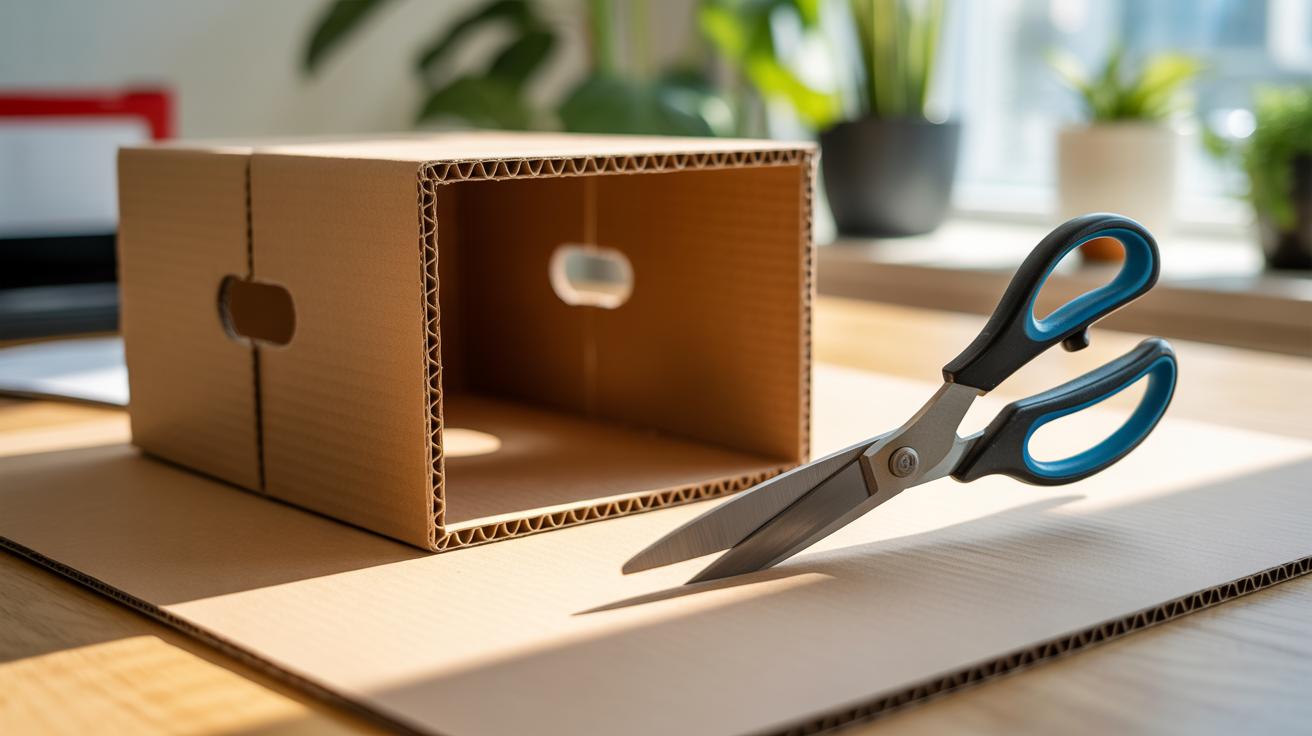
Starting your cardboard project with the right tools makes a huge difference. On the cutting front, a sharp utility knife or craft knife often beats scissors. You get cleaner edges and more control, especially around curves. A metal ruler helps keep lines straight and prevents slipping.
Adhesives depend on the weight and expected use of your piece. White glue is great but slow-drying. Hot glue sticks dry fast and hold well, but can sometimes soak through thinner boards, making a mess. I’ve had better luck combining glue with some strong double-sided tape when assembling smaller parts, just to keep pieces steady early on.
Don’t underestimate the value of accessories like pencil sharpeners, erasers, and cutting mats. These little things save you a bit of frustration later. You might also want some brushes or sponges if you plan on painting or sealing your creation. These aren’t must-haves but come in handy when finishing touches matter.
Basic Cardboard Cutting And Shaping Techniques
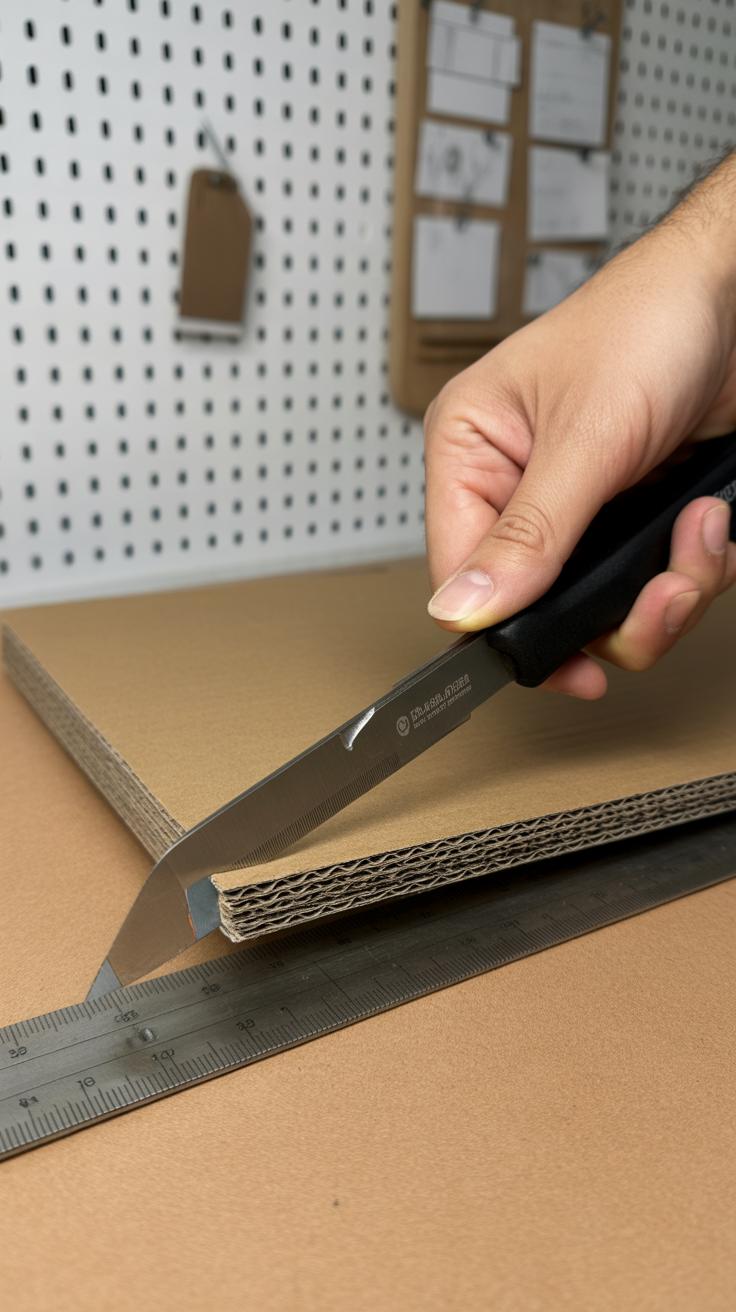
When working with cardboard, cutting and shaping it properly makes a huge difference. You want clean edges and neat folds, but it’s easy to get frustrated if the material tears or bends the wrong way. So, start by picking the right tools — scissors are great for thin cardboard, while thicker pieces usually need a sharp craft knife. I’ve found that a dull blade just makes the job harder and messier, so swapping out blades often really helps.
Always use a cutting mat beneath your cardboard to protect your surfaces and keep cuts smooth. I sometimes skip this step, but then the table takes a beating, and you can’t rely on clean lines. Moving slowly, apply steady pressure with the knife instead of forcing it; this control prevents jagged edges and reduces the chance of accidents.
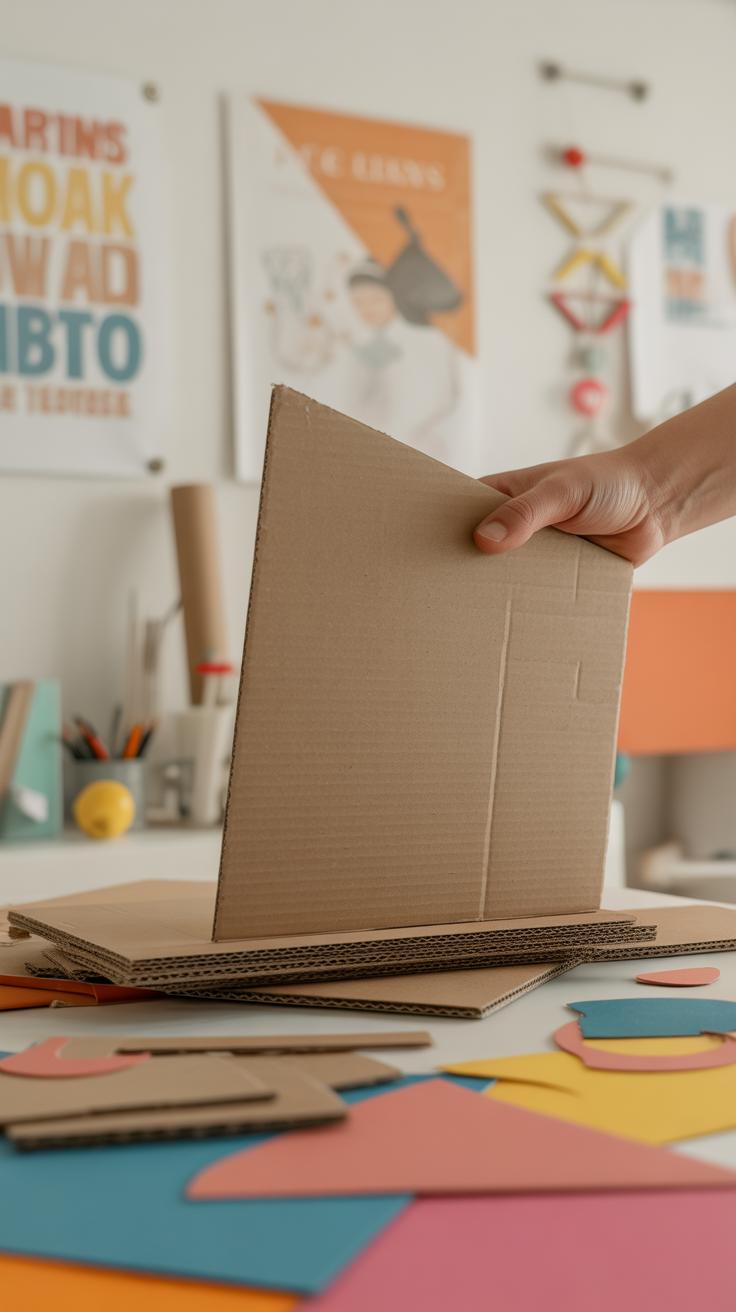
When it comes to folding, scoring is your best friend. Run the back of a craft knife lightly along where you want the fold — don’t cut all the way through. This softens the fibers and lets the cardboard bend more crisply. Without scoring, folds can crack or look uneven, which I’ve learned the hard way. It’s a simple step but makes your pieces look more polished.
- Choose scissors for thin cardboard; craft knives for thicker or corrugated types.
- Always work on a cutting mat to avoid damaging surfaces or your blade.
- Score your fold lines lightly with a blade or bone folder before bending.
- Cut slowly with steady pressure to prevent tearing or jagged edges.
Have you noticed how much easier it is to piece cardboard when your cuts and folds feel precise? Sometimes, I think we overlook these basics, rushing straight to assembly, but they can make all the difference in the final look and strength of your project.
Constructing Simple Storage Boxes
Measuring And Marking Pieces
Start by deciding the size of the box you need. Then, grab a ruler or measuring tape and a pencil. You’ll want to measure six pieces: four for the sides, one for the base, and one for the lid if you’re making one. When marking, I find it helps to draw lightly at first—just in case you want to adjust. It’s easy to overthink measurements, but staying close enough is usually fine for cardboard. Just remember that even a small misalignment can make assembly trickier later.
Mark each piece clearly, labeling them so you don’t get confused. The side pieces should be tall enough to hold your items securely, but not so tall they become unstable. If your cardboard has a grain or corrugation direction, try to mark pieces with that in mind—it affects durability.
Assembling The Box
Once every piece is measured and cut, it’s time to bring them together. Use wood glue or a strong adhesive designed for cardboard. Glue one edge of a side piece, then press it firmly against the base. Don’t rush; hold it in place or use clamps if you have them, or just improvise with some heavy books.
Attach each side piece to the base, connecting the edges where they meet. Overlap a little when gluing sideways; it strengthens the corners. I like to add tape on the inside for extra hold, but it’s optional. After all sides are on, join the edges between the side panels themselves. Again, patience is key—if the glue shifts, the box can warp, and nobody wants a crooked storage box.

When everything feels solid, leave it to dry completely. Testing the sturdiness before loading it with anything heavy is smart; sometimes another coat of glue or reinforcement will make the difference. Building these boxes is straightforward, but having the right patience and careful glue application changes it from a flimsy box to something you’ll actually want to use.
Designing Decorative Wall Shelves
Planning Your Shelf Dimensions
When thinking about wall shelves, the first thing you have to figure out is the size. I guess the trick is to measure the wall space carefully, but not just that—consider what you actually want to put on those shelves. Are they for books, plants, or maybe small decorations? That changes how deep or wide your shelves should be.
Start by sketching a rough idea on paper or even on the wall with some painter’s tape. This gives a better feel of the scale. Remember, shelves that are too wide can sag, especially when made of cardboard. So maybe stick to around 12 inches deep or less, unless you plan to reinforce them heavily.
Also, think about the height between shelves. Too close together and you limit what fits; too far apart and it looks empty. What do you want on display? That’s going to guide those decisions. Oh, and don’t forget doorways, windows, or light switches—those can mess up your plans if you ignore them.
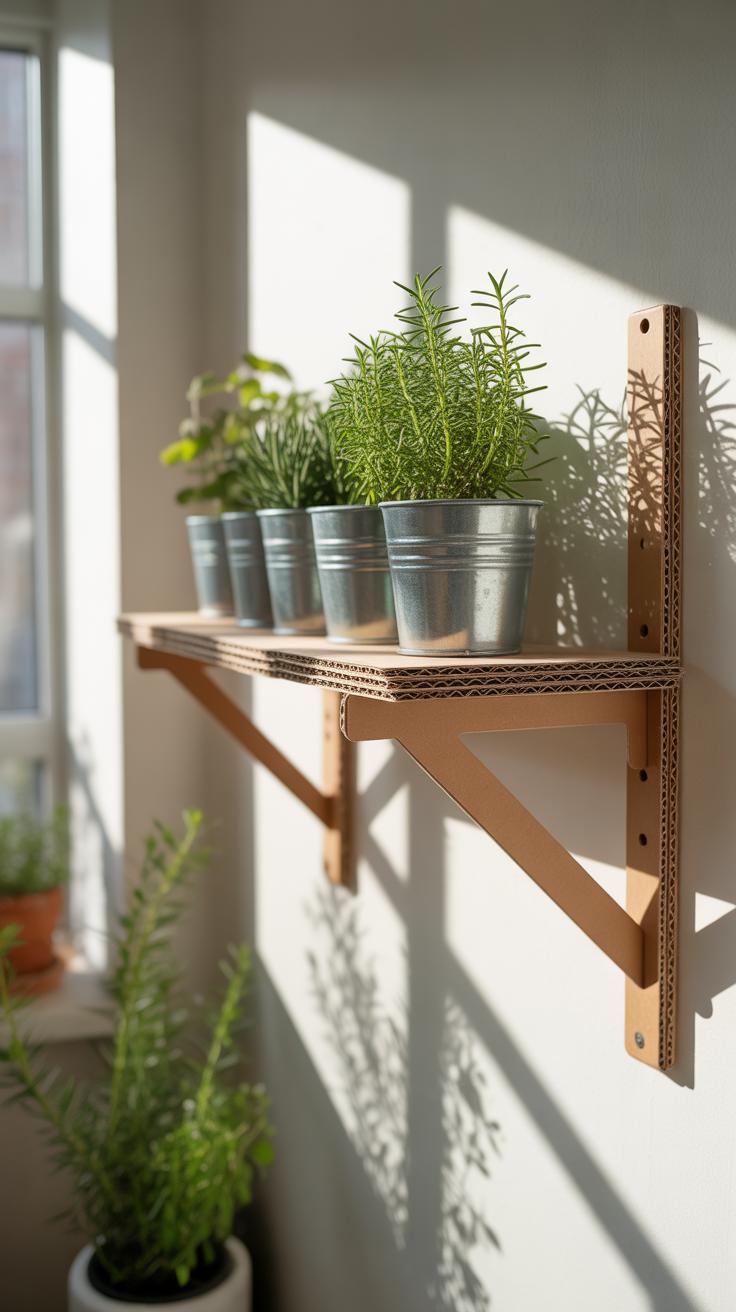
Building And Reinforcing Shelves
Once the design is set, building shelves out of cardboard requires a bit of extra care to make them sturdy enough to hold stuff. Cardboard can flex, especially under weight, and it tends to bow if unsupported. So layering is key here. To start, cut out the shelf base and sides from double-thick cardboard—double layers glued together work better than a single sheet.
Next, add reinforcements underneath. You can create “I-beams” by folding strips of cardboard into rectangles and gluing them under the shelf. They act like tiny braces. I tried this with a set of small shelves and was surprised how much more weight they handled.
Secure the shelf to the wall with strong brackets or, if you want a cleaner look, use cardboard supports tucked behind. Just be sure to fix those supports firmly to the wall studs or use anchors. You don’t want your shelf sliding down unexpectedly.
Lastly, don’t forget to seal or paint your shelves if you want them to last longer or look nicer. Cardboard can get soft if it ever meets moisture, so a layer of paint or varnish helps protect it.
Making Custom Desk Organizers
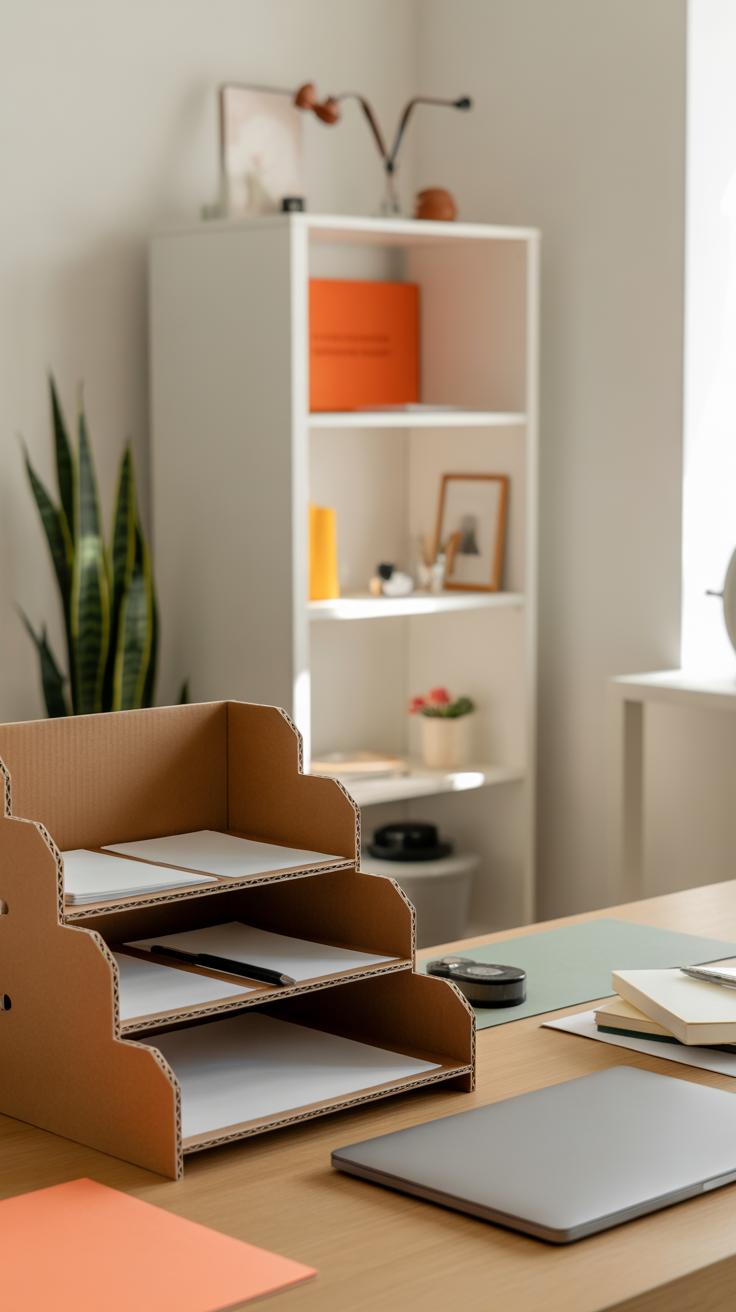
When it comes to building a desk organizer from cardboard, start by thinking about what you really need to keep neat. Do you have a lot of pens or markers? Maybe some papers or notebooks? Or tools like scissors and rulers? Try listing what sits on your desk most, and let that guide your compartments.
Some practical compartments could be:
- Small slots for pens and pencils—easy to reach but not cluttered.
- A shallow tray for sticky notes, clips, or erasers—things that tend to get lost.
- A deeper section for notebooks or folders—if you don’t mind the cardboard holding a bit of weight.
I’ve found that mixing sizes within one organizer usually works best. If everything’s the same size, it can feel a little off or wasted. Plus, a few mismatched sections sometimes help you find stuff faster. It’s like your desk has little zones for different tasks, which feels pretty satisfying.
Once the structure is set, personalizing the look really brings it together. You can paint the cardboard with colors that either blend well or contrast with your decor. Matte paint hides imperfections nicely, but glossy can add a bit of pop—depending on your style, of course.
If you’re not into painting, covering the organizer with decorative paper, fabric scraps, or even washi tape adds texture and character without too much hassle. I once covered an old organizer with a map print; it didn’t match my walls perfectly, but it spiced up the corner in a subtle way.
Have you thought about textures or patterns that inspire you? Sometimes simple stripes or polka dots can feel surprisingly fresh on cardboard. And don’t worry about every edge being perfect—after all, the handmade look has its own charm.
Adding Finishing Touches To Your Projects
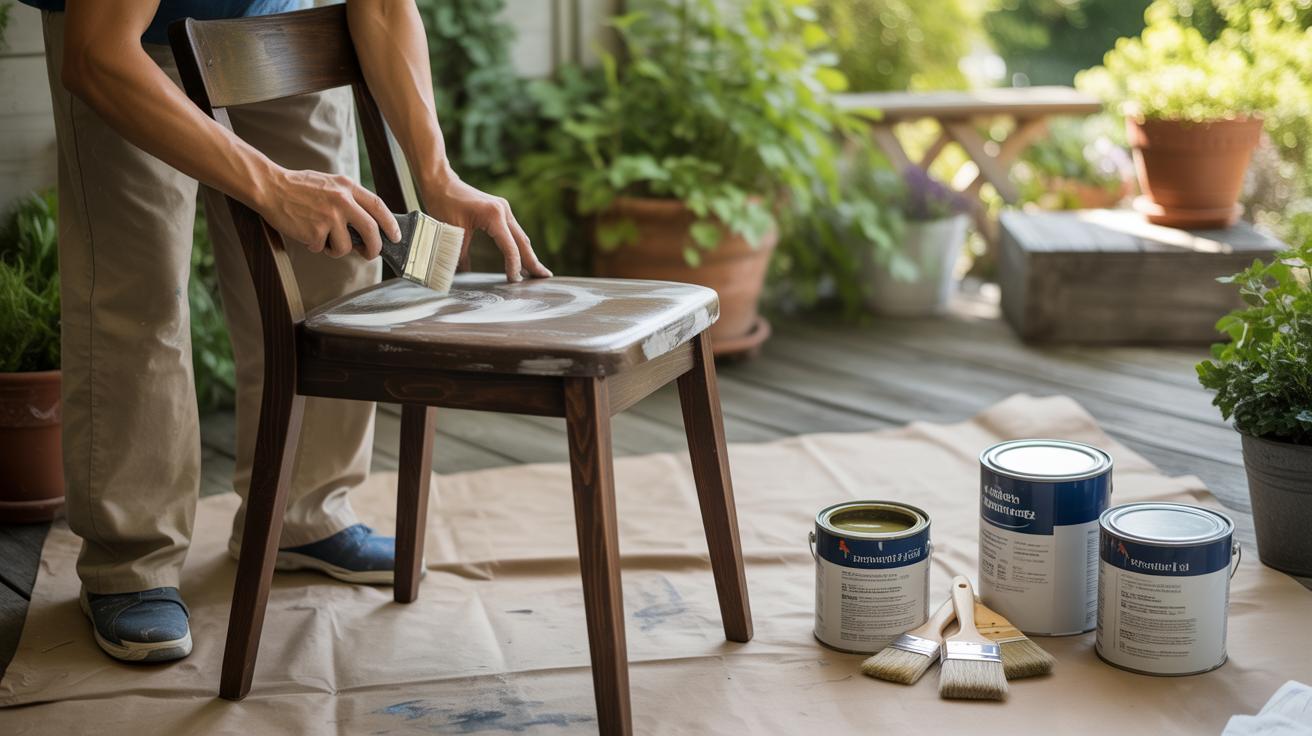
Painting And Sealing Cardboard
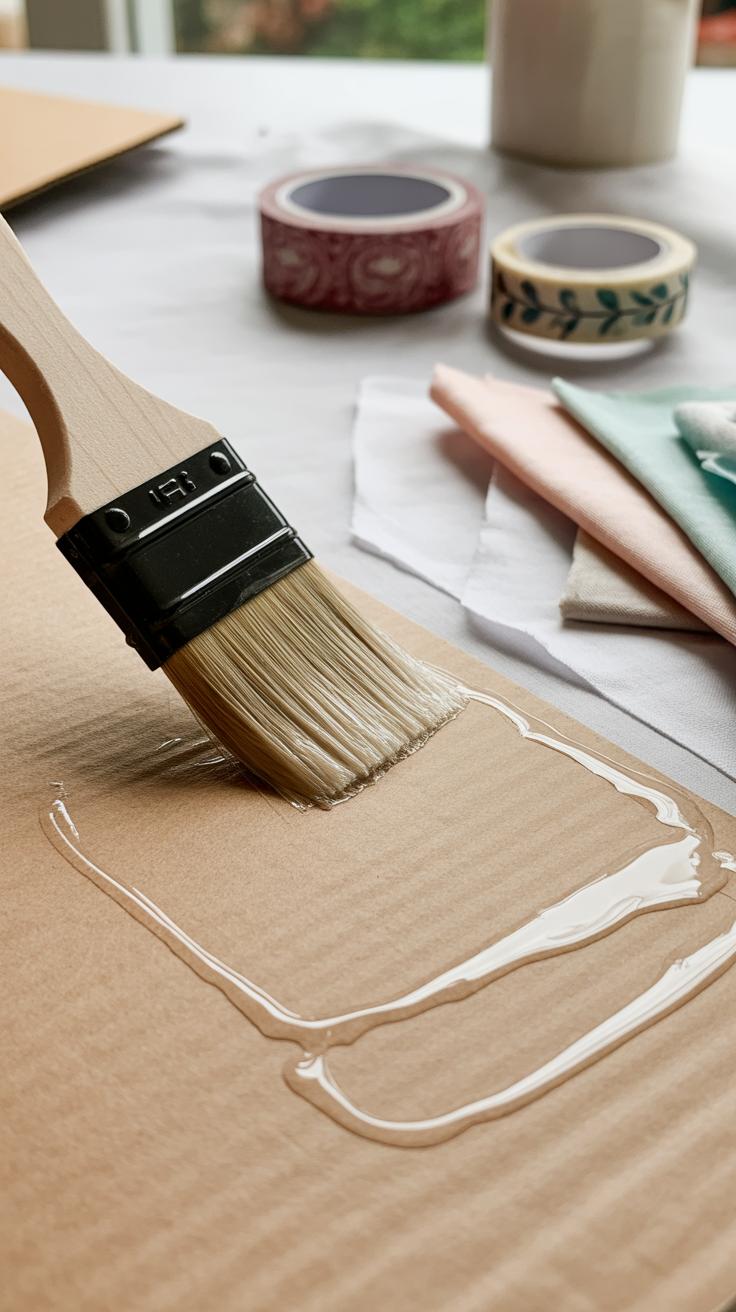
Painting cardboard is more than just adding color; it helps strengthen and protect the material. You can start with acrylic paints—they dry fast and offer good coverage. Sometimes I find that a couple of thin layers work better than one thick coat, since thick paint tends to warp the cardboard a bit. If you want a smoother finish, sanding lightly before painting can help, though it’s not always necessary.
Once your paint is dry, sealing the piece is the next step. A clear sealant or varnish adds a protective layer that stops moisture from wrecking your work. Both spray and brush-on sealants are options, but spray sealants usually give a more even coat and avoid soaking the cardboard too much. You may wonder if it’s really necessary—sometimes it feels like extra effort—but I’ve noticed pieces that aren’t sealed can look rough or get damaged surprisingly fast.
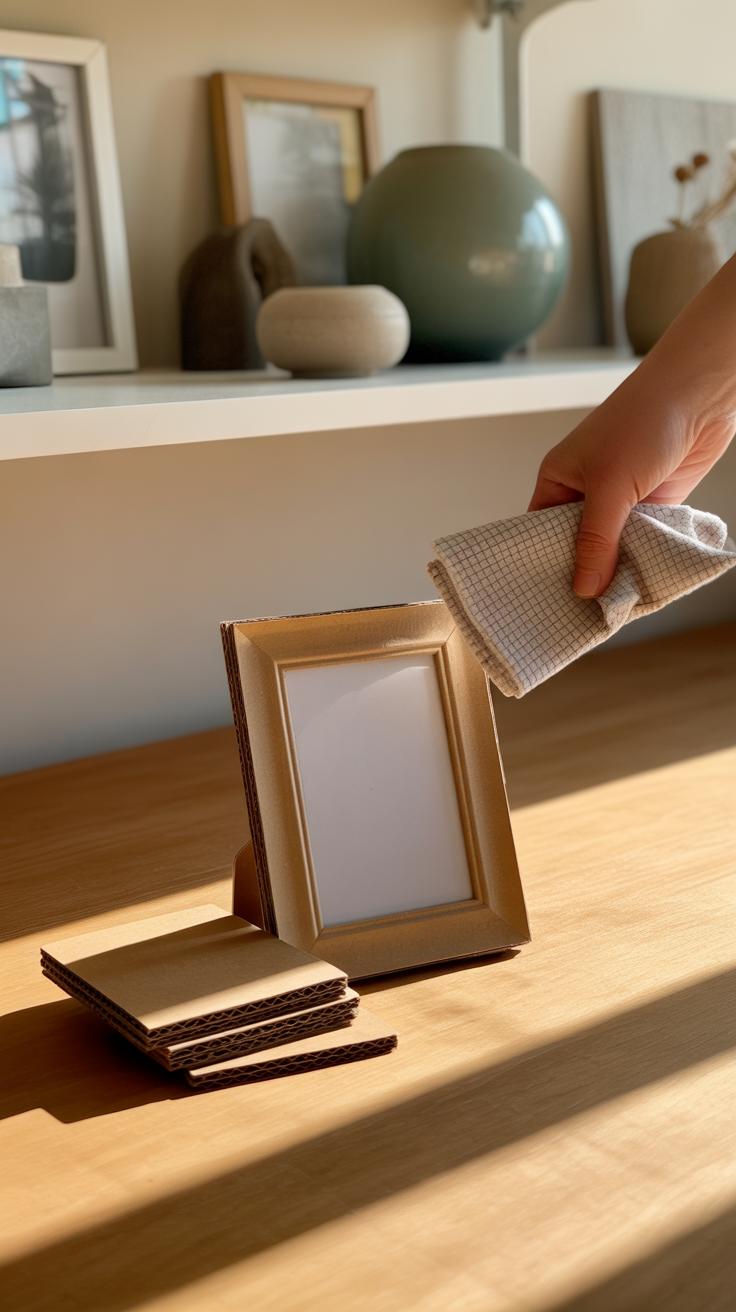
Using Decorative Papers And Fabrics
Covering your cardboard with decorative paper or fabric opens up a lot of creative possibilities. You don’t have to be too precise—overlapping edges or slightly uneven cuts can add a bit of texture that makes your piece look unique rather than “perfect.” Simple glue sticks work for thinner papers, but for fabrics or heavier materials, a stronger glue like PVA or craft glue tends to hold better.
You might want to experiment with patterns or textures. Some people prefer scrapbooking paper, while others try wrapping paper or even bits of wallpaper. Fabrics can bring warmth and softness that paint can’t. You don’t always need to cover the entire surface—sometimes a patch or an accent strip can be enough to lift the whole design.
Have you ever wondered how to avoid bubbles or wrinkles? Gently smoothing the paper or fabric as you go, using a ruler or even a credit card, does the trick most times. But if a wrinkle happens, it’s not necessarily a disaster—real handmade things tend to have small imperfections that add to their charm.
Maintaining And Caring For Cardboard Decorations
Cardboard may look fragile, but with a bit of care, your creations can last much longer than you might expect. One thing I’ve learned is that keeping them dry is absolutely key. Even a tiny drop of water can warp or weaken the structure, sometimes in ways that don’t show immediately. So, think about where you place your cardboard pieces. Near windows or humid spots? Probably not the best idea.
Avoiding moisture doesn’t just mean keeping them away from spills. It also means thinking about humidity. Maybe you live in a damp area, or the room tends to get steamy now and then. Using a dehumidifier or placing silica packets nearby can help, though it’s a little extra step. Still, it can make a difference in how your decor holds up.
Cleaning And Dusting Tips
Cleaning cardboard requires a gentle approach. You can’t just hose it down or rub it vigorously. Instead, try soft brushes or a microfiber cloth to brush off dust. For stubborn dirt, lightly dampen a cloth—very lightly—and dab rather than wipe. I often test on a hidden spot first, just to be safe. Too much moisture or pressure can ruin the surface.
Compressed air cans are surprisingly handy for getting dust out of crevices without touching the cardboard at all. It feels almost like a magic trick but takes away the risk of bending or scratching. Also, avoid using any cleaners or sprays. They usually cause stains or weaken the fibers, which isn’t worth the risk for something handmade.
Avoiding Moisture Damage
So many people ignore the risk water poses to cardboard until it’s too late. I’m guilty of this myself, especially when I first started crafting. Still, it pays off to consider simple barriers. A good layer of sealant, like a matte varnish or even a clear acrylic coat, creates some resistance—but it’s not foolproof. You’ll want to check the coating each season because it can chip or wear off.
Another tip is to raise your cardboard decor slightly above surfaces prone to spills or condensation. Little furniture pads or thin pieces of foam can act as a buffer. It feels a bit like overdoing it, but you’ll be surprised how those small choices help prevent damage that’s frustrating to fix later on.
Expanding Your Cardboard Crafting Skills
Once you’ve got the basics down, it’s natural to want to push your cardboard projects a bit further. Practicing regularly helps you get a better feel for the material—how it folds, bends, and holds shape. Sometimes, just trying a small detail differently can change an entire design. You might find yourself making mistakes, but that’s part of learning. Don’t be discouraged if things don’t come out perfect the first few times.
Trying out more complex shapes is a rewarding next step. Think about exploring curved edges, angled joints, or layered structures that add depth and strength. For example, instead of a simple box, why not create a faceted lamp shade or a multi-tiered shelf? It requires more patience and precision, but the results can surprise you. Drawing out templates and cutting carefully can make the process less overwhelming.
Once you finish a project, sharing it can be surprisingly motivating. You could show your work to friends or family, maybe even gift your creations. Online groups focused on cardboard crafts are places where people exchange tips and ideas, ask questions, and simply admire each other’s handiwork. Uploading photos or step-by-step guides might spark new ideas or feedback that pushes you a bit further. Have you ever thought about how your small project might inspire someone else?
Conclusions
Making your own functional decor with cardboard is a rewarding way to refresh your space. It saves money and helps reduce waste by reusing materials. You can customize your items to fit your style and needs. Each project you complete builds your skills and confidence in crafting.
By trying the ideas shared here, you open up many possibilities for creating practical and attractive decor. Keep experimenting with shapes, sizes, and finishes. Your creativity combined with simple cardboard can make your home more organized and inviting.


