Introduction
Smart craft from waste material to beautify your home introduces a simple way to reuse items you might throw away. Creating crafts from waste materials not only helps the environment by reducing trash but also gives you unique decoration ideas for your home. You do not need fancy tools or expensive supplies. Everyday objects like paper, plastic bottles, jars, and old clothes can become beautiful art pieces with just a little effort.
This article explores many practical ideas and tips to help you start crafting with waste materials at home. You will learn how to select suitable materials, basic techniques for transforming waste, and creative project ideas to make your living space nicer. The goal is to show you how easy and fun it is to turn scrap into charming decor while supporting a cleaner planet.
Choosing The Right Waste Materials
When picking waste materials for crafting, think safety first. You want items that won’t cause harm when handled—so avoid anything sharp without proper tools or things that might leak chemicals. It’s a good idea to choose materials you feel comfortable touching and working with, especially if children are involved.
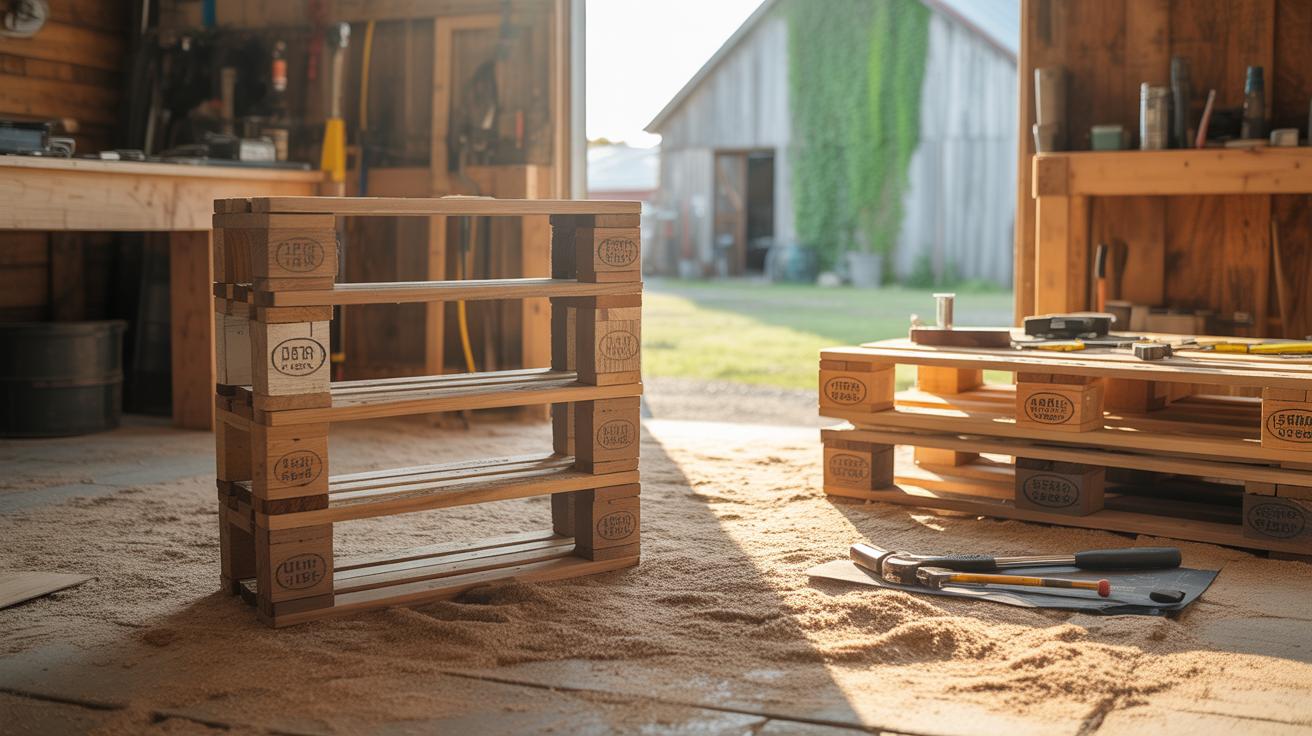
Common household waste like cardboard boxes, old magazines, or fabric scraps are familiar and usually safe. They’re also flexible, easy to manipulate, and readily available. Glass jars or bottles can be beautiful but might require more care or cleanup before use. Sometimes, you’ll have to pass up certain items because they’re dirty or brittle beyond salvage—which is okay. Picking materials is partly trial and error; some things might seem promising until you try crafting with them and realize they’re just too fragile or messy.
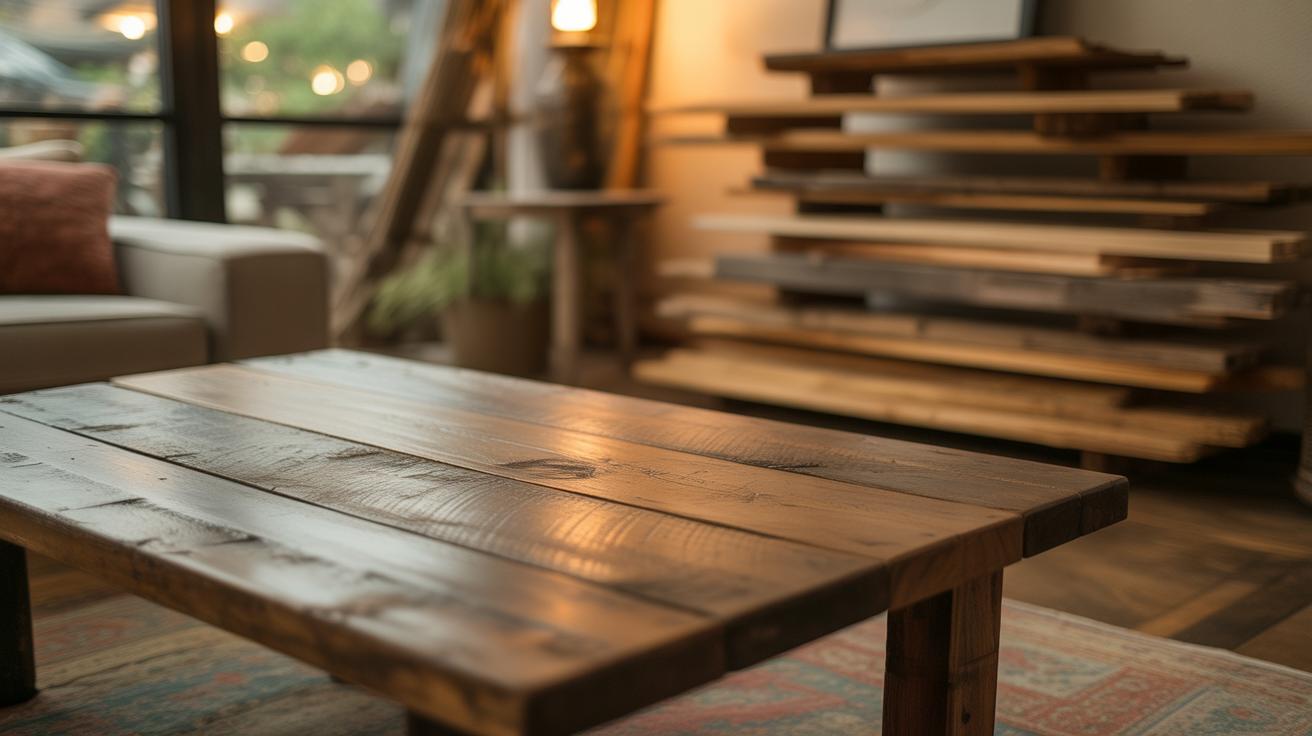
Think about what you want to create. For example, if you’re making something small and lightweight, thin paper or plastic might be perfect. If you want something sturdy, look at cans or thicker cardboard. Finding the right waste material can be an experiment in itself.
What Waste Materials Are Best For Crafts
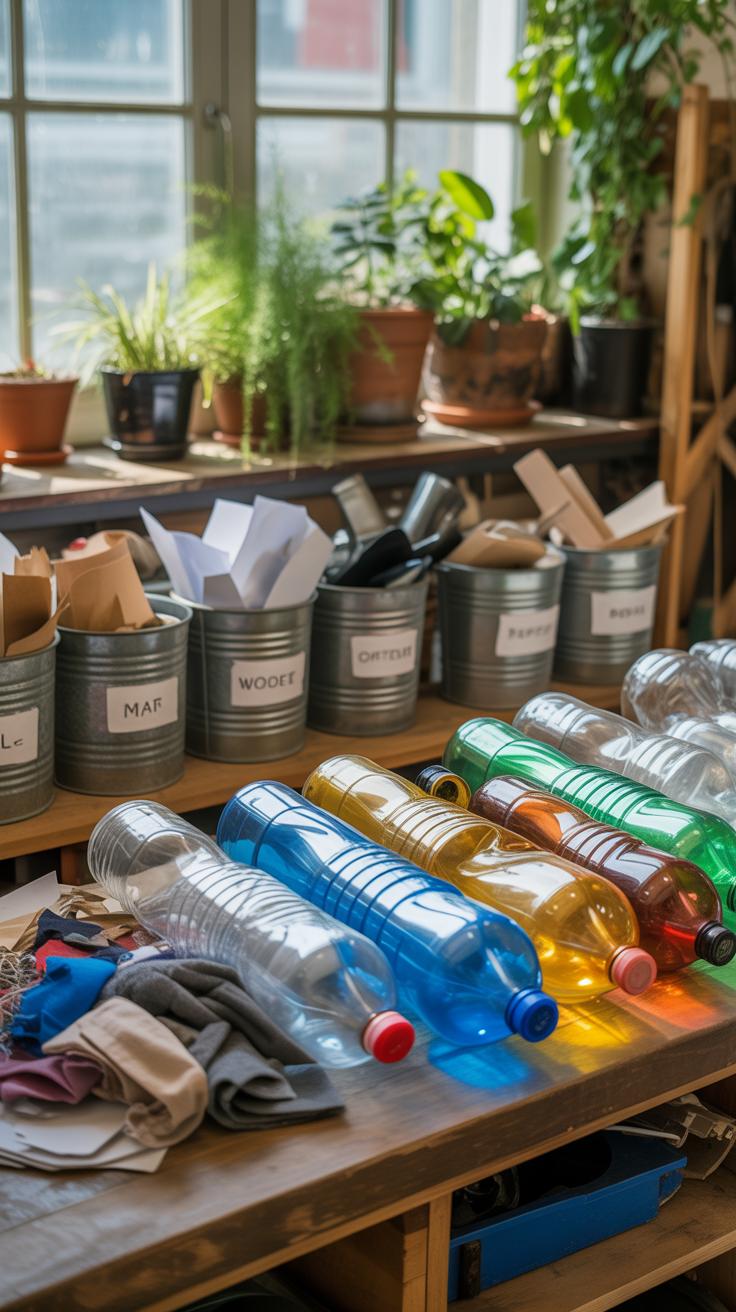
Crafting from waste opens up lots of possibilities. Here are a few types of materials you often find at home:
- Paper: Old newspapers, magazines, egg cartons, cardboard—these are common, easy to cut and shape, and great for everything from collages to homemade decorations.
- Plastic: Bottles, containers, and plastic bags can be transformed into planters, baskets, or even jewelry with some creativity.
- Glass: Jars and bottles can become candle holders or painted vases, though they demand cautious handling.
- Fabric: Old clothes, curtains, and towels provide scraps for patchwork or weaving projects and add softness and colors.
- Metal: Tin cans or bottle caps might seem tricky but they’re perfect when used as small containers, ornaments, or craft accents.
Each material offers different textures, weights, and challenges. It’s interesting to think about how these everyday waste items can take on new life just by looking at them a bit differently.
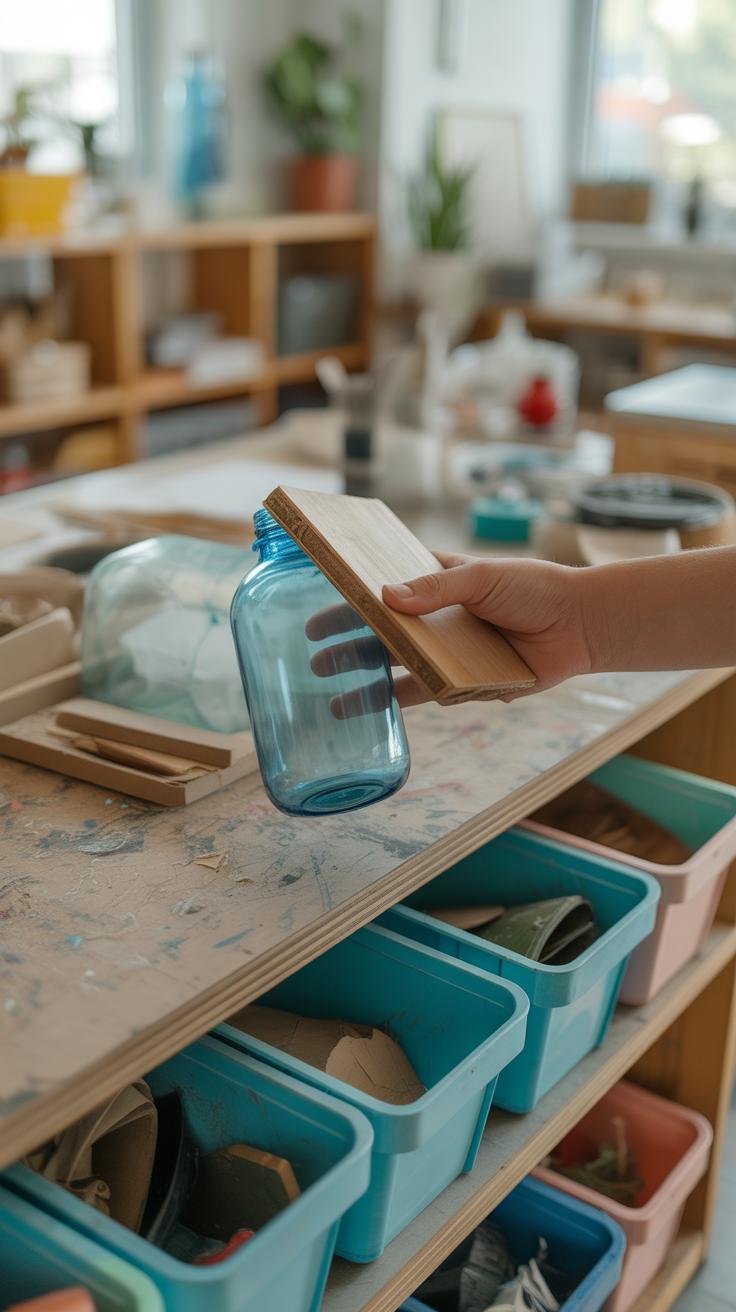
How To Prepare Waste For Crafting
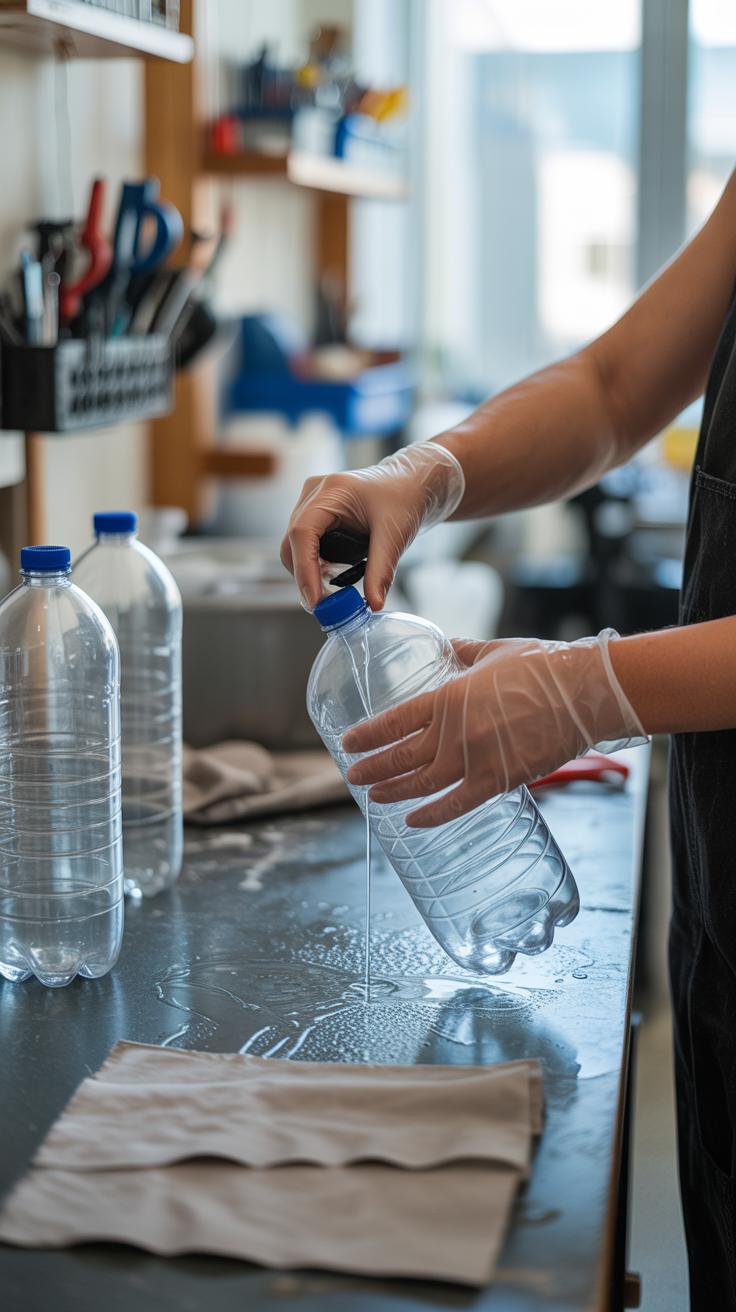
The key to a smooth crafting experience from waste is preparation. First, clean everything well. Rinse containers, wipe off dust, and remove labels if they get in the way. This step stops germs and improves glue adhesion or paint finish.
Next, sort your materials by type and size. Having a little order saves frustration later when you’re mid-project and hunting for just the right piece.
Cutting can be tricky, especially with tougher plastics or cardboard. Use scissors or tools designed for the material, and work on a safe surface. Gloves might be a good idea if edges are sharp.
Don’t rush this part. Taking extra time to prepare your materials can change how easy and fun your crafting feels. Plus, it keeps your workspace cleaner and safer, which always helps creativity flow better.
Basic Tools And Supplies You Need
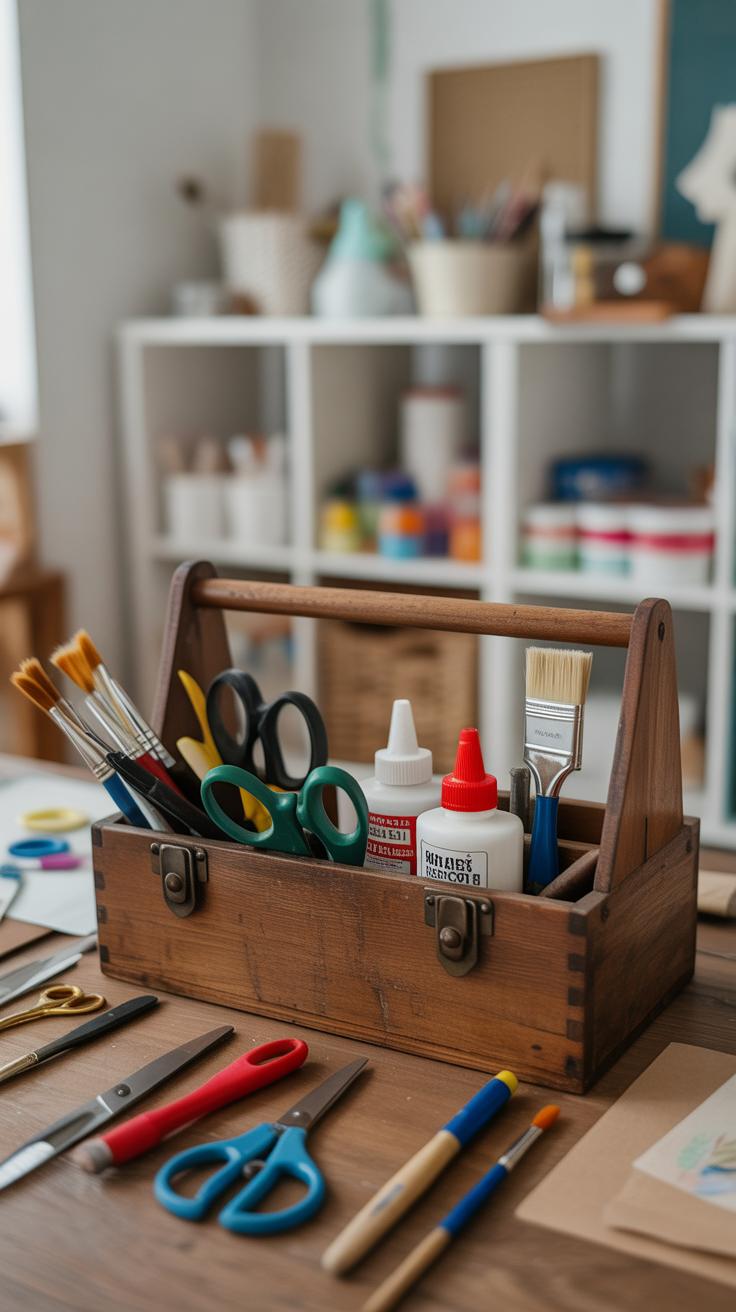
When starting crafts from waste materials, you don’t need anything fancy. A handful of simple tools will get you going just fine.
Scissors are probably the first thing you want—they help cut paper, fabric, and even thin plastic. For glue, a basic craft glue or a hot glue gun works well to stick pieces together securely. Tape, especially clear or masking tape, can hold things temporarily or be part of the design.
Paint and brushes let you add color and personality to your projects. Sometimes, markers come in handy too, especially for adding details or writing on uneven surfaces.
For many beginners, these tools seem just enough—not overwhelming but able to shape, attach, and decorate. You might find yourself slowly collecting more as you go, but start small.
Essential Tools For Waste Material Crafts
Scissors do more than slice paper; they can shape fabric scraps or thin cardboard. Good cutting makes everything else easier later on.
Glue binds your pieces firmly. Hot glue is fast but needs care; craft glue may take longer but is safer for kids or intricate work. Tape acts as a quick fix or lets you test arrangements before gluing.
Paints and brushes bring life to dull waste materials. Brushes range in size and type—small ones for details, bigger ones for base coats. Markers are perfect when you want control over fine lines or handwriting.
These tools are straightforward. Still, at times, the best material or tool is the one within reach. So, don’t get hung up on having the “right” stuff.
Affordable Materials To Support Your Crafting
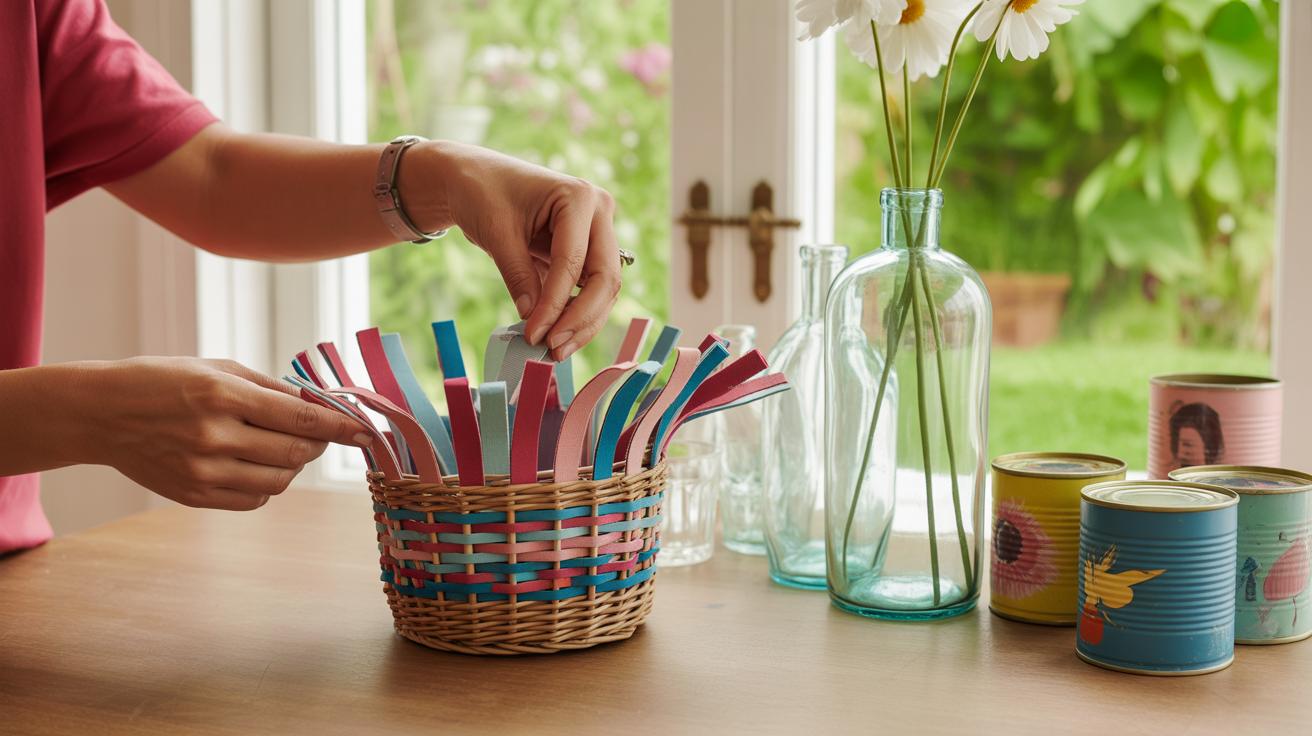
Beyond the waste items themselves, a few inexpensive additions can make a big difference. Twine offers texture and a rustic feel—great for tying or hanging pieces. Buttons, often found in old clothes, add color and a slight 3D effect.

Old magazines provide patterned paper and vivid colors. You can cut out pictures or shapes to collage or use as decoration. Fabric scraps bring softness and prints that can balance out harder paper or plastic parts.
Using these items won’t break your budget, and they push your creativity. Don’t hesitate to experiment by mixing these bits with your waste materials; you might get unexpected but lovely results.
Easy Craft Projects To Start With
Starting your craft journey with waste materials can feel a bit confusing—where do you even begin? Let’s keep it simple. One approachable project is making colorful paper flowers from scrap paper or old magazines. You don’t need special skills, just a bit of patience.
Here’s how you might try it:
- Pick a few pages with bright patterns or colors.
- Cut them into long strips, about one inch wide.
- Fold each strip accordion-style, then snip the ends into petal shapes.
- Unfold slightly and curl the edges gently with a pencil for shape.
- Twist the center tightly to form a small bud, then spread the petals.
The effect isn’t going to be perfectly uniform—sometimes the petals come out a bit uneven, but that random look actually adds charm. You might find yourself making too many, which isn’t bad since you can bundle them into bouquets or attach them on cards.
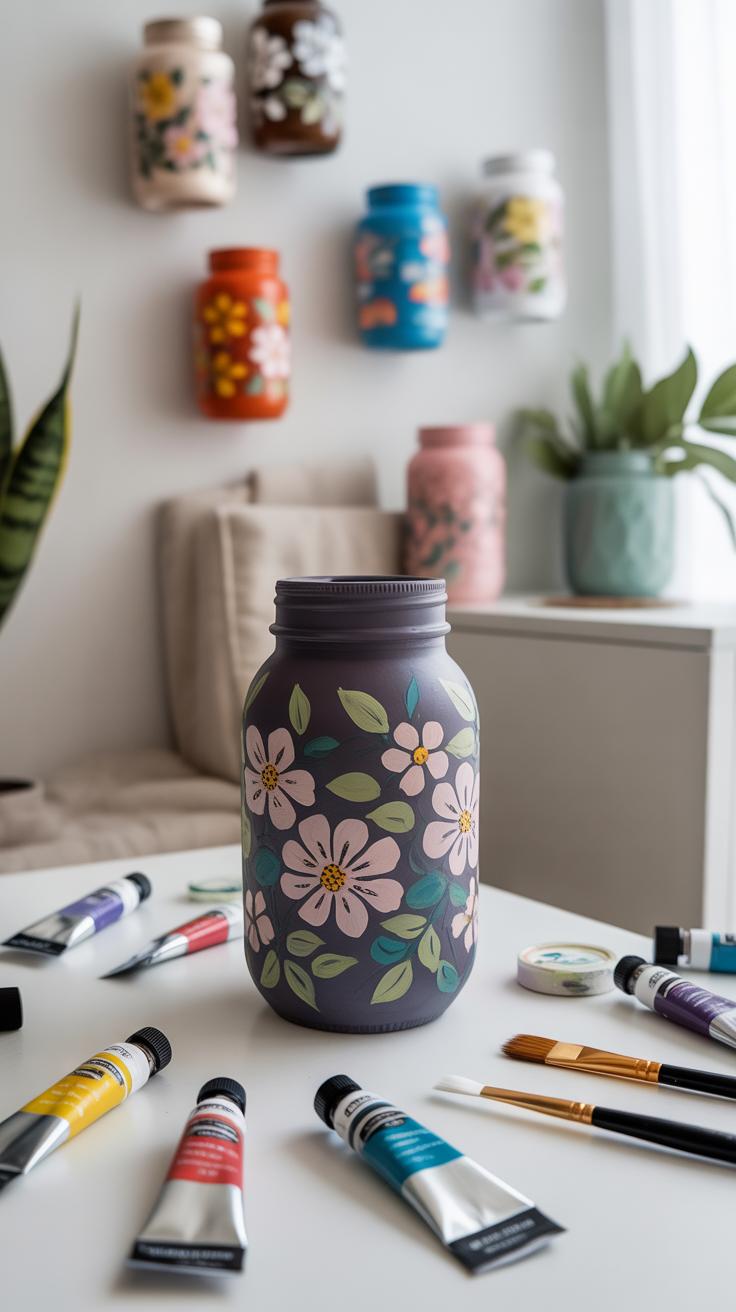
Another approachable idea is turning empty glass jars into decorative lanterns. Suppose you have a few jars lying around and some leftover paint. Here’s a basic way to proceed:
- Wash and dry your jar thoroughly.
- Paint the outside with translucent nail polish or glass paint in patterns, dots, or a solid color.
- Once dry, place a tealight candle or battery-operated fairy lights inside.
- Put the lid back on or leave it open to let the light shine through.
This project feels like playing with light and shadow—more experimental than exact. You might try layering colors or adding small cut-outs with glue. Watching how the light filters through your painted jar can be quite satisfying, even if the paint bubbles a little here and there. It’s all part of the process.
Both these crafts give you a quick win. They don’t demand much time or expensive materials but offer lots of room for creativity—and maybe even encourage you to look twice at what you’d usually throw away.
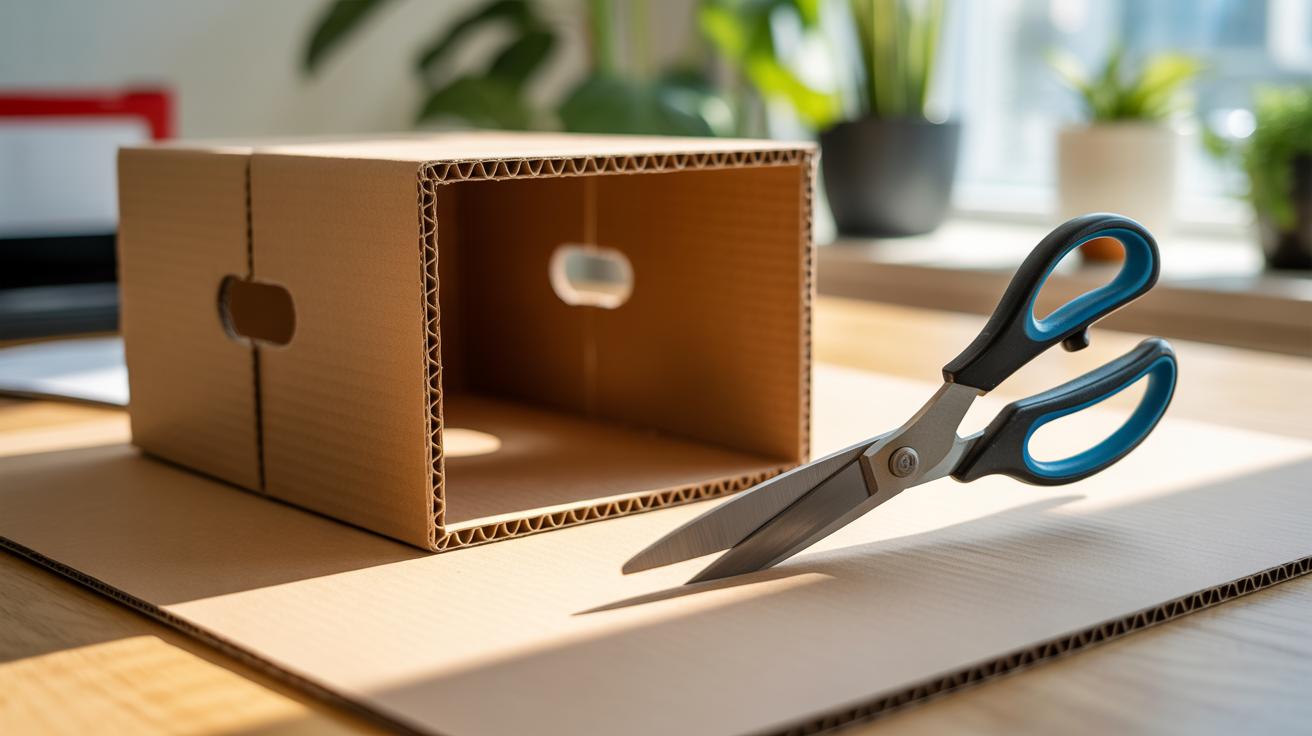
Crafting Storage Solutions From Waste
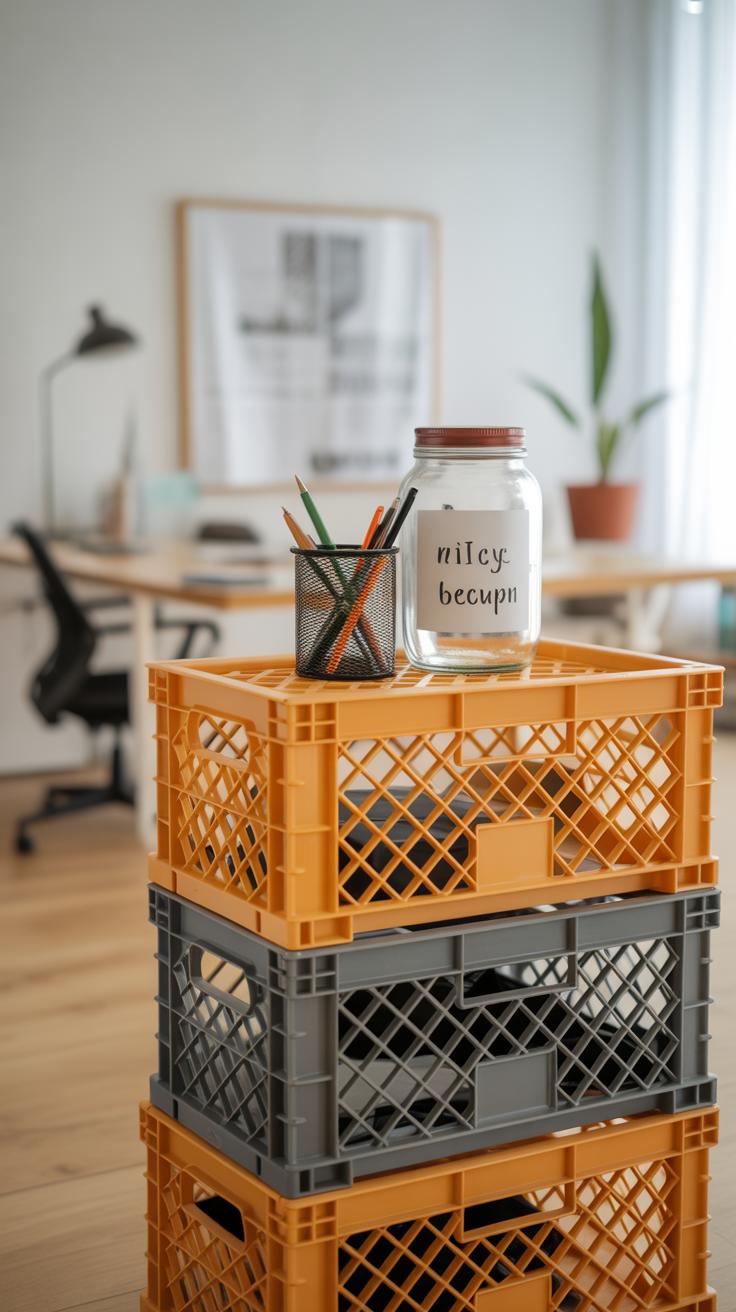
Turning waste materials into storage items can be surprisingly straightforward—and quite satisfying. For example, cardboard boxes from deliveries often sit around unused. Instead of tossing them, you can repurpose those into handy desk organizers. Cut pieces of cardboard into different heights and widths, then slot or glue them together to create compartments. Maybe use smaller containers—like empty yogurt cups or tin cans—to hold pens, paperclips, or other tiny supplies. Don’t worry about perfect cuts; sometimes a rough edge adds character.
Decorating these organizers is where you can let your creativity roam. Old fabric scraps or decorative paper can cover plain cardboard boxes, turning them into attractive storage solutions. Simply glue your chosen material to the outer surface, smoothing wrinkles as you go. You could even paint or add stickers for a personalized touch. It’s curious how something so simple can brighten up a cluttered corner dramatically. Curious to try it yourself? What items could you organize better?
Turning Plastic Waste Into Home Decor
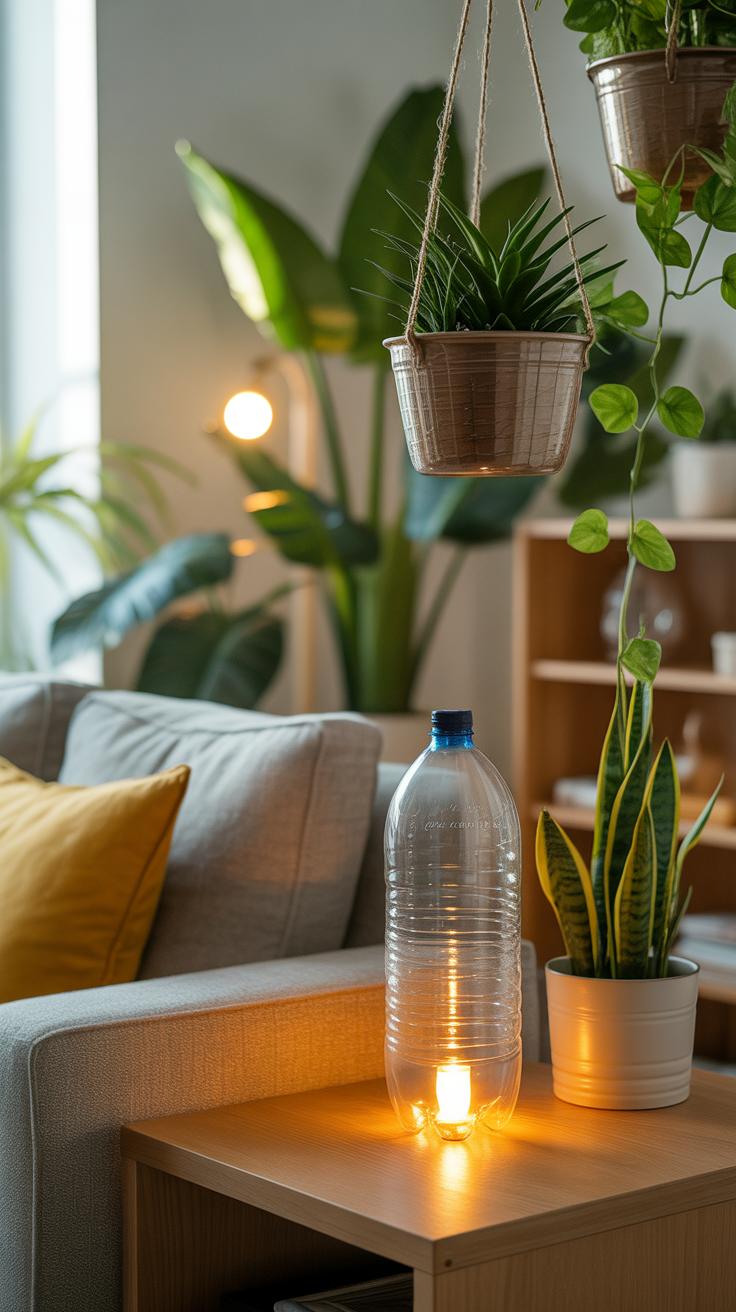
Plastic bottles and containers often feel like clutter, yet they hold potential beyond the trash bin. You might be surprised how simple it is to turn them into attractive home decor.
Crafting Planters From Plastic Bottles
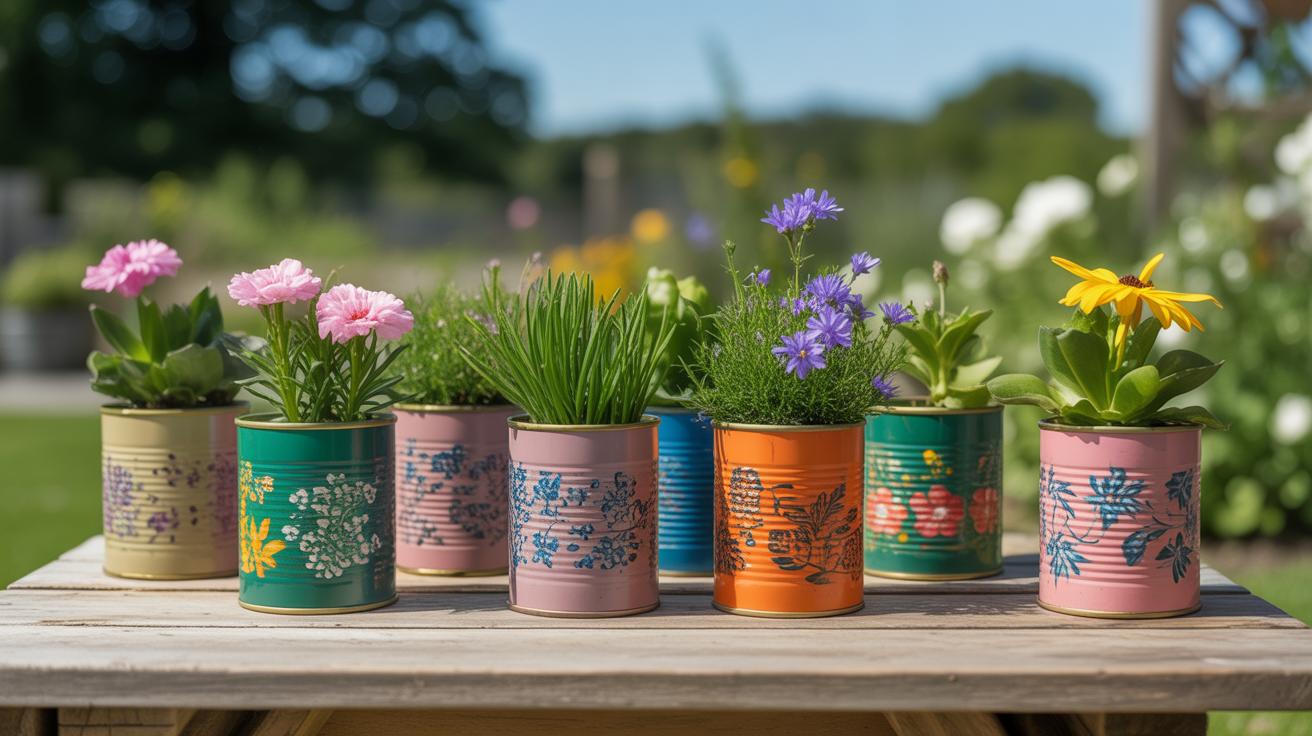
Start by selecting bottles with interesting shapes—tall soda bottles or wider juice containers can work well. Cut them carefully, creating an opening large enough for a small plant. The cut doesn’t need to be perfect; imperfections can add character. After cutting, you can paint the bottle with acrylic or spray paint. Bright colors or subtle pastels create distinct moods.
Don’t shy away from adding details like dots, stripes, or even stencils. Punch a few drainage holes at the bottom with a heated needle or nail. Hang these planters with strings or place them on shelves. I once made a set that brightened my kitchen window. The best part? Watching something once tossed out come alive with greenery.
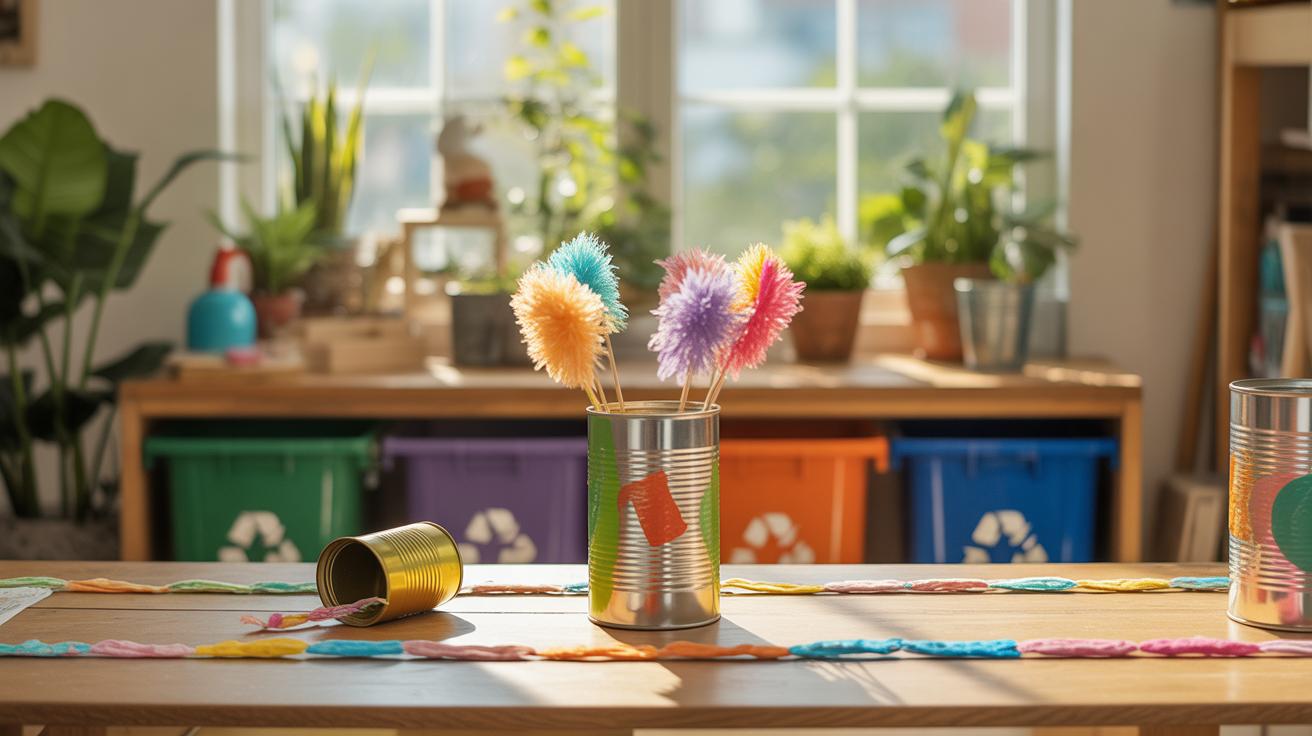
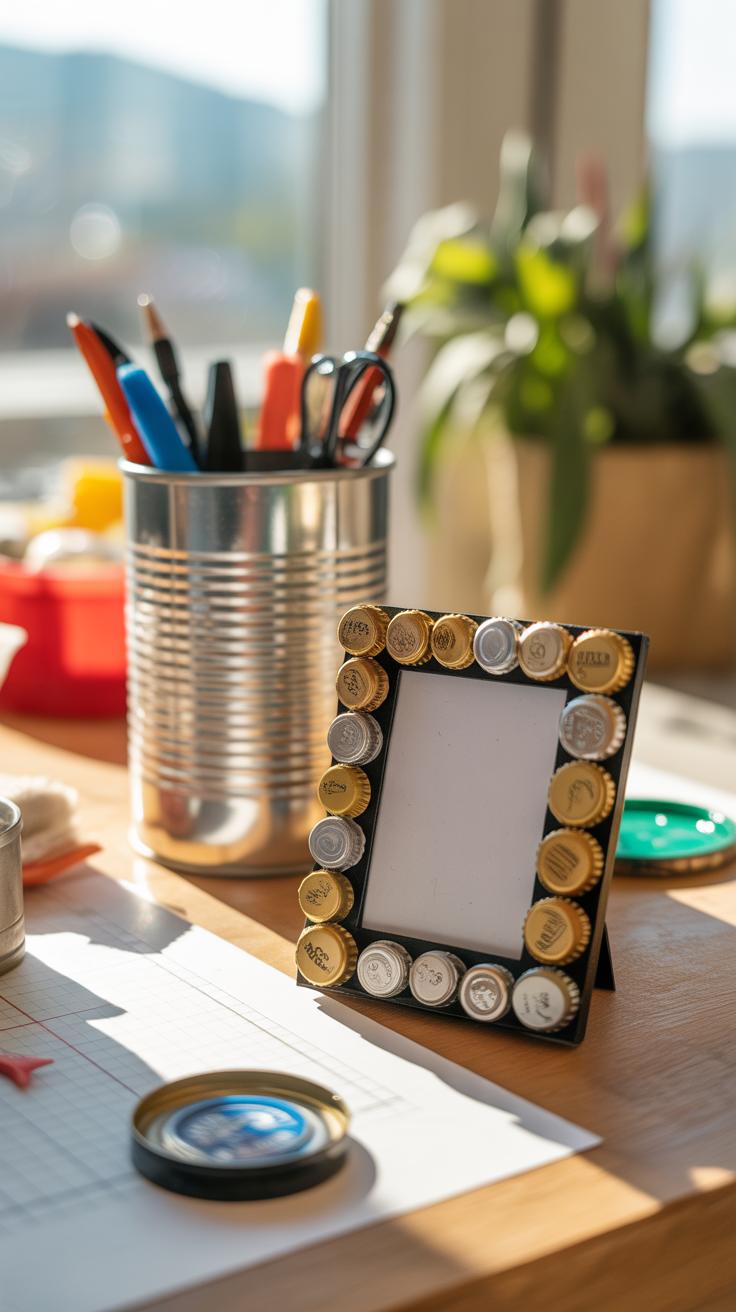
Creating Wall Art With Bottle Caps
Bottle caps might seem insignificant, but collected over time, they pile up. Arrange them on a sturdy backing—wood or thick cardboard works fine—to build colorful mosaics. You can arrange caps by color or size for patterns. Painting bottle caps before gluing adds another creative layer. Metallic shades, for instance, bring a different feel than plain plastic.
This kind of wall art feels personal because it carries small stories in each cap. Think of it as a puzzle that slowly grows. Plus, it’s a great way to involve family or friends in a fun project. The end result, honestly, surprised me—what looks like junk turns into a meaningful decoration. Worth trying if you want something unique on your walls.
Using Fabric Waste In Your Crafts
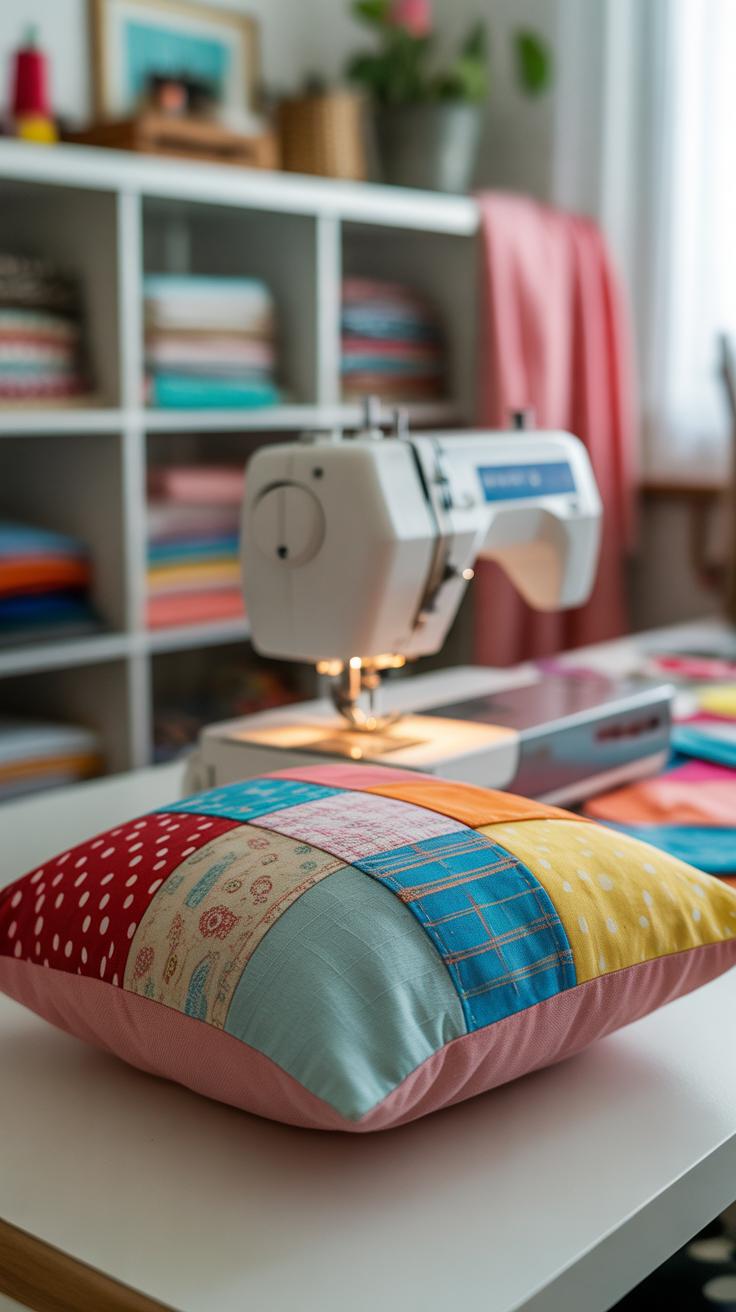
Fabric scraps and old clothes can easily pile up without much purpose, but you don’t have to let them gather dust or end up in trash bins. Instead, they offer simple ways to create home items that add charm and function without costing you much. For example, sewing cushion covers from worn-out shirts or leftover fabric pieces might seem basic, but the result can genuinely refresh a chair or sofa. You only need straightforward sewing skills—things like stitching straight lines and attaching a zipper or buttons to close the cover.
Here’s a small checklist to get you started:
- Pick a fabric piece that’s large enough for your cushion size—old shirts work well because they often have interesting patterns or colors.
- Measure your cushion and cut the fabric accordingly, allowing a little extra for seams.
- Sew the pieces together, leaving one side open for inserting the cushion.
- Add a zipper, buttons, or even simple ties to keep it secure and removable for washing.
It’s not just cushion covers. Consider creating fabric wall hangings by combining different textiles. You can layer, stitch, or even tack these scraps onto a wooden frame. The contrast of textures and colors brightens up plain walls and feels more personalized than typical store-bought decor. Sometimes, mismatched fragments from various clothes tell stories or simply surprise you with their new look when placed side by side. If you’re wondering about the design, start with a basic arrangement, then tweak as you go—there’s no strict rule here.
Does anyone else find that hands-on fabric projects somehow slow down the mind, even if just a little? It’s not perfect every time, but maybe that’s part of the appeal.
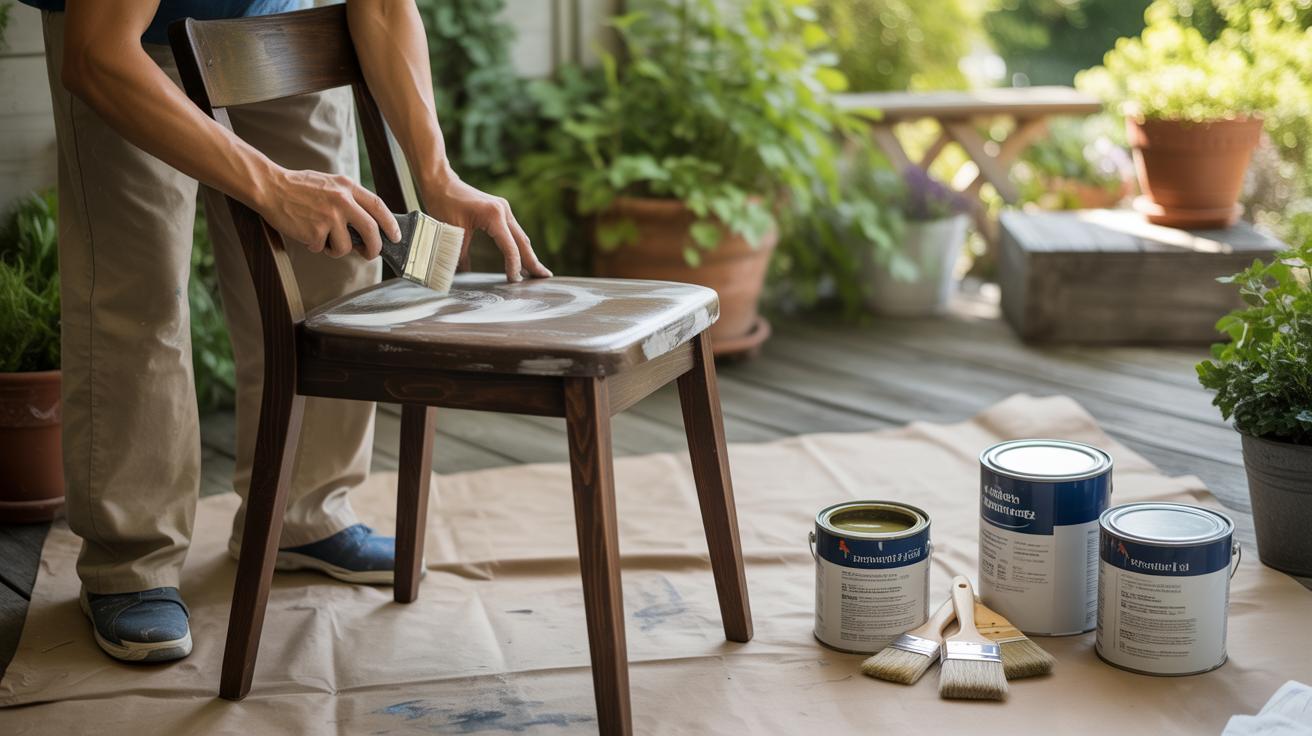
Painting And Decorating Waste Crafts
When you’re working with waste materials, paint can completely change how your craft looks. You don’t need to be a pro painter to add color—sometimes a simple base coat with acrylics or spray paint can make scraps of wood or plastic suddenly feel intentional. I usually start with a few quick strokes and see where it leads. Sometimes layering colors creates interesting effects, like fading or texture, especially if the surface isn’t perfectly smooth.
Markers can be surprisingly helpful for detail work—think small patterns, doodles, or even signatures that personalize the piece. It’s funny how just drawing a few dots or lines can lift something out of plain into something that feels crafted, you know?
Beyond paints, adding embellishments can push your project further. A few buttons glued onto a jar can become a quirky pen holder. Ribbons wrapped around recycled bottles make great vases that catch the eye. Glitter is easy but maybe a little overused—still, when used sparingly, it can add just a hint of sparkle, not enough to overwhelm.
Stickers might seem basic, but they work well on paper crafts or containers where you want to add a pop of color fast. Mixing these decorations, maybe combining a ribbon with a painted detail or a button cluster with a bit of glitter, lets you experiment without spending much money or time.
Have you tried varying textures? Sometimes the roughness of a cardboard edge combined with smooth paint or a shiny button creates a little tension, which I find kind of interesting. What kind of combinations do you think would feel right in your space?
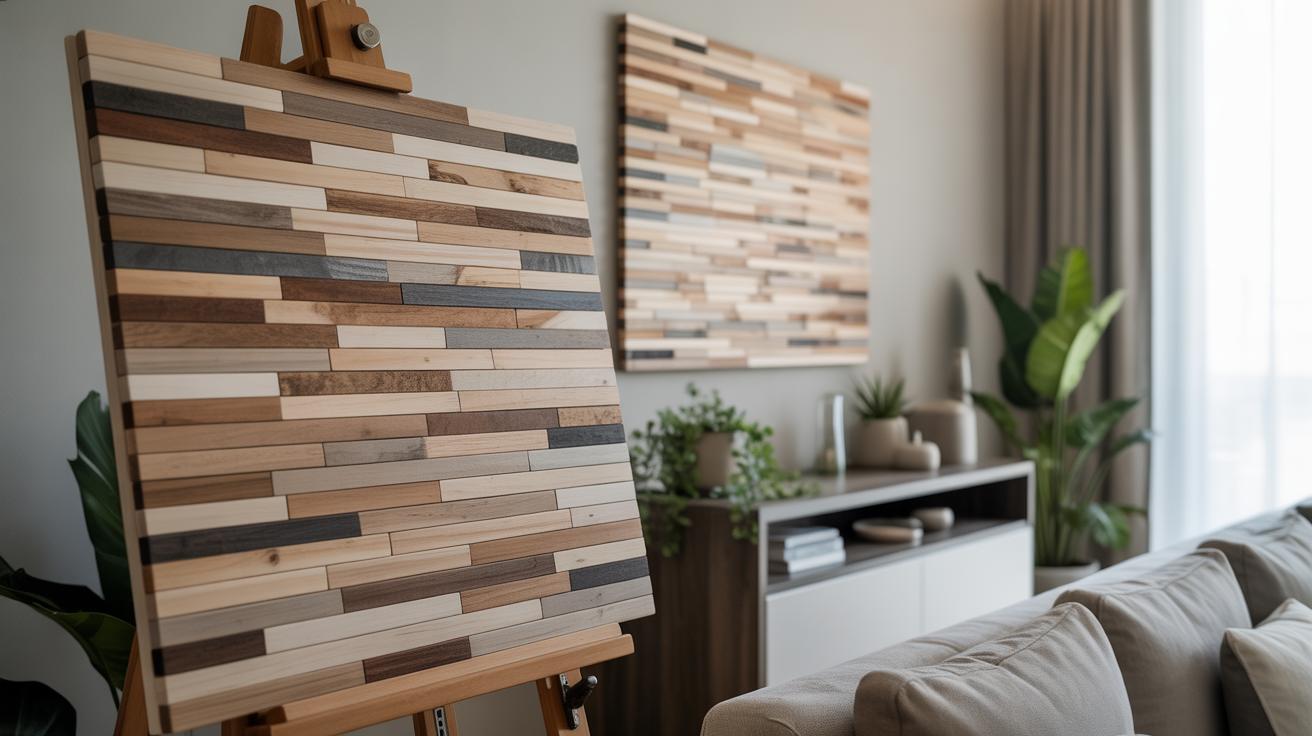
Incorporating Crafts Into Your Home Design
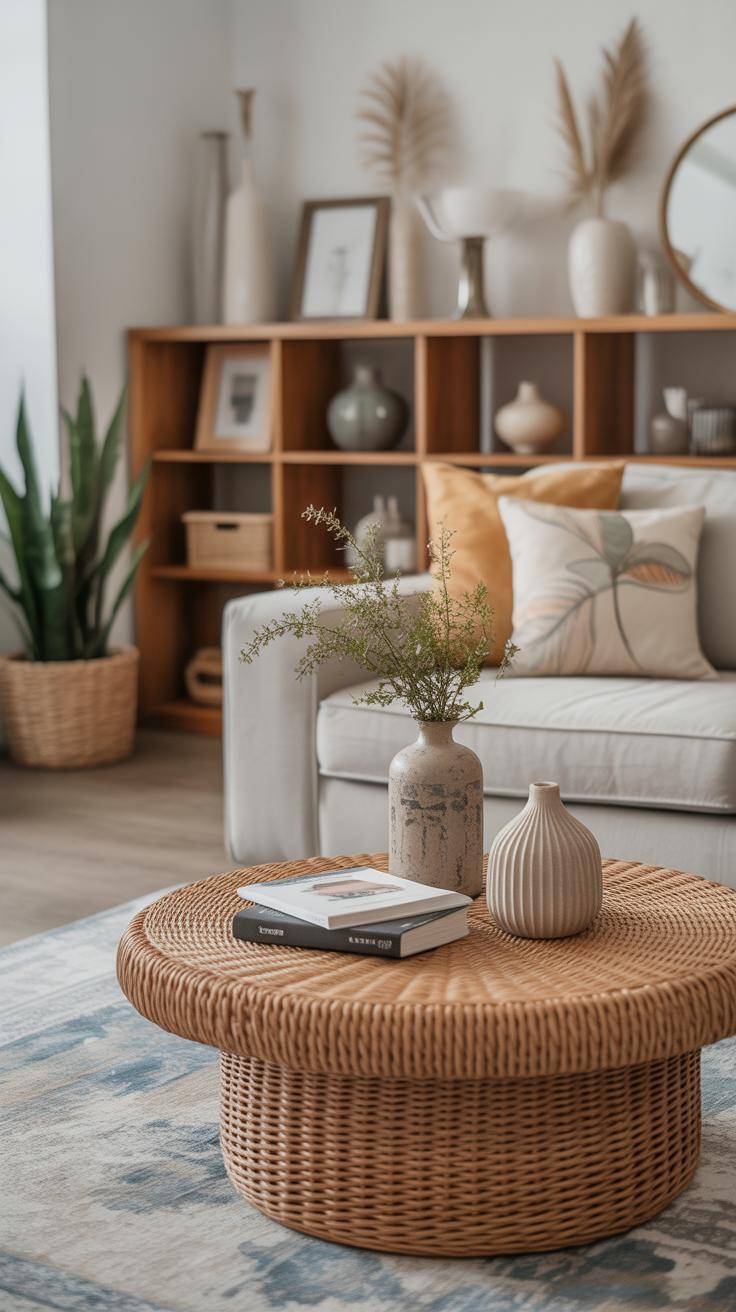
When it comes to choosing crafts made from waste materials for your home, think beyond just what looks good. You want pieces that tell a story or serve a purpose, not just sit around collecting dust. Sometimes, a single unique craft placed thoughtfully can catch the eye more than several scattered around.
Look for spots that are visible yet practical:
- Entryways—greet visitors with something interesting without overcrowding the space.
- Shelving units—mix crafts with books or plants to avoid a cluttered feel.
- Kitchen corners—small containers made from recycled jars can hold utensils or herbs.
Try to avoid areas where crafts might just get lost or become obstacles. I once put a small piece on the hallway table but forgot it was there until months later—it just blended too much with everything else. Placement matters more than you might expect.
When matching your crafts to your decor, colors do play a role but don’t get stuck on exact shades. Sometimes a slight contrast energizes a space. For example, a set of upcycled metal crafts might stand out nicely in a room with warm wooden tones.
Consider themes you already like. Are your rooms more rustic, modern, or eclectic? A recycled paper wall hanging may fit perfectly in a boho-themed living room but feel out of place in a minimalist space. Yet… sometimes breaking the style rules can work if you’re aiming for an unexpected focal point.
In the end, trust your instincts. It’s your home, after all. If something sparks joy or curiosity, give it a shot. Might surprise you how a craft from “trash” can suddenly feel like treasure.
Inspiring Others To Start Crafting From Waste
Sharing your passion for crafting with waste materials can be surprisingly rewarding. When you invite family or friends into your hobby, you’re not just showing them how to make something pretty—you’re planting an idea about reuse and creativity. Sometimes, people hesitate at first, unsure if what they make will look “good enough.” But seeing your earthy vases or quirky wall hangings might just spark their curiosity.
Try to make it casual. Maybe start with a chat over coffee about the things you’ve crafted. Or casually mention how you turned old magazines or boxes into something useful. These little moments can open doors for others to ask questions or even join you in crafting sessions.
Think about the ripple effect: one person sharing one project might inspire a whole group, gradually shifting how waste is seen—not as trash, but as material waiting for a second chance.
Sharing Your Projects And Ideas
Showing off your craft projects doesn’t have to be complicated. Simple photos taken with your phone can capture the details well enough to share. Post them on social media if you’re comfortable, but even just sending pictures to a group chat with friends can make a difference.
Gifting your creations is another way to spread enthusiasm. People tend to appreciate handmade items more than we expect, especially when they know the pieces are made from repurposed materials. It’s both thoughtful and telling—showing that beautiful things don’t always come from brand new stuff.
Try these tips:
- Use natural light when photographing your crafts for clear images.
- Write a short story or background about the item—it adds personality.
- Encourage friends or family to try similar projects after seeing your work.
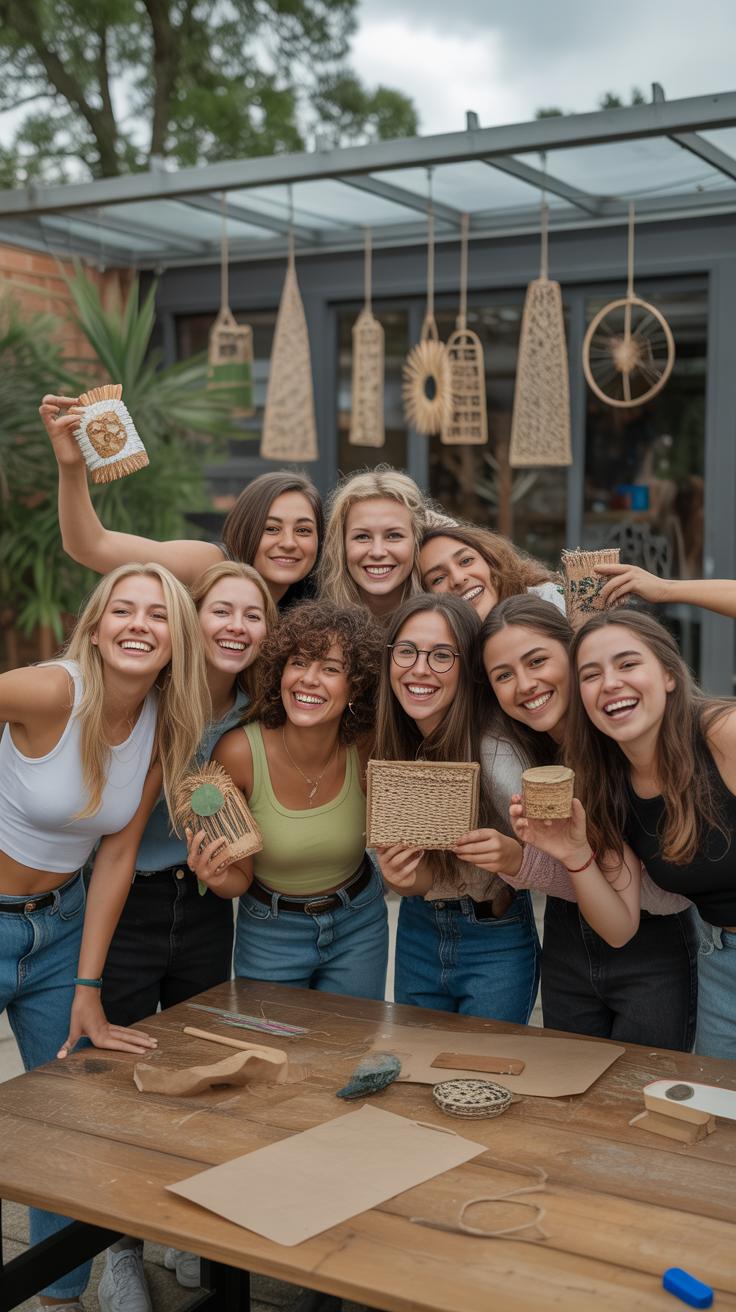
Organizing Craft Sessions Together
Hosting a crafting workshop can sound like a big deal, but it often isn’t. You don’t need a fancy space—your kitchen table or a cozy corner in the living room is enough. The goal is really to gather people and share the process, not to produce perfect products.
Start simple with projects that use common waste items, like turning old jars into candle holders or scraps of fabric into decorative balls. Preparing a small stash of materials beforehand helps keep things smooth. Plus, having some basic tools ready makes the day less stressful.
Invite friends, neighbors, or family and encourage them to bring their own waste materials too. Watching others create their versions of simple crafts can be unexpectedly motivating. It might even lead to regular get-togethers where ideas and resources are exchanged.
Conclusions
Using waste materials to create crafts is a powerful way to beautify your home and protect the environment. By giving old items a second life as decorations or useful objects, you reduce waste and save money. Each small project helps lower your home’s environmental impact while adding personalized style to your space. You have plenty of options to choose what fits your taste and skills.
Start simple and enjoy the process of discovering new ways to recycle creatively. From colorful planters, wall art, to storage solutions, smart crafts from waste materials bring fresh charm to your home. Keep experimenting, and you might inspire others around you to reuse and recycle too. Your smart crafts can make a big difference for the planet and your everyday life.


