Introduction
Cardboard crafts offer a fun and affordable way to add unique accents to your home. With just a little creativity, you can transform simple cardboard into rustic décor pieces that bring warmth and charm to any space. These crafts not only save money but also provide a chance to recycle and reuse materials, helping the environment.
In this article, you will learn practical tips and ideas for creating rustic home accents using cardboard. We will explore the benefits of cardboard crafting, basic techniques, and step-by-step projects that anyone can try. Whether you are new or experienced, this guide will inspire you to bring your artistic touch into your living space using cardboard.
Understanding Cardboard Types and Choosing the Right One
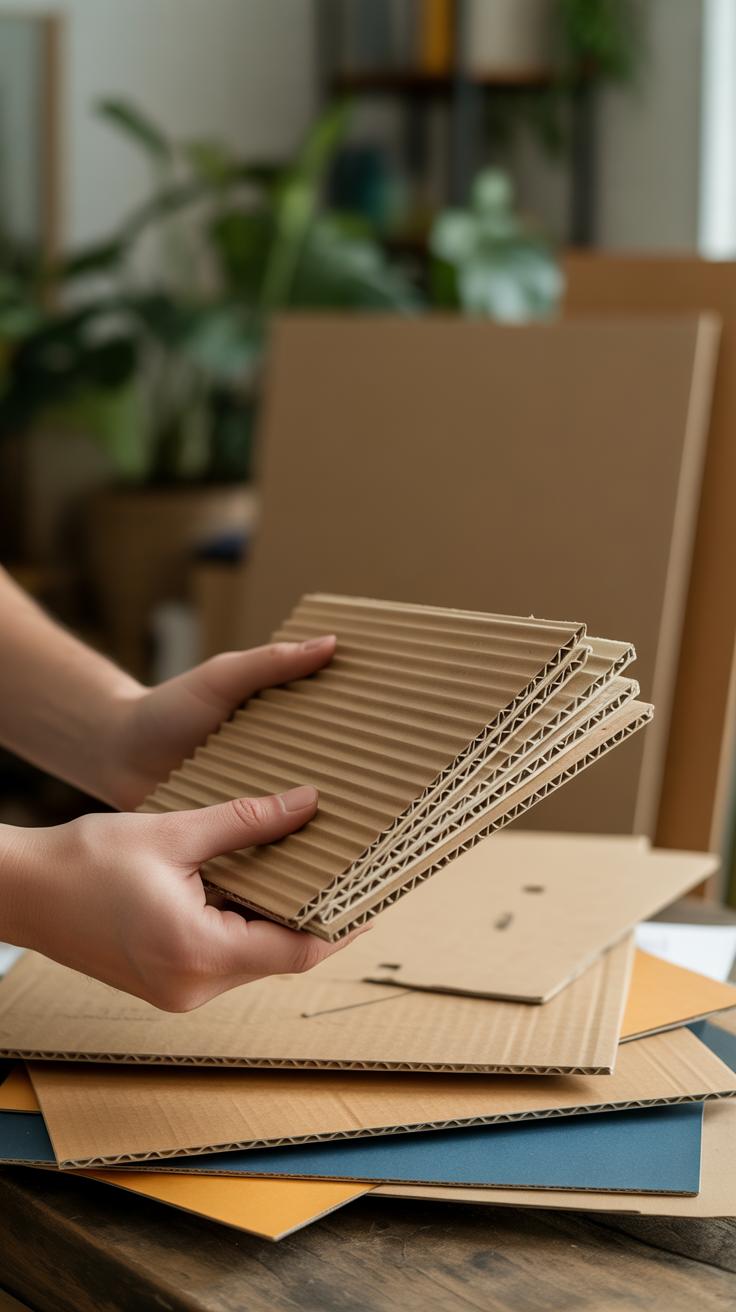
Not all cardboard is created equal. When you set out to craft, the type you pick can make a huge difference—sometimes subtle but important. There’s corrugated fiberboard, paperboard, and cardstock, each with its own quirks and strengths. Picking the right one isn’t always obvious, and sometimes it depends on what you want to achieve.
Corrugated Fiberboard Features and Uses
Corrugated fiberboard is that thick, layered stuff you see in shipping boxes. It has an inner fluted layer sandwiched between two flat liners, which gives it strength and durability. It’s a bit rough around the edges, but that roughness means it can hold shape well and stands up to a bit of handling—not flimsy at all. Use it for larger projects where sturdiness matters, like shelves, rustic wall art, or even small furniture pieces. I’ve found it’s great when you want a craft that’s hands-on and lasts, though sometimes its bulk can make detailed cuts tricky. But it’s perfect if you want something with real presence.
Paperboard and Cardstock Characteristics
In contrast, paperboard and cardstock are thinner and have smooth surfaces. Paperboard feels like a thick cereal box panel—lighter than corrugated fiberboard but still firm. Cardstock is even smoother and thinner, almost like heavy paper, great for precise folding or delicate designs. These materials shine in projects needing fine detail, like ornate frames, decorative panels, or rustic greeting cards that fit into your home decor theme. I sometimes prefer cardstock because it takes paint and markers well, but it won’t hold up if you make something big or heavy. So, think about your craft carefully—do you want a sturdy base or something refined and delicate?
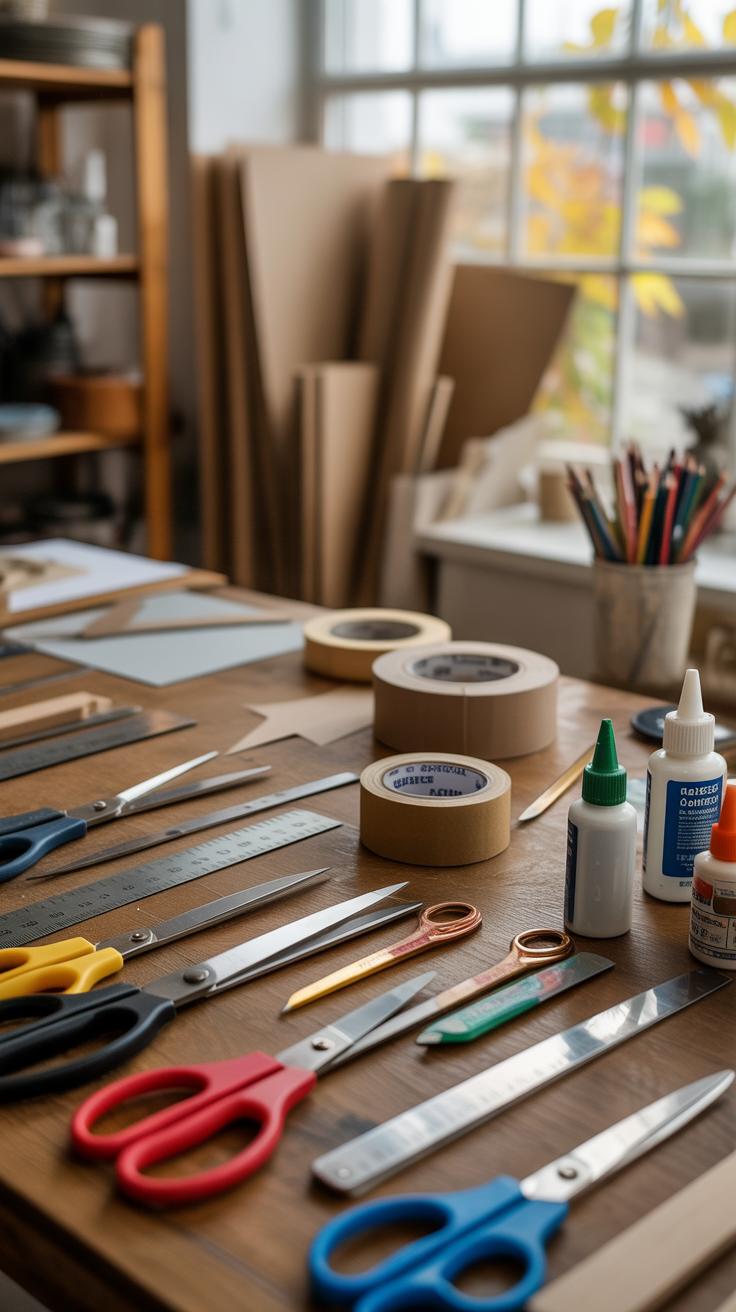
Essential Tools and Materials for Cardboard Crafting
Cutting and Shaping Tools
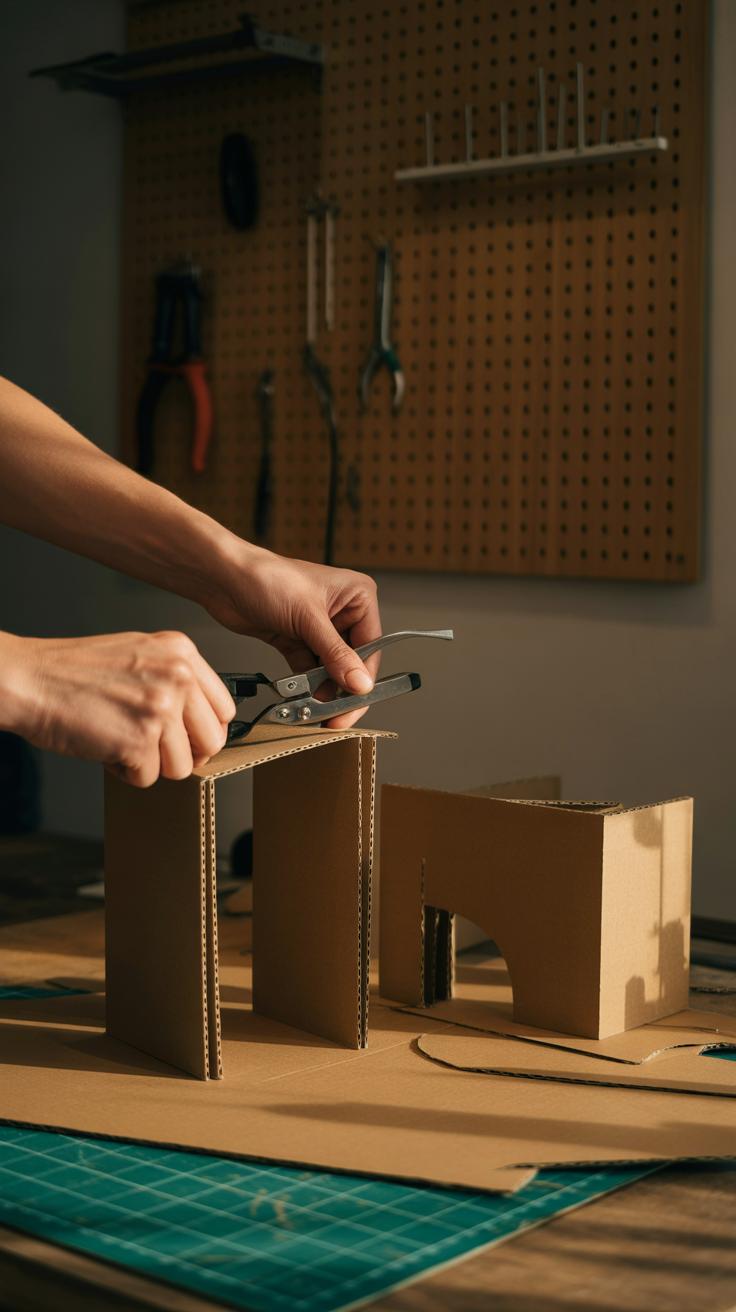
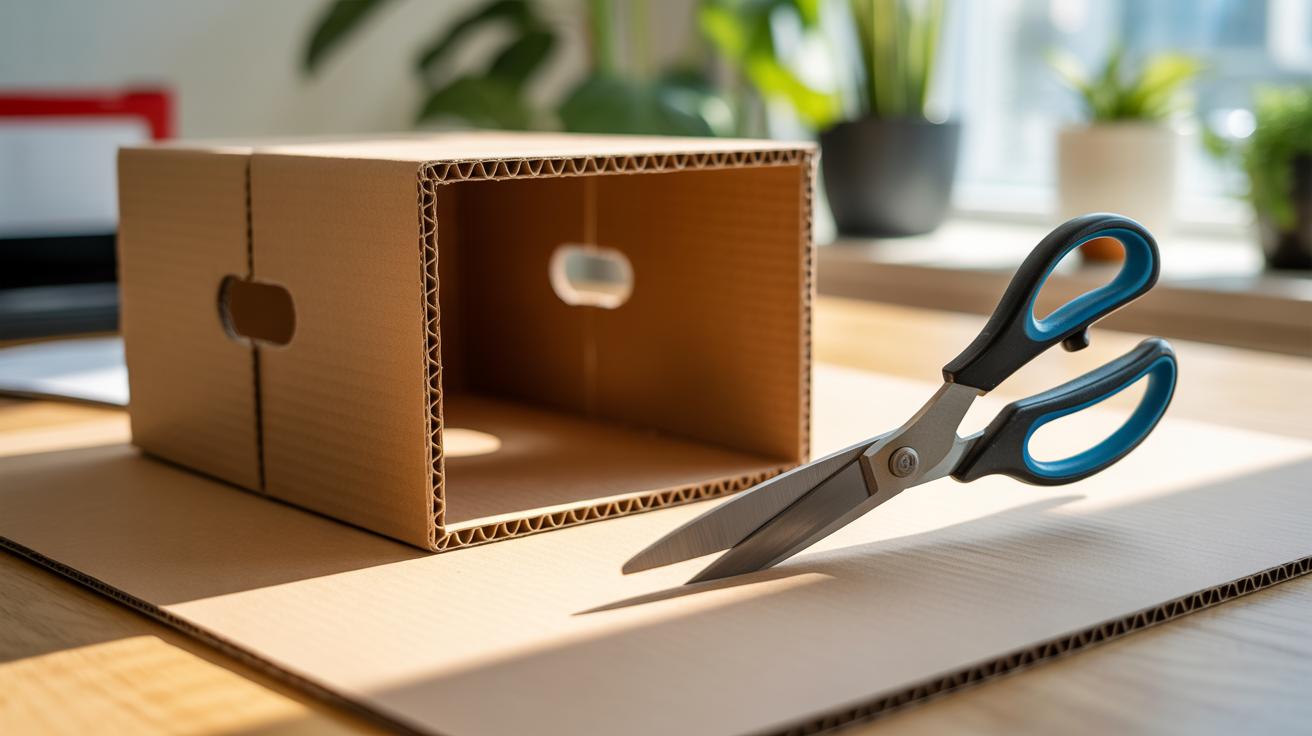
When working with cardboard, having the right cutting tools makes a big difference. A sharp craft knife or utility knife is often the go-to for clean cuts and detailed shapes. Scissors work well for thinner cardboard or quick trims, but they can struggle with thicker sheets. Using a cutting mat underneath protects your surfaces and helps achieve precise cuts. I’ve learned that changing your blade more often than you think necessary keeps edges crisp and prevents rough tearing. It might feel tedious, but dull blades actually make things messier.
Safety is something you’ll want to keep in mind. Always cut away from yourself and keep fingers clear. Even if you’re careful, accidents can happen. Taking your time matters—rushing often leads to slips. Stabilizing the cardboard and using rulers as guides can help maintain straight lines and reduce frustration.
Adhesives and Finishing Supplies
Glue is another pillar of cardboard crafting. PVA glue (white glue) is great for most projects since it dries clear and holds well. Hot glue adds quick bonding power, but it requires care around fingers due to high heat. Double-sided tape or masking tape can work for temporary holds or lighter pieces. It’s handy to experiment a bit to find what glue suits your project best—what sticks one time might not hold another, depending on the cardboard thickness and surface.
For finishing touches, paints and sealants allow creativity beyond raw cardboard. Acrylic paints usually adhere nicely, but a primer might help avoid soaking in or warping. Sealants like clear sprays protect your design and give a smoother feel. I sometimes skip sealants for rustic looks, but when durability is needed, they make a noticeable difference. Trying out small samples before committing to a full cover can save some headaches later.
Basic Cardboard Crafting Techniques Everyone Should Know
If you want your cardboard projects to look tidy and last longer, mastering a few simple techniques makes a big difference. Let’s start with scoring and folding. Scoring means lightly cutting a line on the surface—just deep enough to guide the fold without cutting through. It helps the cardboard bend smoothly without cracking or rough edges. Trust me, I’ve tried folding without scoring, and the result looked messy, with unwanted bends and sometimes even splits.
Scoring and Folding for Clean Edges
Here’s how I usually score cardboard before folding:
- Mark the fold line clearly with a pencil or ruler.
- Run a craft knife along the line, pressing gently to score but not cut through.
- Check if the fold bends easily. If not, repeat with a little more pressure.
- Fold slowly, using your fingers or a flat tool to smooth the edge.
This technique prevents cracking and helps your piece keep its shape, which looks far more professional.
Layering and Gluing for Strength
Sometimes a single layer just isn’t sturdy enough for what you have in mind. That’s when layering comes in. Sticking multiple cardboard pieces together gives you heavier, more durable materials to work with. But the glue step can be tricky. I’ve learned the hard way that applying glue unevenly causes lumps or, worse, warps the cardboard.
Try these tips:
- Use a thin, even layer of glue on one side. A brush or a spreader helps here—no blobs.
- Press the layers firmly together, and place something flat on top while it dries.
- Wait long enough for the adhesive to set; impatience can ruin the bond.
Your pieces will be stronger and sit flat, making it easier when you move on to cutting or decorating.
Honestly, these basics might seem obvious, but skipping them often leads to frustration. Taking the time to score before folding and layering your cardboard properly essentially makes the whole crafting process smoother—and you get better-looking results. What type of cardboard project would you try first with these techniques?
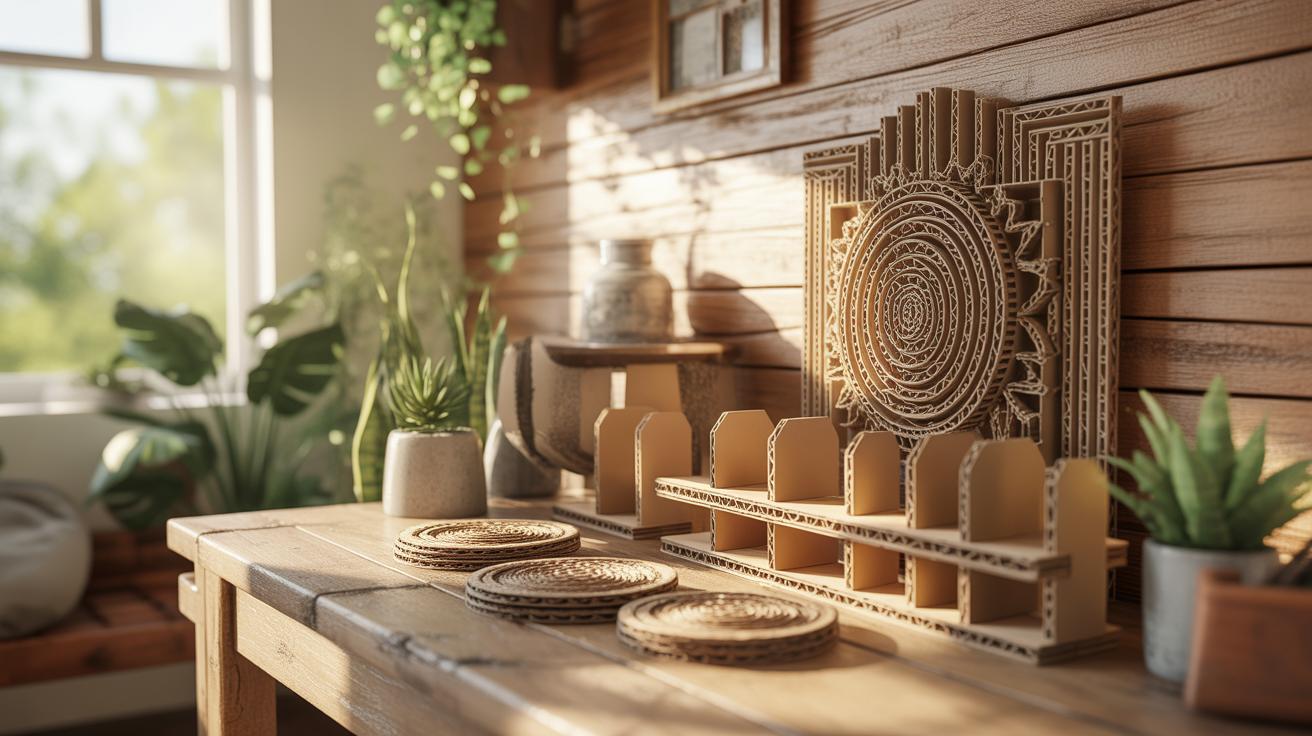
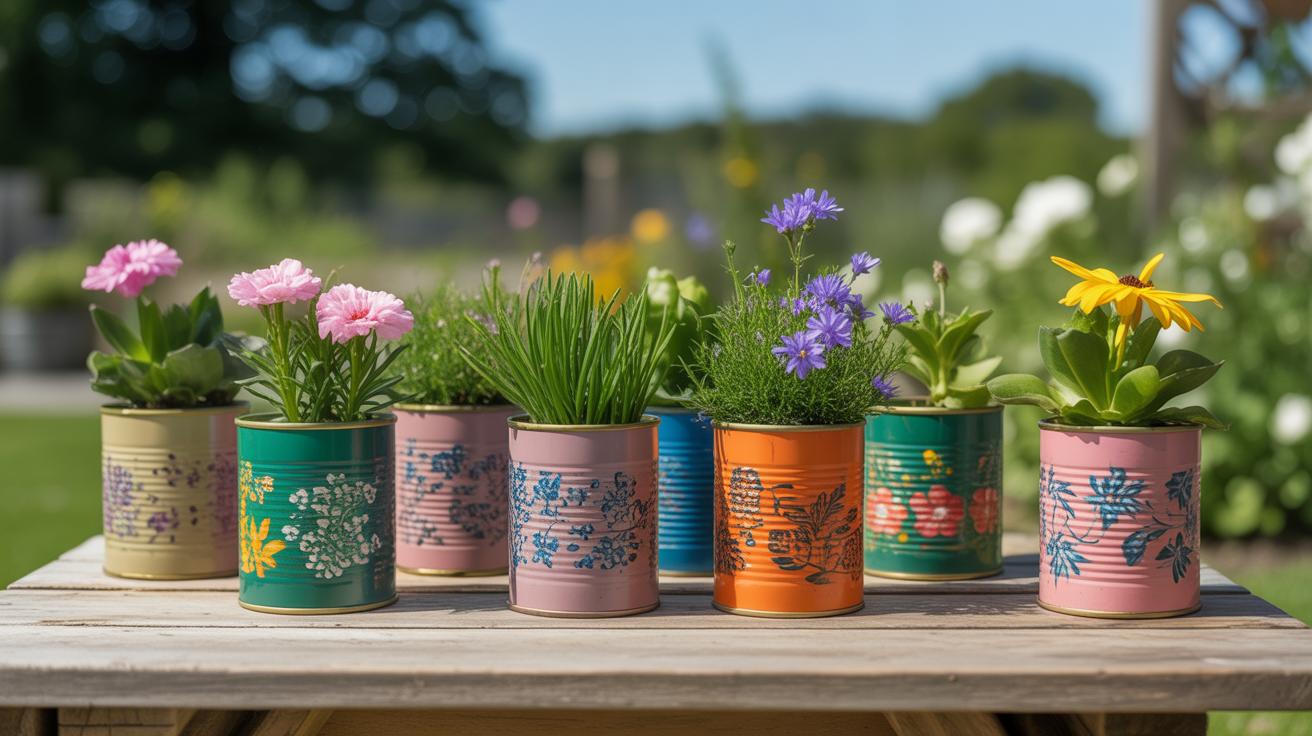
Creative Rustic Wall Art from Cardboard
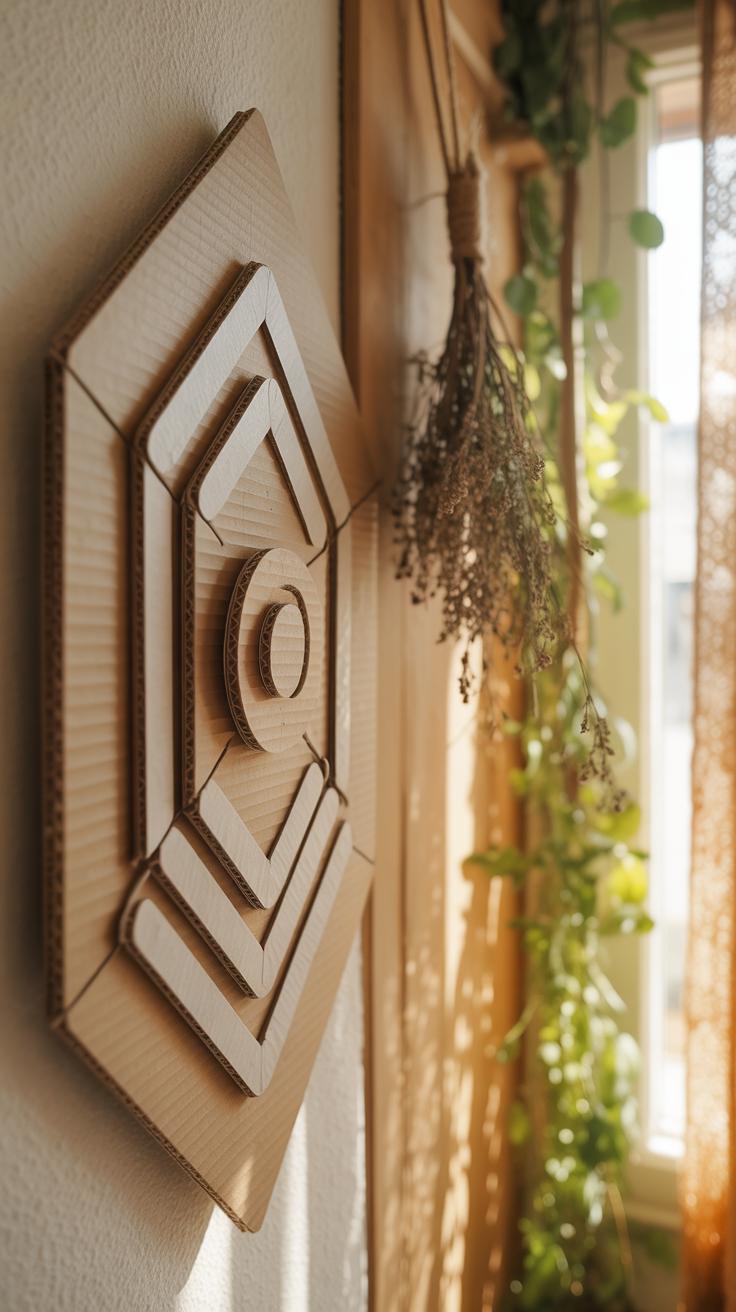
Designing and Cutting Your Artwork
Start by thinking about what kind of shapes match your space—maybe simple leaves, woodland animals, or even some geometric patterns that lean toward rustic charm. You don’t have to be an artist to get this right. Try sketching on paper first or find silhouette images online to create stencils. Tracing these onto cardboard works well, especially if you want consistent shapes.
When it comes to cutting, a sharp craft knife usually does the trick better than scissors, especially for detailed edges. Take your time, and make sure your blade is fresh—dull blades lead to messy cuts and frustration. I often use a cutting mat underneath; it saves your fingers and your work surface in one go. If the cardboard is thick, score lightly first to guide your cuts without tearing. A slow, steady hand is more helpful here than rushing through it.
Painting and Texturing Techniques
Once cut, painting is where personality steps in. Earthy tones like browns, muted greens, or warm grays give that authentic rustic vibe. Don’t feel obliged to cover every inch with a perfect coat. Sometimes patchy paint or allowing some of the original cardboard texture to peek through adds character. I like to play with layering—start with a base color, then lightly sand parts to reveal what’s underneath. It’s almost like the piece “wears” its history.
Another neat trick is to attach thin paper layers—like torn pieces of kraft paper—over the cardboard before painting. It creates gentle ridges or unevenness that look natural, avoiding that too-clean feeling you sometimes get with homemade crafts. These textures break up flat surfaces and bring warmth without needing extra material or time. You’ll be surprised how a little roughness makes your wall art feel more handcrafted and genuine.
Building Functional Home Accessories with Cardboard
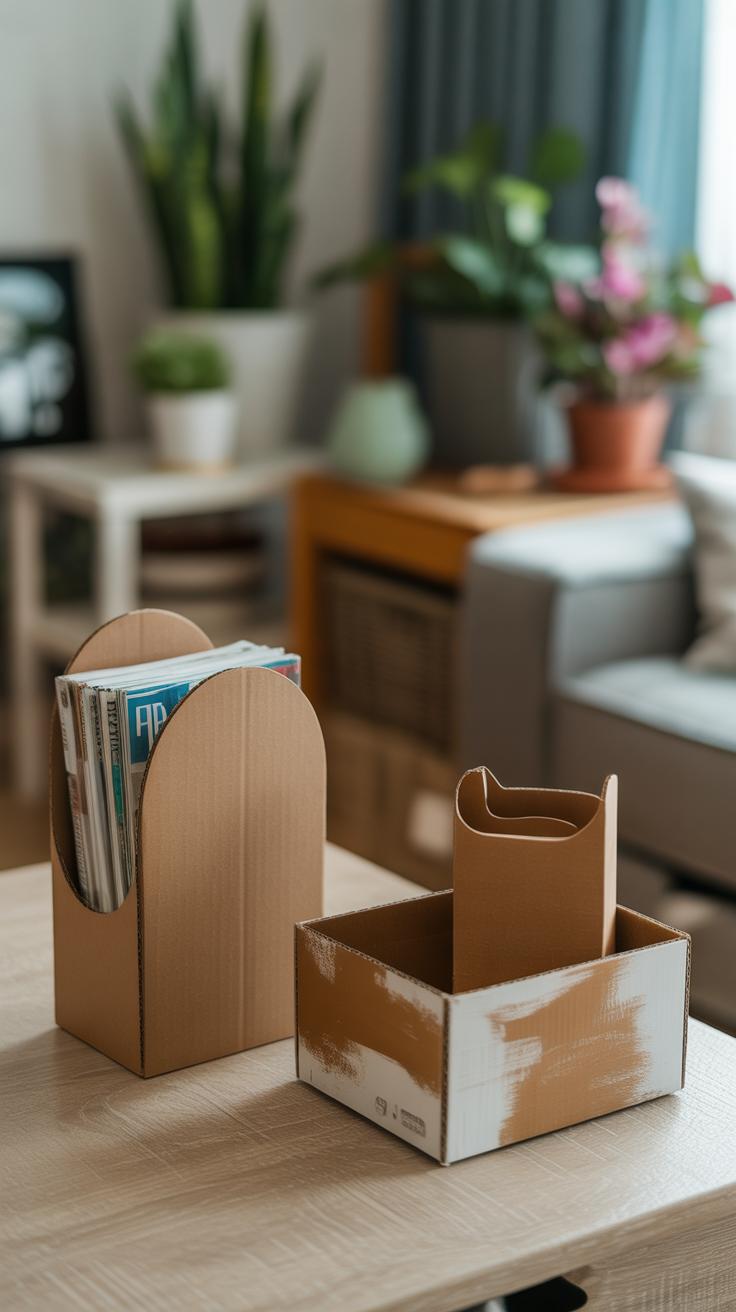
Making practical items like storage boxes, trays, or coasters from cardboard can bring a simple, rustic feel to your home. The key is careful planning and reinforcing the pieces for real use, not just decoration. Start by measuring the space where you want the item to go. For example, if you’re designing a tray for your coffee table, note its dimensions precisely. Measure twice, cut once, they say—and it’s true here. Overestimating just a bit can help if you’re unsure, since you can always trim edges later.
When cutting the cardboard, use thick, corrugated sheets for strength. Layer multiple sheets glued together—two or three layers reduce bending and make the item last longer. I usually clamp them with heavy books overnight to get a firm bond. For corners where the item needs stiffness, folding edges or adding extra strips inside helps maintain shape.
Decorating is where you can really lean into rustic charm. Painting with earthy tones or staining with diluted acrylics works well. Covering parts with rough fabric, like burlap, adds texture. Don’t be shy about mixing rough and smooth surfaces—it creates a nice contrast that feels more natural.
Coasters are a great starting project: simple squares or circles layered for thickness, sealed with a protective coat to handle moisture. Trays might need handles—consider leather strips or twine knotted through holes punched in the sides. Storage boxes benefit from reinforced corners and maybe a lid. Planning space and adding those practical details makes your cardboard craft less of a gimmick and more of a useful, charming addition to your home.
Incorporating Natural Elements into Cardboard Crafts

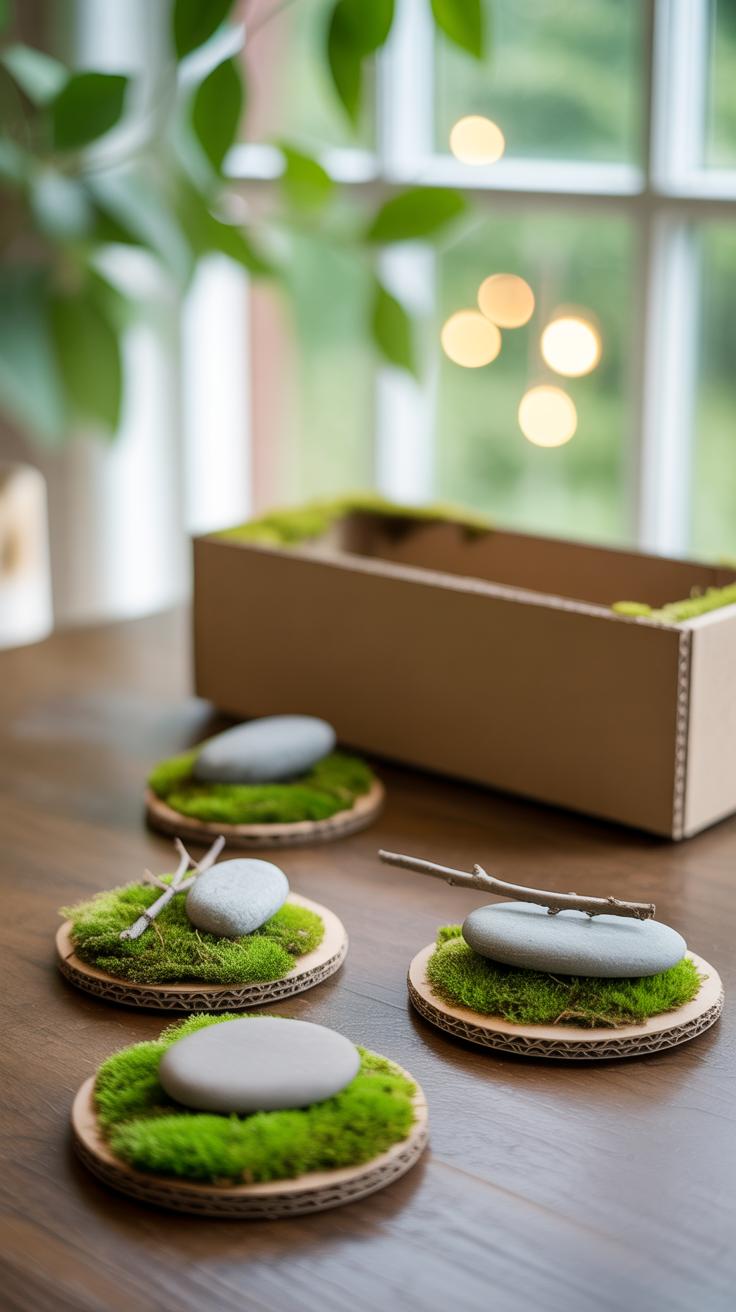
If you want to give your cardboard projects that genuine rustic feel, bringing in natural materials like twine, dried flowers, bark, or leaves can really elevate the look. These elements add texture and warmth, making the piece feel less manufactured and more connected to nature. For instance, wrapping a simple cardboard tray with twine along the edges adds a subtle charm that changes the whole vibe. Or pressing dried leaves onto a cardboard frame can create a delicate pattern that’s both tactile and visually interesting. Sometimes, mixing bark strips with cardboard can introduce unexpected ruggedness, though it might feel a bit rough if overdone.
Attaching Natural Materials Securely
Keeping natural accents attached firmly without harming either the cardboard or the materials themselves is a bit of a delicate dance. Hot glue often works well, but you have to be careful—too much heat and the flowers may crisp, or the cardboard can warp. I found that low-temperature glue sticks offer more control and don’t cause as much damage. Another option is using thin wire or twine to tie around elements, especially for bigger pieces like bark or bundles of dried herbs. For flat things like leaves, double-sided tape designed for crafts is surprisingly strong and doesn’t crush the material as harshly. It’s a bit trial and error though; some leaves need gentle pressing, others can be trimmed to fit snugly before adhesive goes on.
Creating Harmonious Rustic Designs
To keep your rustic decor feeling balanced, try combining natural roughness with the smoothness of cardboard. For example, a clean-cut cardboard surface paired with a rough twine border offers a nice contrast without clashing. It helps to use a limited color palette—browns, tans, muted greens—so everything feels intentional. You could also layer materials: place a few small dried flowers on a twine-wrapped cardboard piece instead of scattering them randomly. Sometimes less is more, but other times you’ll find denser arrangements give a cozier effect. The key, I think, is to let the materials breathe together rather than crowding the space; that way, your rustic accents don’t get lost or appear overwhelming in your home.
Personalizing Cardboard Crafts with Paint and Finishes
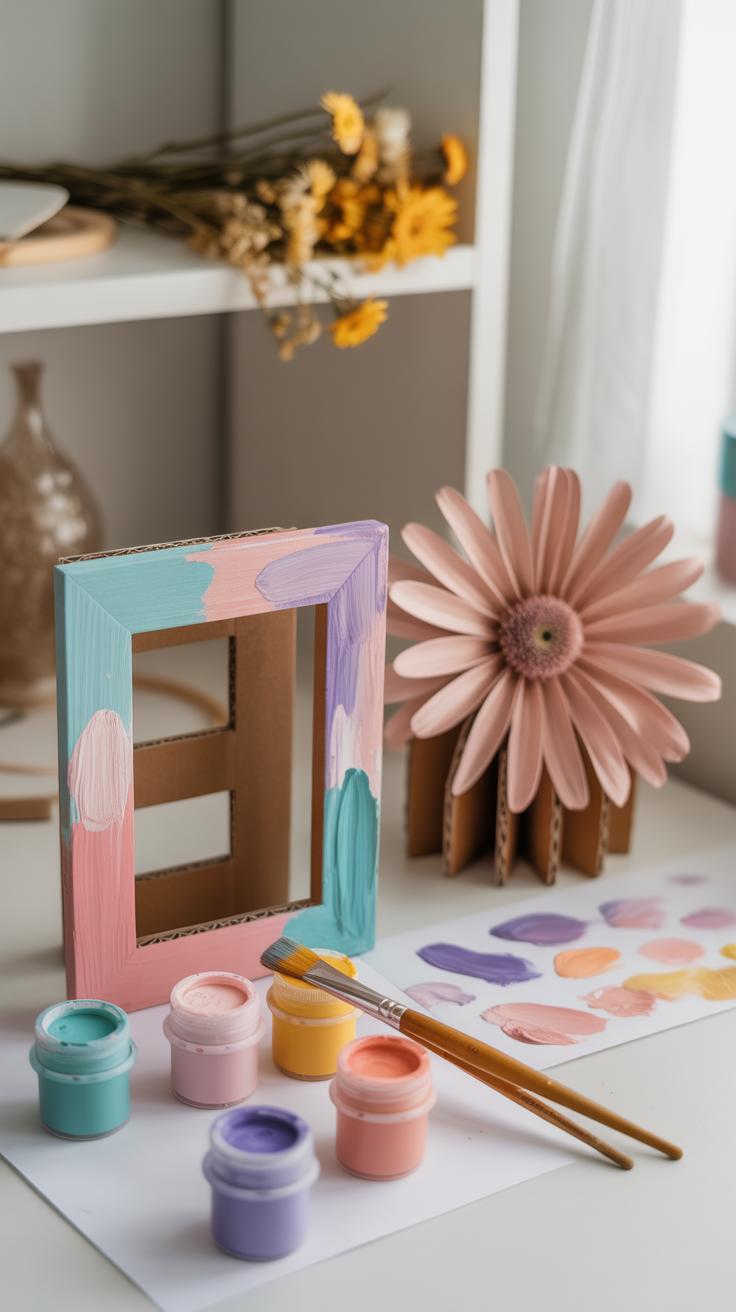
Choosing the Right Paint for Cardboard
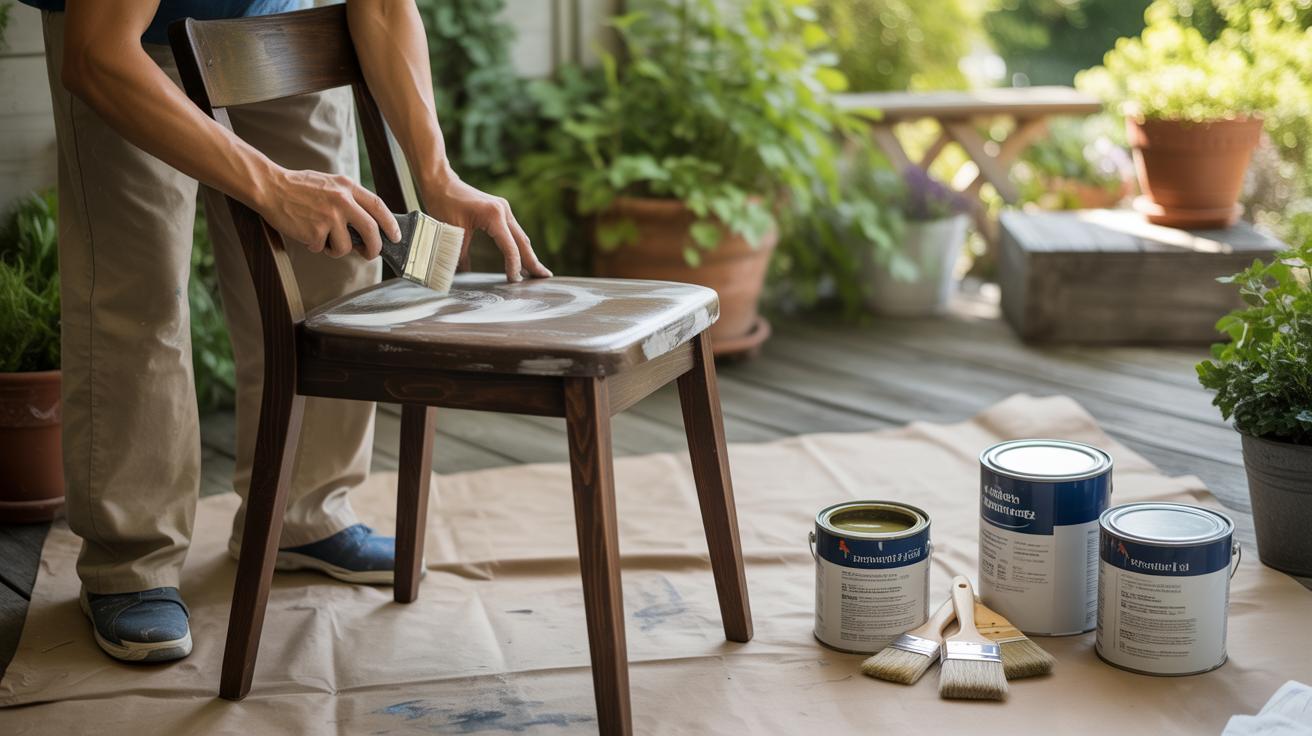
When it comes to painting cardboard, your choice of paint really shapes the outcome, literally. Acrylic paints work well because they’re water-based and dry fast, but they can cause the cardboard to warp if you apply too much. Spray paint, on the other hand, gives an even coat quickly and avoids soggy textures, but it requires good ventilation and careful spraying to prevent drips or uneven patches.
Before you pick a paint, think about how your piece will be used. Will it be indoors or somewhere with moisture? If you plan to use acrylics, it helps to prime the surface first. You can use a simple gesso or even a watered-down white glue mix. This creates a smoother base and stops the paint from soaking in unevenly. Some folks skip this step—maybe they don’t mind a bit of texture showing through—but it’s a quick trick I’ve found makes a difference in the finish.
Adding Rustic Effects and Protective Coatings
Creating rustic effects on cardboard isn’t just about slapping on some color. For example, producing a woodgrain look can be surprisingly simple. Try dragging a dry brush lightly over a darker base layer after the paint dries, mimicking grain lines. Or use a sponge dabbed with a different paint shade to imitate the worn, uneven textures of aged wood. These subtle imperfections add charm.
Distressing takes it a step further. Lightly sanding painted surfaces, or even tearing the edges, reveals layers underneath and gives your piece a lived-in feel. Then comes protection: sealing your work with a matte or satin varnish helps keep your design intact, prevents color fading, and stops moisture from ruining the cardboard. You might debate gloss versus matte, but for rustic crafts, matte finishes usually feel more authentic and less “crafted.”
Personal touches like these turn simple cardboard into something unexpected. Have you tried layering paints or experimenting with stains on cardboard? The texture reacts differently than wood, and that’s where the fun lies—making each creation truly your own.
Sustainable Crafting Practices with Cardboard
Recycling and reusing cardboard for crafts isn’t just about saving money or being resourceful—it’s about respecting the material’s lifecycle. When you think about where your cardboard comes from, most likely it’s packaging that had a purpose before ending up in your home. Giving it a new life through crafts means you’re slowing down waste and making something tangible and useful. It feels good, honestly.
Recycling Cardboard for Crafting
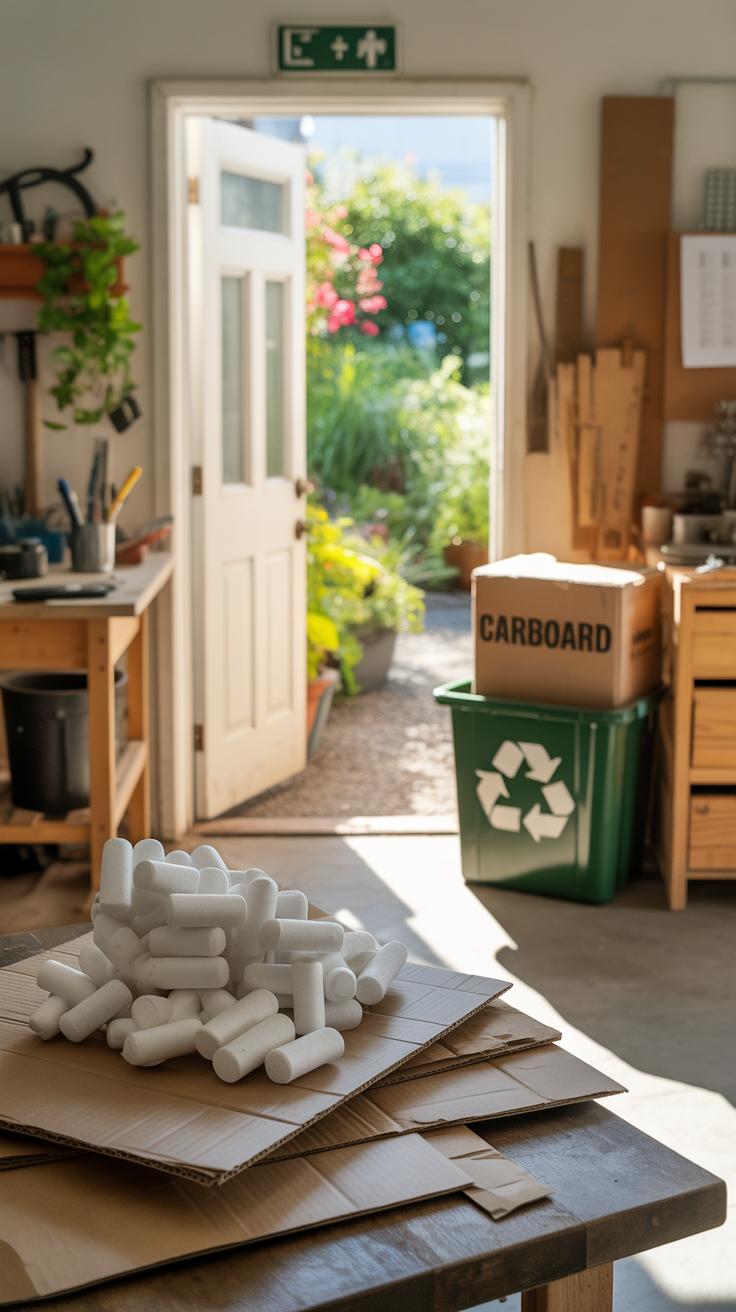
Start by collecting cardboard carefully. Boxes left outside or in damp places often get soggy or moldy, which compromises their strength for crafting. Try to source clean, dry pieces from grocery stores, online orders, or friends who don’t need their shipments anymore. Peel off any staples, tape, or stickers. Sometimes that’s a bit frustrating because you want to dive in, but that prep work really pays off with cleaner cuts and sturdier shapes.
Flatten cardboard boxes and store them in a dry spot. When you’re ready to craft, cut away any crushed edges or sections stained with food or ink. You might notice the cardboard layers separate more easily once it’s flattened, and you can even peel apart single layers for thinner projects. This approach makes the material more versatile and opens options you may not have thought about.
Reducing Waste and Using Scraps Creatively
Don’t toss those leftover scraps! Small bits of cardboard can become anything from tiny picture frames to drawer dividers or even rustic plant markers. Keeping a scrap box handy encourages experimentation and often sparks ideas you wouldn’t have otherwise considered. It’s a bit like puzzle-solving—you test how these odd shapes fit into a bigger design.
Try layering small scraps to build texture or reinforcing weak spots in your main project. Sometimes the tiniest piece of cardboard can change a craft’s function or aesthetic completely. You might find yourself surprised by how those little leftovers transform into charming accents or practical elements.
So, while it might seem easier just to get fresh sheets, using what you already have or can easily find around really deepens your connection with these rustic home accents. And, maybe just maybe, it prompts you to think a little differently about what counts as “waste.” What could you create right now from what’s sitting in your recycling bin?
Advanced Cardboard Crafting Ideas to Try Next

Once you’ve got the basics down, cardboard offers some surprisingly challenging possibilities. Think beyond little decor pieces and try adding furniture accents like drawer fronts, lamp shades, or even chair backs. These projects push your precision and patience—cutting edges must align just right, or the whole thing looks off. There’s something oddly satisfying about assembling multi-piece installations too; maybe a modular wall art display or a layered 3D landscape that packs depth into a small room.
Designing Larger and More Detailed Projects
When planning bigger crafts, sketching becomes key—sometimes with actual templates or mock-ups. Cutting cardboard for large builds requires sharp tools and a steady hand, but also knowing when to slow down and double-check measurements. Assembly can be like a puzzle; slots, tabs, and glue all come into play, and you’ll often need to reinforce edges for durability. I once underestimated the need for bracing on a bookshelf panel, which meant a redo. It’s one of those things you learn by doing, I guess.
Inspirations and Resources for Advanced Crafters
Looking for ideas or guidance? Explore design blogs specializing in DIY furniture or sculpture, and don’t miss video tutorials—sometimes seeing a technique in action clears up confusion that text can’t. Online crafting communities can be surprisingly helpful, offering feedback or sharing project templates. Places like Instructables or Pinterest have endless projects, though sifting through them takes patience. You might discover new styles or tools to experiment with, even if you end up tweaking them your own way. What will you build next?
Conclusions
Cardboard crafts can be a great way to personalize your home with rustic touches. They require simple materials and basic skills, making them accessible to everyone. By reusing cardboard, you also contribute to reducing waste.
With the techniques and ideas shared here, you are well-equipped to start your own cardboard crafting projects. Experiment with the shapes, designs, and finishes to create items that fit your style perfectly. Enjoy the process and watch your home transform with your creative efforts.


