Introduction
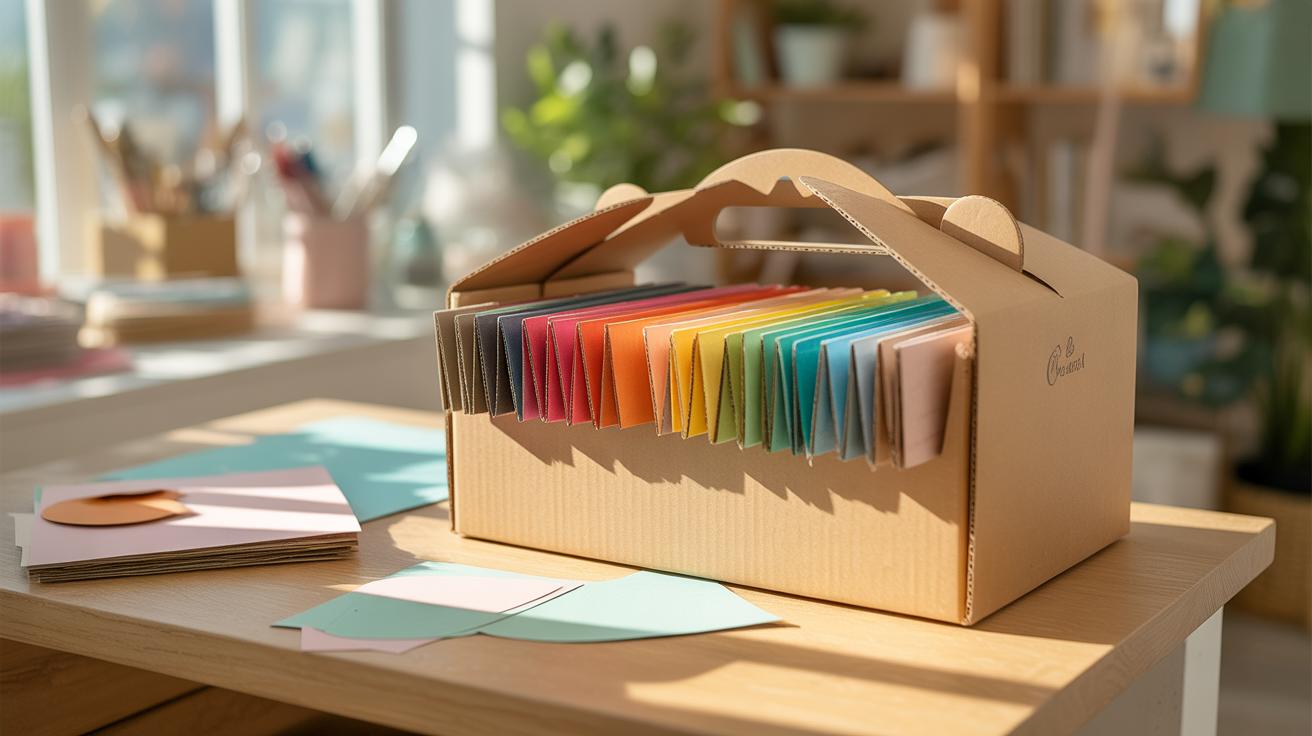
Cardboard boxes are more than just containers for shipping and storage. With a bit of creativity, you can transform these simple materials into functional and unique crafts to organize your space. These crafts help reduce clutter and bring order to your rooms while being budget-friendly and environmentally conscious.
This article explores a variety of cardboard box crafts designed to improve home organization. You’ll discover easy projects that bring both style and function to your living spaces. From DIY storage bins to customized drawer dividers, these ideas will help you use cardboard boxes in innovative ways to keep your space tidy and neat.
Choosing the Right Cardboard for Your Crafts
Types of Cardboard
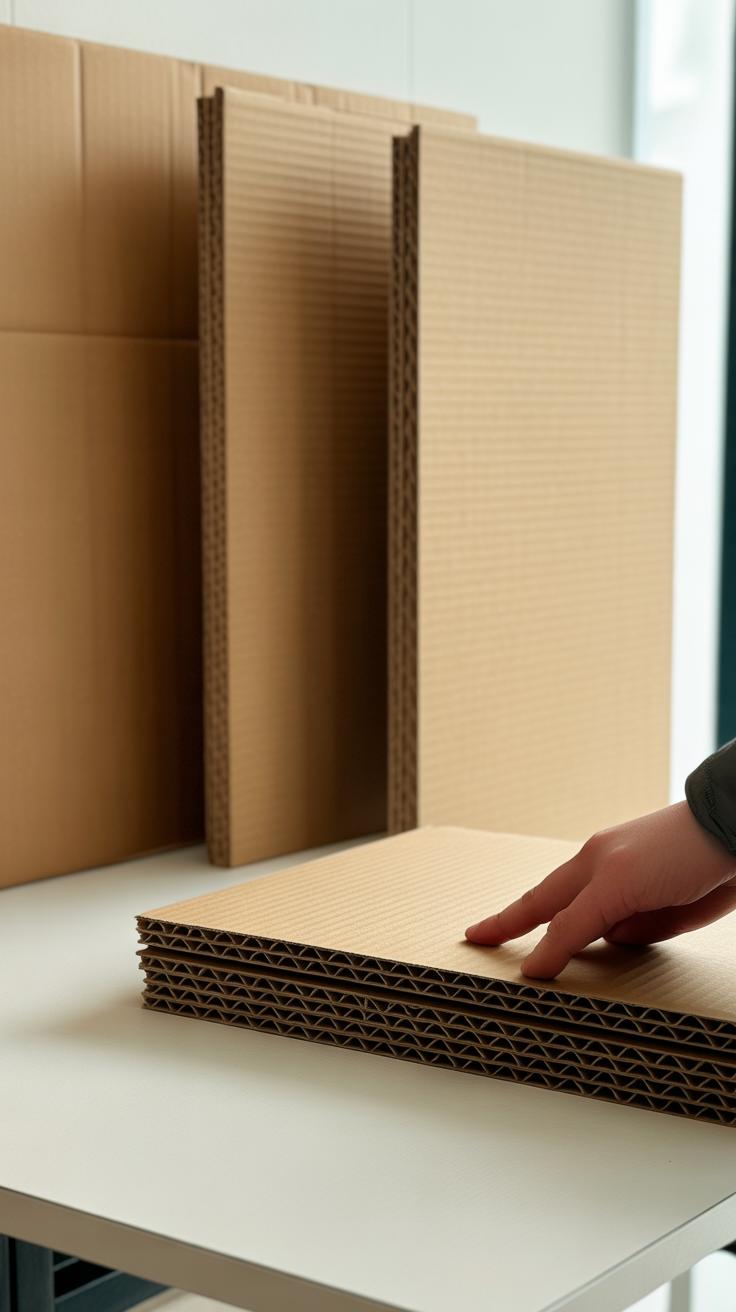
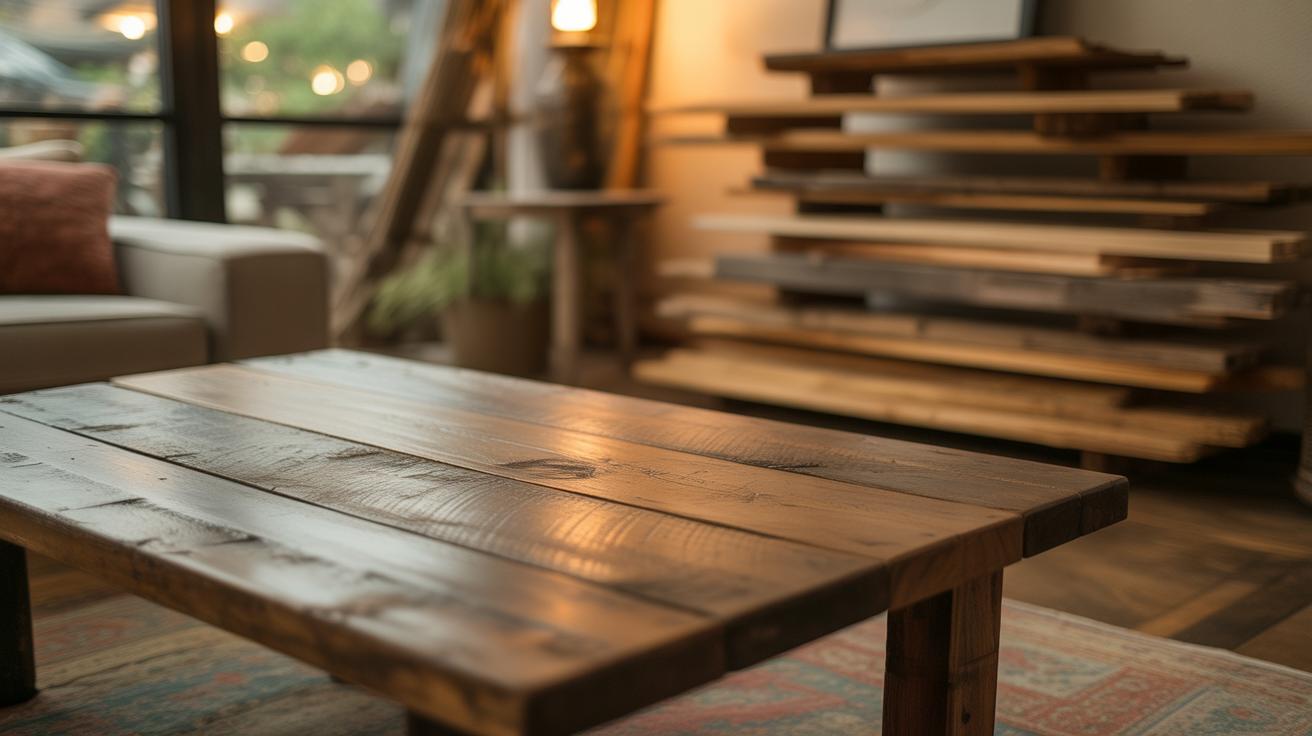
When working with cardboard crafts, knowing which type to pick can make a big difference. Corrugated fiberboard is probably what comes to mind first—it’s sturdy, made of three layers including a wavy middle, and often used for shipping boxes. Its thickness offers strength, perfect for storage projects that need to hold heavier items or keep their shape over time.
Then there’s paperboard, which is thinner and usually a single, flat layer. It’s more flexible and easier to cut, but it won’t hold up well under much weight. You might choose paperboard for organizing lightweight items like stationery or scarves, really anything not too bulky. While less durable, paperboard offers more surface for decorating if your project calls for style as much as function.
Some crafters also like chipboard, a compressed paperboard common in packaging—it’s somewhere between corrugated and paperboard in thickness. It works well for small dividers or drawer organizers where you want something rigid but not too heavy.
Selecting Cardboard for Durability
Thickness and density are key when deciding which cardboard to use for your project. If you want long-lasting storage boxes that won’t sag or collapse under weight, thicker corrugated fiberboard, with its layered structure, is usually the way to go. Look out for variations labeled single-wall, double-wall, or triple-wall; the more walls, the stronger the board.
Of course, strength isn’t everything. If you need to cut intricate shapes or fold multiple times, sometimes thinner cardboard, even if less durable, works better. It depends on whether you’re prioritizing sturdiness or flexibility. For example, a drawer organizer might need firm walls but also precise folds, so a medium thickness might be your compromise.
Also consider the environment in which your craft will live. Humidity can weaken some cardboards. Coated or treated boards resist moisture better but aren’t always as easy to customize. Have you tried different types before? I find that experimenting with scraps can save frustration down the line.
Choosing the right cardboard means balancing durability with your crafting needs. Think about the items you’ll store, the handling expected, and your decorating plans. Sometimes, layering thinner sheets together can create custom thickness—giving you options you might not have considered at first glance.
Simple Storage Boxes from Cardboard
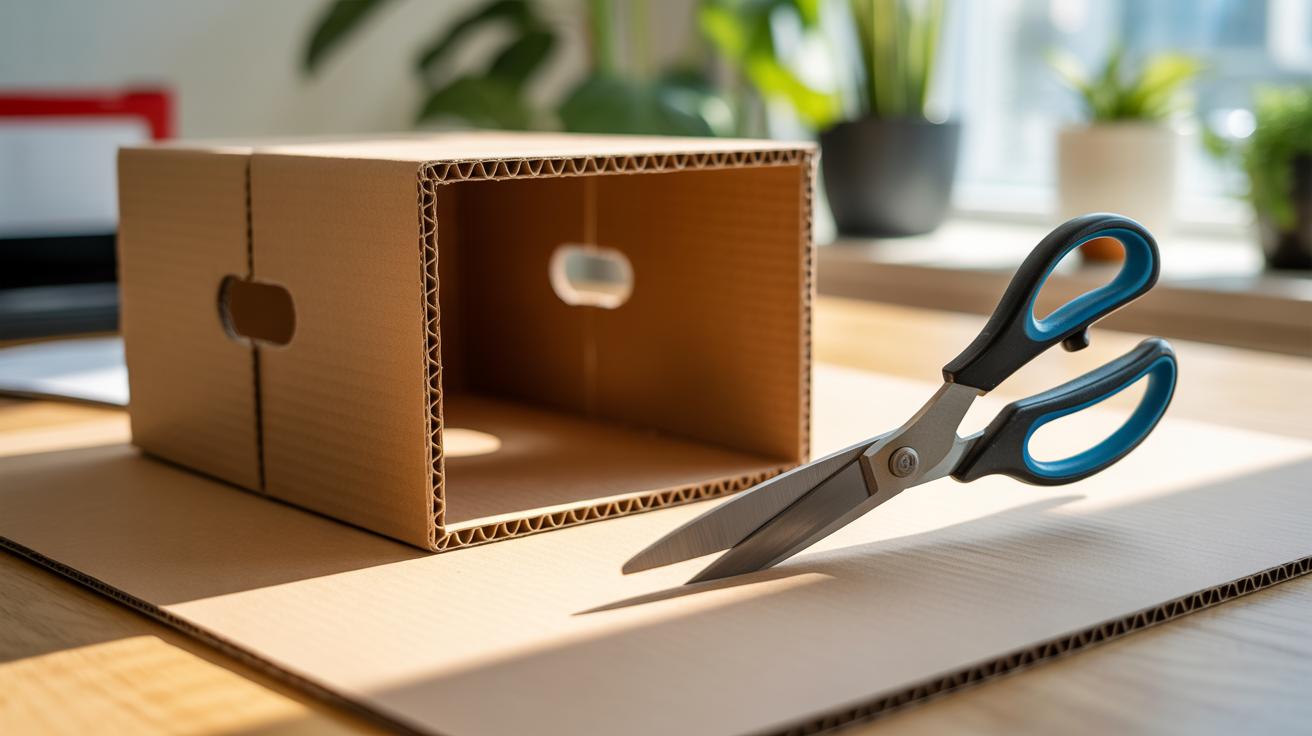
Measuring and Cutting Cardboard
When starting your basic storage box, precise measurement is key. Take a ruler or measuring tape and jot down the dimensions you want for your box—height, width, and depth. Remember, each box needs a base, four sides, and sometimes a lid. Sketching your pieces on the cardboard before cutting helps avoid mistakes. I usually add a bit of extra margin; it feels safer, even if trimming later is possible.
Cut slowly and steadily with a sharp utility knife or box cutter. Cards can be tricky at corners, so make multiple passes rather than forcing it all at once. It may feel tedious, but accuracy here saves frustration when assembling the box. Don’t forget to mark fold lines lightly; these folds create neat edges and sturdy sides. Slightly scoring the cardboard where it folds makes the process smoother—you’ll see the difference in the final shape.
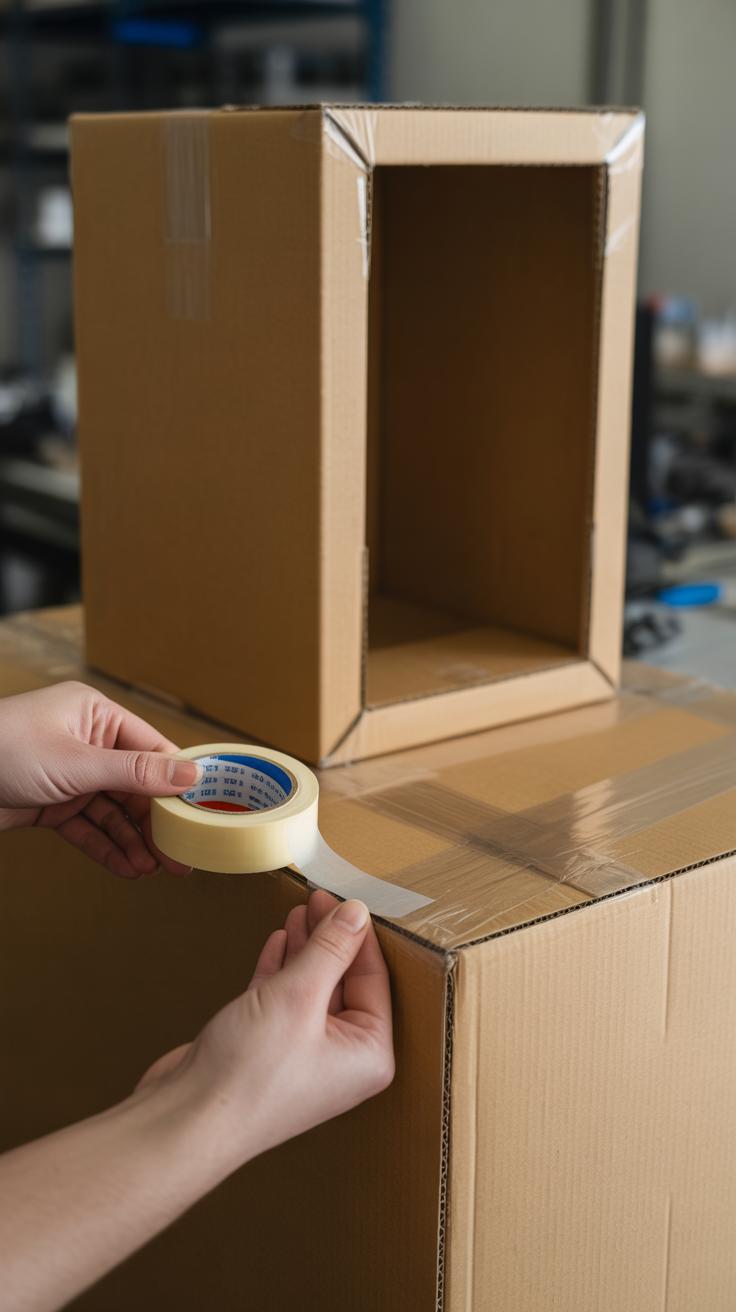
Assembly and Decoration
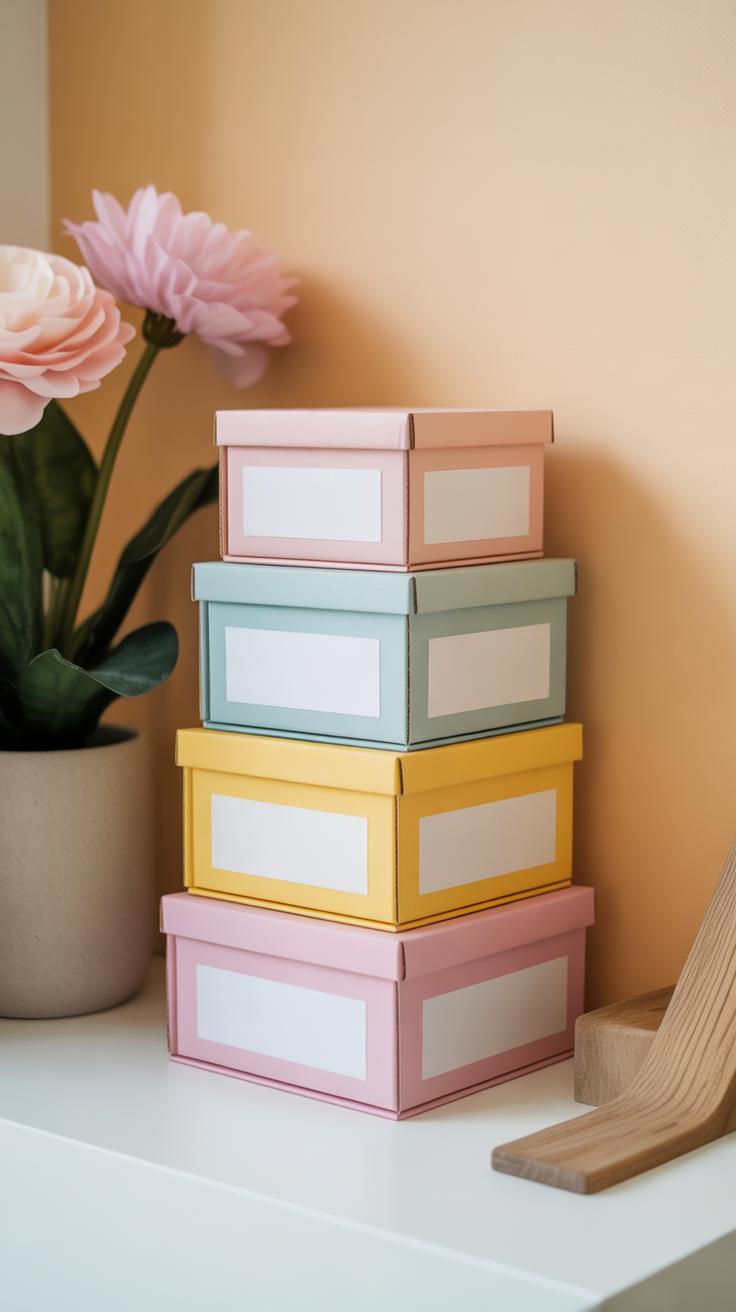
Once cut, start assembling the box by folding along the score lines and joining edges with glue or strong tape. Tape tends to be quicker, but glue gives a cleaner look; choose what suits your patience level. Holding pieces in place for a minute helps the glue set properly. You can add tabs on the sides when cutting—it’s a bit more work but makes all the difference in keeping your box together without gaps.
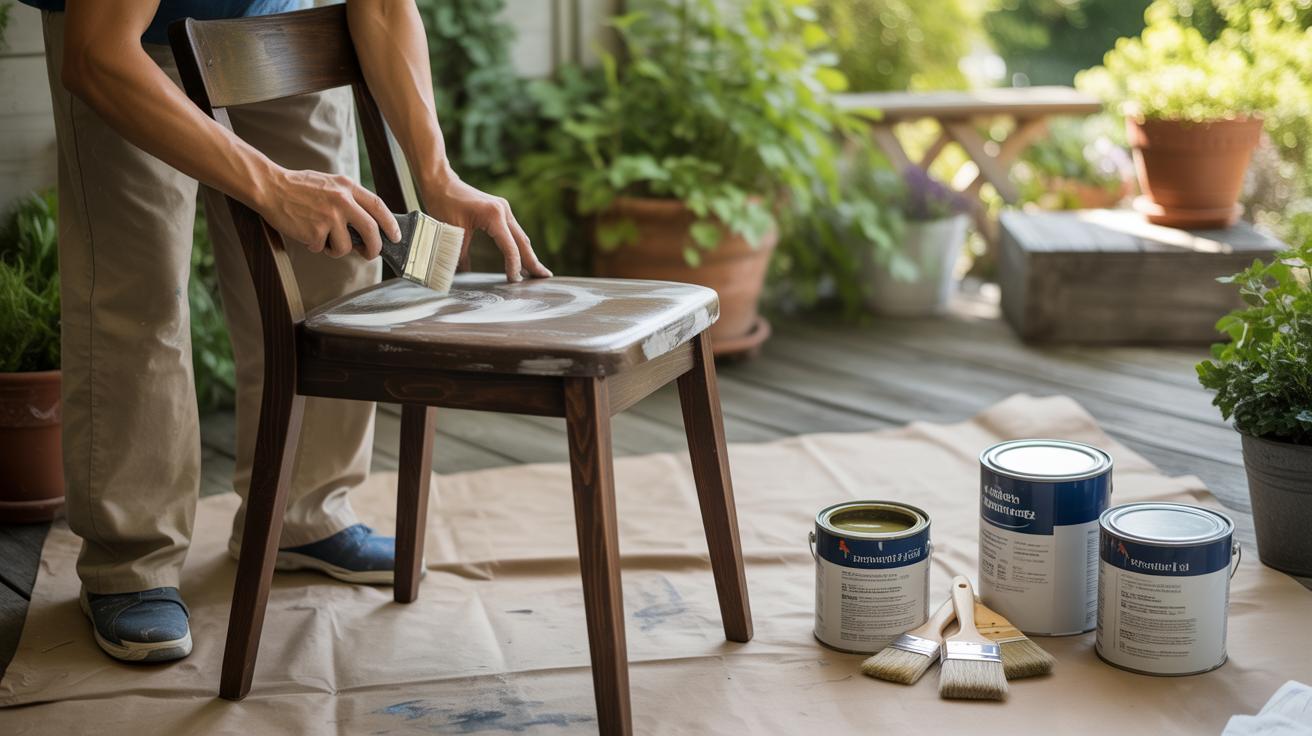
For decoration, plain cardboard often looks dull, but it’s a blank canvas. Painting with acrylic paints or covering your box in wrapping paper or fabric can make a huge difference. I like washi tape too—simple stripes or patterns around the edges break plainness fast. And if you’re like me, labeling the boxes with chalkboard stickers or tags can be both functional and visually appealing. You don’t have to be perfect—the charm is in the handmade look, after all.
Custom Drawer Dividers

Planning Drawer Dividers
Start by taking careful measurements of your drawer’s width, depth, and height. This sounds straightforward, but getting these dimensions right really shapes how well your dividers will fit. I usually jot them down in a notebook, along with notes about what items I want to organize. Think about how much space each item needs—maybe pens require skinny slots, but notebooks or tools might need wider compartments. Sometimes it’s tempting to cram in too many sections, but leaving some breathing room often works better for accessibility.
Visualize the layout by sketching simple grids or blocks. If your drawer has odd shapes or curves, consider adapting your plan instead of forcing rigid sections. It’s okay if the dividers don’t create perfect boxes everywhere; some flexible zones can still keep things tidy.
Building and Installing Dividers
Once you have the measurements and layout, cut strips of cardboard to the heights matching your drawer’s interior. Thickness matters—too thin, and the dividers might wobble; too thick, and fitting them could be a squeeze. I find two layers of cardboard glued together strike a decent balance.
Mark the divider lengths according to your plan. Straight lines and clean cuts help, but slight irregularities won’t ruin the project. Sometimes, your cuts won’t be perfect, and that’s okay; cardboard is forgiving. To install, slot the vertical and horizontal pieces together by cutting small notches where they intersect—think of it like a puzzle. These notches should be about half the width of the strip so the pieces fit snugly.
Fit the assembled divider into the drawer. If it doesn’t sit firmly, you can add small bits of tape or glue at contact points. I’ve also used thin strips of foam tape to prevent sliding without leaving marks. Adjusting is part of the process; no divider system fits perfectly the first time.
In my experience, these cardboard dividers can really make a difference, especially in kitchen or office drawers where small items tend to get lost or mixed up. Have you noticed how much easier it is to find things when each item has its own spot? It might seem a bit tedious to build, but the payoff is worth it.
Vertical Organizers for Desks and Craft Areas
Designing Vertical Storage
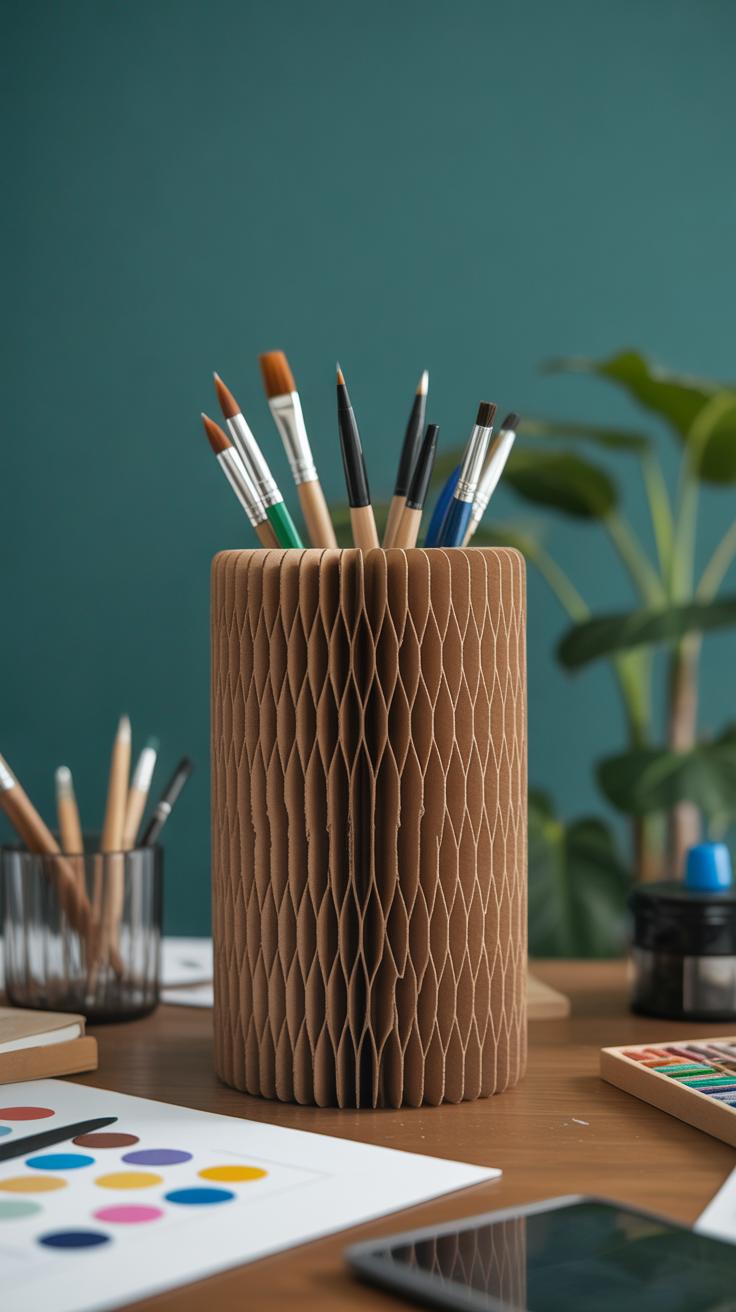
When creating vertical organizers from cardboard, think about the variety of items you want to store. Papers, files, scissors, pens—they all have different shapes and sizes. Narrow compartments work well for pens and brushes, while wider slots hold notebooks or loose sheets. Mixing open and closed sections can help keep small things visible but contained. You might want to leave some space flexible, maybe with removable dividers or adjustable slots. This lets you rearrange once you realize what fits best, because honestly, you won’t know right away.

Consider the height too. Taller compartments prevent papers from bending or curling, but don’t go too high—otherwise, the organizer might wobble or become unstable, which is annoying. Depth matters as well. If it’s too deep, your supplies might get lost at the bottom, buried and forgotten. The trick is to find a balance so everything is easy to grab but still tidy.
Constructing Stable Organizers
Stability can be tricky with cardboard. To build a sturdy vertical organizer, start by cutting thick cardboard pieces for the base and back. Double or triple-layer these parts for more strength—they bear the most weight. Reinforce corners by folding edges inward or gluing small triangular supports where panels meet. Sometimes, I find that a little tape on the inside helps without ruining the look.
For the compartments, use slim dividers that slot tightly into grooves or slots cut in the base and back. This interlocking method keeps the sections from moving around. It might take some trial and error to get the right fit. And don’t forget to keep the whole structure proportional to the size of the items you’ll store—it’s no good if your organizer topples under a few files.
Once assembled, you can weigh it down with a thin board underneath or even stick non-slip pads under the base to prevent sliding. You want your organizer to feel solid, not like it might collapse just when you reach for a pair of scissors. Building one that holds together well can be a little frustrating, but once you nail it, it really pays off in convenience.
Labeling and Decorating for Easy Identification
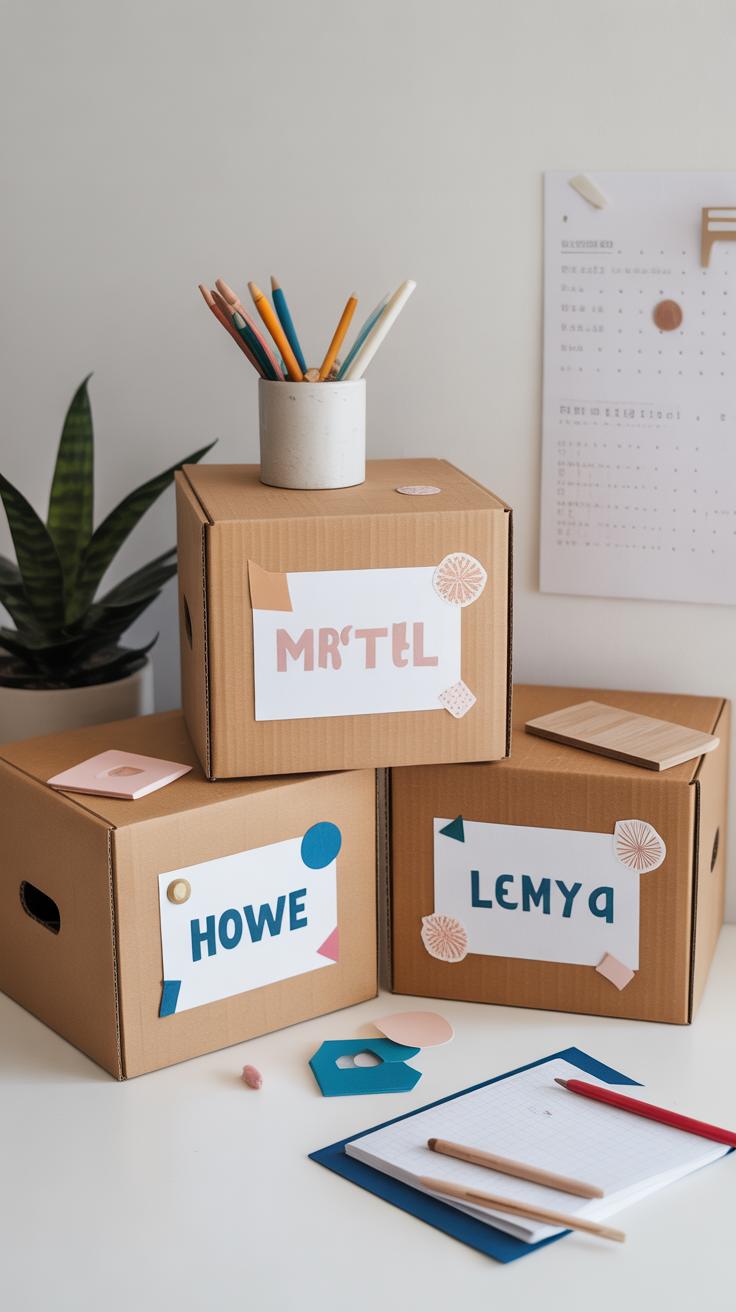
Once you’ve built your cardboard organizers, making sure you can quickly find what’s inside is key. Clear labels are a simple fix. You don’t need fancy tools—just some plain white paper or cardstock and a marker can do the trick. Cut the paper into small rectangles, write legibly, and attach them with tape or glue. If you want something a bit more durable, laminating your labels with clear packing tape helps, especially if you tend to move your boxes around a lot.
For a cleaner look, printing labels from your computer is handy, especially if your handwriting isn’t your favorite feature. Consider using a consistent font size and style so everything looks coordinated. You might even use colors to categorize contents—blue for office supplies, green for craft materials, and so on. It’s not perfect, but it does help at a glance.
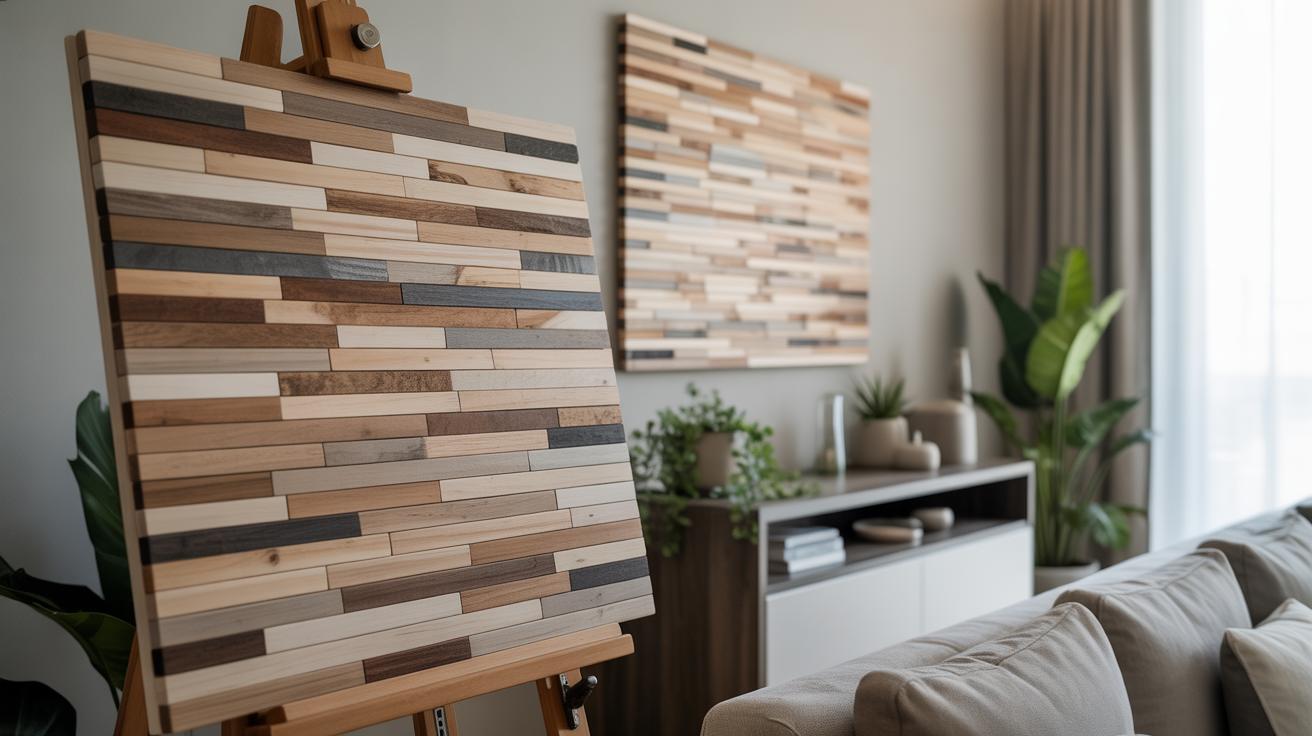
Decoration is where personality can shine through. Painting the boxes with acrylic paints can brighten a dull corner, or you can use washi tape to add colorful stripes or patterns without the mess of paint. Sometimes wrapping sections of your box with fabric scraps gives a cozy, textured feel—though it might not be the easiest to clean.
Think about combining function and style too. For example, adding a strip of chalkboard paint on the front lets you change labels as contents shift, which is great if you repurpose boxes often. On the other hand, maybe simple decorations that don’t interfere with the labels work better for your setup. What fits your space is really a matter of trying and seeing what feels right.
Using Cardboard Crafts for Kids Room Organization
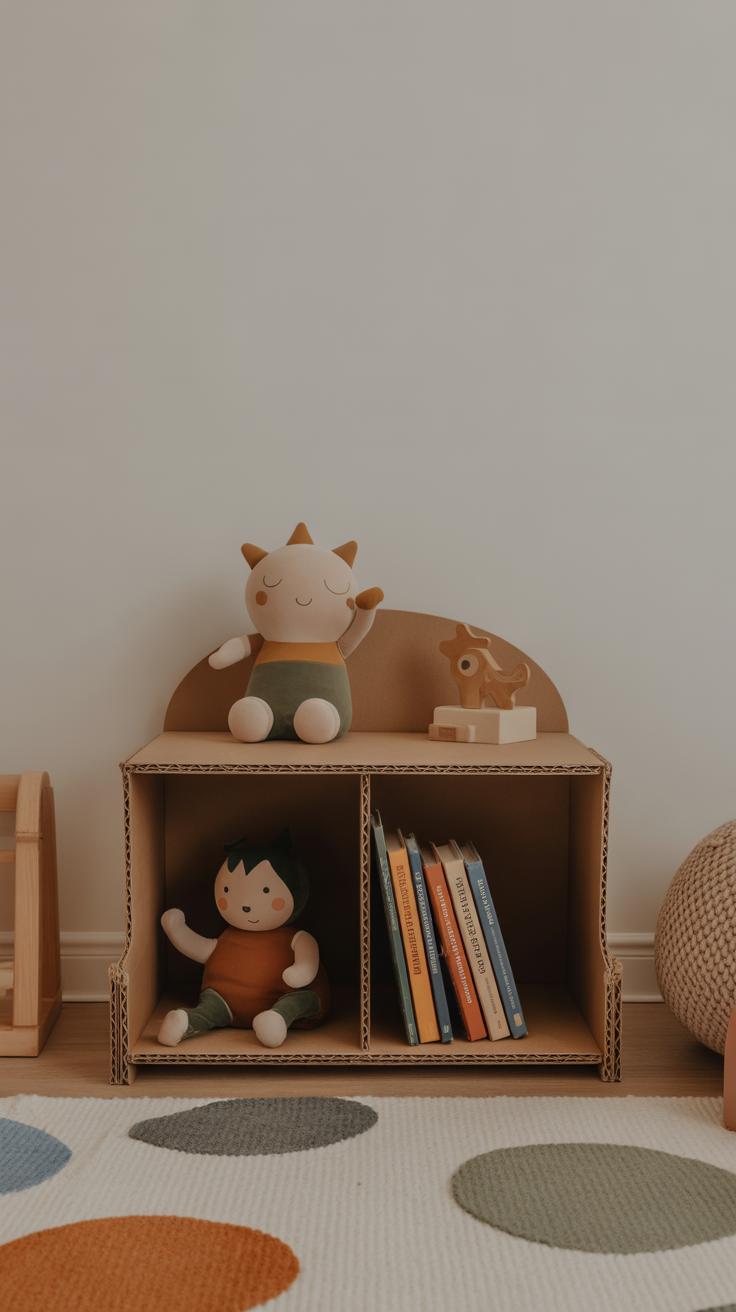
Creating storage solutions from cardboard for a child’s room can feel tricky—especially if you want something both safe and fun. But cardboard offers a unique balance of sturdiness and ease of use that works well for kids’ toys and school supplies. You might try building simple stackable boxes with reinforced edges to handle daily use without collapsing too quickly.
Think about making divided organizers for crayons, markers, or small toys. Those compartments help keep things neat without overwhelming your kid with too many separate bins. For larger items, like books or puzzles, wider, open boxes work better. You can even cut handles into the sides—which, I found, kids love because it makes carrying their things around easier.
Getting kids involved really changes the game. They tend to enjoy personalizing their storage with stickers, paint, or even fabric scraps. When they help decorate, they feel more ownership over their belongings—and maybe, just maybe, they’ll keep their room tidier. Have you noticed that young children often feel proud when they can say, “I made this”? That pride can be a small but genuine motivator.
Still, durability is a bit of a question mark with cardboard in a kid’s space, especially with the occasional rough handling. You might want to pay attention to how much time you invest in crafting versus just buying ready-made containers—but if you enjoy crafting, this could be a fun weekend project that doubles as organization.
Maintaining and Reinforcing Cardboard Crafts
Keeping cardboard crafts sturdy over time can be tricky, especially if they get regular use. Cardboard is surprisingly strong but tends to wear down where pieces join or bear weight. You might notice edges fraying or corners softening after a while. So, reinforcing those weak spots can make a big difference.
One simple trick is to use clear packing tape on the inside corners and joints. It holds parts firmly without ruining the look, and it’s pretty easy to apply. Gluing layers of cardboard together in key areas can also add strength. For example, if you’re making a drawer or shelf, adding an extra layer at the bottom helps it support heavier items without bending.
When it comes to maintenance, cleaning cardboard requires care. Avoid using much water; a dry or slightly damp cloth usually does the job. Moisture can cause warping or weaken the fibers, so keeping your box crafts in dry locations is best. If you do need to protect them from dust or spills, try lining interiors with thin plastic sheets or wrapping worn edges with washi tape. That might seem a bit tedious, but it helps extend the life of your craft projects—at least that’s been my experience.
Have you noticed your cardboard boxes sag or peel despite these efforts? Sometimes it’s just the material’s nature, but balancing reinforcement and upkeep often keeps them useful longer than you’d expect.
Sustainable Benefits of Using Cardboard for Organization
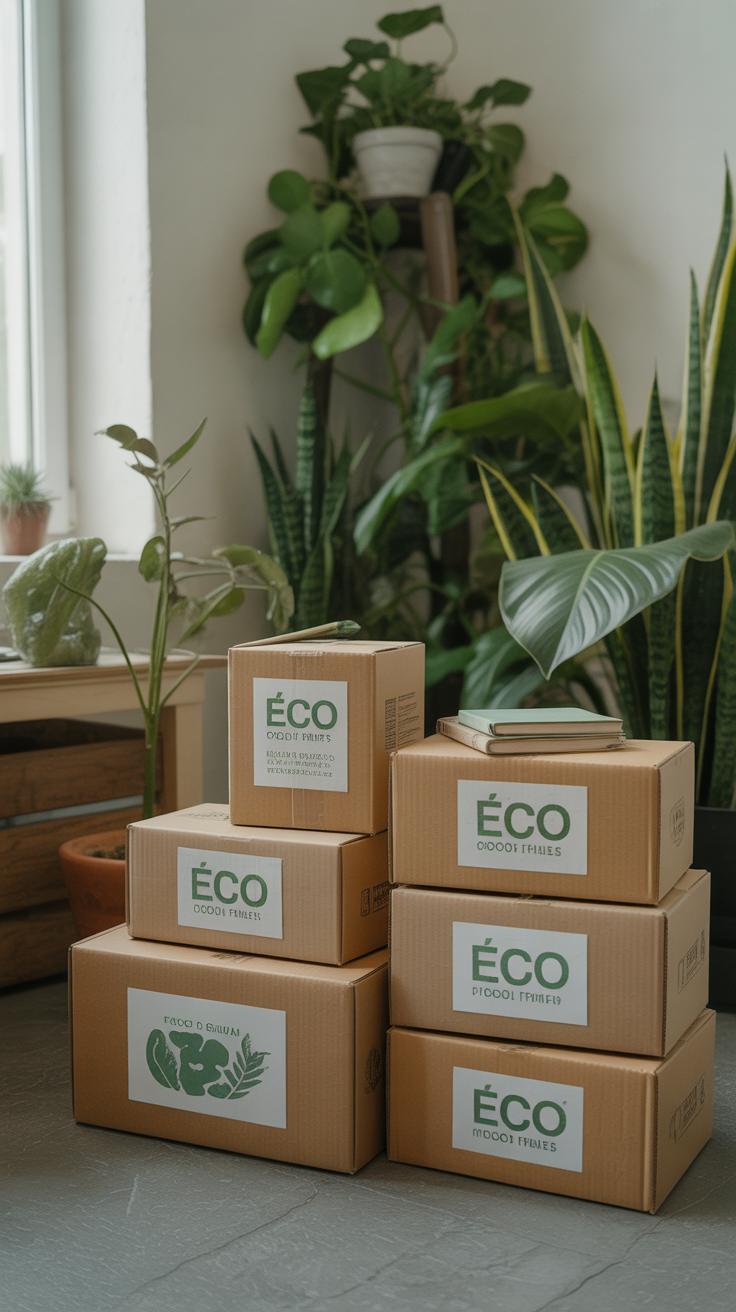
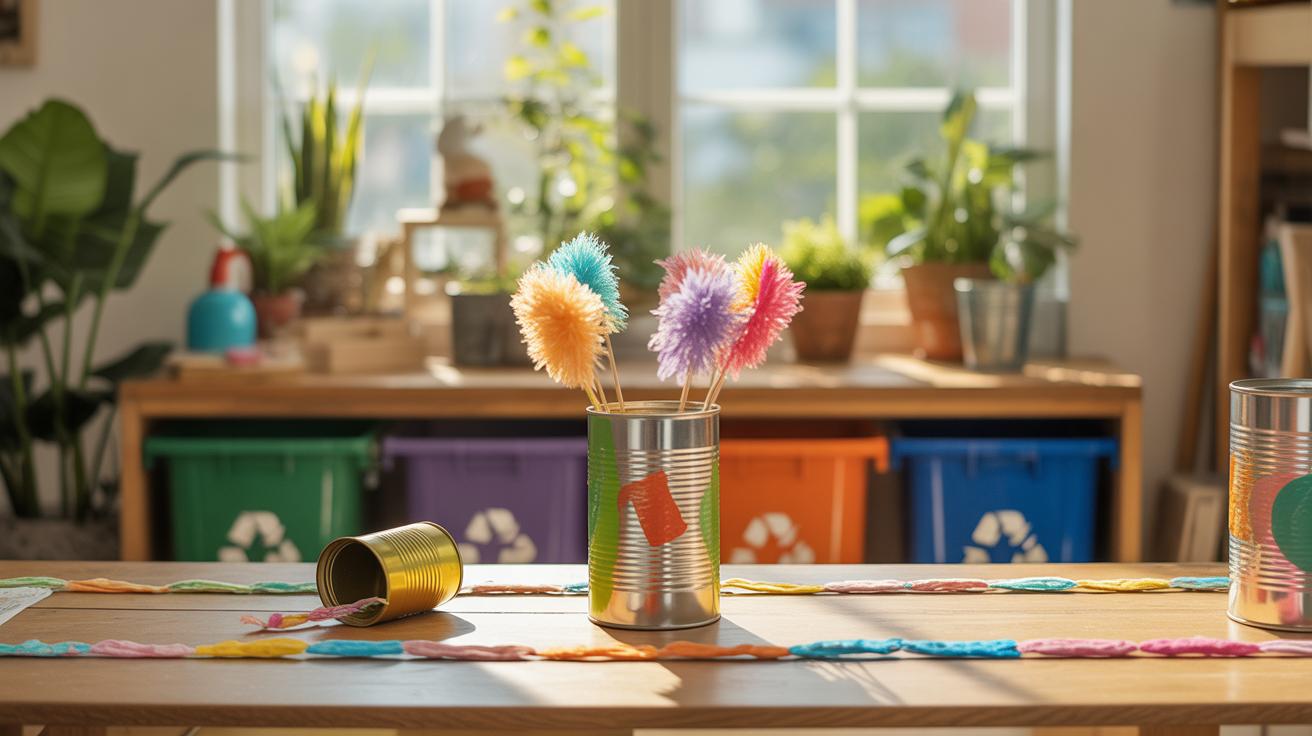
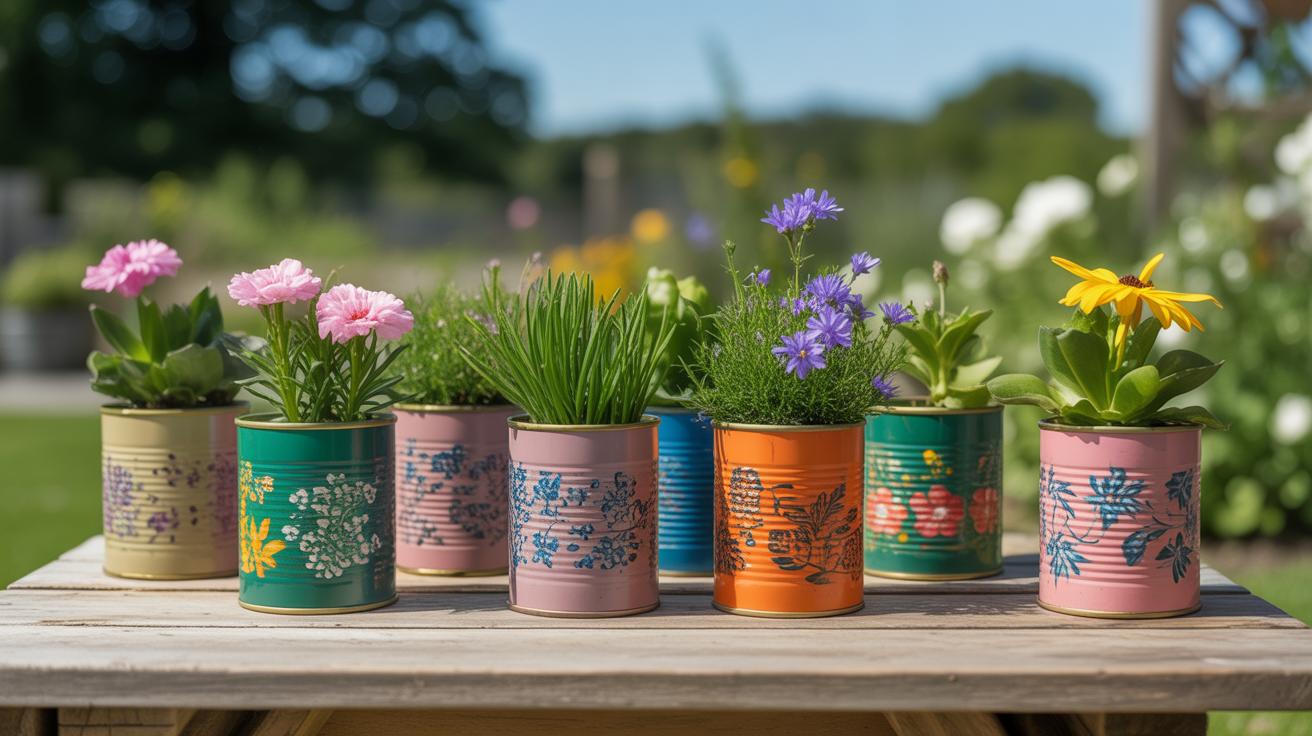
When you turn old cardboard boxes into storage solutions, you’re quietly helping the environment. Instead of tossing those boxes out, which just adds up to landfill waste, you give them a second life. It feels a bit like stealing from the trash pile and turning it into treasure—something useful for your home and less waste clogging the planet.
Reusing cardboard for crafts means fewer new materials need to be produced. Cardboard requires trees and energy in its creation, so by keeping it in use longer, you reduce pressure on natural resources. It’s not a perfect fix, but small actions like these add up—especially if more people started doing it.
Think about how crafting supports recycling programs. When you reuse cardboard yourself, it usually prevents that box from going directly into recycling bins where sorting and processing still consume energy. Sometimes, I wonder if recycling alone is enough since not all cardboard actually gets recycled properly. By crafting, you’re cutting down the load and making real use of what you already have.
- Reduces the amount of waste sent to landfills by extending cardboard’s usefulness.
- Decreases demand for new cardboard production, helping conserve trees and energy.
- Supports recycling systems by lowering the volume of materials to process.
Have you noticed how much cardboard accumulates after a move or online orders? Instead of letting it pile up, imagine turning those boxes into drawer dividers, desktop organizers, or shelf inserts. It’s not just crafty— it’s an easy step toward a less wasteful home.
Conclusions
Cardboard box crafts offer practical and affordable solutions for organizing your home. They allow you to repurpose materials, reduce waste, and customize storage to fit your needs. By following simple steps, you can create personalized organizers that enhance your space.
Using cardboard boxes creatively not only helps declutter but also adds a personal touch to your environment. Start small, experiment with different designs, and see how these crafts can change your home for the better. Your space can become more organized and more enjoyable to live in with just a bit of effort and cardboard.


