Introduction
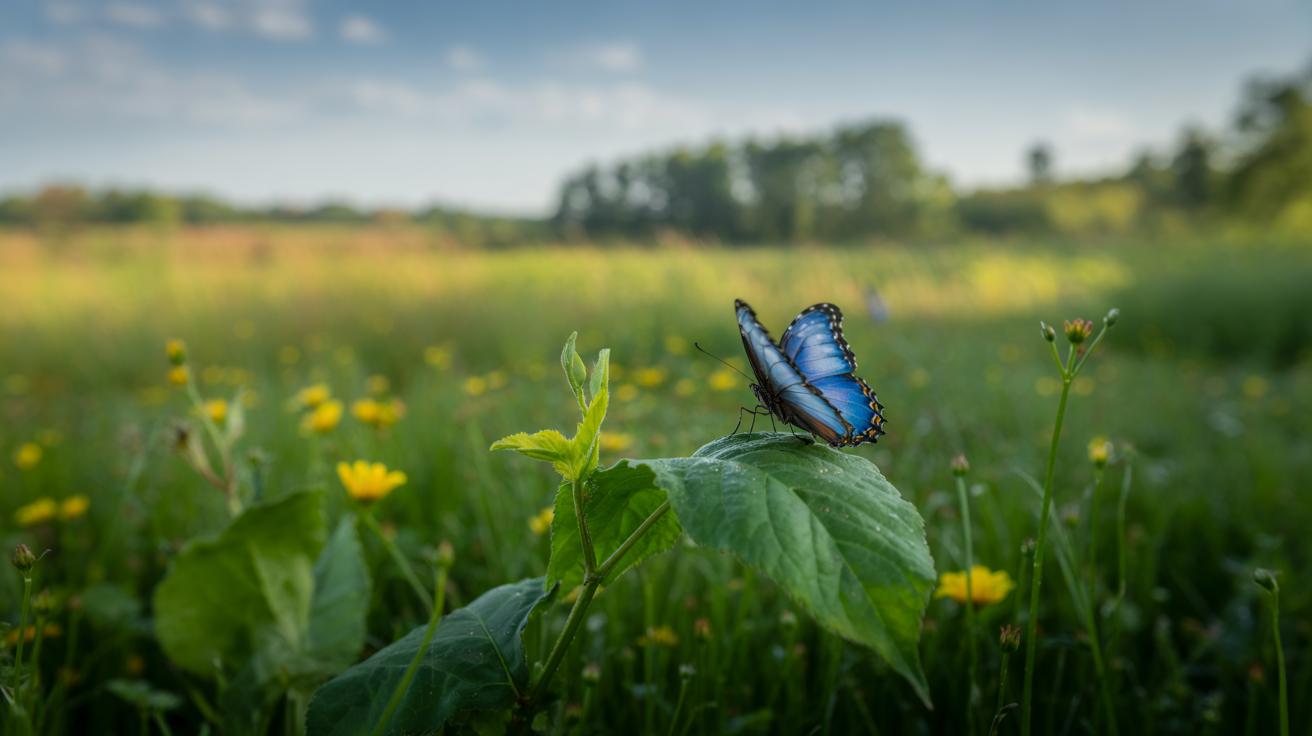
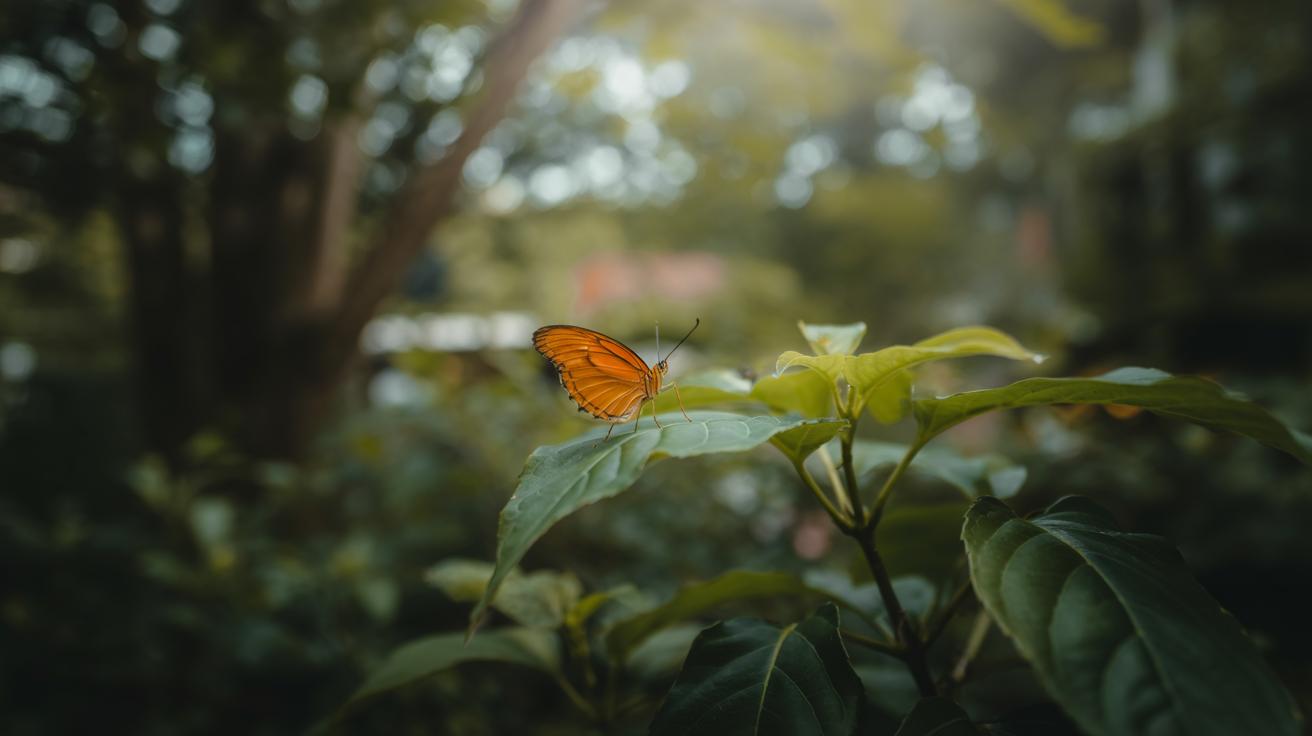
Butterfly photography offers a chance to observe nature closely while creating beautiful images. These delicate creatures bring color and life to any setting, making them popular subjects for photographers of all levels. Capturing a butterfly requires patience, attention to detail, and understanding their behavior. Whether you aim to document their patterns or create artistic shots, this guide will help you approach butterfly photography with confidence and skill.
Focusing on close-up shots reveals intricate wing details and textures, highlighting the unique characteristics of each species. Beginners often find close-up photography challenging due to the butterflies’ movement and small size. This article breaks down essential tips to achieve sharp, vibrant close-ups. You will learn to prepare your equipment, approach butterflies carefully, and adjust camera settings effectively. The following chapters will guide you step-by-step, making your butterfly photography both enjoyable and rewarding.
Choosing the Right Equipment for Butterfly Photography
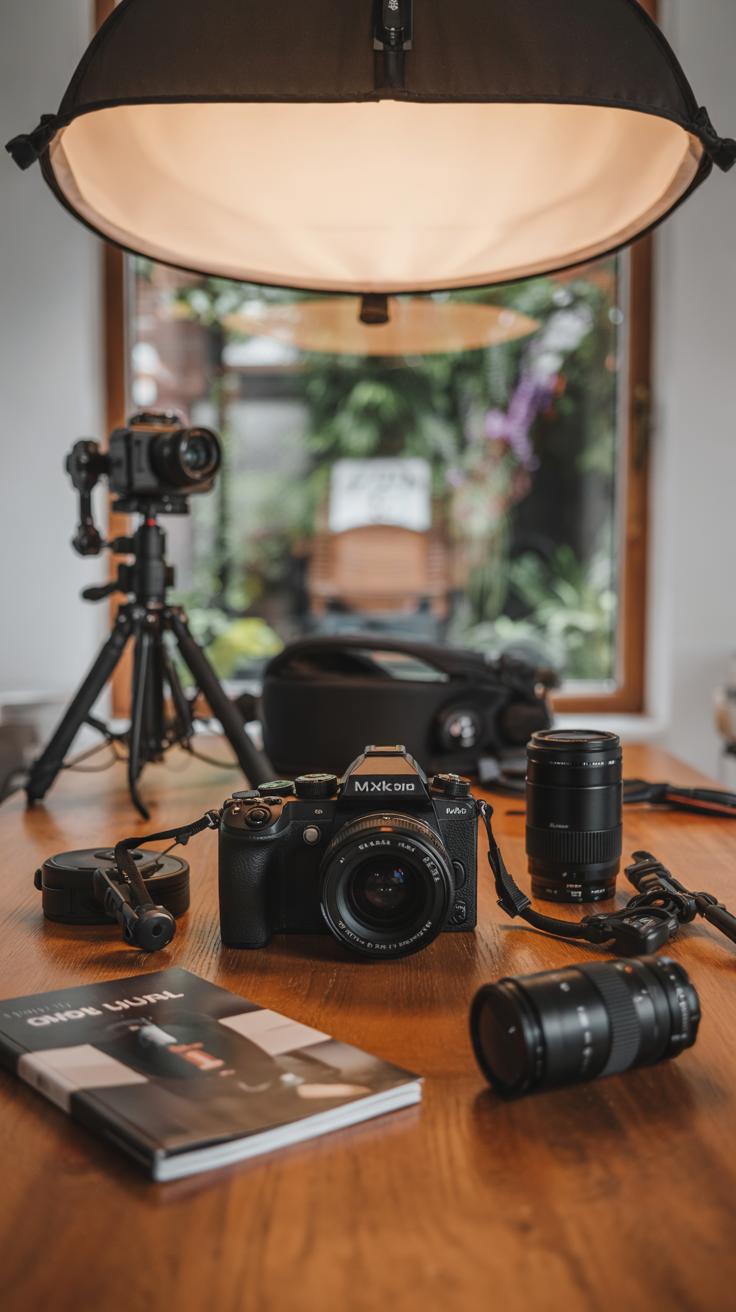
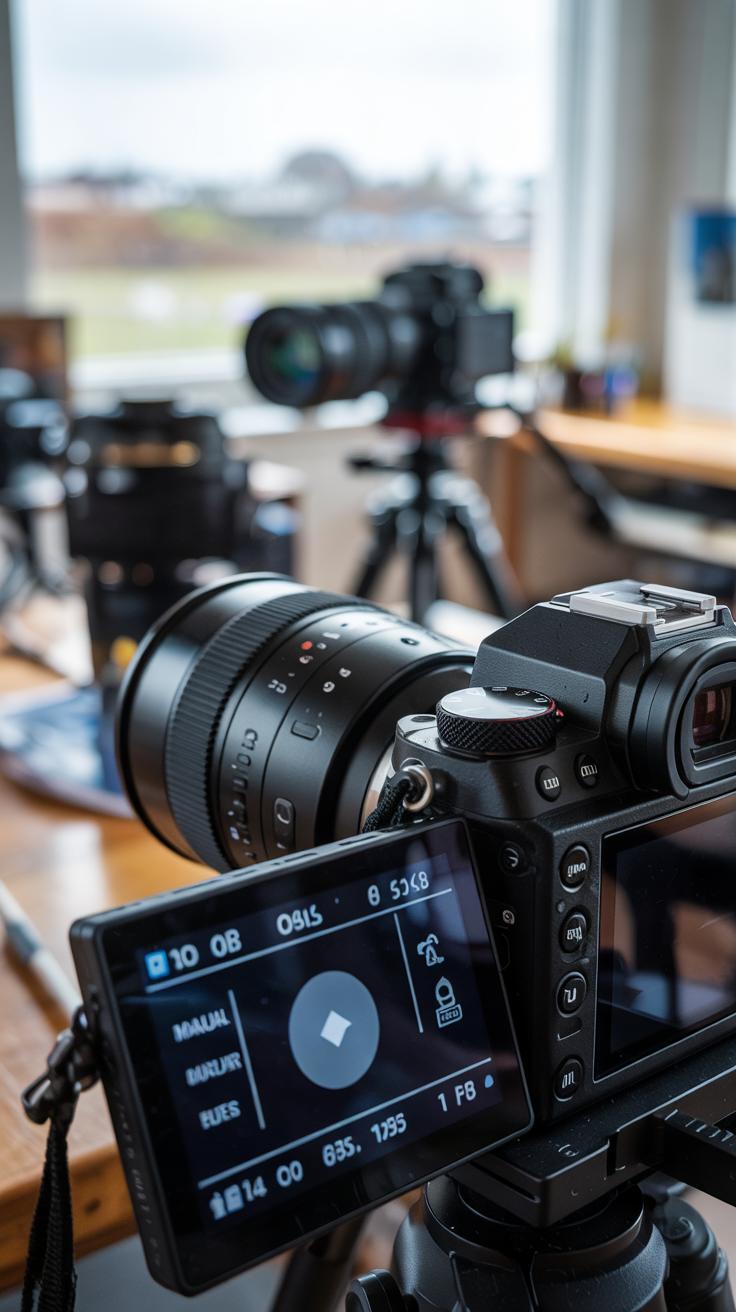
Picking the right camera gear makes a big difference when capturing butterflies close up. Your camera should offer sharp focus and quick response to catch these fast-moving subjects. Mirrorless and DSLR cameras often work well because they balance image quality and speed. A sensor that captures fine detail helps bring out the butterfly’s patterns vividly.
Macro lenses stand out in butterfly photography because they let you focus very close to your subject. They reveal tiny wing scales and antennae with clarity. If a macro lens isn’t in your budget, close-up filters provide a good alternative. These screw onto your existing lens to reduce minimum focus distance and allow detailed shots without heavy investment.
Accessories like tripods or monopods add stability, especially for slower shutter speeds or when waiting patiently for the perfect pose. They keep your camera steady so every detail stays crisp. Are you ready to choose gear that fits your style and budget? Your equipment sets the foundation for stunning butterfly photos.
Selecting the Optimal Camera
For butterfly photography, consider cameras with quick autofocus and good image quality. Mirrorless cameras are lightweight and portable, letting you move quietly through nature. Sensors sized APS-C or full-frame capture more details and handle low light better.
You want a camera that feels comfortable for longer shoots. Easy-to-use controls speed up your reaction time when butterflies appear suddenly. Compact cameras with manual settings can also work if you aim for simplicity.
Ask yourself: How much weight can you carry during a walk? Do you prefer a touchscreen or physical buttons? Balancing sensor size, speed, and ease of use helps you pick a camera that won’t slow you down or frustrate you when snapping quick shots.
Understanding Lenses and Accessories
The lens you use impacts every close-up detail in your butterfly photos. Macro lenses allow focusing just a few inches from the subject, showing fine textures and colors clearly. They usually have a 1:1 magnification ratio, perfect for true close-ups.
If a macro lens isn’t an option, close-up filters are affordable and easy to carry. These act like magnifiers, reducing the minimum focus distance so you get closer shots with your regular lens. Keep in mind, they can reduce image sharpness slightly.

Tripods help prevent blur by stabilizing your camera, especially in low light or when using slow shutter speeds. A monopod gives some support with more flexibility for quick movements. Think about your shooting style: Do you need full stability or more mobility? Picking the right lens and support gear helps you get sharp, detailed butterfly images every time.
Learning Butterfly Behavior to Improve Your Shots
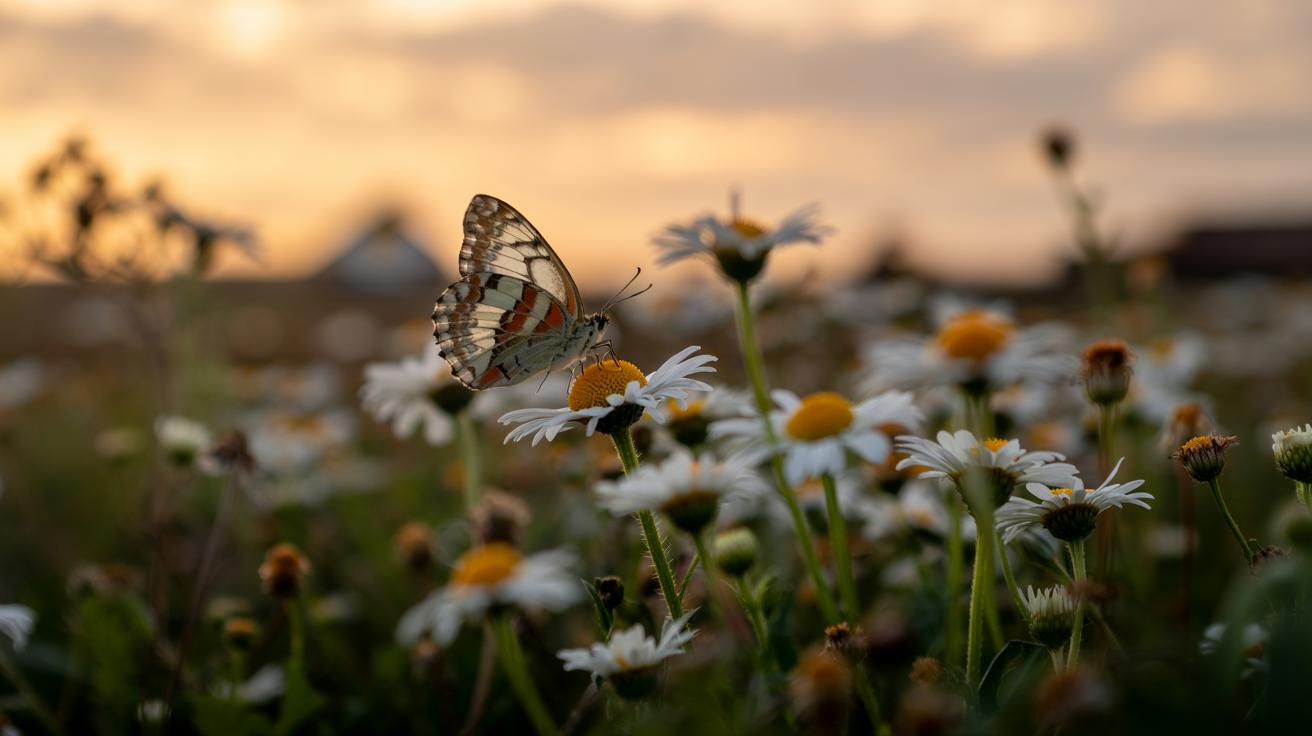
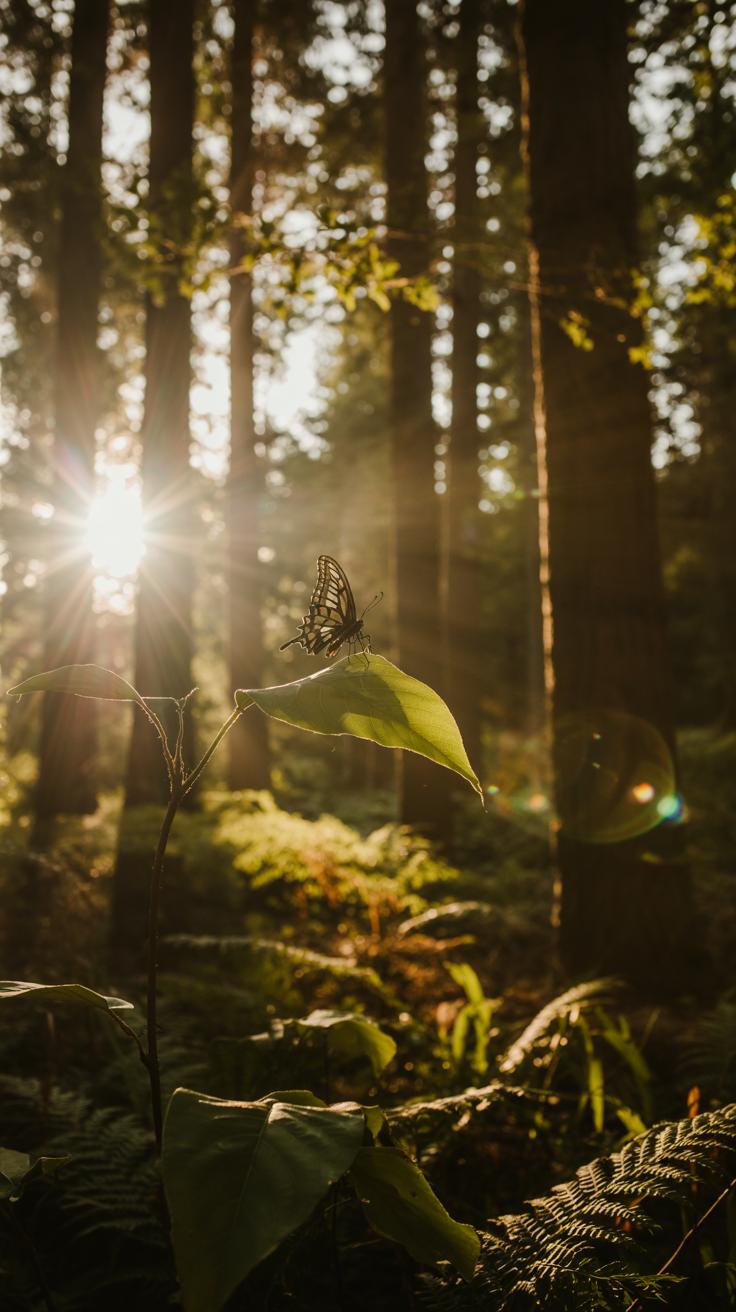
Knowing how butterflies behave gives you a big advantage when photographing them. Butterflies tend to open their wings fully after warming up in the morning sun. This moment offers a perfect chance to capture detailed close-ups of their patterns and colors.
Butterflies usually land on flowers that provide nectar, so watching these spots can lead to steady photo opportunities. You’ll notice that they often stay in one area if the plants are their favorites.
They rarely rest for long. Observing their flight patterns and how they interact with the environment helps you predict where they might pause next. Do you spot a particular flower attracting many butterflies? Waiting quietly nearby can bring excellent results.
When and Where to Find Butterflies
Butterflies are most active during warm, sunny parts of the day, typically between 10 a.m. and 4 p.m. Cooler mornings or windy afternoons usually see less butterfly movement. Choosing a calm day increases your chances to photograph them without rapid flight.
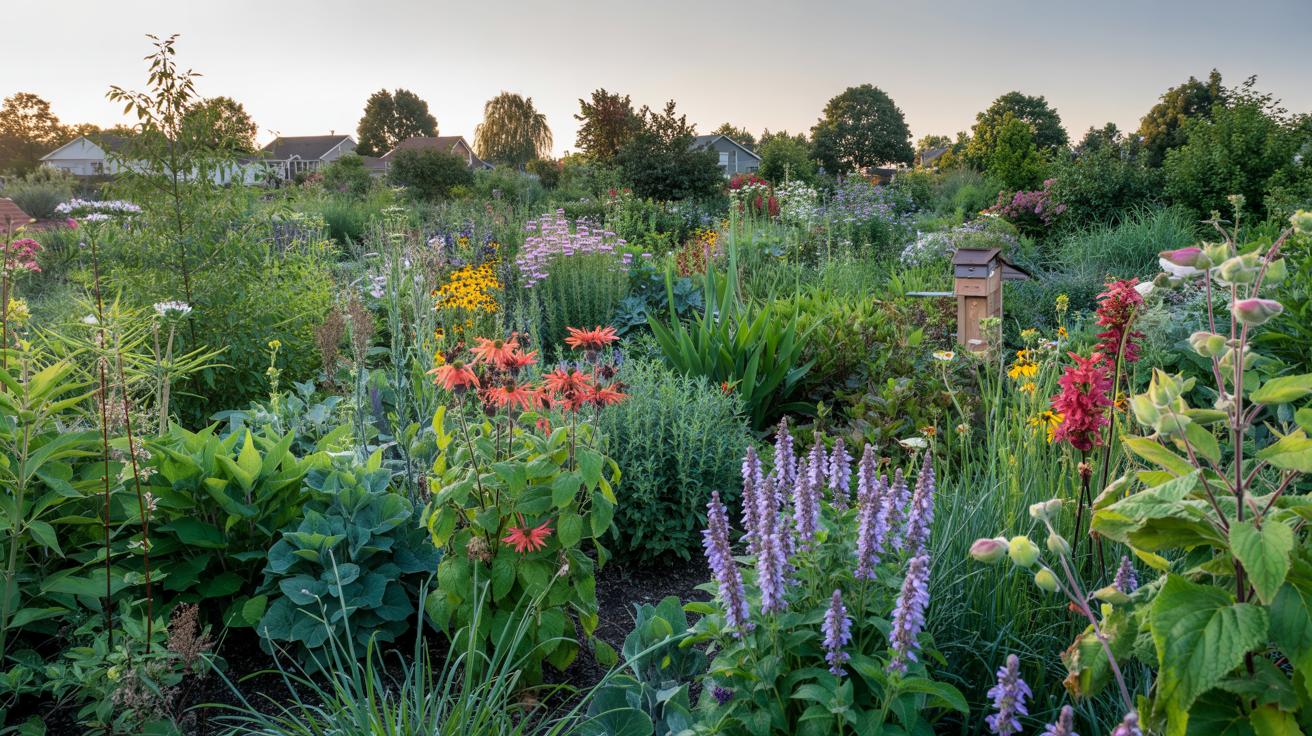
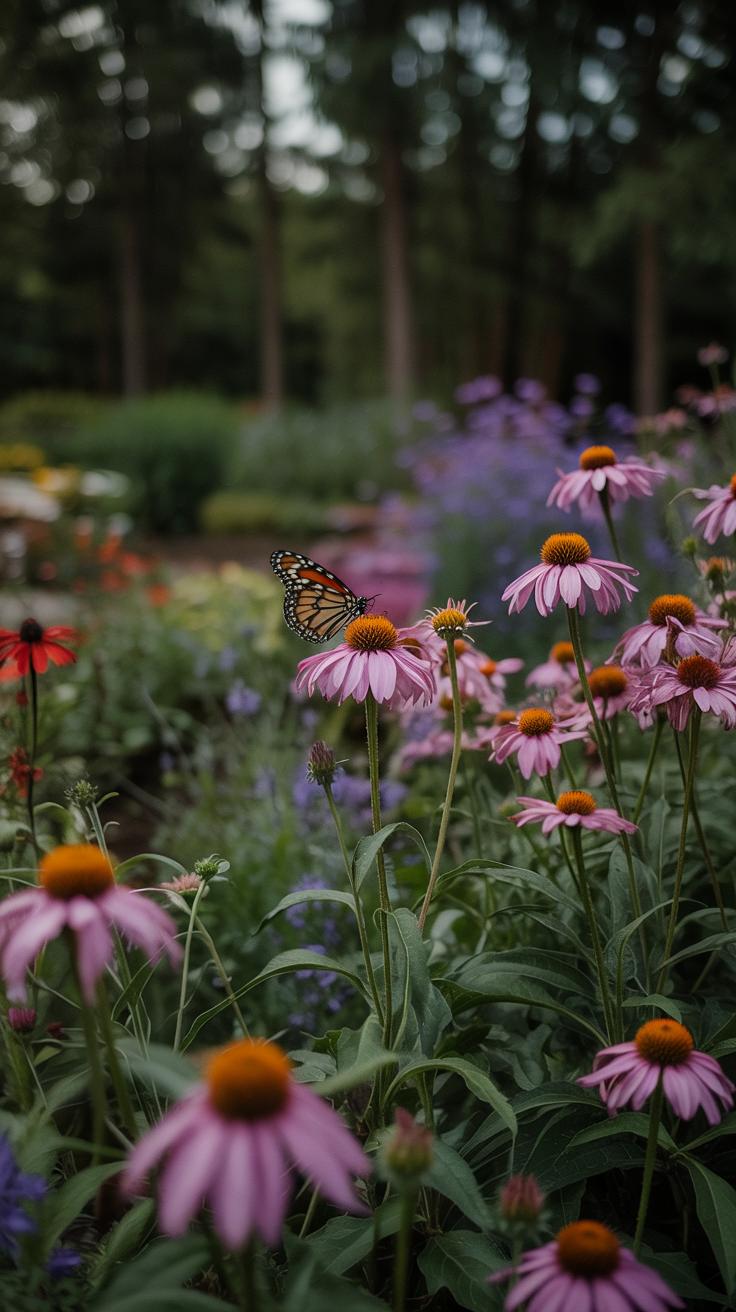
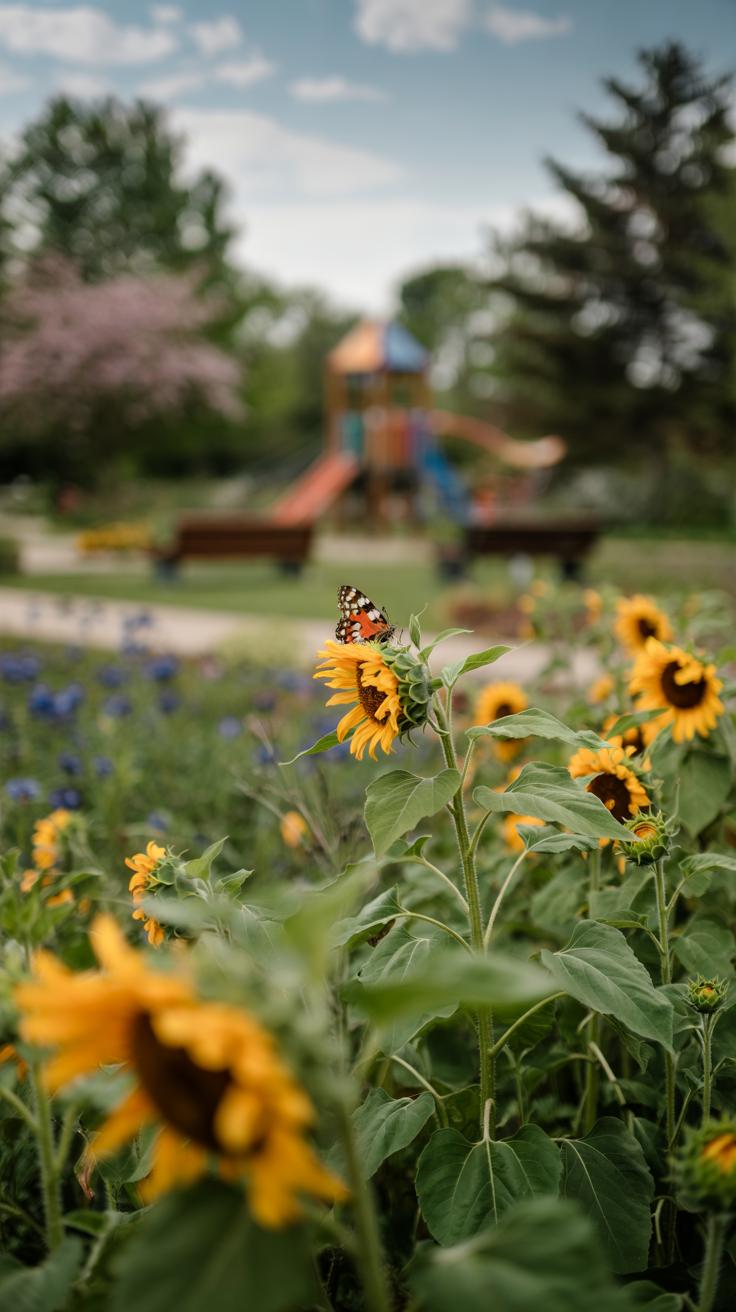
Open fields, gardens, and forest edges often host a variety of butterflies. Learning which plants attract them helps you focus your search. For example, milkweed and coneflowers draw monarch butterflies, while asters and goldenrods attract different species.
Spend time researching local butterfly-friendly plants to locate hotspots. Does your neighborhood have a butterfly garden? Spending time there can improve your chances of natural, comfortable shots with little disturbance.
Reading Butterfly Movements
Watching butterflies carefully helps you guess where they will go next. Notice how they move between flowers, hover for a moment, then land. They often choose the same type of flowers, so following their pattern can guide your positioning.
Approaching slowly and keeping steady movements reduces the chance of startling them. Avoid sudden gestures or rushing forward. Moving from the side or below, rather than above, can feel less threatening to a butterfly.
Try pausing after each step and observe before moving again. Staying low to the ground and using natural cover, like bushes, lets you get closer without causing them to fly away. How might adjusting your pace improve your access to closer shots?
Setting Up Your Camera for Stunning CloseUps
To capture clear and vibrant butterfly close-ups, you need to control your camera settings carefully. Adjust the aperture to balance depth of field and sharpness. A smaller aperture like f/8 to f/11 works well for sharp details while keeping enough of the butterfly in focus.
Shutter speed should be fast to freeze butterfly movement. Start around 1/500 seconds or faster if the butterfly is fluttering. You don’t want motion blur ruining your shot.
Keep ISO as low as possible to reduce noise, but don’t be afraid to increase it if the light is low and you need a faster shutter speed. Natural light often changes quickly outdoors, so adjust ISO between 100 and 800 based on conditions.
Consider your focus choice carefully. Autofocus is fast, but it can struggle with very close subjects and busy backgrounds. Manual focus gives you control, letting you pinpoint the exact spot on the butterfly you want sharp. Try both and see which fits your style.
Choosing the Right Aperture and Shutter Speed
Aperture controls the depth of field, or how much of your image is in focus. For close-ups, a smaller aperture like f/8 or f/11 increases depth, keeping more of the butterfly sharp. A wide aperture, like f/2.8, blurs the background but may make parts of the butterfly soft.
Shutter speed needs to be quick to freeze motion. Butterflies rarely stay still for long. A fast shutter speed above 1/500 second helps capture crisp wings and avoids blur from sudden movements.
Think about the environment too. If the light is bright, you can use a small aperture and fast shutter speed. If it’s shady, you might need to open your aperture or raise ISO to keep the shutter speed up.
Adjusting ISO and Focus Techniques
Your ISO setting controls how sensitive your camera’s sensor is to light. Keep ISO low (100-200) for clean images with little grain. Increase ISO only when needed to keep shutter speed high during low light conditions, like under tree shade or cloudy skies.
Manual focus helps when shooting very close. Autofocus can get confused by tiny details or busy backgrounds. Use live view and zoom in on your subject to adjust manual focus precisely on the butterfly’s eye or wings.
Autofocus is faster and helpful when the butterfly changes position rapidly. Use single-point autofocus to target the butterfly specifically, avoiding focus on surrounding leaves or flowers.
Experiment with both focus methods and settings to find what works best for your shooting style and your camera’s capabilities.
Composing Your Butterfly Photos Effectively
Composition plays a huge role in making your butterfly photos stand out. Think about where your butterfly sits within the frame. Positioning it according to the rule of thirds creates natural balance. Imagine dividing your frame into a grid of nine equal parts and placing the butterfly where the lines intersect. This often draws the viewer’s eye to your subject more effectively than centering it.
Choosing the right background can make or break your photo. Avoid clutter or distractions that pull focus from the butterfly. Clear, simple backgrounds help highlight color patterns and details. Look for smooth areas like leaves, sky, or blurred flowers. Try to keep contrasting colors that complement your butterfly’s tones. Do you find your photos losing impact because the background fights for attention?
Framing is another tool you can use. Natural frames like branches or flowers can add depth and guide the viewer’s eye toward your butterfly. Angles also change the feel of the image. Shooting from slightly below or above can showcase wing patterns or the butterfly’s face. Experiment with side views or head-on shots to find what highlights your subject best. What different angles have you tried, and how do they change the mood of your pictures?
Creating Clean Backgrounds
Isolate your butterfly by selecting a background that won’t distract from your subject. Use the shallow depth of field from your camera settings to blur unwanted details behind the butterfly. Soft, smooth backgrounds make the colors and textures of the butterfly pop.
Look for spots where the background is a solid color, like the sky or a dark leaf, to help the butterfly stand out. Avoid bright or busy patterns behind the butterfly, which compete for attention. You can reposition yourself or the camera angle to achieve a cleaner background without moving the butterfly. Have you tried changing your shooting angle to find a simpler backdrop?
Using Framing and Angles to Your Advantage
Framing with natural elements helps you add context without clutter. Branches, flower petals, or leaves around your butterfly create a frame that draws the eye inward. Place the butterfly slightly off-center within this frame for a pleasing balance.
Changing your angle gives you new perspectives on details. Shooting from above focuses on wing patterns, while side angles emphasize wing shape and body details. A low angle can make the butterfly appear larger and more dominant in the frame.
Try moving around your subject to see how light and shadow work with different angles. Which angle makes the butterfly’s colors and textures stand out best? Testing framing and angles often leads to more interesting and balanced photos that capture the butterfly’s beauty exactly how you see it.
Mastering Lighting for Butterfly CloseUps
Lighting plays a major role in how your butterfly photos turn out. Using natural light helps show the true colors and delicate details of the butterfly’s wings. The best approach is to avoid harsh sunlight that creates deep shadows or washes out colors.
Try shooting when light is soft and even. Cloudy or overcast days provide a natural diffuser, reducing glare and harsh shadows. Early morning or late afternoon light often casts a gentle glow that highlights texture without overexposing the photo.
You can also use small reflectors to bounce light onto the butterfly from angles the sun misses. This brightens shadows without changing the overall mood. Diffusers help soften direct light, letting you keep shooting even when the sun is strong.
Have you experimented with repositioning yourself and your equipment to catch side lighting or backlighting? Changing angles can reveal new details in butterfly wings and enhance the three-dimensional feel, creating more striking close-ups.
Naturally Soft Light Benefits
Butterflies look best in soft natural light. Early mornings, during sunrise, deliver warm, gentle light that brings out colors clearly. Late afternoons, before the sun sets, offer the same calm quality. Both times keep shadows soft and create pleasing contrasts.
Overcast skies act as a giant diffuser for sunlight. On those days, lighting spreads evenly and avoids sharp highlights or deep shadows. You get rich colors and a balanced exposure, which is ideal for delicate butterfly patterns and close-up details.
Have you noticed your photos lose detail when shooting at noon? That is because midday sun creates too much contrast. Try changing your shooting times to catch this soft light and see how your butterfly images improve.
Using Reflectors and Diffusers
Small reflectors can help illuminate butterflies in shadowed spots. Hold a white card or a small silver or gold reflector near the subject to bounce sunlight onto dark areas. This brightens shadows gently and reveals wing detail you might miss.
Diffusers are fabric or plastic panels that spread strong light, reducing harshness. Placing a diffuser between the sun and your butterfly creates softer illumination. You can easily carry one in your camera bag and quickly set it up without scaring the butterfly away.
Using these tools keeps light balanced and natural. Instead of relying on flash, which might disturb the butterfly, reflectors and diffusers let you shape sunlight with minimal impact. Have you tried combining both for more control over your lighting?
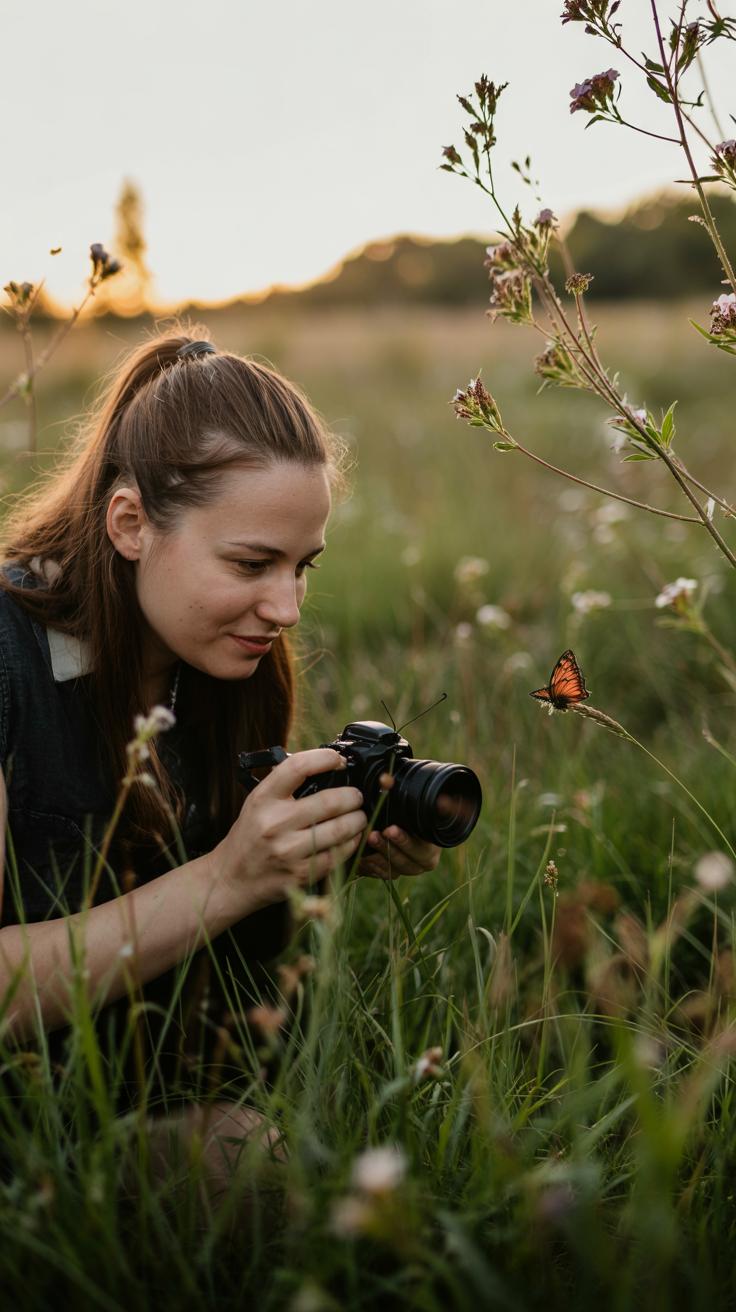
Approaching Butterflies Without Disturbance

When photographing butterflies, moving close without causing them to fly away requires care. Butterflies notice sudden movements or loud noises and will quickly take flight. To improve your chances of getting a close-up shot, you must control how you move and position yourself.
Watch how butterflies react to your presence. If they stay calm, you are doing well. If they flutter nervously, slow down even more. Patience is key to avoid disturbing them. Your goal is to blend into their environment without drawing attention.
Think about your pace, body position, and sound. Walk slowly, keep low if possible, and minimize any noise like rustling clothes or clicking camera parts. By adjusting these behaviors, you give yourself the best chance to capture vibrant butterfly photos without scaring your subject away.
Moving Slowly and Steadily
Calm and steady movements prevent butterflies from sensing danger. Sudden gestures startle them and ruin your shot. Practice moving as if you’re part of the scene rather than an intruder.
Try walking in small steps and pause often to observe butterfly behavior. When you raise your camera, lift it smoothly and steadily. Breathing slowly can help you remain calm. Over time, this practice will improve your timing and make your approach less noticeable.
Ask yourself: how would you act if you wanted to keep a wild animal at ease? You want to feel relaxed, so your actions look natural. This mindset helps you move cautiously while focusing on your subject.
Positioning Yourself for the Best Angle
Positioning affects both butterfly comfort and your photo quality. Avoid standing directly above them; this posture can appear threatening. Instead, approach from a side or lower angle.
Try to stay at the butterfly’s eye level or slightly below. This angle often reveals the wing patterns better and offers more depth in your photos. Observe plants or flowers around the butterfly and position yourself where you can use these elements as a natural frame.
Consider the direction of light and background before settling. You may need to move slowly around to find the spot where the butterfly feels safe and your lens has a clear view. Keep in mind that a still butterfly is more likely to offer multiple shot opportunities, so your positioning can encourage longer stays.
PostProcessing Tips for Enhancing Butterfly Photos
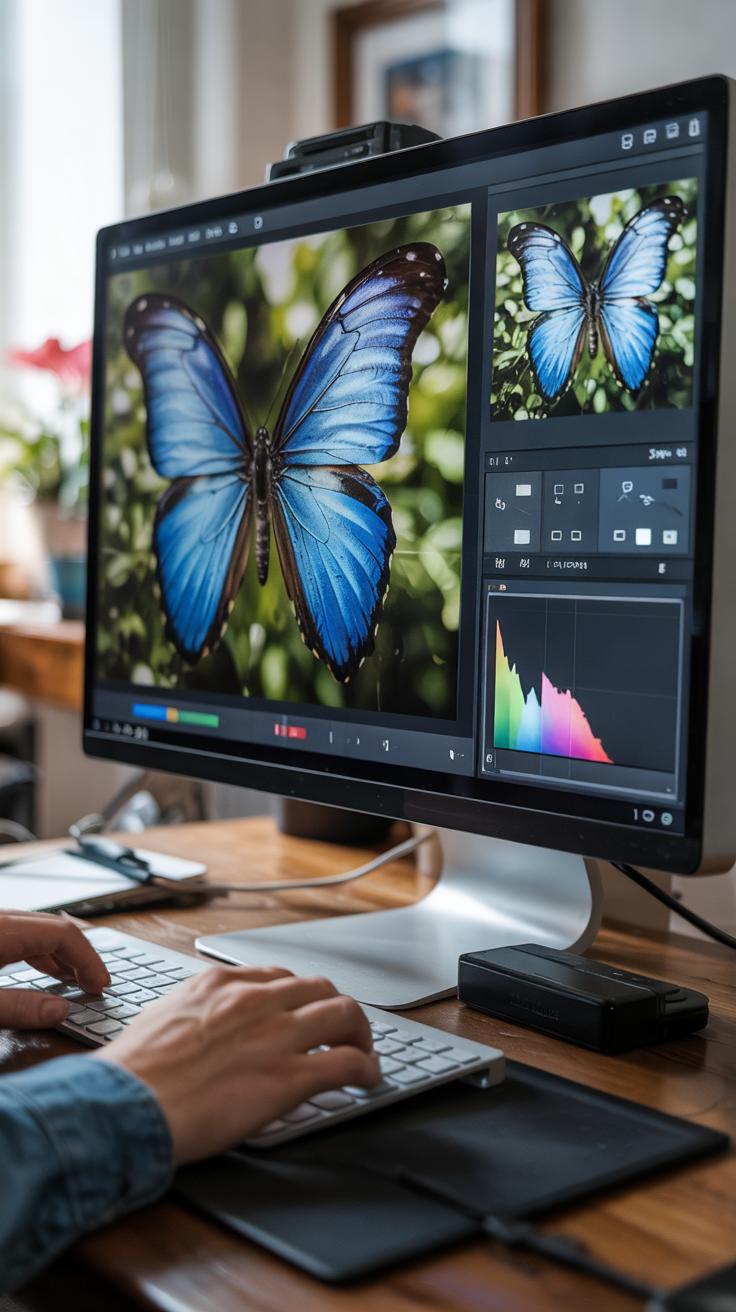
Post-processing helps you make the best out of the butterfly photos you capture. Editing software like Lightroom, Photoshop, or free apps such as Snapseed allow you to refine your images with simple steps. Focus on improving sharpness, adjusting colors, and cropping to create a balanced composition. These changes can highlight the intricate wing patterns and natural colors of butterflies.
Start by loading your photo into the editing software. Use the sharpening tool sparingly to enhance details without creating a harsh or artificial look. Over-sharpening often introduces noise or unwanted edges that distract from the image. Zoom in close to see how the wing veins, scales, and antennae respond before you finish.
Next, pay attention to the colors in your images. Adjust the white balance or use color sliders to correct any tint caused by lighting conditions. Aim to restore the butterfly’s true colors rather than exaggerate them. Good color balance makes the photo feel natural and vivid, inviting viewers to observe the real beauty of your subject.
Cropping offers a way to improve your photo’s composition by removing distractions at the edges or focusing more tightly on the butterfly. You can crop tighter around the wings or reposition the butterfly off-center using the rule of thirds. Ask yourself if cropping brings more attention to the butterfly without sacrificing important details.
How does your editing style influence the way people see your butterfly photos? Experiment with small changes first and compare results. Each step in post-processing helps you tell a clearer story through your images, building on your skill to capture butterflies up close.
Improving Sharpness and Detail
Sharpness affects how the textures and fine features of butterfly wings appear. Start by applying a mild sharpening filter in your editing software, adjusting the amount carefully to avoid overdoing it. Use controls like radius and masking to target edges without enhancing background noise.
Zoom in to observe wing veins and scale patterns as you sharpen. These details define the majesty of butterflies in your photos. If you see unnatural edges or grainy patches, lower the sharpening level. Maintain a balance that reveals the subject clearly without harming the smooth appearance of the wings.
Some software options let you selectively sharpen areas. Focus on the wings and eyes while leaving the background soft. This approach directs attention exactly where you want it without creating a harsh overall effect. Remember, sharpness should support your photo’s narrative, not overwhelm it.
Adjusting Color and Cropping
Color adjustments can transform butterfly photos by setting the mood and enhancing natural beauty. Use white balance tools to correct any color cast from the environment, like blue tones from shadows or yellow from sunlight. Fine-tune saturation and vibrance, but keep the butterfly’s original hues intact.
Observe the wings and flowers closely. Are their colors vivid yet true to life? Color correction helps you represent what you saw when taking the photo. Over-saturation can distract or mislead viewers, so aim for accuracy.
Cropping helps improve the photo’s story by tightening focus on the butterfly. Remove unnecessary space or environmental distractions while keeping enough context to show the natural setting. Position your butterfly using compositional rules like the rule of thirds to create a balanced image that draws viewers in.
Ask yourself if the crop adds power to your photo. Does it enhance the butterfly’s presence? Well-chosen cropping highlights your subject without cutting off important parts like antennae or wings.
Practicing Regularly to Build Your Skills
Consistent practice plays a key role in improving your butterfly photography. Setting realistic goals helps you build habits that lead to better shots over time. Instead of trying to capture perfect photos right away, focus on small steps you can achieve during each outing.
Patience is important. Butterflies move quickly and unpredictably, so give yourself room to learn from each experience. Think about what you want to improve—maybe getting sharper close-ups or learning to use natural light effectively. These small efforts add up and bring steady progress.
How do you stay motivated when some days feel less successful? Keeping track of your goals and appreciating tiny improvements can keep your interest alive. Practice with purpose, and your skills will grow naturally with each session.
Setting Small Goals for Each Outing
Choose simple targets for every butterfly photography trip. Concentrate on photographing one butterfly species instead of chasing many at once. This focus helps you understand their behavior and how to approach them quietly.
Try new angles, like shooting from low to high or using different backgrounds. Testing these ideas builds your creativity and technical skills. For example, you might spend one outing experimenting with side lighting to see how it highlights wing patterns.
These achievable goals make your outings productive and enjoyable. What small challenge will you set for your next shoot? Small goals keep your progress clear and your experience fresh.
Reviewing and Learning from Your Photos
After each photo session, spend time looking closely at your pictures. Identify what worked well, like sharp focus on wings or good lighting, and note what could improve. Are some shots blurry? Did the colors come out dull?
Use this insight to adjust your approach next time. You might realize you need to increase shutter speed or change your shooting position. Keeping a photo journal or notes can help track your progress and remember lessons learned.
Ask yourself which photos tell a stronger story or show more detail. Learning from your own work helps build confidence and guides your growth. How will your next shoot reflect what you’ve discovered?
Conclusions
Understanding butterfly behavior and practicing patience are key elements in capturing stunning close-ups. Your approach and camera settings directly influence the quality of your images. Experiment with angles and lighting to highlight the subtle details of butterfly wings, and don’t hesitate to take multiple shots to increase your chances of success. With time, you will develop an eye for the right moment and the right composition that make your photos stand out.
Consistent practice and observation improve your skills and your connection with your subject. Every butterfly you photograph is an opportunity to refine your technique and appreciate nature’s finer points. Keep exploring different environments and techniques mentioned in this guide to expand your capabilities. Your dedication will lead to rewarding images, providing not just photographs but memorable experiences in the world of butterfly photography.


