Introduction
Bucket gardening is a method that allows you to grow plants in containers instead of traditional garden beds. This approach is perfect for people with limited space. You can use buckets, crates, and other containers to create a garden right at home. The method reduces the need for large land areas and gives you the flexibility to position your plants anywhere you want. Bucket gardening provides an easy way to start growing your own fruits, vegetables, and flowers without a big yard or special tools.
With bucket gardening, you control the soil and environment around your plants. This can lead to healthier growth and a better yield. Since weeds and pests are easier to manage in buckets, you spend less time worrying about problems. You will learn practical steps to set up your home bucket garden, prepare the soil, choose the right plants, and maintain your garden. This guide will help you unlock the benefits of gardening on a small scale.
Understanding Bucket Gardening
Bucket gardening means growing plants in containers like buckets, crates, or pots instead of planting them directly in the ground. This method allows you to create a garden in places where traditional gardening isn’t possible, such as balconies, small patios, or indoors.
The containers hold soil and plants together, making it easy to move or rearrange your garden whenever you want. Unlike traditional gardens, bucket gardening does not demand a large yard or specific soil conditions. It gives you control over the growing environment because you choose the soil and water the plants more precisely.
Imagine turning an unused corner of your porch into a green oasis. That’s the power of bucket gardening. It lets you grow vegetables, herbs, flowers, or small fruits without needing much space. This approach saves room and helps you focus care on each plant, improving your chances of success at home.
What is Bucket Gardening
Bucket gardening uses containers like buckets, crates, or pots to grow plants instead of traditional garden beds. These containers replace garden soil, creating a compact space for roots. You can place them almost anywhere—on balconies, rooftops, or window sills.
This setup saves space and makes gardening flexible. For example, you might move your plants indoors when the weather turns cold or rearrange them for better sunlight. The containers vary in size based on what you want to grow, giving you choices from small herbs to bigger vegetables like tomatoes.
Bucket gardening focuses on maximizing what little space you have. If you live in an apartment or a place with no yard, it offers a practical way to still enjoy fresh homegrown plants. It also helps beginners start gardening without a heavy commitment to a large garden.
Why Choose Bucket Gardening
Bucket gardening makes growing plants easier for people with limited space. Setting it up only requires a few containers, soil, and seeds or seedlings, so you can start quickly without a big backyard or expensive tools.
You control the soil quality in each bucket, which means you can avoid poor or contaminated soil. This control often leads to healthier plants. Containers also help reduce pest problems. Many insects live in the ground, so planting above ground lowers the chance of damage. You can also move buckets away from pests if needed.
This method is perfect in urban areas or small homes where gardening space is minimal. You can grow fresh herbs on your kitchen windowsill or raise cherry tomatoes on the balcony. Bucket gardening offers flexibility, giving you options to manage sunlight, water, and space effectively.
Selecting the Right Containers
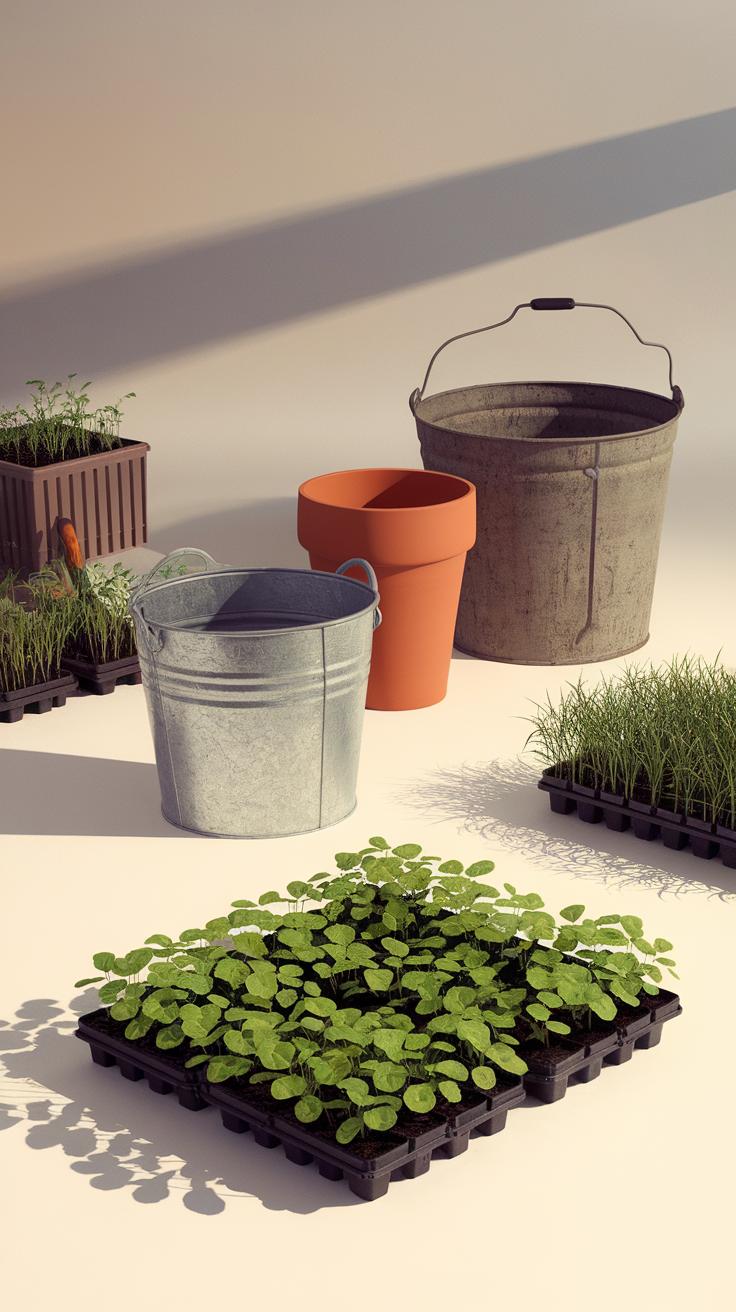
Choosing the right bucket or container shapes your bucket garden’s success. Size influences which plants you can grow. Small buckets, around one to two gallons, suit herbs and small leafy greens like lettuce. Larger buckets, five gallons or more, support vegetables with deeper roots like tomatoes or peppers. Think about how much room your plants need below the surface.
Material matters for durability and plant health. Plastic buckets are lightweight, affordable, and retain moisture well. Metal ones heat up quickly and may harm roots. Wood containers offer breathability but may break down fast outdoors. Weigh the pros and cons based on where you place your garden and how much maintenance you want.
Cost often drives your container choice. Used buckets can work if cleaned properly but avoid those once holding harmful chemicals. New ones bring peace of mind but cost more. Ask yourself: what balance between budget and quality fits your garden goals?
Bucket Size and Material
Buckets for gardening come in common sizes like 1, 2, 5, and 10 gallons. Smaller sizes hold plants with shallow roots, such as basil or radishes. Medium ones fit bushy herbs or flowers requiring moderate space. Big buckets allow sprawling root systems or larger vegetables like eggplants.
Plastic buckets weigh less and resist water damage, making them popular for balcony or porch gardens. Look for food-grade plastic to avoid harmful chemicals leaching into soil. Avoid metal in hot climates since it heats the soil and stresses roots. Wood containers breathe well but may need coatings or liners to last longer.
Match your bucket size to your plant’s root depth. Are you growing carrots? Choose a deeper bucket. For chives, a smaller container will do.
Ensuring Proper Drainage
Drainage is vital for plant health. Waterlogged soil suffocates roots and causes rot. Every bucket must have drainage holes at the bottom to let excess water escape.
If your container doesn’t have holes, drill several small ones spaced evenly. The number and size depend on bucket size. A five-gallon bucket typically needs three to four holes, each about a quarter-inch wide. Line the bottom with gravel or broken pottery before adding soil to improve water flow.
Place buckets on a raised surface or saucer to prevent water pooling beneath. Ask yourself: how will excess water drain from my bucket? Proper drainage encourages roots to grow strong and makes your garden thrive in tight spaces.
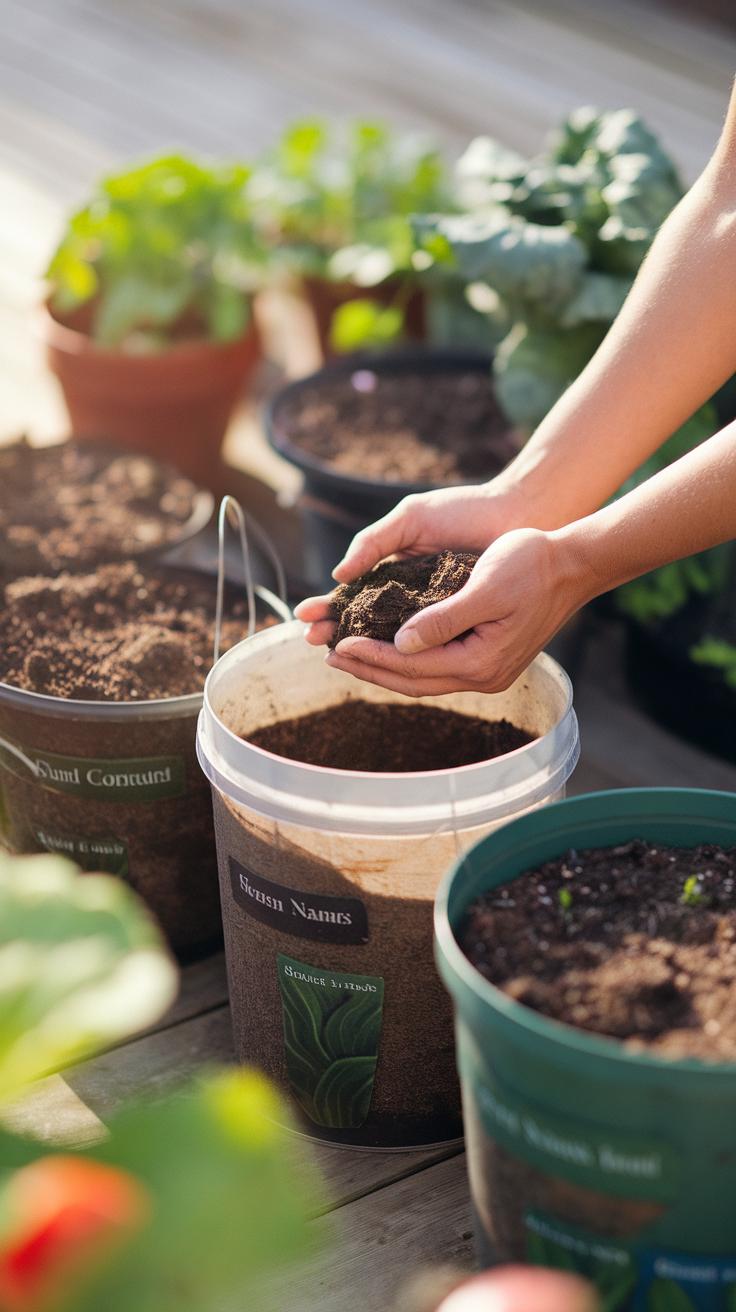
Preparing Soil for Bucket Gardening
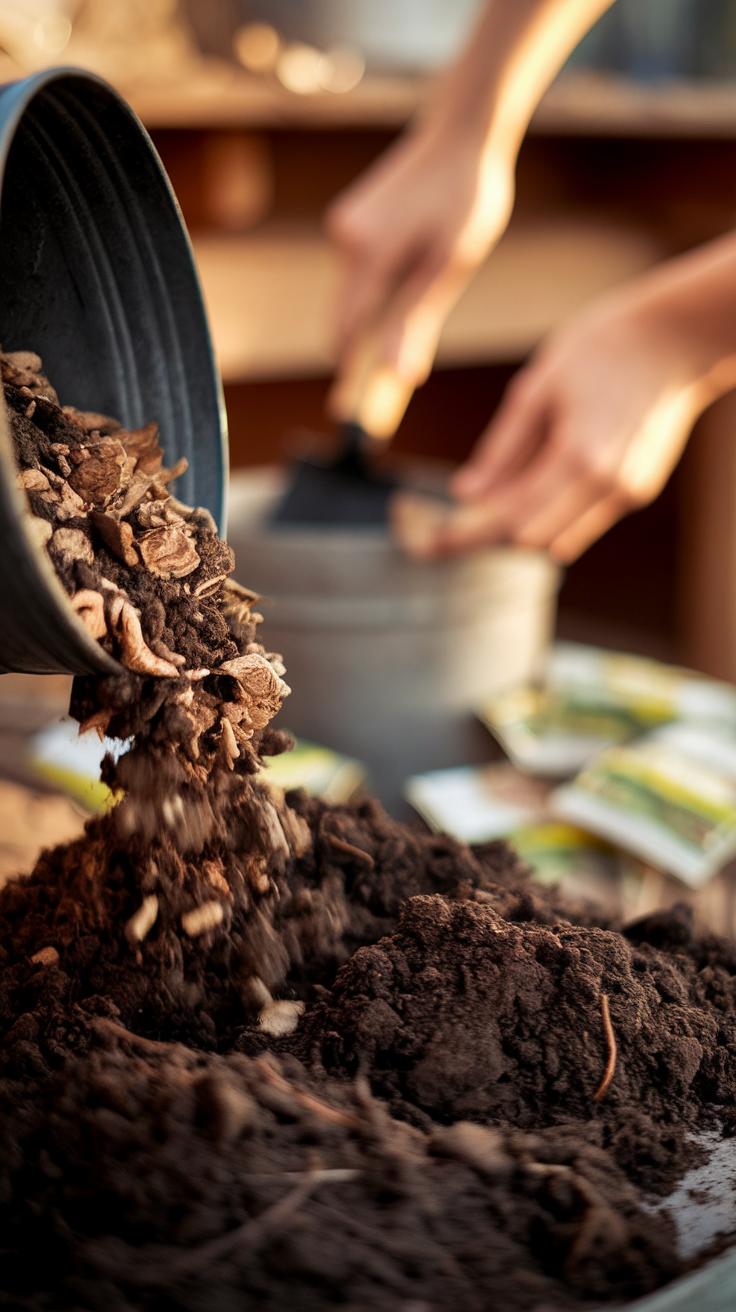
Your plants rely on the soil for water, nutrients, and support. Choosing or preparing the right soil mix can make a big difference in your bucket garden’s success. You want soil that drains well, holds moisture, and provides nutrients.
Start with a light, loose soil that doesn’t pack down. Heavier garden dirt can suffocate roots in a container. It’s better to buy potting soil made for containers or mix your own using quality ingredients.
Think about the balance between aeration and moisture retention. You can add organic matter to feed your plants while keeping the soil fluffy. Every time you check your garden, notice how the soil feels—too dry or soggy soil harms your plants.
Drainage holes in your bucket protect roots from standing water, but the soil must also help water flow through. Keep the soil healthy by replacing or refreshing it every couple of seasons. How often have you seen plants struggle because their soil lost nutrients?
Choosing the Right Soil Mix
Good soil for bucket gardening combines materials that hold water, drain well, and provide nutrients. Compost is a key ingredient—it enriches soil with organic matter and promotes healthy microbial activity.
Peat moss helps the soil retain moisture without becoming soggy. It also lightens the mix, making it easier for roots to grow. Vermiculite or perlite adds air pockets to prevent compacting and improves drainage.
You can use a simple mix like one-third compost, one-third peat moss, and one-third vermiculite. Adjust the mix by adding more peat if you want more moisture retention or more vermiculite if you want better drainage.
Think about your plant’s needs. Some plants prefer moisture, like herbs, while others, like succulents, need soil to dry between watering. Tailoring your mix will help plants thrive and grow strong.
Soil Maintenance and Fertilization
After planting, your soil will lose nutrients as plants grow. You can keep your soil healthy by adding fertilizer regularly. Use balanced liquid fertilizers every two to four weeks or slow-release pellets following the package instructions.
Compost tea or homemade organic fertilizers also work well. They feed plants naturally without harsh chemicals. Remember to water after fertilizing to help nutrients reach the roots.
Over time, soil in buckets breaks down and compacts. It’s a good idea to replace or refresh the soil every one to two years. If you don’t, plants may show signs of nutrient deficiencies or stunted growth.
Check the soil texture and smell. Healthy soil should feel crumbly and have an earthy scent. When soil looks tired, it’s time to start fresh. What signs tell you that your soil needs attention?
Picking Plants for Your Garden
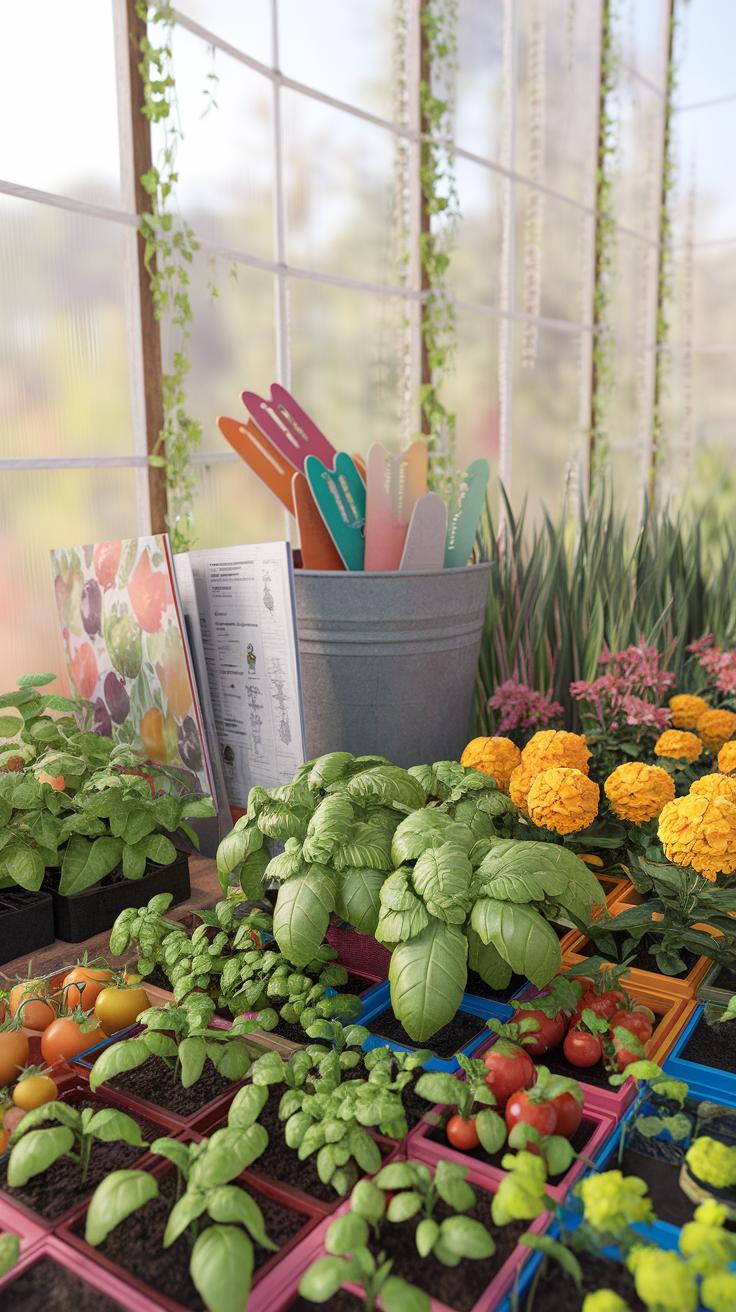
Choosing the right plants for bucket gardening affects how successful your garden will be. You should consider how much sunlight your space receives each day. Some plants need full sun, while others grow well in partial shade. Think about when you want to harvest too. Some plants mature quickly, while others take longer.
Containers limit how much space roots have to spread. Look for plants labeled as “container-friendly” or “compact.” Herbs and smaller vegetables usually work best. Root depth matters. For example, carrots or radishes grow well in buckets if they have enough soil depth, but large root crops like potatoes need bigger containers.
Check if the plants can handle your local climate and growing season length. Cooler regions need faster-maturing plants or varieties that tolerate low temperatures. Warmer areas support a broader range of vegetables year-round. How much time will you spend watering and feeding? Plants that need less care might suit busier schedules better.
Planning your garden with these factors in mind prepares you for strong, healthy growth in each bucket.
Vegetables and Herbs that Thrive
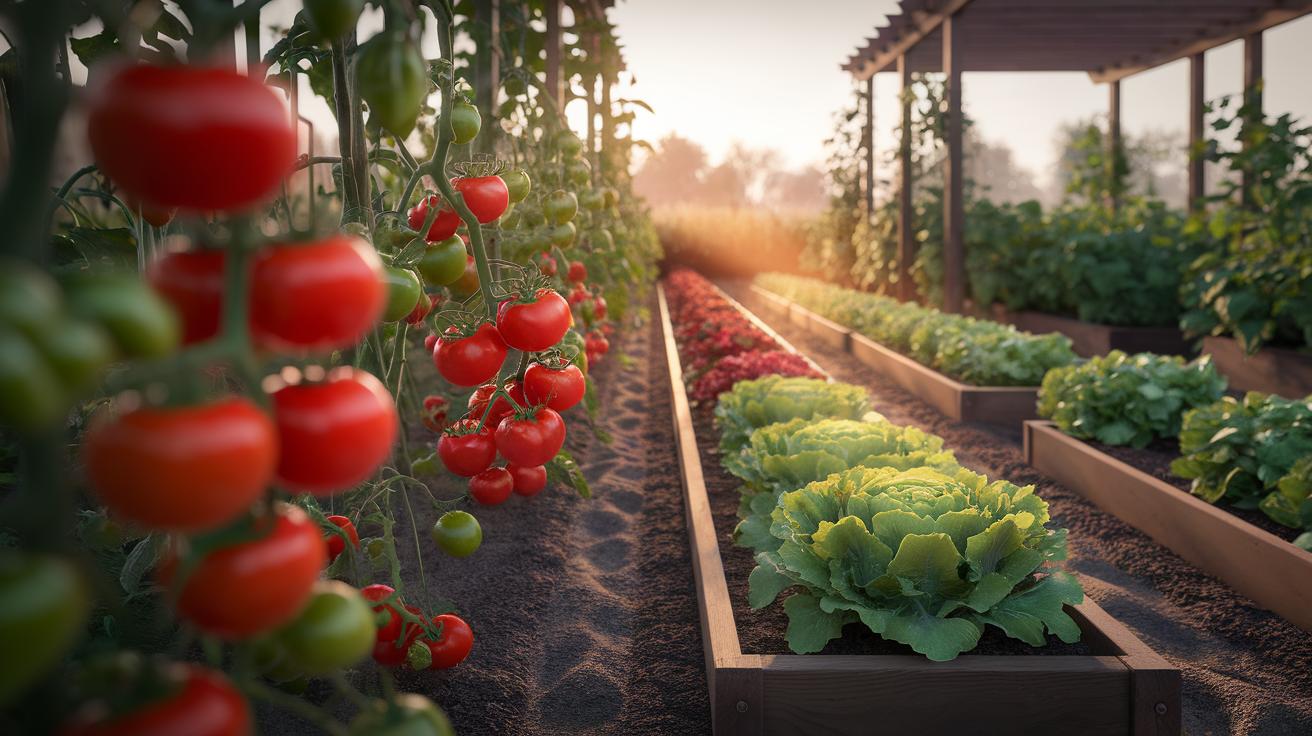
Some vegetables and herbs adapt well to buckets. Tomatoes do great when supported with cages or stakes. Peppers also thrive in warm, sunny places and need plenty of pots with good drainage. Leafy greens like lettuce and spinach grow fast and can be harvested frequently from smaller containers.
Basil is a favorite herb for container gardening because it grows quickly and adds fresh flavor to meals. Parsley, cilantro, and chives need less room and suit small bucket gardens. Root vegetables such as radishes and baby carrots require deeper buckets but mature quickly, giving rewarding results.
Choose varieties bred for container growth. For instance, cherry or grape tomatoes usually take up less space than larger types. Consider staggered planting times for continuous harvests. What will you cook first from your homegrown gifts?
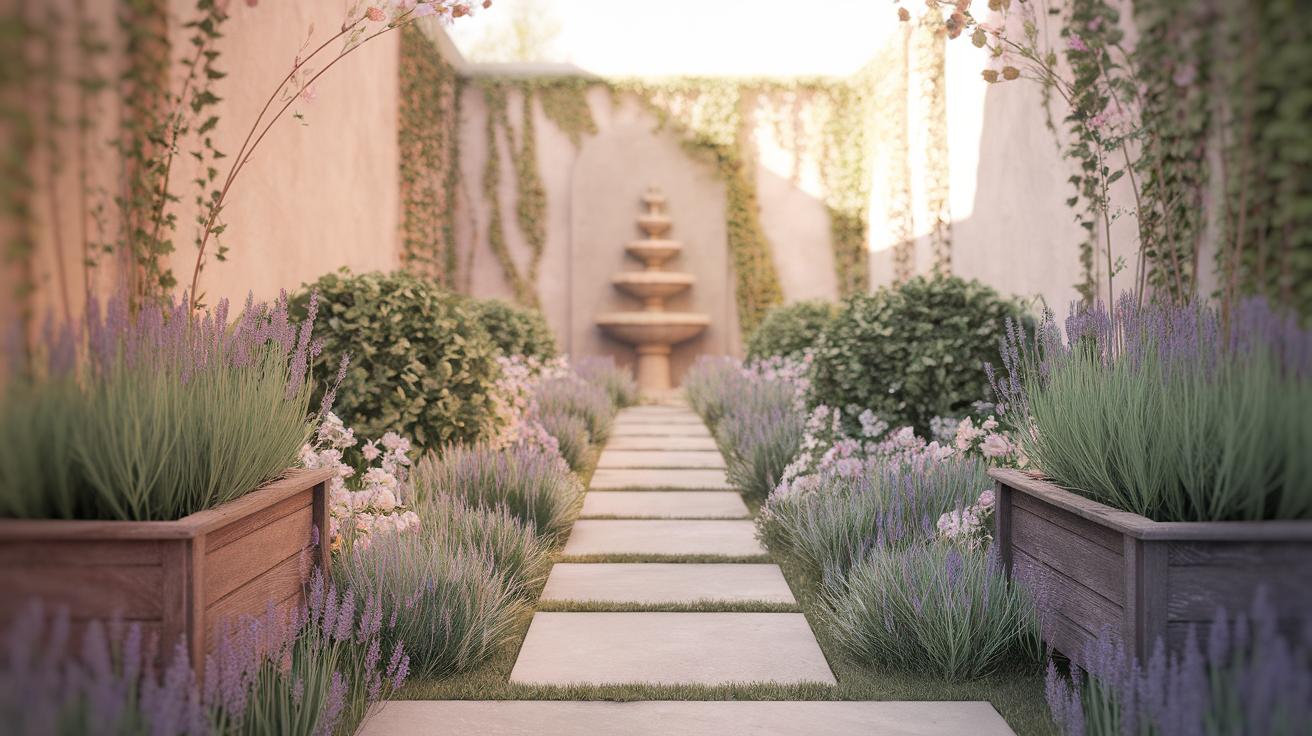
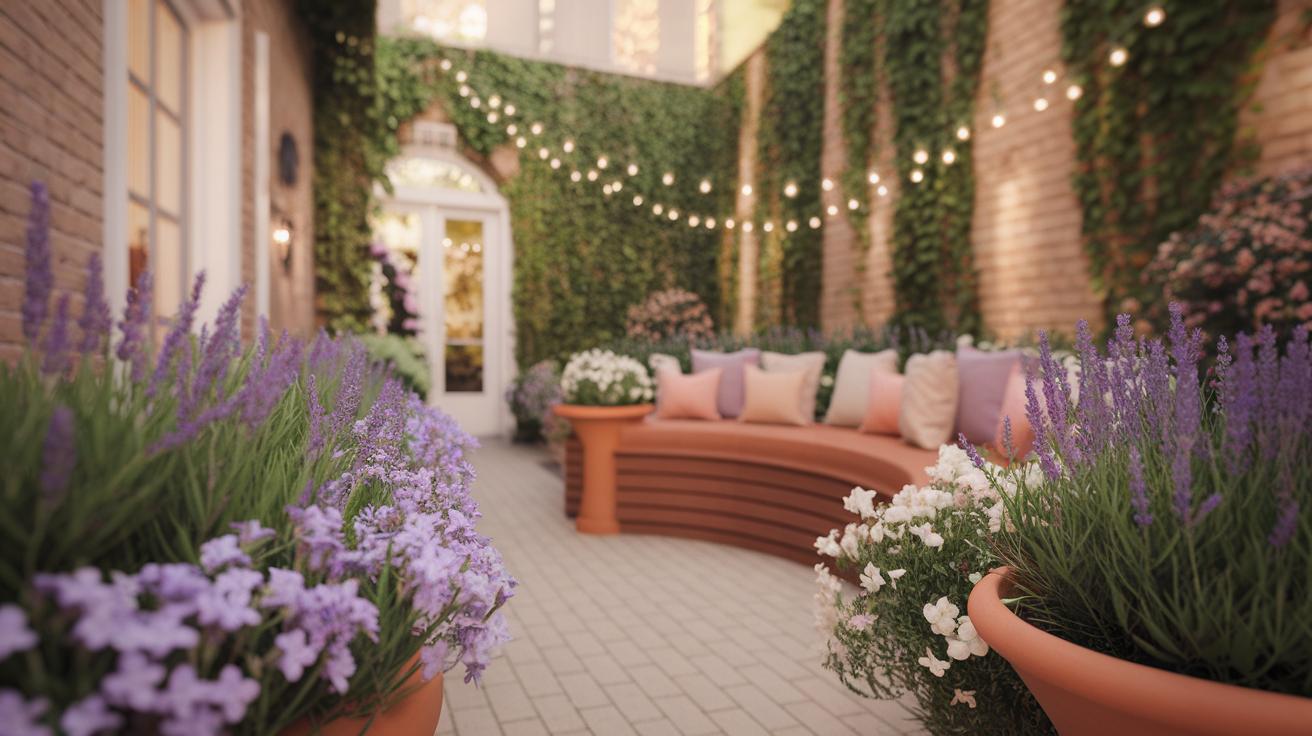
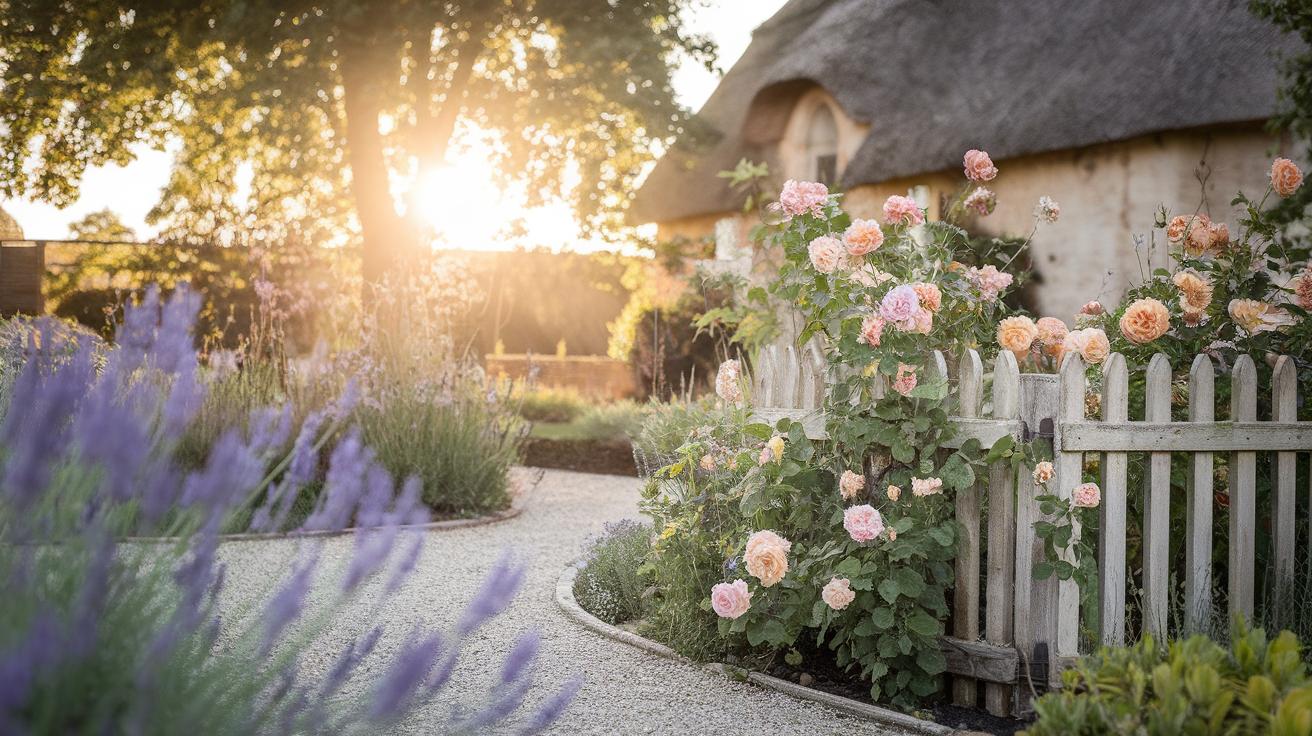
Flower Plants for Containers
Adding flowers to your bucket garden lifts the look and supports pollinators. Select plants with shallow roots and manageable heights. Marigolds are sturdy and repel some pests naturally. Pansies offer color in cool weather and tolerate containers well.
Petunias produce vibrant blooms all summer long with regular watering. Geraniums withstand heat and show off bright flowers, making them a common container choice. Consider sweet alyssum for ground cover and a gentle fragrance. These flowers require similar light and water levels as many vegetables, so coordinating care is easier.
Which colors and scents would brighten your garden space? Flower choices help create a mood as much as a visual appeal, making bucket gardening enjoyable beyond just food production.
Planting Techniques in Buckets

Starting from Seeds or Seedlings
Choose whether to start your plants from seeds or seedlings based on the type of plant and how soon you want results. When planting seeds directly, fill the bucket with good-quality potting soil. Plant the seeds at the depth recommended on the seed packet, usually about twice as deep as the seed size. Cover gently with soil and water lightly to keep the soil moist but not soggy.
If you prefer transplanting seedlings, dig a hole in the soil of the bucket that fits the root ball of the seedling. Carefully place the seedling in the hole and cover the roots with soil, patting it down gently to hold the plant steady. Avoid damaging the roots, which can slow growth. Water the seedling right after planting to settle the soil around the roots.
Spacing and Placement
Space your plants in the bucket to give each one enough room to grow. Overcrowding causes competition for water, nutrients, and light, which reduces growth and health. Small plants like herbs can be planted closer, about 2 to 4 inches apart. Larger vegetables, like tomatoes or peppers, need more space—around 8 to 12 inches depending on the bucket size.
Think about how tall and wide your plants will get. Position seedlings or seeds in a way that lets each plant get sunlight and airflow. Placing taller plants in the center or at the back of the bucket can prevent them from blocking smaller plants. How will you arrange your buckets to make sure each plant receives enough light throughout the day?
Watering and Care
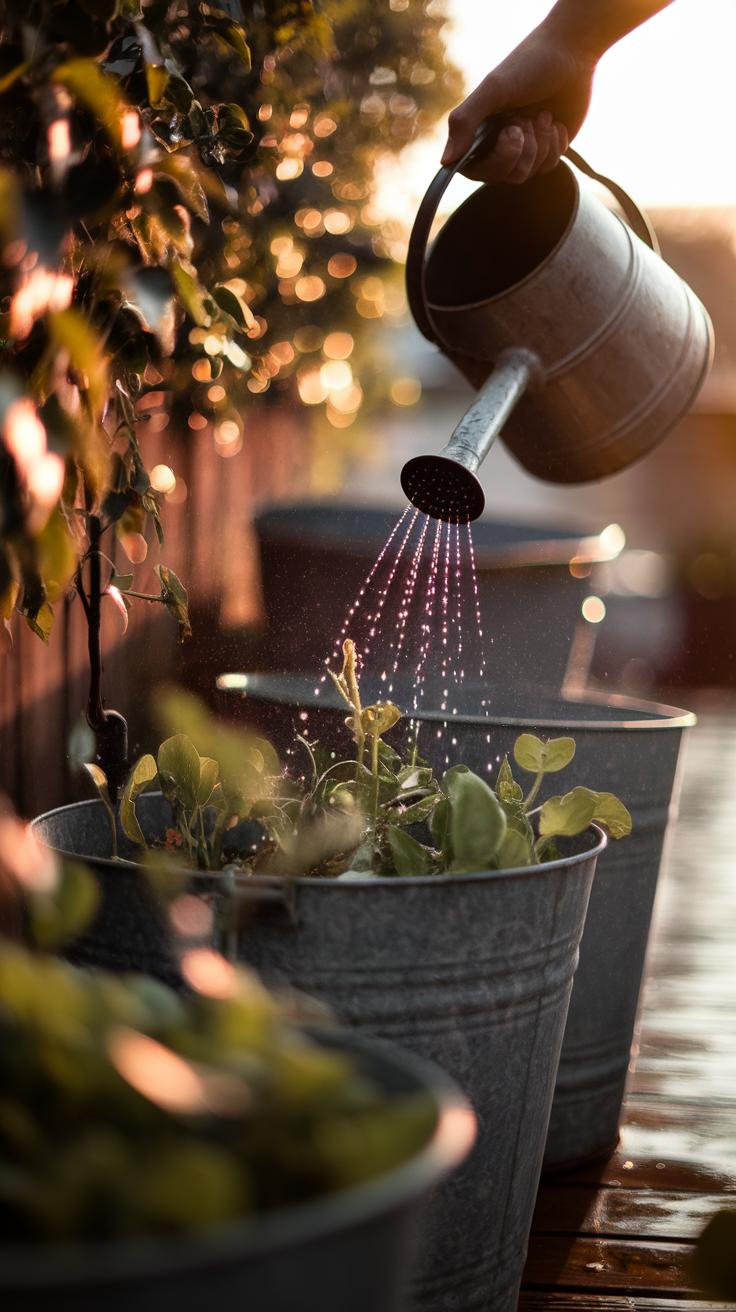
Watering bucket plants the right way helps them grow healthy without risks like root rot. You must keep the soil moist but not soaked. Buckets hold less soil than garden beds, so they dry out faster. Check the soil by sticking your finger about an inch deep. If it feels dry there, it’s time to water.
Pour water slowly near the base of the plant to reach the roots evenly. Avoid watering the leaves to reduce fungal problems. Use a watering can with a narrow spout or a drip irrigation setup if possible. Water until you see some draining through the holes, which means the roots are well soaked.
Make sure your bucket has good drainage. Drill holes in the bottom if there are none. Elevate the bucket slightly by placing it on bricks or a tray with small stones to prevent water from collecting under it. How do you balance keeping the soil wet enough without waterlogging your plants?
Watering Frequency and Methods
How often you water depends on the type of plant, weather, and season. Leafy greens like lettuce need more regular watering than drought-tolerant herbs like rosemary. In hot weather, daily checks might be needed, while cooler days could allow watering every three days.
Morning watering reduces evaporation and gives plants time to absorb moisture before nightfall. Avoid watering late in the evening to prevent fungus. A slow, deep watering method encourages roots to grow deeper, improving plant health.
Use a watering can or a gentle hose setting to avoid washing away soil. Hand watering gives you control and helps you notice any signs of stress early. What signs will tell you if your plant needs more or less water?
Managing Excess Water
Overwatering shows through yellowing leaves, wilting despite wet soil, and mold on the surface. If your bucket lacks proper drainage, water builds up and suffocates roots. This can kill your plants quickly.
To prevent overwatering, add enough drainage holes and use well-draining soil mixes with materials like perlite or sand that help excess water escape. Water less often but thoroughly to allow the soil to dry between sessions.
If you spot overwatered plants, reduce watering frequency and improve drainage. You can also tip the bucket to drain any standing water. Have you checked your buckets recently for clogged holes or trapped water? Making this a habit will protect your plants.
Pest and Disease Management
Identifying Common Pests
Look carefully at your plants every day. You might find tiny insects like aphids, whiteflies, or spider mites. These pests often gather on new leaves or flower buds. If leaves look curled, spotted, or sticky, pests could be the cause.
Check for small holes on leaves, which may mean caterpillars or beetles are feeding on them. Wilting plants can sometimes hint at root-damaging pests. Are you noticing any webs or powdery spots? Spider mites leave webs, while fungal diseases cause powdery growth.
Early detection helps prevent major damage. Catch signs like yellowing leaves or sticky residue before pests spread. Could your plants be showing less obvious signs that you overlooked?
Natural Pest Control Methods
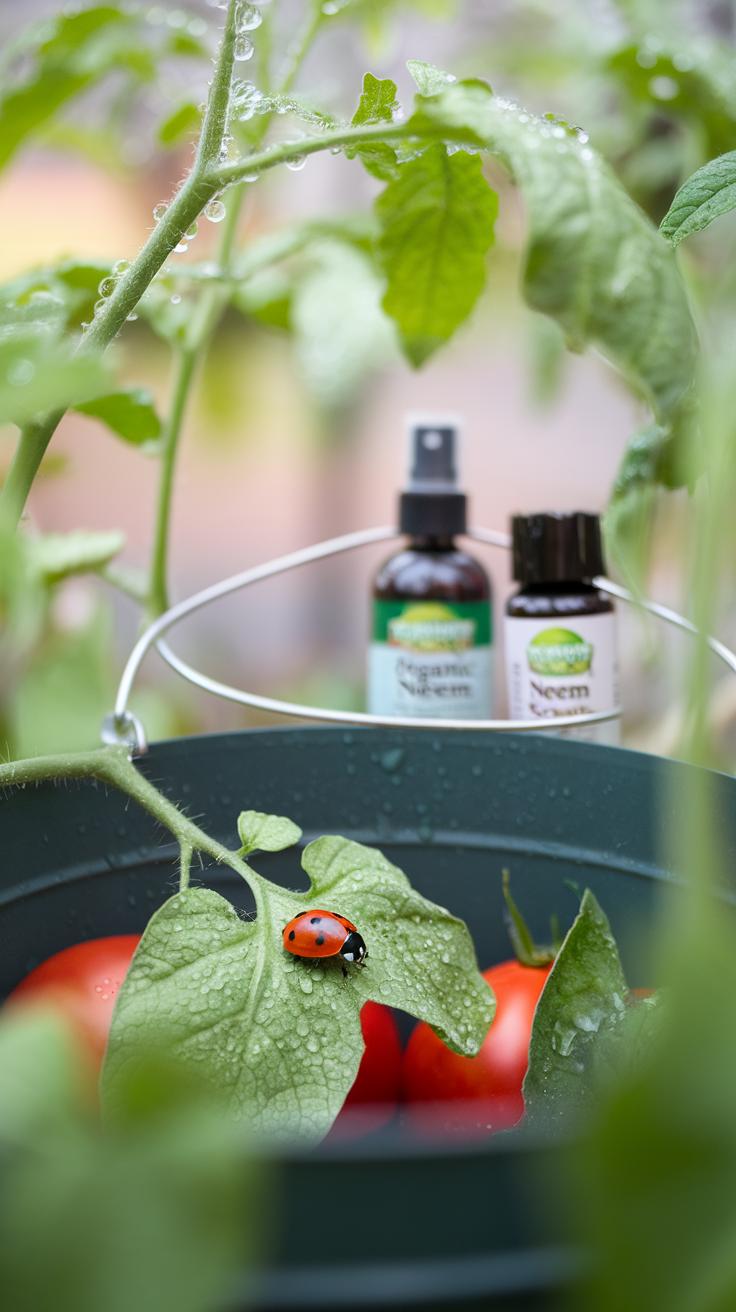
You can manage pests without chemicals by using simple, natural methods. Plant herbs like basil or mint near your buckets to repel insects. These companion plants work as natural guards.
Make homemade sprays with everyday ingredients. For example, mix water with a little dish soap and spray it on affected leaves to remove soft-bodied pests like aphids. Garlic or neem oil sprays also help keep bugs away.
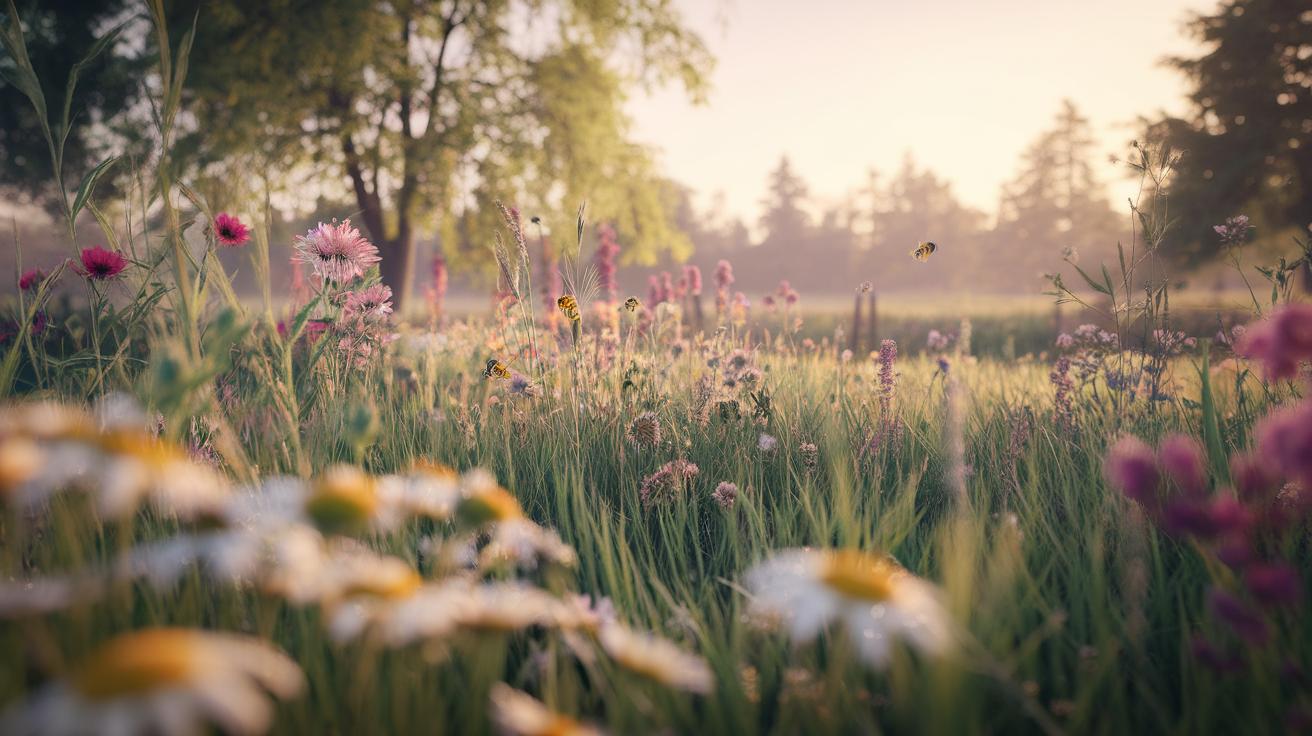
Encourage beneficial insects, such as ladybugs and bees, to visit your garden. They eat pests and pollinate plants. Would you consider shaking your bucket plants gently to dislodge pests before spraying?
Keeping your bucket garden clean by removing dead leaves and inspecting plants helps limit pest hiding places. How could consistent care reduce pest problems in your small garden?
Improving Growth with Supports
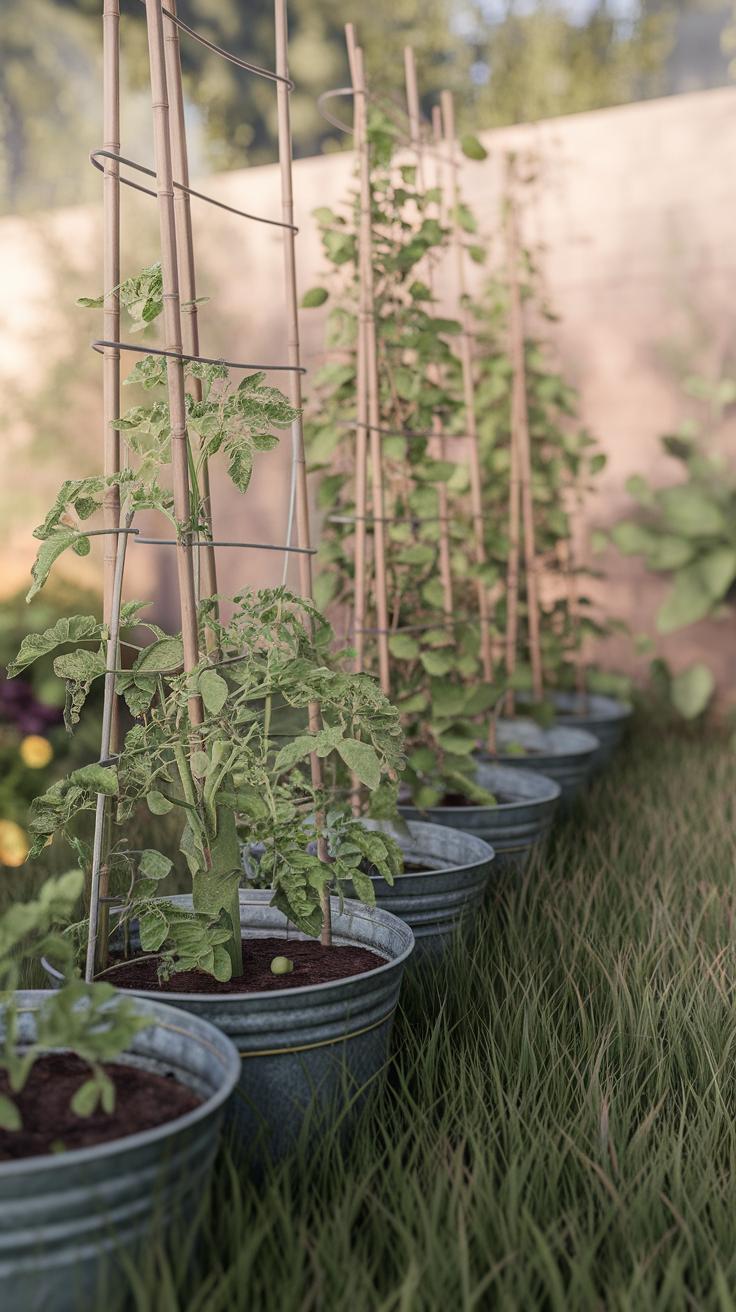
In bucket gardening, certain plants need extra help to grow well. Tall or vining plants like tomatoes, cucumbers, and beans can fall over or get damaged without proper support. When you add stakes or trellises, you give these plants a structure to grow on. This keeps them healthy and helps you make the most of your small space.
Simple materials like wooden sticks, bamboo poles, old wire hangers, or sturdy sticks from your yard work perfectly as supports. You can stick them directly into the soil of your bucket. Use soft garden ties, string, or even strips of cloth to gently tie plants to these supports. This holds the plant steady but does not constrict growth.
Think about how much room you have and what kind of plants you want to grow. How can you use your supports to give each plant space to stretch while keeping your garden organized? Supporting your plants well helps them access more light and air, reducing the risk of disease and making your harvest more abundant.
Staking Tall Plants
Tall plants like sunflowers, peppers, or pole beans benefit from staking to stay upright. Choose stakes that are taller than your plant’s expected height for full support. Insert the stake into the bucket soil close enough to the plant’s main stem without disturbing the roots.
Tie the plant loosely to the stake using soft ties or strips of cloth. Avoid tight knots to prevent damage as the plant grows. Check your ties each week and adjust them as needed.
If you want a low-cost option, use bamboo skewers or clean wooden sticks found outside. The goal is to keep your plants steady during wind or heavy growth. Keeping plants upright lets you water efficiently and inspect them easily. Would your plants benefit from extra support like this?
Using Trellises for Vines
Vining plants need a structure they can climb, or they will spread over your bucket and take up too much space. You can build small trellises using materials like garden netting, wire mesh, or old window screens attached to tall stakes or a wooden frame.
Place the trellis behind or inside your bucket so vines can easily wrap their tendrils around the support. For lighter plants like beans or peas, string tied between two stakes works well as a simple trellis.
Try reusing items from around your home to create a practical trellis. Could you turn an old ladder or wire shelf into a climbing frame? Using vertical space helps your garden stay neat and allows you to grow more plants in the same bucket. How might adding a trellis improve your bucket garden’s productivity?
Harvesting and Replanting

Knowing When to Harvest
How do you know when fruits and vegetables are ready to harvest from your bucket garden? Look for color changes that match what the plant’s mature produce should look like. For example, tomatoes turn bright red or yellow depending on the variety. Peppers will become firm and show their full color. Feel the size and firmness of the vegetable. If cucumbers are small or soft, wait longer. Smell can also be a good sign—ripe herbs like basil release a strong aroma. Picking too early may reduce taste and nutrient content. If you notice leaves yellowing or drying up near the fruit, the plant might be sending energy to the harvest stage. Checking regularly will help you catch the peak moment. What difference would it make if you wait too long or harvest too soon?
Preparing Buckets for New Crops
After harvesting, clear away leftover roots and plant debris. Old roots can harbor pests or diseases harmful to new plants. Mix in fresh compost or organic fertilizer to replenish nutrients that your plants used up. You can stir the soil gently to prevent compacting, improving air and water flow. Add a bit of mulch on top to keep moisture consistent. Consider rotating crops by choosing plants with different nutrient needs to avoid depleting the soil. If the soil smells sour or looks slimy, it’s time to replace it entirely with fresh potting mix. Don’t rush—giving your buckets a proper reset will help your next round of plants thrive. How will you balance soil health to keep your bucket garden productive season after season?
Conclusions
Creating a bucket garden at home brings many benefits. It lets you grow fresh produce regardless of your outdoor space. You gain more control over your plants and soil conditions. The setup is affordable and flexible. With the guidance provided, you can avoid common mistakes and enjoy successful growth with your bucket garden. The method saves water and minimizes weeds. It provides a chance to connect with nature daily and improve your meals with fresh ingredients.
Starting a bucket garden is an excellent choice if you want to try gardening without a large commitment. You do not need special skills or tools. The key lies in choosing the right containers, soil mix, and plants. Keep up regular care with watering, feeding, and protection from pests. Your small garden can soon bring beauty and fresh food to your home. This simple way of gardening can also be a relaxing and rewarding hobby.