Introduction
Planning backyard movie nights with DIY projector screens brings a fun and creative way for families and friends to enjoy movies outdoors. This concept combines the joy of cinema with the comfort of your own backyard, transforming an ordinary space into an entertaining venue.
In this article, you will learn how to select the right spot, gather necessary equipment, and build your own projector screen. We will also explore practical tips to enhance your movie night, making it an exciting and memorable experience for everyone involved.
Selecting The Perfect Spot For Your Backyard Movie Night
Understanding Viewing Distance And Space Requirements
Picking the right spot in your backyard is more than just finding a flat surface. You want enough space for your screen and seating without feeling cramped or stretching too far. The distance between the screen and where people sit matters a lot. If you’re too close, the picture can feel overwhelming and strain the eyes. Too far, and details get lost, making the whole experience dull.
A simple way to test this—measure the width of your screen and aim for a seating distance about three to five times that width. So, if your screen is 6 feet wide, seating should ideally fall between 18 and 30 feet away. That range balances clarity and comfort well, though personal preferences might nudge you outside those numbers a bit.
Keep in mind, the layout of your yard could limit these options. Do you have enough room away from tree branches or garden furniture? Sometimes, compromises are needed, but it’s better to pick a spot that won’t force people to awkwardly crane their necks or squint.
Controlling Ambient Light For Clearer Pictures
Outdoor movie nights depend heavily on controlling light. Ambient light—from street lamps, porch lights, or even the moon—can wash out your image, making it harder to see. Turning off nearby lights takes a big chunk out of the problem. If that’s not possible, using blackout curtains or screening plants can help block stray beams.
Pick a spot away from bright windows or reflective surfaces, like white siding or glass doors. Sometimes, setting the screen near a fence or wall that absorbs light, rather than reflects it, makes a noticeable difference.
One trick I found useful is scheduling your movie starts when the sky’s fully dark. Even twilight reduces contrast and dims the picture. It’s a bit inconvenient if you want an earlier start, but if crisp visuals matter, darkness pays off. The clearer the image, the more your DIY screen will shine.
Choosing The Right Projector For Outdoor Movie Nights
Understanding Brightness Needs For Outdoor Projection
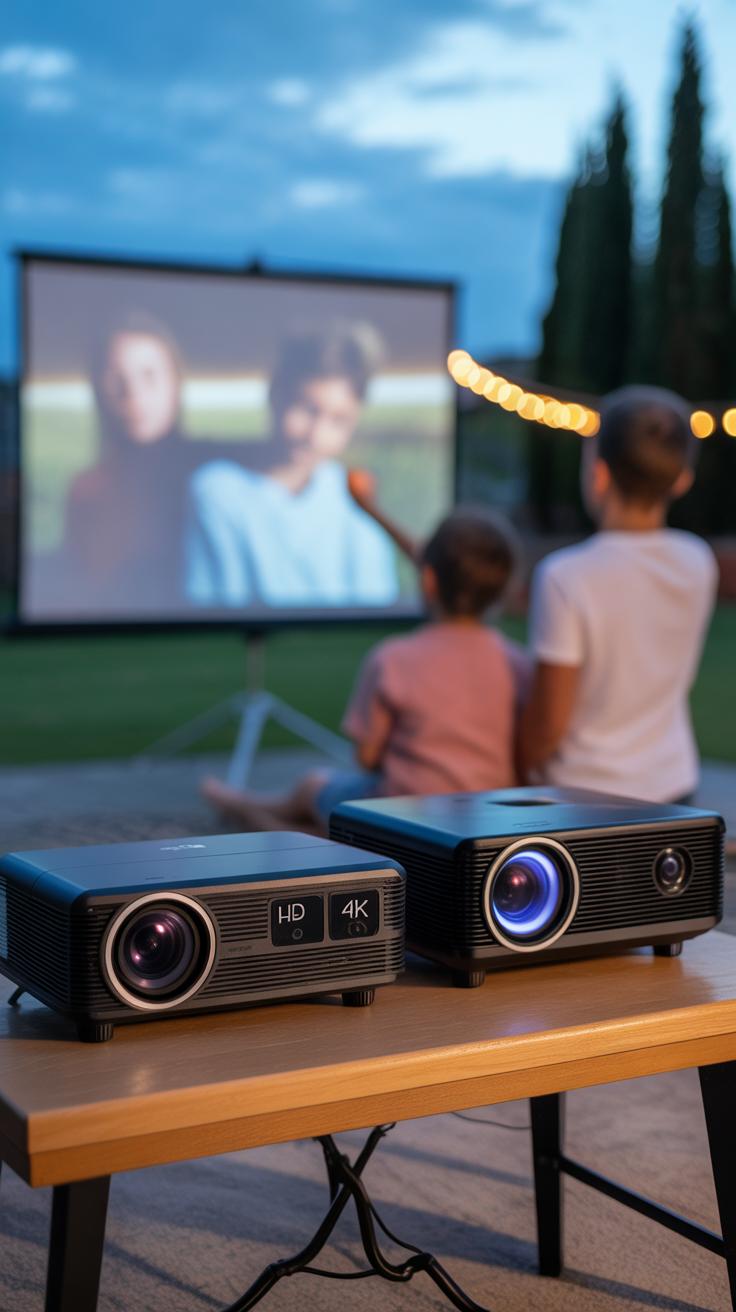
When picking a projector for your backyard movie night, brightness is a key factor. Outdoor environments rarely achieve the pitch black of a home theater, so your projector needs enough lumens to overpower ambient light. Generally, 2,000 to 3,000 lumens works well for evening shows once the sun sets, but if there’s street lighting or moonlight, you might want something brighter. Larger screen sizes demand higher lumens, too. For example, a 100-inch screen under dim light may look fine at 2,500 lumens, but any larger or less control over lighting means stepping it up.
Still, more lumens isn’t always better. Sometimes, aiming for too high a brightness can wash out colors or increase fan noise. Finding balance involves knowing your backyard’s light conditions and the typical size of your screen. You might pick a projector with adjustable brightness settings for more control. Have you noticed how some projectors feel like they’re working overtime just to fight outside light? That’s what to avoid.
Resolution And Image Quality Considerations
Resolution has a direct impact on your viewing experience, but for backyard setups, it’s easy to overthink it. Full HD (1080p) is a solid middle ground—clear enough for most movie nights without demanding too much from your projector budget or playback devices. While 4K projectors offer finer detail, in an outdoor setting the difference might be subtle unless you’re watching from close up or on a really large screen.
Lower resolutions, like 720p, can sometimes work if your screen is smaller or you’ve got a tight budget, but the picture will be less sharp. Remember how crisp movie night felt on your living room TV? Outdoor setups rarely match that, so prioritize stable images over pixel counts. What matters is that the image stays bright and steady rather than super-high definition that your eyes might not fully appreciate in ambient conditions.
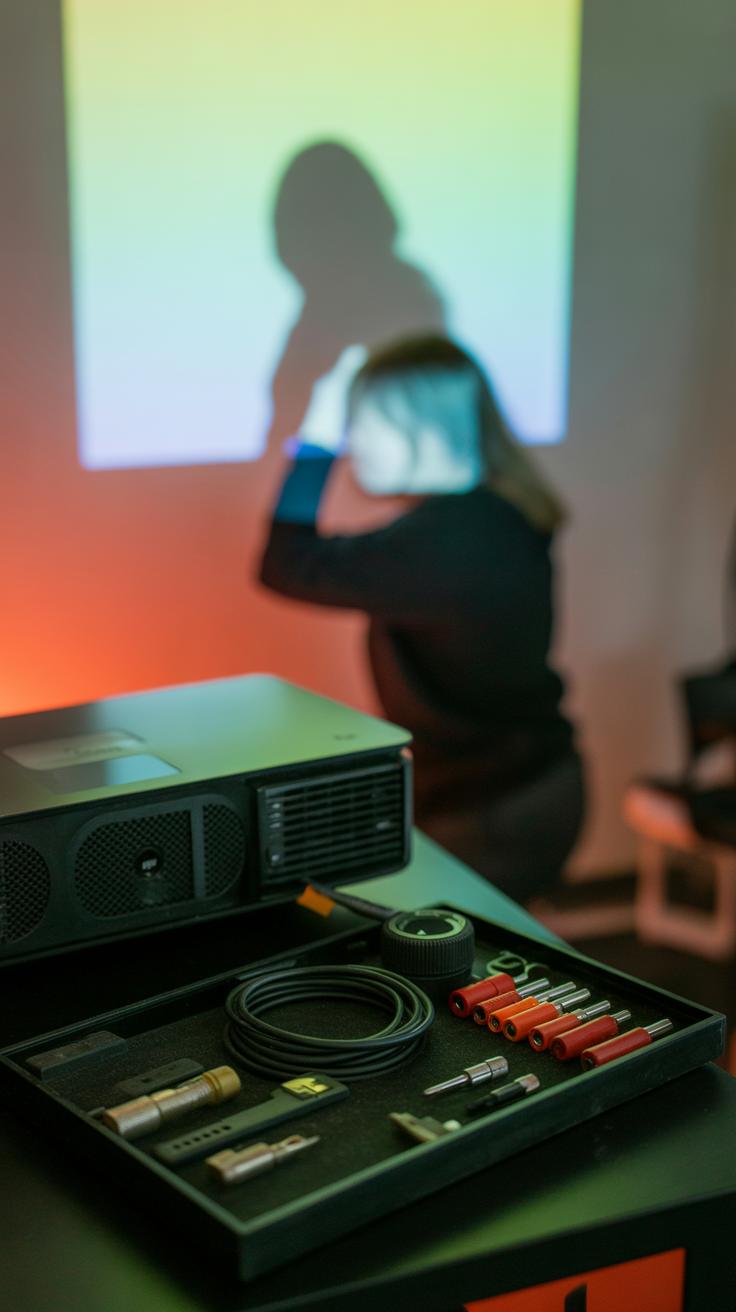
Portability is another angle you can’t ignore. A lightweight projector makes setup and storage easier, especially if you want to move it around or pack it away quickly. Look for models that are compact and come with carrying cases. After all, a bulky projector might discourage spontaneous movie plans — and who wants that?
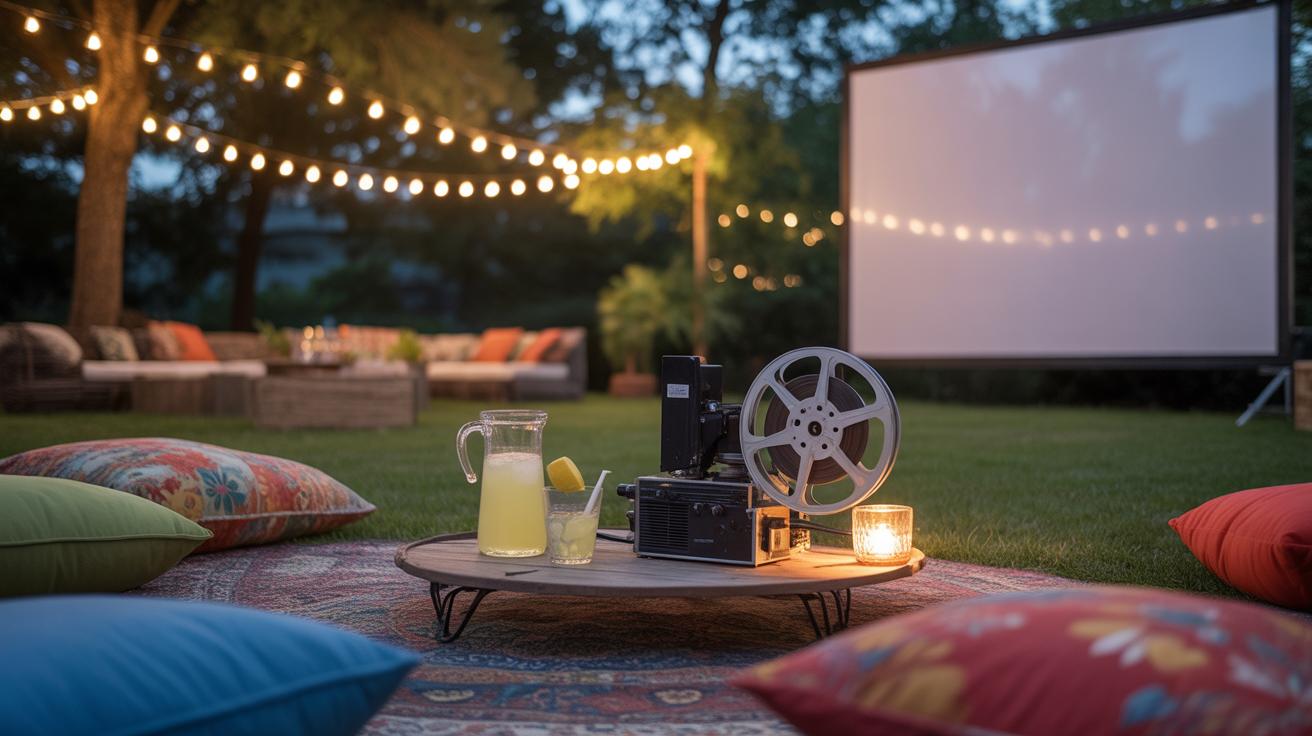
Materials Needed For Building A DIY Projector Screen
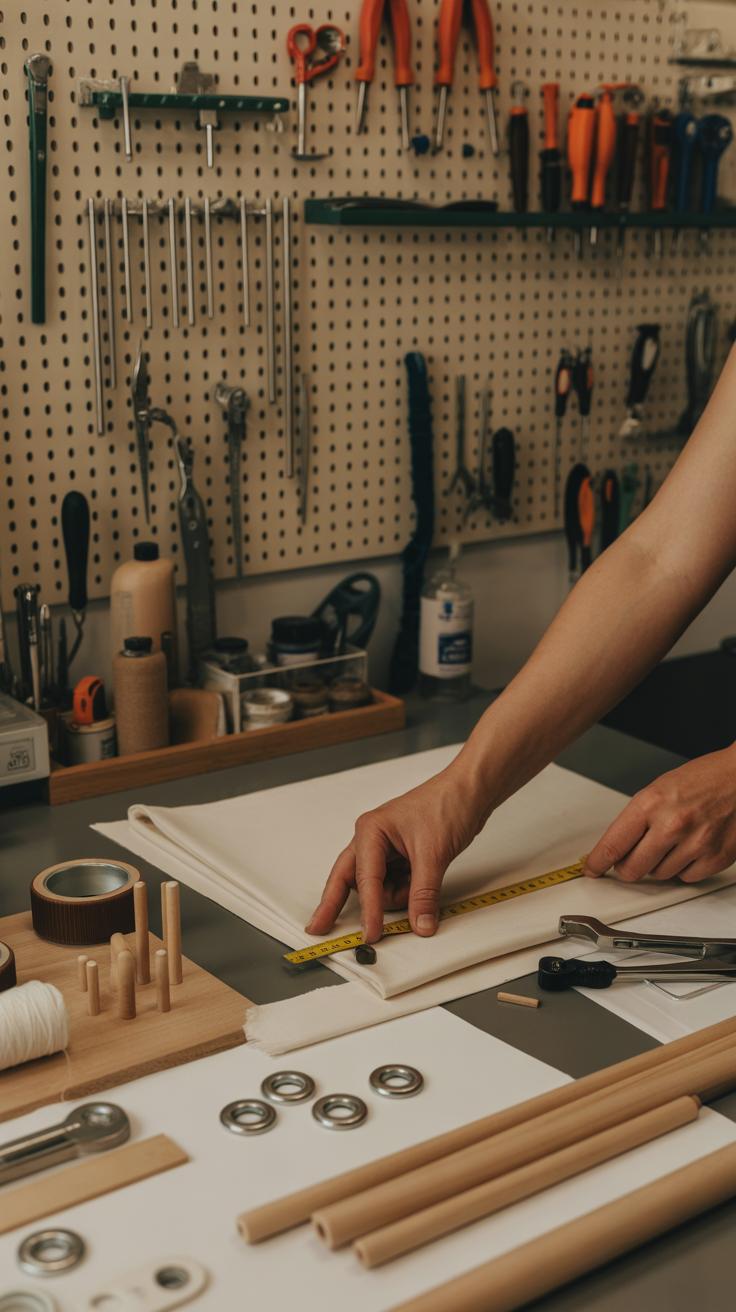
When planning your backyard movie night, the right materials can make all the difference for your DIY projector screen. You’ll want something simple but reliable, something that holds up outside and gives a clear picture. Here’s what you might need:
- Fabric or Surface for Projection: A smooth, white or light-colored fabric, like blackout cloth or even a painter’s drop cloth, works well. These materials help with brightness and clarity without too much texture or reflectiveness.
- Supporting Frame: Wood (like 1×3-inch pine), PVC pipes, or lightweight metal rods can build the frame. Wood is sturdy but heavier, PVC is easy to handle but maybe less durable over time.
- Fasteners and Tools: Depending on your frame choice, you’ll want screws, nails, zip ties, or clamps. A drill, screwdriver, and staple gun are often needed.
- Miscellaneous: Stretching ropes or bungee cords help keep the screen taut. You might also want sandpaper for smoothing edges or paint if you decide to frame or back your screen.
Choosing common, easy-to-find materials helps keep costs down and the project manageable. Sometimes, you might end up substituting materials based on what’s available—there’s room to experiment here.
Selecting The Right Fabric Or Surface For Projection
The fabric or surface where your movie appears controls much of the quality. It’s tempting to grab anything white, but not all whites perform the same. Blackout cloth shines because it absorbs light behind the fabric, reducing shadows and improving contrast.
Another option is a smooth, tightly woven sheet or drop cloth. These are cheap and big enough, but they might let some light pass through or wrinkle easily, which can mess with your image. Matte fabrics reduce glare, making the picture easier to see from different angles.
Some even opt for painting a wall or board with special projector screen paint—giving a bright, consistent image without needing a fabric at all. This might sound like a bigger commitment but it’s worth thinking about if you want a more permanent setup.
Supporting Structure Materials And Tools
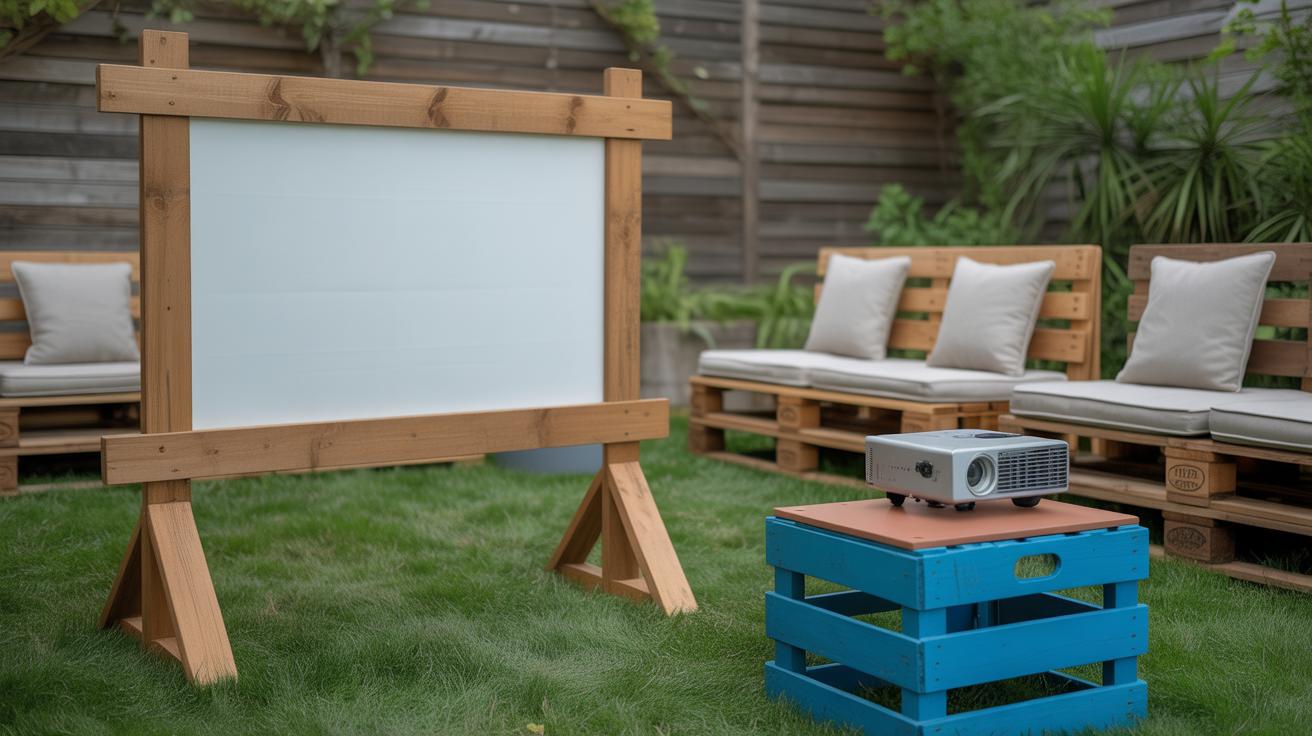
Your screen won’t do much without a decent frame. Wood remains a favorite since you can build a simple rectangle with basic tools. It’s solid but can be a bit bulky. PVC pipes offer easier handling, quick assembly, and are weather-resistant. They snap together fast, but might flex more than wood.
Think about how permanent you want your setup. If it’s seasonal, a lightweight, portable frame makes getting your gear out quicker. Tools you’ll probably need are a drill, saw (if cutting wood), measuring tape, and something to secure the fabric—staple guns work well for that.
Don’t overlook things like clamps or hooks if you plan to hang the screen between trees or posts. Even zip ties can save the day. I once managed a screen frame with just PVC, zip ties, and some bungee cords—and the image wasn’t bad at all. So, don’t stress too much about perfection.
Building Your Own Projector Screen Step By Step
Constructing The Frame Safely And Effectively
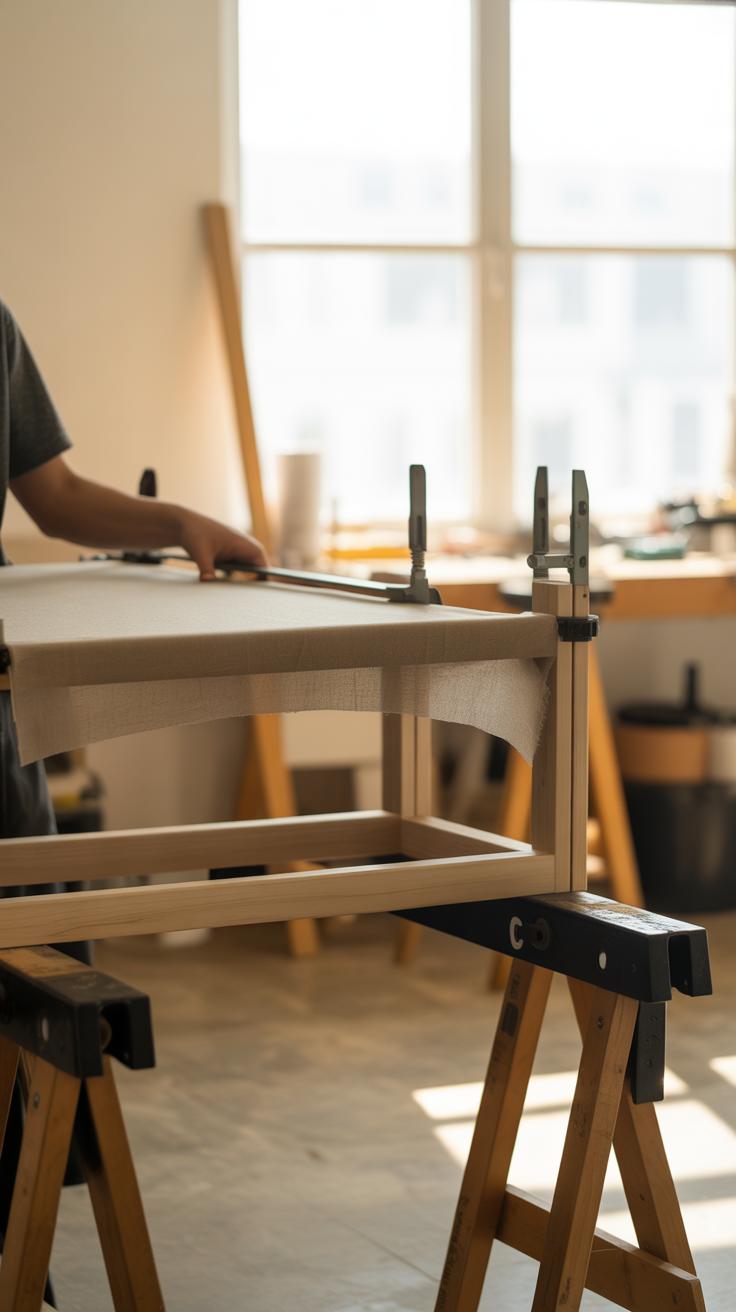
Start by deciding the size of your screen. Most backyard screens range between 6 to 8 feet wide, but you can adjust depending on your space and projector. Once you have measurements, gather your frame materials—wood or PVC pipes work well. Wood feels sturdier, but PVC is easier to handle and assemble if you want something lightweight.
Cut your pieces to the desired lengths, creating a rectangular frame. When assembling, make sure all corners meet at right angles. Using a carpenter’s square helps with this, but you can estimate if you don’t have one. Drill pilot holes before screwing wood pieces together to prevent splitting. With PVC, use elbow joints at corners and make sure all connections are tight. Stability is key here — if the frame wobbles, your screen will too.
Attaching The Screen Material And Finishing Touches
Next, attach your screen fabric. Using a white or matte projection fabric gives the best image quality. Stretch the fabric tightly over the frame to avoid wrinkles. You can use staples if working with wood or zip ties when using PVC. Start by securing one edge, then pull the fabric tight before fixing the opposite side. It’s a little trial and error stretching evenly; you might need to reposition a couple of times.
Once fully attached, check for loose spots. Adding extra staples or ties where needed will keep the fabric flat. You could also add a simple border with black tape or fabric to help block stray light around the edges, improving image contrast. This finishing touch might seem minor, but I noticed it makes a difference during dusk screenings. Sometimes, the simplest detail ends up standing out the most.
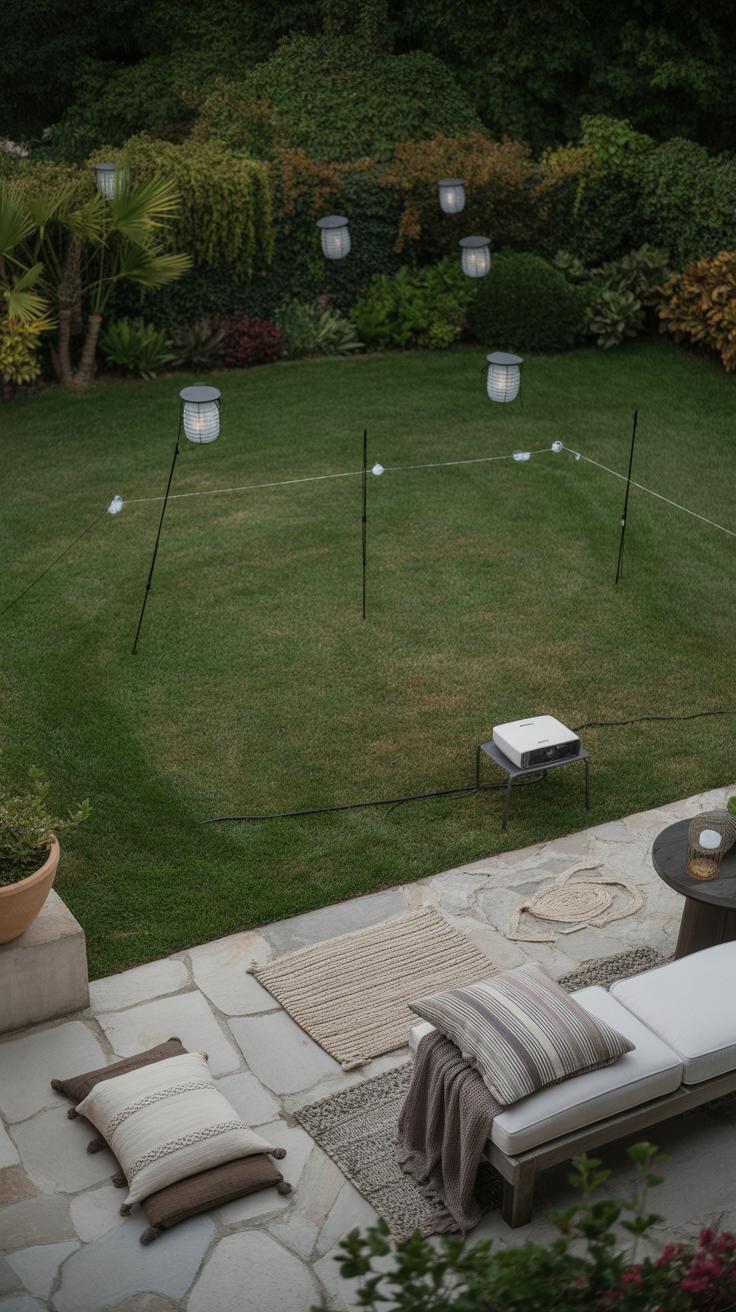
Setting Up The Projector And Screen For The Best Experience
Aligning The Projector With The Screen
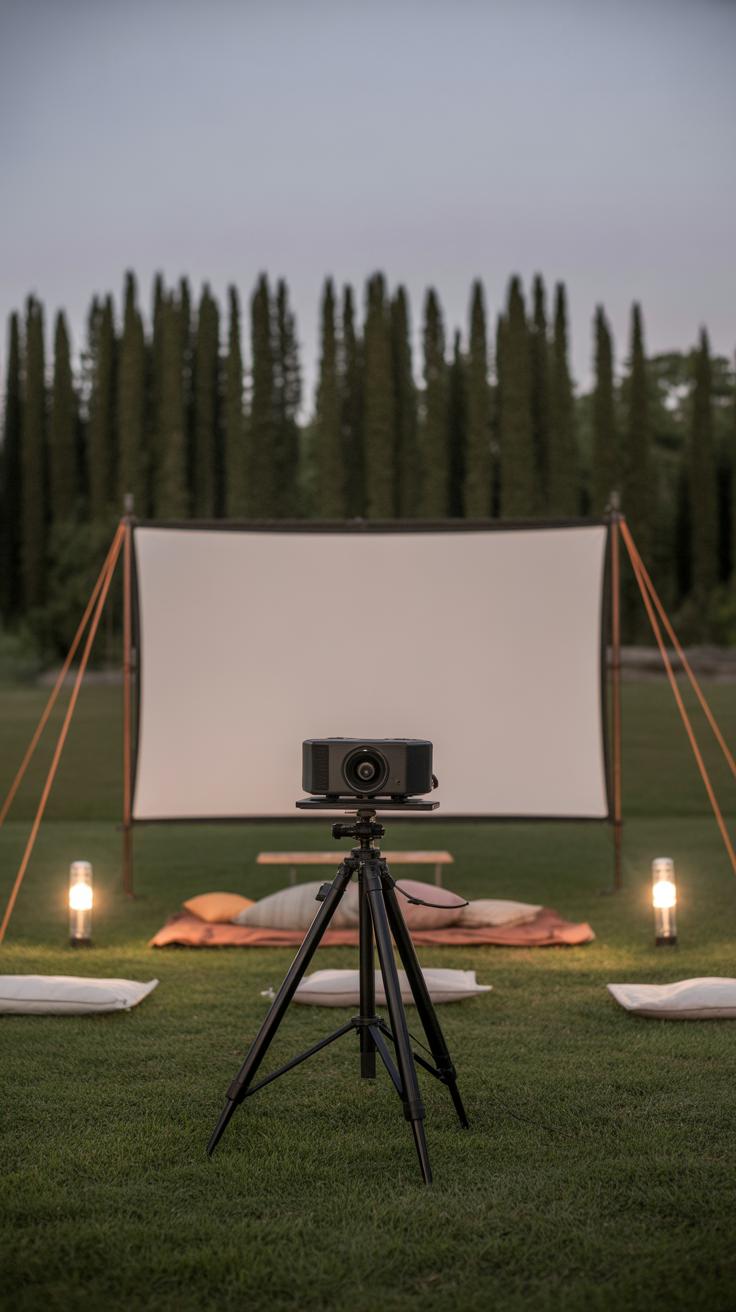
Getting the projector and screen set up right can make all the difference for your backyard movie night. First, place the projector on a stable surface directly opposite the center of your screen. You want the lens aimed squarely at the screen so the image isn’t stretched or skewed. If the projector has keystone correction, use it sparingly—too much can blur the image.
Measure the distance between the projector and the screen to fit the projected image nicely within the screen edges. Sometimes stepping back or forward a bit helps the picture fill the screen just right. It’s tempting to squeeze as big an image as possible, but too large means losing clarity and focus.
Don’t forget the height either. The projector lens should roughly match the screen’s bottom edge, or use adjustable feet to fine-tune it. If the projector sits higher or lower, the image can tilt oddly and feel off. I recall one night when the picture was too high and everyone kept craning their necks—it wasn’t quite fun.
Speaker Placement And Sound Management
Good sound pulls everyone into the movie, so think carefully about speaker setup. If you have portable speakers, place them on either side of the screen for a balanced stereo effect. Spreading sound across the space helps avoid a jarring boom if all audio comes from one spot.
For larger gatherings, consider adding a subwoofer near the seating area—it adds depth to explosions and music without drowning out dialogue. Just watch for vibrations on lightweight surfaces, which can mess with the audio.
Also, mind where you put your speakers in relation to walls or trees. Sound reflects and absorbs differently outdoors, so test your setup with some trial runs. Sometimes placing a speaker slightly off-axis improves clarity.
One quick test I do is to play a dialogue-heavy scene and walk around the seating zone. That helps spot any dead spots where the audio drops or echoes confuse things. After all, clear sound makes the difference between polite listening and full engagement.
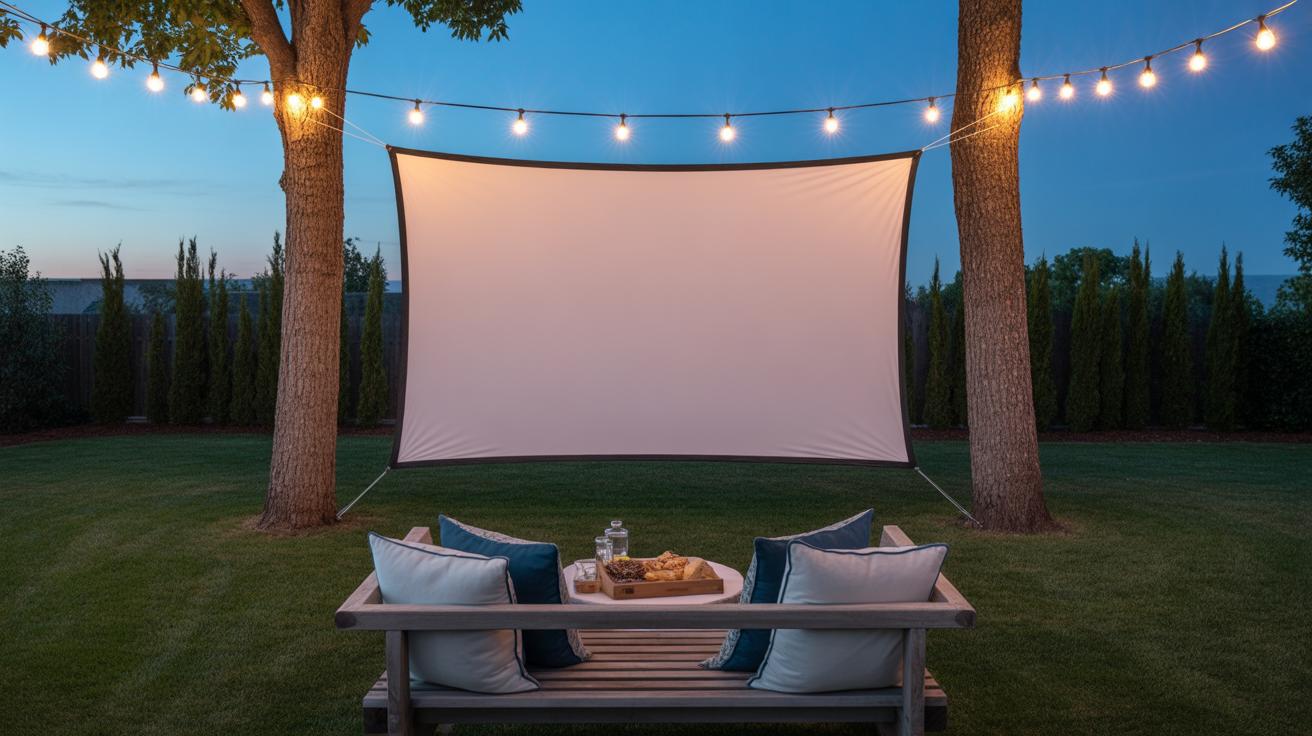
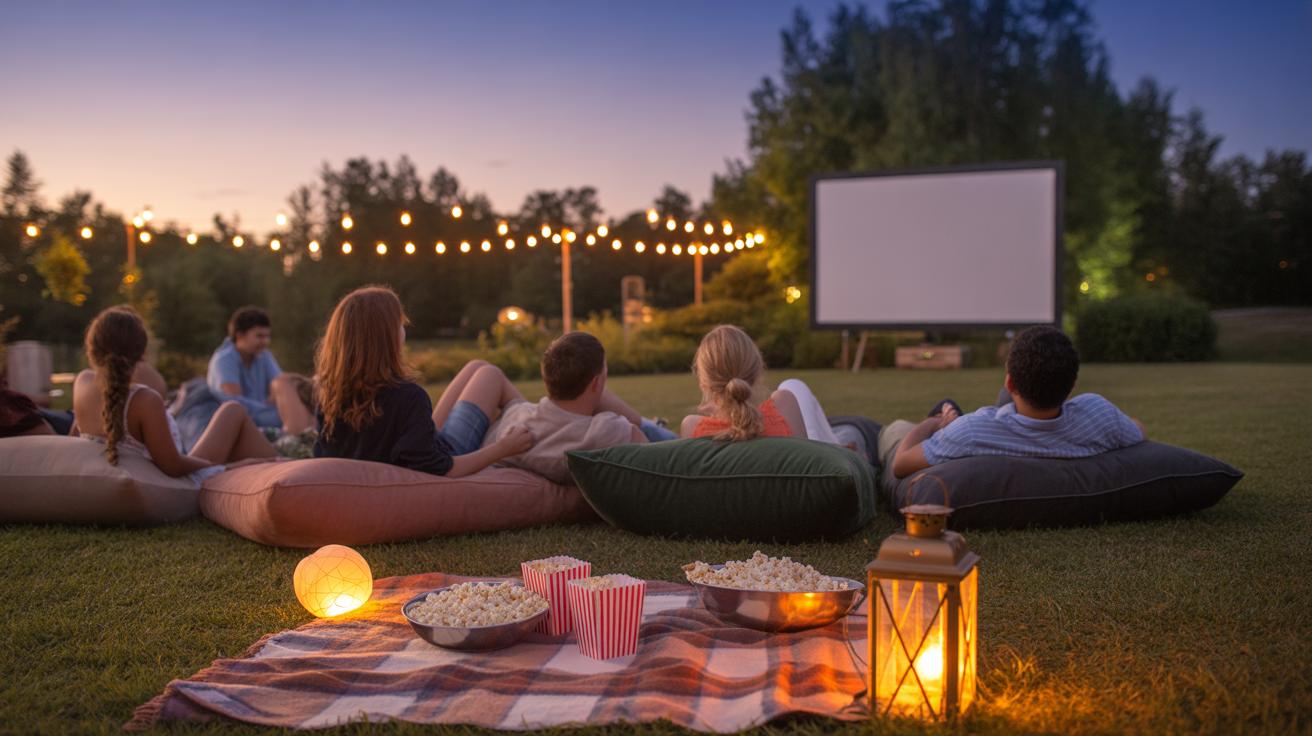
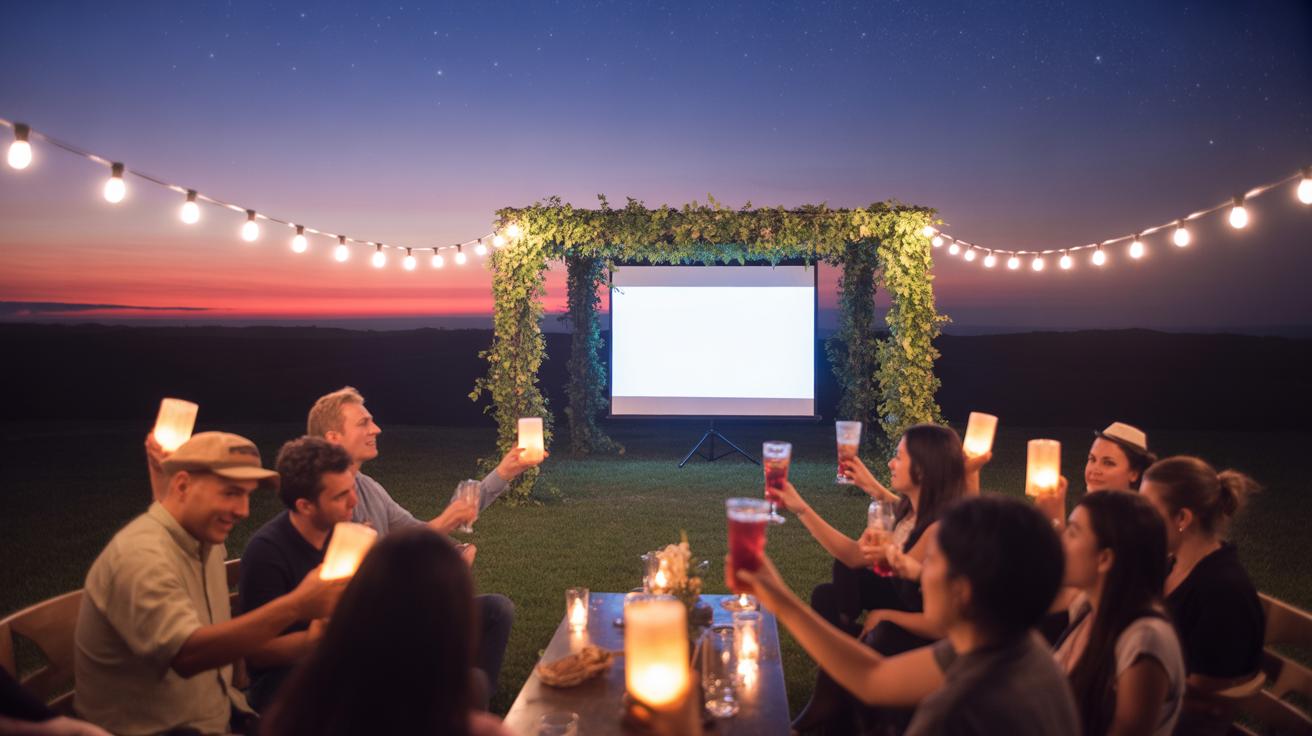
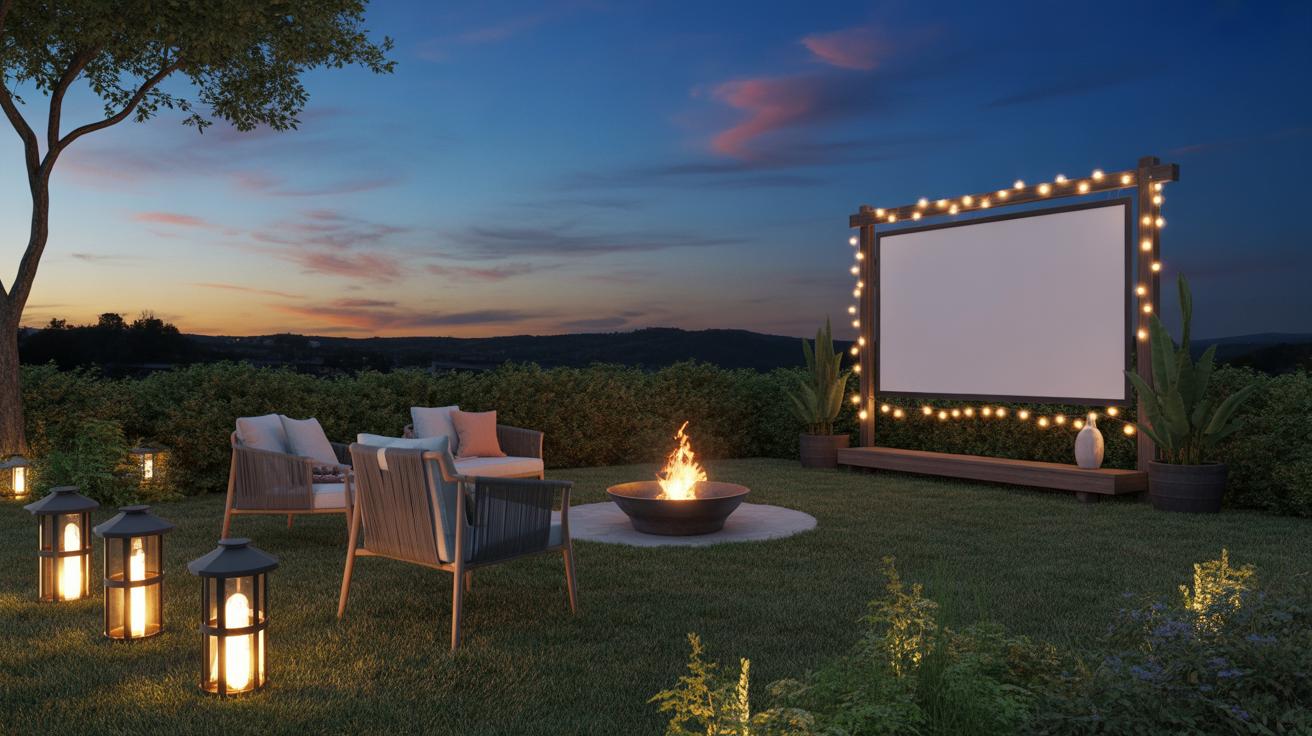
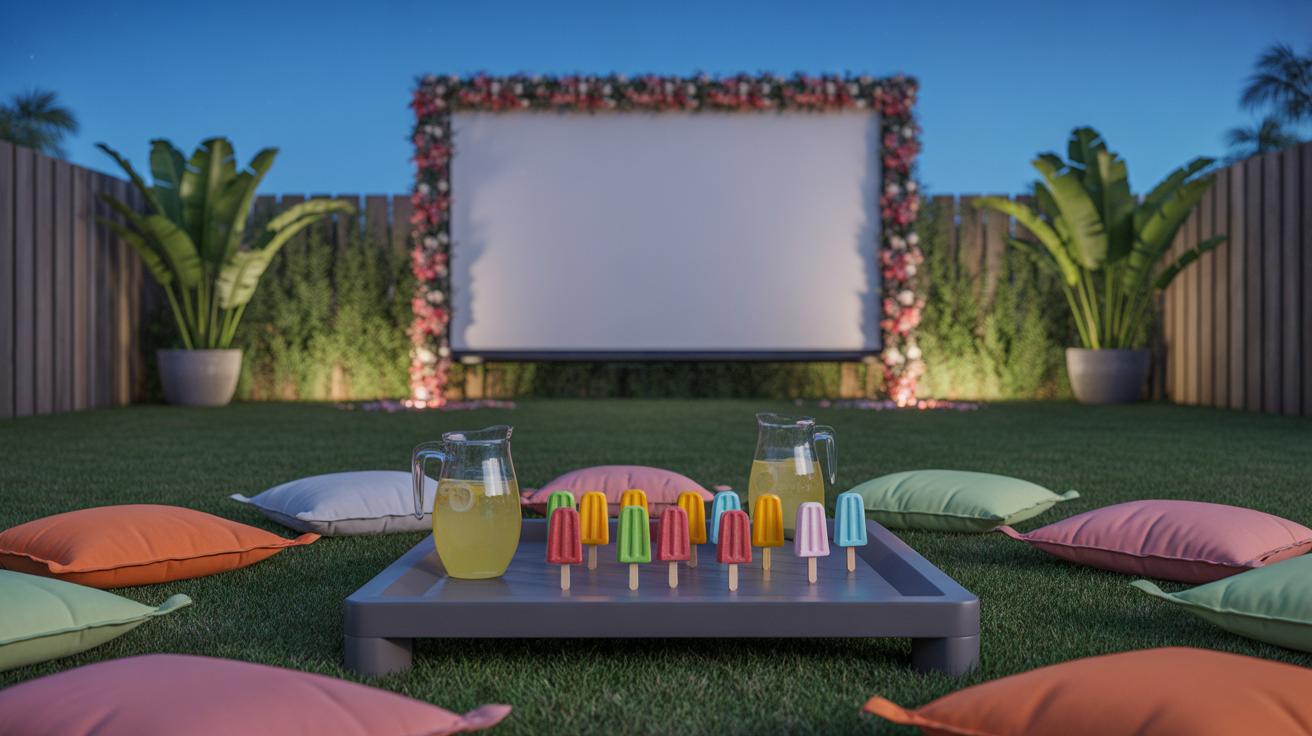
Creating Comfortable Seating And Atmosphere
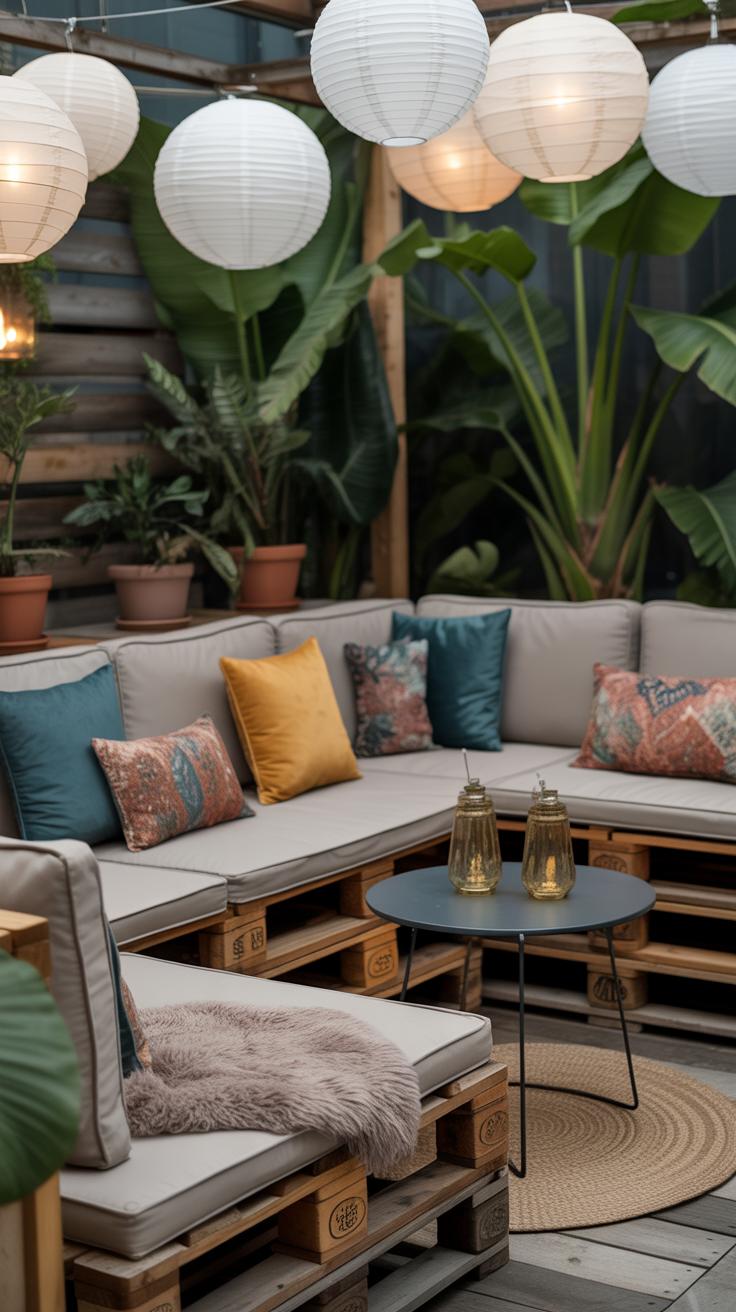
How you arrange seating can really shape the whole feel of your backyard movie night. Think about grouping seats close enough to encourage chatting before the movie starts but spaced so everyone has a clear view of the screen. Sometimes we cram people in too tightly or, on the flip side, spread out without much sense of connection. Finding that sweet spot can be tricky, but it’s worth experimenting with.
Choosing Seating Options For Comfort And Flexibility
Options are plenty, and each has its quirks. Folding chairs are easy to set up and create a more “official” spot for each guest. Bean bags add a laid-back vibe and tend to be extra cozy, especially for kids or anyone who enjoys sinking in a bit. Blankets on the grass work well too, especially if the ground is dry and soft; you just might have to add cushions for some extra padding.
- Chairs give good back support and can feel more personal.
- Bean bags allow lounging in a casual way, great for stretching out.
- Blankets on the ground are flexible for crowd size but might demand some knee pads or foldable cushions.
Sometimes I mix all three, letting folks pick their spot depending on how they want to relax. It might seem a bit chaotic but ends up feeling just right—comfort varies, and it’s nice to have choices.
Using Lighting And Decorations To Set The Mood
Lighting’s a balancing act—you want enough glow to keep people comfortable moving around, but not so much that it’s distracting on the screen. Solar-powered string lights are a favorite of mine. They softly illuminate the space without being harsh. Ikea’s battery-operated lanterns also do a good job, scattered around seating areas.
- Place lights low and indirect to keep the focus on the screen.
- Add a few candles in jars or lanterns for warmth but keep an eye on safety.
- Fairy lights woven into nearby plants add subtle charm.
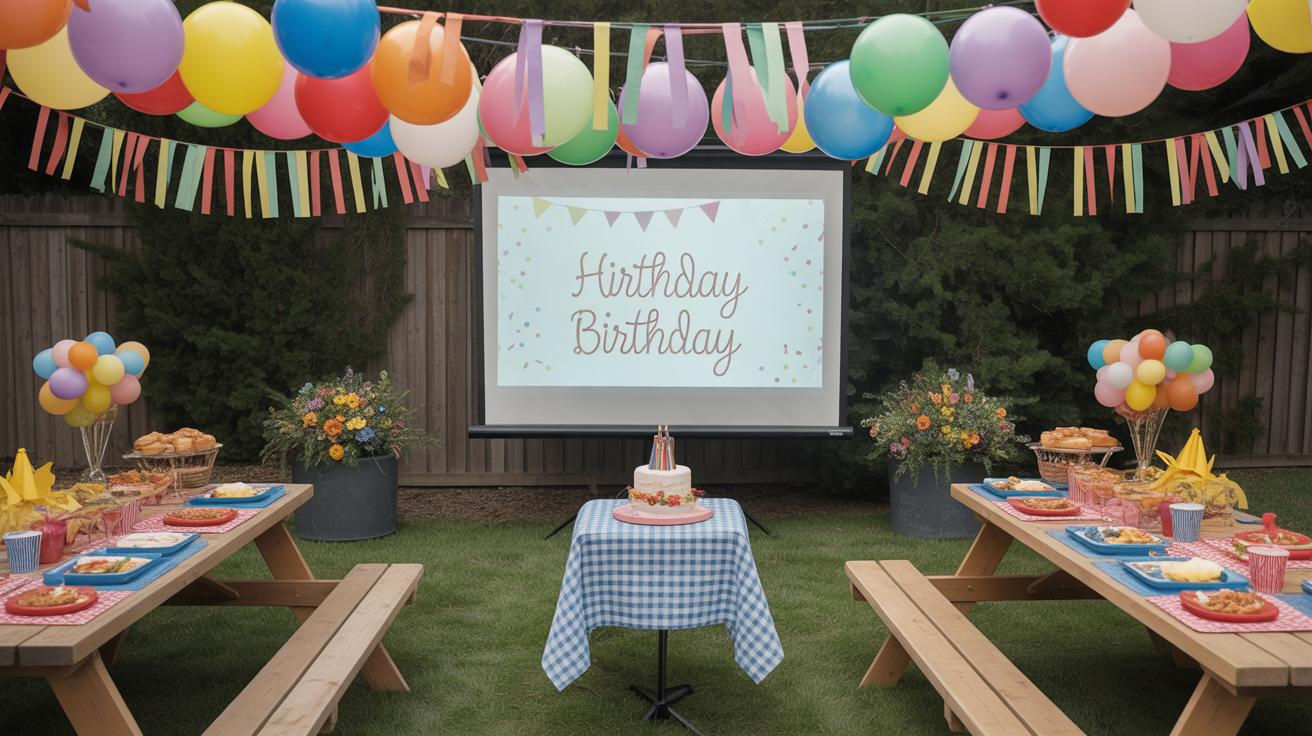
Decorations could be as simple as a few throw pillows or seasonal touches—pumpkins in fall or fresh flowers in summer. These small details make the space more inviting without stealing attention from the movie. Have you noticed how some lighting seems just right, but tomorrow it might feel too dim or too bright? It’s a bit of trial and error, but that’s part of what makes backyard nights memorable.
Selecting Movies And Using Media Devices
Choosing the right movie can make or break your backyard movie night. Think about your audience first. If kids are around, a light-hearted animation or family comedy usually works best. For mixed ages, something with a bit of nostalgia but not too complex—maybe a classic adventure or a feel-good drama—keeps most people engaged. Outdoor settings often demand movies with bright visuals and clear soundtracks; sometimes, subtle dialogue-heavy films lose their charm beneath open skies and ambient noise.
Don’t shy away from crowd favorites or popular new releases if you have the rights to stream or play them. You might even consider a theme—like “80s night” or “nature documentaries”—to add a touch of fun to your selection process. What’s tricky is balancing preferences without dragging the evening into endless debates over what to watch.
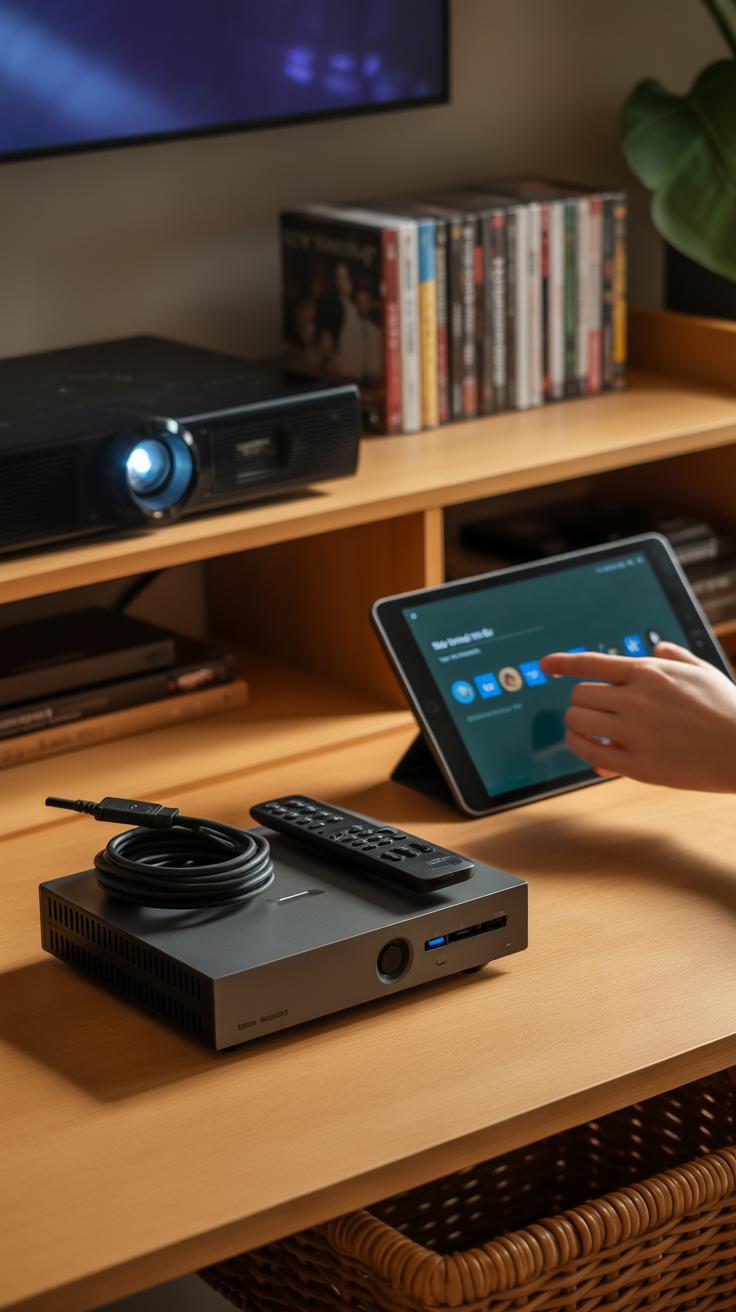
When it comes to hooking up your media devices, clarity and simplicity help a lot. Most projectors connect easily via HDMI, so using a laptop or a streaming stick (like a Chromecast or Fire Stick) generally works well. Keep your cables long enough but neat; tangled cords are a nuisance outdoors and can be hazardous.
If you’re streaming, double-check your Wi-Fi signal strength in the backyard. I’ve had evenings where buffering killed the mood—so having downloaded copies or a backup USB drive ready isn’t a bad idea. Also, test your device’s audio output before guests arrive; sometimes, you’ll need an external speaker to get decent volume and clarity.
Ultimately, a little prep goes a long way. Select movies that suit your crowd and setup, then make sure your devices cooperate. That way, you avoid mid-show interruptions and keep the focus on the fun outside.
Troubleshooting Common Backyard Movie Night Issues
Dealing With Weather And Insects
Outdoor movie nights don’t always cooperate with the weather. A sudden breeze might knock over your screen or turn the pages of your movie list. Rain, of course, can put a stop to the whole evening if you aren’t ready for it. Having a backup plan like a covered patio or a tarp nearby to quickly protect your gear and seating can save the night. You might think about checking the forecast more than once before starting, even if it looked clear earlier.
As for insects, they have a mind of their own and usually show up right when the popcorn starts. Citronella candles on tables can help, but don’t expect them to work perfectly. Bug spray is probably your best bet, or you might try placing fans around the seating area. Moving air tends to keep bugs away, though it can be a bit noisy and might interfere with the audio.
Improving Picture And Sound Quality On The Spot
Sometimes the image just doesn’t look quite right. Maybe it’s too dark or too washed out. Adjusting the projector’s focus or raising the brightness can quickly make a big difference. If your screen isn’t perfectly flat, stretching it or tightening the edges can clear up distortions. It’s frustrating when you notice this just as the movie begins, but small tweaks often fix the problem without much fuss.
Sound issues are trickier. If the volume is too low, first try increasing it on both the projector and any connected device. Check connections—you’d be surprised how often a loose wire causes audio hiccups. If there’s static or crackling, shifting the cable or trying a different input might help. In cases where background noise from the surroundings is loud, moving speakers closer to the audience or angling them differently can improve clarity. Definitely don’t just accept poor sound; a little adjustment can bring the movie back to life for everyone.
Maintaining And Storing Your DIY Projector Screen And Equipment
Cleaning And Protecting The Screen Surface
Your DIY projector screen needs a bit of care if you want it to last. After a movie night, it’s probably best to gently brush off any dust or dirt with a soft cloth or a handheld vacuum on low. Stains or smudges might require a mild soap solution and a damp cloth—never soak the fabric, though, or it could warp or sag. If you’re using a painted plywood or framed screen, wipe it down with a slightly damp rag to avoid buildup.
Outdoor elements can mess with your screen’s longevity. Even if the fabric is somewhat weather-resistant, try to keep it covered or indoors when not in use. Direct sunlight can cause fading, and moisture can encourage mold—something I learned the hard way one summer when I forgot to store mine after a rainstorm.
Thinking about pests? Bugs or birds may be curious, so covering the screen with a breathable tarp or sheet can help avoid surprises.
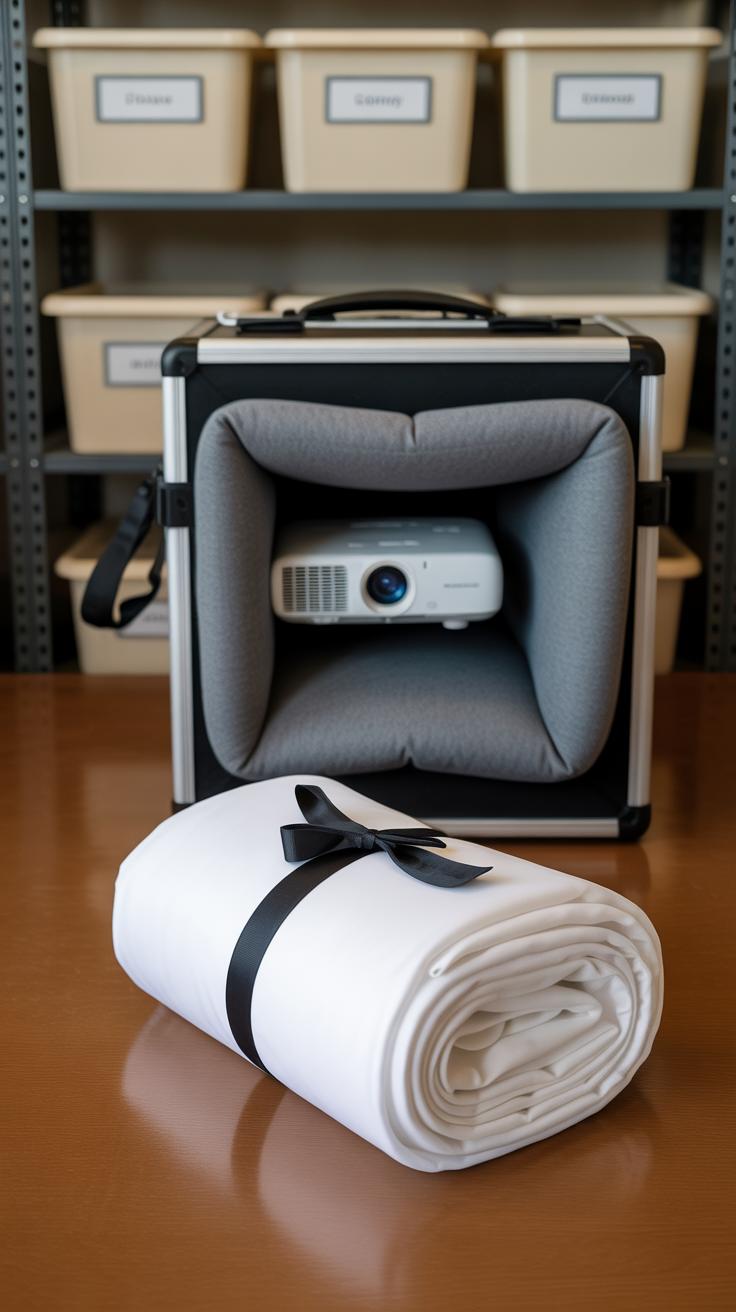
Storing Equipment Safely After Use
Once the movie’s over, your projector, speakers, and screen frame deserve a safe spot. Projectors are sensitive; don’t just toss them anywhere. Store yours in a dry, dust-free area—perhaps a closet or a sturdy box lined with soft cloth. I keep silica packets nearby to reduce moisture, but even a simple plastic bin works if it closes well.
For speakers and cables, wrapping cords loosely helps avoid damage. Coiling cables tightly might sound neat, but it stresses the wires over time. Screens that fold or disassemble should be kept flat or in their carrying cases. Avoid stacking heavy items on top. If you’ve built a wooden frame, keep it off the ground to prevent warping or pests.
What about unexpected power outages or bugs inside your gear? Maybe a quick check before storing will save trouble later. Regular maintenance and cautious packing make a difference in keeping your setup ready for the next movie night, without that last-minute scramble or surprise repair.
Conclusions
Setting up backyard movie nights using DIY projector screens is more accessible than you might think. With a little effort and creativity, you can create a movie experience tailored to your space and preferences. This idea encourages spending quality time outdoors while sharing entertainment with loved ones.
Remember, the key is planning well—choosing the right location, building a suitable screen, and managing your equipment efficiently. Enjoying movies under the stars can become a favorite tradition, blending technology and nature in a unique and enjoyable way.


