
The Environmental Benefits Of Creating A Functional Rain Garden

Env Benefits Stormwater
Rain gardens intercept stormwater runoff before it reaches storm drains and local waterways. The shallow basin design, typically 4 to 8 inches deep, allows water to pool temporarily. Native soil and engineered media filter contaminants like sediment, nutrients, and oil residue. This filtration process reduces pollutant loads entering streams, rivers, and groundwater systems.
The engineered media in rain gardens removes harmful substances through multiple mechanisms. Soil microorganisms break down pollutants biologically. Soil particles trap sediment and heavy metals through physical filtration. The extended detention time allows suspended solids to settle. Rain gardens reduce peak stormwater discharge rates, decreasing erosion and flooding in downstream areas.
Env Benefits Biodiversity
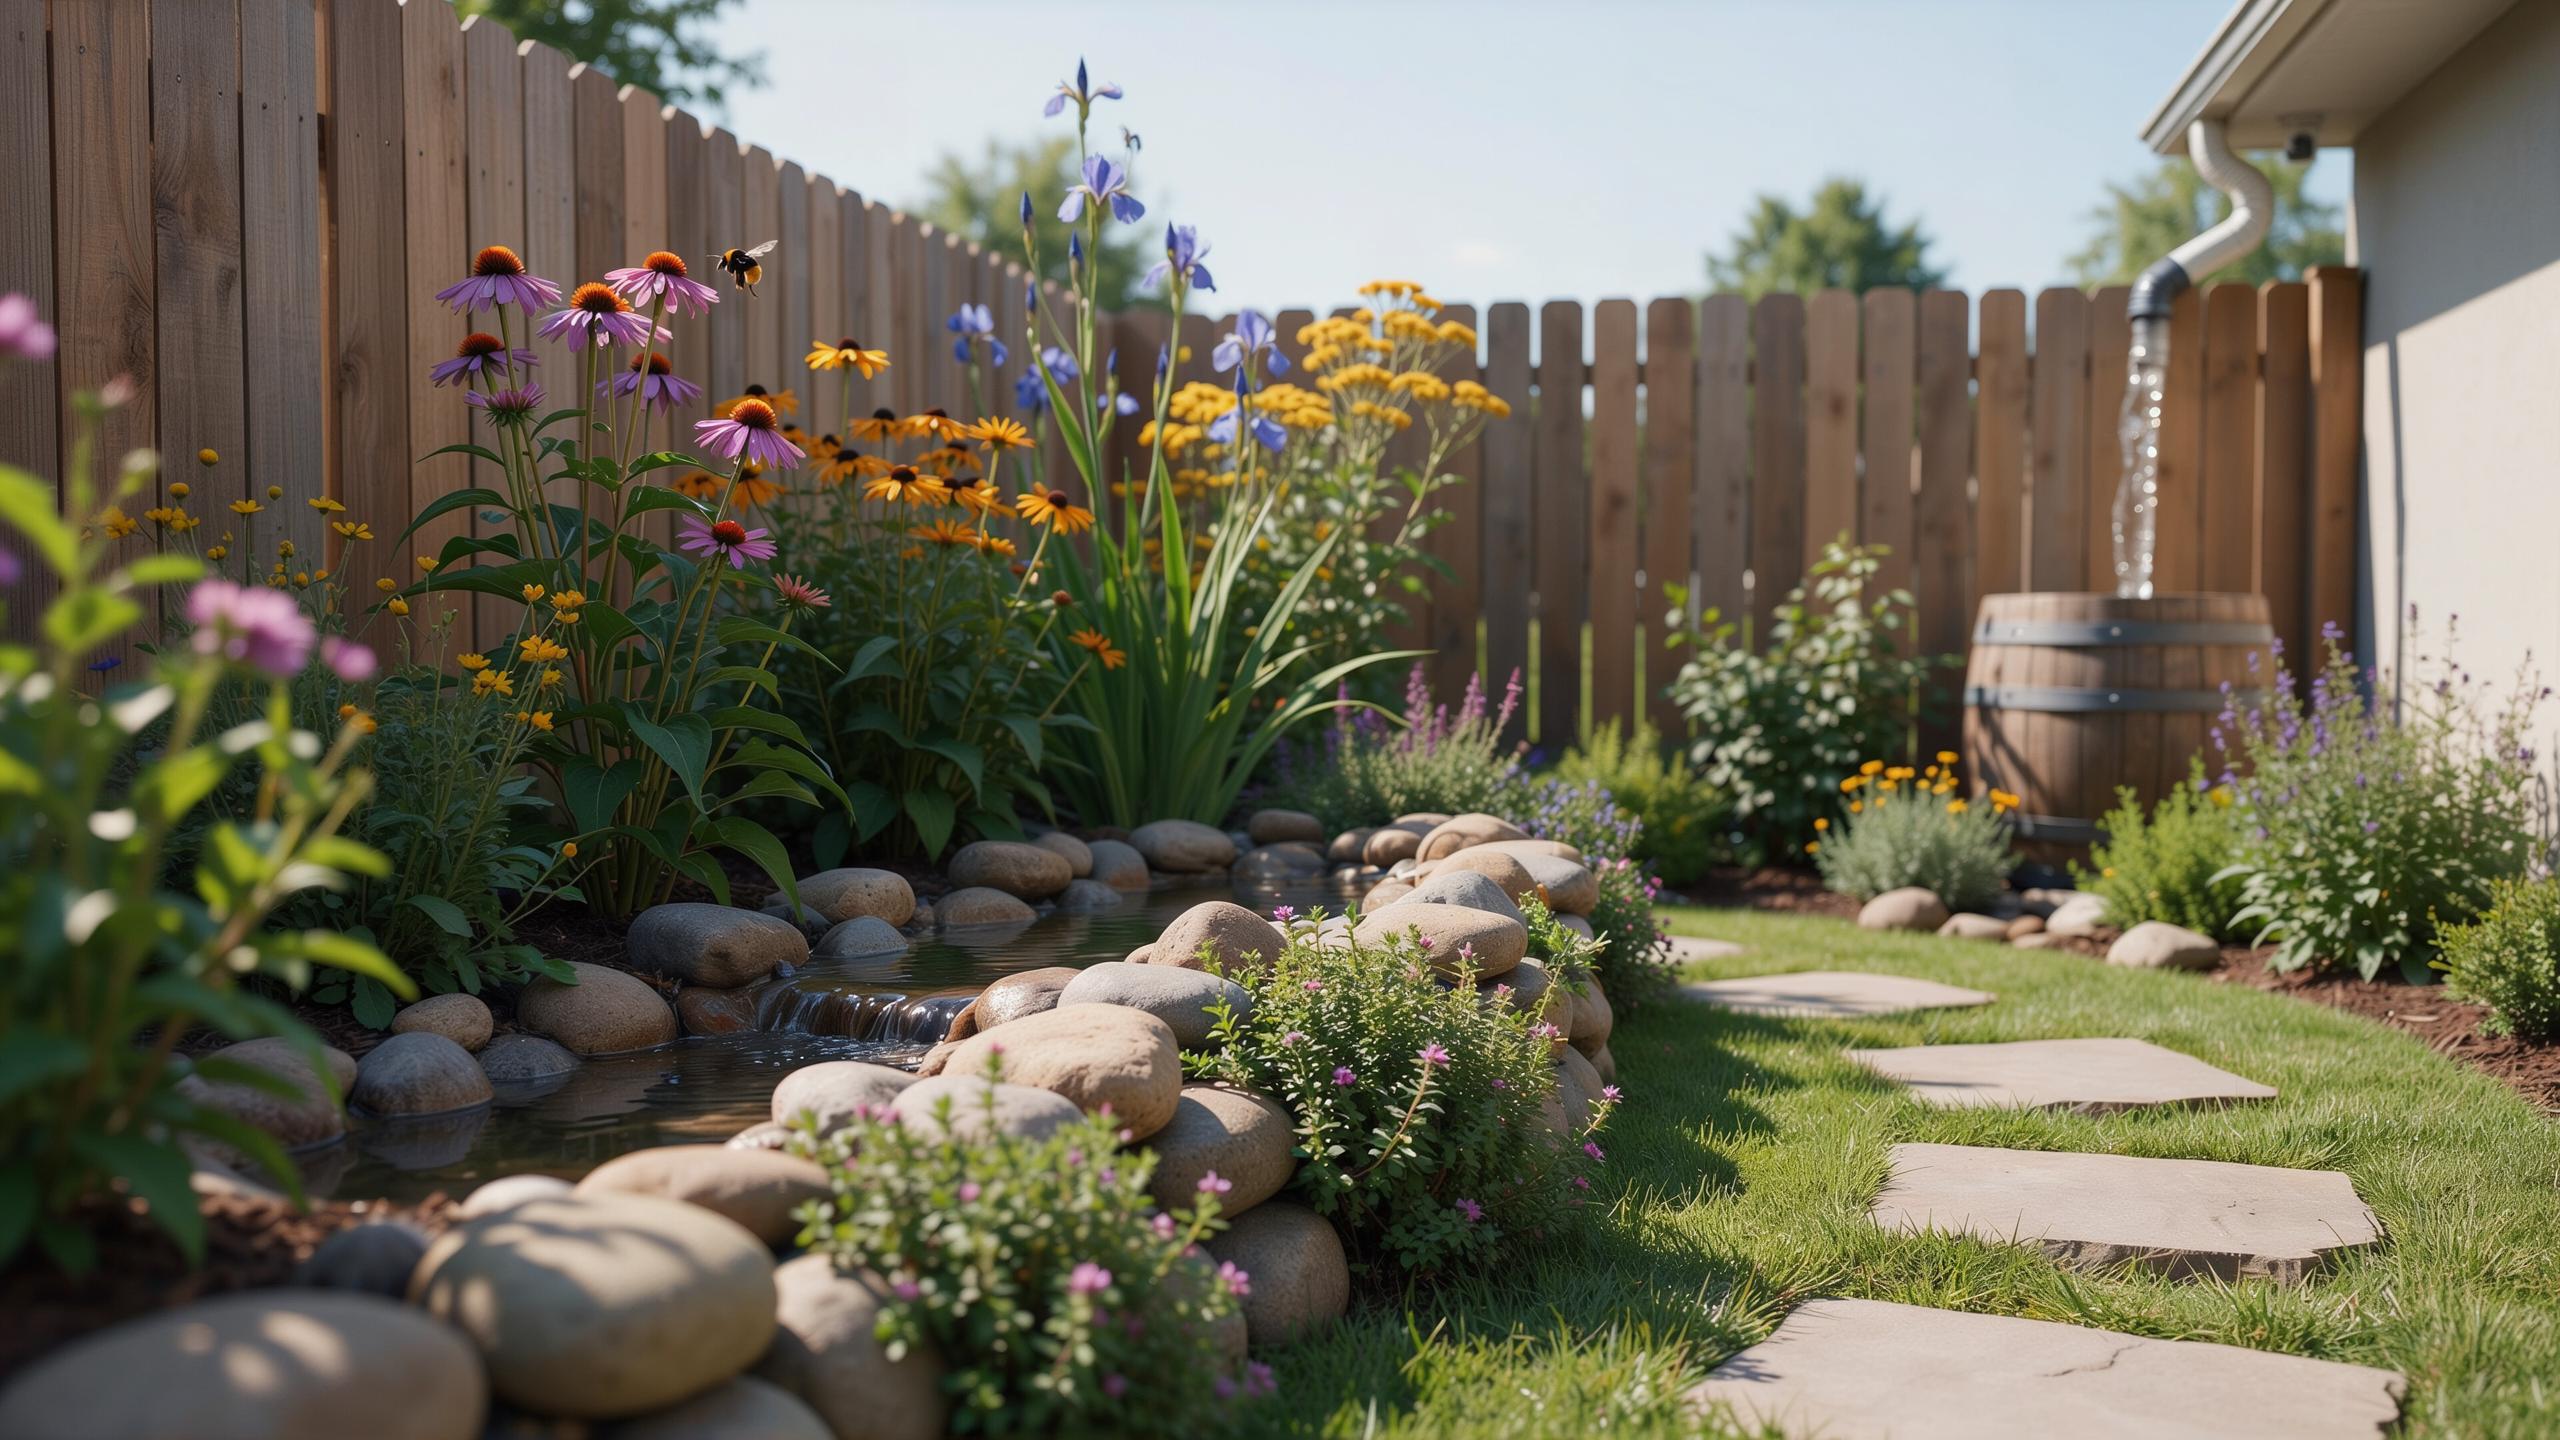
Native plants in rain gardens attract pollinators including bees, butterflies, and hummingbirds. These species provide nectar and pollen sources during growing seasons. The moist soil conditions support beneficial insects that control garden pests naturally. Bird populations increase as rain gardens create habitat and food sources in urbanized areas.
Rain gardens establish ecological corridors in fragmented landscapes. Native plant root systems support soil microorganisms essential for ecosystem function. Seasonal water availability supports amphibians and aquatic insects. The increased biodiversity strengthens local food webs and creates resilient natural systems within residential and commercial properties.

Site Selection Tips For Your Rain Garden Design Layout
Site Selection Drainage
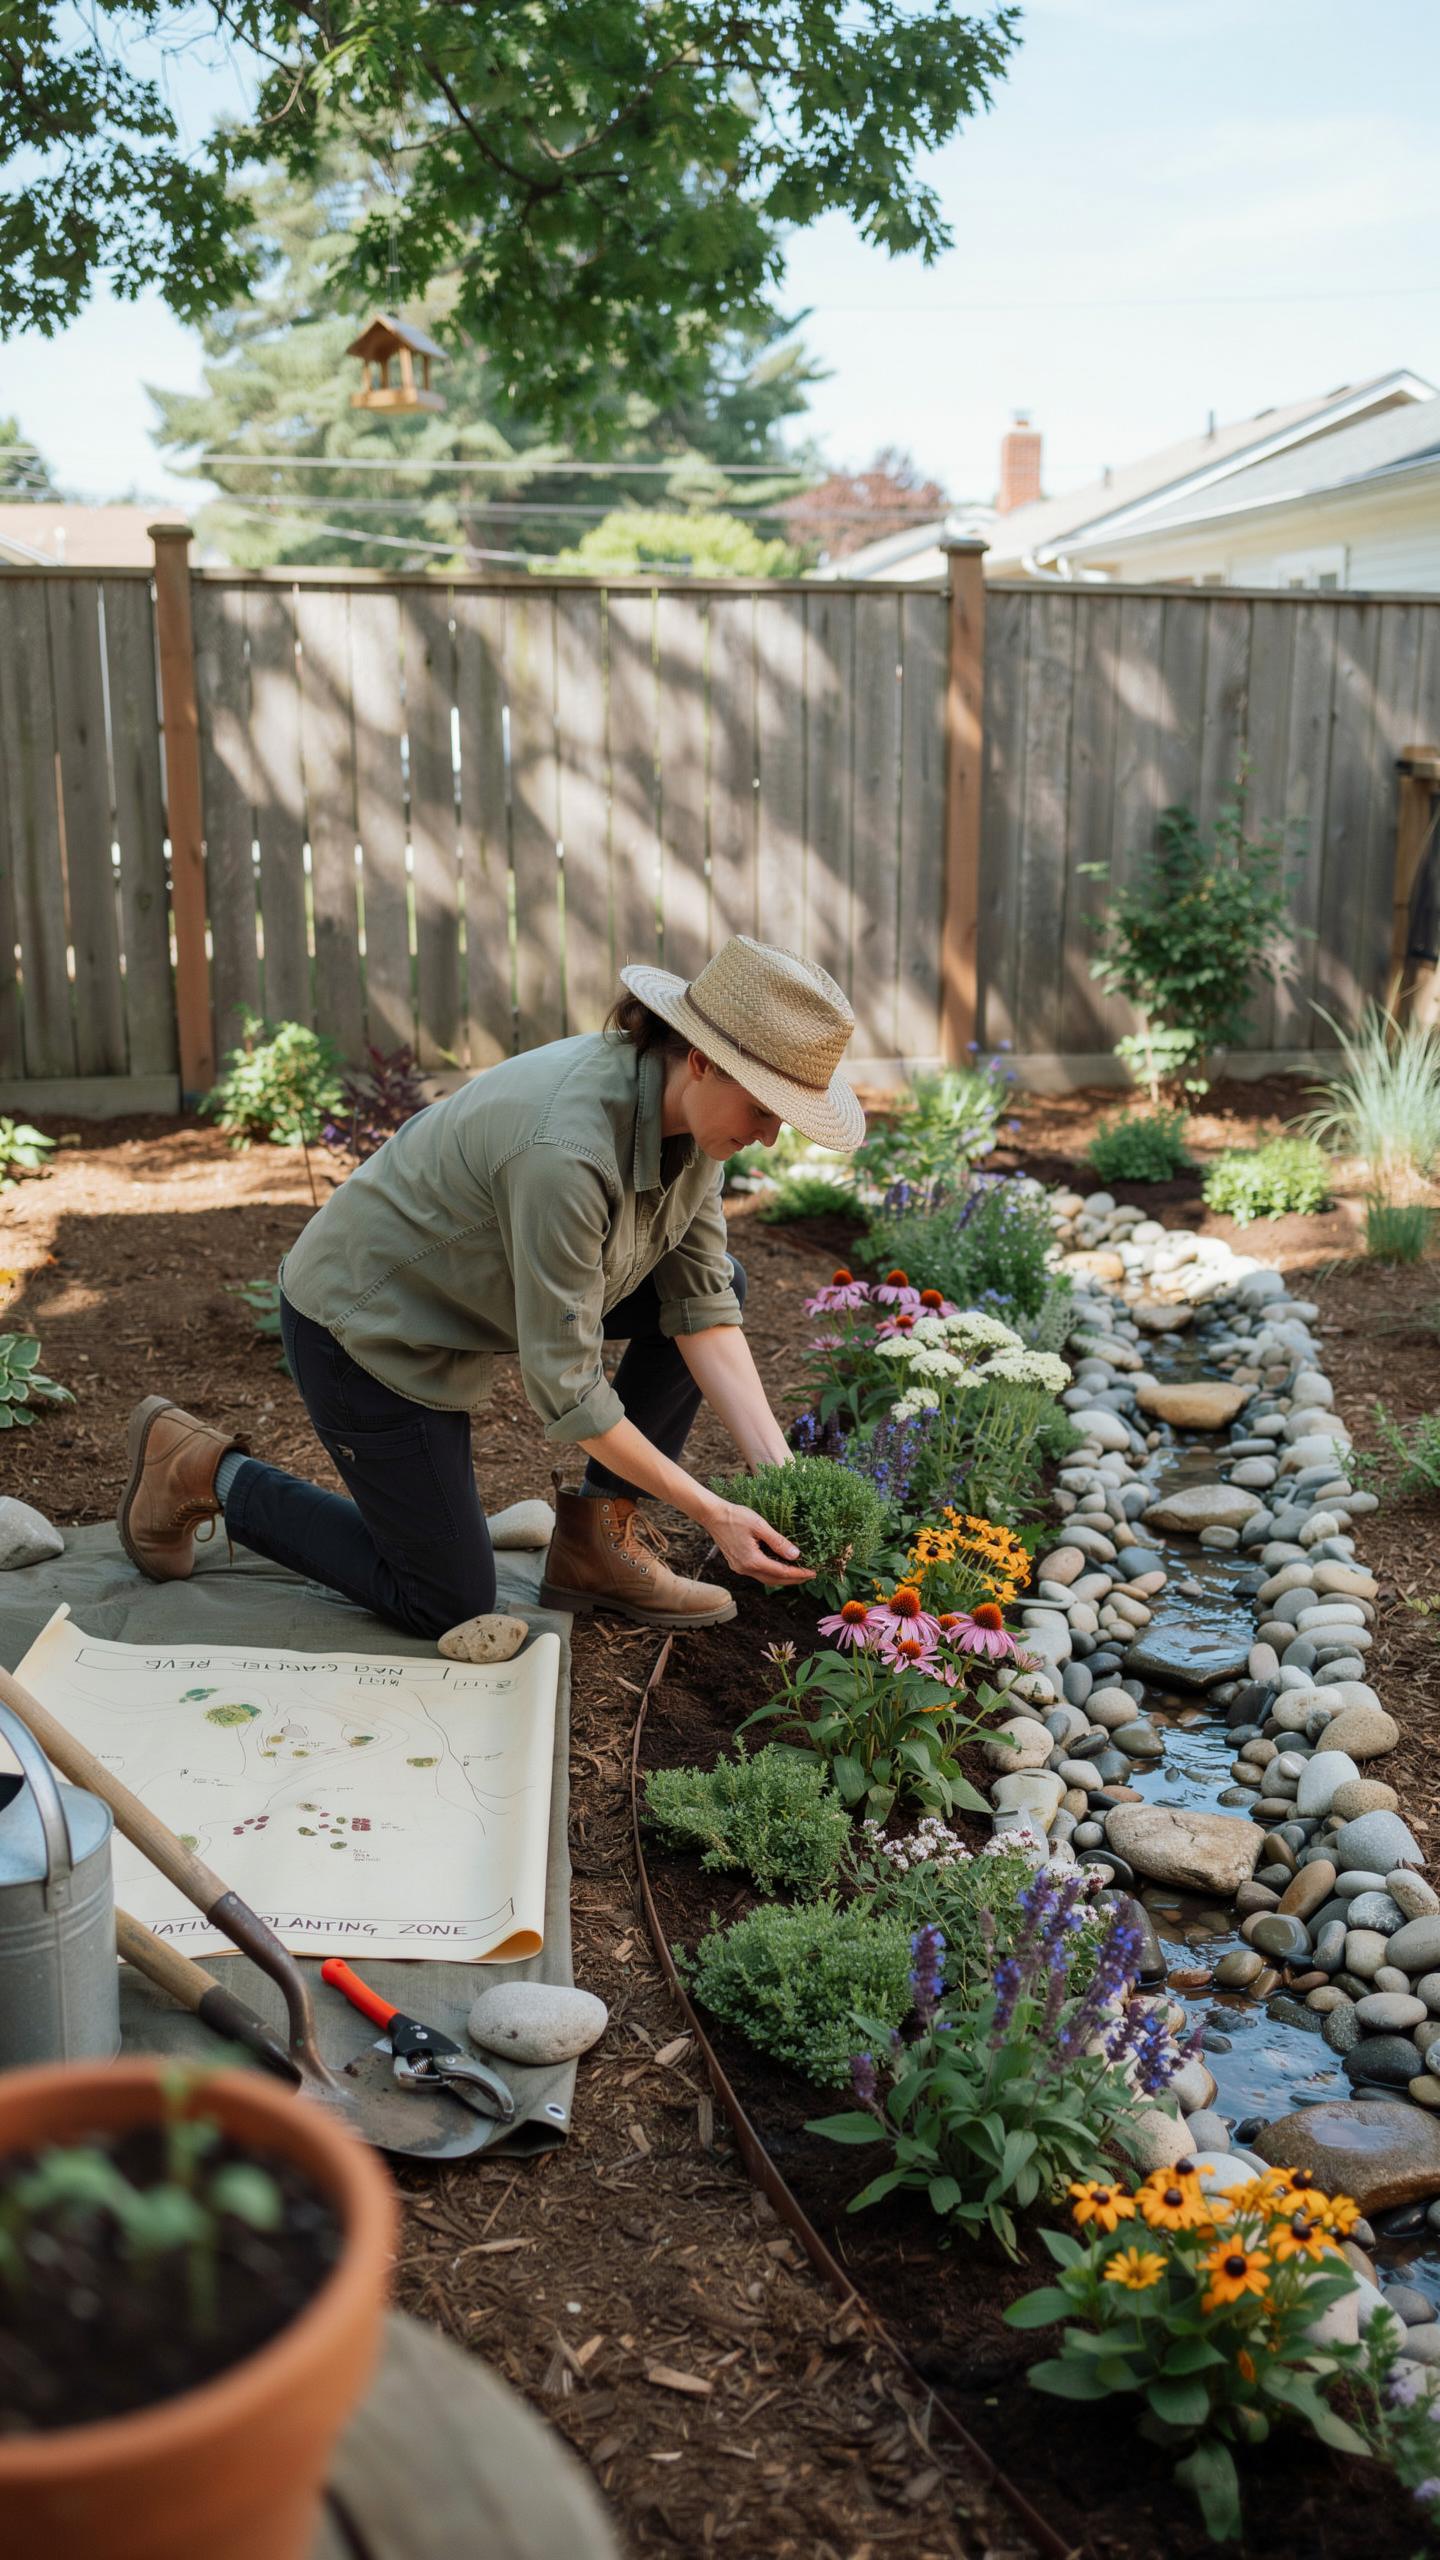
Water flows downhill. Your job is to find where it goes. Walk your yard during or after heavy rain. Watch how water moves across the ground. Look for natural low spots where water pools or collects. These depressions indicate where runoff naturally concentrates. Avoid placing your rain garden in spots where water moves fast. Fast-moving water erodes soil and defeats the garden’s purpose.
The best rain garden location sits where water naturally slows down. Check your yard’s slope and grade. Mark the lowest areas that stay wet longest after storms. These spots prove water lingers there naturally. Rain gardens work best when they capture and hold runoff for 24 to 48 hours. This timeframe allows soil to filter water properly. Test soil drainage by digging a hole and observing how quickly water drains.
Site Selection Distance
Foundations crack when soil becomes saturated. Keep your rain garden at least 10 feet from home foundations. This distance prevents water from seeping toward basement walls and crawlspaces. Measure carefully from the foundation line outward. Moving closer than 10 feet creates serious structural risk over time.

Septic systems require dry soil to function. Locate your septic drain field and maintain 20 feet of distance. Underground utilities run beneath most yards. Call 811 or your local utility locating service before digging. Mark all utility lines on your property. Water collecting in a rain garden must never interfere with electrical lines, gas pipes, water mains, or telecommunications cables. Position your rain garden away from all marked utility corridors.
How To Build A Custom Rain Garden Diy On A Budget

Diy Excavation Tips
Start by marking your basin perimeter with chalk or spray paint. Excavate the top 6 to 8 inches of soil, removing sod and compacted material. Work outward from the center point, keeping slopes at roughly 1:3 ratio (one foot drop per three feet horizontal distance). This gradient ensures water flows into the basin without pooling at edges.
Level the basin floor using a long straightedge and basic level. Check multiple directions to catch high spots. Remove rocks larger than two inches and break up clay clumps with a pickaxe. Mix the excavated soil with compost at a 60:40 ratio to improve drainage and nutrient content for plant establishment.
Diy Essential Tools
You need specific equipment to execute this project correctly without hiring contractors.
- Shovel: A round-point shovel moves soil faster than a square-point. Use it for initial excavation and soil mixing throughout the project.
- Wheelbarrow: Move soil, compost, and amendments efficiently. A six-cubic-foot capacity handles most residential garden sizes without excessive trips.
- Level: A four-foot level catches grade issues that eye measurements miss. Check basin floor and slope consistency at multiple points during excavation.
- Measuring Tape: Verify basin dimensions, depth, and slope ratios. Accurate measurements prevent undersized gardens that fail during storm events.
- Mattock or Pickaxe: Break compacted clay and remove embedded rocks. Essential for most residential soils that resist shovel work alone.
- Chalk or Spray Paint: Mark perimeter boundaries before digging starts. Prevents excavation errors and keeps work organized on budget.

These tools cost under three hundred dollars when purchased new, or you can rent them for one-time builds. Rent rates typically run fifteen to thirty dollars per tool per day, making equipment rental viable for single projects with tight budgets.
Drafting An Effective Rain Garden Design Plan
Design Plan Sizing
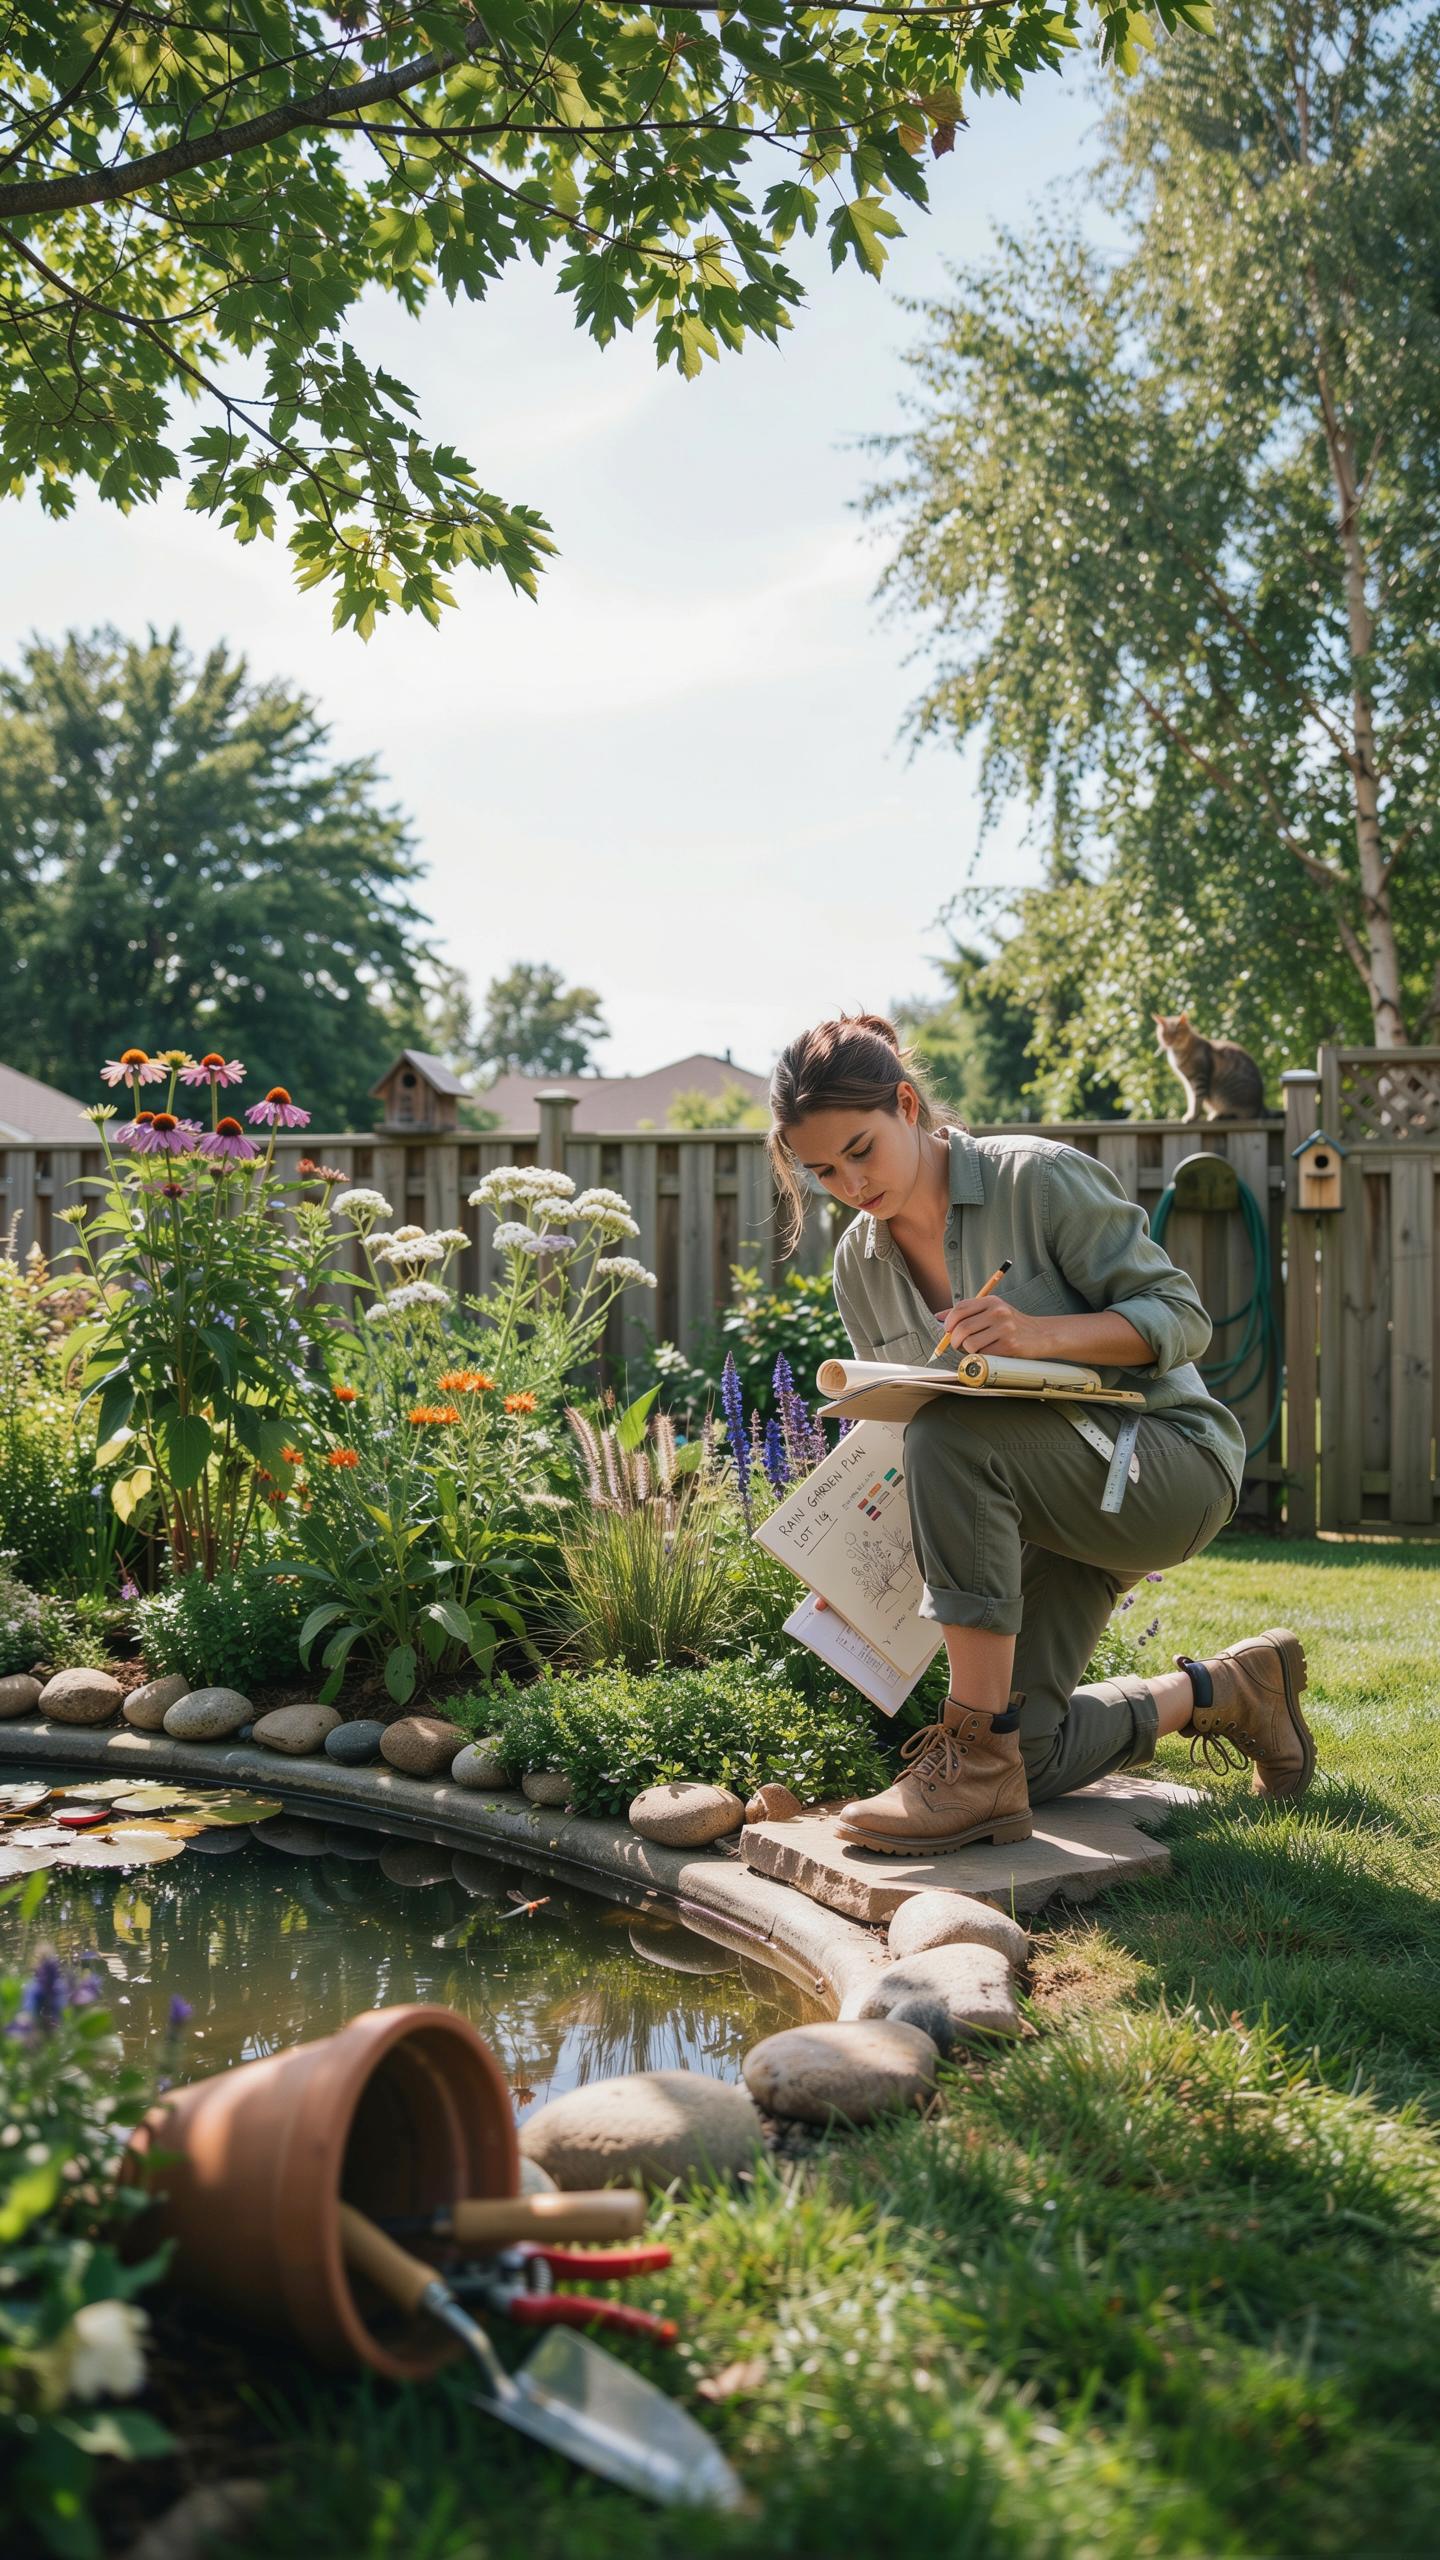
Size your rain garden to capture runoff from your drainage area. Multiply the roof or paved surface square footage by your local rainfall intensity. Divide that volume by your soil’s infiltration rate, measured in inches per hour. This calculation determines the basin depth and surface area you need to prevent overflow and standing water beyond 24 to 48 hours.
Most residential rain gardens range from 100 to 300 square feet. Smaller yards accommodate 50 to 100 square foot gardens effectively. Verify your soil’s infiltration rate through a percolation test before finalizing dimensions. Adjust basin depth between 4 and 8 inches based on soil type and local rainfall patterns to ensure proper drainage and plant survival.
Design Plan Materials
Build your filtration layer with specific material ratios to maximize water infiltration and pollutant removal. The standard approach uses three distinct layers that work together to process runoff efficiently and prevent compaction over time.
- Sand layer: Use 40 to 50 percent coarse sand at the bottom 2 to 3 inches to establish the primary filtration base and promote vertical water movement through the profile.
- Compost layer: Add 20 to 30 percent compost in the middle section to trap sediments and provide biological filtration that removes nutrients and contaminants from runoff.
- Topsoil layer: Apply 20 to 40 percent quality topsoil as the upper layer to support plant roots and sustain vegetation that stabilizes the garden structure.
- Mulch topping: Place 2 to 3 inches of wood mulch on the surface to reduce erosion, moderate soil temperature, and slow initial water entry for better infiltration.
- Native soil amendment: Mix in 10 to 15 percent of your existing on-site soil if quality is acceptable to reduce material costs and support local microbial communities.

Test your soil mixture before installation by running water through a sample to confirm 24 to 48 hour drainage. Adjust compost ratios downward if drainage exceeds 48 hours. Increase sand content if water drains faster than 12 hours to maintain adequate filtration contact time with pollutants and sediments.
Structuring Your Rain Garden Construction Plan

Construction Inflow Outflow
Water enters your rain garden through swales, which are shallow channels that direct runoff from roofs, driveways, and surrounding land. Line these swales with rocks to slow water velocity and prevent soil erosion. Without rock lining, fast-moving water cuts channels and removes topsoil. Space rocks to allow water passage while breaking the force of flow.
Overflow channels handle water that exceeds your garden’s capacity during heavy storms. Position these channels at the garden’s downhill edge to direct excess water away from structures and into existing drainage systems. Make overflow channels slightly lower than your main garden basin so they activate only when needed. This two-tier approach protects your property while keeping the garden functional for normal rainfall events.
A garden is a grand teacher, reminding us through the gentle descent of rain that beauty is found in nature’s enduring rhythm. By embracing timeless designs that honor the earth, we create a sanctuary that flourishes for generations to come.
Construction Berm Shaping
Build an earthen berm on the downhill side of your rain garden to contain water and prevent it from flowing away. Compact soil in layers as you build the berm to increase stability and prevent settling. The berm height typically ranges from six inches to two feet, depending on your garden size and local rainfall intensity. Level the top of the berm to maintain consistent water retention across the entire garden basin.

The berm acts as a barrier that holds water long enough for soil infiltration to occur. Slopes should angle gently away from your garden on the outer side to shed water that exceeds berm height. Avoid steep angles on the berm’s garden-facing side, as they cause soil slumping and water breakthrough. Test berm integrity by observing water behavior during the first significant rainfall after construction.
Understanding Zones Through A Detailed Rain Garden Diagram
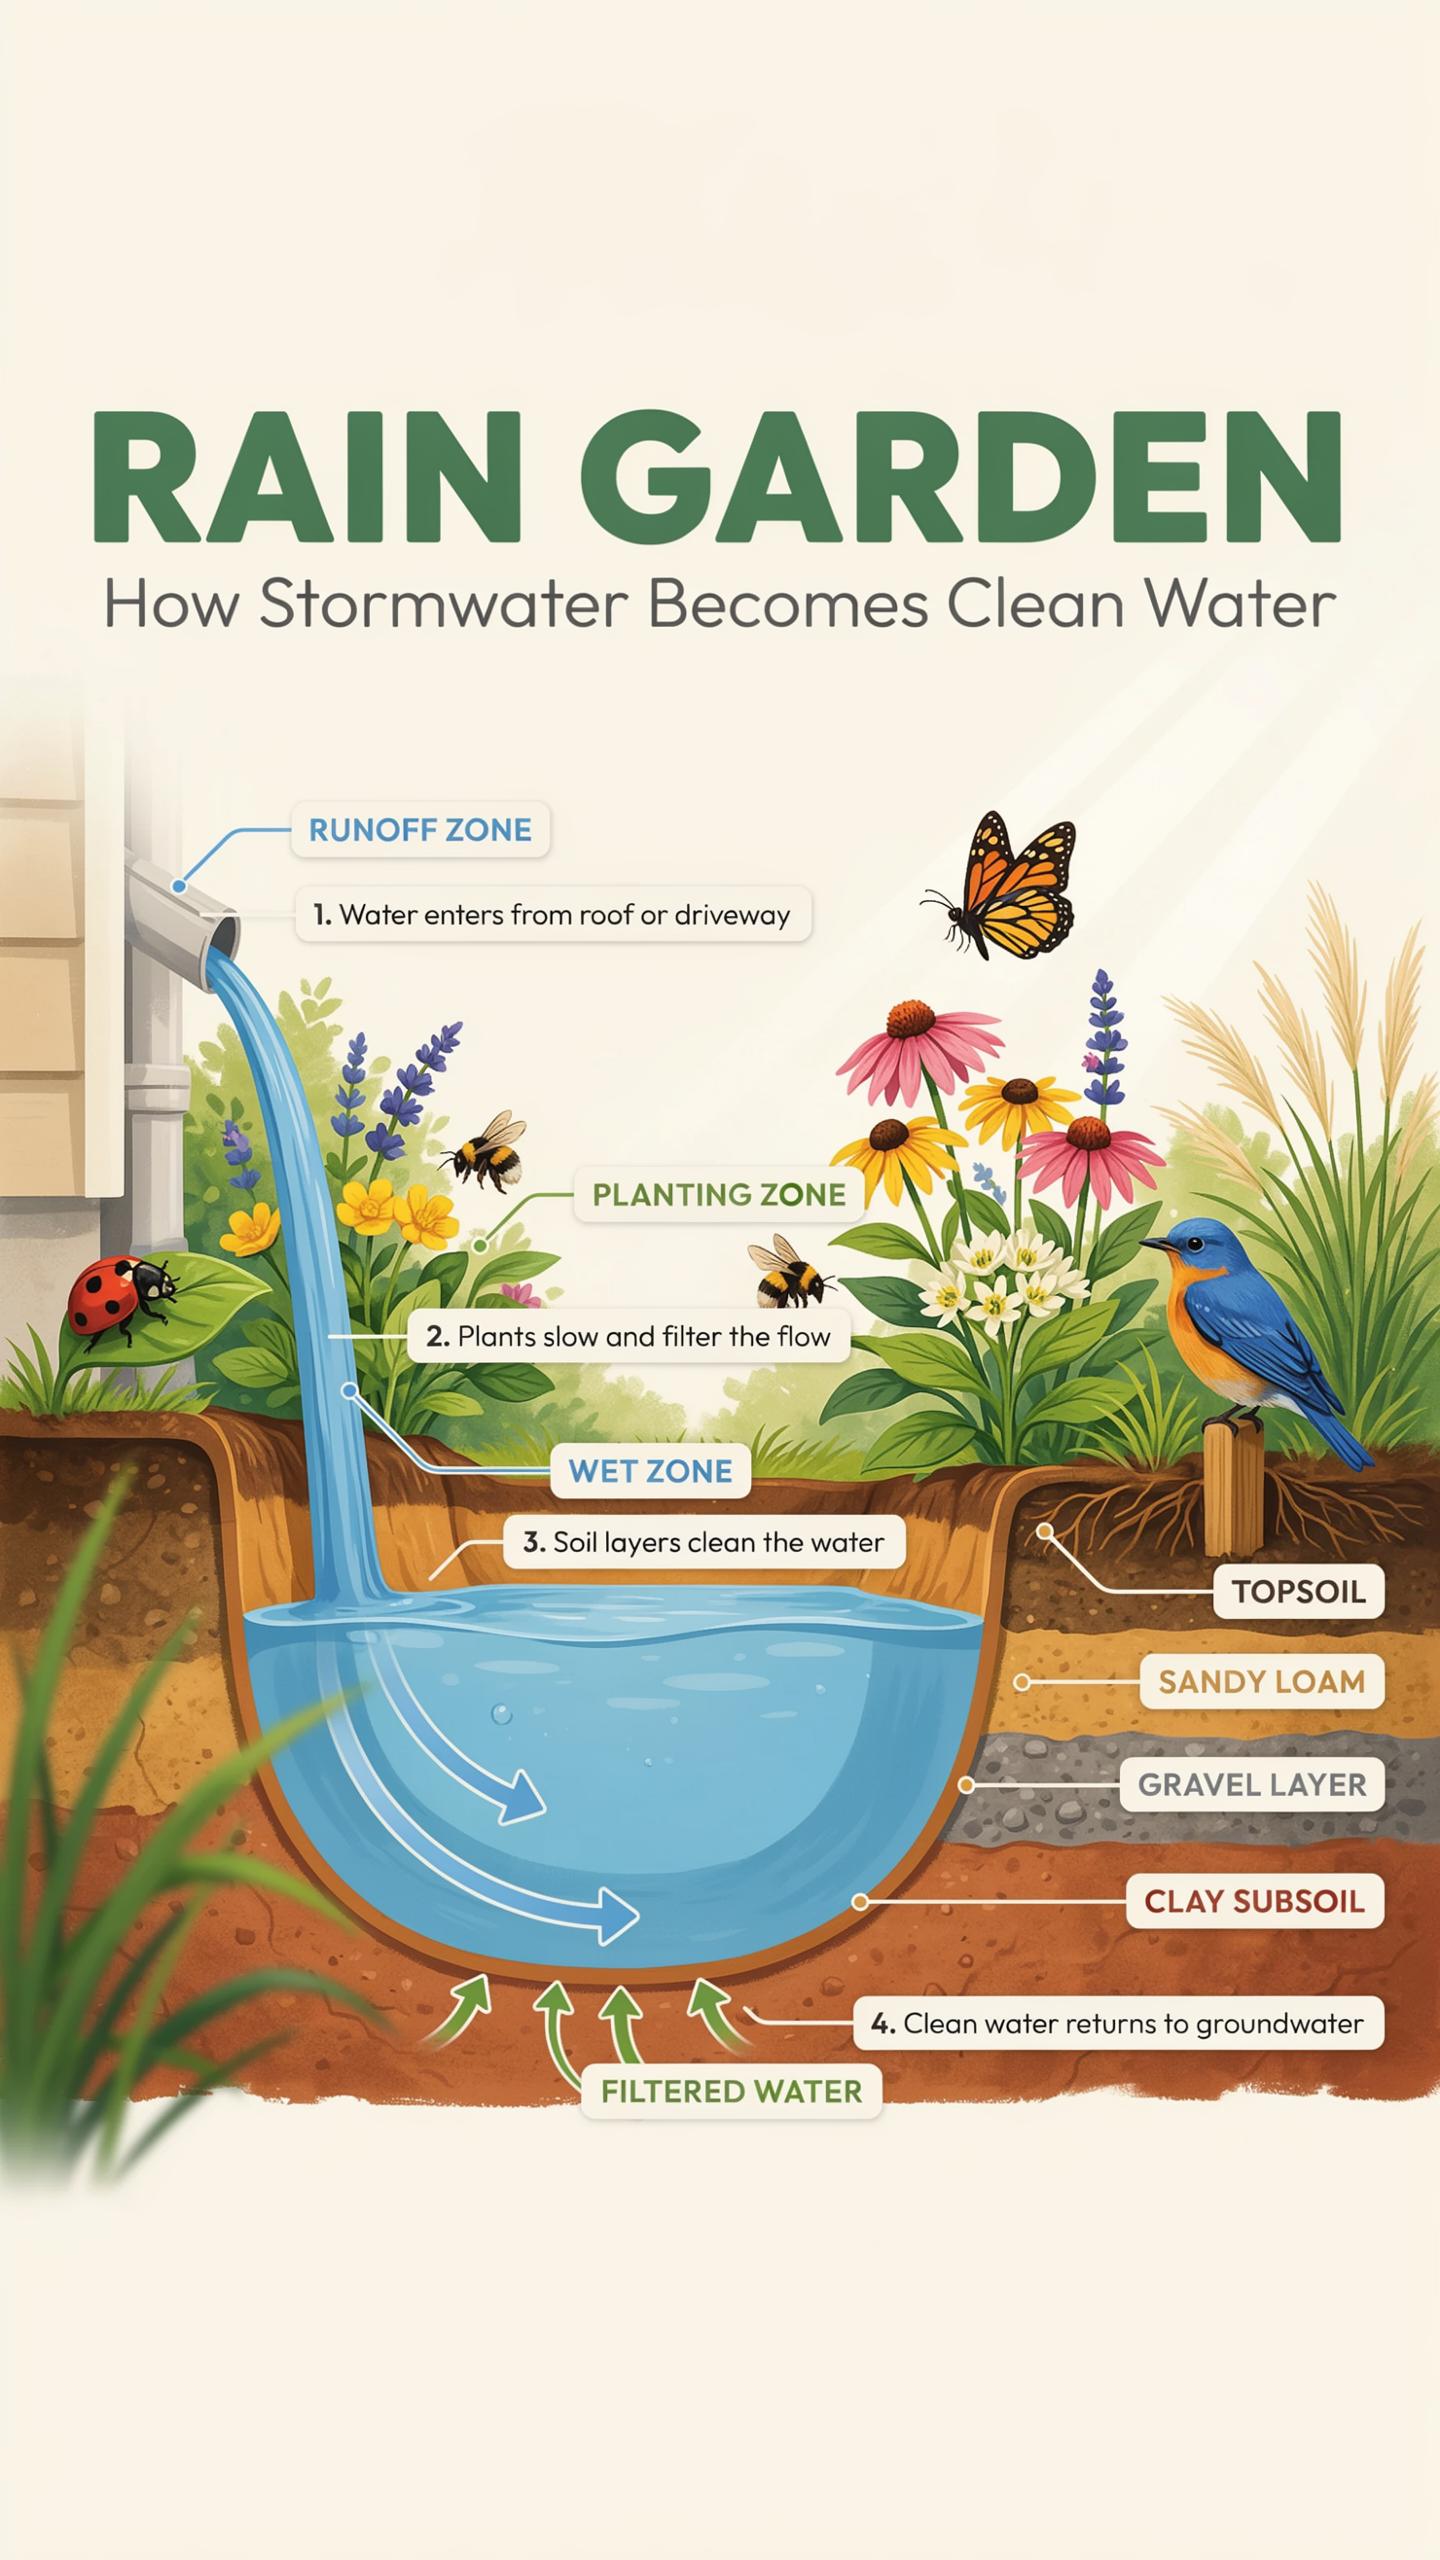
Diagram Planting Zones
Rain gardens function through three distinct planting zones based on soil moisture levels. Zone 1 occupies the deepest area where water pools temporarily. Zone 2 forms the middle band with moderate moisture. Zone 3 sits at the perimeter where soil stays relatively dry. Each zone demands plants with matching water tolerance. Placing the wrong species in the wrong zone kills plants and wastes resources.
Match your plant selections to actual soil conditions rather than guessing. Zone 1 plants tolerate standing water for days. Zone 2 plants handle fluctuating moisture swings. Zone 3 plants prefer drier soil except during storms. Native plants adapted to your region naturally fit these zones. Survey your site’s actual drainage patterns before purchasing anything.
Diagram Profile View
A profile view shows the vertical architecture of your rain garden from the side. This cross-section reveals ponding depth, soil layers, and gravel placement. Most rain gardens need 4 to 8 inches of ponding depth to capture runoff effectively. Below the ponding area, place 12 to 18 inches of amended soil with organic matter. The gravel layer at the bottom ensures water drains rather than pooling indefinitely.

The profile view prevents costly mistakes during construction. Poor depth placement means either flooding or inadequate stormwater capture. Incorrect soil composition blocks drainage or prevents root establishment. Sizing gravel incorrectly creates compaction issues over time. Draw your profile to scale before breaking ground. This simple step saves money and ensures your garden functions as designed.
Selecting Hardy Species For Your Rain Garden Landscape
Landscape Plant Selection
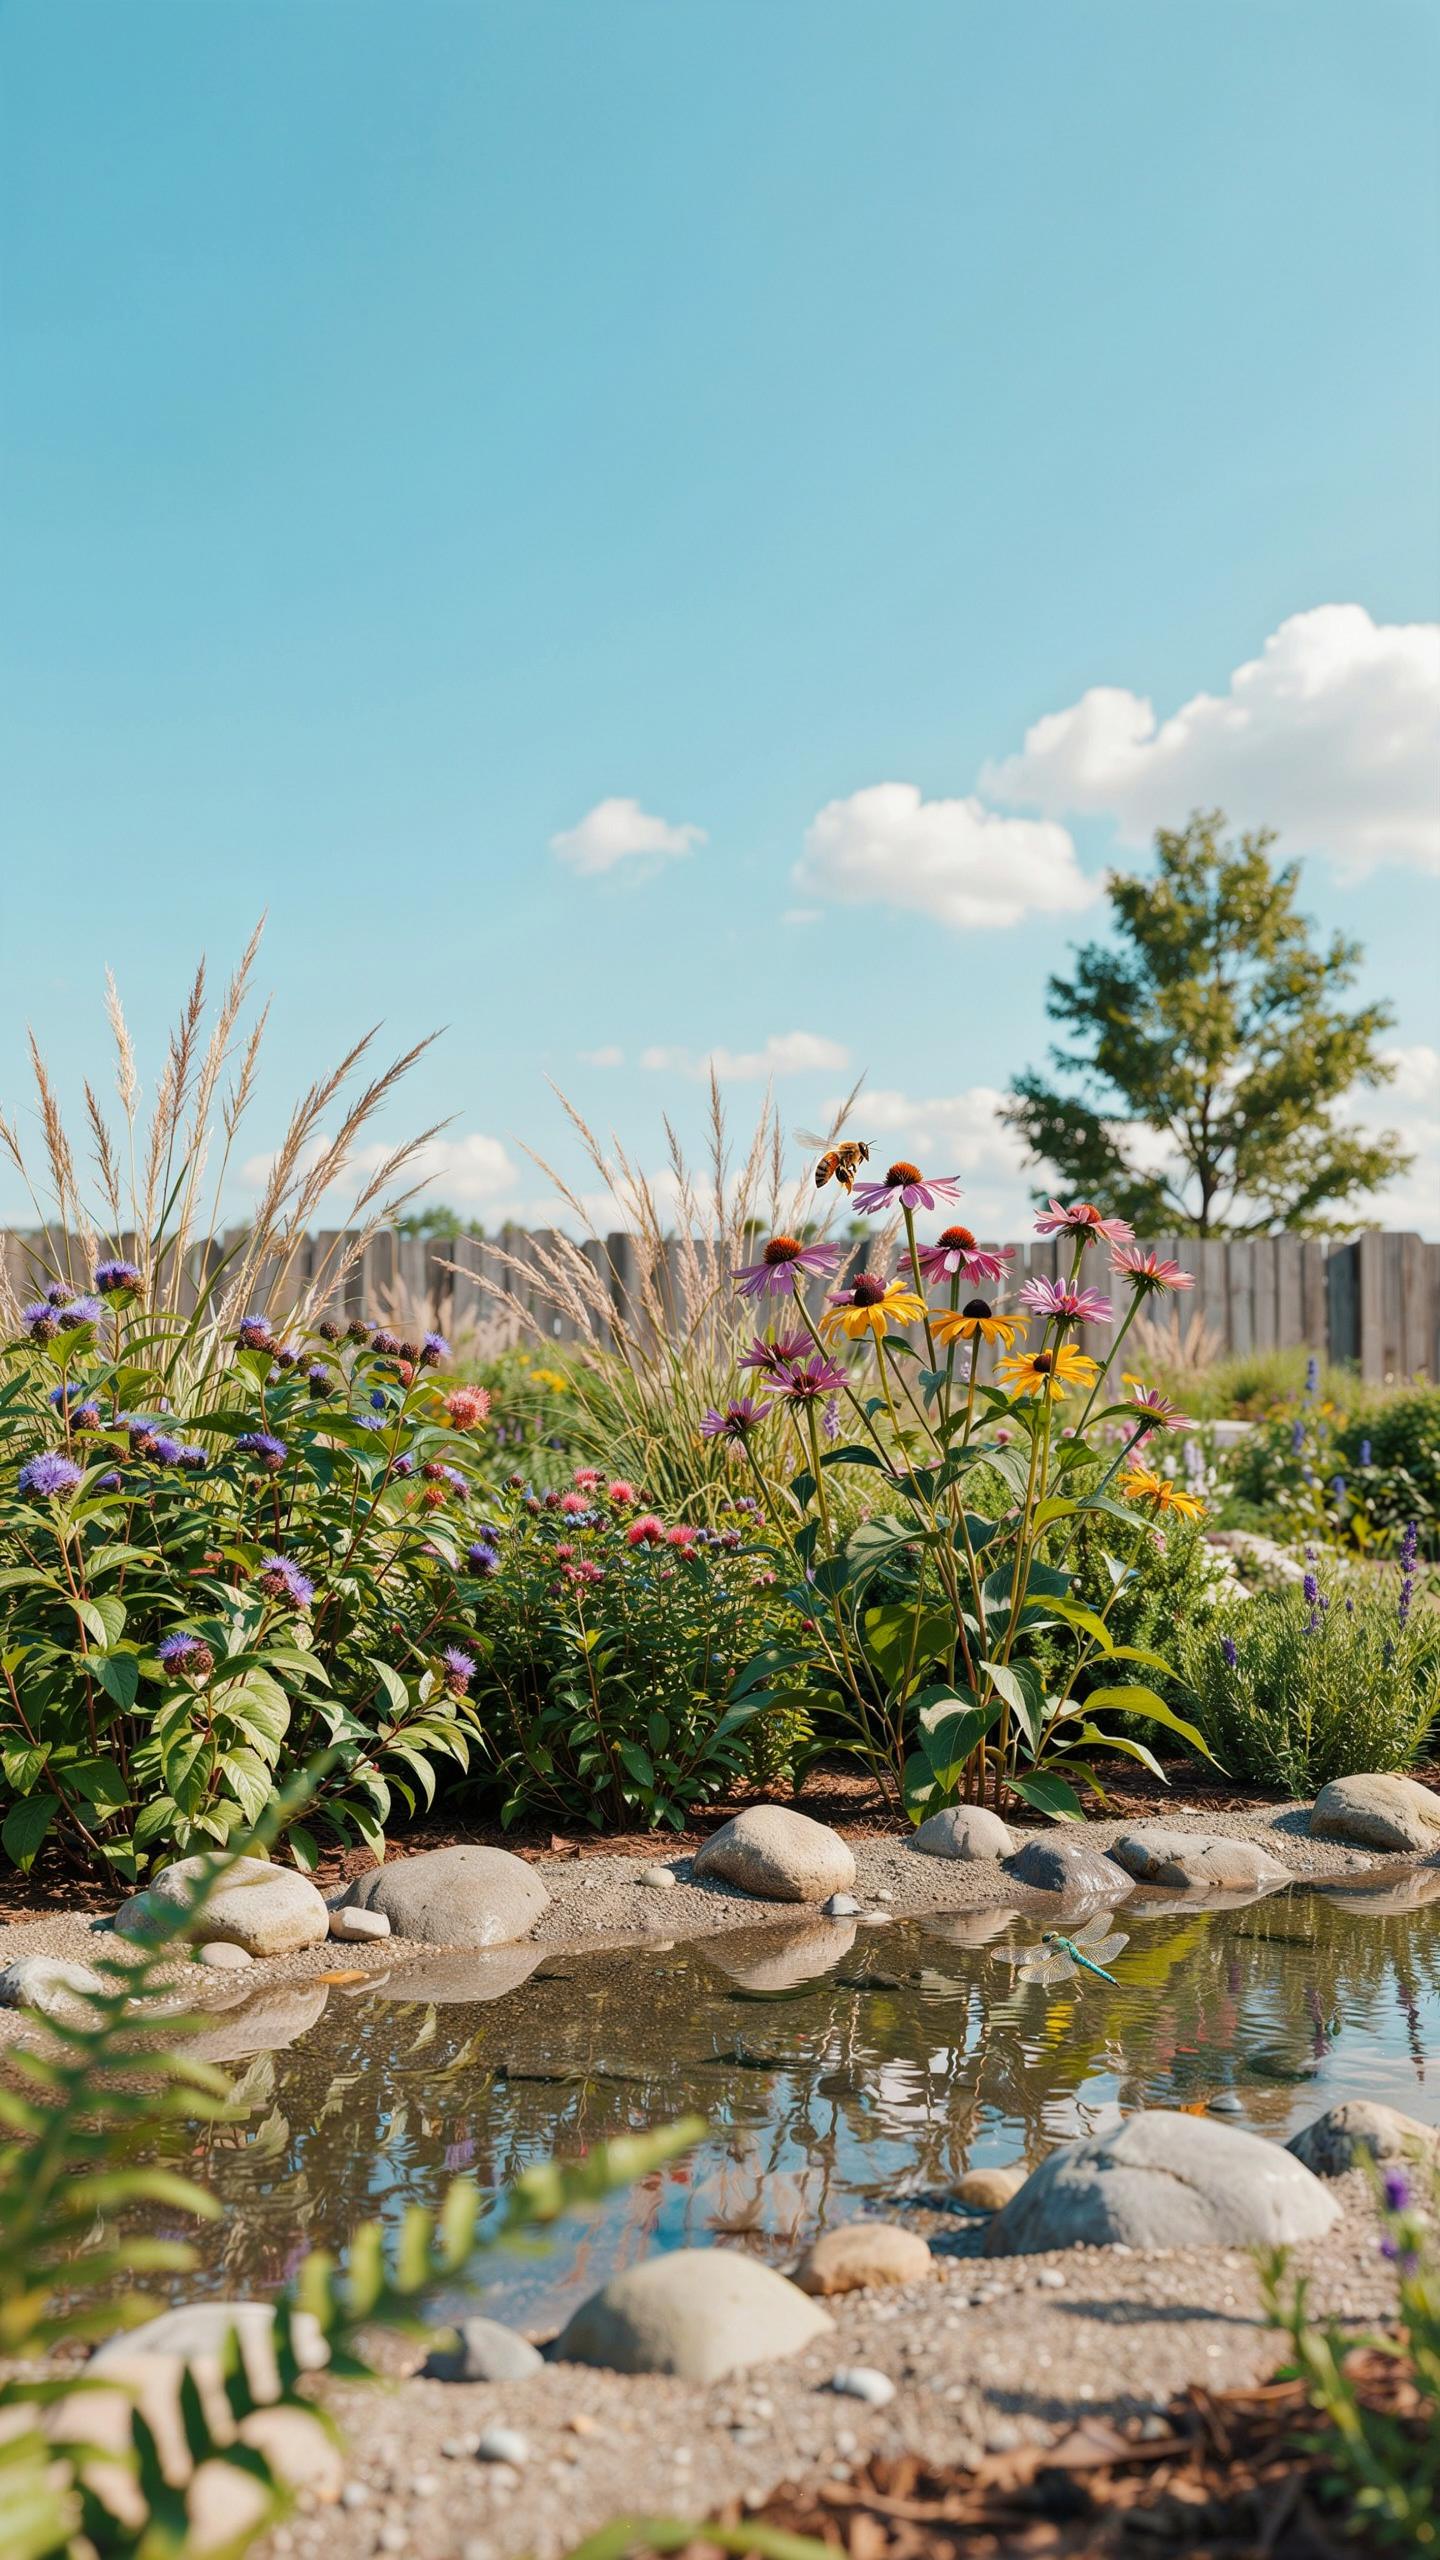
Native deep-rooted perennials, shrubs, and grasses form the backbone of functional rain gardens. These species tolerate soil saturation during heavy rainfall and handle dry periods between storms. Deep root systems access water below the surface and stabilize soil against erosion. Select plants adapted to your specific region and USDA hardiness zone. This approach eliminates ongoing maintenance and reduces establishment failures.
Choose species that thrive in your local climate without irrigation or chemical inputs. Black-eyed Susan, coneflower, and asters handle moisture swings effectively. Sedges and switchgrass manage compacted soils and filter runoff efficiently. Serviceberry and dogwood shrubs provide structure while tolerating temporary flooding. Research which natives established in your watershed thousands of years ago and replicate that foundation.
Landscape Mulch Importance
Shredded hardwood mulch serves three critical functions in rain garden performance. It retains soil moisture during dry spells, suppresses competing weeds that steal water and nutrients, and filters heavy metals from stormwater runoff as water moves through the mulch layer into soil below. Apply mulch two to three inches deep around plants, keeping it one inch away from plant stems. Replenish mulch annually as decomposition reduces the layer thickness and effectiveness.

Quality matters when selecting mulch for rain gardens. Avoid dyed mulches and use materials from local hardwood sources when possible. Mulch breaks down over time, enriching soil with organic matter while maintaining water infiltration rates. This process creates stable soil structure that resists compaction from foot traffic and storm events. Replace depleted mulch to maintain consistent filtering and moisture retention benefits year after year.
Innovative Rain Garden Plans And Rain Gardens Ideas

Ideas Aesthetic Integration
River stones serve a functional purpose beyond appearance. They stabilize soil, reduce erosion during heavy rainfall, and create clear visual boundaries around garden beds. Native stone types work best because they match local geology and require no transport from distant quarries. Select stones sized between two and four inches for optimal stability and drainage performance.
Foot bridges and pathways direct foot traffic away from planted areas while maintaining soil integrity. Construct bridges from permeable materials like gravel or wood to allow water infiltration rather than surface runoff. Pathways prevent compaction of rain garden soil, which would block water absorption. Space pathways strategically to provide access for maintenance while keeping visitor impact minimal.
Ideas Sloped Solutions
Tiered rain garden cells manage slope challenges by breaking continuous descents into manageable segments. Each tier functions as an independent water collection point, slowing runoff velocity and increasing infiltration time. Terracing prevents erosion that occurs when water moves too quickly across unbroken slopes. Design each cell with level bottoms and slightly raised berms to contain water temporarily before drainage.

Moderate slopes between three and eight percent work best for terraced designs. Steeper slopes require more tiers to achieve effective stormwater management. Each tier should measure one to three feet vertically depending on slope angle. Connect tiers with spillway channels that allow overflow to move safely to the next level without scour damage.
Frequently Asked Questions

What exactly is a rain garden and how does it function?
A rain garden is a strategic landscape feature designed to collect and filter stormwater runoff from roofs, driveways, and sidewalks. By utilizing a specific rain garden design layout, you create a shallow depression filled with native plants that soak up excess moisture. This process prevents erosion and protects local waterways from pollutants. It is a beautiful, eco-friendly solution that transforms a soggy yard into a vibrant, functional habitat for birds and butterflies.
How do I plan the perfect rain garden design layout for my yard?
To start your rain garden design layout, identify a natural low point in your yard at least ten feet away from your home’s foundation. Dig a basin approximately six inches deep with a flat bottom to ensure even water distribution. Incorporate three zones of native perennials: moisture-loving plants for the center ponding area, transitional species for the slopes, and drought-tolerant varieties for the topmost edges to create a professional, tiered aesthetic.
Can I build an effective rain garden on a limited budget?
Absolutely! You don’t need expensive contractors or high-end materials to create a functional landscape. The most cost-effective approach is to use salvaged rocks for the borders and divide existing native perennials from friends or neighbors. By focusing on a simple shape and utilizing affordable mulch, you can establish a stunning garden that manages runoff effectively without breaking the bank. Patience is key as young, budget-friendly plants mature over several seasons.



