
Introduction
Windows often collect dirt and streaks that block sunlight and spoil views. You want your windows to shine, but many commercial cleaners contain harsh chemicals. A window cleaning solution made at home can give you sparkling results without those chemicals. It uses simple, safe ingredients you might already have in your kitchen or pantry.
This article covers how to make window cleaner homemade with easy recipes. It compares these to store-bought products and explains why homemade cleaners matter for your home’s appearance and your health. You will find clear steps and tips to clean windows well using homemade cleaners so your windows look bright and clear every time.
Why Choose Window Cleaner Homemade
Making your own window cleaner at home feels like a small but meaningful step toward control over what goes into your living space. You know exactly what you’re using—no guesswork or mysterious chemicals listed in tiny print on a bottle. That alone makes a difference. Safety is a clear benefit here. Commercial cleaners often contain ingredients that can irritate skin or eyes, or linger in the air long after cleaning. With homemade recipes, you usually work with simple kitchen staples like vinegar, baking soda, or lemon juice, which are generally safer to handle and less likely to cause a reaction.
There’s cost, too. Buying multiple bottles of specialized window cleaner adds up, especially if you like to clean often. Most homemade formulas call for everyday ingredients you probably already have, meaning you don’t need to make extra trips or spend extra cash regularly.
It’s also about the environment. Commercial cleaners typically come in plastic packaging that’s not always recyclable, and many contain compounds that aren’t great for waterways when washed down the drain. Making your cleaner cuts back on plastic waste and lessens your household’s chemical footprint. I’ve noticed my small efforts can add up; fewer plastic bottles piled in recycling feels better, even if the savings are gradual.
Still, some people wonder if homemade solutions really clean as well. That varies, but many find that with the right mix and some patience, homemade window cleaners do the job quite well—sometimes better, because you can adjust the recipe to your liking or specific dirt types.
Health Benefits Of Homemade Cleaners
Exposure to harsh chemicals in commercial window cleaners isn’t always obvious but can affect people in subtle ways. Smells might linger longer than expected, causing headaches or sneezing fits, especially if you or anyone in your home has allergies or asthma. I remember once trying a new store-bought cleaner, and my throat felt scratchy afterward. That got me thinking about what’s actually in these products.
Homemade cleaners generally avoid those synthetic fragrances and strong chemicals that can irritate your respiratory system. The ingredients tend to be simple and natural, lowering the risk of accidental poisoning or skin irritation. For homes with kids or pets, this feels like a safer route—you don’t need to worry as much about harmful residues or accidental ingestion.
Of course, vinegar or lemon juice might bother sensitive skin if left on for long, but overall, these ingredients are usually gentler. You might find yourself breathing easier and avoiding harsh chemical smells, creating a more comfortable atmosphere while you clean.
Cost Savings Compared To Store Products

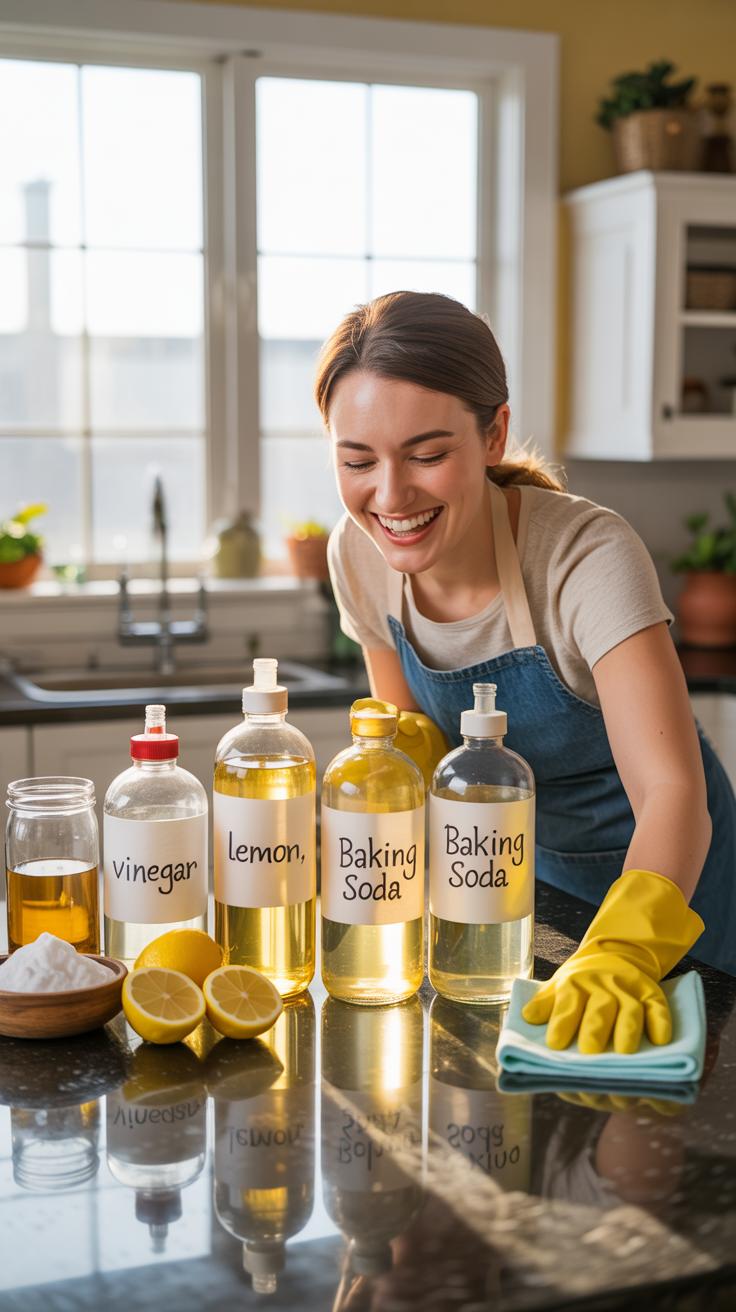
Economically, homemade window cleaners make a clear case for themselves. A bottle of vinegar or a box of baking soda can last months when used for cleaning, costing just a fraction of a dollar per batch. Compare that to buying commercial window cleaner bottles that might cost several dollars each, and the difference stacks up quickly.
For example, a typical commercial window cleaner might cost $4 to $6 per 32-ounce bottle. If you clean windows weekly, that’s close to $20 a month or more. Meanwhile, making a homemade cleaner from vinegar, water, and a bit of dish soap costs pennies per batch.
This adds up over time. I figured that making my cleaner saves me around $60 a year on just window care—money better spent elsewhere, like upgrading a household tool or even just saved for a rainy day. It turns out, homemade cleaning isn’t just better for your health and the planet, but your wallet might noticeably thank you too.
What Ingredients Make A Good Cleaner
When you think about homemade window cleaner recipes, a few common ingredients tend to pop up. These ingredients don’t just clean; they work together in ways that might surprise you.
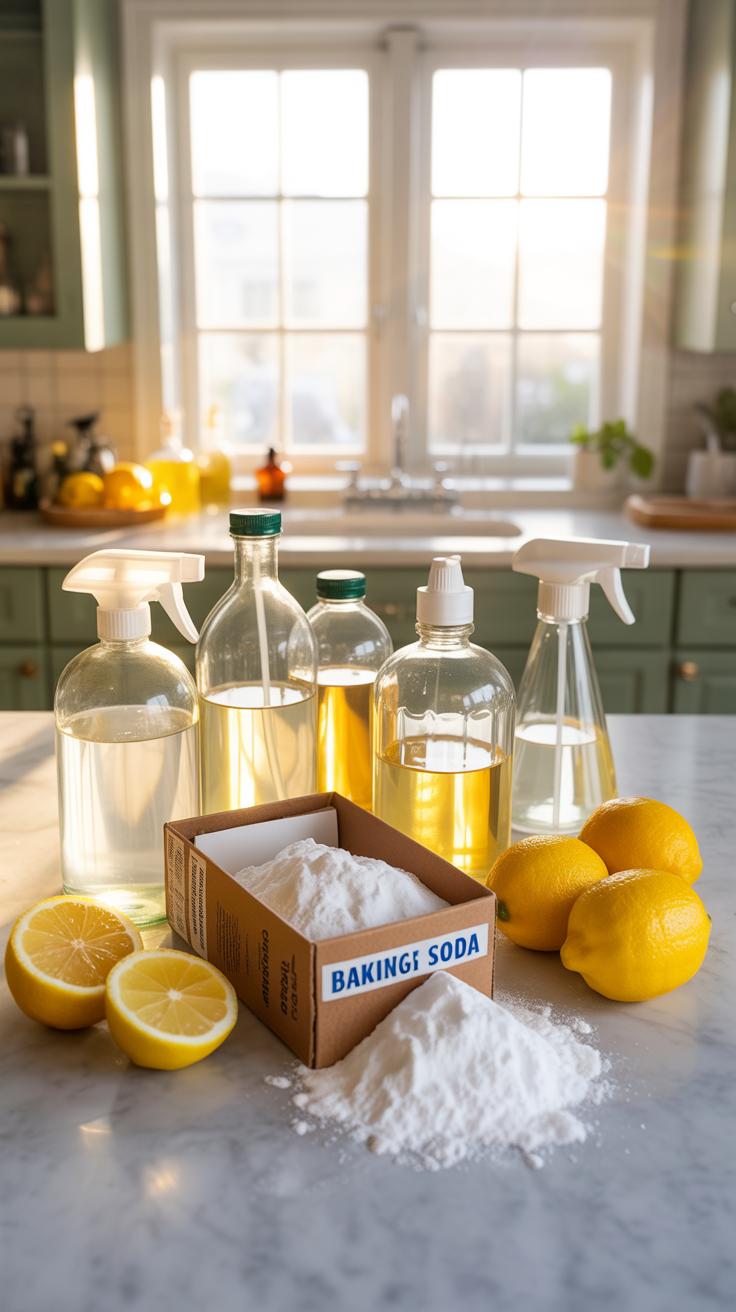
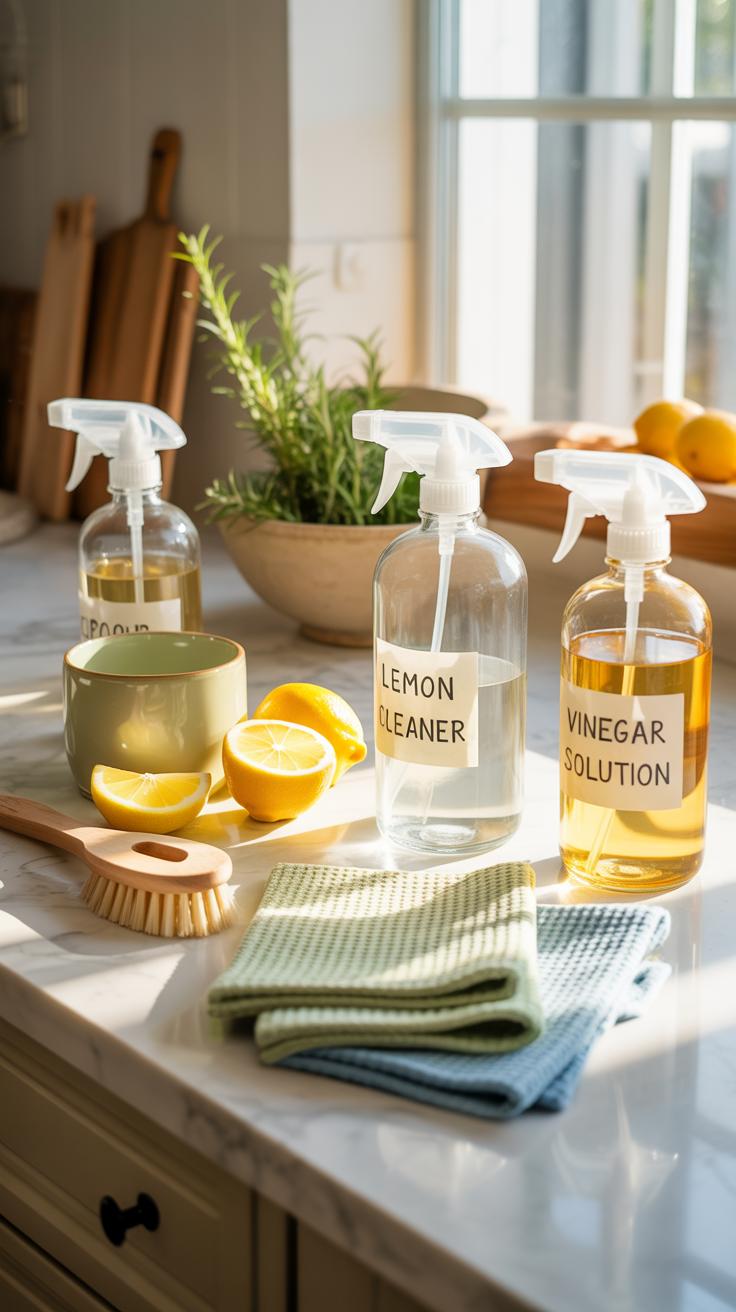
Vinegar often leads the pack. It breaks down mineral deposits and grime without leaving residue. It’s acidic but gentle enough for glass surfaces. Lemon juice acts similarly, adding a fresh scent while cutting through stubborn spots. Baking soda plays a different role—it’s mildly abrasive, helping to scrub off stuck-on dirt without scratching glass.

Rubbing alcohol dries quickly and helps windows avoid streaks. Mild dish soap helps to dissolve grease and oils that water alone can’t touch. Together, these ingredients create a simple mix that often works better than commercial cleaners you might find on shelves.
Why do these work? Vinegar and lemon juice weaken grime. Baking soda scrubs. Alcohol speeds drying. Soap lifts oily dirt. It’s worth wondering: do you need all of these every time? Maybe not. But mixing and matching can tailor the solution to your exact needs, depending on the type of dirt or streaks you’re facing.
Natural Cleaning Agents That Work
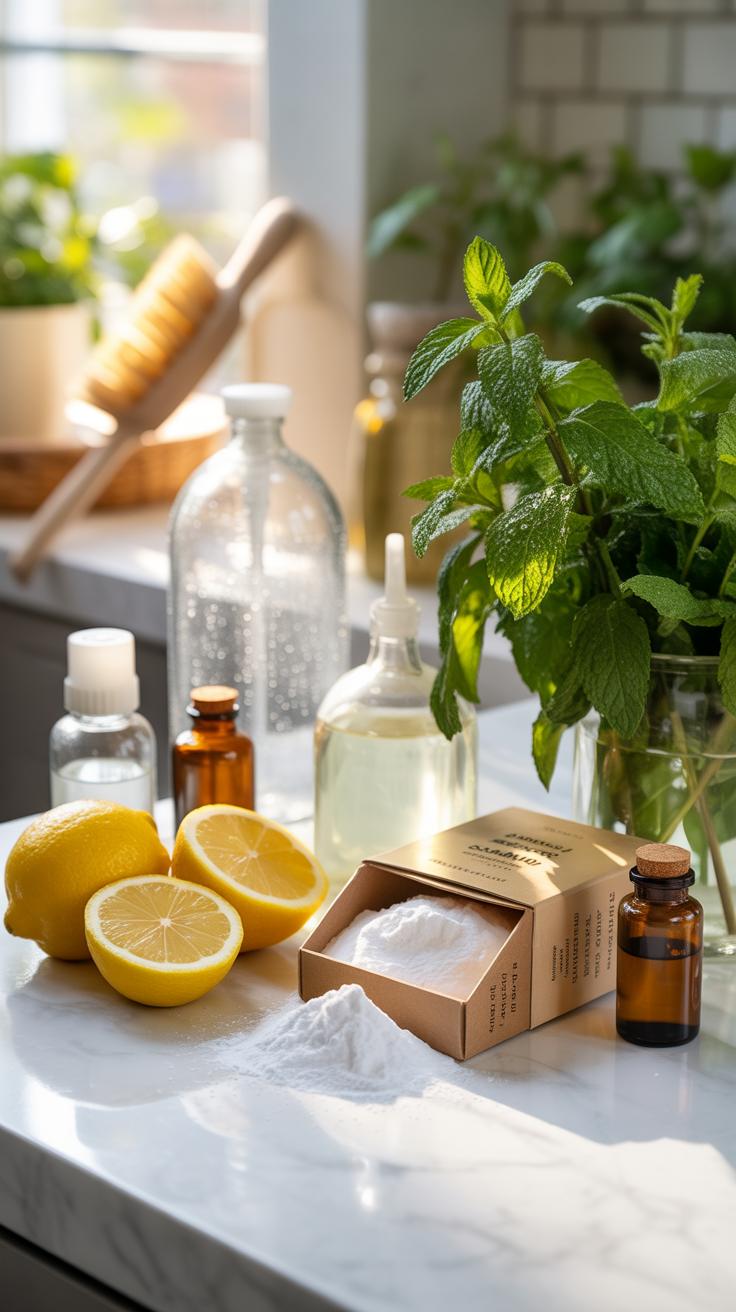
Vinegar, lemon juice, and baking soda make a strong team among natural cleaners. Vinegar’s acidic nature breaks down hard water spots and stubborn streaks. You might notice it leaves things sparkling when sprayed on windows and wiped away quickly.
Lemon juice, besides its acidity, adds a light scent that some people prefer over vinegar’s sharp smell. It also contains natural oils that help lift grime. Baking soda stands out not for its liquid power, but as a gentle scrub. It can be sprinkled on a damp cloth to tackle tough patches without damaging the glass.
Though each has its strengths, these agents can sometimes struggle with heavier oils or fingerprints. So, while natural, they might need a little help, especially on greasy windows or those exposed to smoke or cooking residues.
Alcohol And Soap In Window Cleaning

Rubbing alcohol is often included in window cleaning mixes because it evaporates fast, which reduces smearing. It breaks down oils and grease that water and vinegar can leave behind. This quick-drying quality means less wiping and fewer streaks, which is a big plus.
Mild dish soap, on the other hand, cuts through greasy fingerprints and smudges. Just a few drops in your cleaner can make a noticeable difference in how well dirt lifts off. It also helps create some suds, making it easier to spread the solution evenly.
But there’s a catch: too much soap can leave a film and cause streaks. So, balancing the amount is key. When done right, combining alcohol and soap gives you a cleaner that removes grime effectively and dries with clarity, which is what you want in any homemade solution.
How To Make Window Cleaner Homemade
Making your own window cleaner at home has a simplicity that’s hard to beat. You just need a few common ingredients, and it’s surprisingly effective. Let’s start with a basic recipe—something you can whip up in minutes for everyday cleaning.
Basic Recipe For Everyday Cleaning
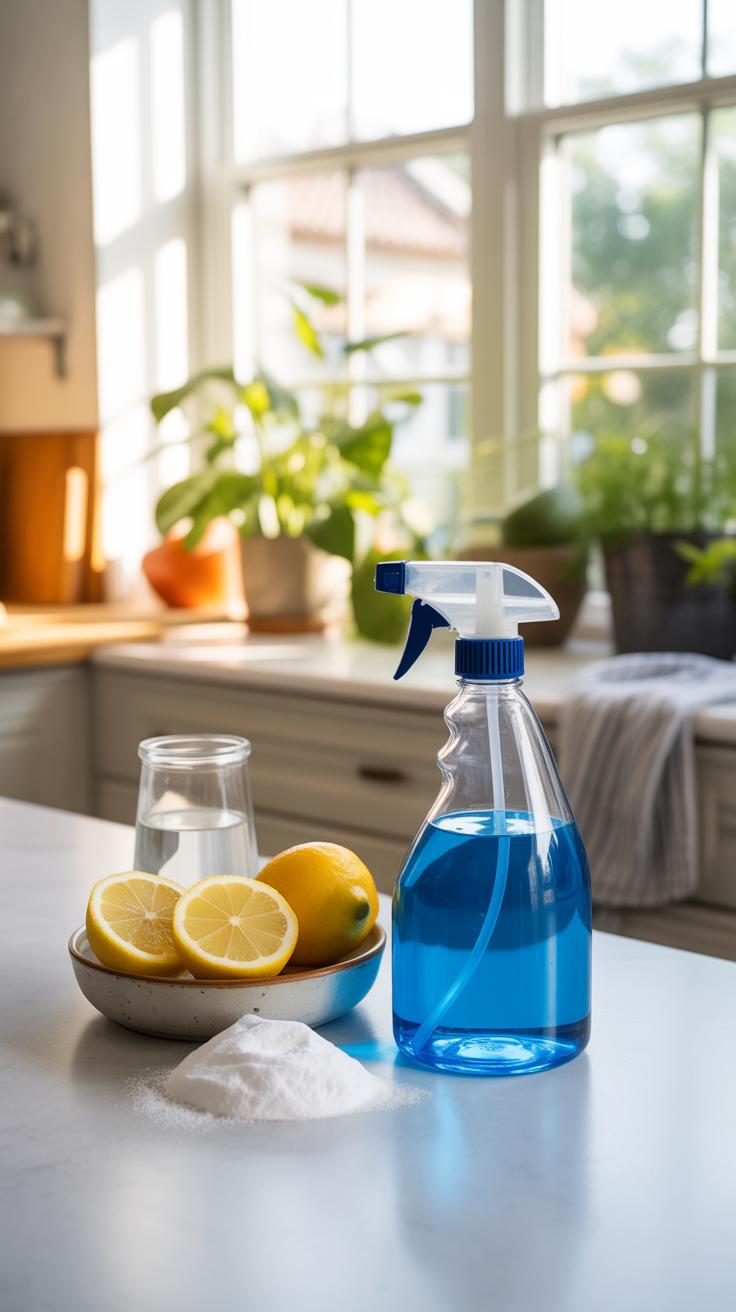
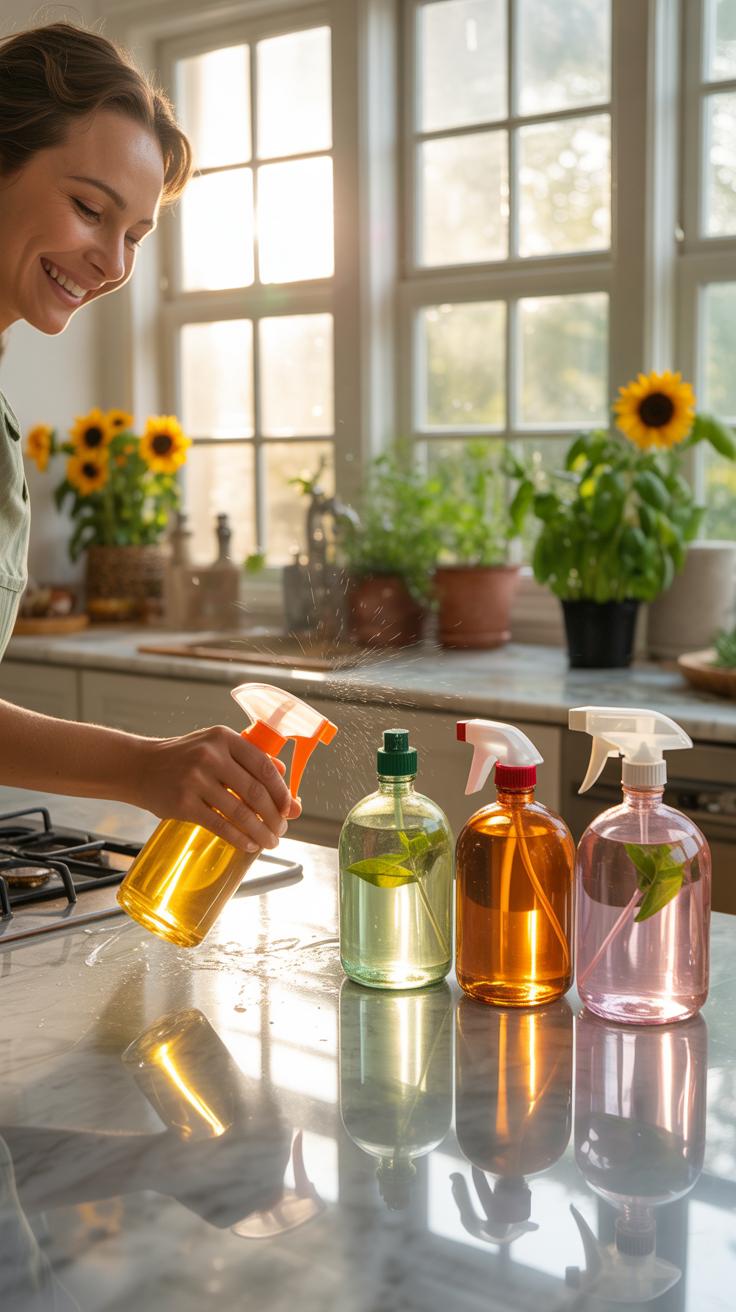
Grab a spray bottle and combine:
- 1 cup of white vinegar
- 2 cups of warm water
- A few drops of dish soap
Shake gently to mix. That’s it. The vinegar cuts through the usual fingerprints and grime, while the dish soap helps lift dirt without leaving streaks. I find this blend usually works best if you spray it on and wipe with a microfiber cloth—makes all the difference.
Stronger Mixes For Tough Dirt
For windows that stubbornly resist cleaning, adding rubbing alcohol or lemon juice can help. For example, try this mix:
- 1 cup rubbing alcohol
- 1 cup water
- 1 tablespoon white vinegar
- 1 to 2 drops of dish soap
This combination evaporates quickly and cuts grease effectively—better if your windows catch kitchen smoke or sticky residue. Or, if you want a fresher scent, swap the rubbing alcohol with lemon juice, though it might not be quite as strong for grease.
Have you noticed some recipes suggest adding more soap? Too much tends to leave streaks, which is frustrating. It’s a subtle balance. I usually stick with a drop or two. Also, whatever solution you try, the cloth you use will influence the finish—try different types, and see what works best for your windows.
Tools To Use With Homemade Cleaners
Choosing the right tools can make all the difference when working with homemade window cleaners. While the recipes are usually simple and gentle, applying them effectively to get streak-free, sparkling windows involves more than just the solution itself.
First, think about the cloth you’ll use. Microfiber cloths are generally the best bet. They hold moisture well, pick up dirt without scratching, and dry quickly. Paper towels might seem convenient, but they can leave lint behind or cause streaks that are tricky to remove. Old cotton rags? They might work in a pinch, but often come with dust or fibers that move dirt around instead of lifting it away.
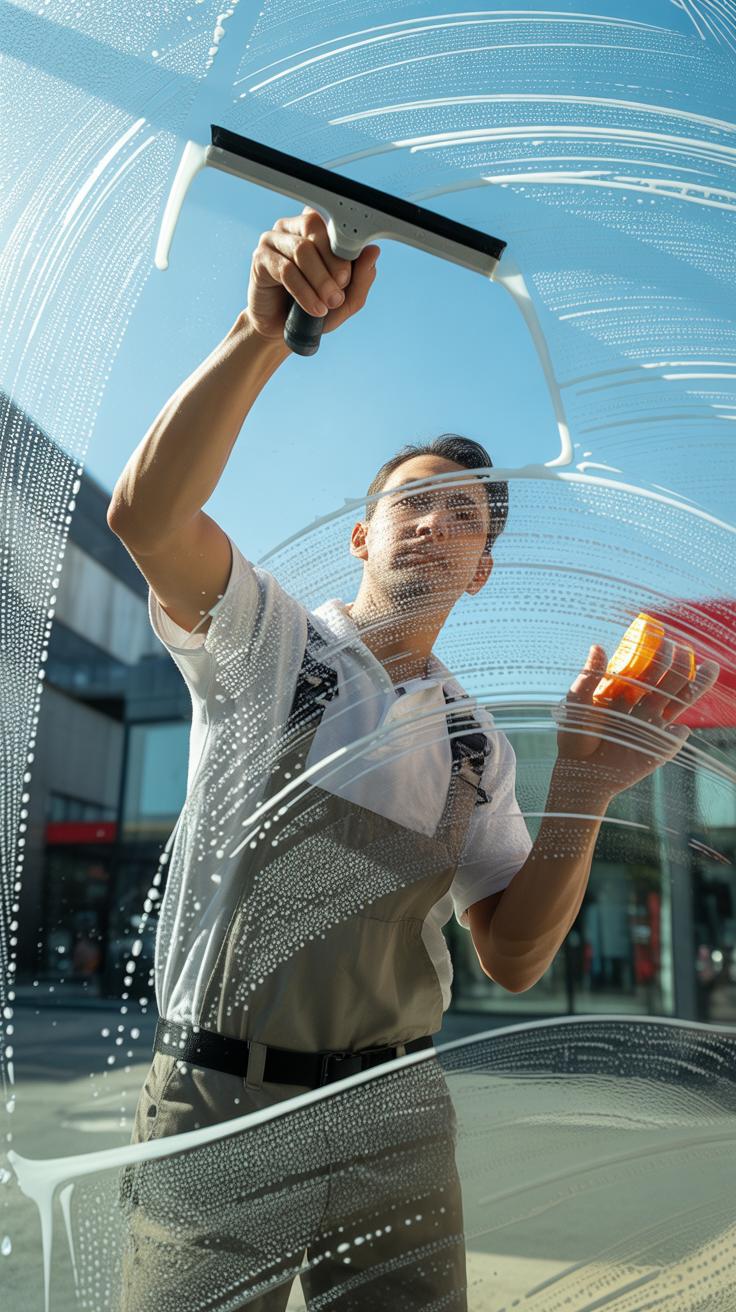
Then, there’s the squeegee. It’s the classic tool for a reason. Using a squeegee properly with your homemade cleaner wipes away the liquid and any dirt, leaving the glass clean in less time and with less effort. When you use it, start from the top and pull down in smooth, overlapping strokes. Wipe the blade after each pass to avoid streaking. It’s quick, clean, and usually more satisfying than just scrubbing with a cloth.
All these little choices impact your results. Have you noticed how even a great cleaner can leave smudges if your cloth isn’t right? Or how sometimes the squeegee leaves a bit of a streak if you rush the process? Finding your rhythm might take a few tries, but then, the windows almost shine themselves.
When To Use Homemade Cleaner Solutions

You might wonder when exactly it’s best to reach for your homemade window cleaner instead of store-bought options. I’ve found that homemade solutions work really well when your windows aren’t heavily soiled with stubborn grime or grease. Fresh dust, pollen, and fingerprints respond nicely to these gentle mixtures.
Also, these cleaners shine when you want a quick, frequent touch-up rather than deep scrubbing sessions. If your windows have a bit of buildup from everyday exposure but nothing alarming, homemade sprays do the trick without leaving residue or strong chemical smells.
Some people hesitate, thinking homemade cleaners might be less potent. But when used at the right time — say, after a light rain or a calm day — they give you sparkling results without fuss. It’s less about blasting away tough dirt and more about regular upkeep. That’s where they really earn their keep.
Best Weather Conditions For Window Cleaning
Ever tried cleaning windows under the blazing sun? The cleaner dries way too fast, and streaks appear as if by magic. That’s why cooler, overcast days are often recommended. Cloud cover slows drying, giving you a chance to wipe away grime before the liquid evaporates.
Cool temperatures mean fewer quick-dry problems, and you avoid the glare that makes those streaks all the more visible. I personally avoid windows on hot, sunny afternoons unless I’m in a rush. It just never feels as satisfying.
Besides avoiding streaks, cloudy days let you see smudges more clearly. When the light isn’t harsh, imperfections stand out just enough to catch your attention. So, if you know rain’s on the horizon but it’s still dry, that might be your sweet spot for cleaning.
Frequency Of Cleaning With Homemade Solutions
How often you should clean your windows with homemade cleaners hinges on where you live and what’s around your home. If you’re near busy roads or dusty areas, you’ll need to clean more frequently — perhaps every two to three weeks.
On the other hand, homes nestled in quiet neighborhoods or surrounded by greenery may only require monthly cleaning. A good rule of thumb: glance at your windows regularly and wipe them down as soon as they start looking dull or dirty.
Remember, over-cleaning isn’t necessarily better. If you scrub too often, especially with homemade solutions that aren’t abrasive, you might not harm the glass, but you could wear out surrounding seals or paints faster. Striking a balance depends on your environment and—frankly—your patience for regular chores.
Spot Differences Homemade Vs Store Cleaner

Effectiveness On Different Stains
When it comes to tackling grime on windows, homemade cleaners can surprise you. They handle common smudges and dust pretty well, especially mixtures involving vinegar and water. But stubborn stains like dried paint splatters or greasy residue tend to need stronger chemicals found in store-bought cleaners. I’ve noticed that homemade solutions sometimes struggle with these tougher marks, leaving faint streaks behind.
Commercial cleaners usually contain surfactants and solvents designed for specific stains, making them generally more reliable on varied messes. Yet, if you’re cleaning regularly, homemade mixtures do a decent job keeping windows clear without harsh scrubbing. It’s a bit of a trade-off between gentle maintenance and heavy-duty stain removal.
Environmental Impact Comparison
Homemade cleaners usually win when thinking about the environment. Ingredients like vinegar, baking soda, and lemon juice break down naturally and don’t pollute water systems. Plus, you’re not dealing with plastic bottles or unnecessary packaging every time you clean. It feels good using something simple and less wasteful.
On the flip side, many commercial window cleaners contain chemicals that can irritate skin or eyes and may harm aquatic life if rinsed away. The manufacturing process for these products often involves more energy and creates waste. Though, to be fair, some brands advertise greener formulas, but I wonder just how green those really are.
Between cost, safety, and environment, homemade cleaners might not knock out every challenge but offer a gentler, affordable way to maintain sparkling windows most days.
Mistakes To Avoid Cleaning Windows
Using homemade window cleaners sounds simple enough, but there are some common slip-ups people make that can end up with less-than-perfect results. One mistake I’ve noticed is using too much solution—more is not always better. Excess liquid can leave streaks that take forever to dry or worse, drip inside your home. Try spraying lightly and wiping promptly; it’s a small tweak that makes a big difference.
Another frequent problem is cleaning windows in direct sunlight. The heat dries the cleaner too quickly, leaving spots and streaks. Maybe it’s tempting on a bright day, but try choosing a cloudy morning or late afternoon instead. You might find your windows shine without the hassle.
Many people also forget to change or clean their cloths often. Using a dirty rag can spread dirt, leading to smudges rather than a clear finish. Switching to a fresh microfiber cloth midway through your cleaning helps avoid this. It might feel like an extra step, but it’s well worth it.
Avoiding Streaks And Spots
Streaks and water spots are probably the biggest frustrations when cleaning windows at home—especially using homemade solutions. To keep your glass sparkling, here are a few tips that could help:
- Use distilled or filtered water in your mix. Tap water sometimes leaves mineral deposits, which show up as spots.
- Wipe in one direction rather than random circles. This controls where the solution dries and reduces streaking.
- Try a squeegee after wiping, but don’t rush—slow, steady strokes pull off excess cleaner effectively.
- Avoid over-saturating. Damp cloths dry better than soaked ones, and that reduces marks.
- If streaks appear, buff them gently with a dry, lint-free cloth instead of adding more cleaner.
Personally, I found that pairing a vinegar-based solution with a bit of good quality paper towels works better than anything else I’ve tried. But then, everyone’s windows and water vary, so some trial might be needed on your part.
Proper Storage Of Homemade Cleaners
Once you’ve mixed your window cleaner, storing it well matters more than you might think. If left uncovered or in sunlight, homemade solutions can lose effectiveness or separate into different layers. A sealed spray bottle kept in a cool, dark place generally works best.
Label your bottles clearly, too. It’s easy to confuse mixtures, and some ingredients—like vinegar—shouldn’t come into contact with certain surfaces or materials. I once mistook a glass cleaner for a kitchen spray; the results weren’t disastrous, but it was a hassle.
Also, keep your homemade cleaners away from children and pets. A high shelf or locked cabinet can prevent accidents, especially since these mixtures may look like harmless water.
Checking your homemade cleaner’s smell or consistency before each use is a good habit. If it smells off or looks cloudy, it might be time to make a fresh batch. You don’t want ineffective or spoiled cleaner smearing your windows.
Case Example Homemade Cleaning Success
Maria, a mom of two, decided to try a simple homemade window cleaner after struggling with streaky, dusty windows for months. Her old ones were grimy, with smudges more visible in the morning light. She mixed equal parts water and vinegar with a teaspoon of dish soap, following a recipe found online. The cleaning felt straightforward, though she wasn’t sure if the vinegar smell would linger.
After wiping, the transformation was quite clear. The windows appeared noticeably brighter—less hazy and with fewer streaks than her store-bought attempts. It wasn’t perfect; some spots took a little extra elbow grease, especially near the corners. Still, the sparkle was unmistakable.
User Tips And Feedback
Maria shared a few tips from her experience that might help you if you decide to try this:
- Use a microfiber cloth instead of paper towels to cut down streaks.
- Spray the solution lightly to avoid excess dripping that can leave marks.
- Work on one small section at a time; it stops the solution from drying too fast and leaving spots.
- Don’t rush—sometimes, a second pass is worth it, especially on older dirt.
She also noted that while the smell of vinegar initially bothered her kids, it faded quickly outdoors. The cost savings made the mild inconvenience worthwhile. Though she wondered if adding a few drops of essential oil might improve the scent for next time. Overall, she found the DIY solution surprisingly effective, if a bit basic in scent and requiring some patience.
Checklist To Clean Windows Well
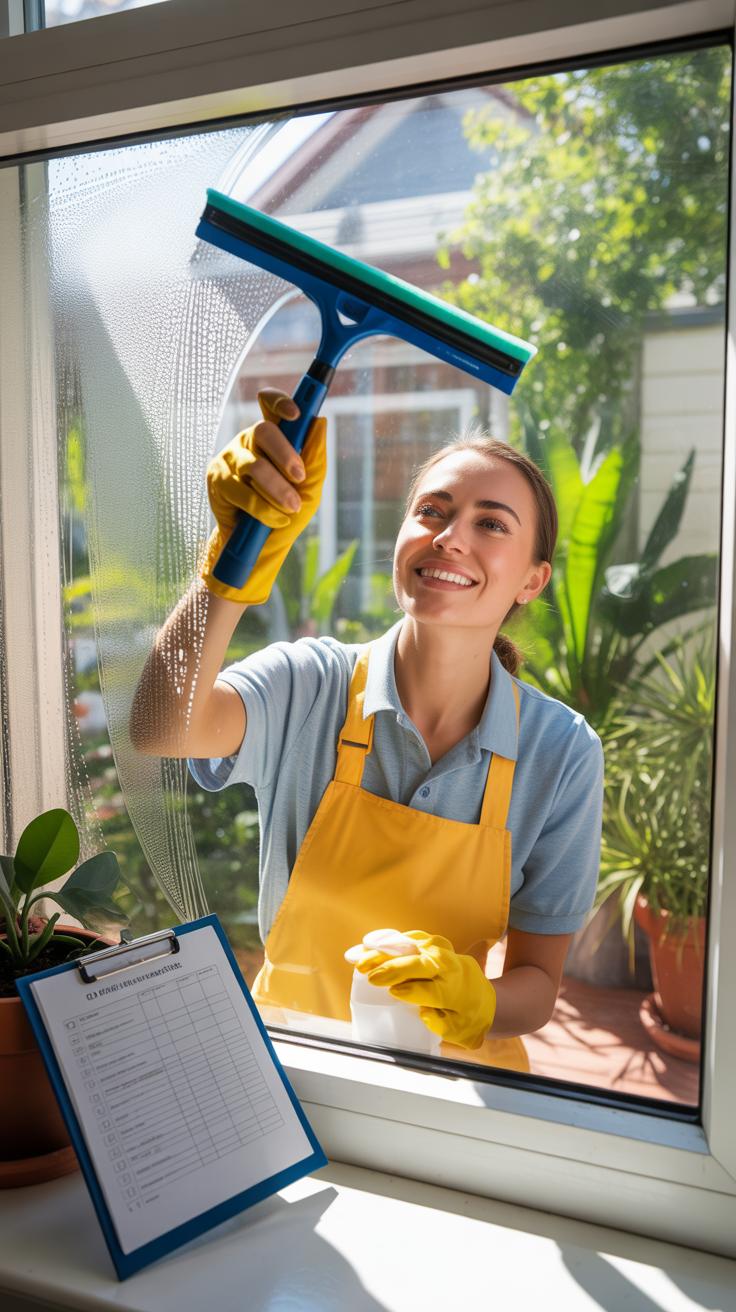
Preparing The Window Surface
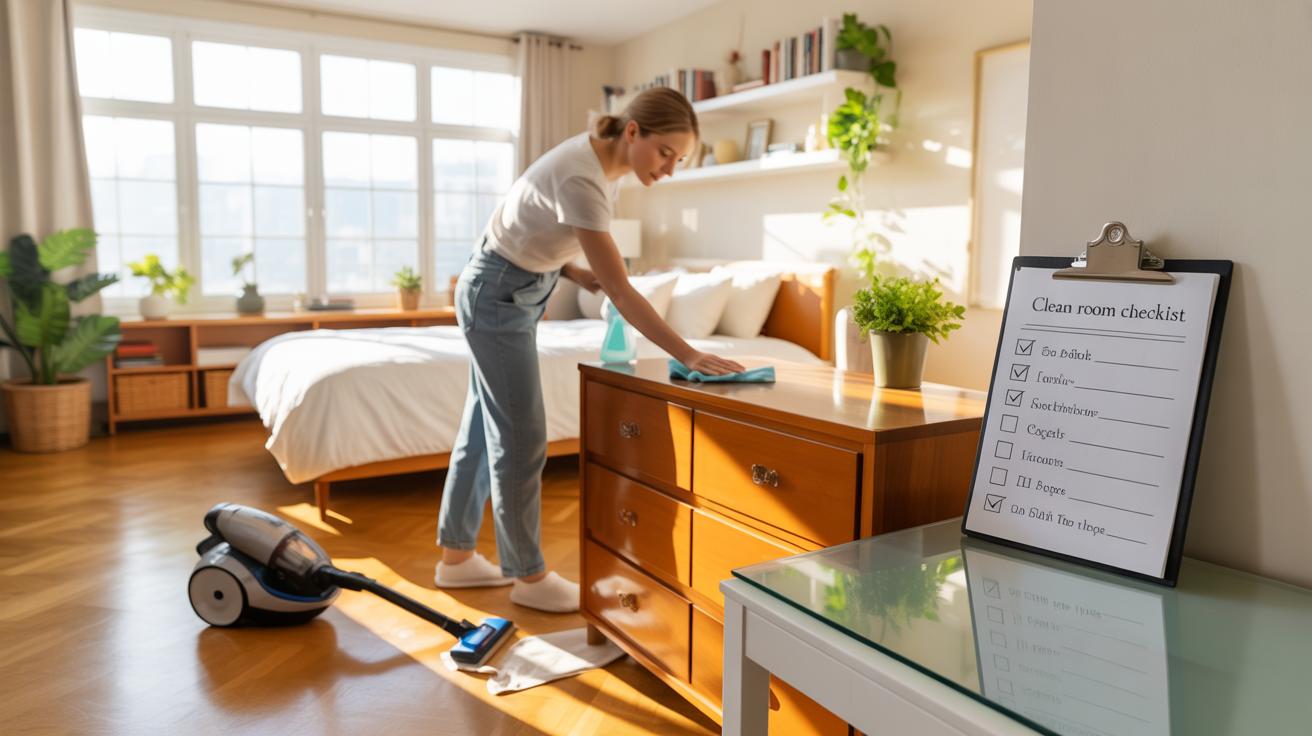
Before you reach for your homemade window cleaner, take time to clear the way first. Dust and loose dirt can quickly turn into stubborn streaks if you skip this step. Use a soft brush or a dry microfiber cloth to gently sweep away dust, spider webs, or any loose grime. I sometimes like to open the window a crack and use a handheld vacuum to suck out any trapped dirt in the corners. It’s a bit of extra effort, but it pays off.
If you notice any stuck-on debris or dried spots, dampen a cloth slightly and wipe them off before spraying your solution. Starting with a relatively clean surface means your cleaner won’t have to battle through layers of dirt, which makes your job easier and your windows clearer.
Cleaning And Drying Steps
Once the surface feels fresh, spray your homemade cleaner evenly but not too heavily—too much liquid can create drips and streaks. I like to work one pane at a time to keep track of what’s clean. Use a microfiber cloth or a squeegee to wipe the window systematically. When using a squeegee, pull it horizontally or vertically but keep your strokes consistent for fewer streaks.
After cleaning, dry the edges and any drips with a clean, dry cloth—this helps avoid water marks settling in. Sometimes, flipping the cloth to a dry side or switching to a new one during the process helps prevent redistributing dirt. If you’re like me, a bit of patience here helps—the drying step is where you really see if your solution did the trick or if a second pass is needed.
Have you tried drying windows on a very sunny day? It can speed up drying but also increases streak risk. Balancing timing and weather is almost an art in itself.
Conclusions
Window cleaner homemade recipes can be both safe and effective. Using ingredients like vinegar, water, and rubbing alcohol helps clean glass without harsh chemicals. These cleaners are cheap and easy to make, making it simple for you to keep your windows spotless regularly at home. You also avoid streaks and residues that some commercial cleaners leave behind.
Trying these homemade solutions saves money and reduces chemicals in your household. The step-by-step guides help you clean without extra effort or special equipment. Your windows will look bright and clear, letting in more light and improving your home’s atmosphere. With a little practice, these window cleaners will become your go-to solution.