Introduction
Room cleaning is a task that many find challenging but is essential for maintaining a healthy and pleasant living environment. Implementing effective room cleaning tips can simplify this task and improve overall cleanliness. This article introduces Room Cleaning Tips With An Effective Clean Room Checklist that can guide you through the process step-by-step.
We will discuss practical strategies, necessary tools, and common pitfalls to avoid, along with a detailed checklist to keep you organized. By following these tips, you can make your cleaning routine more efficient and less overwhelming.
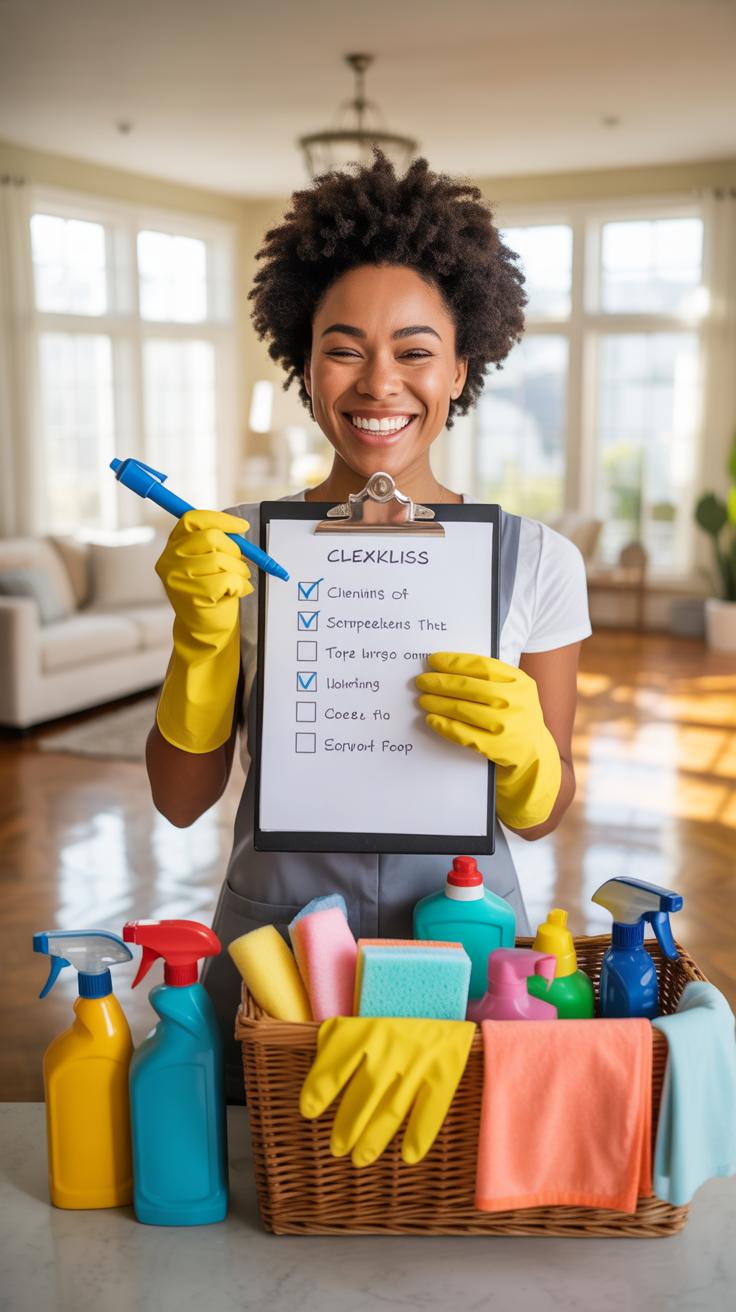
Setting Up A Cleaning Checklist
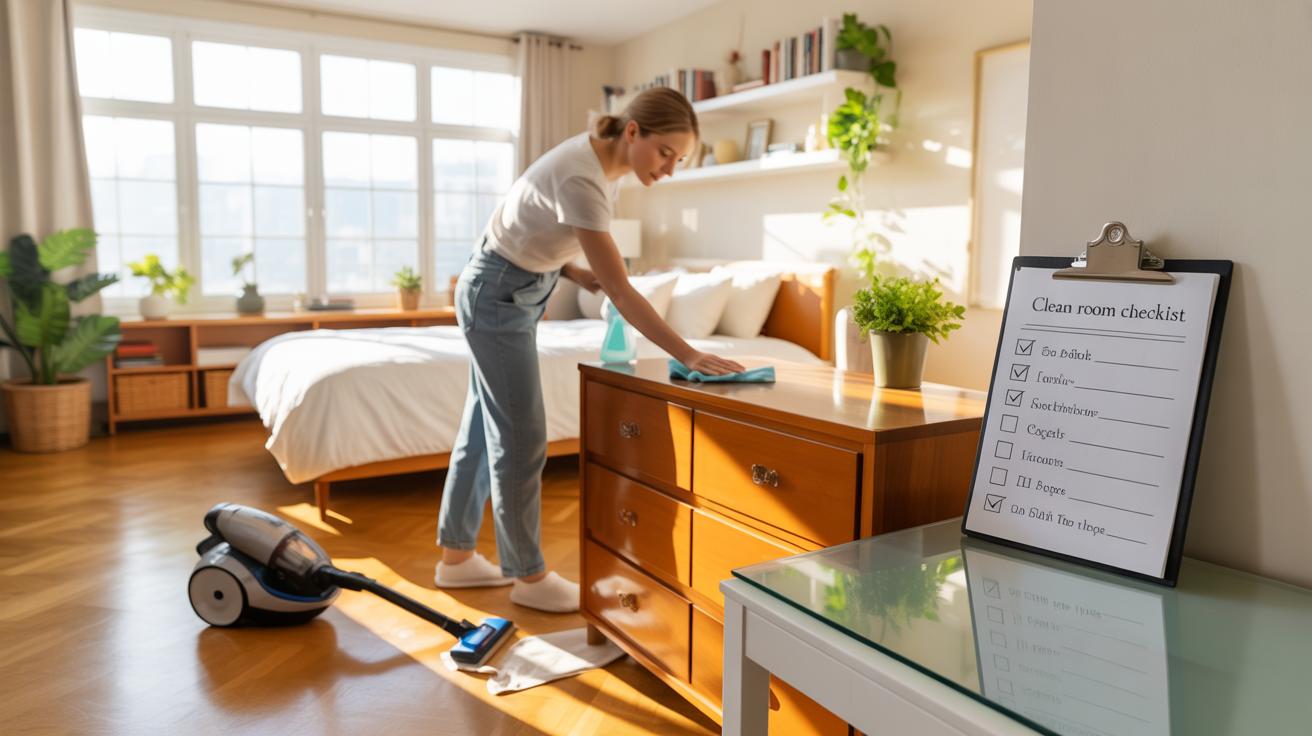
Creating a cleaning checklist doesn’t have to be complicated. Start with a simple list that covers the main tasks you want to tackle. Write down each area or item needing attention, then break it down into manageable steps—dust surfaces, vacuum floors, organize shelves, for example. The key is to keep it straightforward so you won’t get overwhelmed before you even start.
Once you have a basic list, tweak it according to your lifestyle. Maybe laundry piles up fast for you, so add specific washer and dryer tasks. Or perhaps you need a stronger focus on electronics or window wiping. Customize it until it feels like it reflects both your space and schedule.

Having a checklist helps because it keeps you on track, especially on those days you’d rather skip cleaning. You don’t have to guess where to start, which reduces hesitation and procrastination. Plus, over time, it builds a habit, making room cleaning less of a chore and more routine—though, full honesty, it doesn’t work like magic every day.
Key Areas To Include In Your Checklist
Focus on the parts of your room that most affect its feel and function. Floors are a no-brainer—dust and dirt gather there and can make a room feel grimy quickly. Surfaces such as desks, nightstands, and dresser tops should get frequent wiping because clutter and dust build up fast.
Storage spots deserve attention too. Closets, drawers, and shelves often hold forgotten messes or piles you might not notice every day but accumulate over time. Cleaning these spaces keeps clutter under control and helps prevent overwhelming messes.
Think about the items you use regularly. Electronics screens, door handles, and light switches might not seem dirty but are high-touch points where germs collect. Including these makes the checklist more thorough and safeguards more than just appearance.
Adapting The Checklist To Your Schedule
Not every task needs daily attention. Some things you really only need to do once a week or even monthly. To keep your routine realistic, divide your checklist into daily, weekly, and monthly sections. For example, make your bed and wipe down surfaces each day but save deep closet organization for once a month.
If you’re pressed for time, focus on smaller daily tasks that keep things from piling up. On less busy days, tackle longer or more detailed jobs. This way, the cleaning doesn’t become a huge time sink all at once, but your room still stays reasonably tidy.

Finding the right balance might take some trial and error. You might start with a task schedule that feels too much, then scale back or shuffle items around. That’s fine; the goal is something sustainable, not perfect. You want to clean enough to keep order but also leave time for other things—you know, life.
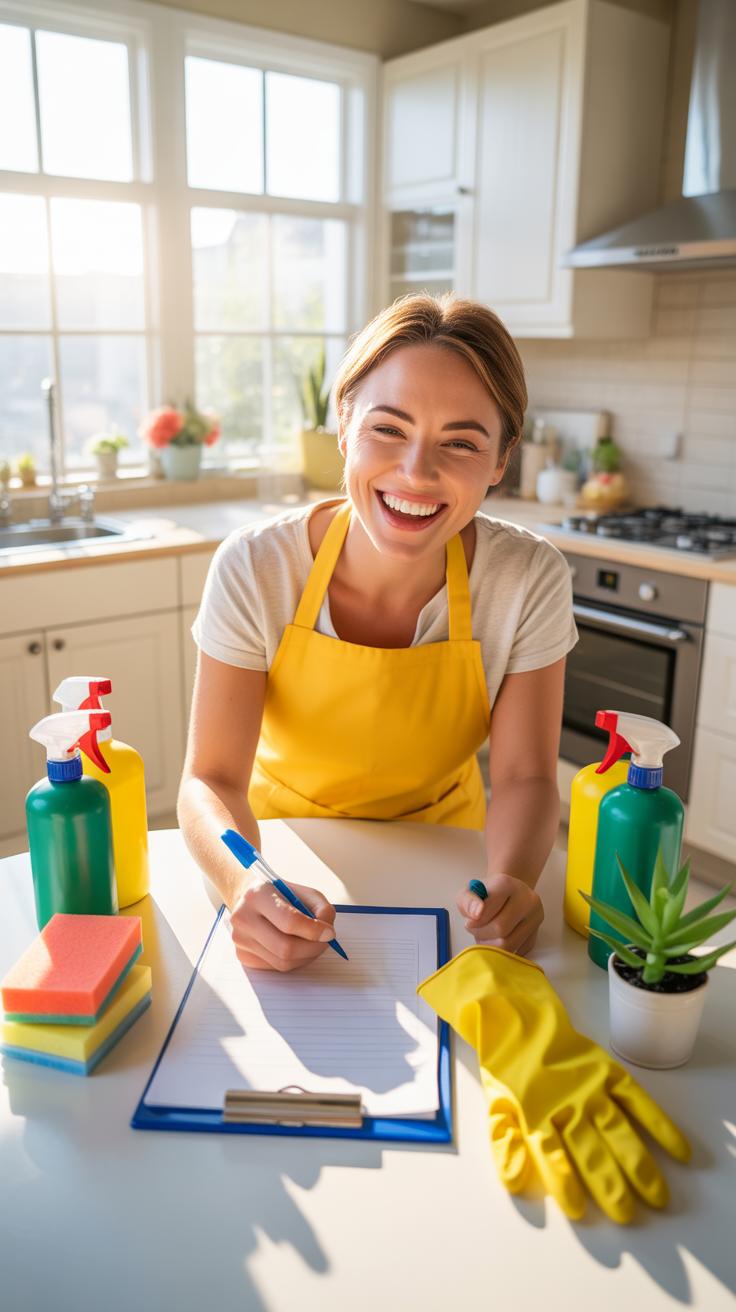
Choosing The Right Cleaning Tools
Essential Tools For Basic Cleaning
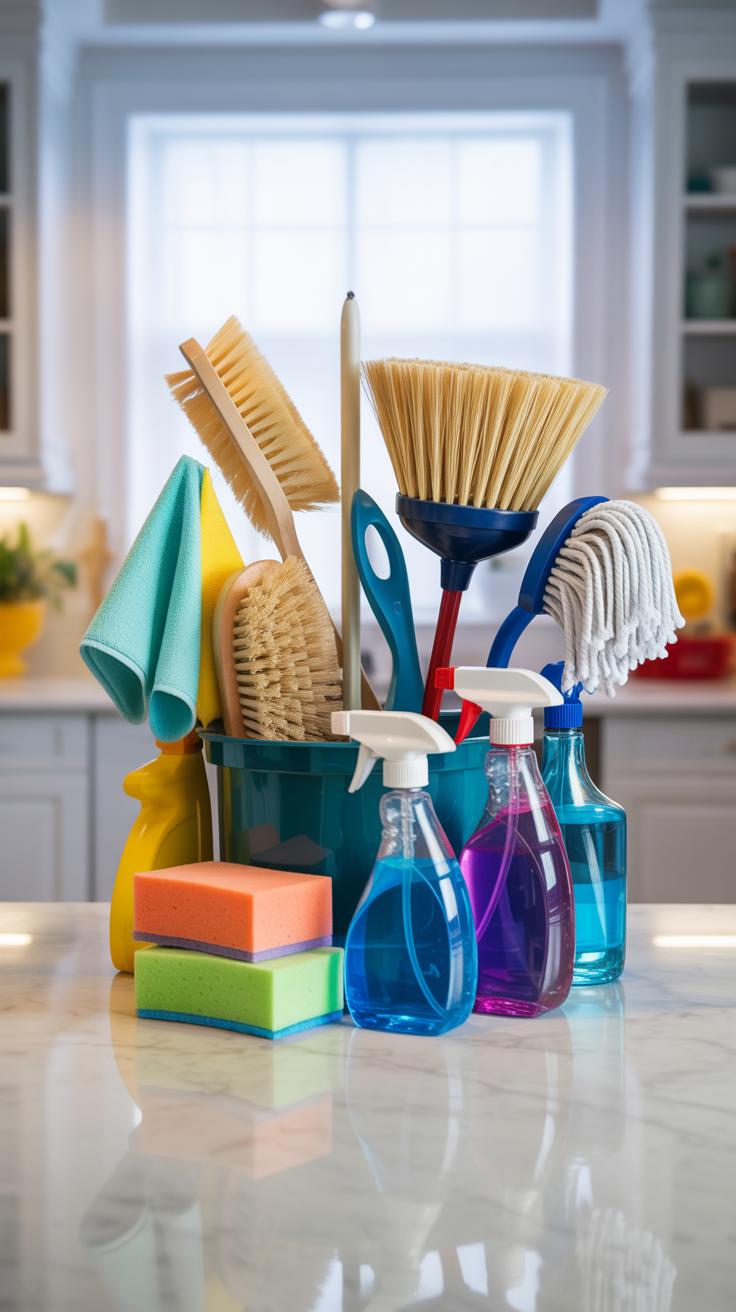
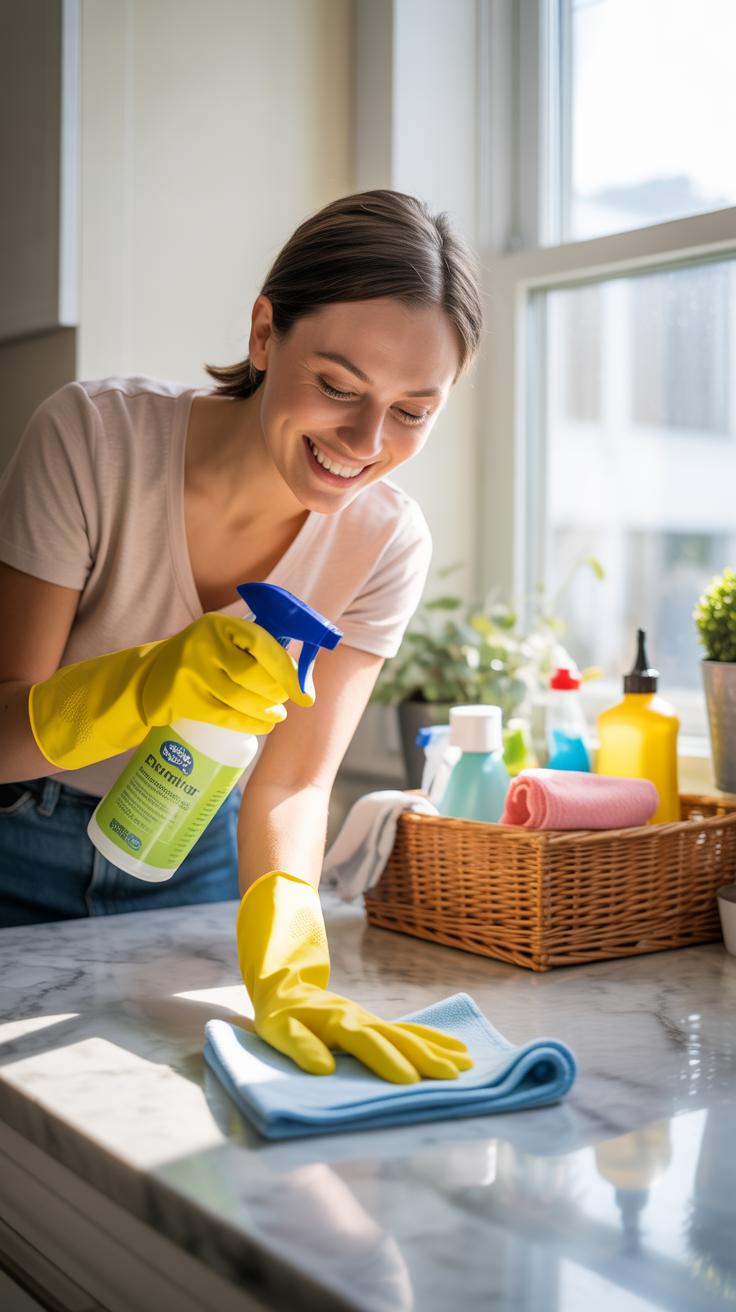
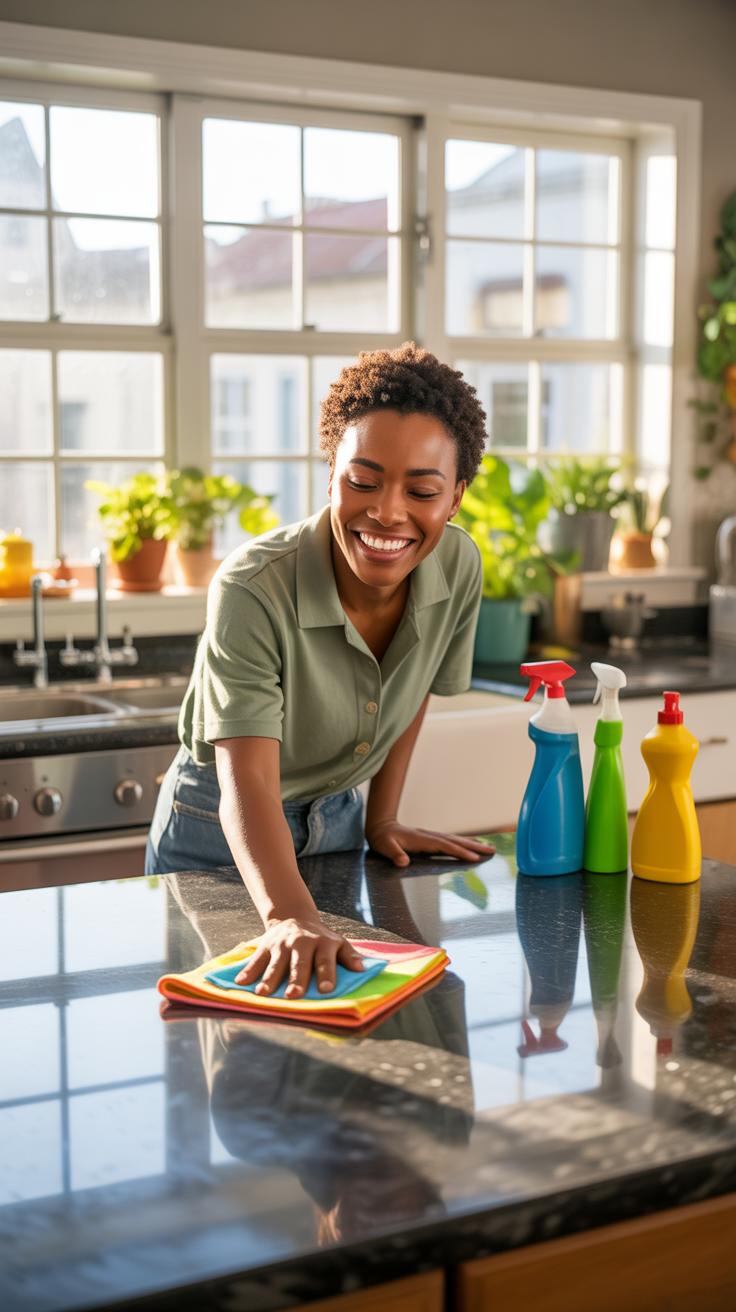
Picking the right tools for room cleaning can make the task less overwhelming and more manageable. You don’t need a dozen gadgets, just a handful of reliable ones that suit your space and habits. For starters, microfiber cloths are a must-have. They grab dust and dirt better than regular cloths and don’t leave lint behind. They work well on electronics, glass, and wood surfaces, making dusting feel less like a chore.
A broom and dustpan still have their place, especially for hardwood or tile floors. Sweeping is quick and simple, and you get immediate results. But for carpeted rooms, a vacuum cleaner takes precedence. If you have pets or allergies, a vacuum with a HEPA filter can reduce dust and allergens significantly.
These basics cover most surfaces. It’s tempting to buy specialized tools, but sometimes simplicity wins. I’ve found that switching between a duster for high shelves and a vacuum for floors strikes a good balance. The fewer tools you juggle, the more likely you are to keep things up regularly.
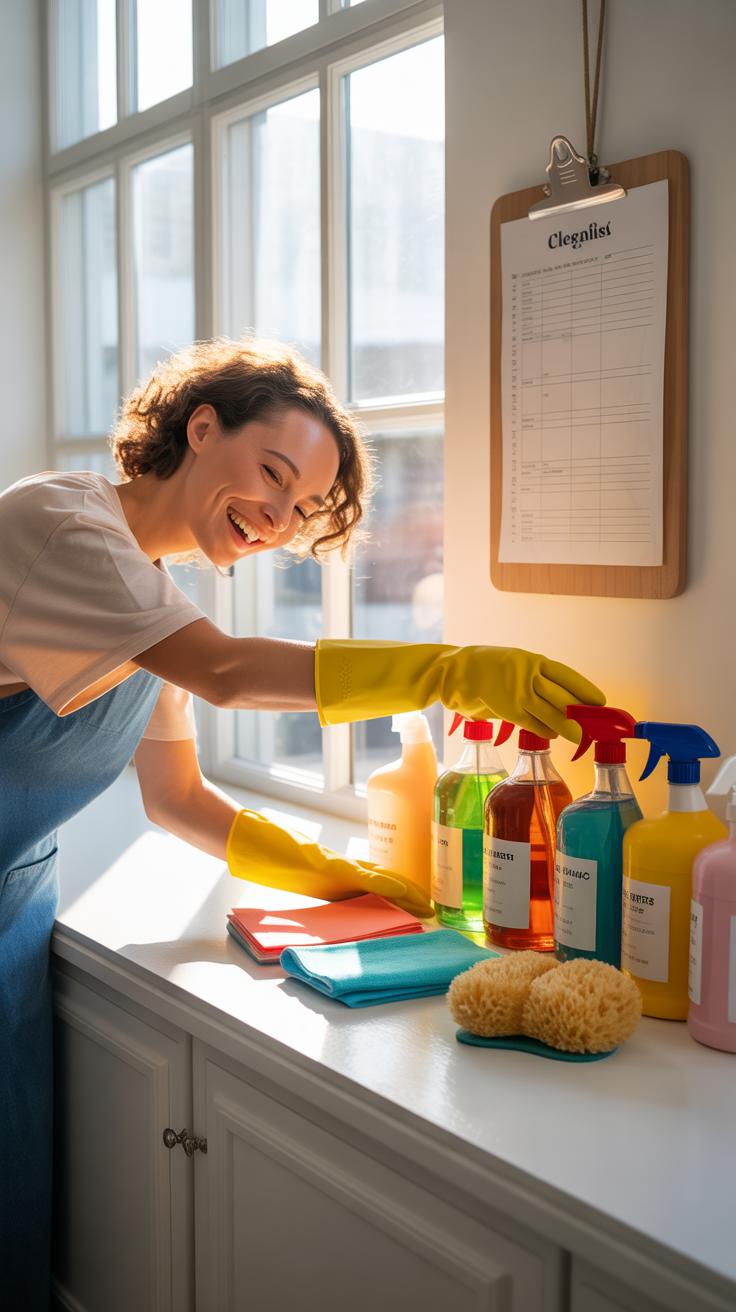
Using Cleaning Agents Safely

Choosing cleaning agents feels trickier. You want something that cleans well but doesn’t introduce harsh chemicals that might bother your lungs or damage surfaces. Natural options like vinegar, baking soda, or lemon juice often do the job. They’re gentle and less likely to cause reactions, but they’re not magic. Some stains or grime stubbornly resist these milder agents.
If you do go for commercial products, reading the labels—or maybe just carrying out a small test on an inconspicuous spot—is wise. Using too much cleaner or mixing products can lead to problems. For example, mixing bleach with ammonia creates harmful fumes. Maybe you’ve heard this, but it’s worth repeating since it’s easy to overlook in the rush.
Storing your cleaning agents safely also matters. Keep them out of reach of children and pets, and never transfer them to unlabeled containers. In the end, the safest approach seems to be picking a small selection of trusted products and sticking with those. It reduces confusion and prevents accidental misuse.
Organizing Your Cleaning Workflow
When you start cleaning a room, it can be tempting to jump right into wiping surfaces or vacuuming. But if you don’t have a plan, you might end up wasting time or going over the same spot twice. A clear workflow lets you move through the room smoothly, without backtracking or missing areas.

First, think about the order of your tasks. Decluttering always comes first because it clears the space for actual cleaning. You can’t really dust or mop when piles of stuff sit around. So, start by gathering out-of-place items—clothes, papers, random objects—and put them where they belong or in a box for sorting later. This step alone often makes visible progress, which can boost your motivation.
Next, clean from top to bottom. Dust settles downward, so start with ceiling fans, shelves, or upper window sills, then move to furniture and floors. This way, any dust that falls won’t ruin newly cleaned surfaces below. Knowing this, I’ve sometimes paused to wipe windows before tables since glass attracts smudges, but generally, top-to-bottom holds true.
Don’t forget to think about convenience. Keep your cleaning supplies handy but out of the way so you don’t have to keep going back and forth. And if the room’s big or particularly messy, break the job into zones. It feels less overwhelming and lets you track progress. Have you ever noticed that cleaning in bursts makes it less tiring?
Finally, finish by putting away supplies and doing a quick walkthrough to spot missed spots. Missing just one corner can leave you feeling like you didn’t really clean. So take a moment—even if you’re tired—to check with fresh eyes. This small habit prevents having to redo tasks later.
Dealing With Tough Spots And Stains
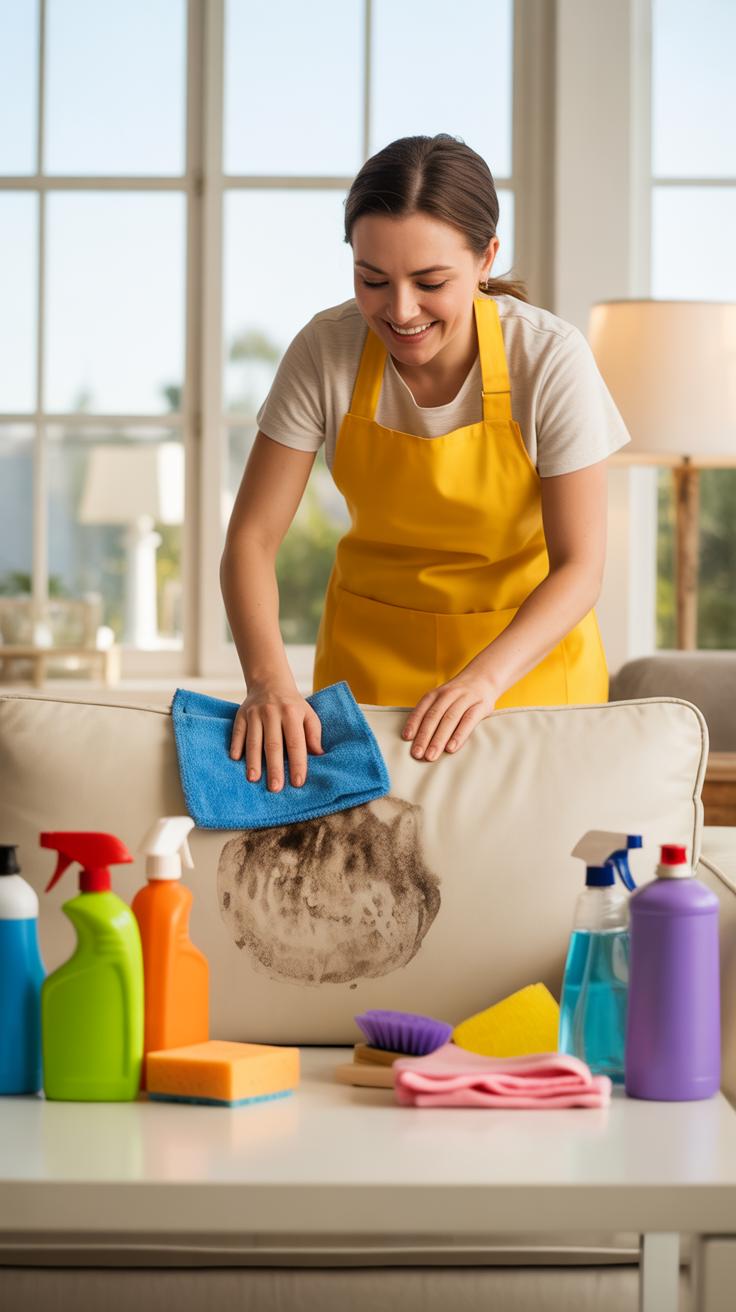
Sometimes stains show up exactly where you least want them—on carpets, upholstery, or even walls. Tackling these spots doesn’t always require fancy products. In fact, a lot of common household items come in handy. For example, a mix of baking soda and vinegar often works well on food or drink spills. Just sprinkle baking soda on the spot, pour a bit of vinegar, let it fizz, then blot gently with a clean cloth.
Grease stains on upholstery can be tricky, but a dab of dish soap diluted with water usually helps break down the oil. Avoid rubbing too hard; blotting is better to prevent pushing the stain deeper. Something I learned the hard way: patience matters—sometimes you have to repeat the process a few times before it actually fades.
Removing Carpet And Upholstery Stains
Carpet stains can be stubborn, but starting with blotting instead of scrubbing makes a difference. You want to lift the stain, not spread it. For liquid spills, work from the outer edges inward. That prevents the stain from growing.
Here are a few practical steps:
- Use plain water first, blotting with a clean cloth to absorb as much as possible.
- Apply a small amount of mild detergent mixed with warm water if water alone doesn’t work.
- Try a vinegar and water mixture for tougher stains, but test it on a hidden area first.
- Let the area air dry instead of using heat—heat sometimes sets stains.
Patience and gentle blotting go a long way, and it’s often more about what you avoid doing—rubbing or harsh chemicals—than what you apply.
Cleaning Walls And Windows Effectively
Walls tend to catch fingerprints, smudges, and marks that dull the room’s look. For walls, a damp sponge with a small amount of dish soap usually does the trick. You might have to go over tricky spots a couple of times, but be gentle to avoid peeling paint.

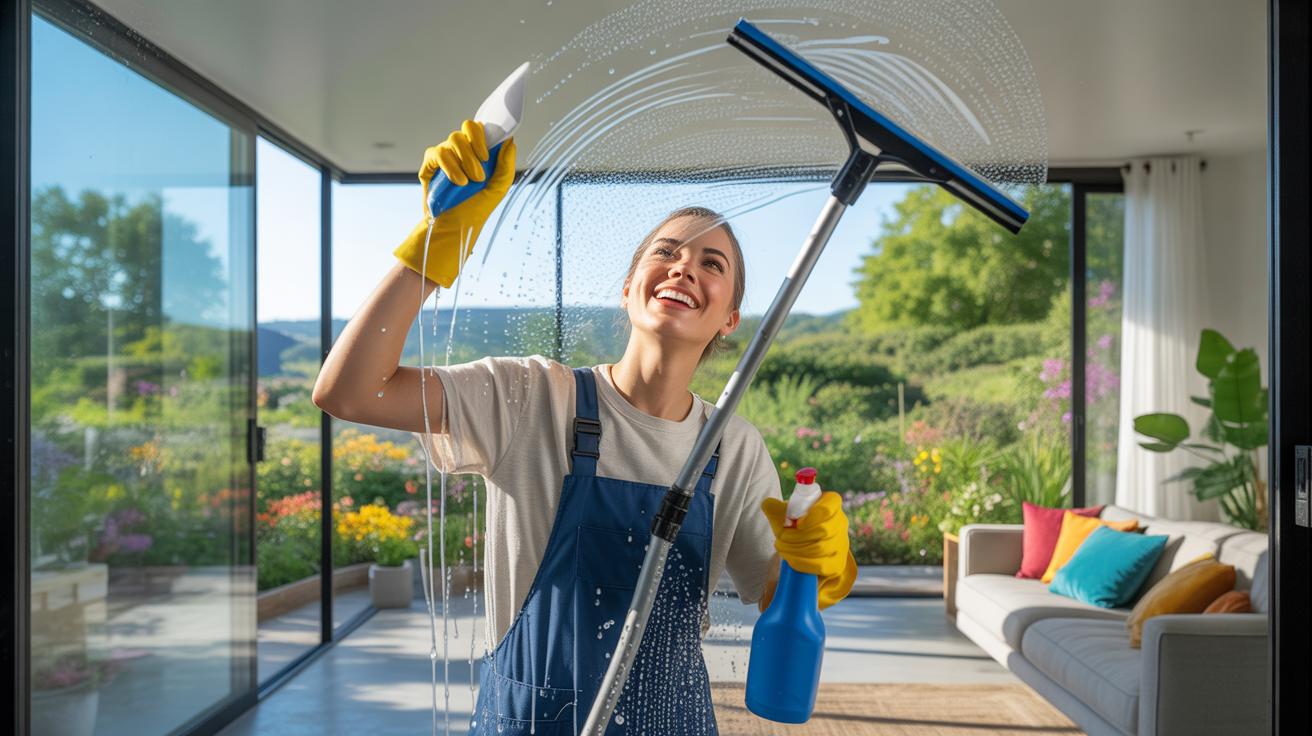
For marks like crayon or pencil, a magic eraser works well, but it’s easy to overdo it. Use it softly and test on a hidden spot first. Windows require a bit different tact—spray a mixture of vinegar and water or a window cleaner, then wipe with a microfiber cloth. Paper towels can leave lint, so it’s best to avoid those.
Don’t rush these tasks. Sometimes, a second or third pass can really brighten things up. What’s your experience with stubborn wall marks? They can be surprisingly persistent, can’t they?
Maintaining Air Quality During Cleaning
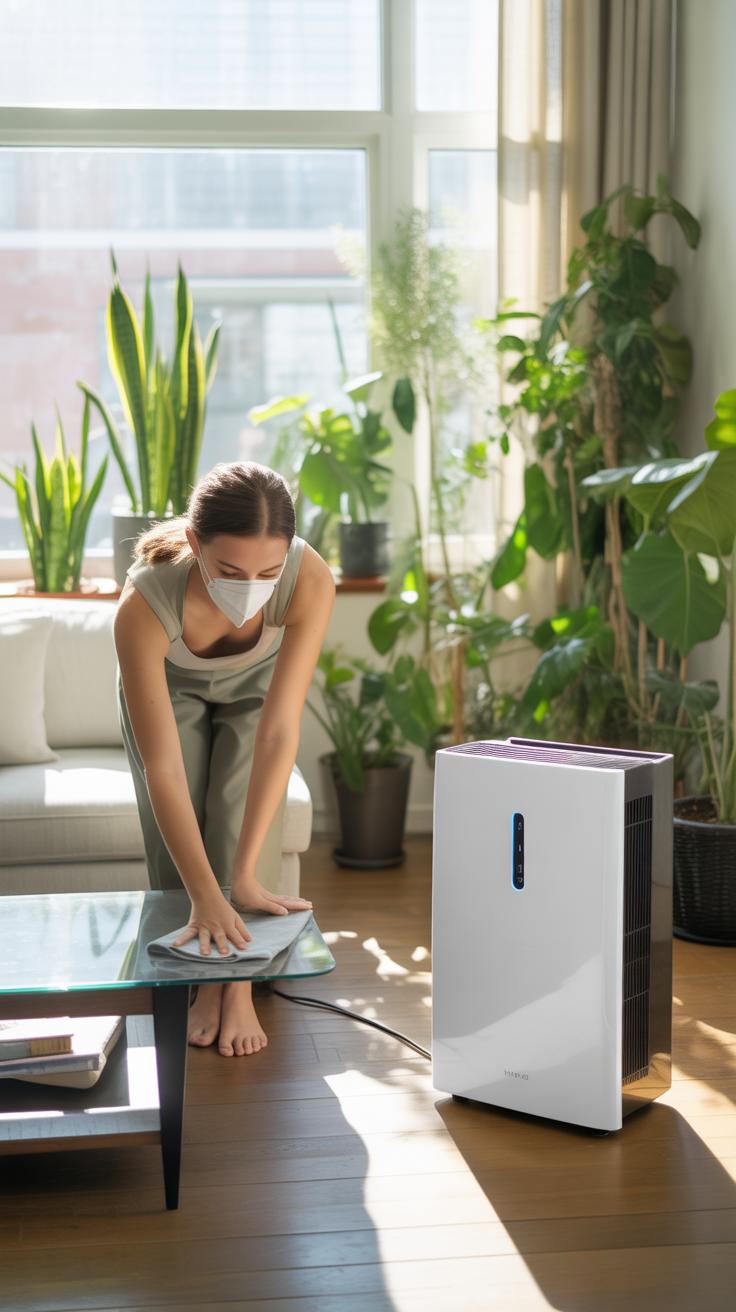
Air quality often gets overlooked when cleaning a room, but it really matters. Dust and allergens get kicked up easily while you wipe or vacuum, and if the air is stagnant, they just linger longer. You might think that a quick dusting is harmless, but tiny particles can stick around and affect your breathing later on. Especially if you’re sensitive to allergens or have pets, it’s worth paying attention to the air you breathe during and after cleaning.
To improve air quality, try to minimize dust spread right from the start and keep it low after you finish. That means tackling dust sources carefully, such as using damp cloths instead of dry dusters, which often just scatter dust into the air. After cleaning, maintain a clean airflow by moving fresh air through the space, either naturally or with gadgets.
Using Ventilation And Air Purifiers
Opening windows is a simple trick that works better than you might expect. Even just a small breeze can help sweep away airborne dust, replacing it with fresh outdoor air. But if outdoor air is polluted or too cold, that might not feel right and could lead you to keep windows shut more often.
In such cases, air purifiers come in handy. They trap dust, allergens, and other particles, improving the air inside without needing constant ventilation. When I started using one, I noticed less sneezing during and after cleaning, which was a real surprise. It’s not perfect for every room, though, depending on its size and purifier power. But for bedrooms or home offices, they often make a noticeable difference.
Choosing Low-Dust Cleaning Methods
How you clean makes a big difference in dust control. Dry dusting can stir up more dust than you remove, which feels counterproductive. Instead, I often reach for a damp cloth or microfiber wipe. Wet wiping traps dust rather than releasing it back into the air.
Vacuuming with a HEPA filter is another way to reduce airborne dust. Unlike regular vacuums, HEPA filters capture tiny particles, preventing them from being blown around. I used to think any vacuum would do, but switching to one with HEPA made a clear difference, especially for allergy relief. If you don’t have a HEPA vacuum, damp mopping floors after vacuuming can help catch dust that’s left behind.
Comparing Manual And Machine Cleaning
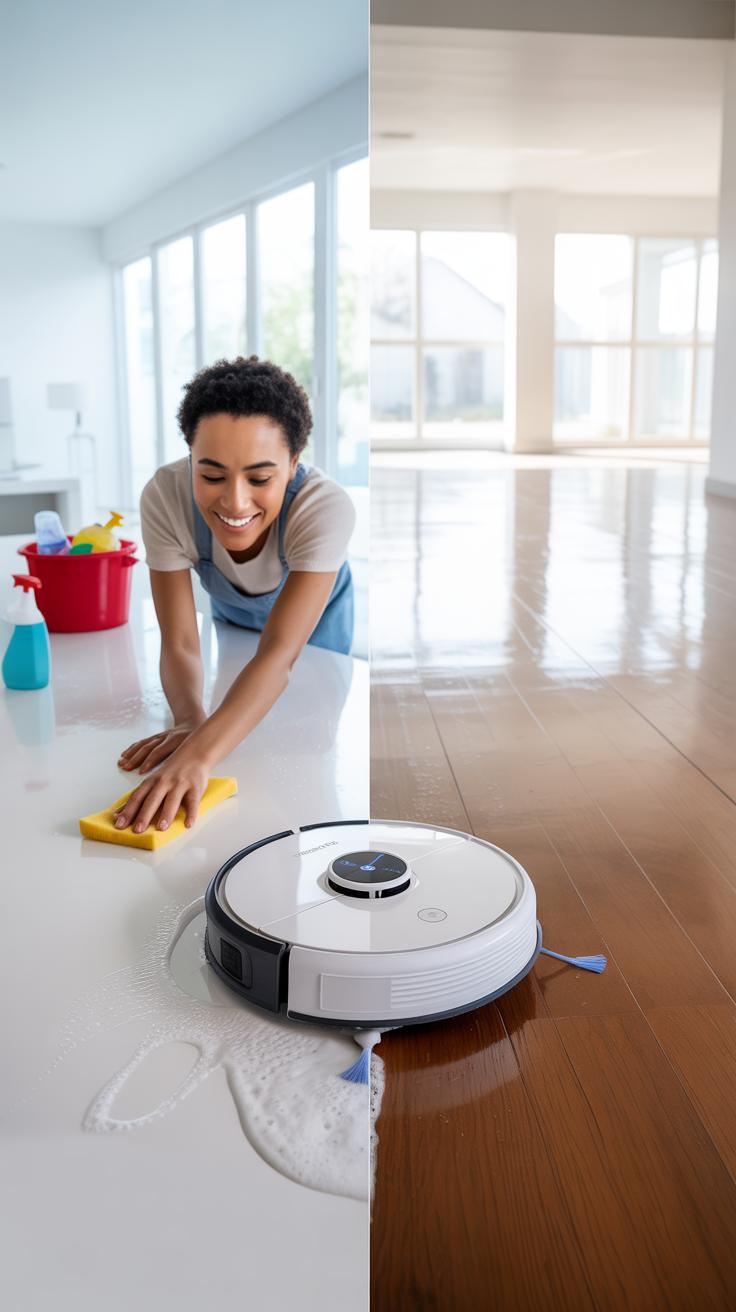
Manual cleaning methods—like sweeping, wiping, and scrubbing—give you a kind of hands-on control that’s hard to beat. There’s something about physically handling dirt that lets you focus on stubborn spots or delicate surfaces. For instance, wiping down a wooden desk requires that gentle touch that machines can’t easily replicate.
Then there are machines such as vacuum cleaners or steam cleaners, which can speed things up, especially when dealing with larger rooms or heavy dirt. I’ve noticed that after a party, running a vacuum through the carpet saves serious time compared to dragging out a broom. But, the vacuum might miss corners or edges that need more detailed manual attention.
When should you pick one over the other? It kind of depends on the task and your patience level. Sweeping and wiping work well for quick touch-ups or smaller messes. On the other hand, machines shine when dirt covers a lot of ground or requires a deep clean, like a dusty rug or sticky floors.
Benefits Of Manual Cleaning Techniques
Manual cleaning isn’t just old-fashioned; it comes with some perks you might not immediately think about.
- Cost-effectiveness: No pricey gadgets needed; a broom and cloth can do the trick.
- Better detail control: You decide exactly where to focus, which matters if you’re careful about delicate items.
- Flexibility: You can easily adjust pressure and technique mid-cleaning, something machines don’t allow.
- Low maintenance: No batteries to charge or parts to replace.
Yet, manual methods can get tiring quickly and may miss deeply embedded grime. Plus, it takes time, which you might not always have.
Advantages Of Using Cleaning Machines
Machines, on the other hand, feel like helpers when the mess grows. They pull their weight in ways manual tools just can’t.
- Save time and energy: It’s pretty clear that a vacuum does the heavy lifting faster than a broom.
- Consistent performance: Machines apply steady suction or steam, often reaching deeper dirt.
- Great for large spaces: Sweeping a large room can wear you out; a machine handles it with less effort.
- Useful for tough stains or allergens: Steam cleaners, for example, sanitize and remove bacteria better than a wipe alone.
Still, the upfront cost and occasional maintenance can be off-putting. And machines might struggle with delicate surfaces or oddly shaped corners, where a hand is simply better.
Adjusting Cleaning For Different Room Types
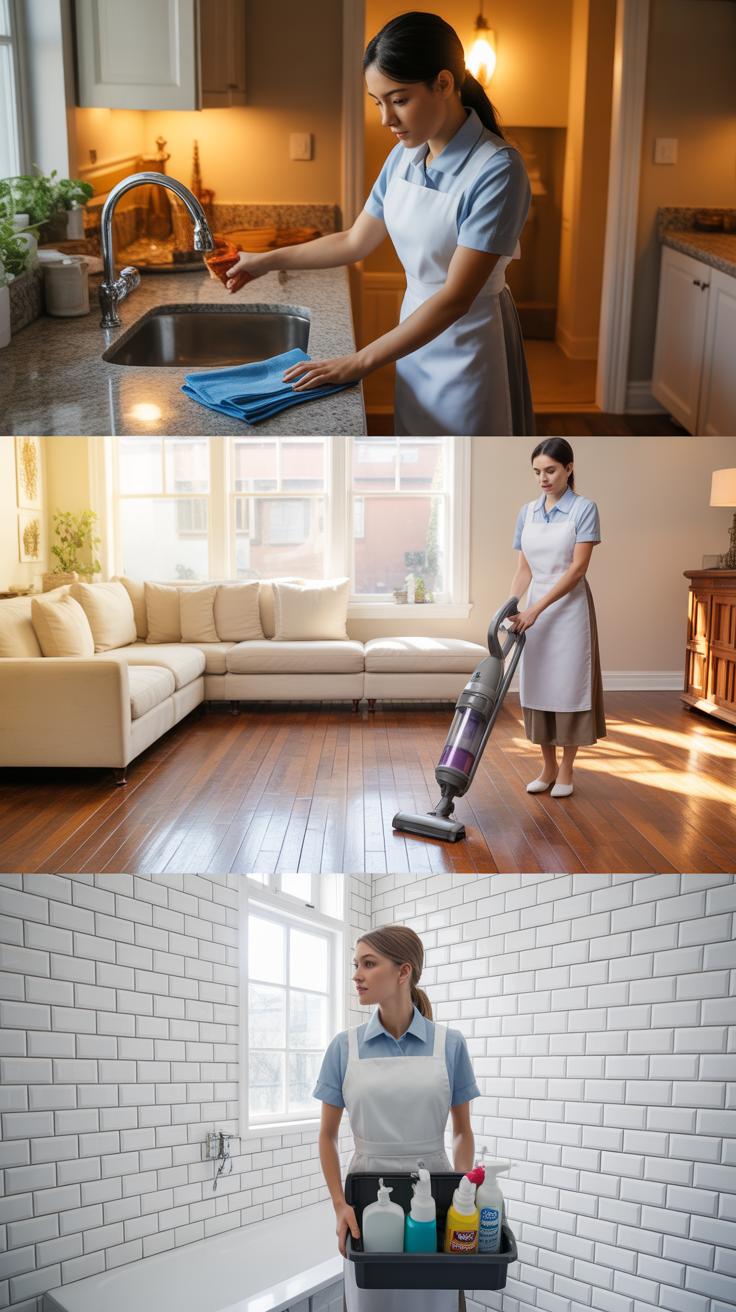
Cleaning a bedroom, kitchen, or bathroom—each demands different attention. You might think a single approach works everywhere, but nope, different rooms bring their own quirks and challenges.
Bedroom Cleaning Priorities
In bedrooms, dust control takes the spotlight. Dust settles quickly on surfaces, so wiping down furniture often helps reduce allergens. Bedding deserves regular care too—washing sheets weekly can change how the room feels. Organizing personal items, which tend to pile up, is key. Maybe you’ve noticed how clutter can make the space feel heavier than it really is. A quick sort through clothes or scattered books today could save stress later.
Kitchen And Bathroom Cleaning Tips
Kitchens and bathrooms need a sharper focus on hygiene. Both are prone to bacteria buildup, so disinfecting surfaces is essential. Think cutting boards, countertops, sink areas. Bathrooms, with all their moisture, invite mold and mildew; managing that moisture by wiping down shower walls or using ventilation can make a big difference. You might wonder if wiping once a day is enough—sometimes it isn’t, especially in humid homes. It’s a bit of a balancing act, really.
So, tailoring your cleaning approach depending on the room’s function isn’t just smart—it’s necessary. Each space asks for its own kind of care, or you might find yourself wrestling with issues that could have been avoided.
Tracking Your Cleaning Progress
Keeping track of your room cleaning efforts isn’t just about staying organized—it actually helps you stay motivated. When you see what you’ve done, even small wins can feel satisfying and encourage you to keep going. But how exactly do you track cleaning progress without it becoming a chore itself?
Using Checklists To Monitor Tasks
Checklists are simple yet surprisingly effective. You list tasks and check them off as you complete them. This gives a clear visual of what’s done and what’s left. I’ve found that having a physical list taped on my wall keeps me honest—I can’t ignore the tasks staring back at me.
Planning future sessions becomes easier too. When you see incomplete tasks from yesterday or last week, you can slot them into your next cleaning time, avoiding the common pitfall of forgetting important spots. Plus, crossing things off feels oddly rewarding—like little milestones.
Apps And Tools For Cleaning Reminders
Digital tools bring a different angle. Apps can send reminders, so no more relying on memory or random notes. Some, like Todoist or Microsoft To Do, let you set repeating tasks—great for weekly or monthly cleaning goals.
Other apps specifically aimed at cleaning, such as Tody or Clean My House, offer visual progress trackers. They break chores into manageable parts and even celebrate streaks, which can be surprisingly motivating. Though, sometimes I wonder if the constant notifications get a bit annoying—especially if life gets busy.
Still, mixing digital tools with a simple checklist often works best. You get reminders to stay consistent, plus the satisfaction of physically marking off tasks. Have you tried combining both? It might be worth experimenting to see what keeps you going.
Avoiding Common Cleaning Mistakes
Skipping Regular Cleaning Sessions
Putting off cleaning your room might seem harmless at first. Maybe you think it’s just a small delay, or that you’ll get to it soon enough. But the longer you wait, the more the mess piles up—and that only makes the job tougher. Dust gathers in corners you forget, stains set deeper, and clutter feels overwhelming. Suddenly, a quick tidy turns into hours of scrubbing and sorting.
Regular cleaning, even if short, helps maintain order. Think of it like keeping a surface wet instead of letting it dry out completely. You avoid buildup, and the whole process becomes less intimidating. You might not feel motivated every day, and that’s okay. But skipping sessions often means you’ll pay the price later in more work and frustration.
Using Incorrect Cleaning Tools Or Products
It’s easy to grab whatever is nearby—a rough brush on delicate surfaces or an all-purpose cleaner on wood furniture. But this can cause real problems. Scratches, discoloration, or chemical damage might not show immediately, but over time they add up. I’ve seen coffee tables ruined because of the wrong cleaner, and blinds warped because a harsh spray was used carelessly.
Choosing suitable products doesn’t have to be complicated. Soft cloths, gentle detergents, and dedicated tools can protect your belongings. For example:
- Microfiber cloths work well for almost anything, avoiding scratches.
- Neutral pH cleaners are safer on most surfaces.
- Different brushes for different tasks—soft ones for dusting, firmer ones for grout.
It might take a moment to check labels or think twice before using a product, but doing so saves you from repair work later. Ever wonder why some cleaners leave residues, or why certain fabrics feel rough? Probably a mismatch between the product and what you’re cleaning.
Creating A Habit Of Cleanliness
Building a habit of keeping your room clean isn’t about grand gestures but small, steady steps. If you try to overhaul your entire space in one go, you might feel overwhelmed—and that’s where many give up. Instead, focus on simple daily or weekly actions. Think about making your bed every morning or clearing your desk before bed. These tiny routines, repeated just enough, start to feel natural.
Setting goals doesn’t mean you have to tackle everything at once. Maybe today you just put away scattered clothes. Tomorrow, dust a shelf or organize a drawer. These bite-sized tasks leave you less drained and more likely to stick with them. Ask yourself, what’s one small thing I can do right now without fuss?
Motivation can dip, and that’s normal. When cleaning feels like a chore, rewards help. It could be something simple—like a favorite snack after a week of daily habit or a little break for yourself. Positive reinforcement makes the process less of a drag. You don’t have to wait for a spotless room to feel good about your efforts; celebrate small wins too.
Sometimes, habits falter not because of laziness but because life gets unpredictable. If you miss a day, or even a few, that’s okay. What matters is restarting without harsh judgment. Consistency isn’t perfection. Try to see cleaning as part of your daily rhythm, not an added burden or a never-ending task.
Conclusions
Applying the right methods and having a clear checklist can transform your room cleaning experience. You gain control over the clutter and ensure every corner of your room is attended to properly. Planning your cleaning routine around these tips will save time and energy in the long run.
Use the suggested tools effectively and keep your space tidy by following the checklist daily or weekly. Maintaining a clean room environment benefits your health and improves your productivity and peace of mind.