Introduction
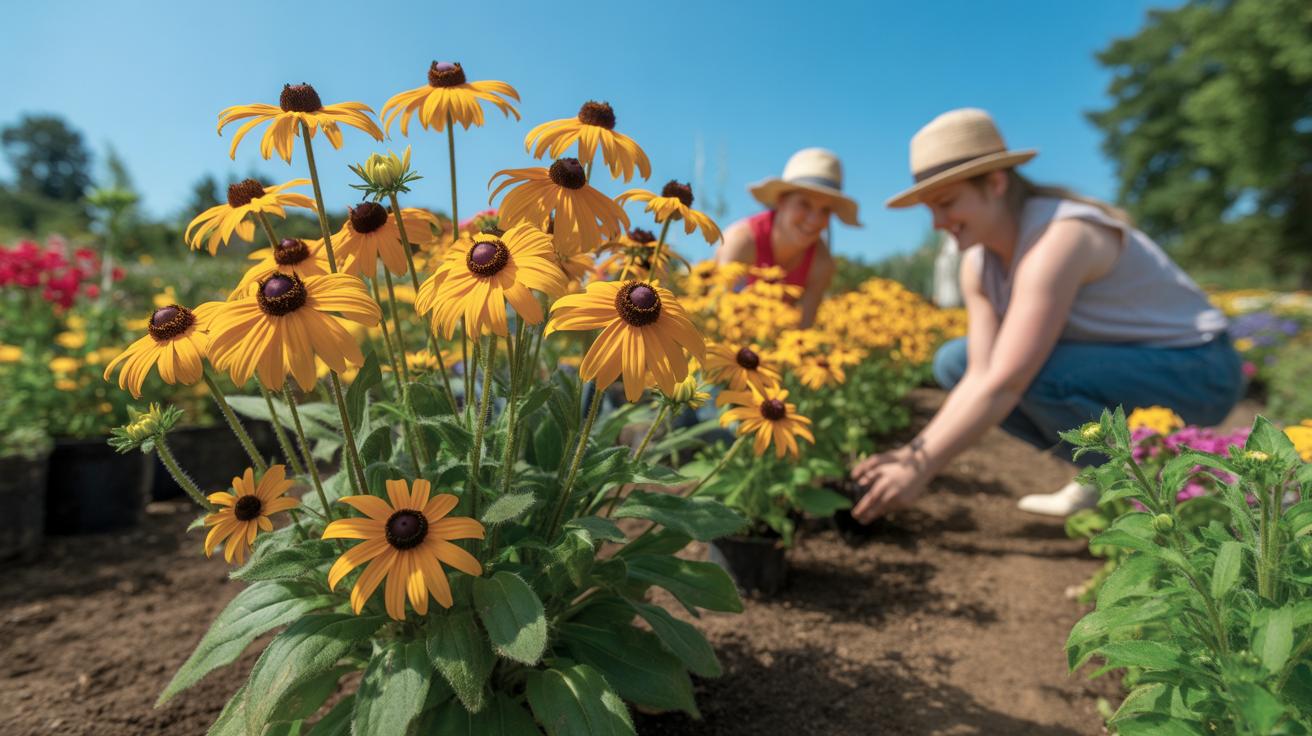
Planting Black Eyed Susans can add bright, cheerful colors to your garden. These flowers are popular for their ease of care and attractiveness. This article discusses how to best plant and care for Black Eyed Susans to brighten your garden space.
You will find details covering growing conditions, care routines, and troubleshooting tips. This guide will help you grow healthy Black Eyed Susans that flourish and provide a lively display throughout the growing season.
Selecting Black Eyed Susan Varieties
Differences Between Common Black Eyed Susan Varieties
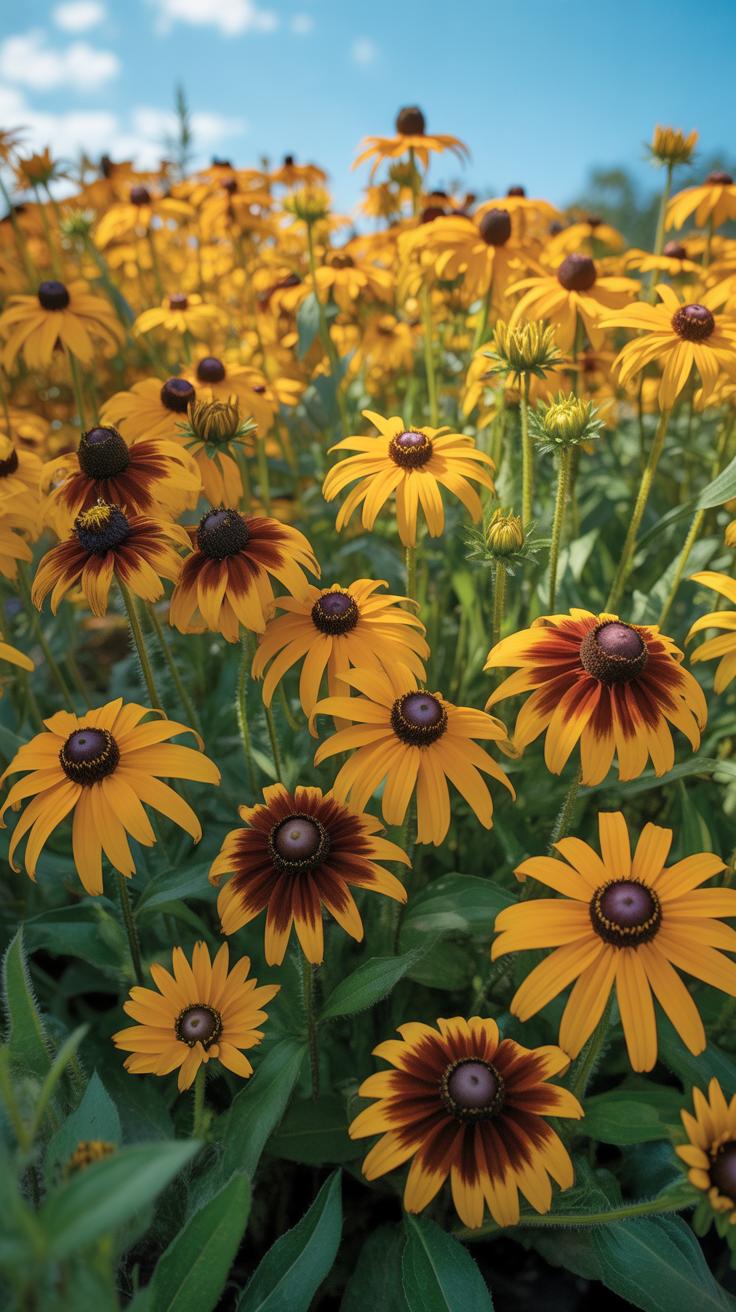
When we talk about Black Eyed Susans, most people think of Rudbeckia hirta, the classic daisy-like flower with bright yellow petals and a dark brown center. These typically grow about 2 to 3 feet tall and form bushy clumps. They bloom mid to late summer and have a natural wildflower look, which many gardeners adore.
On the other hand, there’s the Black Eyed Susan vine, Thunbergia alata. This one’s quite different — it’s a vine, not a perennial like Rudbeckia hirta. Its flowers are smaller, usually orange or yellow with a dark eye, and it climbs fences or trellises. It’s more of an annual in most gardens and adds vertical interest rather than ground coverage or mass color.

Then you have other Rudbeckia species and cultivars, like Rudbeckia fulgida ‘Goldsturm’, which grows taller, up to 3 feet or more, with a longer blooming period. Some hybrids offer variations in petal shape or color intensity, moving beyond the plain yellow to deeper gold or hints of red.
Choosing The Right Variety For Your Climate
Choosing which Black Eyed Susan suits your garden depends on where you live and what you want. Rudbeckia hirta is quite adaptable and can handle zones 3 through 9, making it a good bet for much of the U.S. If you’re somewhere colder, a robust perennial like Rudbeckia can survive winters better than the vine.
Thunbergia alata fares better in warmer zones, roughly 9 to 11, or as an annual elsewhere. It thrives in hotter, frost-free environments and appreciates plenty of sun. If you want something to climb and fill a vertical space in a warm climate, it might be your pick.
For cooler gardens, consider hardy Rudbeckia varieties or even Rudbeckia maxima, which can handle more moisture and slightly different soil types. Think carefully about your garden conditions—sun exposure, soil drainage, and how long the growing season lasts. Those factors play into which Black Eyed Susan will really perform well.
Preparing Soil For Black Eyed Susans
Getting your soil ready for Black Eyed Susans can really make a difference in how well these flowers grow. First, figuring out what type of soil you have is key. You can test your soil’s texture by feeling it—whether it’s sandy, clayey, or loamy—or by using a simple soil test kit. These kits sometimes also measure pH, which ideally should be slightly acidic to neutral, around 6.0 to 7.0, for Black Eyed Susans.

Drainage is another tricky thing. These flowers don’t like soggy roots, so you want soil that drains water but also holds a bit enough moisture. If water tends to pool in your garden spot, it might be time to loosen the soil with organic matter like compost or peat moss to improve drainage.
Adding nutrients matters, too. Compost works wonders, but you might also consider a balanced slow-release fertilizer to gently feed the plants over time. You don’t want to go nuts with fertilizer; Black Eyed Susans don’t need heavy feeding, but a little boost helps. If your soil feels tired or compacted, mixing in organic matter before planting can really change the game.
So, before you plant, test your soil type, tweak the drainage if needed, and feed it lightly. This preparation sets the stage for these flowers to thrive.
Soil Types Suitable For Black Eyed Susans
Black Eyed Susans grow best in well-draining soil that’s not too rich or too poor—they handle average garden soil just fine. Usually, a sandy loam or loamy soil works well since it balances drainage with moisture retention.
The soil’s pH should hover around 6.0 to 7.0, which is neither too acidic nor too alkaline. You could be surprised how pH swings affect nutrient uptake, sometimes subtly causing leaves to yellow if it’s off.
Organic matter content is crucial too. You want enough to hold moisture and nutrients, but not so much that the soil becomes heavy or soggy. Something like 3-5% organic matter is ideal. If your garden soil feels light and crumbly but drains well, you’re probably in good shape.
Steps To Improve Poor Soil

If your soil leans clay-heavy, you might notice it stays wet long after rain, making plants restless or even sick. Breaking up clay by mixing in coarse sand or plenty of compost can help air and water flow better. It’s a slow fix, though—you may need to work on this over a couple of seasons.
On the flip side, sandy soil dries out fast and struggles to hold nutrients. You can improve it by adding organic matter—peat moss, composted leaves, or well-rotted manure. These ingredients hold water like a sponge and slowly release nutrients back to your plants.
Whichever soil type you have, don’t be afraid to mix amendments thoroughly into the top 6 to 8 inches of soil before planting. It takes some elbow grease but makes a noticeable difference for your Black Eyed Susans’ health.
Planting Black Eyed Susans Successfully

Best Time To Plant Black Eyed Susans
Timing your Black Eyed Susan planting can really make a difference in how well they grow. Typically, early spring is a solid choice for planting seeds or transplants. The soil starts to warm up around that time—something you want because cooler soil can slow germination and stunt early growth. If you wait too long, say late summer, the plants might bloom later or struggle to establish before winter. But I’ve seen some gardeners get away with planting in fall, especially in milder climates, where the cooler season helps with a slow root buildup before spring. It’s a bit of a gamble, though. You might want to stick with spring if you’re after consistent blooms.
Planting Steps From Seed And Transplants

If you’re sowing seeds directly, scatter them on the soil surface first — these little guys need light to germinate, so no deep burying. Press them gently into moist soil, then cover lightly with about ¼ inch of sifted soil. Space seeds roughly 12 to 18 inches apart, giving each plant enough room to grow its leaves and flowers without overcrowding. Keep the soil damp; patience is key here as germination can be slow, sometimes up to three weeks.
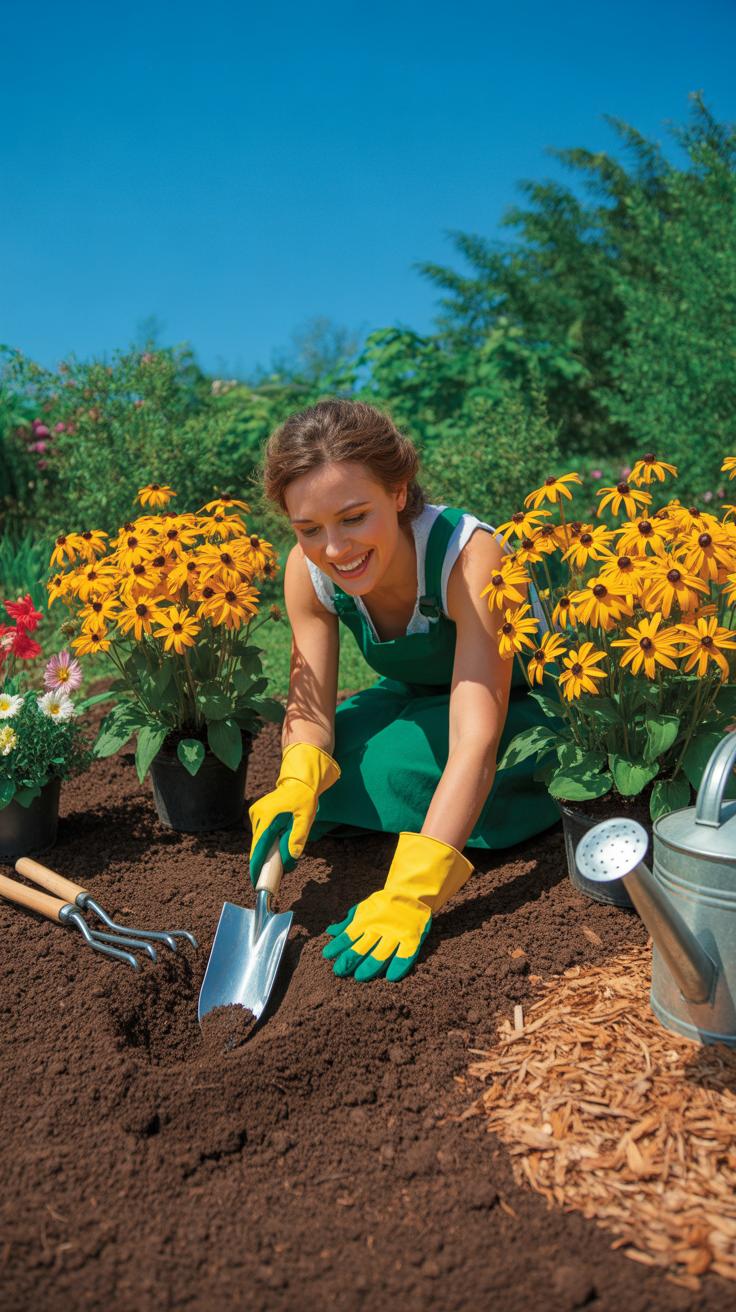
When transplanting nursery-grown Black Eyed Susans, dig holes about twice as wide as the root ball but only as deep as the roots. This encourages roots to spread naturally rather than circle the hole. Space transplants similar to seeds—about 12 to 18 inches apart. After planting, water thoroughly but don’t saturate. I’ve often mulched around mine after transplanting, which seems to keep moisture steady and weeds down. It’s subtle but helpful for maintaining steady growth.
Both seeds and transplants benefit from nutrient-rich, well-drained soil. If your garden soil feels heavy or clay-like, mixing in compost before planting can improve conditions quite a bit.
Watering Practices For Healthy Growth
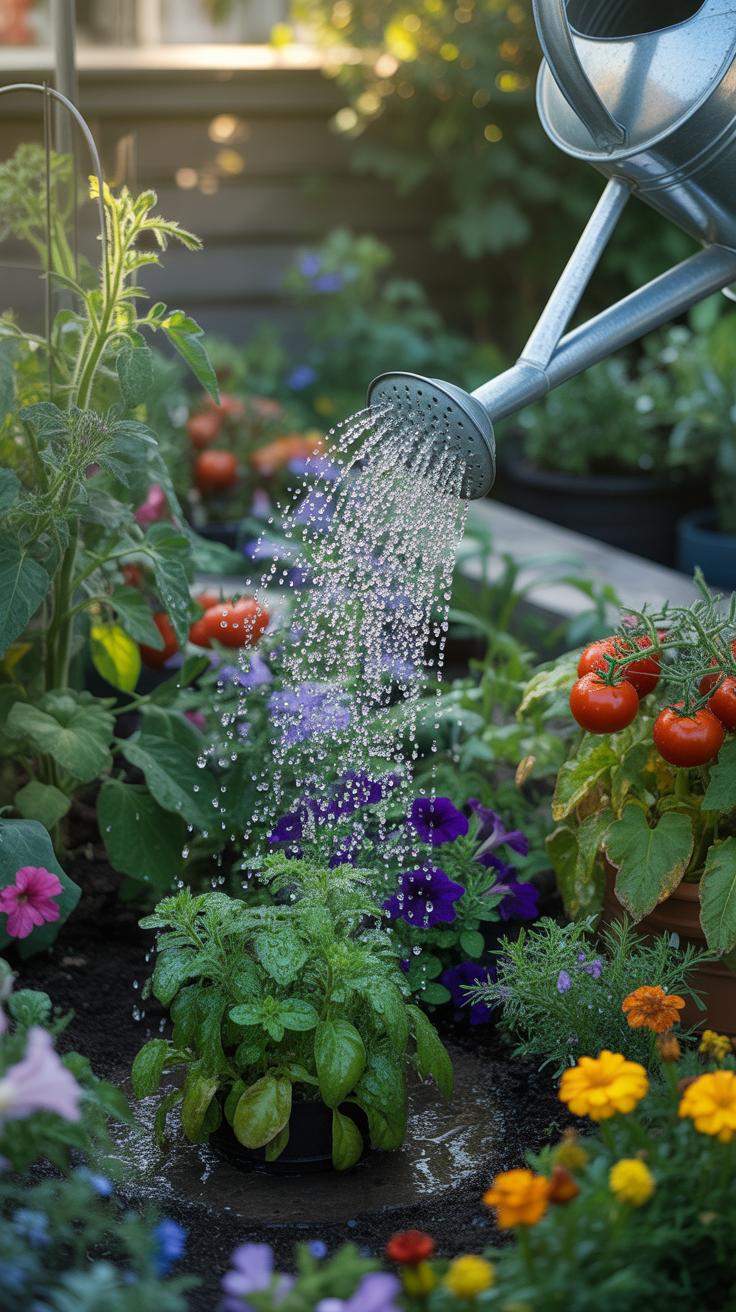
When it comes to watering Black Eyed Susans, the balance is tricky. These plants like moist soil but don’t fare well when water sits around their roots. So, watering deeply but less often is usually better than frequent shallow watering.

Try soaking the soil to about six inches down to encourage strong root growth. Shallow watering can cause roots to stay near the surface, making the plant more vulnerable to drought. But don’t go overboard—too much water can lead to root rot or fungal problems, which you definitely want to avoid.
How Often To Water Black Eyed Susans
How often depends on your soil and weather. After planting, they need water more regularly to settle in—maybe two or three times a week if it’s dry. But once established, they’re somewhat drought-tolerant. In cooler periods or after rainfall, you might barely need to water at all.
- Check soil moisture with your finger; if the top two inches feel dry, it’s time to water.
- During hot, dry spells, watering weekly may not cut it—sometimes twice a week is needed.
- Clay soils hold moisture longer, so reduce watering frequency there.
It’s never a bad idea to observe your plants closely. Signs like drooping leaves can signal thirst, but sometimes they droop for other reasons too.
Watering Mistakes To Avoid
One big mistake is watering the leaves instead of the soil. Wet foliage can encourage fungal diseases, which is a common issue with Black Eyed Susans. Also, don’t water in the evening; evening moisture sticks around longer, again risking fungus.
Another error is ignoring your soil type. Sandy soils drain fast and dry out quicker, meaning you need to water more often. On the flip side, watering a clay-heavy garden too much kills the roots.

And lastly, be careful not to treat these plants like thirsty water lilies—they don’t need constant sogginess. Let the soil partially dry out between watering. It’s a subtle balance, and it might take a little trial and error to find your sweet spot.
Fertilizing Black Eyed Susans Guide

Types Of Fertilizers Suitable For Black Eyed Susans
Black Eyed Susans don’t demand anything too fancy when it comes to feeding. A balanced fertilizer with equal parts nitrogen, phosphorus, and potassium—like a 10-10-10 or 14-14-14—is usually a safe bet. You want enough nitrogen to encourage leafy growth, but not so much that flowers get lost in a jungle of green.
If you lean toward natural options, compost works surprisingly well. It improves soil texture and slowly releases nutrients, supporting steady growth without overwhelming the plant. Bone meal can help with blooming too, given its phosphorus content. Just sprinkling a little around the base each year can make a difference.
Some gardeners swear by fish emulsion as well—it’s a mild liquid fertilizer, easy to mix and apply, that tends to stimulate both roots and blooms. Though, you might find the smell a bit off-putting at first. Overall, organic choices suit Black Eyed Susans, especially if you’re aiming for a low-maintenance, eco-friendly patch.
Fertilizer Application Timing And Frequency
You might wonder when to feed these plants for the best results. Early spring is the key moment—when new shoots start appearing. Applying fertilizer then gives the roots and foliage a solid boost heading into the growing season.

After that initial feeding, you could apply again halfway through summer, but keep it lighter. Too much fertilizer late in the season might push fresh growth that doesn’t have time to harden off before cooler weather. It’s a delicate balance.
Applying fertilizer around the base, avoiding direct contact with the stem, prevents burn. Watering soon after spreading fertilizer helps nutrients soak deep into the soil, where roots can access them easily. I usually prefer slow-release pellets or a diluted liquid feed every 6 to 8 weeks during the growing season—it feels less risky.
Curious if feeding more often makes sense? In my experience, it doesn’t significantly improve flowering and can stress the plant. Sometimes less is more, you know.
Controlling Pests And Diseases Effectively
Typical Pests That Attack Black Eyed Susans
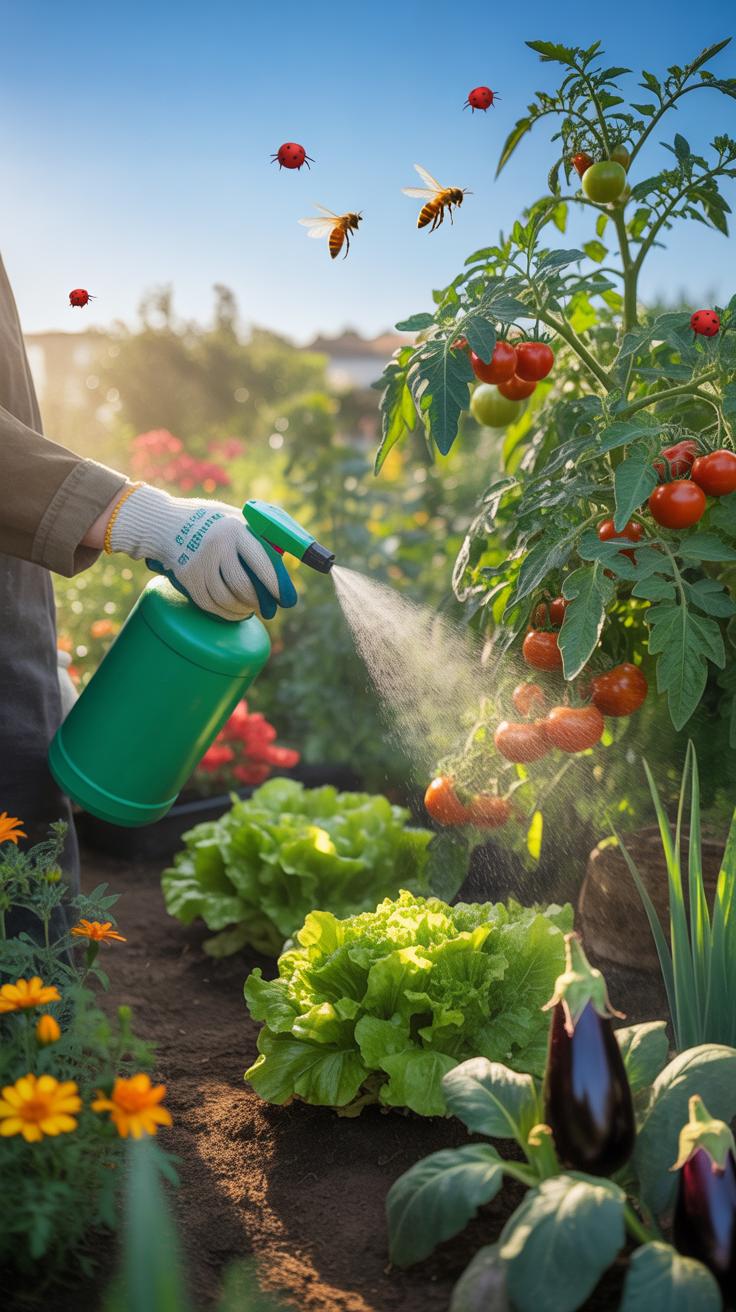
You might notice small clusters of tiny, soft-bodied insects on your Black Eyed Susans—these are likely aphids. They’re usually found on the undersides of leaves or new growth, sucking plant juices and leaving a sticky residue. Sometimes you’ll spot caterpillars munching through the petals or leaves, which can quickly alter the look of your flowers. They’re not always obvious at first, but if you check closely, you might see their droppings or even find the worms themselves hiding beneath foliage.
Other pests to watch out for include mites and Japanese beetles. Mites cause a fine speckling on leaves and webbing in severe cases, while beetles chew holes in petals and leaves, often leaving lace-like patterns. Spotting these pests early is key—delayed action means more damage.
To manage these pests, you can rinse your plants with a strong jet of water or use insecticidal soaps. Sometimes, that’s enough. For heavier infestations, neem oil works well, but it might take several applications. You might hesitate to use chemicals, and that’s understandable, but balancing treatment with plant health is a bit of a trial-and-error experience for many gardeners.
Disease Symptoms And Management Options
Black Eyed Susans can fall prey to fungal diseases like powdery mildew, which shows up as white, powdery spots on leaves. It often appears in humid conditions or where airflow is limited. Leaves may yellow and curl before dropping off.
Leaf blotch or rust, visible as reddish or brown spots, can also strain your plants. These fungal issues spread via spores, so keeping leaf litter cleared helps limit infection. You might feel a bit frustrated, especially when it seems like you’ve done everything right and still get these diseases.
Sometimes bacterial leaf spot occurs, causing small, water-soaked spots that enlarge and turn dark. Treating bacterial infections is trickier since chemical options are limited. Removing affected leaves promptly and avoiding overhead watering can reduce spread.
Applying fungicides can contain fungal diseases, though I’ve found that improving air circulation and ensuring plants aren’t overcrowded works wonders too. Still, managing diseases takes patience, and sometimes you have to accept a few blemishes as part of the process. Have you noticed any odd spots or wilting on your flowers? Early detection can make all the difference.
Pruning And Deadheading Explained
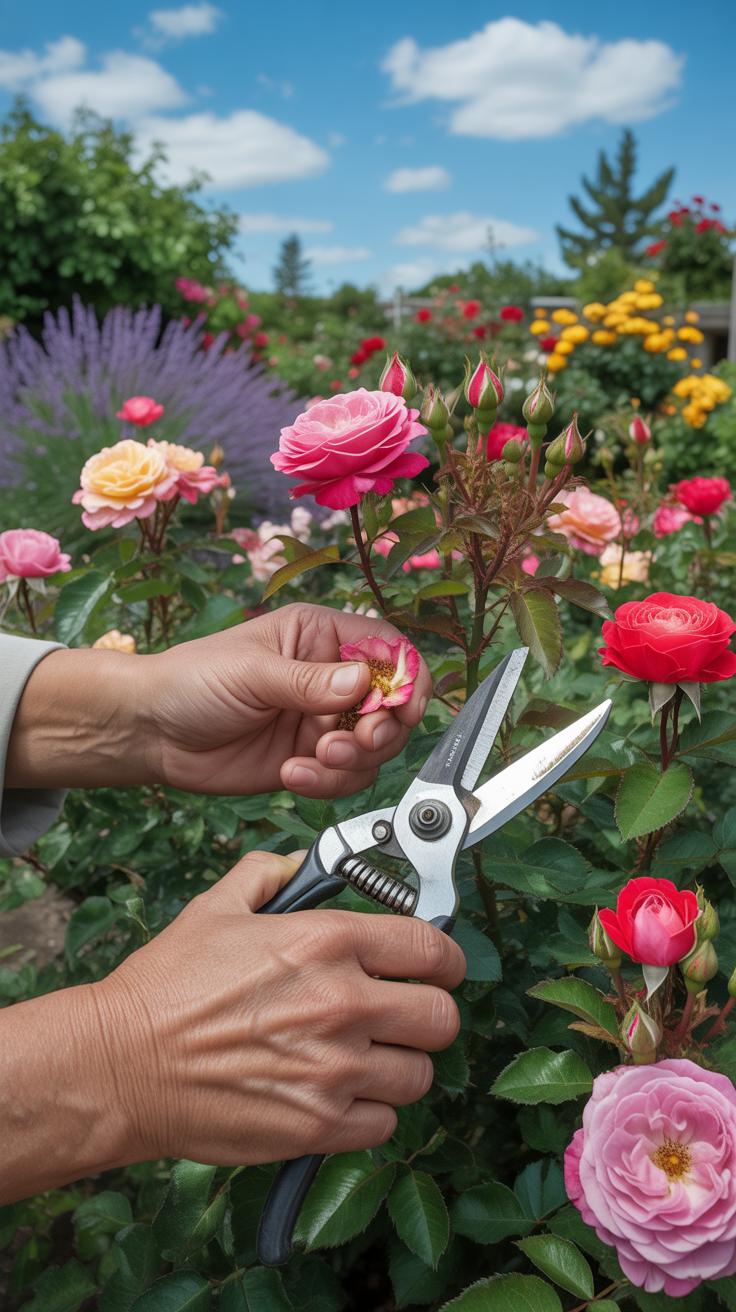
Pruning and deadheading Black Eyed Susans take a bit of attention, but they really pay off. Deadheading is simply about removing those faded flowers once they’ve done their thing. This stops the plant from putting energy into seed production and encourages it to send out more blooms instead. You might notice the plant looks fresher and stays lively longer when you keep up with this.
Deadheading is pretty straightforward:
- Pinch or snip the spent flower right at the base of its stem, close to where it joins the leafy part.
- Make sure your fingers or scissors are clean to avoid spreading any disease.
- Keep checking every week or so; flowers fade at different times.
Pruning stretches beyond just dead blooms. Trimming the stems and some of the older foliage helps the plant funnel energy into new growth. Plus, it gives the whole thing a tidier appearance. You can cut back about a third of the plant if it looks a bit leggy or crowded, but be careful not to overdo it.
Pruning can also prevent diseases by improving airflow around the stems. This is helpful if you’ve noticed any wilting or discoloration. Have you ever found your Black Eyed Susans looking a little scruffy mid-season? Pruning can fix that quicker than waiting for a natural die-back.
Keeping up with these simple steps might seem like a chore, but it pays off by extending the bloom period and keeping your garden looking well cared for. Plus, it makes you feel a bit more connected to the plants, as if you’re in a quiet conversation with them.
Black Eyed Susans Vs Other Garden Flowers

When you look at Black Eyed Susans alongside popular garden flowers like daisies or coneflowers, some clear differences emerge in care, bloom time, and look. Black Eyed Susans bloom from mid-summer well into fall, often outlasting daisies which tend to fade earlier. Coneflowers share a similar bloom period but might keep their colors longer into late fall, depending on your climate.
In terms of appearance, Black Eyed Susans have those bold yellow petals with a dark center that almost draws you in. Daisies are more delicate, with pure white petals and a yellow center, while coneflowers lean towards pinks, purples, and softer colors. They each bring a different mood to the garden.
Care Differences Between Black Eyed Susans And Others
Black Eyed Susans are surprisingly drought-tolerant once established, needing less water than daisies, which often prefer consistent moisture. Coneflowers also handle dry spells but might require thinning out more regularly to avoid overcrowding, something Black Eyed Susans seem less bothered by.
Sunlight needs are pretty similar—full sun suits all three. But soil preferences can vary slightly; for example, daisies like richer soil, whereas Black Eyed Susans can thrive in poorer, well-draining ground without fuss.
Visual Appeal And Garden Use Cases
Black Eyed Susans fit nicely as a reliable splash of color, especially in borders or wildflower settings. They don’t demand much attention, unlike some daisies that need deadheading to stay looking good. Coneflowers, with their softer hues, often act as a complement rather than the star, whereas Black Eyed Susans can stand alone or massed for impact.
Perhaps more casual than formal, their bright look feels informal, but that’s part of their charm. If you want a sturdy, cheerful presence that won’t let you down through the summer and early fall, they’re a fine choice.
Seasonal Checklist For Black Eyed Susans
Keeping Black Eyed Susans healthy means staying on top of seasonal care, which isn’t always straightforward. Each season demands different attention, and I think knowing what to do and when helps avoid guesswork later on.
Spring To Summer Care Steps
Early spring is the time to get your Black Eyed Susans in the ground if you haven’t already. You want to choose a spot with full sun and well-drained soil—spotting the right place can feel tricky sometimes. Once planted, watering is crucial. These flowers like consistent moisture, especially as they start growing fast, but don’t drown them. Too much water can wilt the roots.
When summer hits, try to keep a watering schedule going, especially during dry spells. Fertilizing usually helps, but you don’t have to go overboard. A balanced, slow-release fertilizer applied once or twice is enough. Watching the plants grow, you might notice deadheading spent blooms encourages more flowering. I’ve found this actually works, even if it feels a bit tedious.
Fall To Winter Maintenance
As autumn arrives, slow down on fertilizing. Instead, focus on tidying up. Pruning back the stems to a few inches above the ground can prevent disease and prepare the plant for winter rest. You might hesitate about cutting too much, but leaving old growth can harbor pests. A quick trim usually does more good than harm.
When cold weather approaches, mulching around the base offers some insulation. It’s not a fail-safe against every frost, but it gives the roots some protection. I’ve left mine unprotected a couple of years and noticed slight dieback; it’s not dramatic but enough to remind me to cover them next time. In winter, just let the plants rest and avoid disturbing the soil too much.
Tips For Using Black Eyed Susans In Garden Design
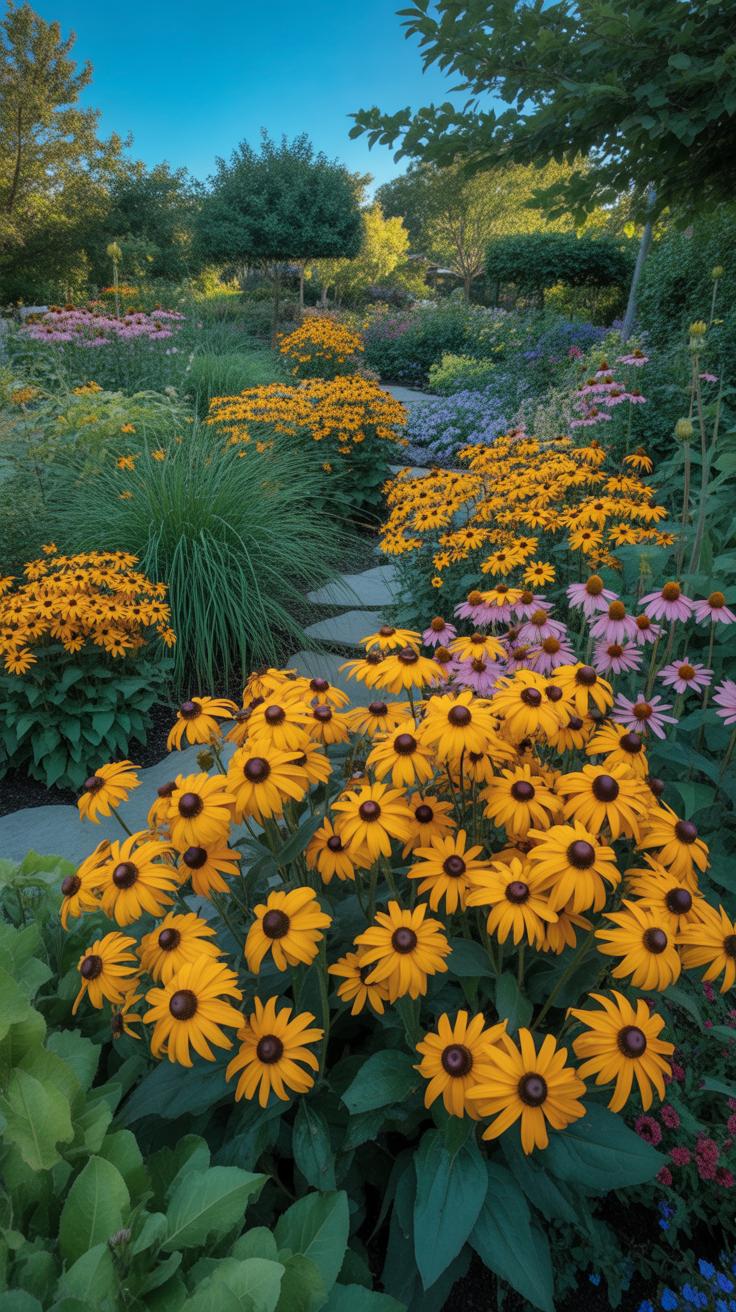
Black Eyed Susans fit nicely in many garden layouts, but you might want to think about how to showcase them best. They work well along pathways or walkways, creating natural guides that catch the eye without overwhelming. Placing them near a porch or patio can also bring cheerful color right where you often sit, making your outdoor space feel more inviting.
If you have a border or edge to fill, these flowers offer a casual look that feels just a bit wild but still put together. Mixing them into drifts—or clusters—rather than spreading them thin can make a stronger visual impact and reduce the chance of your garden looking sparse.
Companion Plants That Match Well
Black Eyed Susans don’t grow in isolation. They pair well with a handful of other plants which share similar sun and soil preferences. For example, coneflowers (Echinacea) harmonize well both in color and texture, providing height contrast. Russian sage works too, adding some silvery foliage that really offsets the golden petals. If you want something softer, ornamental grasses offer movement and a different shape.
- Blanket flower (Gaillardia)
- Bee balm (Monarda)
- Coreopsis
- Lavender
- Asters
It’s useful to pick plants with staggered bloom times so something’s always adding interest.
Placement Ideas For Different Garden Styles
Depending on the kind of garden you tend, Black Eyed Susans adapt well but with slightly different roles. In a formal garden, I’d suggest lining them neatly along straight paths or mixed with boxwood for contrast—just mind the spacing so things don’t look too loose. Cottage gardens embrace their relaxed nature; planting them with foxgloves or hollyhocks helps achieve that “just thrown together” charm without too much effort. For wildlife gardens, these blooms attract pollinators, so placing them near native wildflowers can increase visits from bees and butterflies.
Wherever you plant them, try not to isolate them completely unless you want a strong focal point. Sometimes it’s about blending, sometimes standing out. Either way, experiment—there’s no single right answer here.
Conclusions
Black Eyed Susans are a practical choice for gardeners who want to add color without extensive upkeep. By choosing the right location and following proper care guidelines, you can enjoy strong, blooming plants.
Establish your Black Eyed Susans with attention to soil, watering, and pest control. With regular care, these flowers will enhance your garden’s appeal for months.