Introduction
Farm design plays a crucial role in the success of any farm. Thoughtful planning can lead to better resource management, reduced labor, and increased productivity. This article covers the key considerations for designing a farm layout that supports your farming goals.
From site selection to infrastructure placement, each element in farm design affects daily operations. The following sections explore essential factors, practical steps, and examples to help you create a farm layout that meets your needs effectively.
Site Selection Factors

Evaluating Soil Quality
Soil quality isn’t just about dirt. It’s the foundation where everything grows, so paying attention to it really matters. Testing soil is more than sticking a probe in the ground and guessing—taking samples at different spots and depths helps. You want to analyze texture, nutrient levels, pH, and organic content. These things influence what crops will thrive or struggle on your land.
For example, sandy soil drains quickly but holds fewer nutrients. Clay retains water but might suffocate roots if it’s too dense. You can run tests yourself with kits, but sending samples to a local ag extension or lab gives more detailed results. Knowing soil limits what you plant, but also guides you in improving the soil with amendments and rotations.
Access To Water Sources
Water is not just a luxury for farming; it’s a necessity without which crops won’t survive. The tricky part is how much water will be available during critical growing periods. Sometimes it feels like figuring this out is like guessing the weather—unpredictable.
Start by observing surface water like streams and ponds, but don’t forget underground sources like wells and aquifers. You can test flow rates and recharge capacity. Rainfall patterns over years give clues but don’t guarantee steady supply.
Assessing the reliability of your water means considering drought frequencies and competition from neighbors or wildlife. It’s a puzzle: even the best water source might not be enough during dry spells, so planning storage or irrigation methods becomes necessary.
Farm Layout Planning Steps
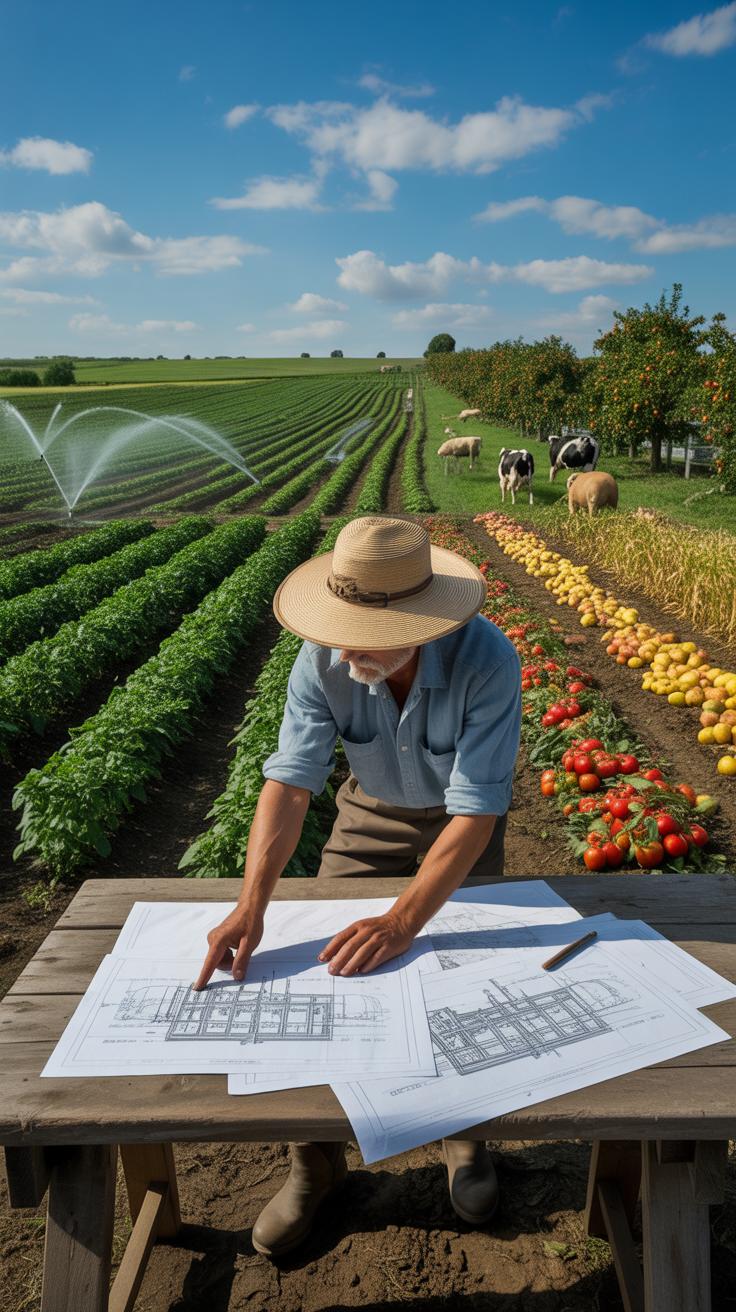
Planning your farm layout starts with clear zoning of the land. Begin by mapping out the existing terrain. Identify where your fields, pasture, and natural features lie. From there, sketch zones dedicated to crops, livestock, and equipment storage.
Next, think through the pathways. Paths should connect the major zones but avoid crossing fields unnecessarily. Think about the types of equipment you’ll be moving—it’s not just about space but also turning radius. Paths need to support frequent traffic and be accessible in all weather.

Then, fencing comes into play. Fence lines often define your zones. Plan fences to protect crops from livestock and to keep animals contained without wasting space. Also consider how fences will affect access points for people and machines.
Here’s a rough checklist to guide you:
- Survey your land and mark different functional zones.
- Create an initial sketch of fields, pastures, storage, and buildings.
- Plan pathways that connect zones for equipment and foot traffic.
- Determine fencing lines to secure livestock and protect crops.
- Review access points for ease of movement and maintenance.
Revisit and tweak the layout as you go along. It’s easy to overlook how crucial access really is until you’re stuck carrying heavy tools through mud or climbing over fences unexpectedly.
Organizing Farm Zones
Dividing your farm into clear, manageable zones can make life easier—though deciding what counts as a zone isn’t always straightforward. A typical setup separates crops, livestock, and equipment, but you might also want dedicated areas for compost, nursery plants, or water storage.
Think about proximity. You’ll want crops closer to water sources or processing areas, while livestock areas should have easy access to fences and shelter. If you’re like me, you might underestimate how often you need quick access to equipment, so keep that zone within quick reach of both fields and the house.
Spacing zones also helps reduce conflicts—minimizing the chance that livestock damage crops or that machinery interferes with grazing animals. Sometimes, you might need buffer zones with fences or hedges. Visualizing the flow between zones can be surprisingly revealing.
Designing Pathways And Access

Good paths are more than just lines on your map—they affect your day-to-day work rhythm. When designing, avoid tight corners or routes that cross through sensitive areas like young crops. A wider main path can handle tractors, but narrower footpaths might suffice elsewhere.
Consider the surface too: gravel or crushed stone can reduce muddiness, but might be unnecessary in dry climates. Also, don’t forget drainage alongside paths to prevent erosion or pooling water, which can be a pain during rainy seasons.
Access points should be well-marked and easy to open. Gates need to be wide enough for machinery but manageable on foot. It’s tempting to cut corners here, but unreliable access can slow down every activity—whether it’s harvesting or veterinary care.
Sometimes, it helps to walk the intended routes yourself or with someone familiar with the farm routines. Thinking about the “what if” moments, like how you’d move equipment in winter, can save headaches later.
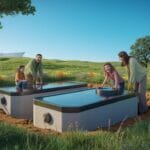
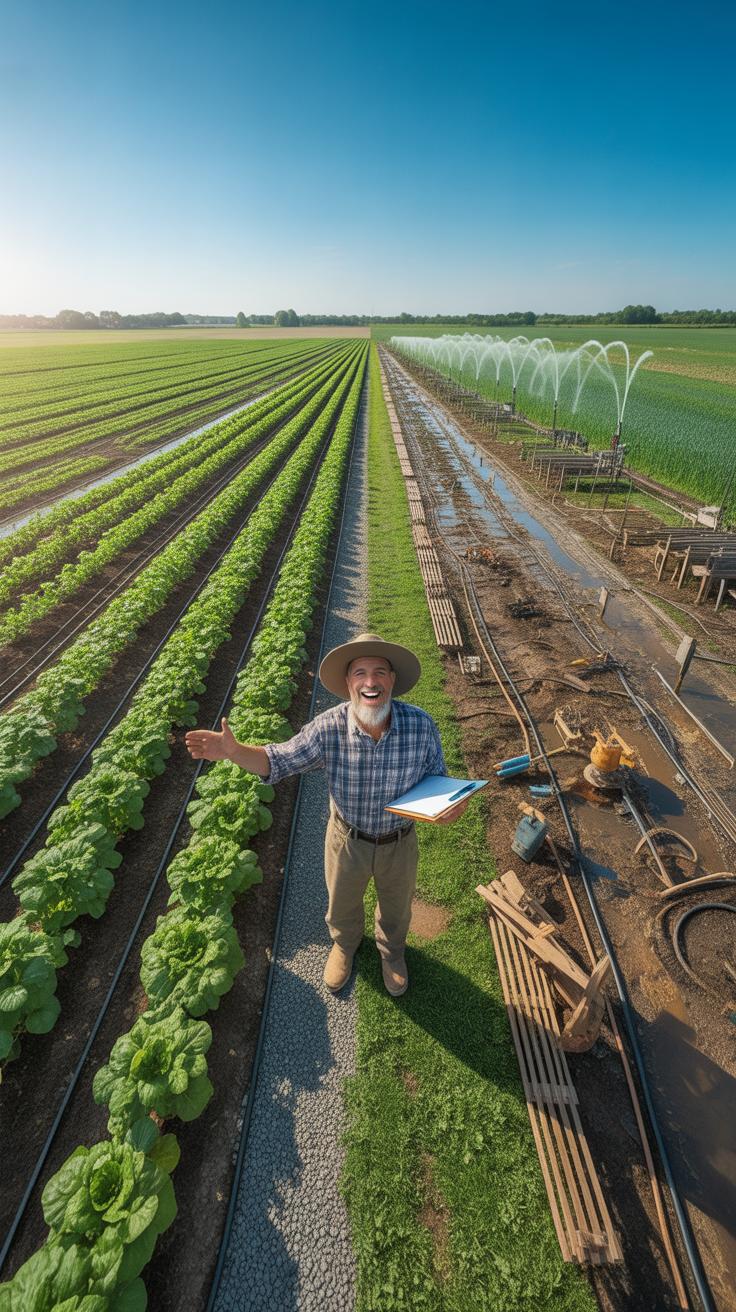
Water Management Techniques
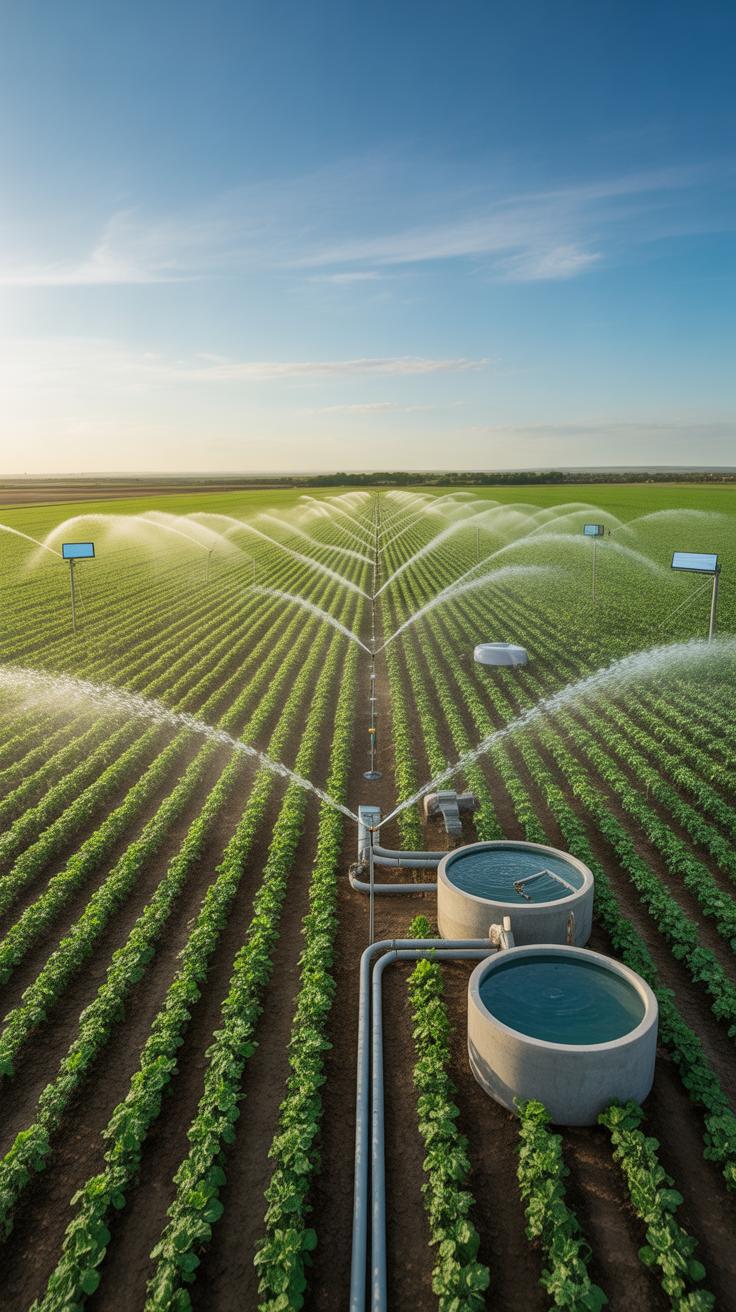
Water management on a farm isn’t just about making sure plants get enough water. It also involves controlling excess water and making use of every drop that falls. When thinking about irrigation, drainage, and rainwater collection, you quickly realize it’s a balancing act.
Irrigation systems range from simple manual watering to complex drip or sprinkler setups. Each has its strengths depending on your farm’s size, crop types, and local climate. For example, drip irrigation suits row crops and fruit trees, allowing precise water delivery to roots and cutting waste. Sprinklers work well for vegetables and turf, though they might lead to water lost through evaporation or wind.
Drainage is another piece of the puzzle. Poor drainage can leave soil waterlogged, killing roots or encouraging disease. Spotting these problems early requires paying attention to water pooling or slow soil drying after rain. Solutions might mean digging channels, adding raised beds, or improving soil structure with organic matter to help water move through.
Then there’s rainwater collection. Capturing runoff from rooftops or hard surfaces can supplement irrigation and reduce reliance on groundwater or wells. Setting up storage tanks or ponds needs some planning, especially to keep water clean and prevent breeding grounds for pests.
When you combine these methods thoughtfully, you make the most of water on your farm—even if weather stays unpredictable or resources feel tight.
Choosing Farm Structures Detail

Building Placement Best Practices
Where you place your farm buildings really shapes daily work. For instance, barns near pastures reduce the time spent moving livestock. But then, putting storage too close might block essential paths for machinery—that can slow things down more than you expect.
Try to think through how tasks flow throughout the day. Do you often move feed from storage to animals? Then those buildings should be close but without creating congestion. Some farmers I know prefer grouping crop storage separately to keep dust and pests away from animals—makes sense, right?
Open space for vehicle movement matters as well. You don’t want to back a tractor blindly around buildings, increasing accident risk or wear on equipment. And while it might seem obvious, sunlight and wind direction can matter—greenhouses placed where they get natural light and some wind protection perform better.
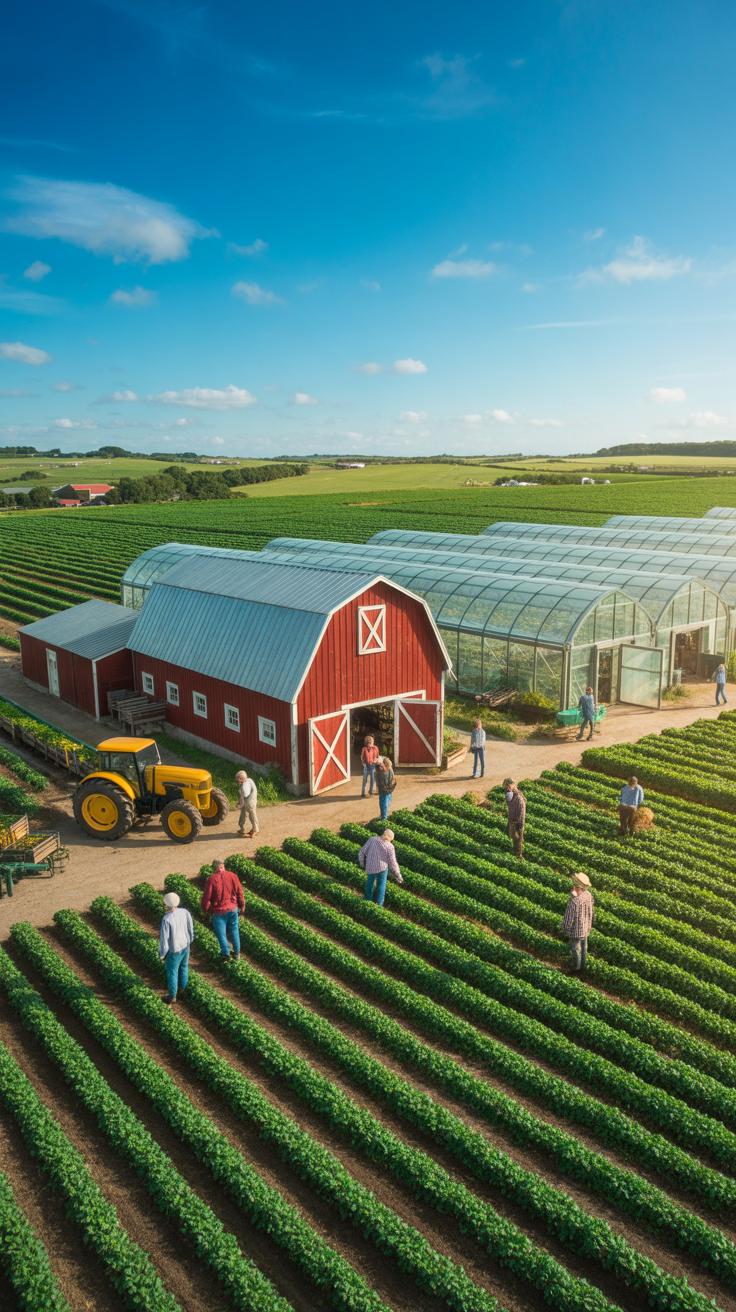
Types Of Essential Farm Buildings
There’s a range of structures that make up a typical farm setup. It depends on what you’re raising or growing, but generally, these are some basics:
- Barns: Shelter livestock, store feed and equipment. Sometimes used for milking or birthing too. Their design varies, but accessibility is key.
- Storage buildings: Keep tools, machinery, and harvested crops safe. Dryness and ventilation are priorities here, to avoid spoilage.
- Greenhouses: Extend growing seasons or protect sensitive plants. Placement affects temperature and humidity control.
- Workshops and sheds: Spaces to repair machines or store smaller tools. Proximity to fields can be handy, but too close might cause clutter.
- Feed silos and bins: Often stand-alone, but near animal areas for ease of access during feeding times.

Your farm might need other buildings too, like packing sheds or manure storage. The trick is figuring out which make the most sense without crowding the layout. I guess you learn some of this from trial—and error.
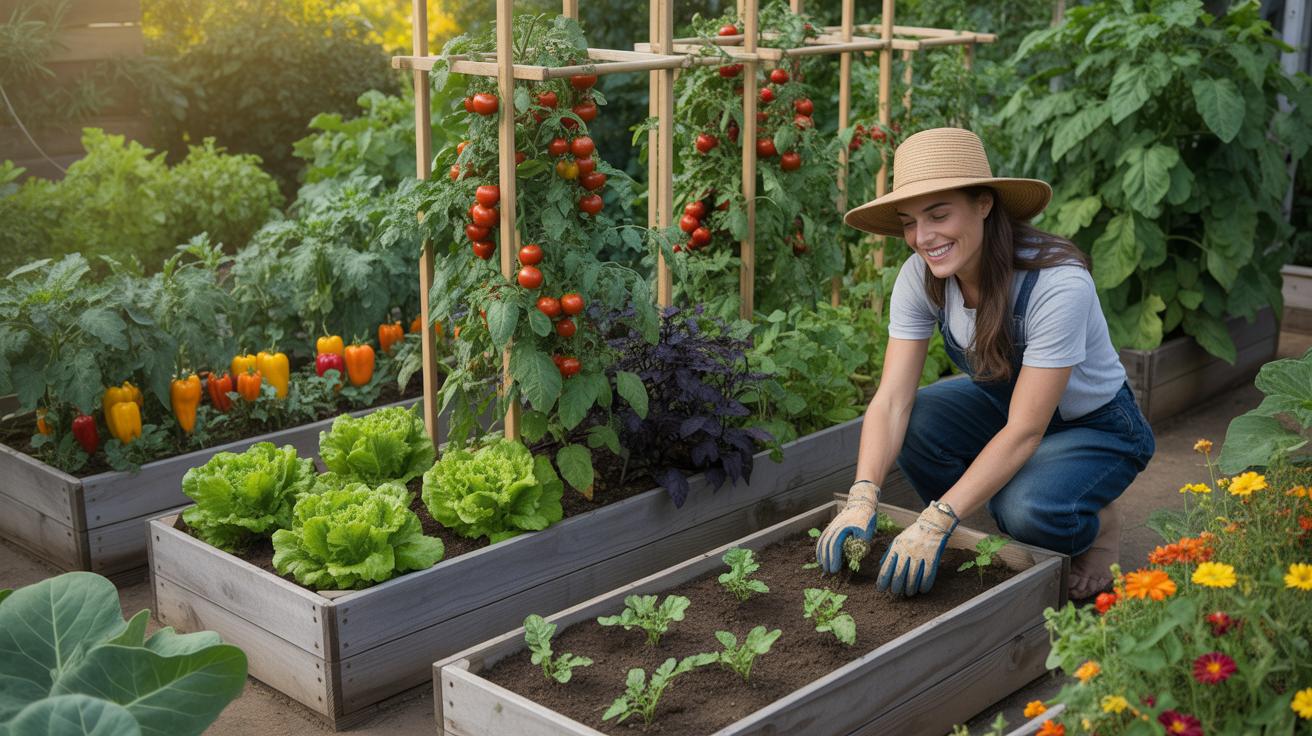
Comparing Crop Rows Versus Beds
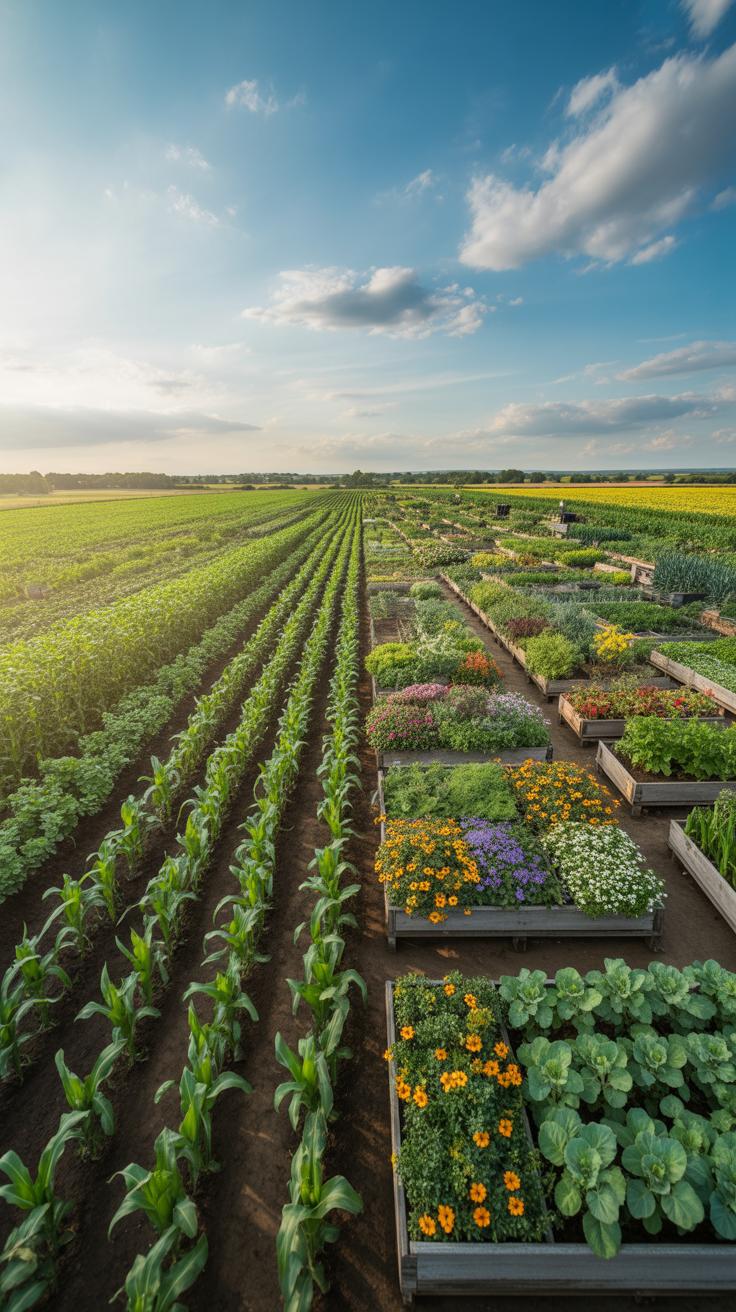
Benefits Of Crop Rows
Planting crops in rows remains a common choice for many growers, and for reasons that aren’t always obvious at first glance. Rows can make it easier to manage machinery, especially if you’re working with larger fields or using tractors for cultivation and harvesting. Some crops, like corn or soybeans, seem to thrive better in this setup, possibly because the spacing allows them to access sunlight and nutrients without too much competition.
There’s also a certain simplicity in rows that appeals. You can quickly identify problems like pests or diseases when plants are arranged in tidy lines. And if you’re rotating crops seasonally, rows make it straightforward to alternate species, keeping soil stress lower. On the flip side, though, rows might not always make the best use of limited space, especially in smaller plots.
Advantages Of Raised Beds
Raised beds can feel like a bit more work upfront but often pay off in better soil conditions down the line. By elevating the planting area, you improve drainage, which is a big deal if your land tends to stay wet for a while. Good drainage means roots don’t drown, and plants stay healthier.
Another perk is that soil in raised beds warms faster in spring. That can extend your growing season, which you might appreciate if frost dates limit when you plant. Plus, it’s easier to amend the soil selectively—adding compost or other nutrients without spreading them over the entire field.
On the other hand, raised beds require more effort to build and maintain. Sometimes the beds dry out quicker during hot spells, so irrigation needs can increase. But if you’ve got limited space or want to boost yields per square foot, raised beds might be worth the extra work.
Equipment Storage Solutions
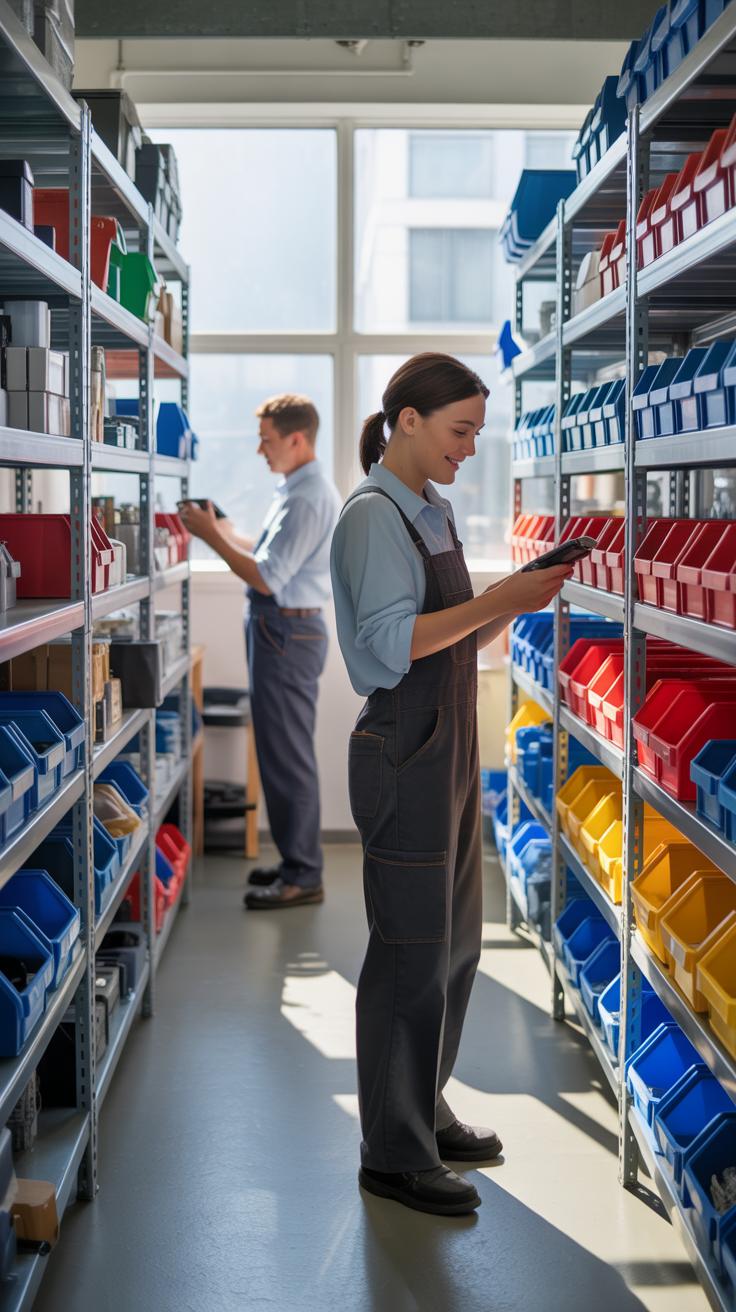
Selecting Storage Locations
Choosing where to store your farm equipment can be trickier than it seems. Ideally, storage areas should be placed close to where you use the machines most often. This cuts down on travel time and less wear from moving equipment around unnecessarily. For example, if your tractors are mainly used in one field, keeping their shelter nearby saves you trips back and forth.
But then, you also want to think about weather protection. Spotting your storage in a hurricane-prone area or somewhere water pools might cause more harm than good. You might have to compromise—closer isn’t always better if the site invites damage. I remember once putting a shed near a low spot; it flooded and roasted my old mower more than I expected.
Access routes matter, too. Wide paths with solid ground prevent getting stuck during wet seasons. And, consider keeping storage out of the way to avoid blocking daily farm traffic but easy enough to reach quickly when needed.
Types Of Storage Structures
What kind of building suits your equipment depends on a few things: size and type of machinery, budget, and how long you plan to keep it there. Traditional metal sheds are common and offer good protection from rain and sun, but they can get hot inside and might not breathe well. For some, ventilated pole barns work better, especially if airflow is needed to prevent rust.
Open-sided shelters provide quick access but leave your equipment partially exposed, which can speed wear. Enclosed garages, while pricier, protect better and sometimes include space for repairs or parts storage.
Concrete floors are worth thinking about, even if it means extra expense. Dirt or gravel floors might be cheaper but allow moisture and pests. Personally, I’ve found that balancing cost and protection usually means mixing storage types — a solid shed for big tractors, and simpler lean-tos for smaller tools.
Checklist For Farm Safety
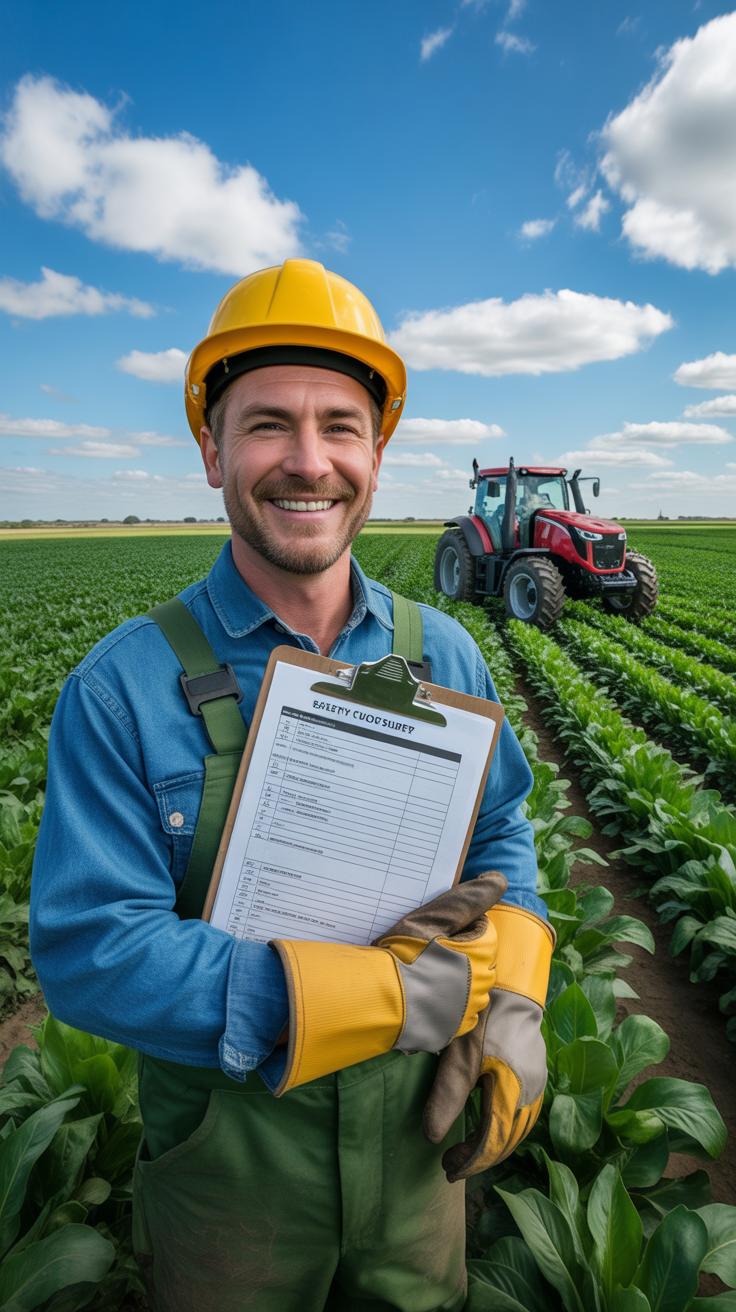
Designing a farm with safety in mind protects both workers and animals. You’ll want to include clear, visible features that prevent accidents before they happen. Here’s a checklist to help guide your planning:
- Marked and unobstructed pathways to separate foot traffic from machinery
- Visible signs indicating hazardous areas and speed limits for vehicles
- Safe fencing and gates, especially around animal holding areas
- Non-slip surfaces in wet or muddy zones where falls are likely
- Well-lit buildings and outdoor workspaces to reduce night accidents
- Accessible fire extinguishers and firebreaks to control potential fires
- Clearly marked emergency exits and assembly points
- Designated first aid stations stocked with essential supplies
Each of these points serves a specific purpose, but together they create a network of protection. You might overlook easy fixes like repainting faded signs—yet those could make a real difference.
Safe Pathways And Signage
Marking paths isn’t just formality. When someone rushes through a farm during busy hours, these guides help prevent collisions and confusion. Think about how chaotic barns can get during feeding times. Signs directing traffic flow — both pedestrian and vehicle — cut down the chance of trouble.
But signage must be noticeable. Faded or cluttered signs might as well not exist. Bright colors, reflective paint, and consistent placement will make sure everyone knows where it’s safe to walk, where machines operate, and where caution is needed. Sometimes, you’ll find workers bypass shortcuts anyway, so consider how pathways tie into daily habits too.
Emergency Preparedness Measures
Plans for emergencies can’t be squeezed into last-minute decisions. Fire access routes should be wide enough for trucks even when the farm looks busiest. You might think it’s unnecessary, but narrow gates or parked equipment can block critical routes.
First aid stations should be easy to find and restocked regularly. It’s one thing to have a kit, another to maintain it. Consider training workers to use first aid tools, because equipment alone doesn’t save lives.
Also, think about emergency communication — can workers quickly alert others if something goes wrong? Sometimes simple radios or strategically placed phones matter more than high-tech systems. It helps to imagine yourself in a panicked moment; what would you need to feel safe?
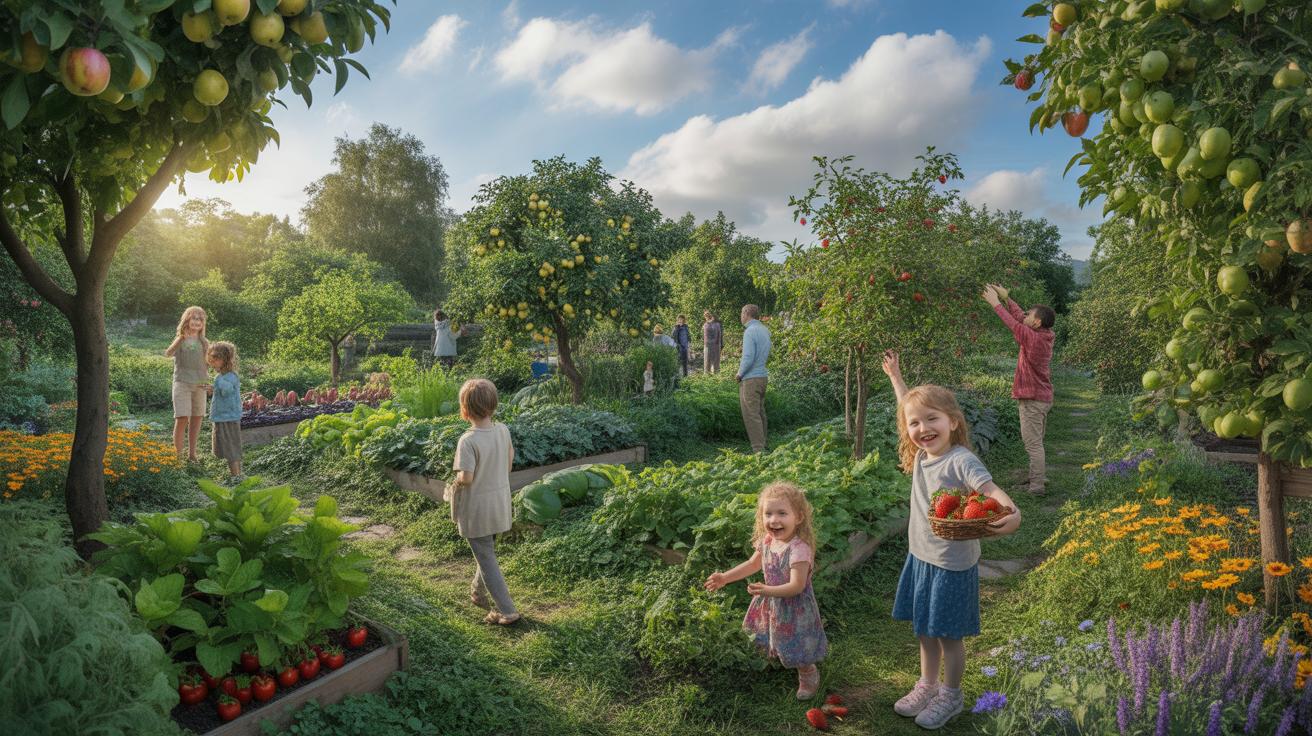
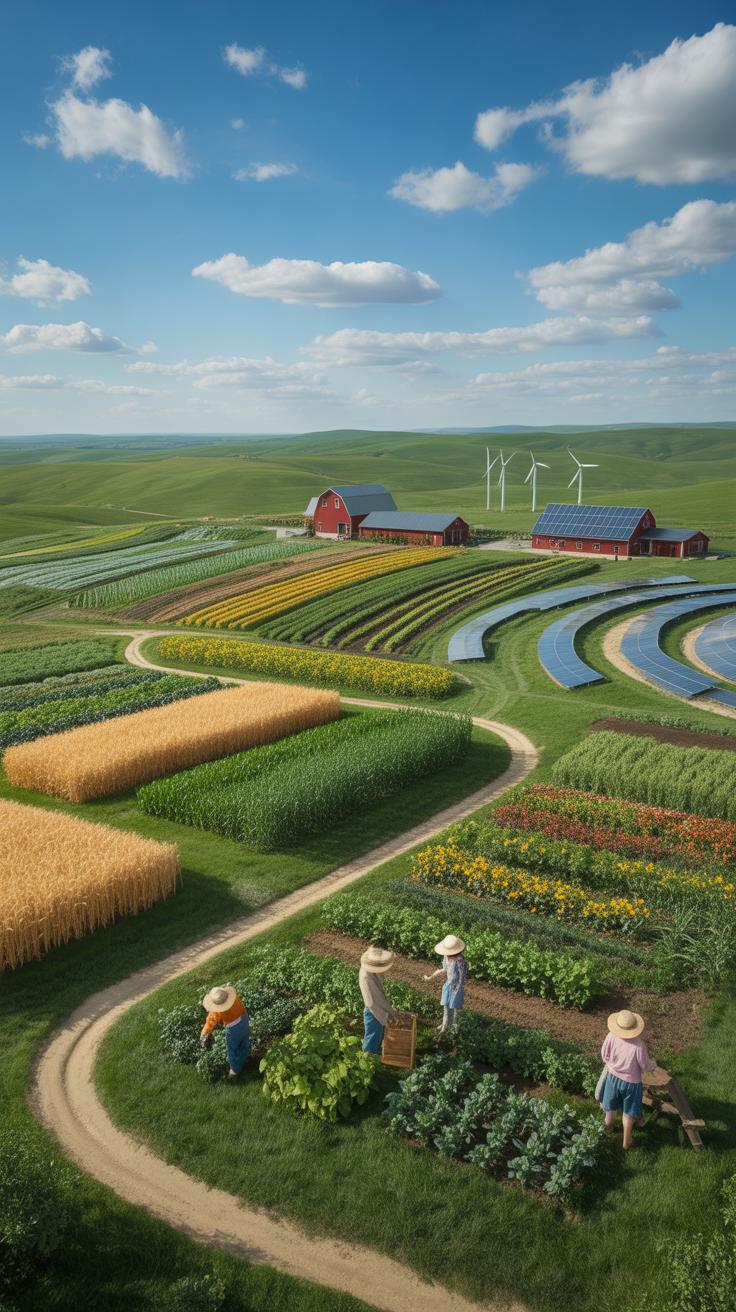
Example Small Farm Layout
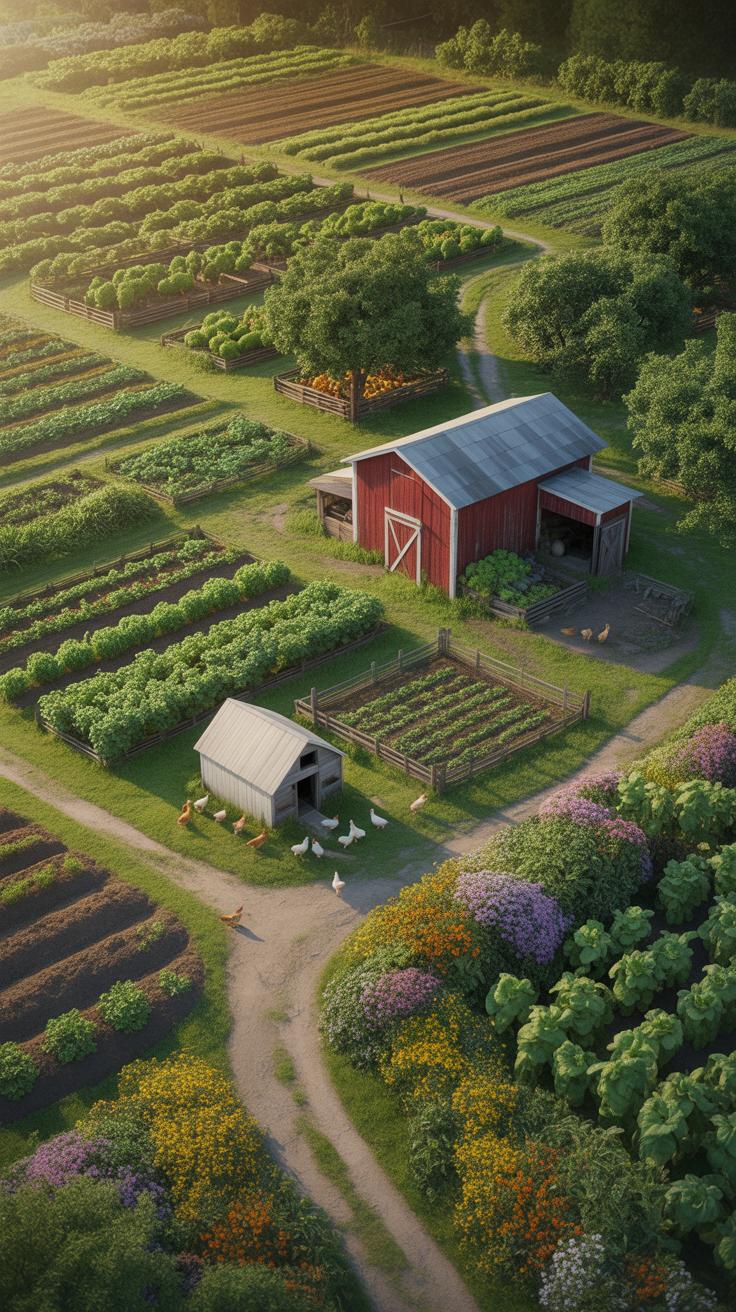
Imagine a small farm of just under five acres. It’s divided into clear zones to keep things manageable without feeling too fenced-in. Near the entrance, a compact parking area meets the main pathway that branches off like veins through the farm. This main path links the different zones, making movement simple without wasting space.
The central zone hosts the primary crop beds. They occupy about two acres and stretch in rows that run north-south to catch sunlight evenly through the day. Around these, smaller plots hold herbs and quick-harvest greens. To one side, there’s a modest orchard with a mix of fruit trees—placed to shield the crops from strong western winds.
Buildings cluster close to the entrance: a barn for tools and equipment, a small greenhouse, and a modest storage shed placed side-by-side for convenience. At the back, a water source with a rainwater catchment system collects and stores water. It’s connected to drip irrigation lines that run beneath crop beds, minimizing waste.
Paths are a mix of gravel and compacted earth, wide enough for a wheelbarrow but not so wide that they consume too much planting space. The layout balances access with productive use of land, though exact shapes and dimensions might differ depending on topography and soil.
Crop Placement In Example Layout
Crops sit mostly near the center, where the soil is well-drained and flat. Rows are arranged to allow enough space for walking and harvesting without stepping on plants, roughly three feet between each row. Taller crops like corn and sunflowers are set on the north side to avoid shading shorter plants.
Leafy greens and root vegetables occupy beds closest to the greenhouse, allowing for quick transplanting and close monitoring during sensitive growth stages. On the edges near the orchard, perennials like berries and asparagus grow, requiring less frequent access.
The layout uses companion planting here and there, though it’s not strict. It’s more about practical care. For example, planting basil near tomatoes to reduce pests. The idea is to keep work efficient—harvesting, watering, weeding—with minimal backtracking or obstacles.
Building Arrangement In Example Farm
The barn and storage shed sit near the entrance, mostly to keep machinery and tools out of the fields but still easily accessible. This position feels intuitive; imagine unloading supplies straight from your vehicle without trekking across the entire farm.
The greenhouse rests close to the main crop zone, allowing seedlings to be moved out quickly on warmer days. Placing it here also means the heat from the greenhouse won’t distort the microclimate around your mature crops.
Water infrastructure is positioned at the far end, partly due to natural drainage patterns. It’s not ideal but makes sense, especially with gravity-fed drip lines. This placement reduces the need for pumps, though it means planning your planting and watering schedules carefully.
All in all, the arrangement isn’t perfect or rigid, but it reflects a balance between access, plant needs, and sensible workflow. You may want to tinker with building spots based on your unique challenges, but this layout sets a solid, tangible starting point.
Long Term Farm Design Thoughts
When planning your farm layout, thinking ahead can save a lot of hassle later. It’s tempting to just focus on what you need right now, but farms don’t stay the same size forever, right? Leaving room for growth isn’t just about having empty fields; it’s about making space for new structures or different crops later on. For example, you could plan pathways wide enough for bigger machinery or set aside areas where future greenhouses might go.
Sometimes I feel like people underestimate how fast farms can change. A small orchard might turn into a larger one, or a simple irrigation setup might need to expand. Even just leaving extra water lines or power hookups can make adding new equipment easier. It might feel like wasted space at first, but that space really pays off.
Planning For Expansion
Think about how your farm might grow in 5 or 10 years. Can you:
- Set extra boundaries around fields for new planting?
- Install flexible irrigation systems that can stretch?
- Keep some open areas near storage buildings for future barns or sheds?
- Design roads wide enough for larger trucks down the line?
Putting these in place early might slow you down a bit now, but you’ll thank yourself later. That’s if you actually plan for it, which, yes, isn’t always easy to visualize today.
Sustainable Practices To Include
Building sustainability into the layout isn’t only about using organic fertilizers or avoiding chemicals. It can start with crop rotation zones mapped out across your fields. That means planning different plots for various crops each season, to help soil health and reduce pests naturally. It’s surprisingly simple but often overlooked when people focus too much on immediate yields.
Rainwater collection is another practical element to design in from the beginning. You might set aside sloped areas or install gutters on buildings to channel water into storage tanks. That water then cuts down on reliance on wells or municipal systems, especially during dry spells. It’s a quiet way to safeguard your farm’s future without needing a big, flashy system.
Ultimately, thinking about growth and sustainability together might feel like juggling too many variables. But weaving those ideas into your plan lets your farm adapt as needs change, which, well, seems like the only way any farm makes it long-term.
Common Farm Design Mistakes
Ignoring Water Flow
Water flow often gets overlooked when planning a farm. You might think it’s just about irrigation, but poor water management can cause serious problems beyond just dry spots. If water pools in the wrong areas, it can lead to soil erosion, damage to crops, and muddy, unusable paths. Sometimes, runoff takes unexpected routes, washing away nutrients or flooding low areas. I once visited a farm where improper drainage meant fields stayed soggy for days after rain, delaying planting and harvest. Fixing this later cost more time and money than early planning would have.
When designing your farm, take time to watch how water moves across your land during storms. Look for natural slopes and low points. Could a swale or a small berm redirect runoff usefully? Don’t just assume that installing pipes or trenches will solve everything. Sometimes simple earth shaping works better, and it’s cheaper, too. Without this understanding, you’ll probably deal with patchy crops or repair work every year.
Poor Layout Of Buildings And Paths
The placement of buildings and paths influences daily work more than many realize. Misplaced barns or storage sheds might seem like a minor inconvenience, but they can cause extra steps or tricky logistics every single day. One farmer I know built his equipment shed too far from the fields, meaning he wasted a lot of time hauling tools back and forth. Paths that cut inefficient routes can turn short tasks into long treks, wearing down both people and machines.
Think about how you move through your farm regularly. Which tasks require the most trips? Where do you want vehicles to drive without breaking the soil or disturbing crops? Planners sometimes cluster structures without thinking about these flows, leading to crowded areas and bottlenecks. Sketch out your ideal daily routines before digging foundations. Your future self will thank you — trust me on this.
Conclusions
Creating a well-planned farm requires attention to detail and understanding of your farm’s unique needs. By considering factors like land use, water management, and building placement, you set the foundation for smooth operations.
Regularly reviewing and adjusting your farm design as your farm grows ensures continued success. Keep practical goals in mind, and your farm layout will serve your work well for years to come.