Introduction
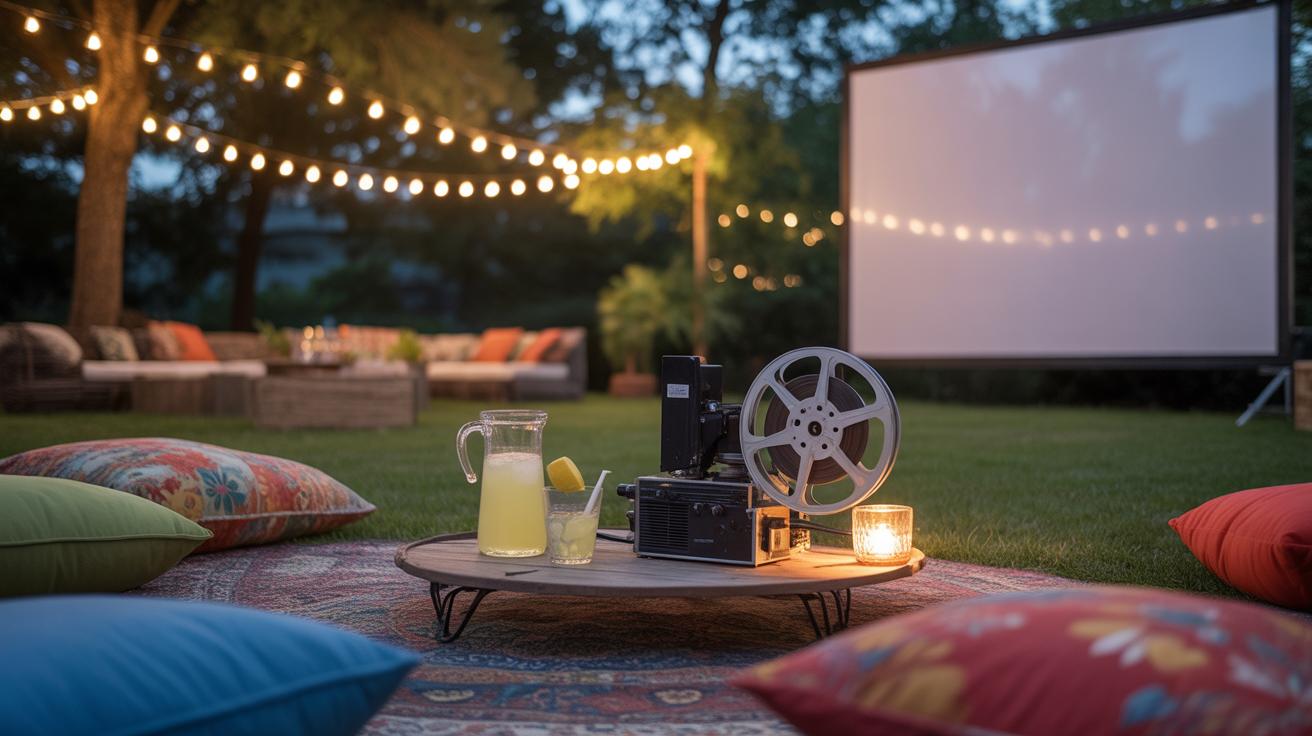
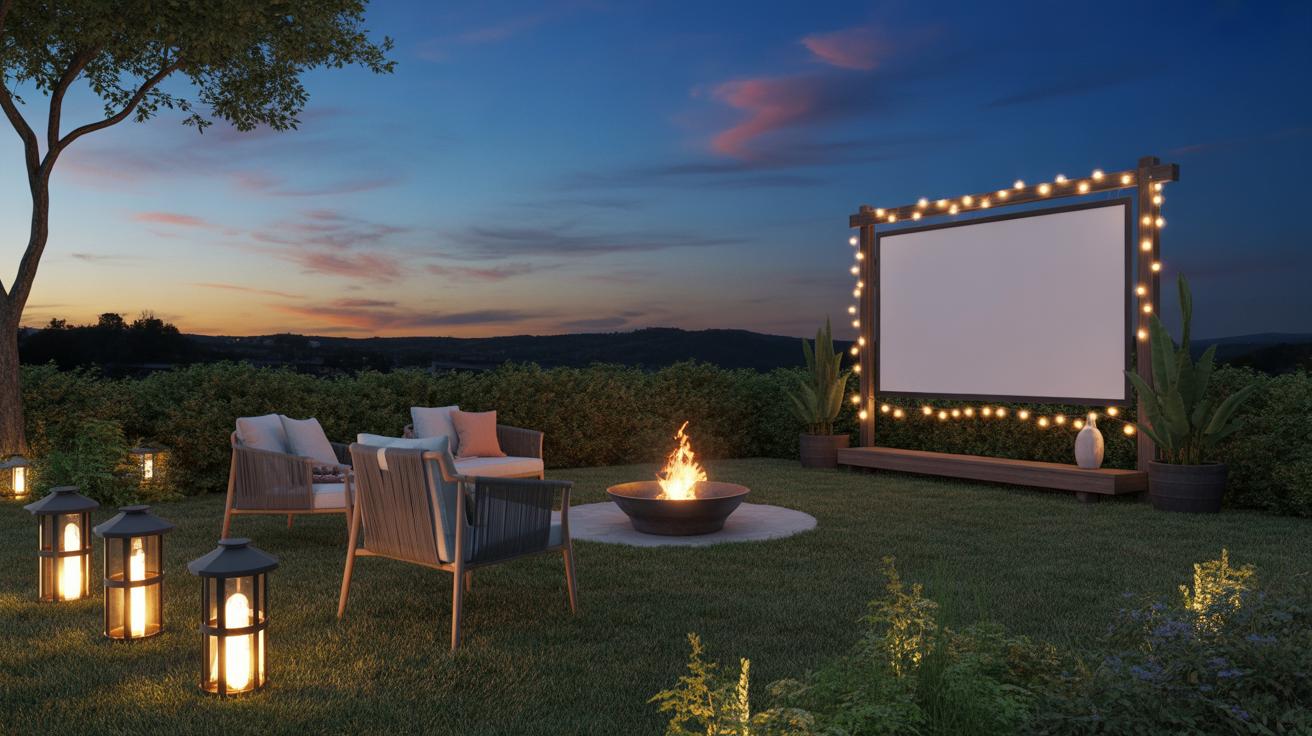
Setting up a DIY outdoor cinema in your backyard can transform ordinary evenings into special entertainment nights. This guide will explore everything you need to create a backyard cinema setup that fits your space and budget. You will learn how to select the right equipment and arrange your area for the best movie-watching experience under the stars.
Outdoor cinemas have a rich history and are enjoyed worldwide for their unique atmosphere. By the end of this article, you will have a clear plan to design your outdoor cinema, creating a fun, comfortable, and enjoyable environment for family and friends.
Choosing the Right Location in Your Backyard
Picking the right spot for your outdoor cinema isn’t just about finding an empty corner. You want a place that allows enough room for the screen and seating, while also offering comfortable viewing angles for everyone involved. It helps to think about how people will sit or lounge—will they have to crane their necks or squint into the setting sun?
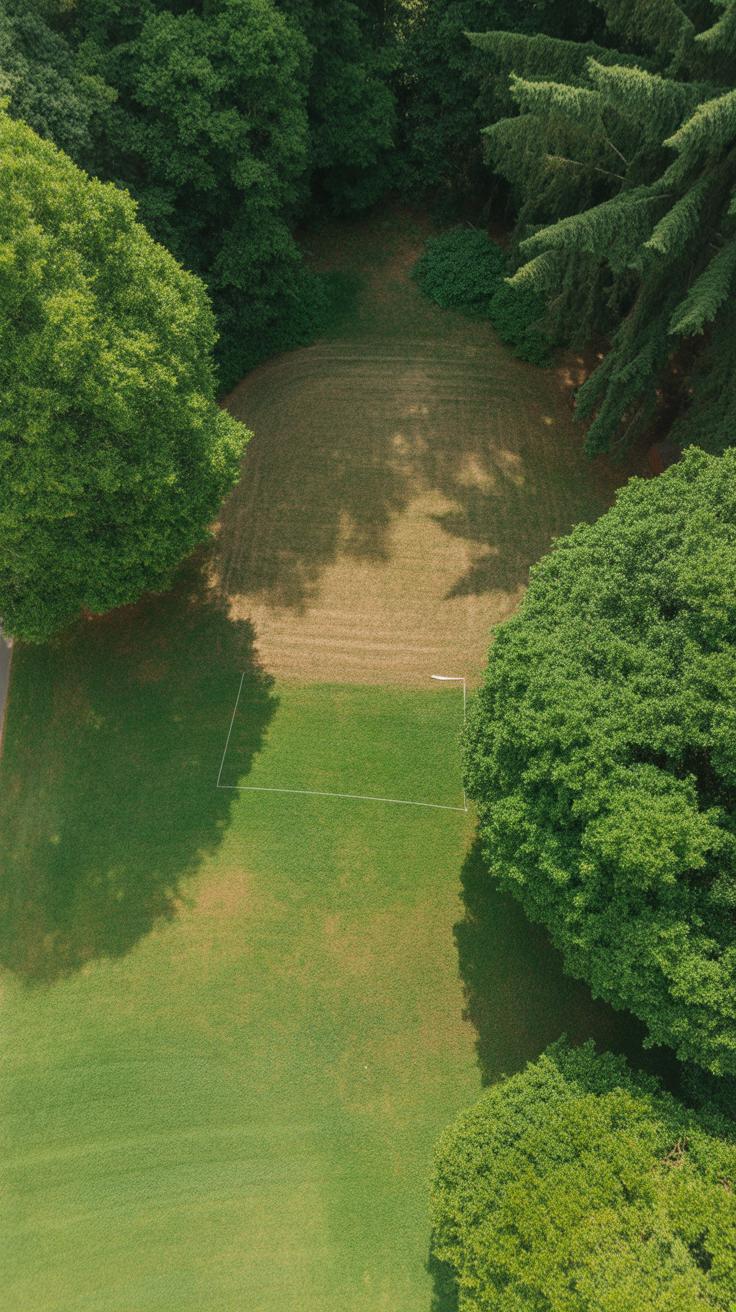
Start by searching for a flat and open area. Uneven ground is more than a nuisance; it can throw off your screen setup and make seating awkward, maybe even uncomfortable. A flat surface means easier installation and better stability, both for the screen and your chairs or blankets. Plus, open areas prevent the screen from being blocked by trees or garden structures. I remember setting up on a slight slope once—it was a hassle trying to keep everything steady and it really affected the audience’s comfort.
Avoid spots where bright streetlights or porch lights shine directly; those can wash out your movie’s image, turning those dramatic scenes into a dull blur. Also, think about noise. If your backyard borders a busy road or a neighbor’s noisy air conditioner, those distractions will pull attention away from the film. Try to locate your cinema where natural barriers—like fences or bushes—can act as buffers against light and sound. You might not eliminate all distractions, but reducing them makes the experience feel more immersive.
Bringing all that together, ask yourself: Does this spot let everyone see the screen without turning awkwardly? Can the screen stay stable and the seating be comfortable? Are there ways to block out light and noise? Those questions guide you closer to the best location for your setup.
Selecting Your Outdoor Movie Screen
Choosing the right screen for your backyard cinema means balancing budget, convenience, and the look you want. You might lean toward inflatable screens because they’re easy to set up and pack away. They’re great if you don’t want something permanent cluttering your yard. But they can be sensitive to wind and require a bit more space to anchor securely. On the upside, inflatables often offer a large image area for the money, which feels impressive when watching from the lawn.
Fixed screens, on the other hand, give a solid, consistent surface that won’t move or wrinkle. If you’ve got a dedicated spot and don’t mind a more permanent fixture, fixed screens offer sharper image quality and can handle different lighting better. But they take up space even when you’re not watching movies, and installation isn’t always straightforward—you might need tools or help mounting it properly.
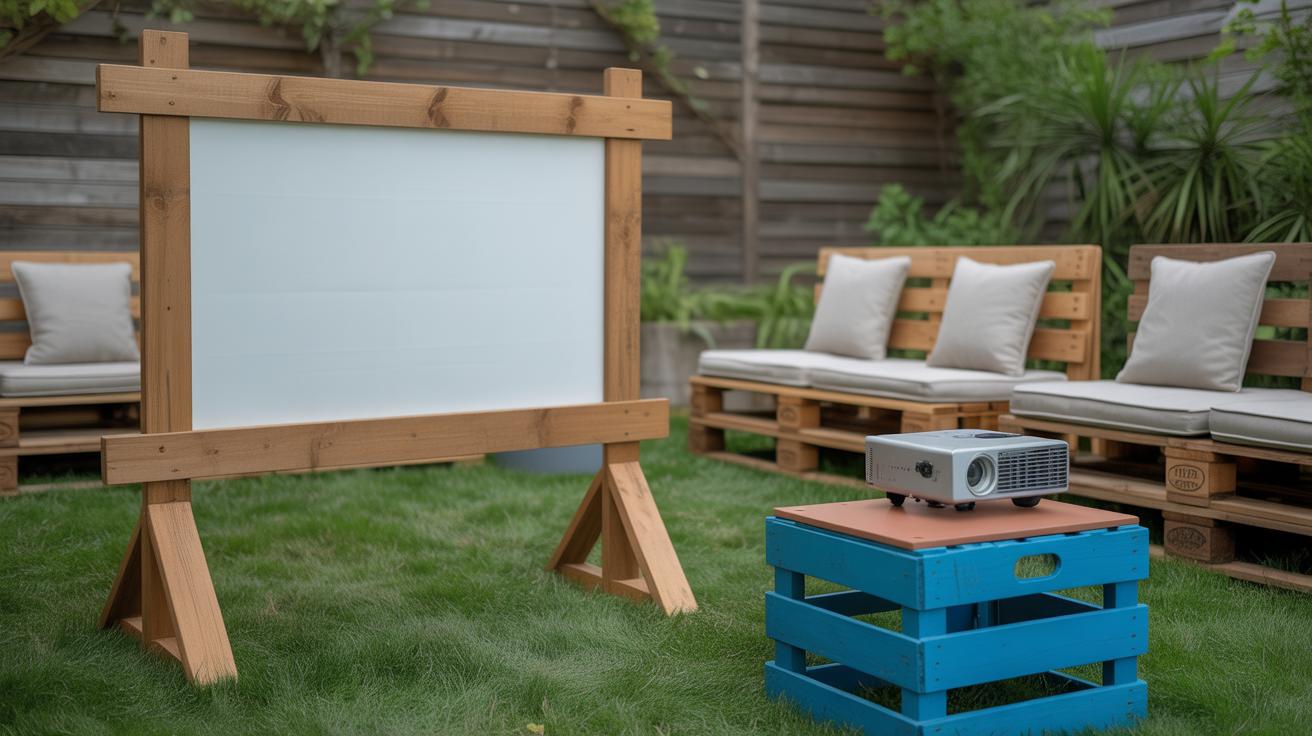
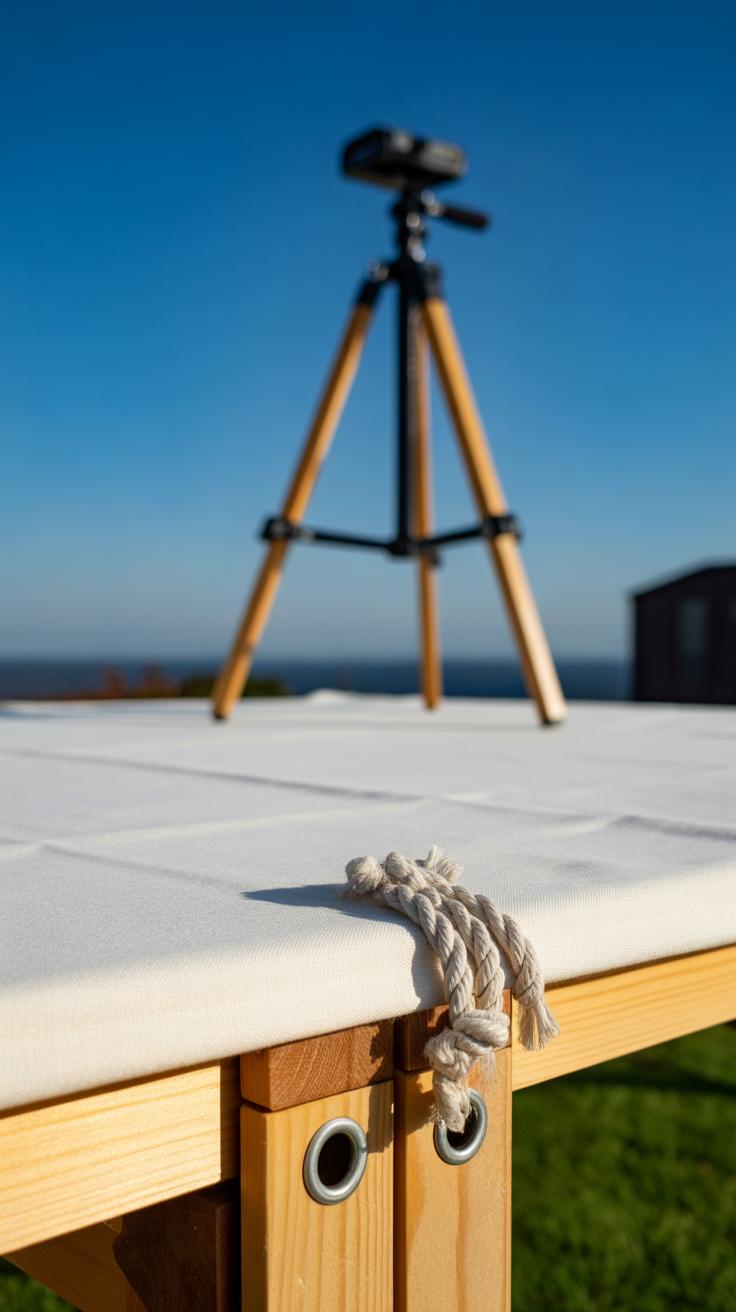
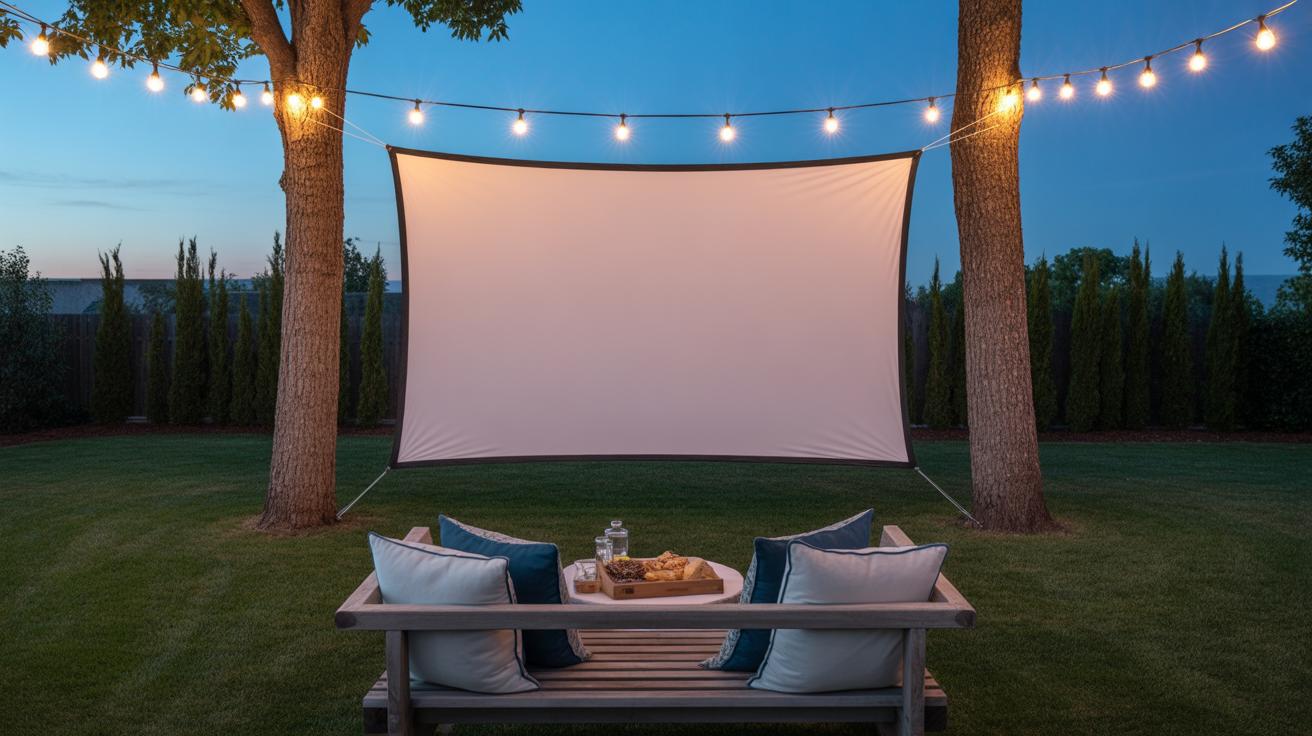
If you’re feeling crafty or want to save cash, you can make a DIY screen. Common ideas include stretching a white sheet tightly over a frame made from PVC pipes or wood. Sometimes, a smooth white wall or garage door works fine, especially if it’s flat and free of distracting marks. Keep in mind, homemade screens won’t be perfect; the image may not be as bright or clear as a commercial screen, but they often do the job well enough for casual movie nights.
When deciding, ask yourself: Do you want ease and portability, or something more permanent and pristine? And is your budget flexible? Your answers will guide you toward the best screen option for your backyard setup.
Choosing the Right Projector
Brightness and Resolution
When picking a projector for your outdoor cinema, brightness is a key factor. Measured in lumens, it largely determines how clear and visible your movie will be, especially if there’s any ambient light—be it streetlights, porch lamps, or lingering sunset. For outdoor use, aim for at least 2,000 lumens. If you want to watch before full darkness, going higher, maybe around 3,000 lumens, can really make a difference.
Resolution affects the sharpness of the image. While 1080p (Full HD) is usually a sweet spot for outdoor theaters, 4K projectors have become more accessible and can enhance the viewing if your budget allows. But keep in mind, sometimes higher resolution doesn’t always feel worth it outside; the screen size and distance matter a lot here.
Portability and Connectivity
Since an outdoor cinema often means moving stuff around, portability comes into play. You want something not too bulky or heavy, so you can quickly set it up and store it away, without turning it into a weekend project. Compact projectors with a built-in handle or small footprint work well.
Connectivity is another thing you might not think about until you’re scrambling to find the right cables. Most projectors today support HDMI, which pairs easily with streaming sticks, laptops, or gaming consoles. Some even have USB or Wi-Fi options for wireless streaming. I’ve had a projector that needed a special adapter and it was mildly frustrating—try to avoid that by checking compatibility first.
Lastly, budget will steer your choices. You can find decent projectors under $300 that serve casual movie nights just fine, but don’t expect cinematic quality. If you’re planning weekly shows or want sharper images, investing closer to $600 or more pays off. Think about how often you’ll use it and what features really matter to you before deciding.
Setting Up a Sound System for Clear Audio
When it comes to an outdoor cinema, sound can make or break the whole experience. You might have a great picture, but if nobody can hear the dialogue clearly, it’s frustrating. There are several options, from simple portable Bluetooth speakers to more serious setups like external soundbars or even multi-speaker arrays.
Portable speakers are easy to move around and set up. They’re usually affordable, and some models are surprisingly loud with decent clarity for their size. Soundbars, designed for TVs but adaptable outdoors, offer fuller sound and often better bass. If you’re aiming for something more immersive, multiple connected speakers or a dedicated PA system can distribute sound evenly across a large backyard. But these can get complicated and might need extra gear like amplifiers or mixers.
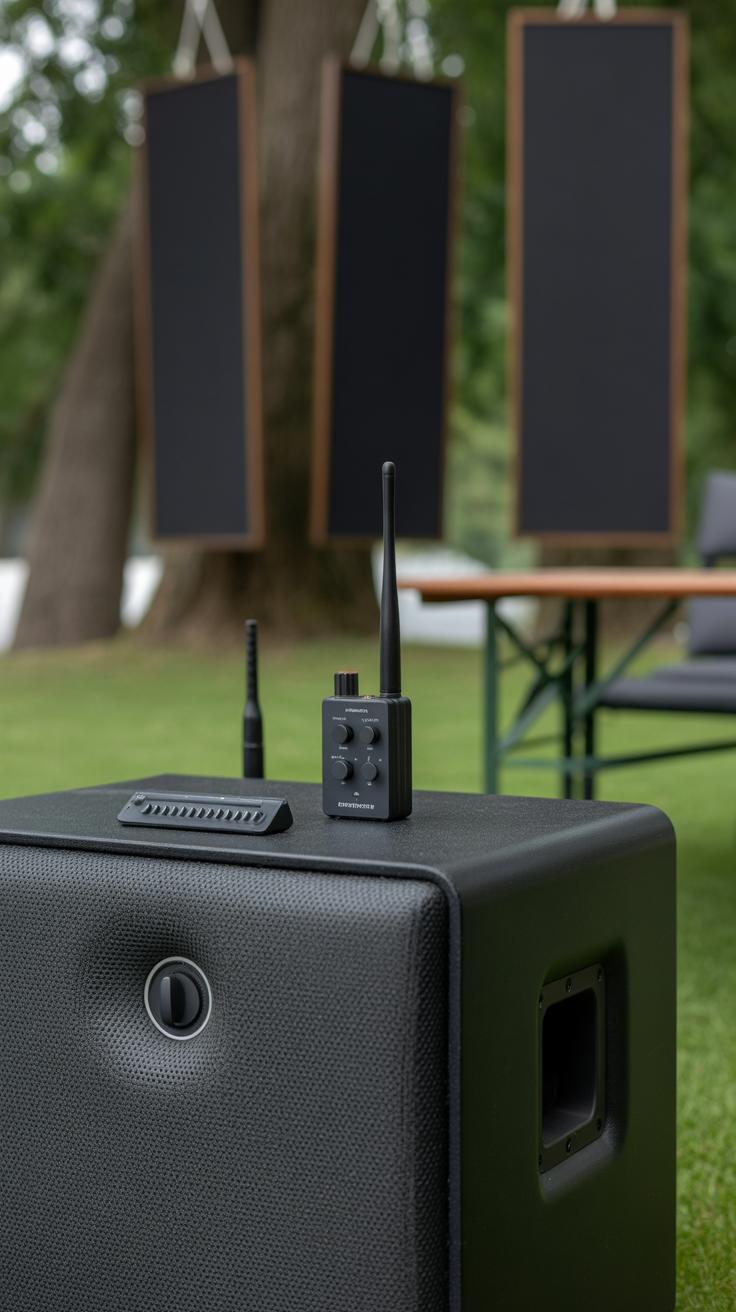
Choosing Speakers for Outdoor Use
Not all speakers work the same outside. Weather resistance matters if you leave them setup or expect dew or light rain. Look for speakers marked “outdoor” or at least water-resistant. Placement is key too. Front-facing speakers near the screen create a clear source for sound but can leave some areas quieter. Placing additional speakers further back or spread around can help fill in sound gaps, but too many may lead to echo or confusion.
In my experience, elevating speakers slightly, like on stools or stands, helps clear obstacles like chairs or kids running around. But then, what about neighbors? Loud speakers might be a hit with guests but a problem next door.
Wireless vs. Wired Audio
Going wireless seems convenient. No cables to trip over or limit your layout. Bluetooth or Wi-Fi speakers connect to your device and offer flexibility. Still, wireless can suffer from interference, signal drops, or lag, especially if you have multiple devices in the area or thick walls nearby.
Wired connections, on the other hand, provide stable and consistent sound quality. Running cables outdoors might be a hassle, and you have to think about safety and weather protection for wires. But once connected, audio delays or dropouts are far less likely. If sound syncing and reliability matter most to you, wired might be the safer bet—though it feels like more work upfront.
Honestly, the choice depends on your space, how often you use the system, and how much effort you want to put into setup each time. I’ve seen setups where a mix of both approaches worked—wired speakers near the main screen and wireless for back seating areas. That’s something you might consider depending on your backyard and your crowd.
Creating Comfortable Seating Arrangements

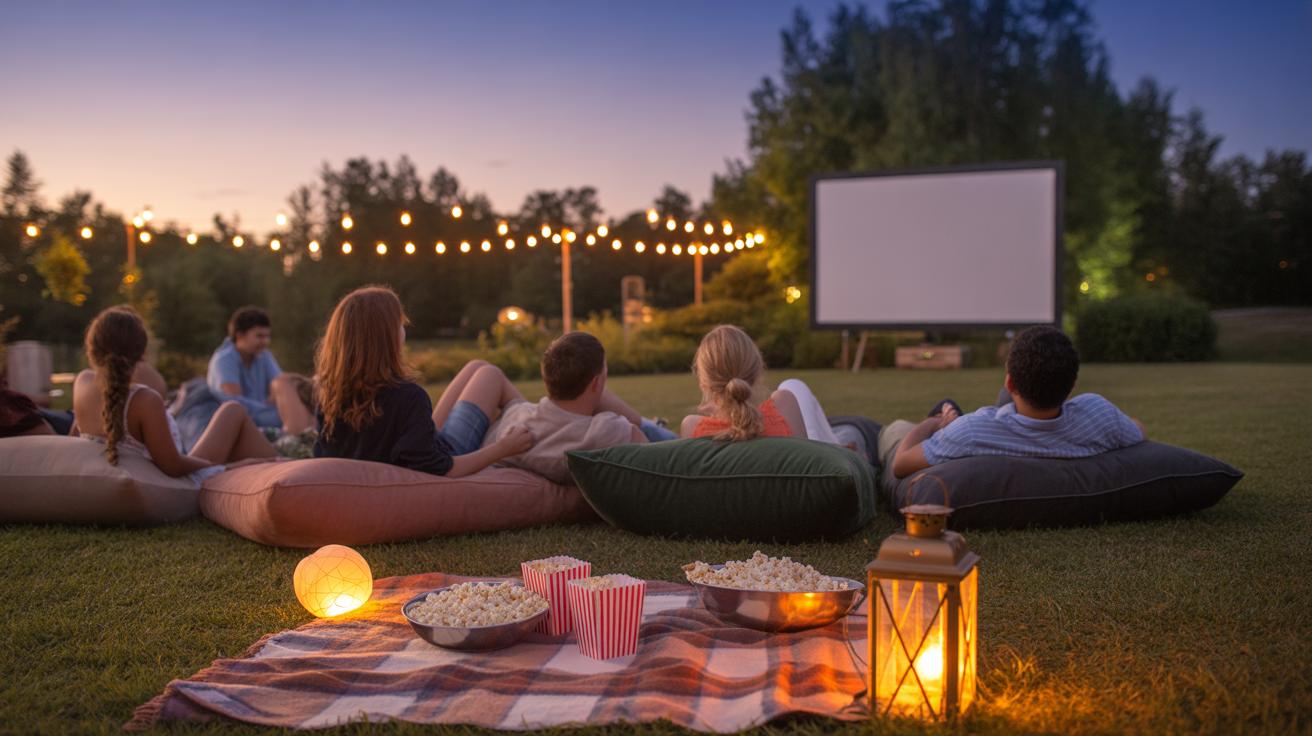
When it comes to setting up your outdoor cinema, seating can make or break the experience. Blankets and portable chairs often come to mind first—and for good reason. Blankets create a casual, cozy feeling, perfect for lounging right on the grass. They’re easy to spread out and just as easy to pack up, which helps when you want a quick cleanup after the movie ends.
Portable chairs, on the other hand, offer better support and keep you off the ground, which can be a relief if the evening gets damp or chilly. Arranging a mix of chairs and blankets lets everyone choose their comfort style, but try grouping similar seats together. It helps with socializing and keeps pathways clear.
Add cushions and throws to the mix, and you’ve got a pretty inviting setup. Cushions soften the hard seats, making long movies far more comfortable. Throws add warmth as the night cools down, so nobody’s grabbing an early jacket or hopping inside. Plus, these extras don’t take up much space and can be swapped out or added depending on the weather. Don’t be surprised if people start bringing their own cushions—comfort is kind of contagious in these gatherings.
Sometimes, you might wonder if it’s too much effort for casual backyard fun, but a little seating thought can keep viewers watching longer—and enjoying themselves. What types of seats feel right for you, and will you go simple or a bit more layered with cushions and throws?
Control Lighting for Best Viewing Experience
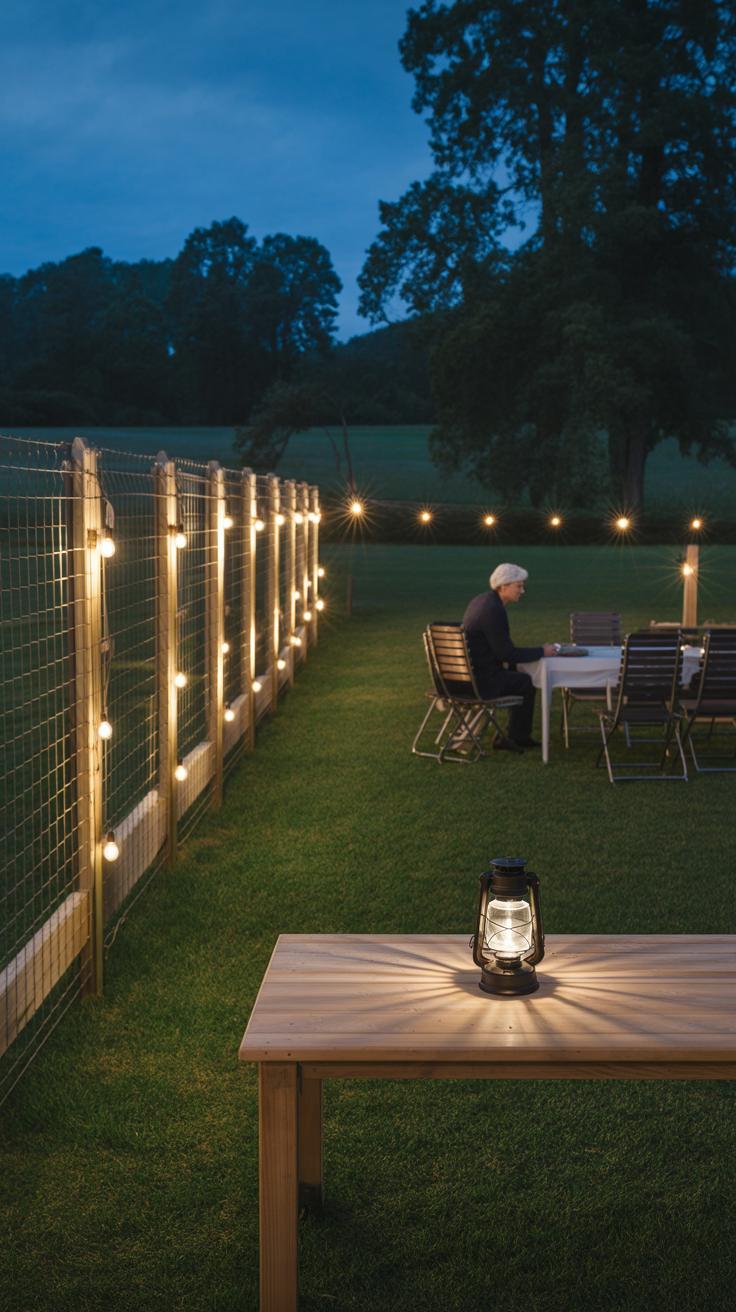
Light around your backyard can make or break your outdoor movie night. You want enough visibility to move safely but not so much that it washes out the screen. Sometimes, I’ve noticed neighbors’ porch lights or garden lamps creating awkward reflections that distract from the film. Turning off or dimming these lights can really help sharpen the image.
Try these steps to manage lighting:
- Switch off any bright floodlights or spotlight features during the movie. Even a distant light can cause annoying glare.
- If fully turning off lights isn’t possible, consider dimmer switches or lower watt bulbs to soften the glow.
- Check for unexpected sources, like string lights on nearby trees or deck lamps, and adjust accordingly.
But total darkness isn’t safe or practical. So, soft path lighting comes in handy. Solar or low-voltage LED path lights keep walkways visible without shining toward the screen. I’ve found stakes with frosted covers work nicely—your guests can find their way without a light show competing with the film.
These lights usually cast gentle downward beams and don’t flood the whole yard. It’s a balance you have to test out a bit to get right. Sometimes the soft illumination feels a little too faint at first, but often it’s just enough for comfort without sacrificing the picture.
Have you tried lighting adjustments during your own backyard movie nights? What worked or felt off? The truth is, lighting control can seem simple but really involves a bit of trial and error until you hit that sweet spot.
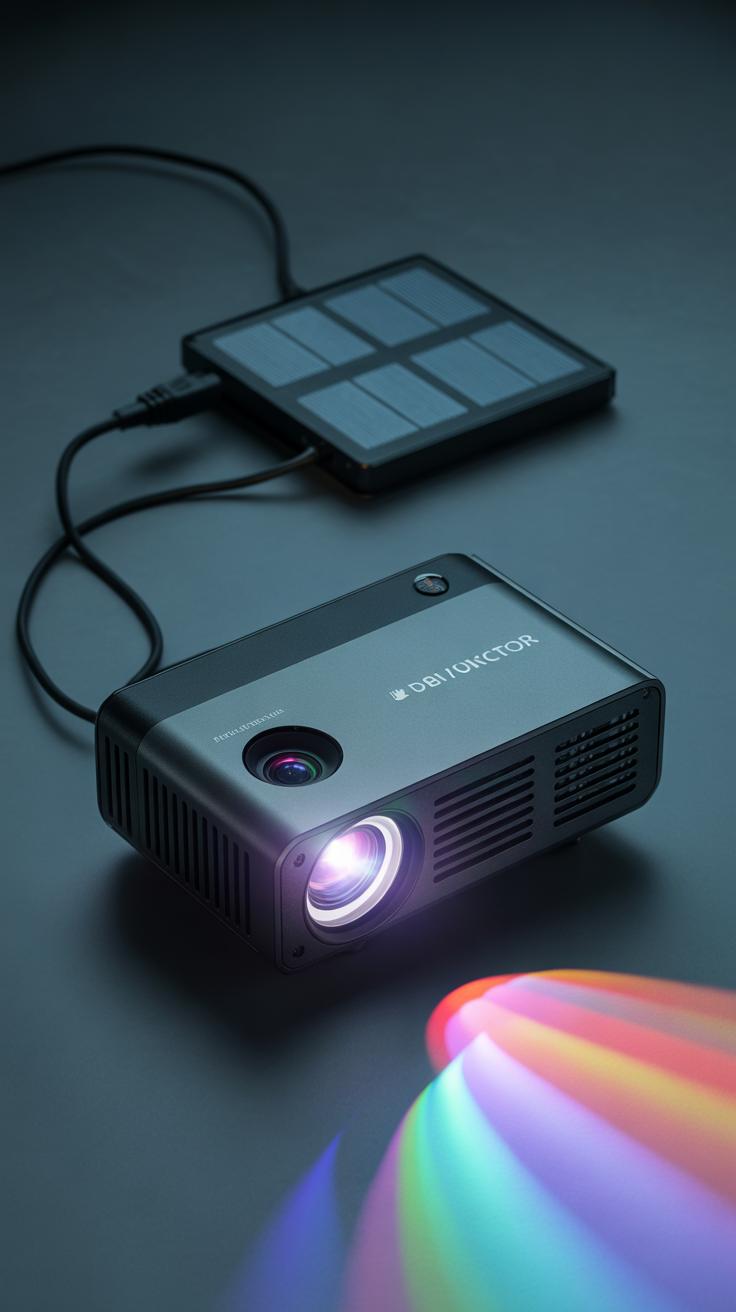
Powering Your Outdoor Cinema Setup

When it comes to powering your backyard movie theater, the options might surprise you. You don’t always need to be tethered to an outlet. But if you are, extension cords become your best friend—though only if used carefully. To keep your setup safe, pick cords rated for outdoor use; they resist moisture and wear better than indoor versions. Run them along edges or under rugs to avoid trips, and keep connections off the ground when possible. It’s a small thing, but water plus electricity just isn’t something you want to mess with.
For spots without easy access to power, portable battery packs offer a neat workaround. These are especially handy if you want clean power without noise. Just make sure your projector and sound system don’t drain the battery too fast—you might need something with a higher capacity than you expect. I once underestimated a battery pack’s horsepower and had to cut the movie short, which wasn’t ideal.
Generators, on the other hand, deliver consistent power and can handle more demanding setups. They’re a bit louder and bulkier, though, so think about your neighbors and how much noise you can tolerate. If you go this route, place it far enough away and maybe add some sound barriers. Also, running fuel-powered devices outdoors demands caution—watch for fumes and never run them indoors or near open windows.
Choosing the right power source really depends on where you set up and how long you want your movie night to last. It’s a balancing act between convenience, safety, and how “plugged in” you want to be.
Choosing Movies and Scheduling Screenings
Picking the right movie for your outdoor cinema can be trickier than it seems. Outdoor settings often bring distractions—bugs, unexpected noises, fading light—that you just don’t get indoors. So, it’s worth thinking about which films keep people engaged without needing too much screen detail or intense focus. Action-packed blockbusters might lose their punch if the image isn’t perfectly sharp or if the sound dips intermittently. Sometimes, simpler stories or comedies work better because they don’t demand every little detail.
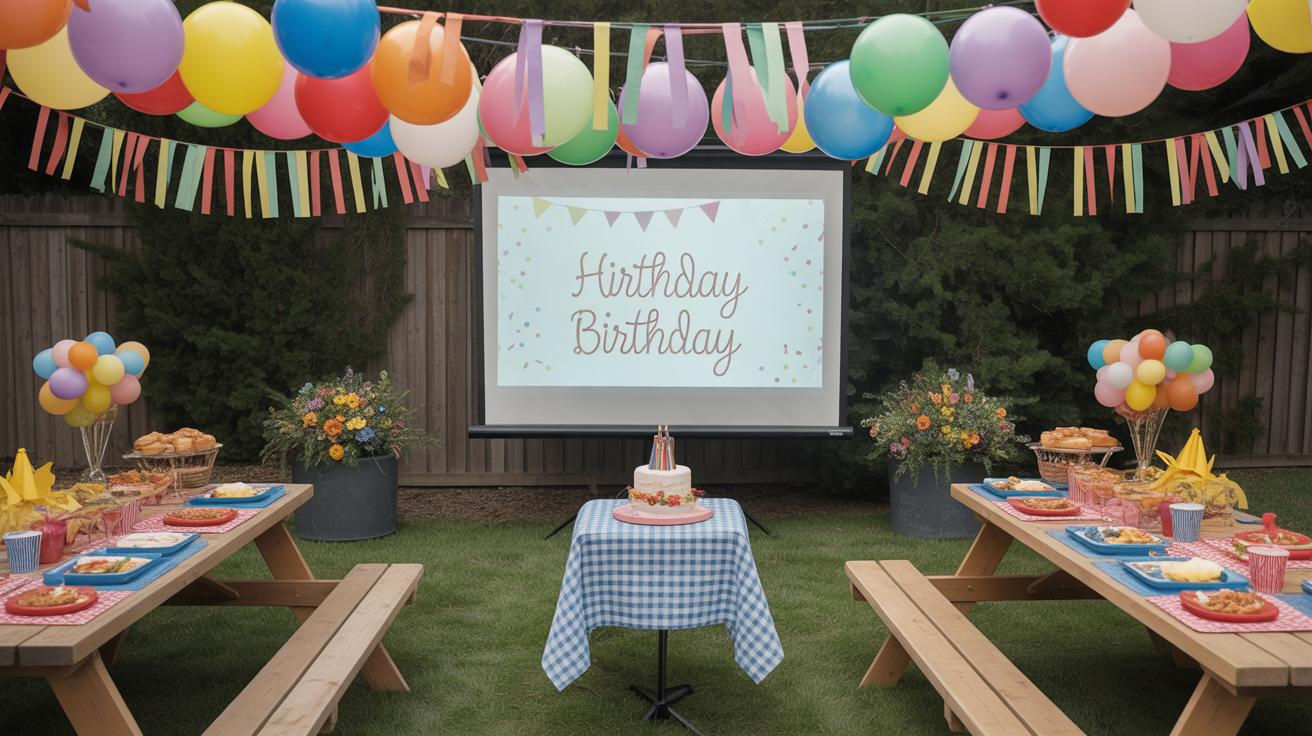
For family-friendly nights, consider genres like animated films, light-hearted comedies, or mild adventure stories. Classics such as “The Lion King,” “Finding Nemo,” or even “Toy Story” often please a wide age range. You might also lean toward feel-good movies that create a cozy vibe, like “Paddington” or “Akeelah and the Bee.” Of course, mixing in a crowd-pleaser or two for grown-ups can keep everyone entertained, just maybe not the most intense drama or thriller.
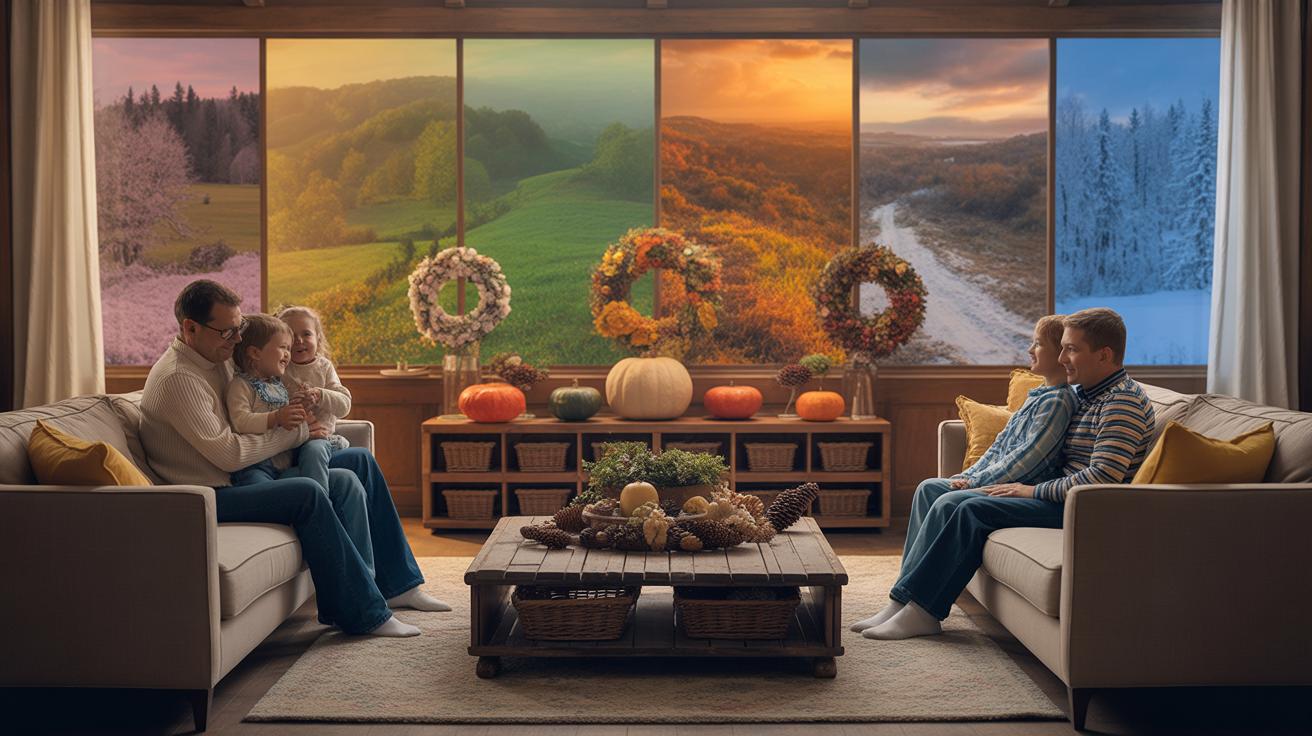
Timing is also a bit of an art. Movies generally look best when the sun has dipped below the horizon to avoid glare on the screen. Sunset times shift as the seasons change, so planning ahead feels like a small puzzle. Starting too early can cut into the visual impact, while starting too late risks losing younger viewers to bedtime. Weather plays a role too—cool or calm nights are great. If there’s wind or sudden temperature drops, people might bail early regardless of the movie. Trying to hit that sweet spot, when it’s dark enough but not too cold, usually works best.
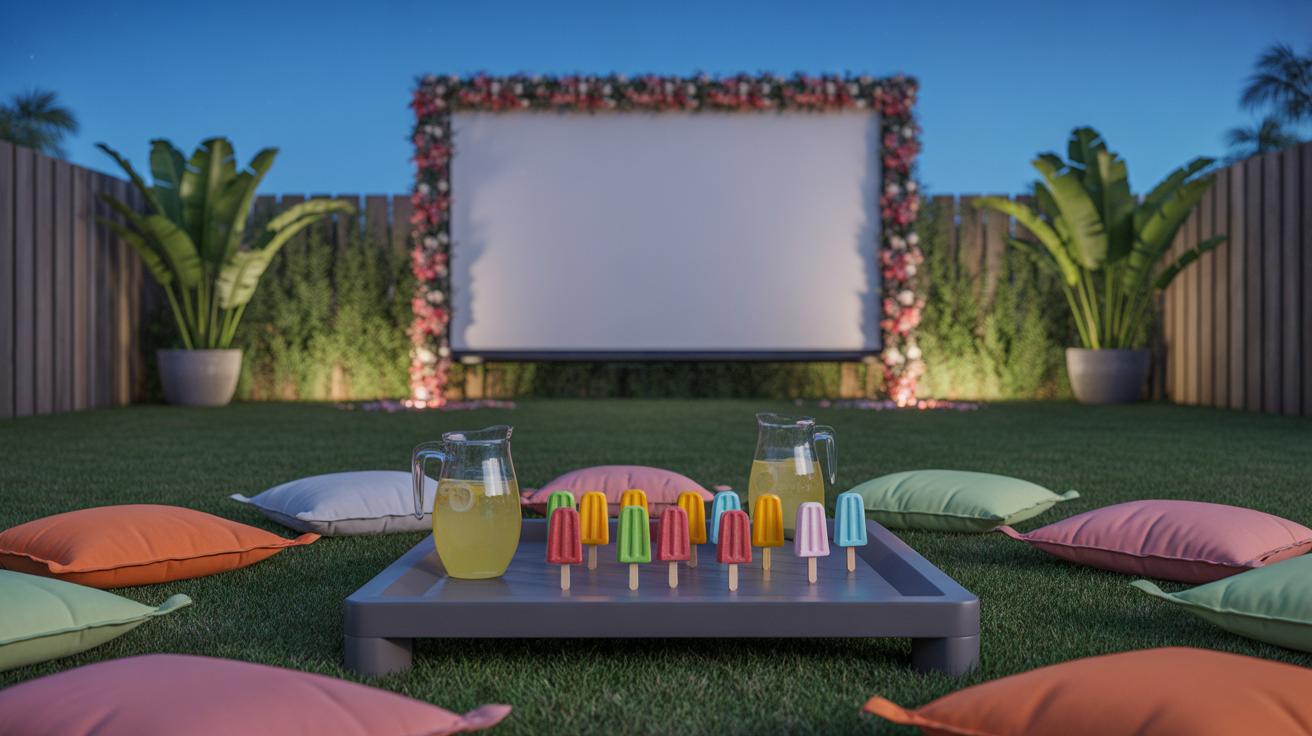
Adding Snacks and Refreshments
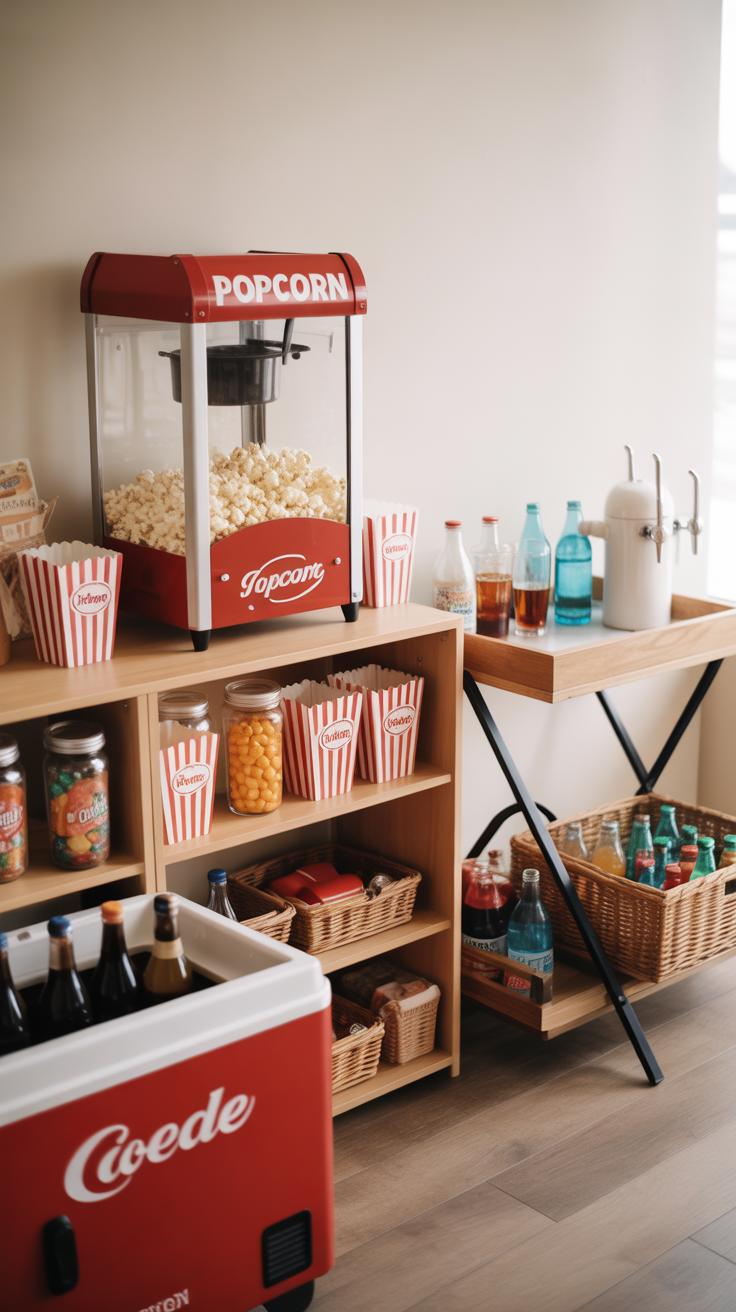
Snacks are kind of the heart of a good outdoor movie night, right? You want something easy to munch on without too much mess or fuss. Popcorn definitely tops the list—classic and simple. You can even offer a few flavors, like buttery, cheesy, or a little spicy if you want to mix it up. Finger foods are great too. Think small sandwiches, pretzel bites, or carrot sticks with a hummus dip. They’re easy to hold, and people can nibble at their own pace without missing parts of the movie.
Another little favorite that’s sometimes overlooked is roasted nuts or trail mix. They’re portable, satisfying, and don’t fall apart like chips sometimes do. If you want a sweet touch, gummy bears or chocolate-covered raisins work well but maybe keep them separate from the savory snacks to avoid flavor confusion.
Simple Snack Ideas
- Popcorn with optional seasonings (cheese, caramel, chili powder)
- Mini sandwiches or wraps (ham, cheese, or veggie)
- Pretzel bites with mustard or cheese dip
- Roasted nuts or trail mix
- Fresh-cut veggies with dip
- Gummy candies or chocolate-covered raisins for a sweet snack
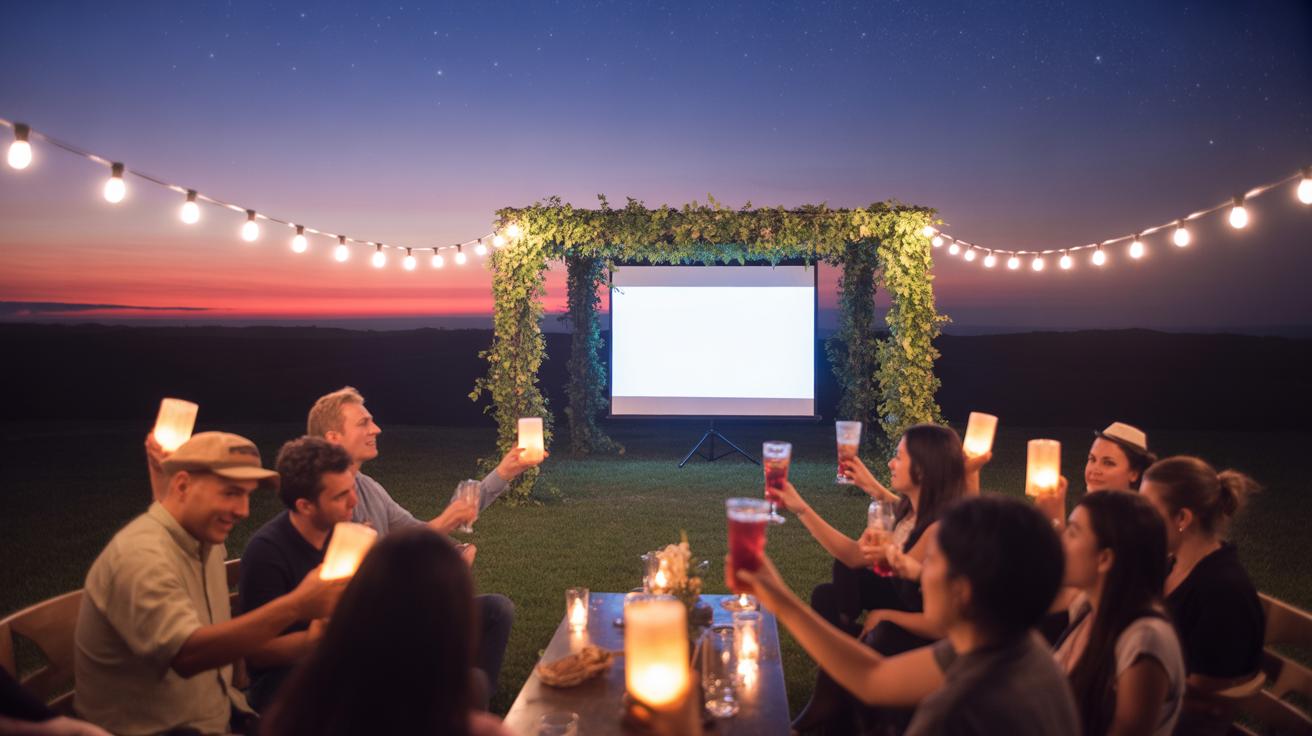
Beverages for All Ages
Drinks can make or break the vibe of your backyard cinema, I think. For kids, juice boxes or flavored water work well—they’re easy to handle and less likely to spill. Sometimes plain water gets overlooked, but it’s always appreciated, especially on warmer nights. Adults might enjoy something a bit more grown-up without going too fancy—think iced tea, lemonade, or sparkling water with a splash of citrus. A chilled beer or glass of wine fits some gatherings too but maybe save that for later in the evening once the kids have gone home.
One thing I’ve noticed is having a drink station or cooler nearby helps keep things organized. People can grab what they want whenever, and you’re not constantly running back inside. Plus, it gives guests a reason to stretch their legs between scenes or after the movie is over.
- Juice boxes or flavored water for kids
- Plenty of plain water available
- Iced tea, lemonade, or sparkling water with lemon for adults
- Beer or wine for those who want a little extra relaxation
What’s your favorite snack combo for outdoor movies? Sometimes I wonder if all the popcorn is really necessary, or if swapping in something unexpected can change the whole vibe. It’s something to try next time, maybe.
Maintenance and Storage of Your Outdoor Cinema Equipment
Cleaning Screens and Projectors
Keeping your screen and projector clean is key to good picture quality and longer equipment life. For the screen, avoid harsh chemicals. Just use a soft, damp cloth—microfiber works best to prevent scratches. If dirt or dust cakes on, gently wipe in circular motions. You might be tempted to scrub harder, but that usually backfires. For fabric screens, letting the screen air out after use can help prevent mildew or stains.
Projectors need extra care. Dust tends to settle inside vents and on the lens, so use a small brush or compressed air to clear the vents occasionally. When cleaning the lens, hold a lens cloth or special lens tissue lightly—don’t press hard or you risk damaging delicate coatings. Always unplug the projector before you start.
Storing Equipment Properly
Where you store your cinema gear matters more than you might think. Moisture is the biggest enemy here. If your backyard gets damp or rainy, try storing your projector and screen indoors, in a cool, dry place. A closet or basement works, as long as it’s not humid. Plastic containers or sealed bags can offer extra protection from dust and bugs.
Think about the screen setup too. Folding fabric screens can wrinkle or tear if stuffed carelessly. Rolling rather than folding might be better—but only if your frame supports it. For bulky items like speaker stands or projectors, keep cables coiled loosely to avoid damage.
Do you get the sense that proper maintenance takes a little patience? Sometimes, I find myself wanting to just pack everything away and jump straight to the fun. But a bit of care up front usually pays off with better shows down the line.
Conclusions
Creating your outdoor cinema provides a wonderful way to enjoy movies with friends and family right at home. With the right equipment, setup strategies, and attention to detail, you can turn your backyard into a movie theater under the sky. This project encourages you to think creatively and make your movie nights memorable.
Don’t hesitate to experiment with different layouts, sound arrangements, and movie choices. Making your outdoor cinema is about having fun and enjoying films in your personal space. Start small and grow your setup over time to fit your needs and enhance your outdoor entertainment.