Introduction
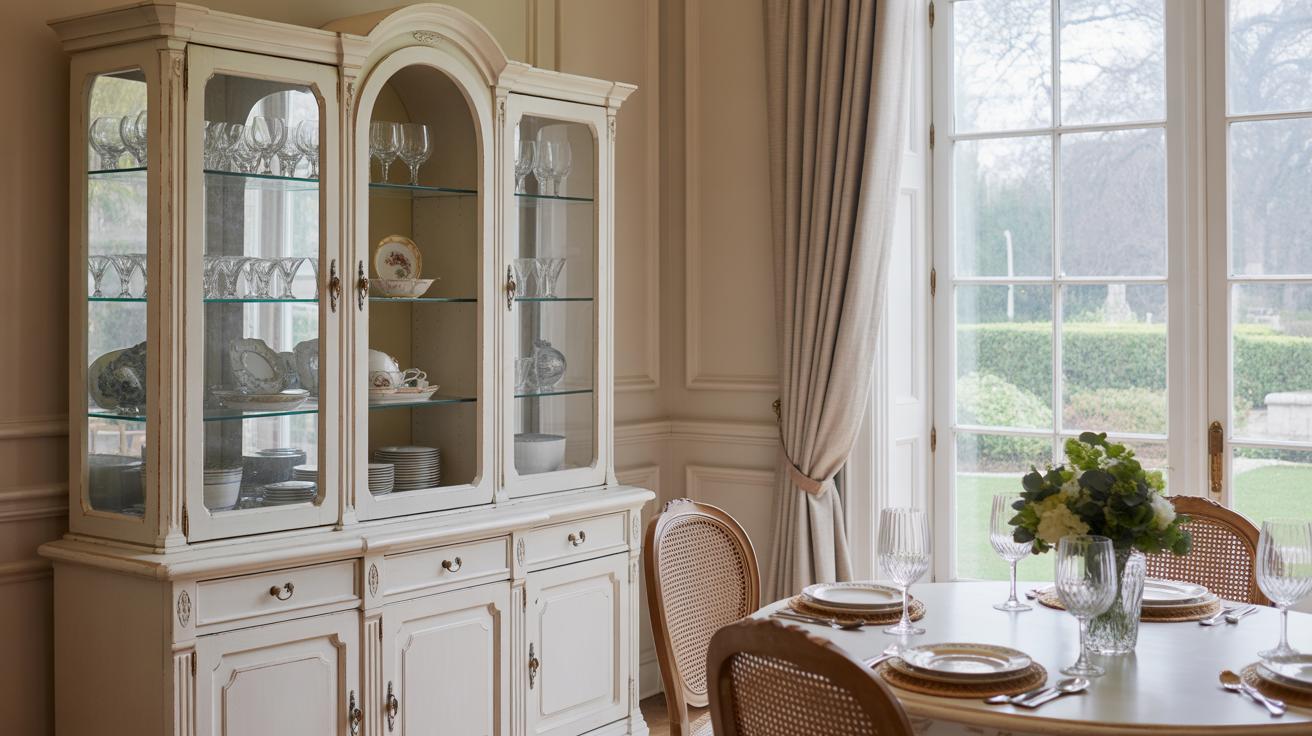
Refreshing your china cabinet can bring new life to your cherished collection and add charm to your living space. An elegant China cabinet redo involves thoughtful preparation and careful selection of materials that suit your style and complement your home décor.
This article guides you through the process of transforming your china cabinet into a timeless display. You’ll learn practical steps, from assessing your cabinet’s condition to finishing touches that enhance its beauty and function.
Assessing Your Current China Cabinet Condition
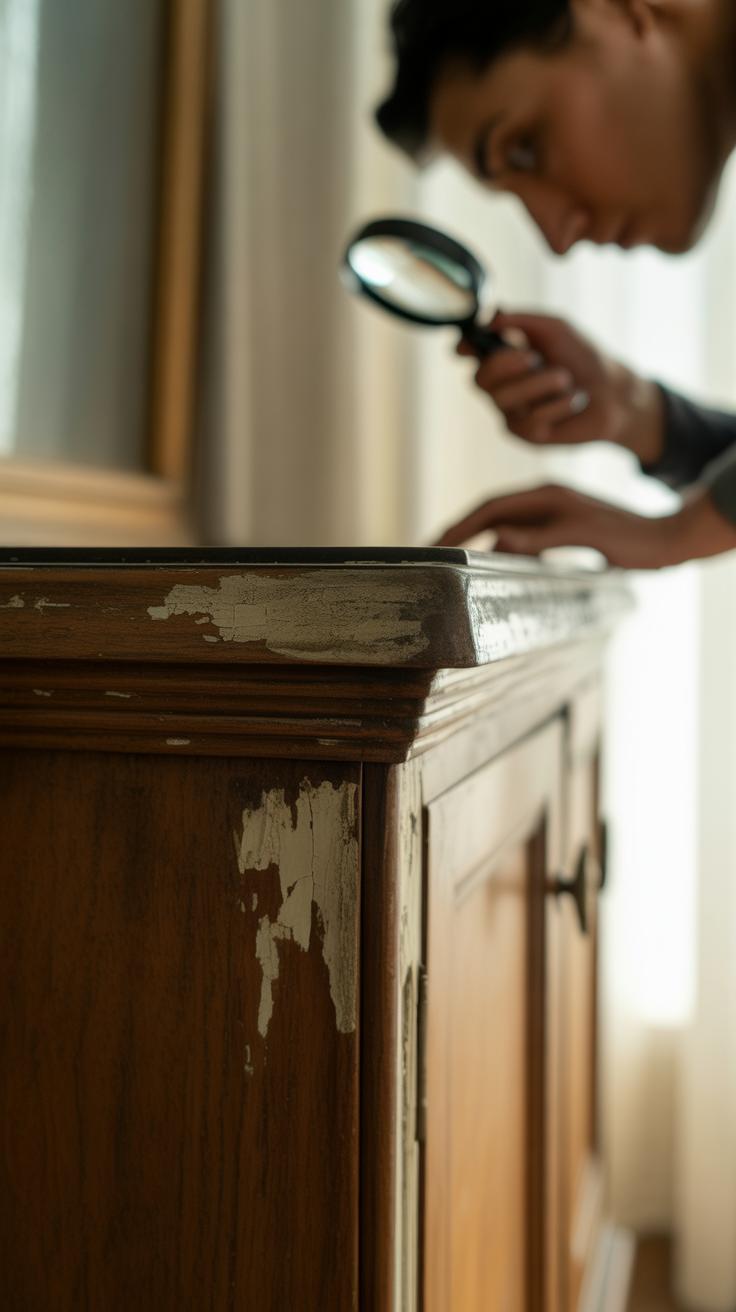
Before you dive into redoing your china cabinet, take a good look at its current state. This step can save you time and frustration later on. Start by checking for obvious surface problems like chipped paint or scratched glass. These might seem minor, but they can help you decide whether to strip and refinish or just touch up certain areas.
Look beyond the surface, too. Are the doors closing properly, or do they sag? Wobbly shelves, loose joints, or warped wood are signs the cabinet might need some structural repair. Sometimes what looks like a simple cosmetic redo turns into a bit of woodworking. You might find old nails replaced with screws, or joints requiring glue—and that’s okay.
Pay attention to the hardware as well. Hinges, knobs, and locks often wear out or don’t match your intended style. Deciding to keep, replace, or restore hardware can change the whole redo process, so consider how much effort you want to invest there.
If your cabinet features glass panels, inspect them closely. Cracks or fogging might call for new glass inserts. Fancy etched or beveled glass can be pricey to replace, though, so think about whether simpler panes might suit your vision.
Finally, be honest about the cabinet’s age and sentimental value. Sometimes a worn piece holds memories worth preserving carefully. Other times, practical upgrades are more sensible. Asking yourself what you want the finished look to be will help you judge what fixes are necessary before you start.
Condition of Your China Cabinet
Before jumping into redesigning your china cabinet, it’s a good idea to carefully assess its current condition. Take your time with this step; you don’t want to overlook any hidden problems that could cause trouble later on.
Start by closely inspecting all surfaces. Look for scratches, stains, or areas where the finish has worn away. Don’t forget to check the corners and edges, where damage often hides or gets worse over time. A small nick might seem harmless, but it could point to deeper issues beneath the surface.
Then, check for structural concerns. Are any joints loose or wobbly? Tap gently on different parts of the cabinet to see if it feels sturdy. Loose joints usually mean the cabinet needs some gluing or reinforcement before you paint or refurbish. It’s harder to fix once the redo is underway.
Inspect the glass carefully. Look for chips, cracks, or cloudy spots, especially on older cabinets. Sometimes replacing glass panes is straightforward, but other times, like custom or antique glass, you might want to get expert advice. Also, peek behind the cabinet and inside any closed compartments for signs of water damage or warping. Water stains or a musty smell can be early warning signs, hinting at problems that need addressing.
Write down everything you find. Having a clear list of repairs helps you plan. Small scratches? Some light sanding might do the trick. Loose hinges or joints? Wood glue and clamps could fix those well enough. Broken glass? Decide whether you can replace it yourself or if you should hire someone to avoid injury or further damage.
Some repairs can feel a bit intimidating—big cracks, severe water damage, or complicated glass repairs might need a professional’s touch. Don’t hesitate to ask for help if you’re unsure. Fixing these issues first means your redo will last longer and look better.
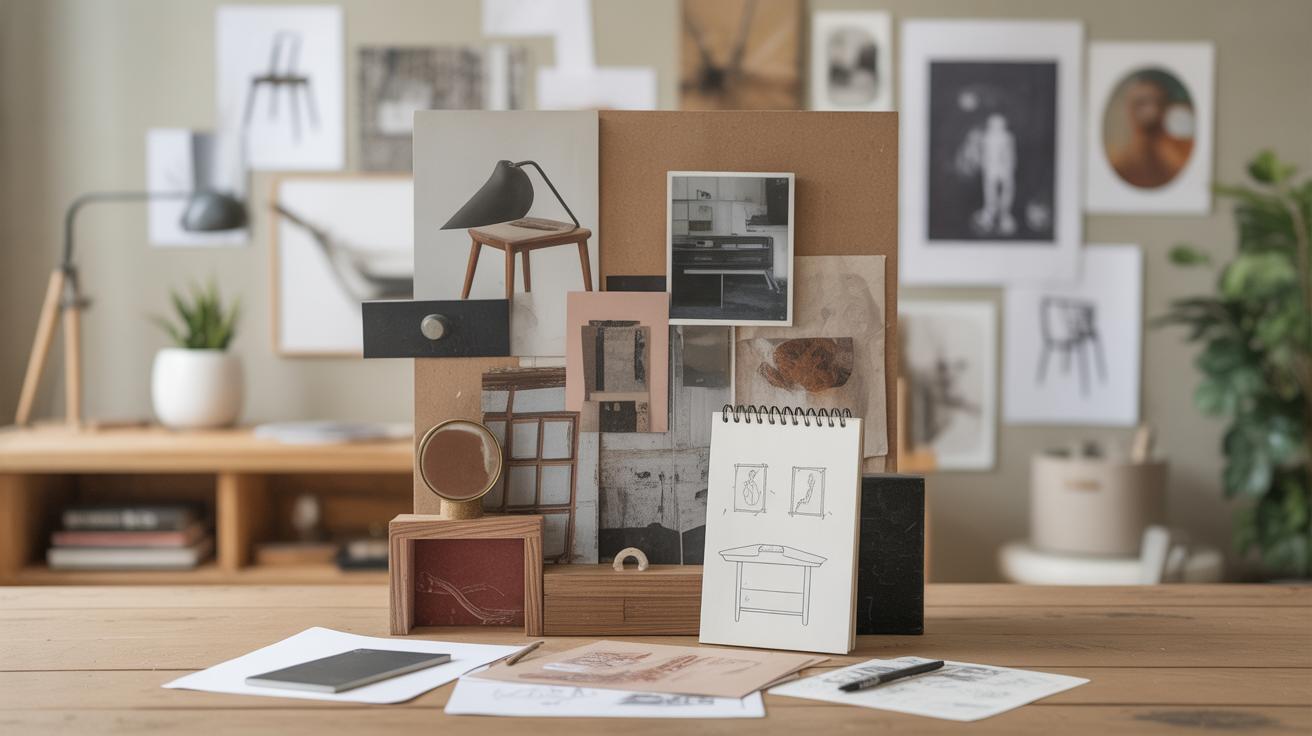
Planning Your Redo Design
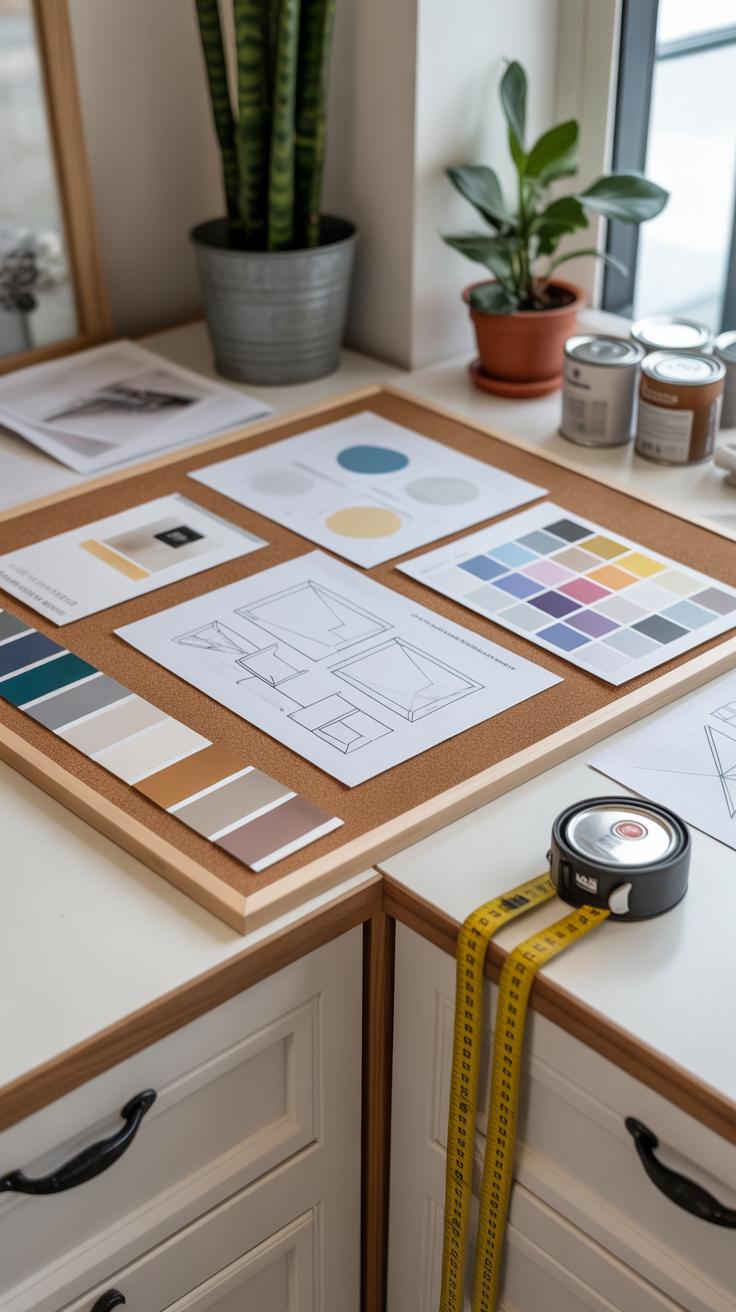
You might feel eager to jump straight into your china cabinet redo, but taking a step back to plan can save you a lot of headaches. A clear design plan acts like a roadmap. Without it, you may find yourself stuck or second-guessing choices later on.
Start by thinking about the style of your home and how the cabinet will fit into that space. Are you drawn to sleek, modern lines or something more traditional? Your personal taste matters a lot here, too. This redo is for your enjoyment, after all.
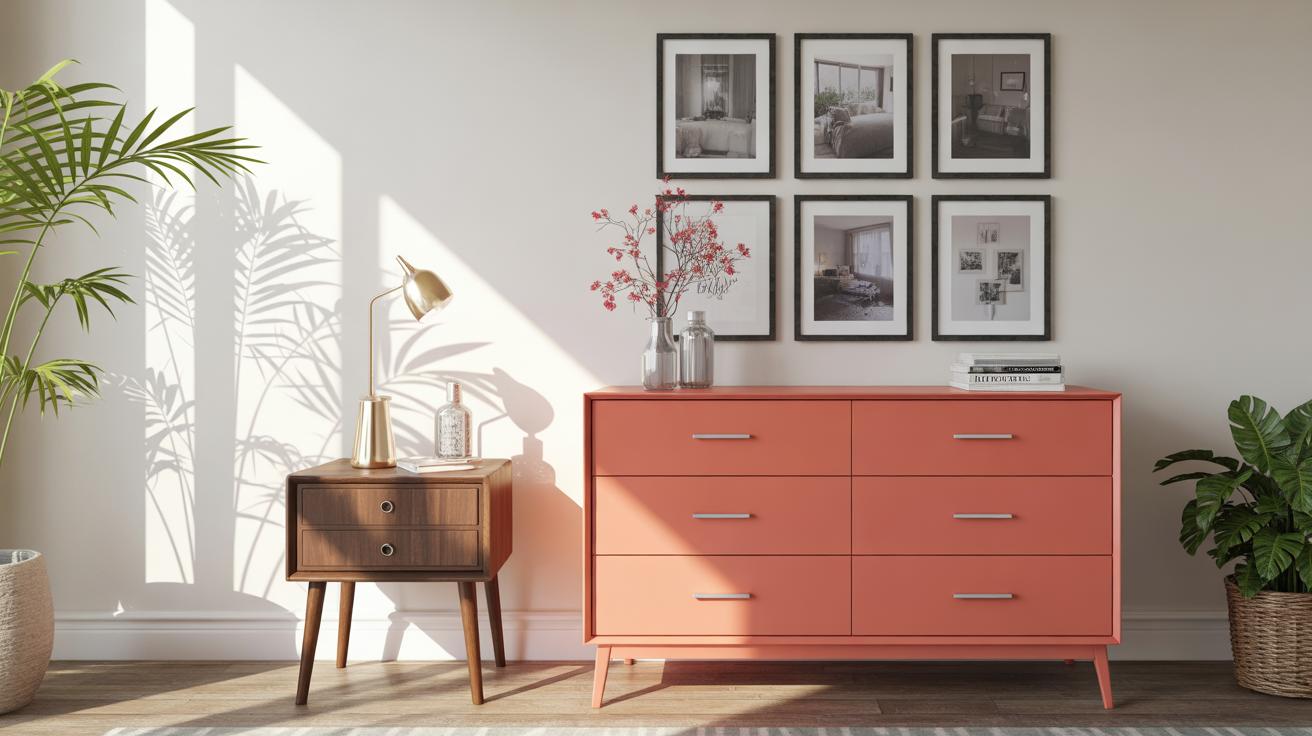
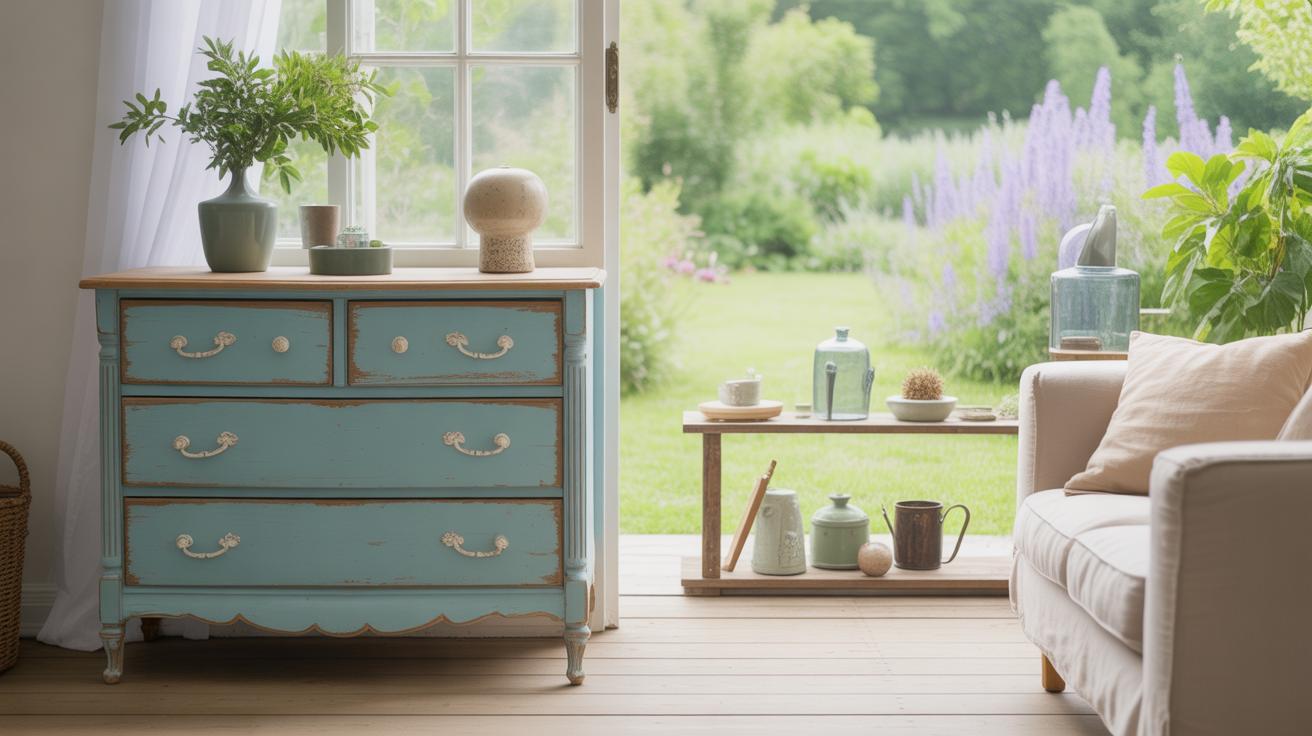
Then, focus on colors. Picking the right palette isn’t just about what’s trendy; it should complement the room and highlight your china pieces. Some classic color choices include creamy whites and soft grays, while deeper blues or even charcoal tones can give a modern twist.

Don’t rush the finish type. A glossy surface might look sharp but could show fingerprints easily. A matte finish hides flaws better but could feel dull, so think about how much use and cleaning your cabinet will see. Distressed finishes offer character, but they don’t suit every home style.
Remember hardware and lighting, too. Swapping out old handles or adding subtle LED strips can completely change the cabinet’s vibe. Sometimes, small details make the biggest difference, though it’s easy to overlook them until you’re partway through.
Planning your design ahead keeps the whole redo focused and helps avoid mixing styles that clash or colors that fight with your china. And honestly, it can be fun imagining the final look as you gather your ideas.
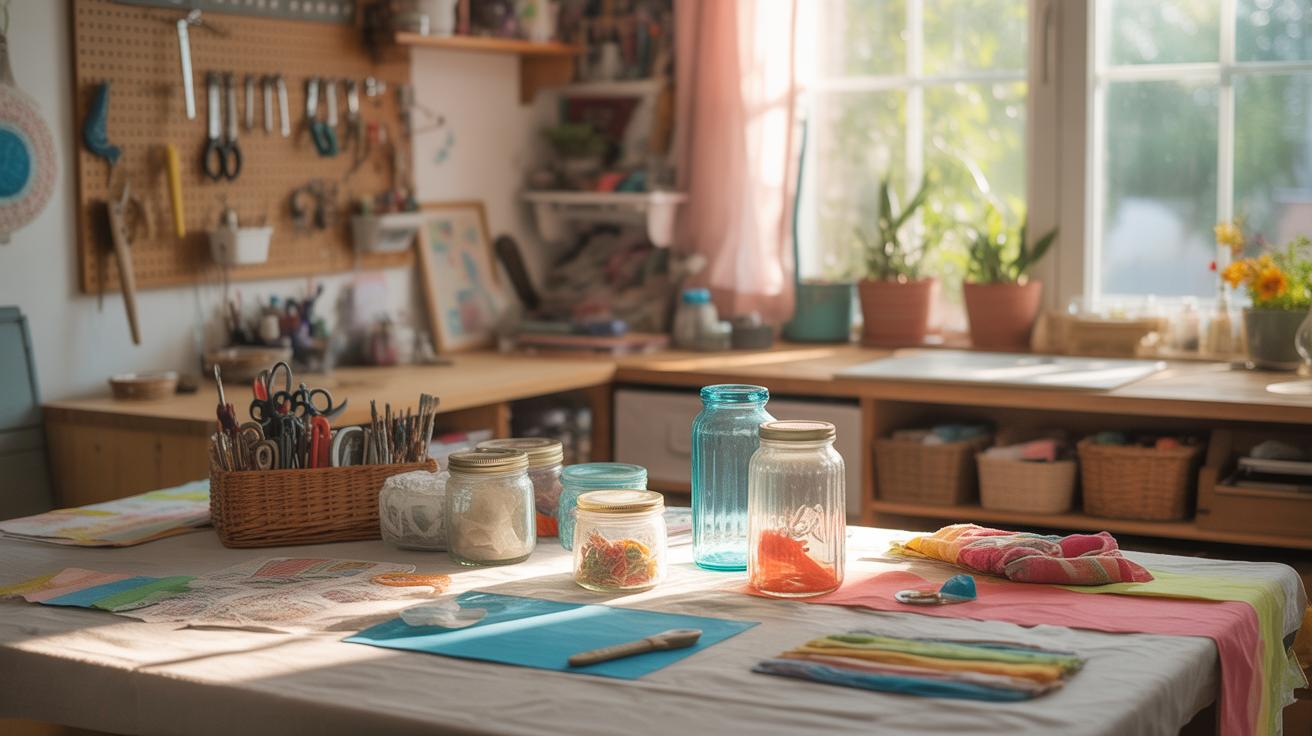
Gathering Tools And Materials
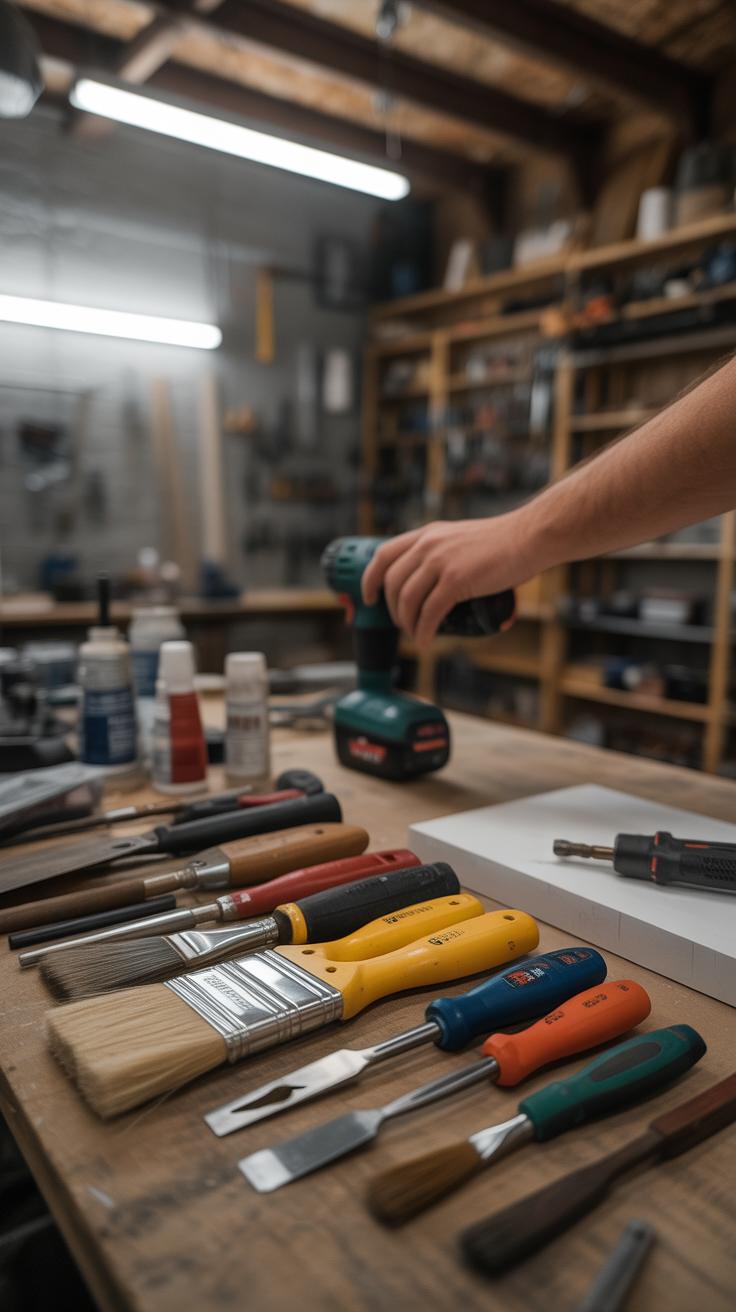
Before touching a single surface on your china cabinet, you’ll want to have everything ready—no frantic last-minute runs to the hardware store.
Start with these basic tools and materials:
- Screwdrivers (both flathead and Phillips) – for removing hardware and doors if needed.
- Sandpaper in varying grits (80, 120, 220) – to strip old finishes and smooth surfaces.
- Paintbrushes – a mix of angled and flat ones works best depending on the detail areas.
- Painter’s tape – to protect glass and areas you don’t want painted.
- Drop cloth or old sheets – to keep your workspace clean from dust and spills.
- Protective gear: masks or respirators, gloves, and safety goggles. You’ll be working with dust and possibly fumes, so take your health seriously.
- Putty knife and wood filler – to fix dents or scratches for a flawless finish.
- Paint or stain – but I’ll get back to that in a moment.
Each tool serves a purpose. For example, good sandpaper matters because too rough a grit can gouge the wood, and too fine won’t remove old paint well enough. And don’t underestimate the value of a proper mask; paint fumes can linger and irritate even if you’re working carefully.
When selecting your paints and finishes, think about durability and safety. Furniture-grade paints, like acrylic latex or chalk paint, usually hold up well and are easier to clean. Oil-based options offer durability but tend to have stronger odors and longer drying times. You might want to pick water-based stains if you like a more natural wood appearance without heavy chemicals. Also, consider finishes like polyurethane or wax to protect your work and add a touch of sheen. It can be tricky choosing the “right” finish, but your choice should reflect how you use the cabinet and the style you aim for.
What kind of look do you want? Matte for subtle elegance? Glossy for a sleek touch? These choices seem small but affect the final feel so much. Taking time here prevents surprises later.
Prepping The China Cabinet For Redo
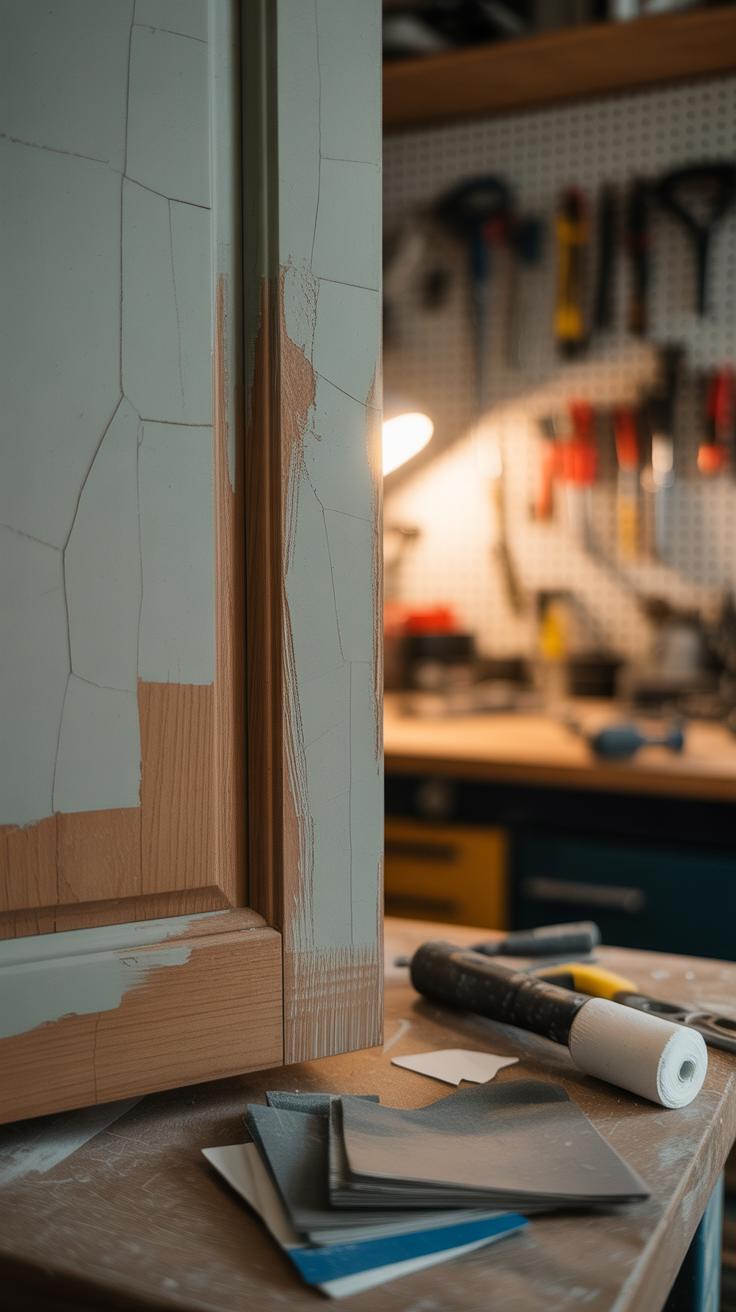
Before you even think about picking up a brush, the cabinet needs some serious prep work. Start by removing dust and grease—both can ruin the look of your new finish if left behind. Use a damp cloth and a mild detergent for dust, and maybe a bit of mineral spirits on stubborn grease spots. It takes a little patience, especially with crevices, but skipping this step will haunt you later.
Next comes stripping off the old finish. You can go the chemical route with paint stripper—just spread it carefully, wait the recommended time, then scrape it away gently. Or, if you prefer, sanding works too. Use a medium grit to take off layers, but be mindful not to gouge the wood. I’ve found that moving with the grain saves both the wood and your nerves.
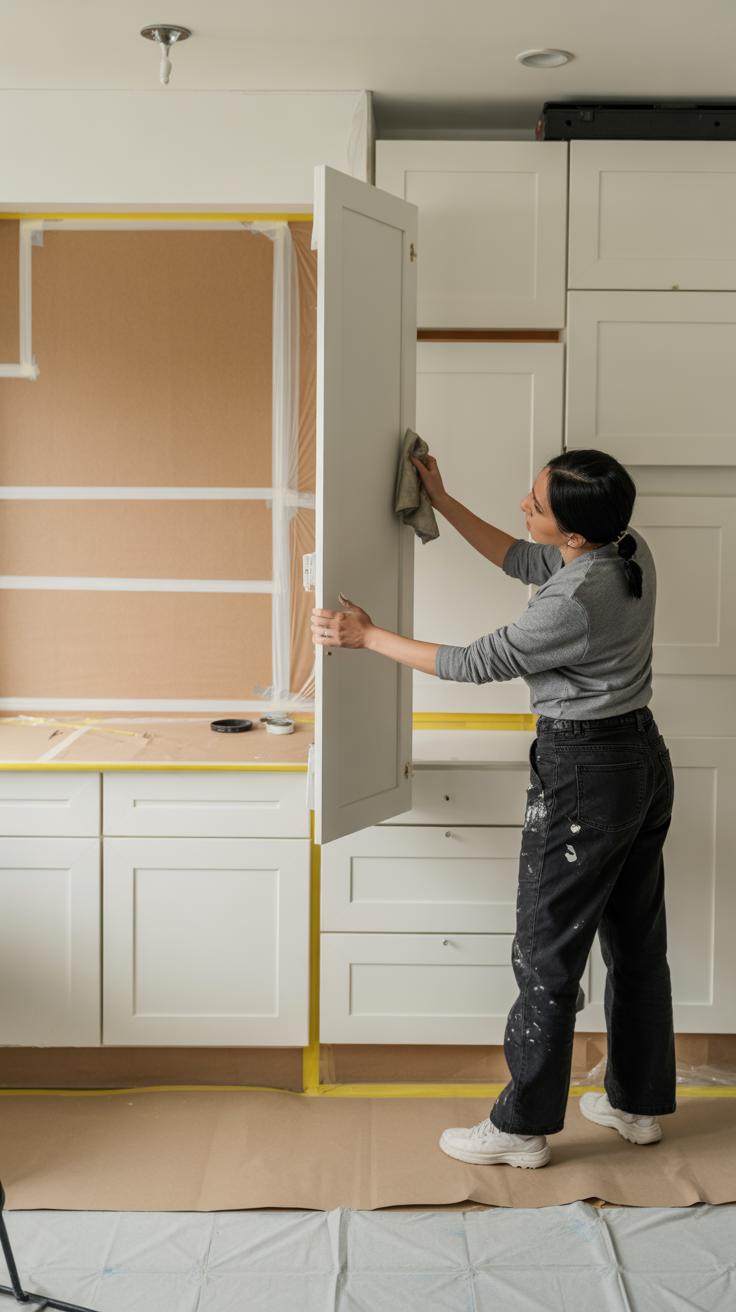
Glass panes and hardware can be a bit tricky. Cover glass with painter’s tape and then apply thin sheets of paper or plastic over it to shield from dust and drips. For metal handles or hinges, wrapping them securely with foil works well. You’ll thank yourself later when no sanding dust dulls the glass, or paint settles in the wrong places. It might feel tedious, but the protection pays off when you get to painting.
Painting And Finishing Techniques
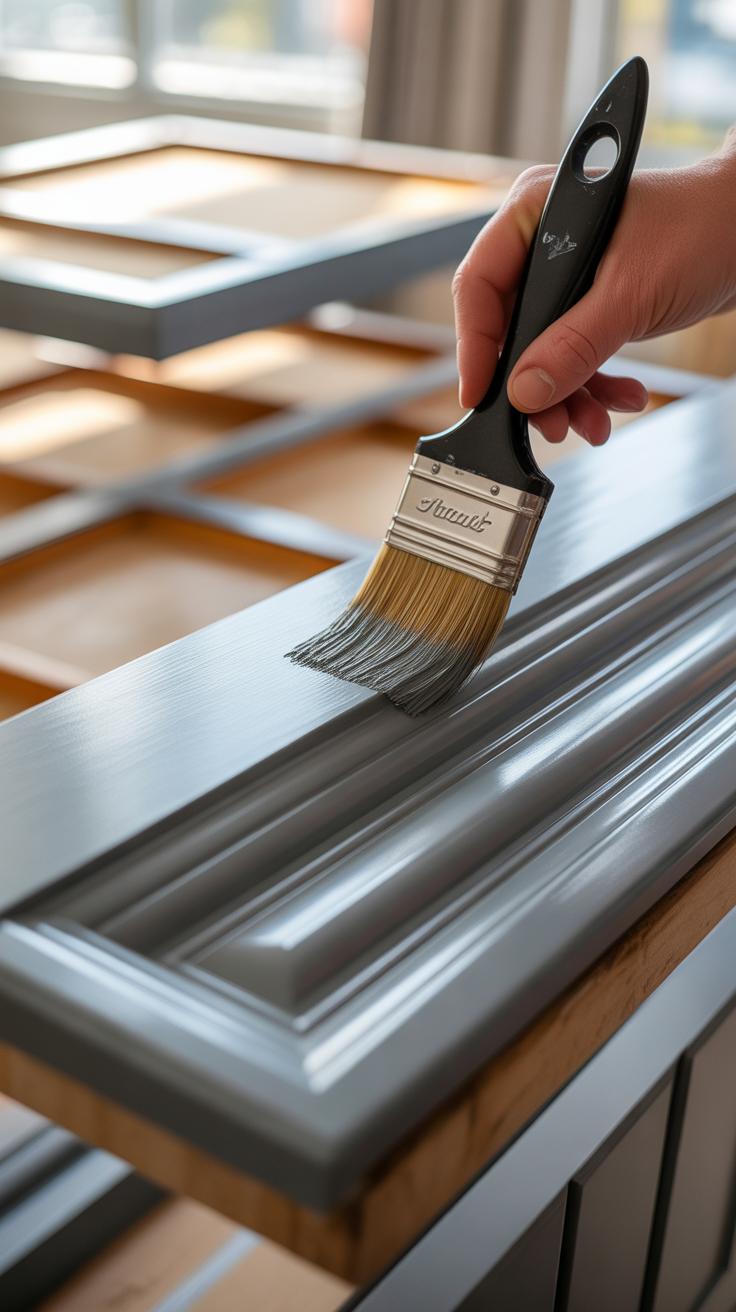
Getting a smooth, even paint finish on your china cabinet can feel tricky—sometimes it just takes a bit of trial and error to find the rhythm. Start with thin, light coats rather than heavy ones; thick layers dry unevenly and often drip. A good brush or a quality foam roller helps you avoid visible strokes, but if you’re using spray paint, keep the can moving steadily across the surface.
Drying times are more flexible than you might think but rushing the process usually shows in the end result. I’ve learned that waiting at least a few hours between coats is a good rule, and although manufacturers often suggest a specific time, temperature and humidity quietly mess with that. It’s safer to wait longer than shorter, especially for fine pieces like a china cabinet.
Sealing the paint properly is the step you don’t want to skip. Clear topcoats protect your work from scratches and wear. Polyurethane or water-based clear coats work well—you might prefer water-based for a less yellowing finish. Apply the sealer like you did the paint: thin layers, light strokes, and enough dry time in between. It’s tempting to brush it all on quickly, but patience pays off when you see that clean, lasting shine.
Upgrading Hardware And Lighting
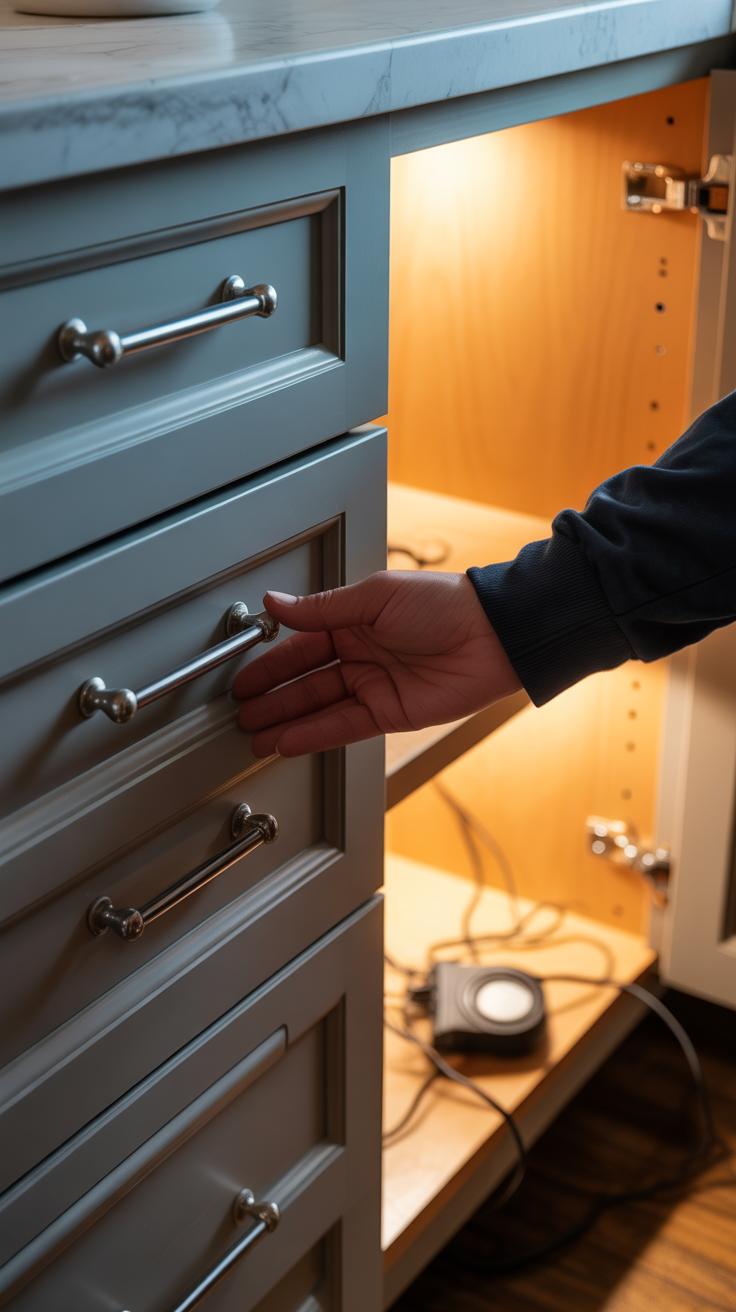
Changing the knobs and handles can feel like a small thing, but it really shifts the whole vibe of your china cabinet. When picking new hardware, think about the style you want to emphasize. Are you going for a modern, sleek look or something more classic and ornate? Matching the hardware finish to your cabinet’s new paint color or stain helps-create a cohesive appearance, but don’t be afraid to mix finishes if you like a bit of contrast.
Size matters here too. Oversized pulls can overwhelm delicate cabinet doors, while tiny knobs might feel out of place on a bulky frame. Durability is something I learned the hard way. Cheap materials may look fine initially but tend to loosen or tarnish quickly, so consider solid brass, stainless steel, or quality zinc alloys for lasting results.
Lighting inside the cabinet changes everything, really. LED strips are popular because they’re thin and generate little heat, making installation inside wooden cabinets easier. You can stick them under shelves or around the inside edges for subtle illumination. Battery-operated puck lights offer flexibility—they don’t require wiring and can be placed wherever you want, though you do need to swap batteries occasionally.
Installation is simpler than I expected, but it depends on your cabinet. For wired LEDs, you might need an outlet nearby or plan for concealing cords. Stick-on battery lights work great if drilling isn’t an option. Try positioning lights to highlight key pieces without creating harsh shadows. Playing with light placement can brighten up your display dramatically, bringing out details you’d barely notice in dim conditions.
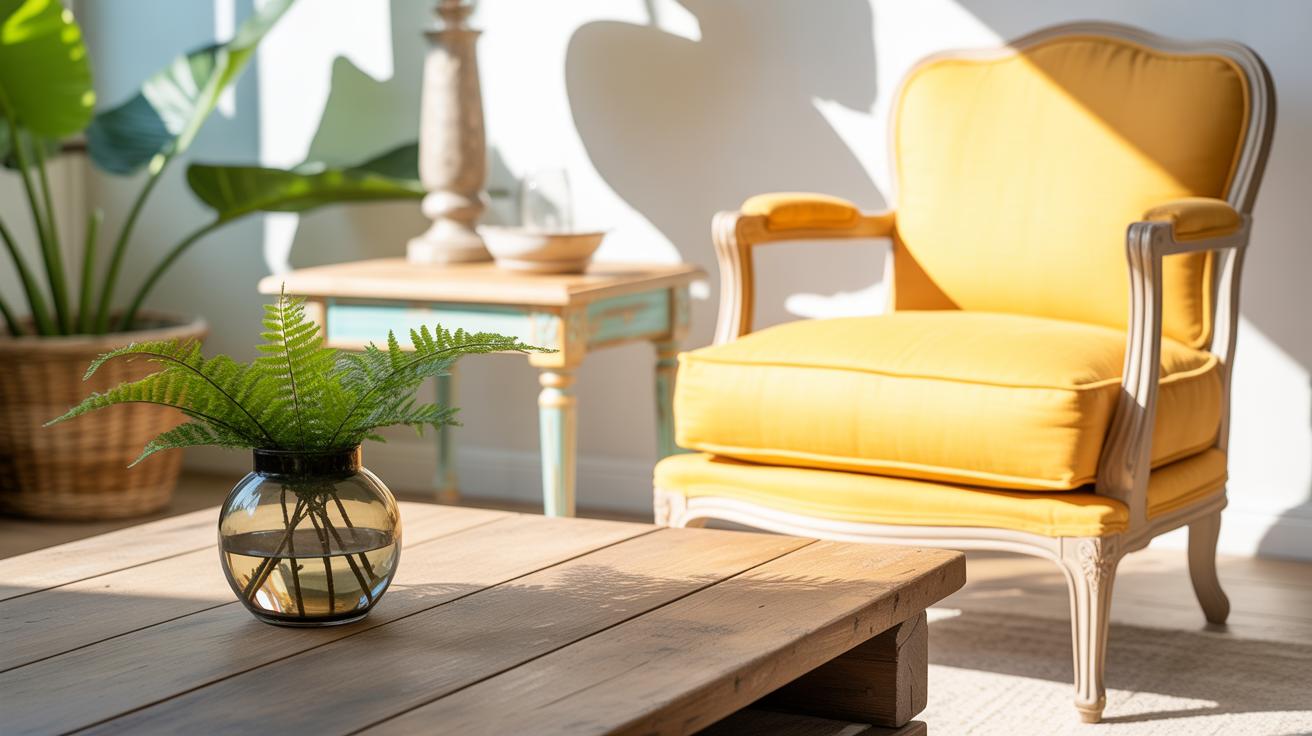
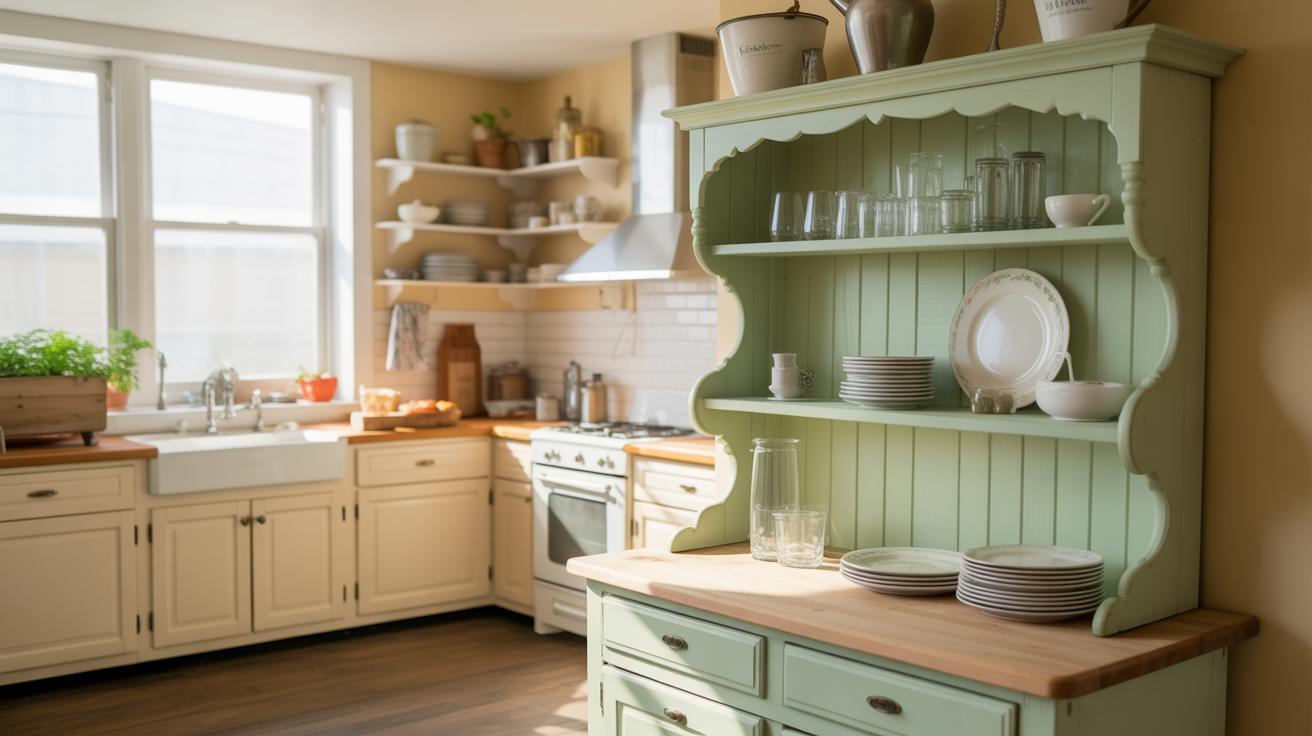
Styling Your China Cabinet Display
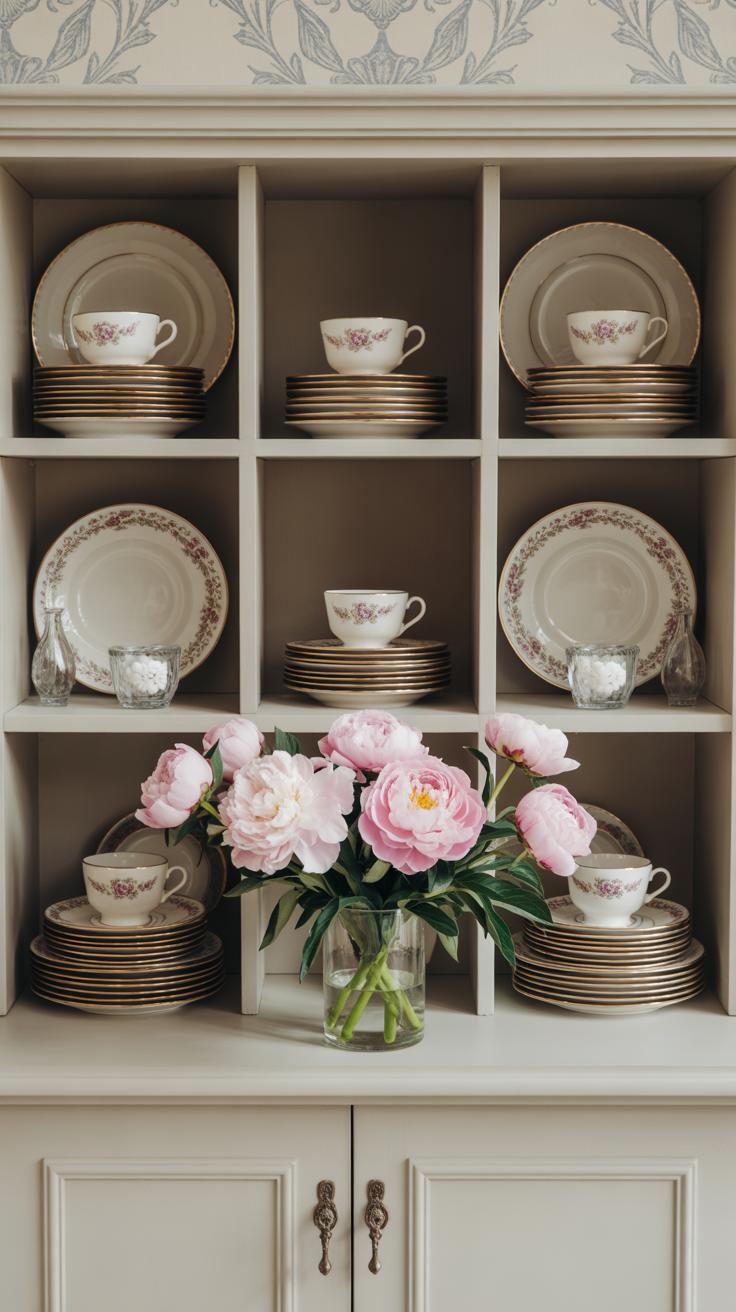
Arranging your china cabinet well can make a big difference in how your collected pieces shine. Think about mixing different shapes and heights to keep things from looking flat or boring. You don’t want every shelf to look perfectly symmetrical—that can feel a bit stiff, trust me. Instead, try grouping a few plates standing upright at the back, then layer some bowls or cups in front with slight overlaps. Leaving some space between stacks helps each item breathe and stand out.
Arranging Plates And Bowls
When stacking plates, consider varying the stack heights to add some rhythm. For example:
- Stack larger plates at the bottom, then smaller ones on top to create a subtle step effect.
- Lean a few plates on a display rack or against the back panel—it’s great for showing off patterns.
- Keep bowls nestled in or beside plates, but avoid piling too many so they don’t look cluttered or hard to reach.
I’ve noticed that spacing things so they don’t touch edge-to-edge often lets the details pop more. It may seem counterintuitive when space feels tight, but a little breathing room works wonders.
Incorporating Decorative Items
Decorative touches can bring personality without overfilling the space. Items like a small stack of vintage books or a delicate sculpture can break up the china’s regular shapes. Fresh or faux flowers in a simple vase often add life, but think small so they don’t block views. Even a pretty tray or a unique bowl with seasonal accents can tie the display together.
The trick is picking just a few, so your cabinet looks collected, not cluttered. Ask yourself: does this item enhance or distract? One or two unexpected pieces can invite curiosity, but too many might overwhelm the classic feel you’re aiming for.
Maintaining Your Redone China Cabinet
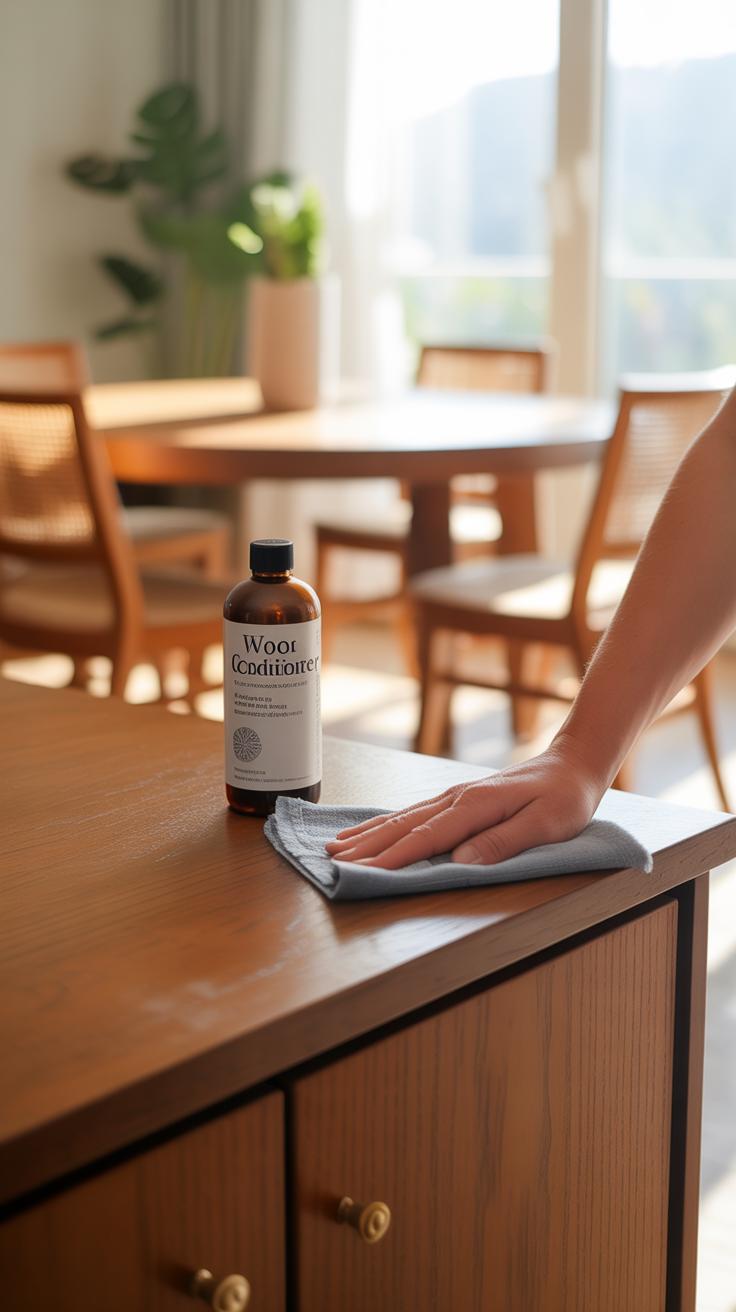
Keeping your revamped china cabinet looking fresh takes more than just a quick wipe now and then. Dust builds up in unexpected places, and those little smudges on glass tend to appear faster than you’d expect. I’ve found that using a soft, dry microfiber cloth for dusting works best—especially around delicate trim or carvings. Avoid spraying cleaner directly on the surfaces; instead, spray it lightly on the cloth.
Cleaning glass is another delicate task. You want it sparkling but never scratched or streaky. A gentle glass cleaner or a simple mix of water and a tiny bit of vinegar usually does the trick. Just be careful not to let the liquid drip down onto the wood below. And if you’re nervous about the finish at all, test any product on an inconspicuous spot first.
When it comes to wiping surfaces, stick to a barely damp cloth and avoid anything abrasive. Strong chemicals can mess with the finish you worked so hard to create, even if the surface looks tough. It’s a bit of a balancing act between thorough cleaning and gentle care.
For the longer haul, small chips or scratches might show up, especially if your cabinet sees regular use. Light wood fillers or touch-up markers matched to your finish can fix most minor imperfections. Sometimes, I think it’s better to wait until the wear feels significant before repainting or resealing—doing it too soon might just cover up the natural character the piece develops over time.
Still, when the finish starts looking tired or uneven, a fresh coat keeps everything sealed and protected. It may feel like a lot, but maintaining your china cabinet gradually like this means it won’t lose that fresh, elegant vibe you aimed for during the redo.
Conclusions
Redoing your china cabinet is a rewarding project that combines creativity and practical skills. By following the steps outlined, you can create a personalized piece that showcases your china elegantly and suits your home’s look.
Take your time with each phase, choose materials thoughtfully, and enjoy the process. Your newly redone china cabinet will not only hold your special dishes but become a lovely focal point in your room for years to come.