Introduction
You want your rooms to feel warm and inviting. One way to do this is by adding unique scrap wood art. This kind of art uses leftover wood pieces to make beautiful decorations. It brings natural texture and an organic feel to your space.
In this article, you will explore how scrap wood art can transform rooms. You will learn different creative ideas, how to start making your own pieces, and how to fit them into your home decor. This guide makes the topic easy and fun for you to understand.
Types of Scrap Wood Suitable for Art
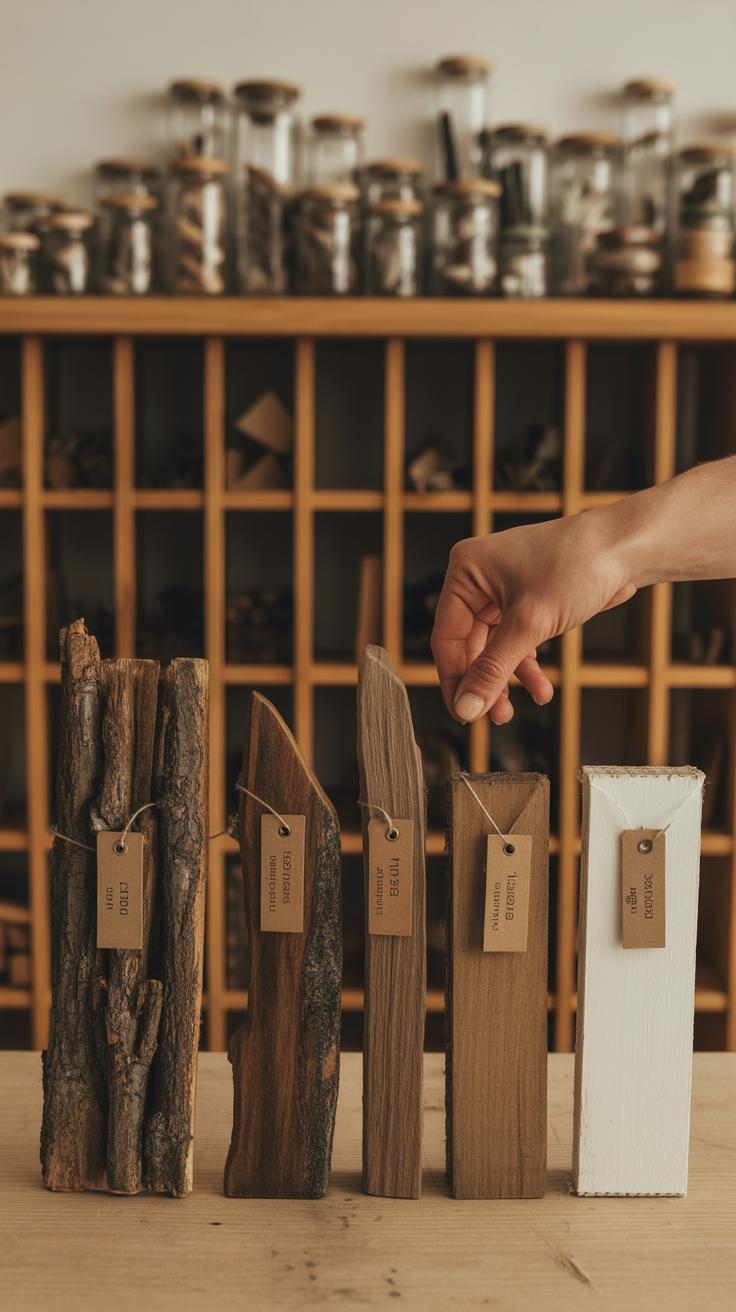
You’ll find many kinds of scrap wood fit for art projects, each bringing its own vibe and challenge. Choosing the right wood depends on what you want to create—and also what’s available. Some pieces work better than others, not just because of looks but because of how they handle the tools.
Hardwoods like oak, maple, and cherry tend to be denser and heavier. They offer fine grain patterns that can really show off detail when carved or shaped. These woods often have a smooth surface when sanded and can hold up well over time. On the downside, they might be tougher to cut or join, especially if your tools aren’t sharp enough.
On the other hand, softwoods such as pine, cedar, and fir are lighter and easier to work with. They often have knots and variations that can add character—though sometimes those same knots might cause splitting. Softwoods absorb finishes differently; that’s something to keep in mind if you want a certain color or sheen.
Don’t overlook plywood or pallet wood. These are common scrap materials and often come with layers or rough edges that bring texture. Their use depends on what kind of look or strength you’re aiming for, but they can be quite versatile when treated right.
If you’re curious, why not start by gathering scraps you can find easily? Each piece tells its own story, and mixing hardwood and softwood can create contrast you wouldn’t get otherwise. The key is to experiment and see how each type’s quirks shape your work, maybe offering surprises you didn’t expect.
Hardwoods and Their Qualities
When it comes to scrap wood art, hardwoods are often prized for their durability and rich textures. You might come across species like oak, maple, cherry, and walnut in scrap piles. These woods tend to have tight grain patterns, making them strong and sometimes a bit challenging to work with, but the results can be quite striking.
For example, oak wood, with its pronounced grain and dense structure, holds up well in structural pieces or detailed carvings. Cherry offers a smooth finish and deepens in color over time, which adds character, though it’s softer than oak. Walnut is darker and slightly softer but still durable, making it ideal for accent pieces. Maple is tough and usually pale, providing a neutral canvas for varied finishes.
Using hardwood scraps often means dealing with nails or finishes leftover from previous uses, but that can add to the character if you don’t mind some unpredictability. It’s worth considering how the wood’s hardness will influence your tools and techniques, especially if precision is key to your project.
Softwoods That Add Texture
Softwoods like pine, cedar, and fir tend to be easier to shape and carve, which might be why they’re popular among artists who want to experiment with texture and layering. Pine, for instance, is quite common in leftover construction wood and often has visible knots and a lighter color, which can bring warmth and a bit of rustic charm to your art.
Cedar, with its natural oils, resists decay and insects, making it great for both indoor and outdoor pieces, plus its aroma is hard to ignore. Fir is usually straight-grained and less resinous than pine, so it cuts cleanly and can take paint or stain well.
Softwoods aren’t as tough as hardwoods, so they might dent or scratch easier, which may or may not be a drawback depending on your aesthetic. They often allow more freedom to experiment—you might even find yourself drawn to the imperfections, like the occasional knot or color variation that could inspire a whole new idea.
Popular Scrap Wood Art Projects
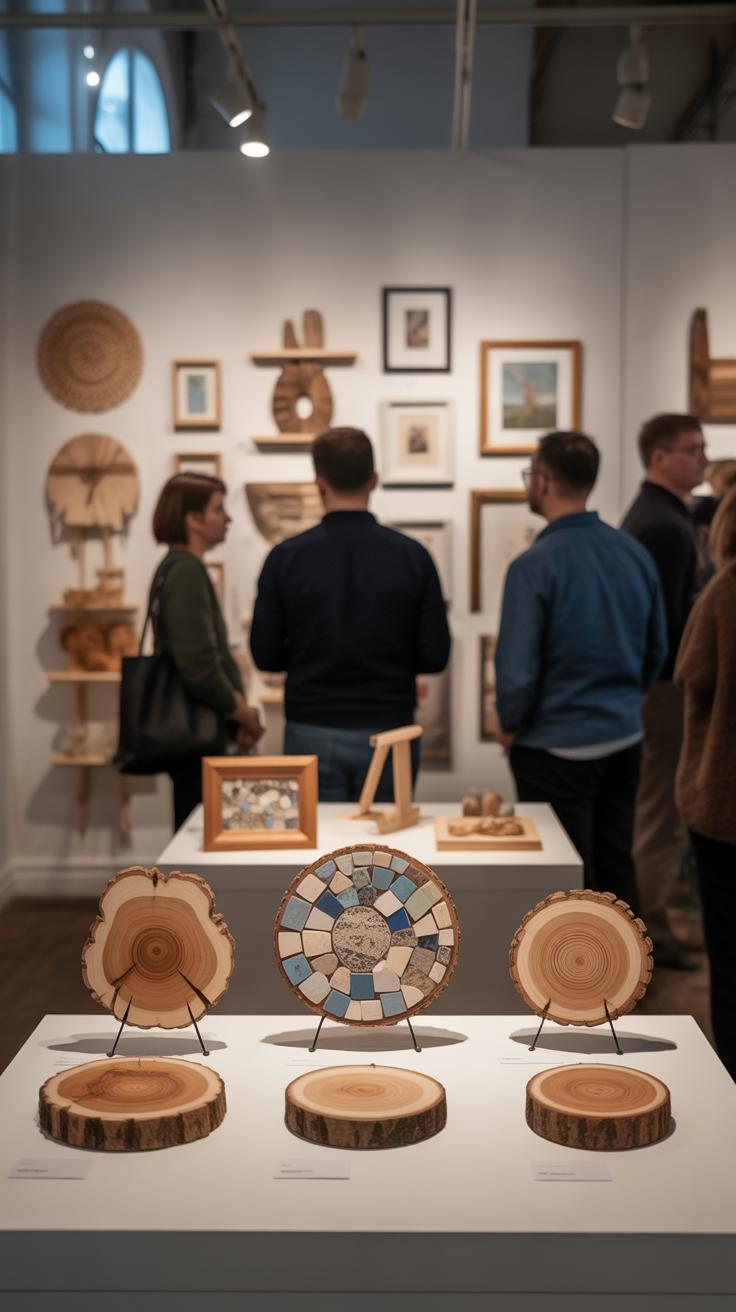
Decorative Wall Panels
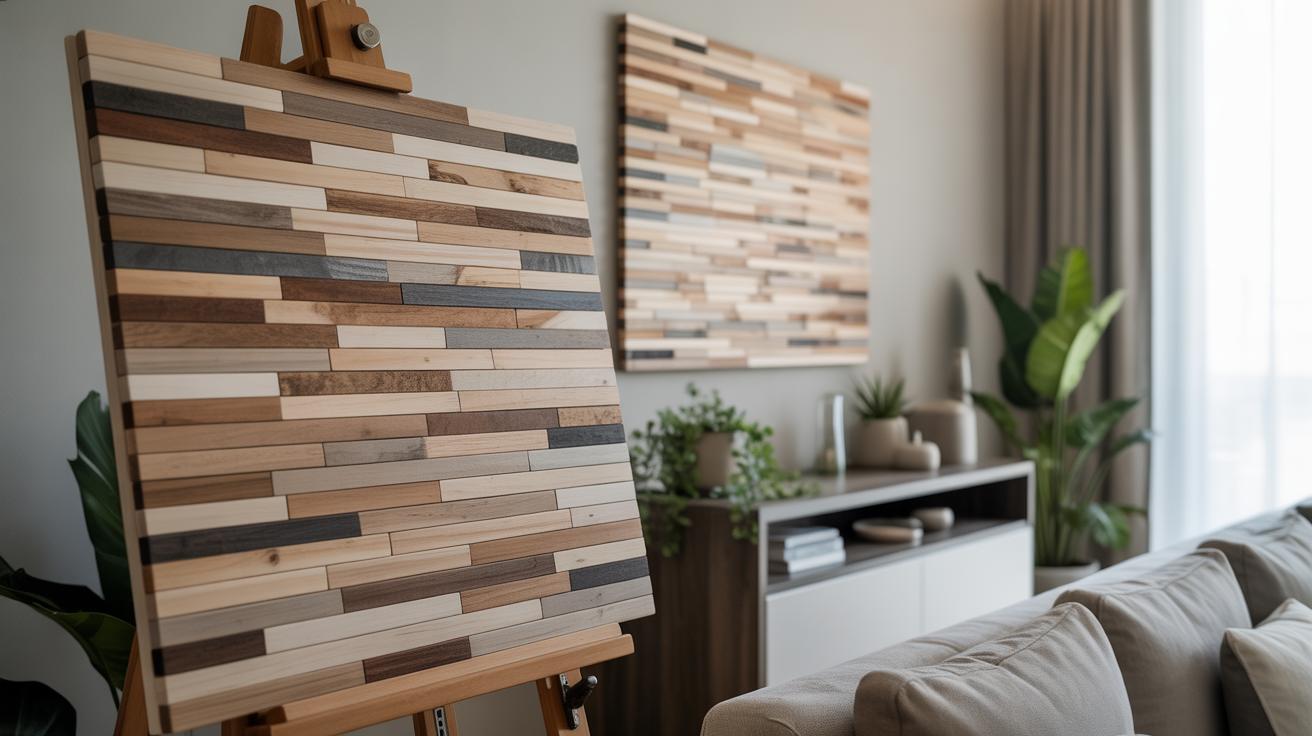
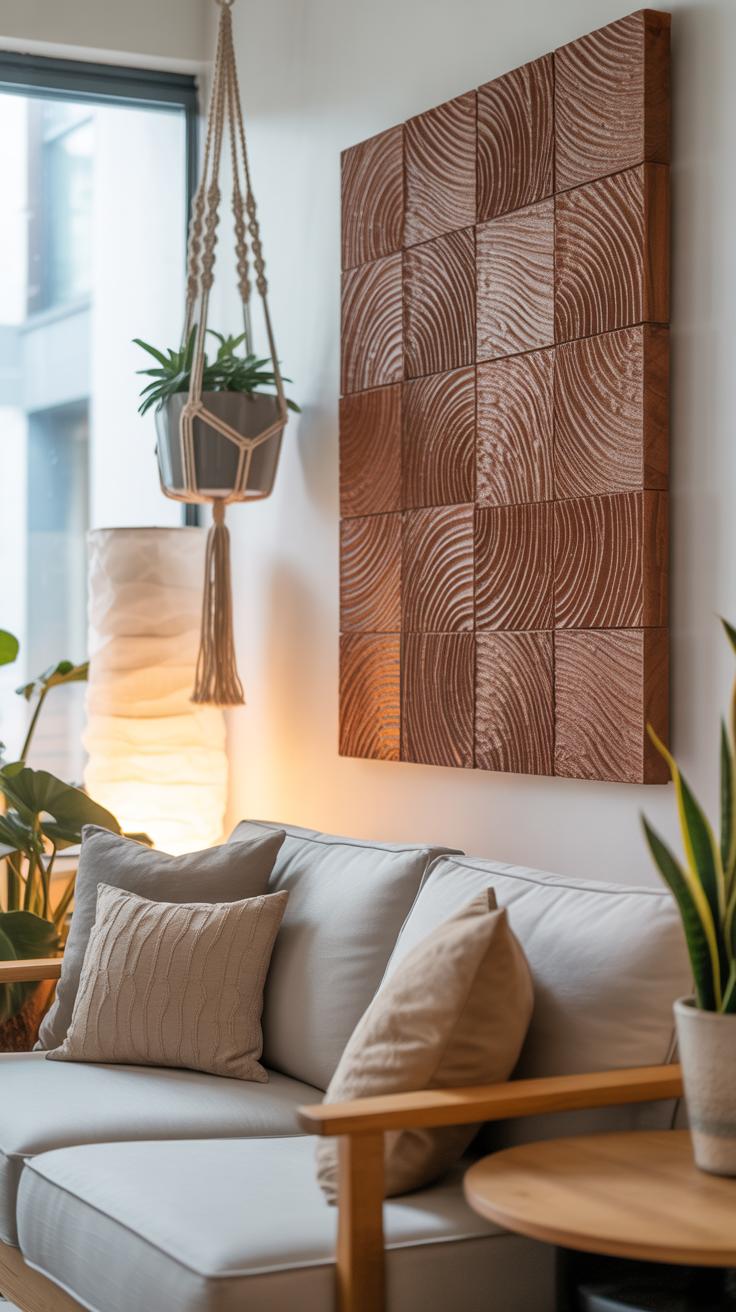
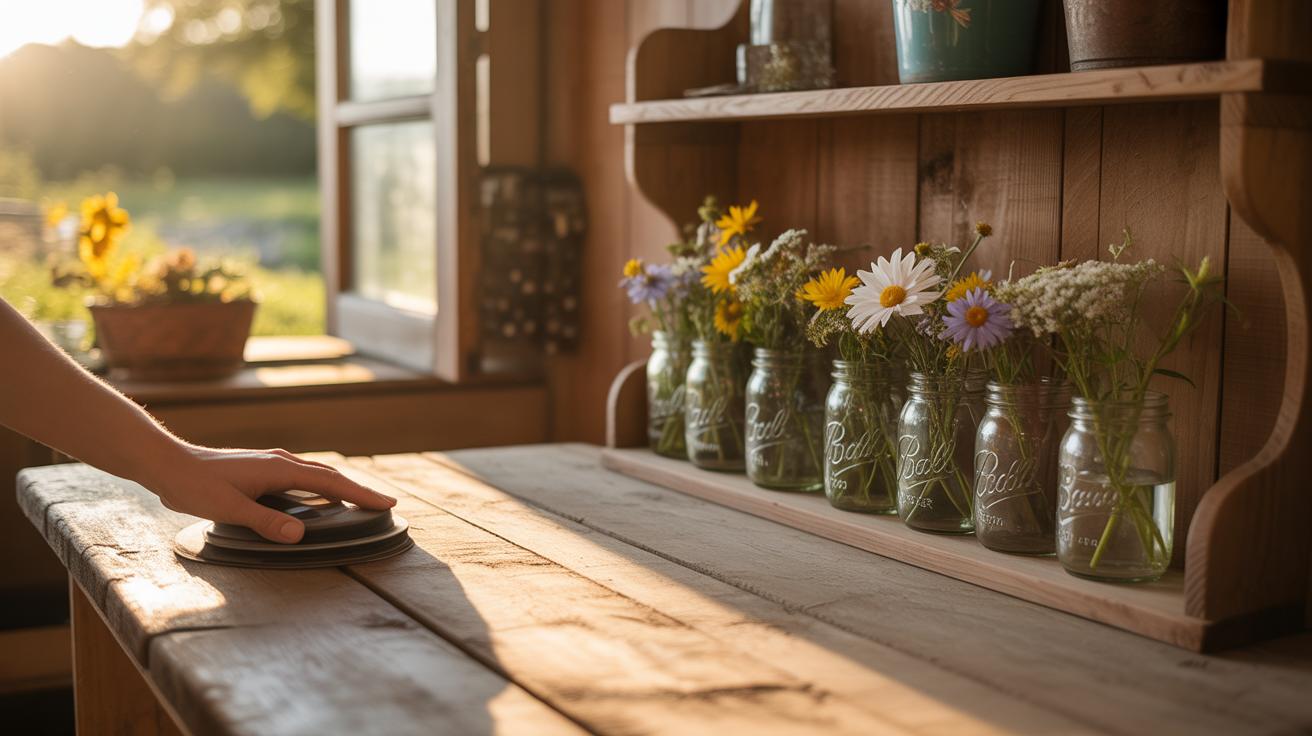
Creating wall panels from scrap wood is one of the more accessible projects, and it really brings texture and a natural feel to a room. You don’t need perfect pieces—mixing different sizes, shapes, and wood types gives the panel depth and an interesting pattern. Simply arrange the wood in rows, grids, or even more random layouts, then nail or glue them onto a plywood backing.
What’s neat is how these panels break up flat walls and add warmth without overwhelming the space. You might start with a small accent wall, like behind a sofa or in a hallway, to see how the texture changes the atmosphere. Staining or leaving the wood raw depends on your taste, but leaving it unfinished often highlights the natural grain and character of each scrap piece.
Creative Sculptures from Scrap Wood
Scrap wood can also turn into unique sculptures. Think beyond traditional shapes—stacking irregular blocks or cutting simple, abstract forms can create striking centerpieces. For example, a loosely stacked tower of varied wood pieces, sanded down just enough to feel smooth but still retain rough edges, adds an organic vibe.
Even basic shapes like cubes or spheres, carved or pieced together, can feel unexpectedly natural when the material shows its imperfections. Do you want something more functional? Combining small sculptures with candle holders or planters is a neat way to bring art and use together. Maybe it’s less about precision and more about letting the wood’s history speak through the form. That’s what makes scrap wood sculptures so interesting — they’re never quite uniform, always a bit unpredictable. Which is perhaps what draws people in.
How to Prepare Scrap Wood for Art

Cleaning and Removing Nails
Before you start crafting with scrap wood, it’s best to give it a thorough cleaning. Sometimes that means wiping off dirt and cobwebs, but other times you might find paint splatters or old glue patches. A damp cloth or light brush usually works fine, but for stubborn grime, a bit of mild soap can help. Just be sure to let the wood dry completely before moving on.
One often overlooked step is checking for old nails, staples, or screws. Those can be hidden in corners or edges. I once missed a rusty nail—ouch—and learned the hard way to use pliers or a claw hammer to carefully pull these out. It’s a bit tedious but necessary for safety. You don’t want to risk injury or damage to your tools later. Take your time, and double-check all pieces before cutting or sanding.
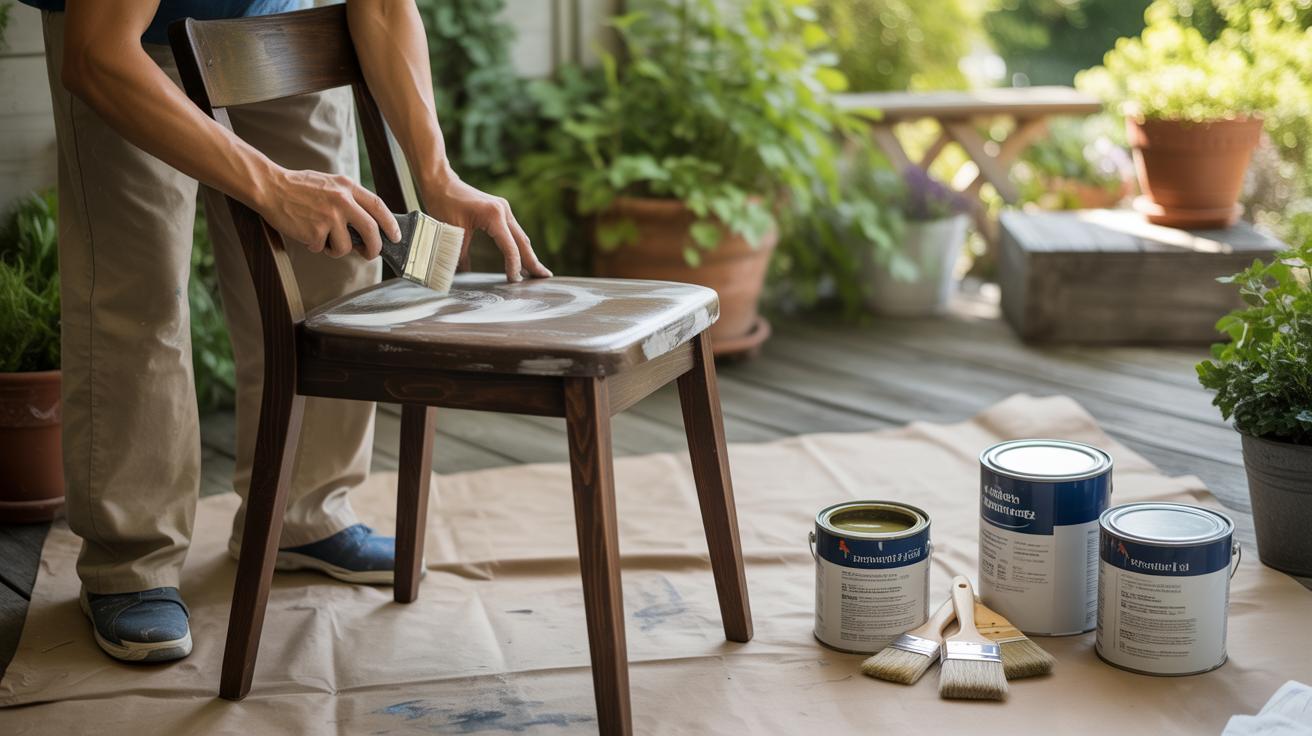
Cutting and Sanding Techniques
Cutting scrap wood doesn’t require fancy equipment. A simple handsaw will do if you’re working with small pieces, though a jigsaw or circular saw speeds things up. When cutting, try to follow natural grain lines or existing edges, which can make your pieces look more authentic. You might find that some wood splits or chips easily, so it’s okay if your cuts aren’t perfectly straight. Sometimes rough edges add character.

Sanding is next. Don’t overlook this part—it can make a huge difference to the final feel of your art. Start with a coarse grit sandpaper to smooth out splinters, then move to finer grits for a softer finish. If you don’t own a sander, just sanding blocks or folded sandpaper can work well. I usually focus on sanding the edges and surface where people might touch or where paint will go. It’s not necessary to make the wood perfectly smooth unless you want to, so sometimes a little roughness is fine, even desirable, if you’re aiming for a rustic look.
Combining Scrap Wood with Other Materials
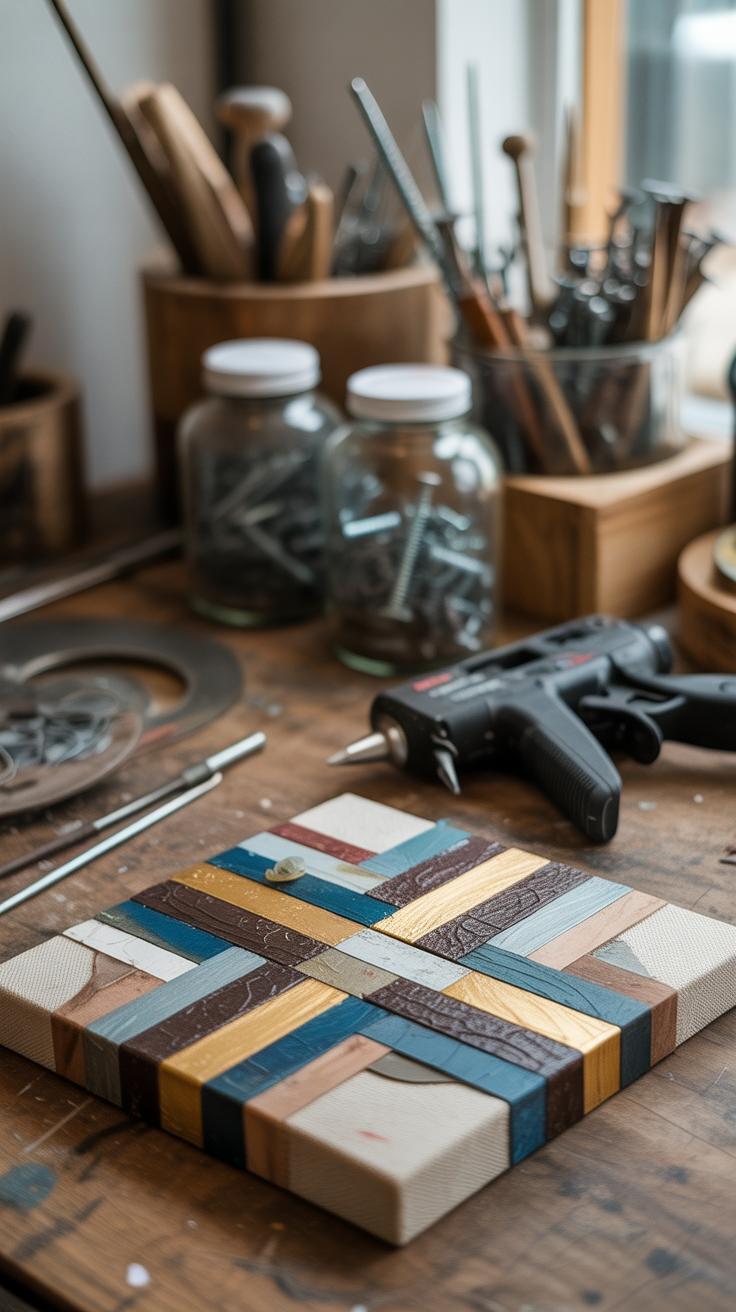
Working with scrap wood alone can yield stunning results, but pairing it with other natural materials often introduces a new layer of interest and complexity. When you start mixing wood with metal, stone, or glass, you’re inviting unexpected textures and contrasts into your art. The roughness of weathered wood alongside the cold, solid feel of metal can create a dialogue between materials, even if you’re unsure what you want that dialogue to say.
There’s a certain satisfaction in holding a piece that combines elements that don’t naturally go together but somehow fit—like an old iron hinge attached to a splintered plank. Maybe you’ve seen metal accents framing wooden panels or rusty nails inset as decorative elements. These combinations draw the eye and spark a tactile curiosity.
Metal and Wood Art Mix
Metal and wood pairing is popular because they contrast not only in texture but also in temperature and color. When combining metal pieces with scrap wood, think about ways to highlight those differences. For example:
- Use flat metal strips to outline sections of wood, emphasizing shapes.
- Attach small metal gears or scraps to create focal points or raise texture.
- Experiment with oxidized or brushed finishes on metal, which pair well with the natural grain and imperfections in wood.
I tried adding metal brackets to a wooden wall piece once; the cold shine against the warm tones made the whole piece feel alive in an unexpected way. It wasn’t perfectly uniform, but that roughness gave it character.
Using Stone and Glass with Wood
Stone and glass bring different qualities to scrap wood art. Stone’s rough, uneven surface complements wood’s organic texture, while glass adds sparkle and light play—sometimes softly, sometimes glaringly.
Here are some ideas to think about:
- Embed small pebbles or rough-cut stone pieces into wood frames or mosaic-style layouts.
- Use glass shards or smoothed sea glass as accent points, mounted onto wood panels.
- Combine polished stone tiles with rustic wood for a tactile contrast that invites touch.
One time, I saw a piece where fragments of stained glass were inset into a rough wooden backdrop—and it caught the light so beautifully, it kind of transformed an otherwise rough, simple piece into something almost elegant. The interplay between the jagged edges of stone or glass and the wood’s grain often challenges the viewer’s expectations.
Does mixing these materials always work? Not always. Sometimes the combination feels forced or visually cluttered. But that’s part of the process—figuring out how to balance the natural charm of wood with stronger, colder elements like metal or the glint of glass.
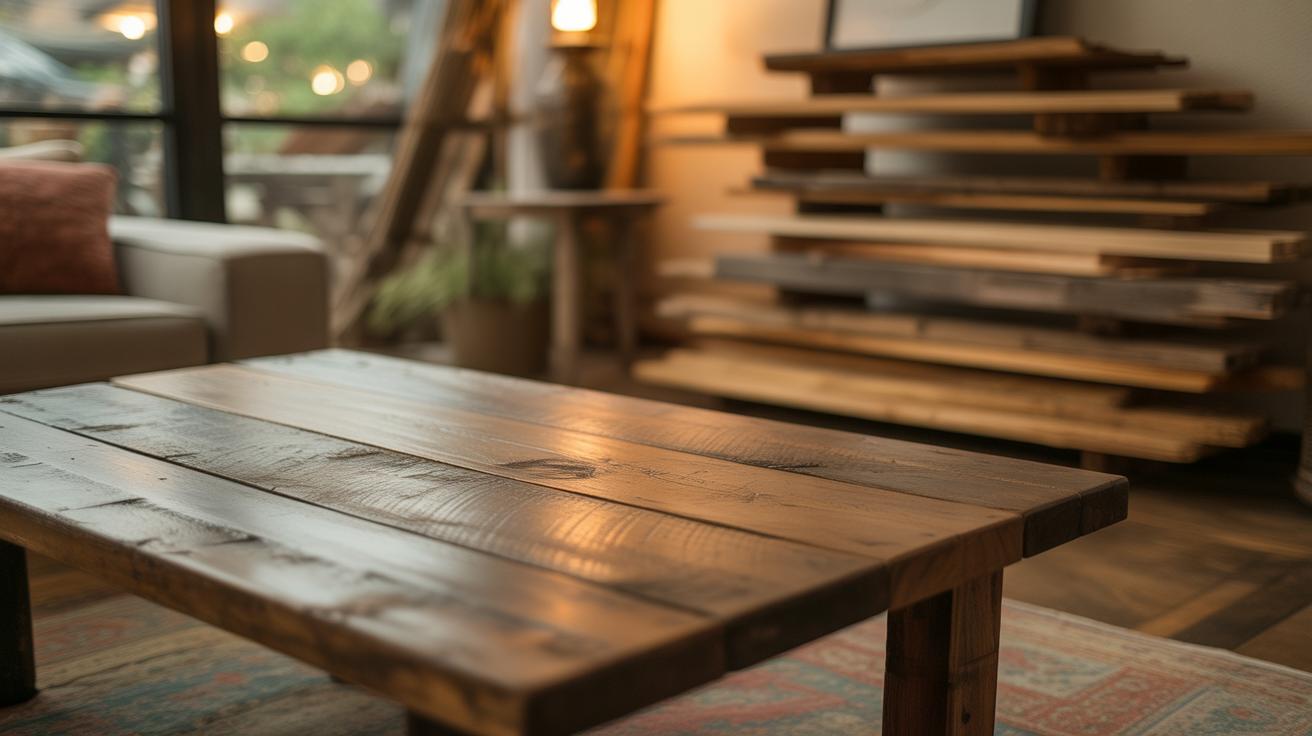
Adding Natural Wood Textures to Room Decor
Using scrap wood art can bring a real sense of depth and texture to your rooms, just by letting the wood’s natural grain and imperfections come through. Think about how those uneven edges, knots, or worn paint tell a story in each piece. You don’t need a whole gallery wall; even a small arrangement can shift the feel of a room toward something more grounded and tactile.
In living rooms, for example, try leaning a larger scrap wood panel behind a sofa or resting it on a shelf mixed with other objects. It invites a cozy vibe, but also adds interest without shouting for attention. Grouping smaller wooden pieces with plants or ceramics can soften sharp modern lines and balance colder finishes.
Bedrooms and kitchens benefit from the same approach but often in subtler ways. Picture a headboard or floating shelves made from layered scrap wood — they create texture that’s warm and approachable. In kitchens, using wood art near a dining nook or as part of open storage displays can break up hard surfaces and make the space feel lived-in. Do you find those touches make places feel more like “home” or just cluttered? It’s tricky for sure, but the texture is hard to ignore.
Caring for Scrap Wood Art
Cleaning and Dusting
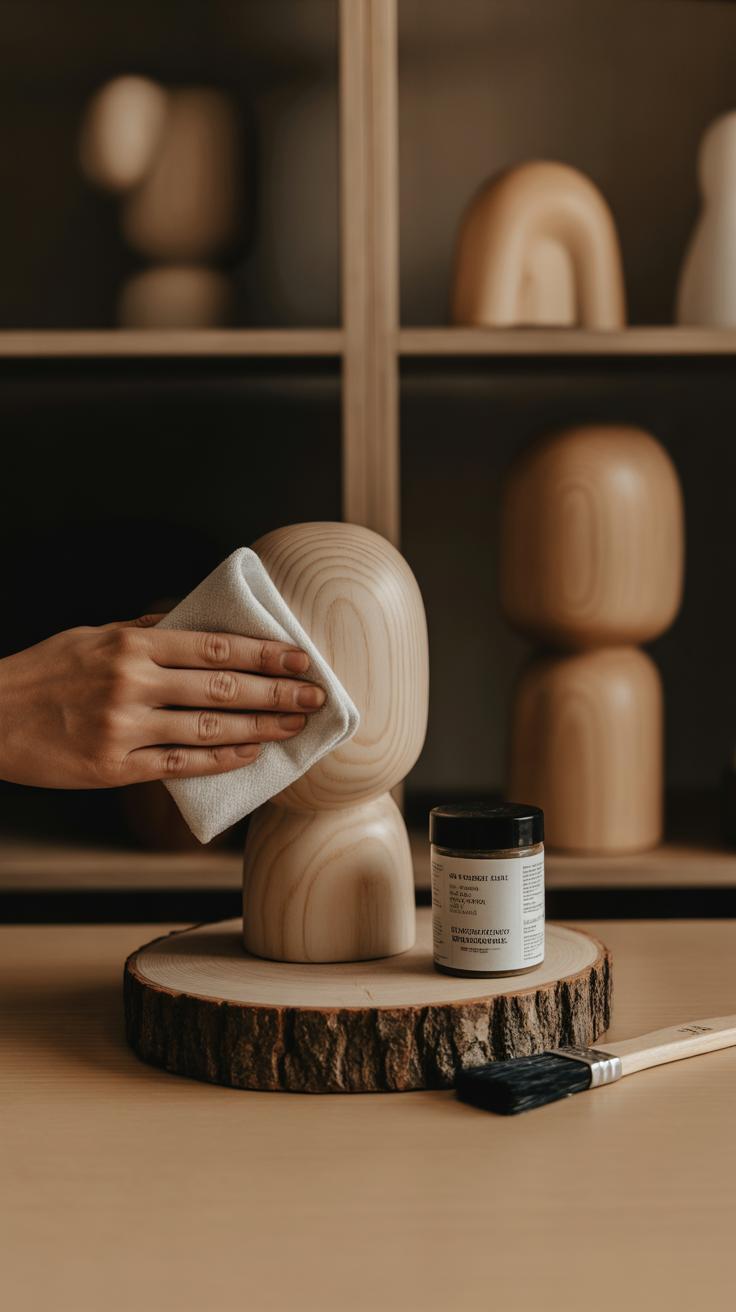
Cleaning scrap wood art requires a gentle approach. You don’t want to scrub or use harsh chemicals that could wear away the wood’s natural texture or any finish it might have. A soft, dry cloth often does the trick. Sometimes, I like to use a slightly damp cloth—just barely damp—to wipe off dust, especially if the piece has grooves or carved details where dust tends to settle. But be careful. Too much moisture may cause swelling or warping.
Using a small, soft brush for nooks and crannies can help without risking damage. Avoid sprays or polishes unless you’re sure they’re safe for unfinished or sealed wood. Sometimes, less is more. You might be surprised how a simple dusting keeps the natural charm intact.
Protecting Wood Surfaces
Moisture and sunlight can be tricky enemies. If your scrap wood art is exposed to humidity or rooms with fluctuating temperatures, it might start to fade or even crack over time. You could try applying a clear sealant to guard against this, but it’s not always necessary—depends on the wood and your piece’s finish.
Sealants come in oil-based or water-based varieties, each with pros and cons. Oil-based products tend to deepen the wood’s color and offer stronger protection but take longer to dry. Water-based sealants dry faster and have less odor but might not provide as much durability.

Sometimes I hesitate to coat the piece if I want to keep the natural, raw look. In those cases, just keeping it out of direct sunlight and away from damp areas helps a lot. Would some occasional reapplication of sealant be worth losing that raw vibe? It’s a personal balance.
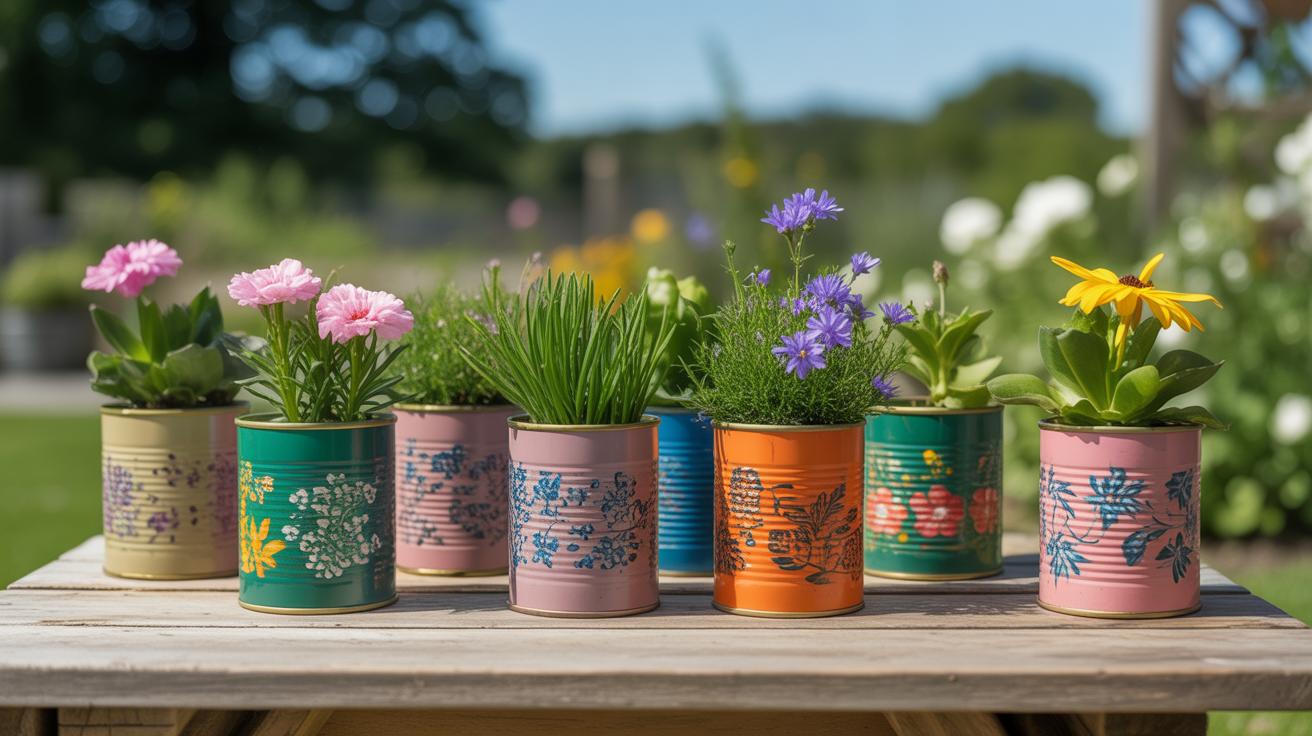
Where to Find Scrap Wood
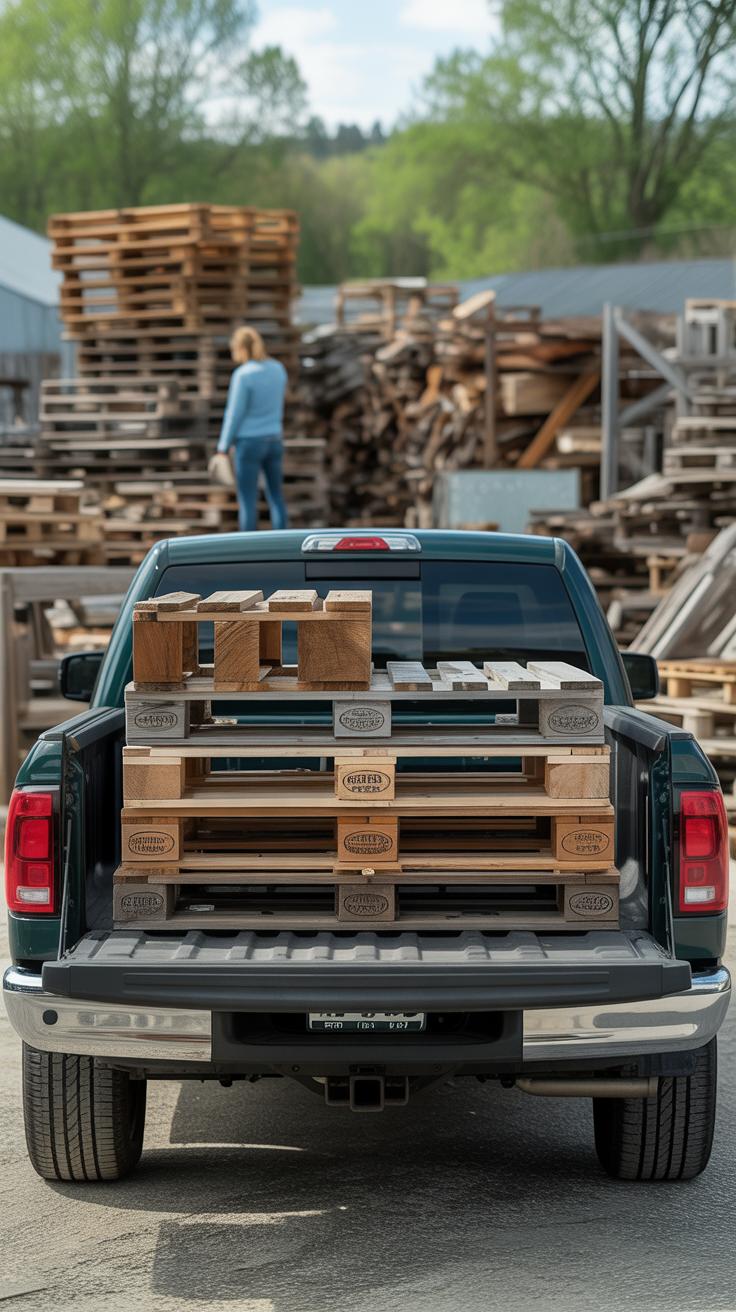
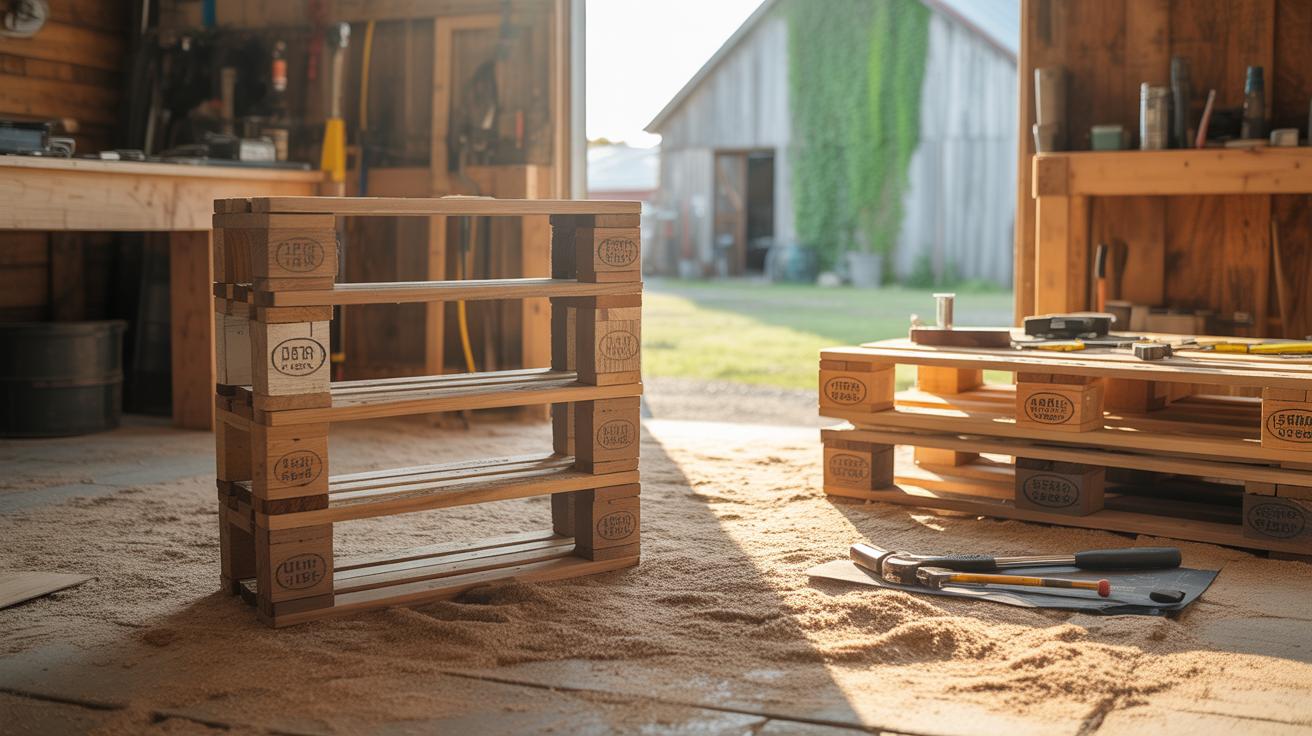
Finding scrap wood isn’t always as simple as just walking into the nearest hardware store. You might have better luck looking beyond the usual places. Local salvage yards are often overlooked gems. They usually have bits of wood left over from demolition or remodeling projects that someone else decided weren’t worth keeping. It might be a bit of a treasure hunt—some pieces are rough, others surprisingly good quality. If you’re patient and keep an eye out, you can find all sorts of shapes and textures that can add real character to your scrap wood art.
Construction sites sometimes let you take small scraps if you ask nicely. Obviously, you should always get permission first. Those sites often have end cuts, off-cuts, or damaged sections that builders toss aside yet work perfectly for creative projects. It feels a bit like borrowing from someone else’s leftovers, but that’s part of the charm. Recycle centers are another place to check. Some have dedicated wood piles or sorting areas where you might score free or cheap material.
On the internet, things get a bit wider and more unpredictable. Marketplaces like Craigslist, Facebook Marketplace, or Etsy sometimes have people selling scrap wood or crafted wood pieces. There are also online communities and forums focused on woodworking or upcycling where members trade or share scraps. Joining those groups can give you access to unique pieces and help you connect with others who enthusiastically trade or gift scrap wood. Sometimes these bits have stories behind them, which can add an extra layer to your project.
Finding scrap wood takes a little effort and creativity, but it can be part of the fun. Why settle for bland when you can hunt for something with character? Are you ready to see what’s out there?
Getting Started with Your First Scrap Wood Art Project
Choosing Your First Project
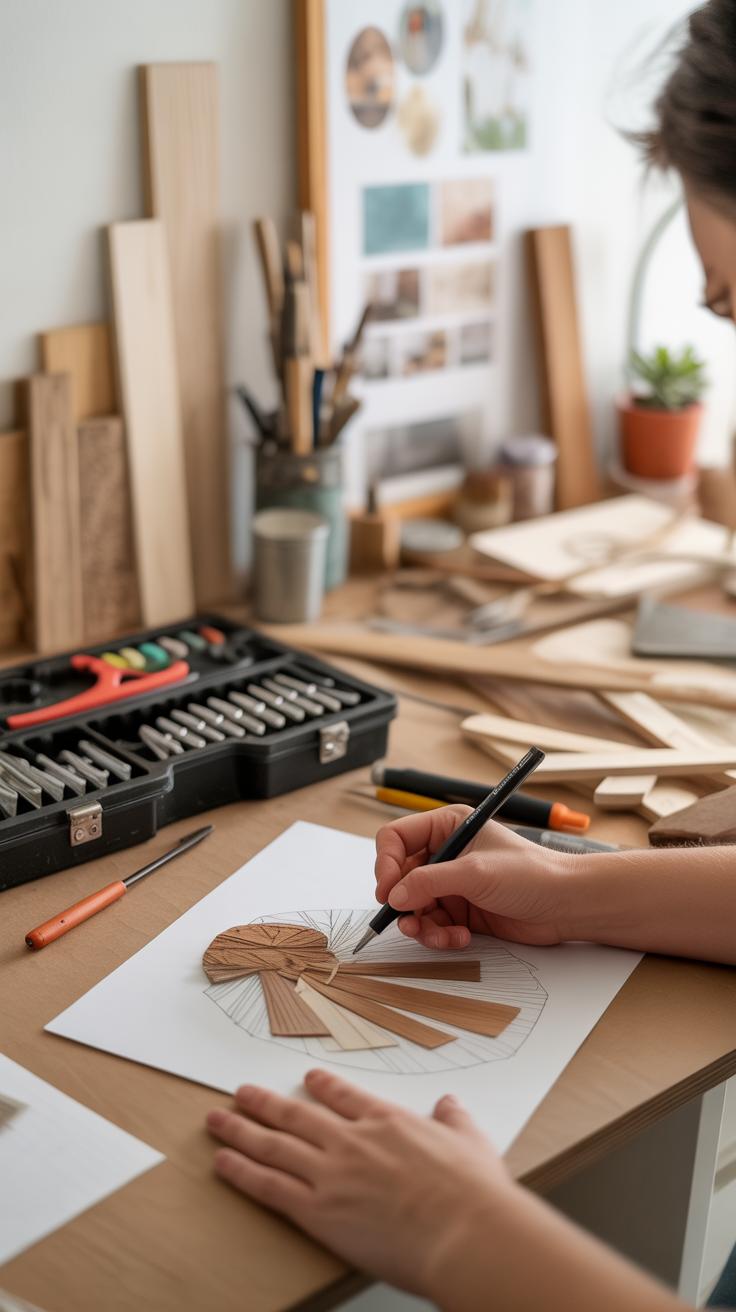
You might be wondering where to begin with scrap wood art. The good news is, plenty of simple projects work well for beginners. Try crafting a small geometric wall hanging, a picture frame, or even a personalized coasters set. These projects don’t demand complicated cuts or assembly. I recall making a basic wooden trivet from leftover pallet pieces—it felt manageable and actually fun. Starting small helps you gain confidence, and you can always build from there. Sometimes, picking a project that fits your room’s style makes the process more motivating, though the “perfect” idea might take a few tries to find.
Tools and Safety Tips
Before you start, gathering some basic tools will save time and frustration. Consider having a handsaw or jigsaw, sandpaper or a sanding block, wood glue, clamps, and a hammer or a cordless drill. You don’t need a full workshop setup—just the essentials. Safety matters—wear gloves to avoid splinters, and goggles to protect your eyes from dust or tiny wood chips. Keep in mind, working with scrap wood means uneven edges or nails might still be around, so check your pieces carefully. Taking your time and keeping your workspace tidy also helps avoid accidents, even if you feel eager to finish quickly.
Conclusions
Scrap wood art offers a way to add beauty and natural texture to your rooms without buying new materials. It allows you to be creative and give old wood a new life. You can make different art pieces that suit your style and space.
By using scrap wood art, you also help the environment by recycling wood. Adding wood textures to your decor makes your rooms feel cozy and connected to nature. Try scrap wood art and see how it changes your home for the better.