Introduction
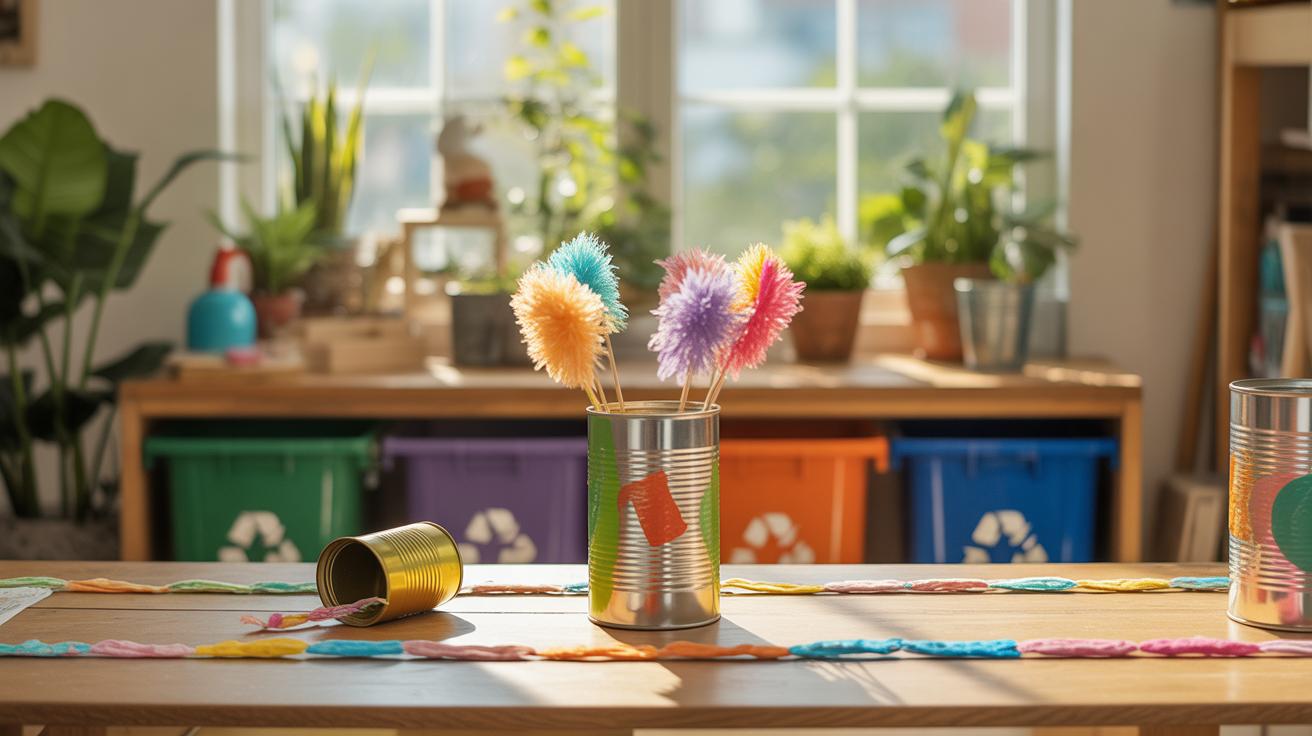
Creative Tin Can Art Ideas For Charming Planters offer a fun and eco-friendly way to decorate your home and garden. Tin cans, known for their durability and availability, can be easily transformed into eye-catching planters with a little creativity and effort. This article explores practical techniques to craft stylish planters from ordinary tin cans, breathing new life into recycled materials.
You will discover simple steps to prepare, decorate, and use tin cans as planters for your favorite plants. From painting and arranging to selecting plants that thrive in containers, the ideas shared here help you create unique planters that add charm anywhere. Follow along for actionable tips and inspiration to bring fresh greenery to your space using tin can art.
Why Choose Tin Can Planters For Your Garden
Sustainability Through Recycling
Using tin cans as planters taps into a simple yet meaningful way to reduce waste. Think about how many cans end up in the trash every week—maybe more than you realize. Instead of letting them pile up, they can get a second life in your garden. This small act helps cut down on landfill waste and nudges you toward a more eco-friendly routine. It feels good, too, knowing you’re not just tossing something out but giving it purpose. Plus, reusing materials makes gardening more accessible if you don’t want to buy new pots right away. And while it’s a modest move, little steps add up when many people try them.
Durability And Cost-Effectiveness
Tin cans hold up surprisingly well outdoors. They don’t crack or chip like some ceramic pots might, which means they can last through different seasons. Sure, they might rust eventually, but with a bit of care, they often stay functional longer than you’d expect. From a cost perspective, tin cans are hard to beat—you probably have plenty lying around, so there’s no need to spend a dime. Compared to store-bought planters, they’re incredibly budget-friendly. Of course, they’re not perfect for every plant or setting, but for many, tin cans fit the bill just fine. You get something sturdy without the usual expense. It’s a practical choice that often surprises people when they try it out.
Preparing Tin Cans For Planting
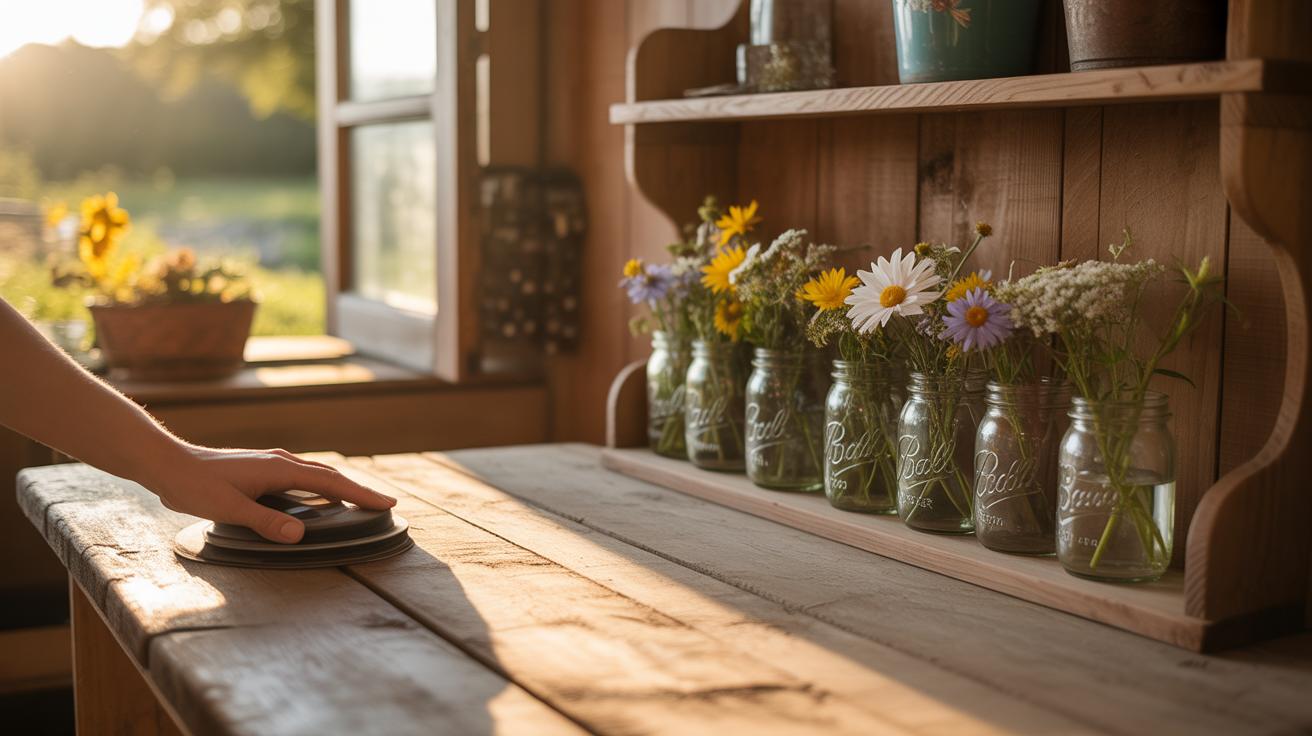
Cleaning And Removing Labels
Start with soaking your tin cans in warm, soapy water for about 10 to 15 minutes. This softens the glue and paper labels, making them easier to peel off. You might need to use a scrub brush or sponge to remove stubborn bits, but be gentle enough not to damage the metal. Sometimes, soaking alone isn’t quite enough—if the label sticks around, try rubbing it with baking soda paste or even a bit of oil to loosen the residue. Just make sure to wash off any oily traces afterward, so your plants won’t be affected. It can be oddly satisfying to watch the layers come off, but patience really helps here.
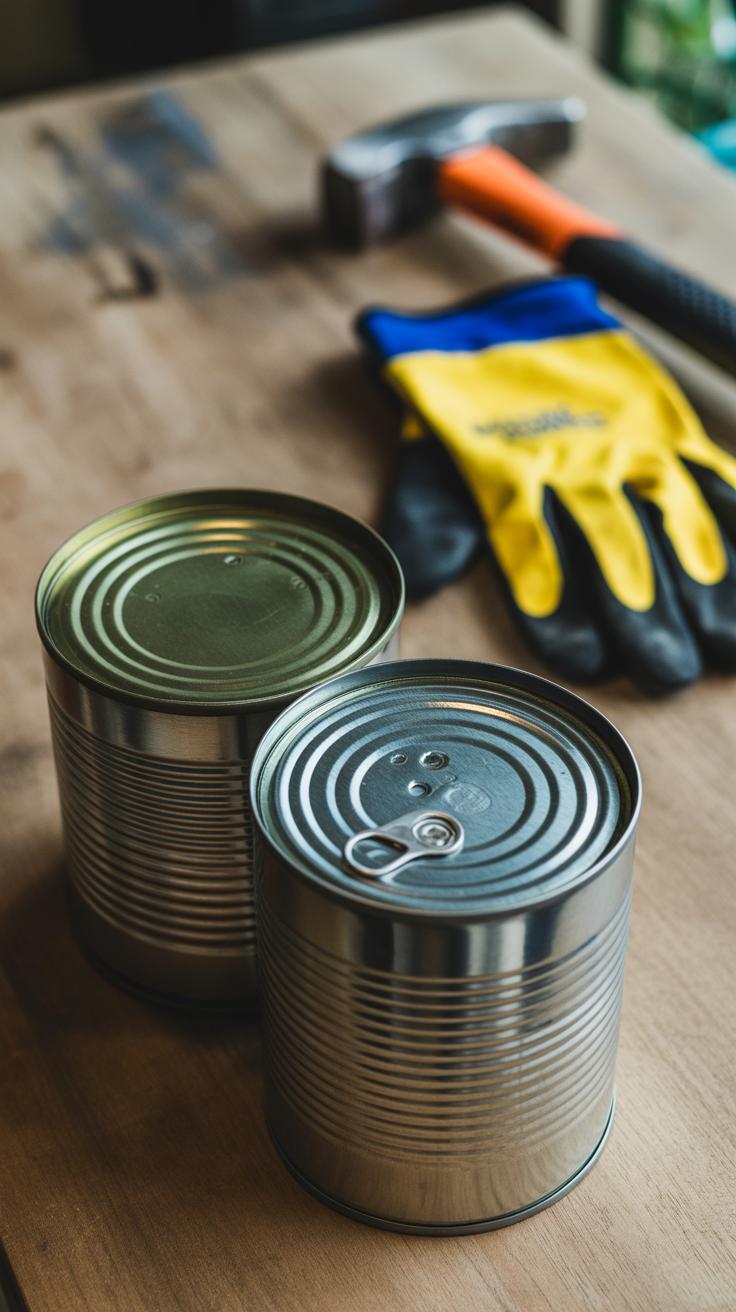
Drilling Drainage Holes
Next, your cans will need holes for drainage. Plants hate sitting in soggy soil, and waterlogged roots can quickly lead to problems. Use a small drill bit or a nail hammered carefully through the bottom. The size and number of holes depend on the can size, but generally, three to five holes work well. I like to put the can on a sturdy surface and go slow—avoiding jagged edges that might snag later. If you don’t have a drill, puncturing with a heated metal skewer can work, too. It’s a bit more effort but worth it. Drainage might seem like a small step, but skipping it can really spoil your planter’s potential.
Basic Decoration Techniques For Tin Can Planters
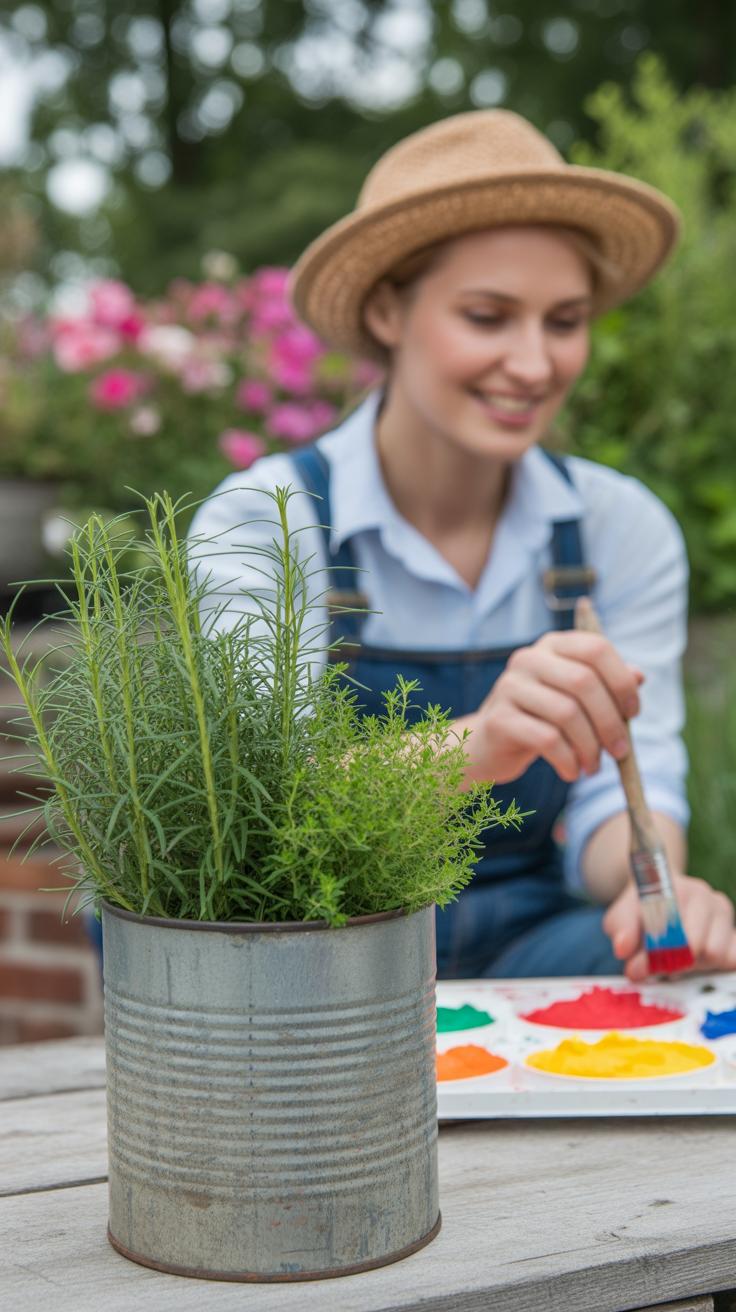
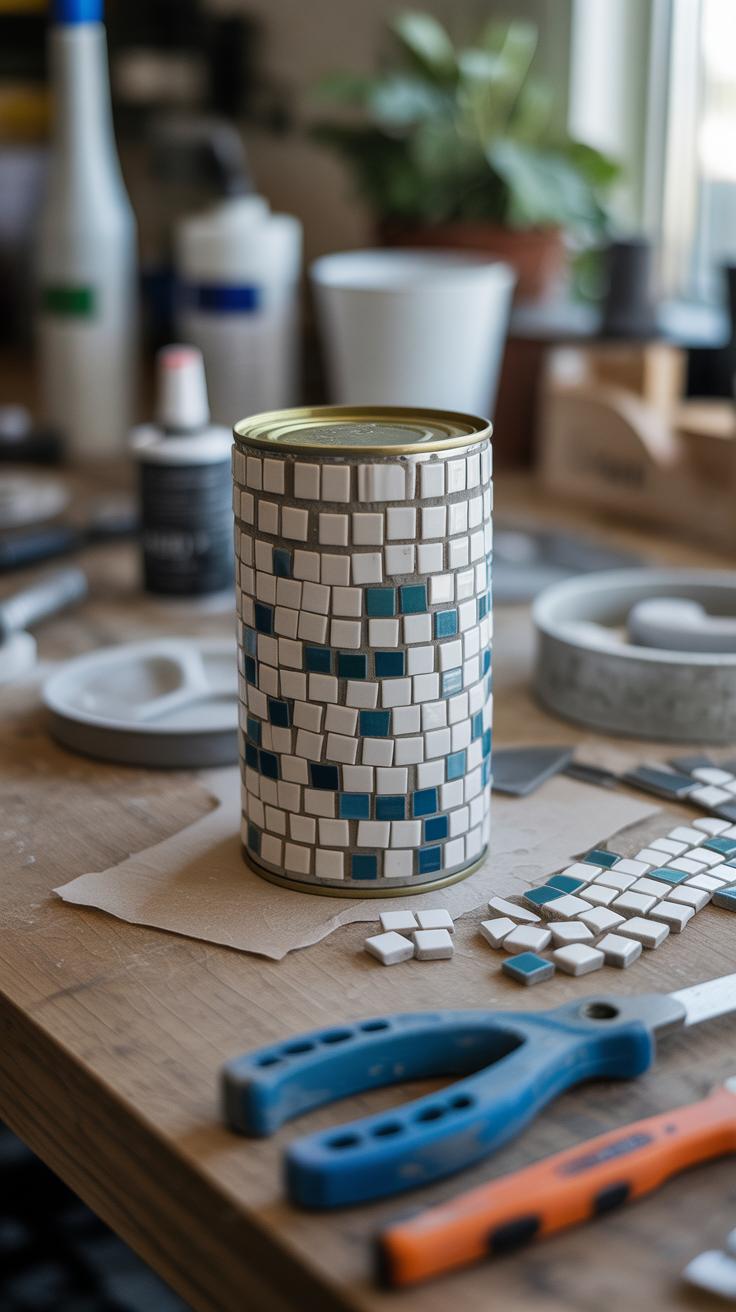
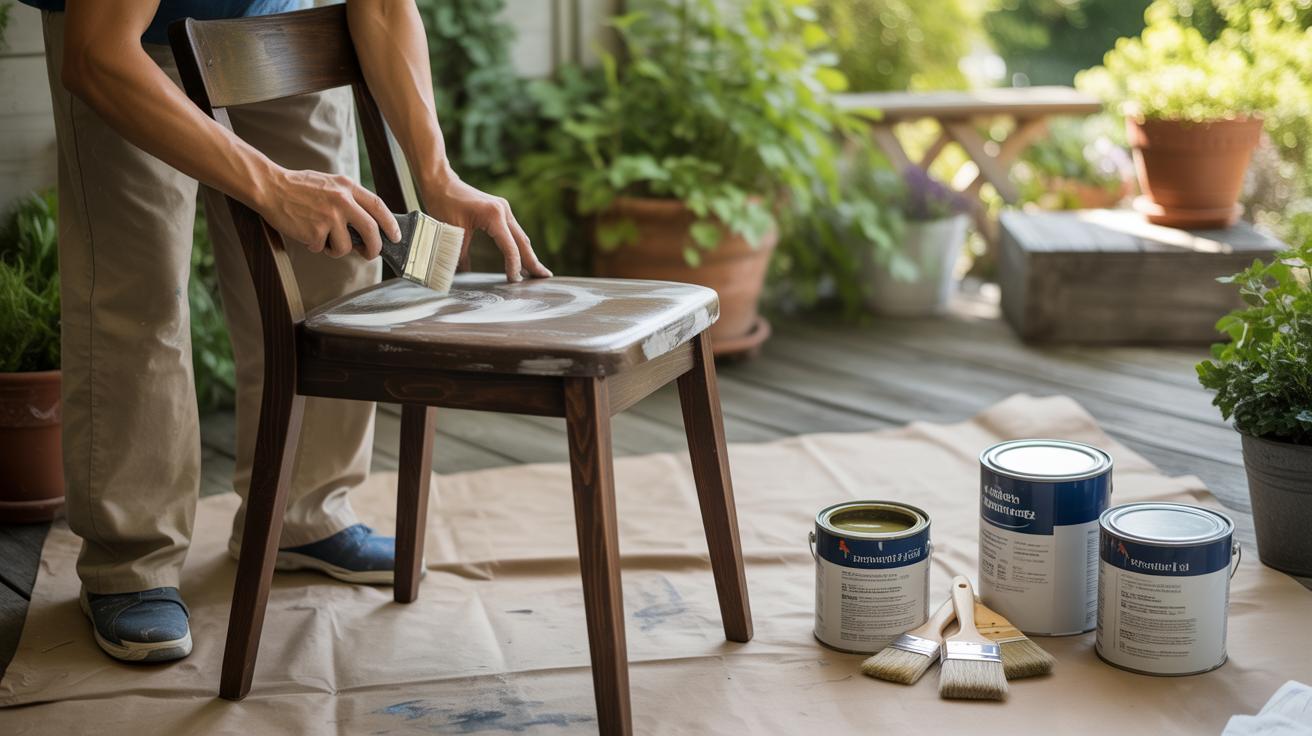
Once your tin cans are clean and ready, decorating them becomes a fun way to add personality to your planters. One straightforward approach is choosing acrylic paints for a splash of color that really sticks. Acrylics are great—they dry quickly and can offer surprisingly bright finishes. You don’t need fancy brushes; sometimes a simple foam brush or even a sponge can help you get a neat, even coat. I’d suggest applying multiple thin layers instead of one thick one, as this helps prevent drips and gives a smoother look. Of course, colors fade a bit over time, especially outdoors, but a fresh coat now and then keeps things lively.
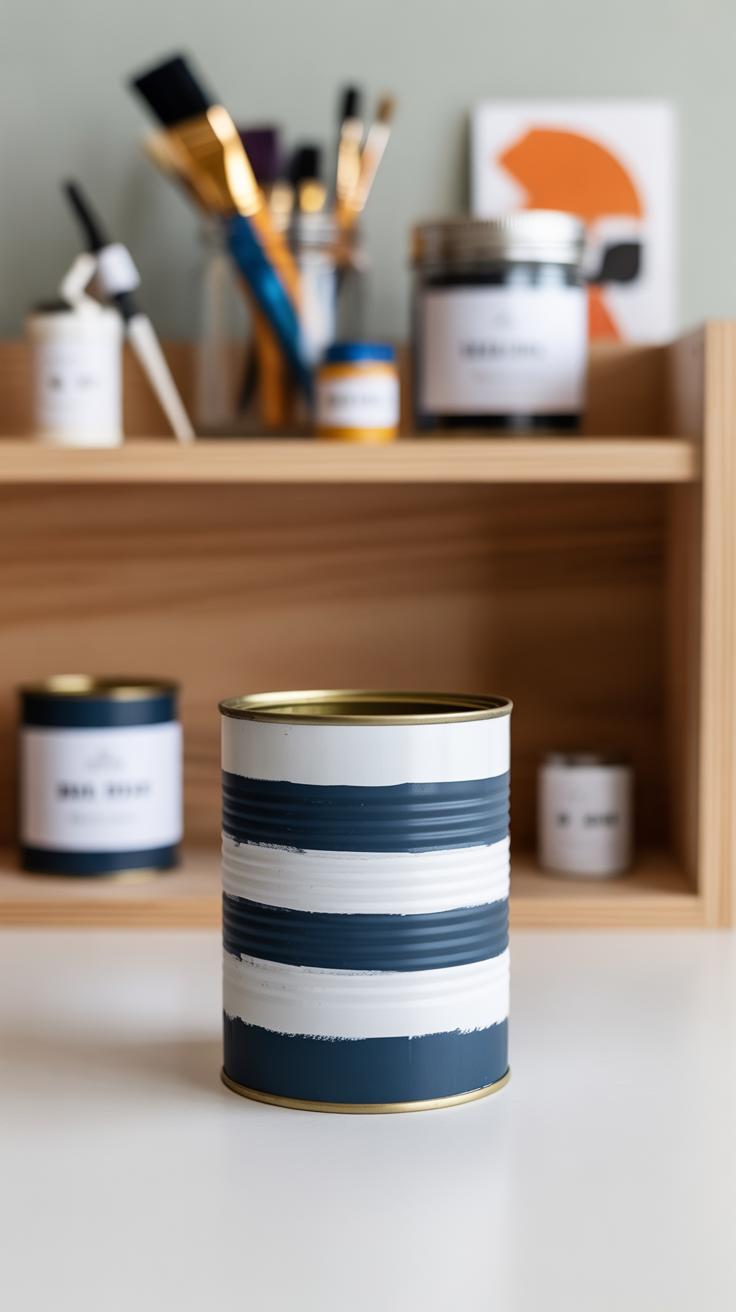
If you want to get a bit more creative, tape and stencils offer an easy way to add patterns without too much fuss. Masking tape, for example, can be used to block off clean lines or create stripes, triangles, or any geometric shape you fancy. It’s quite satisfying to peel the tape away and see crisp edges. Sometimes the tape slips a little—maybe mine isn’t the steadiest—but imperfections can add charm. Meanwhile, stencils let you repeat intricate designs or motifs with ease. You can buy stencils or make your own from scrap cardboard or stencil sheets, which is kind of neat because it feels like customizing twice.
When combining paint with tape or stencils, give the base paint enough time to dry completely first. Otherwise, the tape might pull off some color, and that’s a bit frustrating. Also, you might want to lightly press down your tape edges to avoid bleeding paint underneath—at least, that’s what I try to do, though sometimes small leaks happen and I just roll with it. The key takeaway is that decoration can be as simple or elaborate as you want, and the imperfections often create a more authentic, handmade feel.
Advanced Artistic Techniques For Unique Planters
Decoupage Art For A Handmade Look
Decoupage feels like a subtle way to bring personality to your tin can planters. You take paper cutouts—maybe pages from old books, colorful magazine clippings, or delicate floral prints—and glue them onto the surface. It’s not just slapping on images; you layer them carefully and seal everything with a few coats of varnish or decoupage glue, which protects against water and wear.
This method lets you achieve a finished look that almost seems painted but carries depth and texture thanks to the layering. It’s perfect if you want something vintage or with a handcrafted vibe. The process demands some patience since smoothing wrinkles or bubbles can take a few tries, but it’s oddly relaxing. Plus, you can customize themes completely—imagine a planter telling a tiny story or reflecting a favorite place.
Creating Textures With Materials
Adding texture changes everything—plain tin cans suddenly invite touch and curiosity. Think about wrapping part of your planter in fabric scraps: burlap for roughness or lace for delicate contrast. Yarn wrapped around creates bands of softness and color, but don’t expect it to stay pristine outdoors without sealing it first.
Another quick option? Coating areas with household sand mixed into paint or glue. It gives a gritty surface that feels organic. These tactile details break the smooth metal monotony and can cleverly hide dents or imperfections in the can itself. You might even combine textures—like decoupage with a yarn border—to make each piece unique in a more complex way.
Have you tried layering textures before? Sometimes it’s tempting to stick with smooth finishes, but adding something unexpected can make you notice a planter more—and isn’t that the point?
Choosing Plants For Tin Can Planters
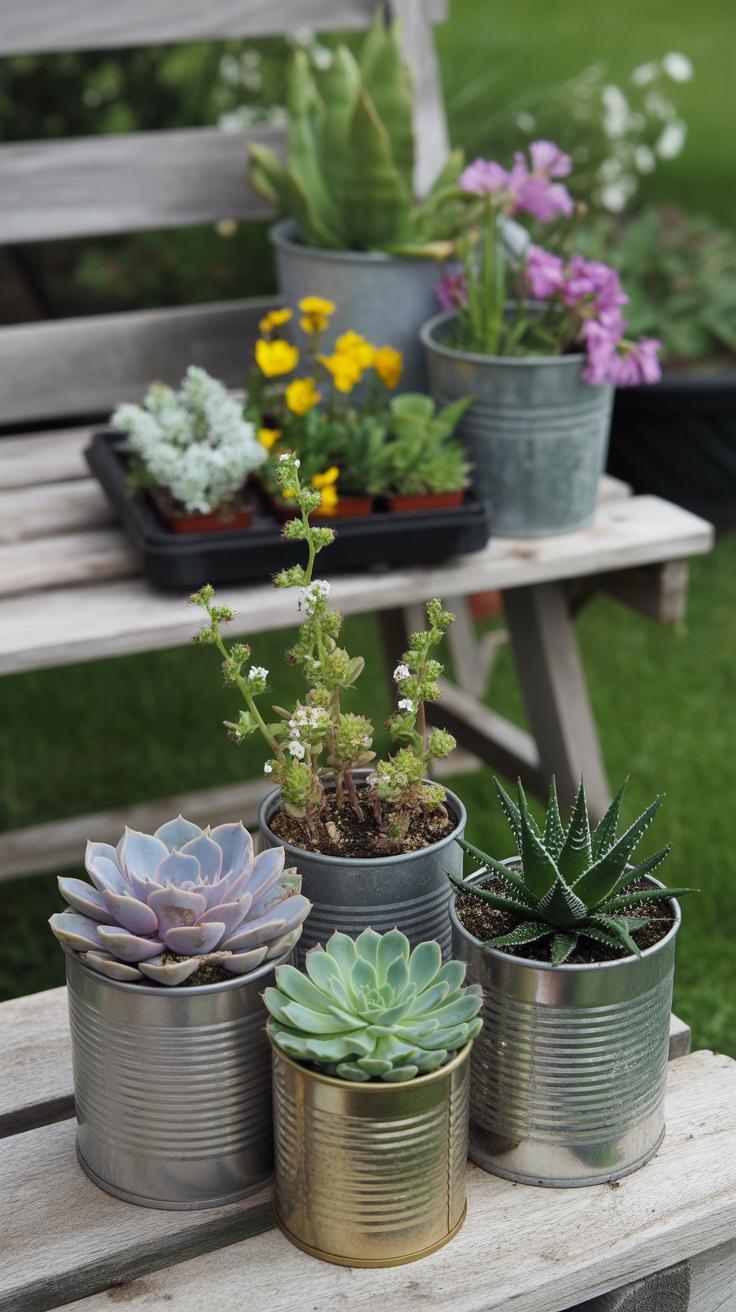
Picking the right plants for tin can planters can be a bit tricky because of their small size and limited soil. You want plants that don’t mind tight quarters and can handle less water-holding space. Succulents often come to mind first—they fit perfectly and don’t need frequent watering. But it’s not just about succulents; some herbs and tiny ferns can work well, too.
Indoor plants for small containers usually grow slowly or have shallow roots. Think about plants like pothos or spider plants—they can survive in small pots and still give you that fresh greenery. Some cacti varieties also thrive in these conditions without fuss.
Outdoors, tin cans can host hardy plants that tolerate container life without wilting quickly. Herbs like thyme and oregano are good choices because they have relatively compact roots and enjoy plenty of sunlight. One thing to remember: drainage matters. So, ensure you poke holes in the cans to keep roots healthy. Are you ready to experiment a bit? It’s often a trial-run to find the best fit between plant and planter.
Best Indoor Plants For Small Spaces
Here are a few easy-care indoor plants that do well in tin cans:
- Succulents: They store water in their leaves, making them low-maintenance and perfect for small containers.
- Pothos: Hardy and forgiving, it can grow with minimal light and occasional watering.
- Spider Plant: Tolerates low light and irregular watering; its small roots adapt well to tin cans.
- Air Plants: These don’t need soil, so a tin can planter is more about display than function here.
Experimenting with these can be fun. Sometimes a plant that looks tiny when you put it in quickly fills out the space or maybe stays small, your call.
Outdoor Plants That Thrive In Containers
When placing tin cans outdoors, pick plants that survive temperature changes and limited soil space. Consider these:
- Thyme and Oregano: Both herbs grow compact but spread nicely, offering fragrance and fresh flavor.
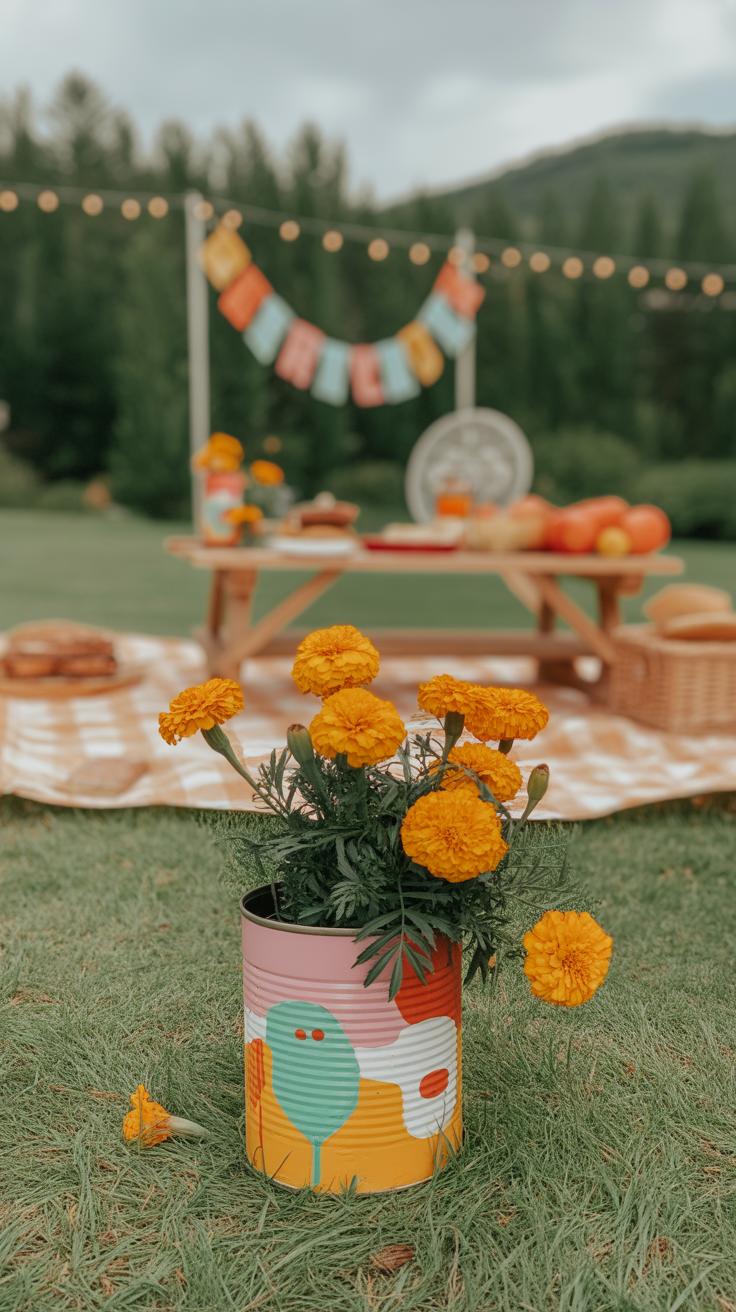
- Marigolds: Small flowers that brighten up any spot and handle container life well.
- Succulents: Again, they cope well outdoors if drainage is good and they aren’t soggy.
- Chives: Grow tall but with shallow roots, making them suitable for small containers.
Sometimes, I find even unexpected plants can surprise me by thriving in a small tin can. The trick is just to watch how they adjust and maybe swap them out if needed. Your space will tell you what works best.
Arranging Tin Can Planters For Visual Impact
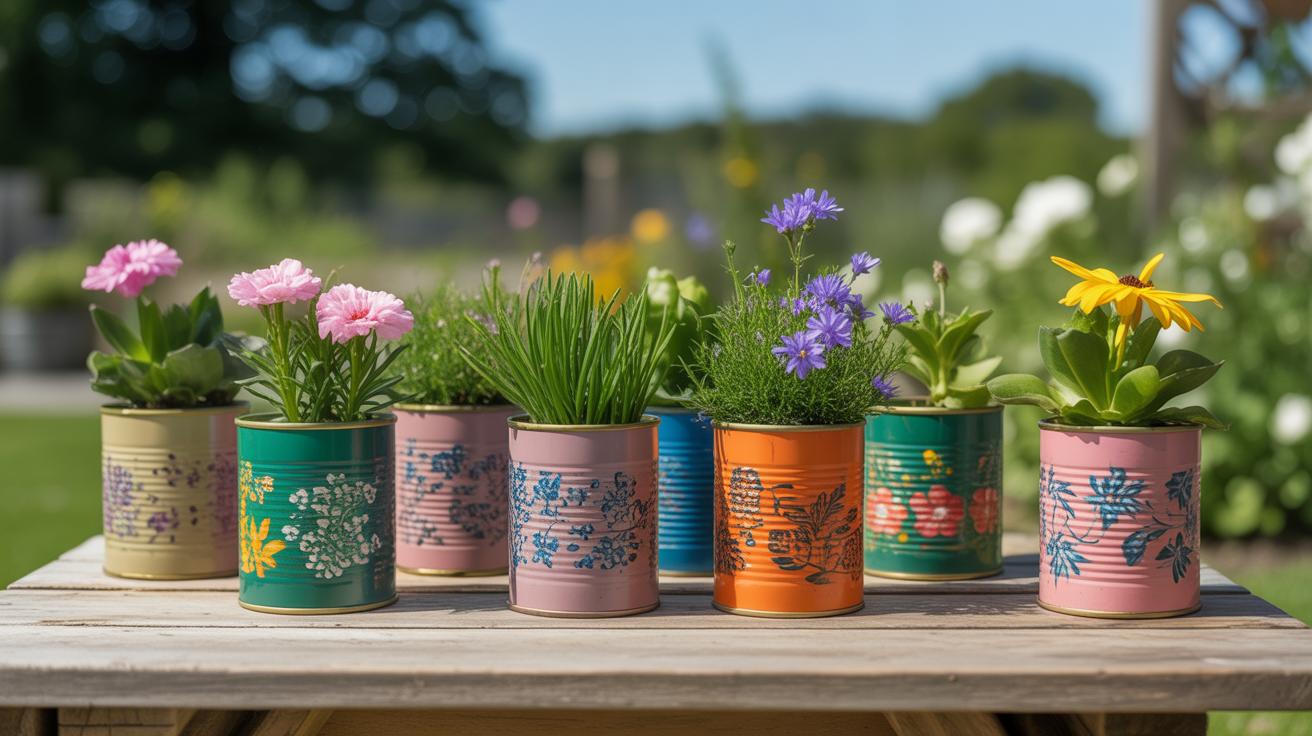
Creating Colorful Groupings
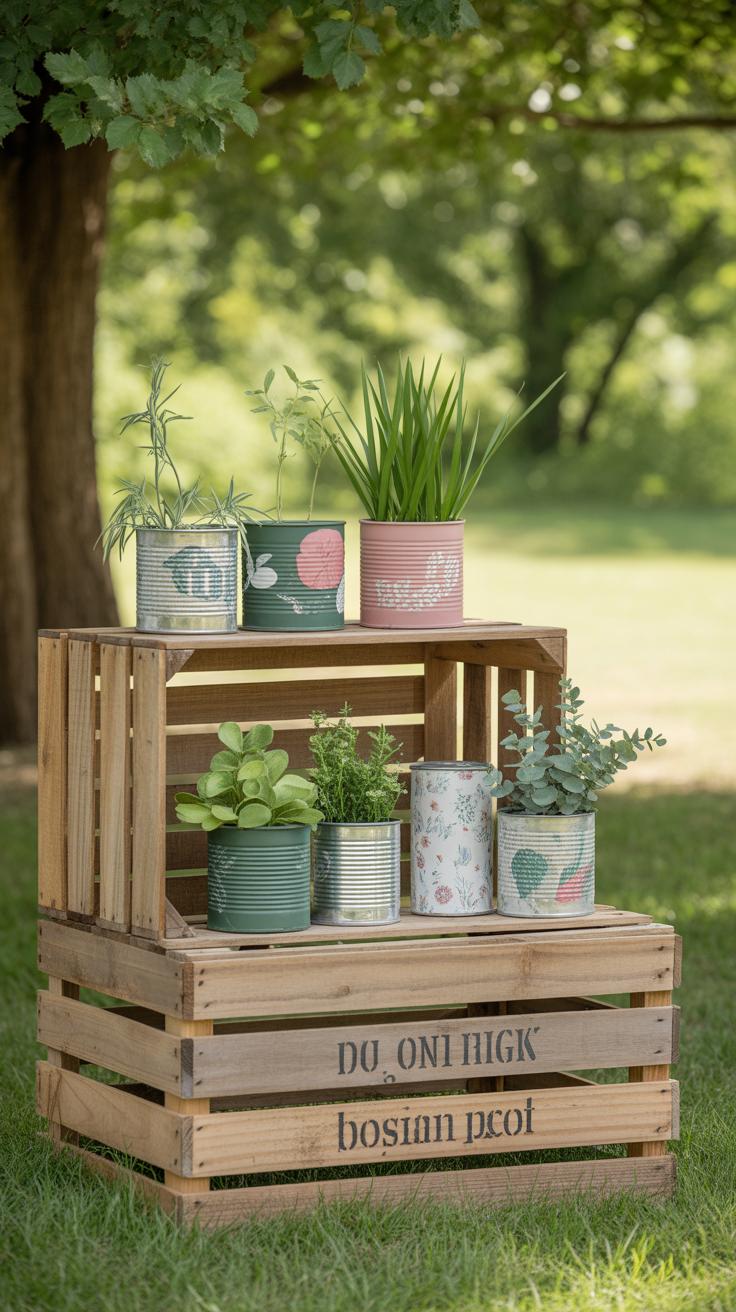
When you’re lining up multiple tin can planters, think about playing with color and size rather than just scattering them randomly. Grouping planters by similar or complementary colors can make a bold statement. For example, placing a bunch of brightly painted cans together creates a splash of color that draws the eye immediately. Or maybe you prefer a more subtle approach—arrange different shades of greens and blues to achieve a calming corner.
Size matters too. Mixing large and small cans in the same grouping breaks up any monotony and adds a bit of rhythm to the display. Don’t hesitate to cluster a tall planter beside a few tiny ones; it feels a bit unbalanced but in a good way. Odd numbers, like threes or fives, often look better than pairs—it’s an old interior design tip that often rings true in practice.
Using Shelves And Hanging Displays
When floor space is tight, vertical arrangements help. Shelves are fantastic for displaying a collection of tins—just stagger the heights and let some plants trail down slightly. Think about a narrow bookcase or even floating wall shelves for this.
Hanging planters are another option to consider. You can attach wire hangers or rope loops to the cans, then suspend them from ceiling hooks or wall brackets. This frees up surfaces and introduces a dynamic element to your greenery. Personally, I found that mixing hanging and shelf displays adds depth to a room, making it feel more layered. Just be mindful that some plants might prefer more light up high while others thrive on lower shelves—so placement matters.
Maintaining Your Tin Can Planters

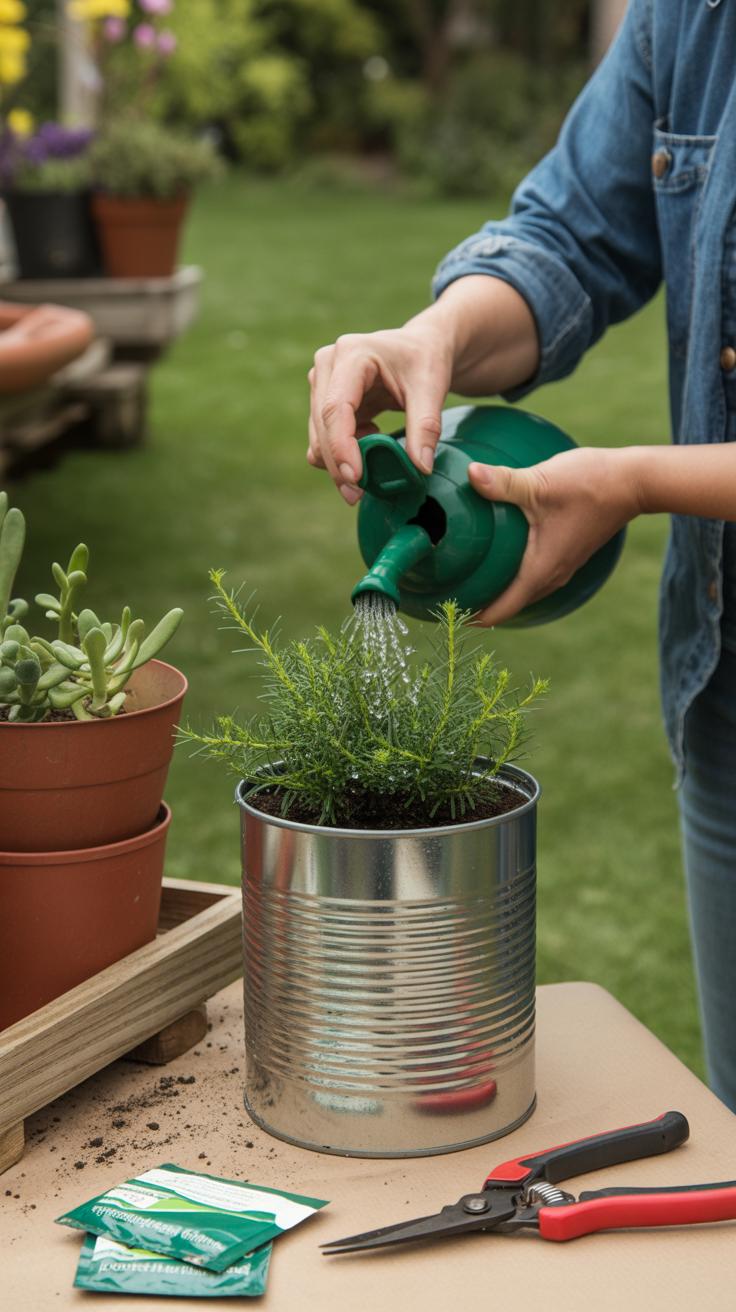
Taking care of plants in tin can planters is a bit different from regular pots, mainly due to their size and material. Small containers dry out faster, so you’ll need to check soil moisture more often. I’ve found that sticking a finger into the soil every couple of days works well—if it feels dry about an inch down, it’s time to water.
Fertilizing is another thing to keep in mind. Because these planters don’t hold a lot of soil, nutrients can deplete quickly. Feeding your plants with a diluted liquid fertilizer every two to three weeks usually keeps them happy without overwhelming them. Sometimes I’ve overdone it, and the leaves looked a little scorched, so less might be more here.
Watering And Fertilizing Tips
Consider these points for watering and feeding:
- Water when the top inch of soil feels dry, but avoid soggy soil to prevent root rot.
- Use a small watering can or syringe for precise watering; it helps avoid spills and soggy messes.
- Apply a balanced liquid fertilizer at half strength every couple of weeks during growing season.
- Remember, indoor plants may require less water than outdoor ones depending on humidity and temperature.
Preventing Rust And Wear
One challenge with tin cans is rust. Even if you paint or seal them, moisture eventually finds a way in. You might want to try lining the inside with plastic or using a small pot inside the can to protect the metal. I’ve learned this the hard way after a few rust stains appeared on my windowsill.
Also, giving your planters a quick wipe now and then helps remove dirt and prevents corrosion. If rust does start to show, a light sanding followed by a rust-resistant spray can slow it down, though it’s rarely a permanent fix. Some people swear by clear varnish coats, but they can peel off after a season outdoors.
In the end, expect some wear and tear—it’s part of the charm of using recycled metal, I guess. Just don’t forget to move planters off wet surfaces and indoors if heavy rain or frost is expected.
Seasonal Care And Repurposing Ideas
Switching Plants With The Seasons
As the weather changes, so should your tin can planters. Picking the right plants for each season keeps your space feeling fresh all year. Early spring might call for cool-season greens like lettuce or pansies, while summer bursts with marigolds or herbs. When autumn arrives, think about mums or ornamental kale to add texture and warmth. Winter can be tricky, but hardy succulents or small evergreens could work indoors.
Timing is a bit of a guessing game sometimes. I’ve found it helps to watch local frost dates and start moving plants around accordingly. Don’t hesitate to swap out your plants as soon as they start looking tired. That small effort pays off with continuous charm. Also, mixing fast-growers with slower, long-term plants can keep your tin cans interesting without needing a full overhaul too often.
Transforming Old Planters For New Uses
Once your tin cans have served their planter purpose, try giving them new roles. I’ve turned empty planters into utensil holders in the kitchen or pincushions for sewing projects. Outdoors, some cans work well as seed starters or even drip trays for larger pots. If you fancy a bit of crafting, you might decorate old cans to hold candles or fairy lights, adding some cozy ambiance.
Repurposing isn’t just about practicality. Sometimes it’s a chance to experiment with your decor or DIY skills. You might wonder if it’s worth keeping a dented, rusty can around—well, it often is. Those imperfections can add character in unexpected ways, especially when paired with the right paint or finish. What ways could you imagine giving your old tin cans a new lease on life?
Safety Considerations And Tools You Need

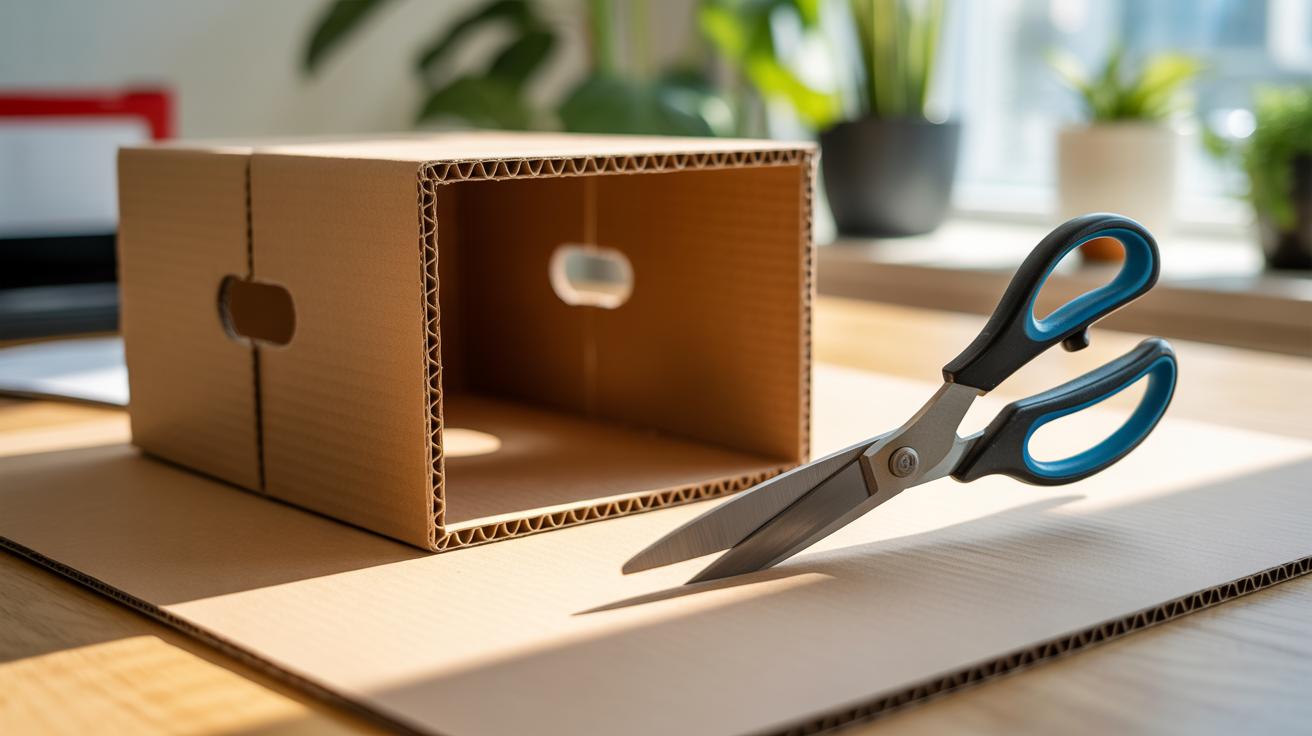
Essential Tools For Tin Can Art
You don’t need a fancy workshop to start crafting tin can planters. A few simple tools will do the trick and keep your work manageable. Most often, you’ll want a drill or a screwdriver to make drainage holes. Sandpaper helps smooth rough spots, and a basic set of paintbrushes lets you personalize each piece with colors or patterns. Sometimes, a sharp craft knife or tin snips come in handy for cutting or shaping the cans, but they’re a bit trickier to handle. Gloves can protect your hands during these steps, which I found especially useful when I began experimenting. Oddly, even the most basic scissors sometimes work for thin cans—though I wouldn’t rely on them too much.
Handling Sharp Edges Safely
One of the trickiest parts is dealing with sharp edges. Those cut metal rims can be unexpectedly dangerous if left untreated. I remember a small scrape that made me realize I should never skip this step. You have several options to keep safe. Sanding edges with fine-grit sandpaper smooths out rough bits, but it might not eliminate all risk. Wrapping edges with electrical or duct tape can add a protective layer, though some people find it less durable outdoors. Another approach is folding the edges down gently or covering them with strips of fabric or leather for a softer touch. What’s the best method? It depends on your materials and how much time you want to spend—each choice has trade-offs.
Inspiring Ideas From Around The World

Tin can planters have found their way into gardens and homes everywhere, each culture adding its unique spin. For instance, in parts of Southeast Asia, people often decorate tin cans with vibrant hand-painted designs inspired by traditional patterns before using them to grow herbs and small vegetables. This isn’t just practical; it reflects a deep-rooted connection to both art and daily living.
Look over to South America, and you’ll find makeshift vertical gardens in urban areas using stacked tin cans held together by wire. It reminds me of a trip to a bustling neighborhood in Bogotá where nearly every balcony had some version of this—it’s clever, resourceful, and visually lively all at once. The cans serve double duty as art pieces and green spaces.
Sometimes, the simplest decorations make the biggest impact. In Europe, especially in rural areas of Spain and Italy, old tin cans are sometimes repurposed with lace or fabric wraps that soften their industrial look, blending rustic charm with botanical life. These planters don’t just hold plants; they tell a subtle story about blending old and new traditions.
Does your own space tell a story like that? There’s a lot to learn just from how different people use something as humble as a tin can in their gardens.
Global Artistic Tin Can Projects
A few creative projects from around the world stand out. In Japan, some artists cut intricate patterns into the sides of cans, creating lace-like shadows when the sun hits them or when a candle is placed inside. This kind of functional art feels almost meditative and adds a delicate touch to the otherwise sturdy tin. I first saw this in a tiny urban courtyard in Tokyo, and it stuck with me.
In India, recycled tin cans often get reimagined as hanging planters during festivals, decked out with colorful beads, bells, and paint. This adds a festive vibe that connects nature with celebration. It seems to make any space feel warmer and more inviting, which I think is part of the appeal everywhere tin can planters surface.
There’s also an Australian community art project where tin cans were flattened, painted, and assembled into large murals celebrating local flora. This use goes beyond individual planters, turning cans into collective garden art. It challenges how we think about scraps and waste—can’t help but wonder if we underestimate these everyday objects.
Popular Trends In Urban Gardening
Urban gardening has pushed tin can planters into new territory. In cities like New York, Berlin, and Seoul, where space is scarce, people grow everything from succulents to kitchen herbs in repurposed cans. It’s surprising how many use tin cans not just for their size but for their durability and ease of movement.
One interesting trend is creating mini herb gardens on windowsills with uniform cans labeled by hand or painted in chalkboard paint. This small-scale approach turns tiny spaces into green spots that feel alive and useful. I imagine many urban dwellers find this not only rewarding but a gentle nudge toward sustainability.
What’s curious is how this simple act—reusing tin cans—connects people across continents with a shared desire for greenery, creativity, and maybe a bit of calm in hectic city life. Do you think your neighborhood has a similar quiet revolution going on?
Conclusions
Using tin cans for planters is an accessible way to combine art and gardening. The durability of tin makes it a perfect base for colorful, durable planters, while recycling cans helps reduce waste. You can create personalized designs that match your style and space, making each planter a one-of-a-kind piece. With the techniques covered, you can bring charm and greenery to any setting.
By experimenting with creative ideas and choosing suitable plants, you enhance both your home decor and your gardening skills. These tin can planters serve as a reminder that simple objects can become beautiful and functional art. Share your creations and enjoy the process of turning ordinary cans into delightful planters that brighten your world.