Introduction
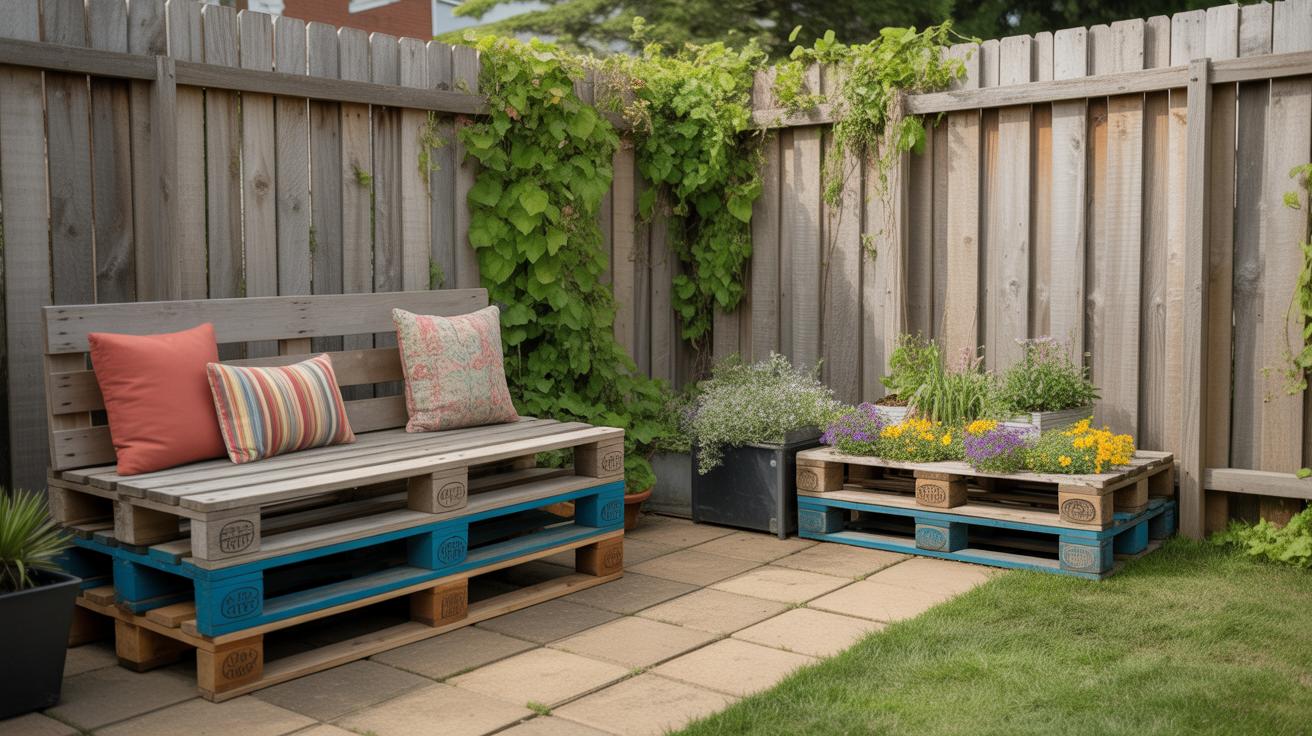
When you think about improving your outdoor space, large expensive renovations often come to mind. But with scrap wood, you can create charming, useful projects that add beauty and function to your yard or patio without breaking your budget. Rustic scrap wood projects offer a way to recycle material and bring unique character to your outdoor areas.
In this article, you will learn easy and practical ways to use scrap wood for various outdoor projects. From furniture to garden accessories, each idea is designed to be simple for you to build and enjoy. Let’s explore how you can turn leftover wood into lasting additions that enhance your outdoor living.
Choosing the Right Scrap Wood for Outdoor Projects
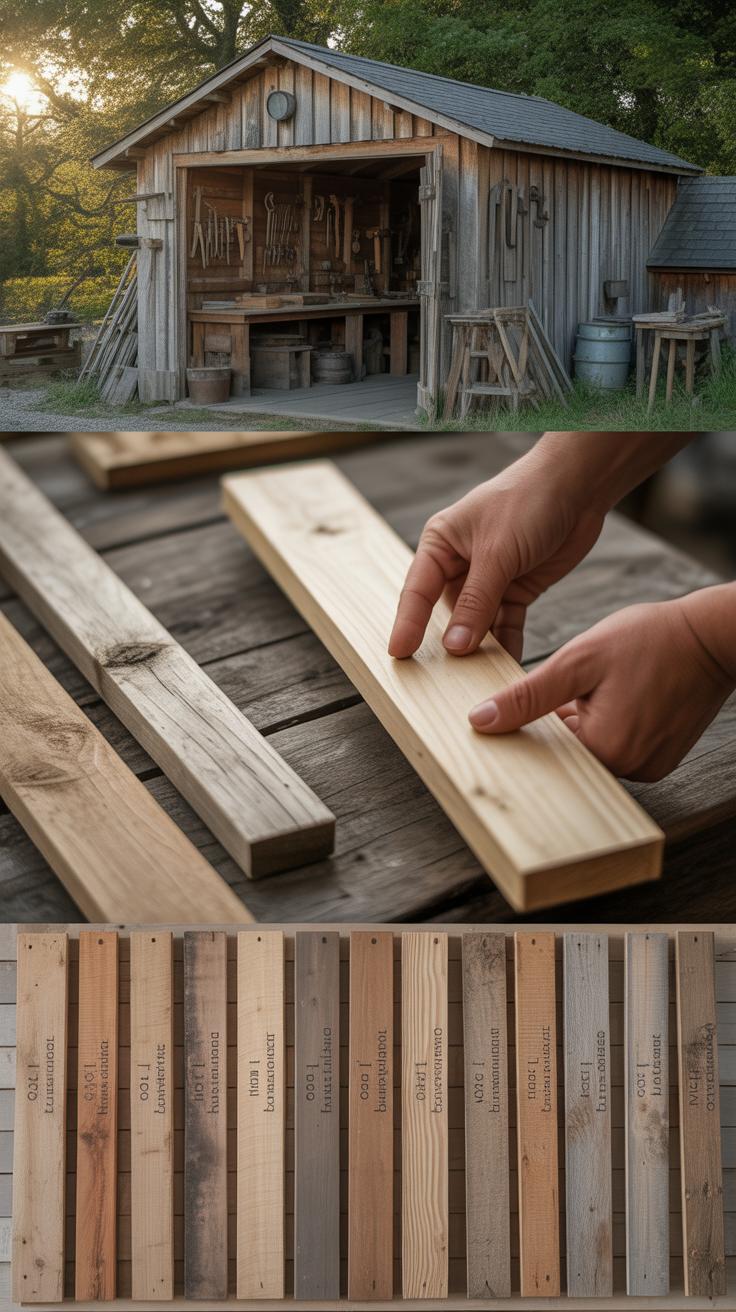
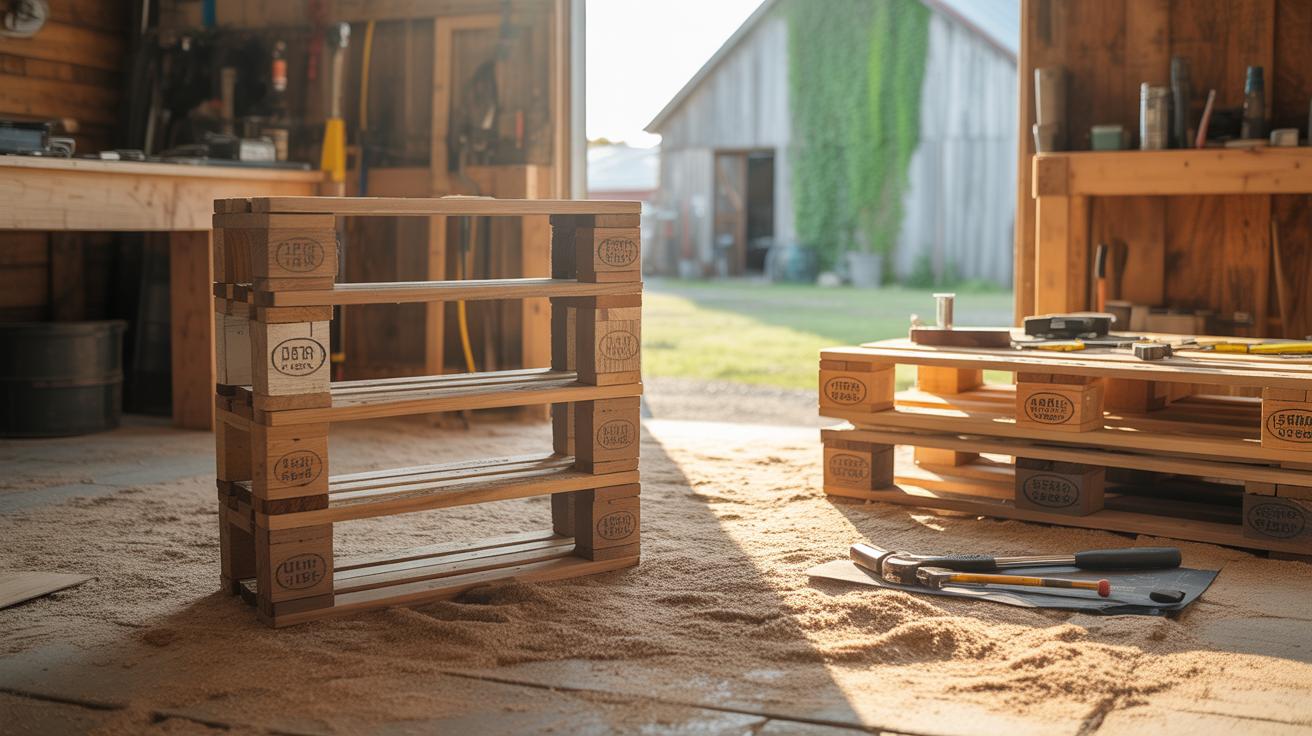
When selecting scrap wood for outdoor projects, durability and weather resistance are key. Not all wood scraps will hold up once exposed to rain, sun, and fluctuating temperatures. Look for hardwoods or treated lumber—these tend to resist rot and insects better than softer, untreated wood. For example, cedar naturally withstands moisture and decay, making it a popular choice for garden beds or benches.
Identifying safe, sturdy pieces means checking for cracks, rot, and insect damage. Sometimes, what looks solid can hide weaknesses beneath the surface. Press your fingernail into the wood—if it feels spongy or crumbles, skip that piece. Also, avoid wood with heavy warping or splits; it’s tricky to get that straight enough for reliable construction.
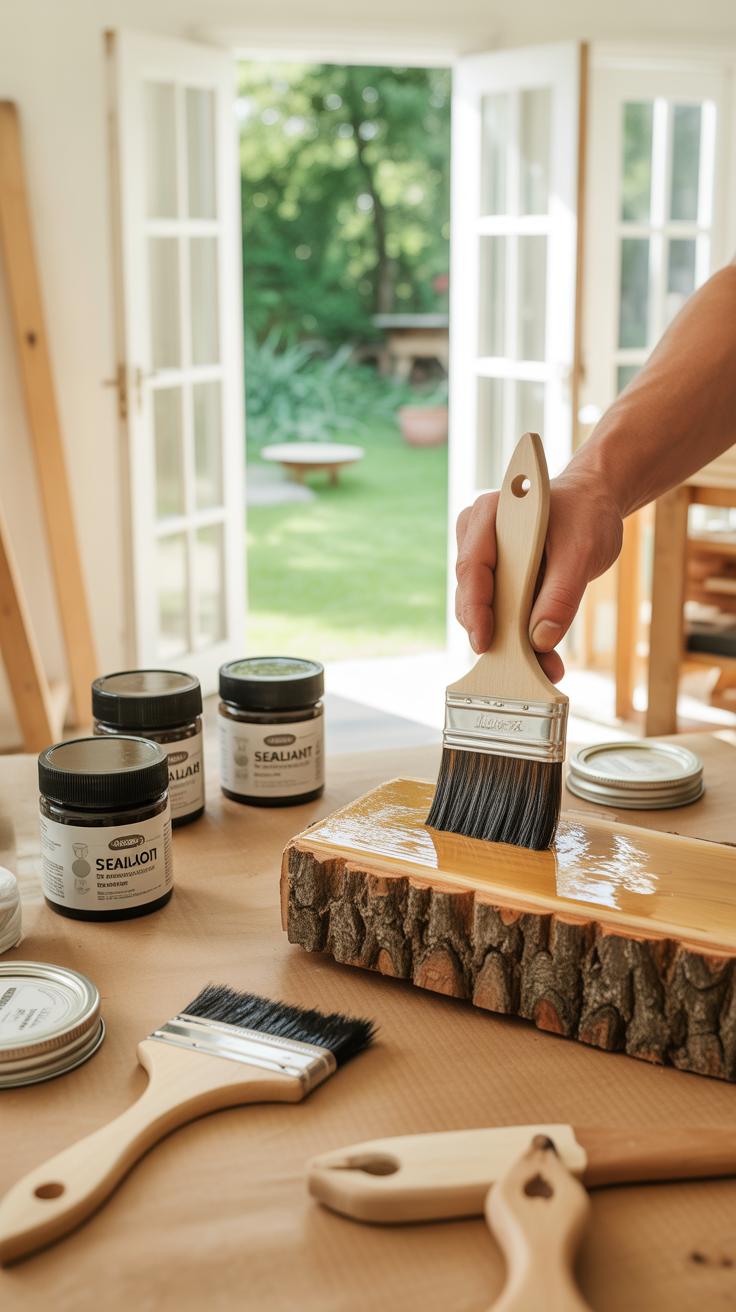
Preparing scrap wood is a process you can’t skip. Start by cleaning dirt and old paint or stain off firmly with a brush and mild cleaner. Then sand rough spots and edges smooth to avoid splinters. Treating the surface with a sealant or outdoor wood preservative extends longevity and protects against moisture. A little extra effort upfront, and you’ll save yourself a lot of headaches later.
Creating Rustic Outdoor Furniture from Scrap Wood
Designing Your First Scrap Wood Bench
Starting with a simple bench is a great way to turn scrap wood into practical outdoor furniture. Begin by sketching a basic design: typically a flat seat about 48 inches long, 14 inches deep, and 18 inches high works well. These dimensions offer enough space for two or three people and avoid awkward sizing.
For materials, choose sturdy planks for the seat and slightly thicker wood for legs and supports. Stability means making sure legs are well spaced and securely attached—cross braces underneath help a lot here. You might want to sand surfaces so they’re smooth but still keep a rustic edge, maybe leaving some knots or unevenness for character.
Comfort can be tricky. A bench that’s too hard or too narrow won’t invite long sittings. Try angling the seat slightly or adding a backrest from leftover wood if you can. Planning with these details in mind saves frustration later. Did you ever build something that looked good but felt awkward to use? Avoid that.
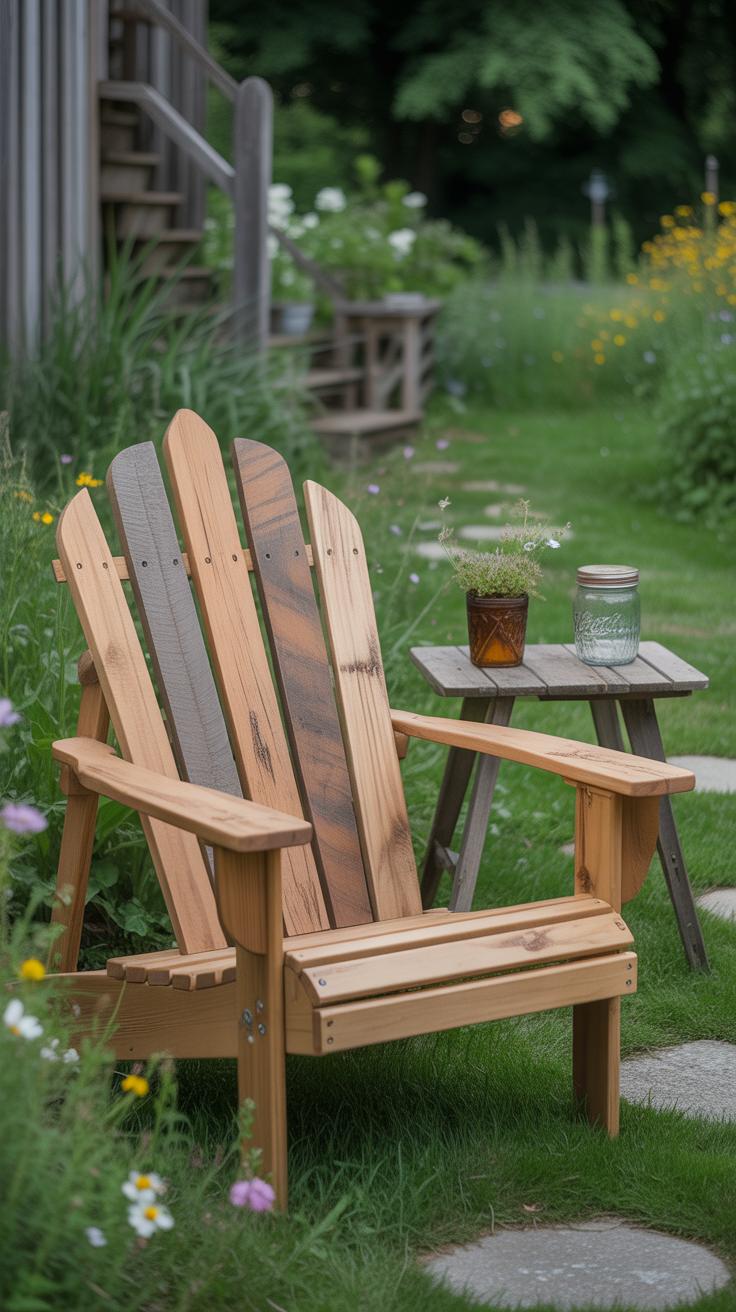
Building Chairs with Scrap Wood Pieces
Building a chair from scrap wood takes a bit more effort, but it’s doable—even if your wood pieces vary in size. Start with a simple frame: four legs, a seat, and a backrest. Measure carefully to keep parts proportional, but don’t panic if everything isn’t perfect; rustic projects can embrace some imperfection.
Use screws and wood glue to join your pieces, making sure every connection is tight. A drill, saw, measuring tape, and clamps are your main tools here. It helps if you pre-drill holes to avoid splitting the wood. When fitting the backrest, consider comfort—angle it at about 10 to 15 degrees backward.
Customization is the fun part. Maybe you have a few oddly shaped boards that make excellent armrests. Or you want to leave some natural bark on one side for charm. Just check all rough edges and sand blunted splinters before use.
Safety-wise, wear gloves and goggles, especially when cutting or sanding. It’s easy to overlook these steps when excited, but trust me, a little caution goes a long way. Once built, your chair may not rival a store-bought piece in polish, but it will have personality—and that counts.
Crafting Outdoor Garden Accessories Using Scrap Wood
When it comes to garden accessories, scrap wood can be surprisingly versatile. Plant stands, for example, can be simple to make by cutting scraps into varying lengths for legs and a top platform. You don’t need fancy cuts—just sturdy joints and some patience. A rough, uneven edge can actually add to that rustic feel, so don’t stress over perfect straight lines.
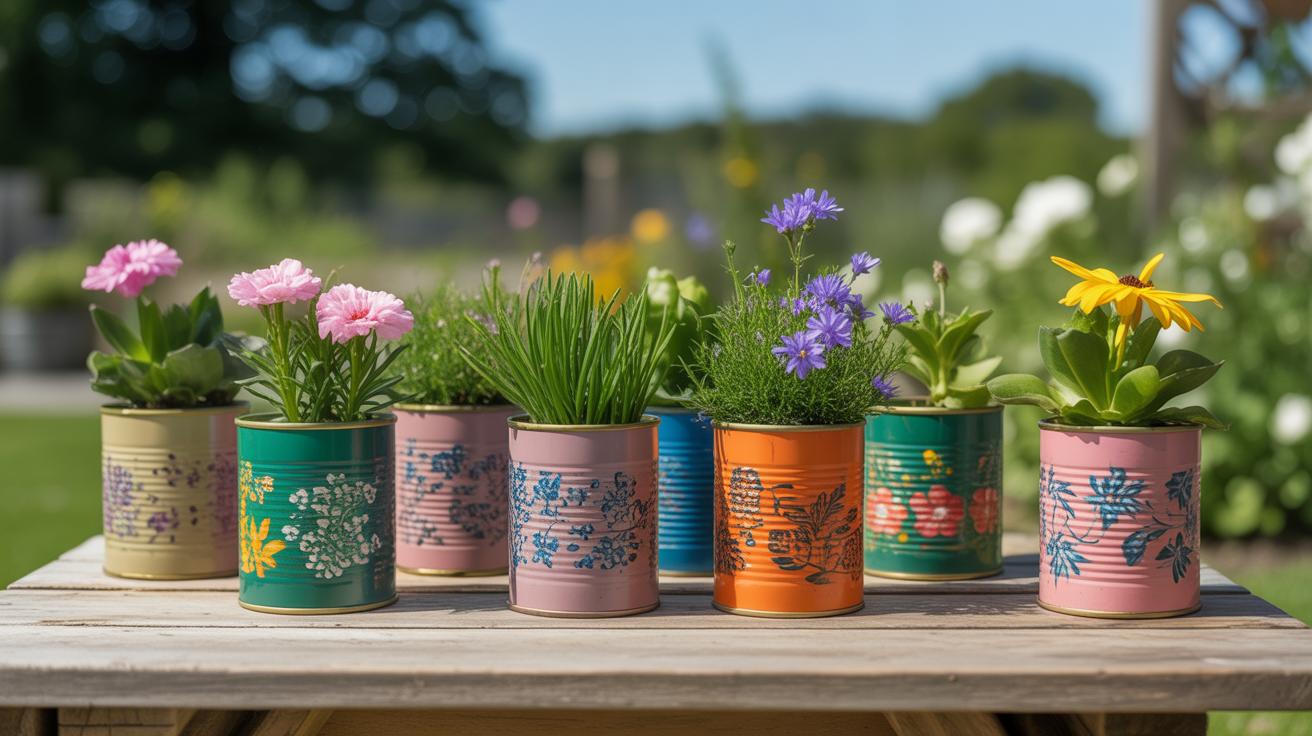
Making Planter Boxes from Leftover Wood
Planter boxes are a staple for any garden, and scrap wood fits the bill nicely. Start by measuring the space where you want yours to go to decide the size. Cut your pieces accordingly—sides, bottom, and ends all from your scraps. When assembling, use nails or screws through the thicker parts for strength.
Drainage always trips me up, but here’s a trick: drill several small holes in the bottom. It helps keep plants healthy and prevents soggy wood. To protect against rot, try applying a natural sealant or leftover paint. It won’t make it bulletproof, but it helps extend the life. You might have to touch it up every year or so, especially after heavy rain.
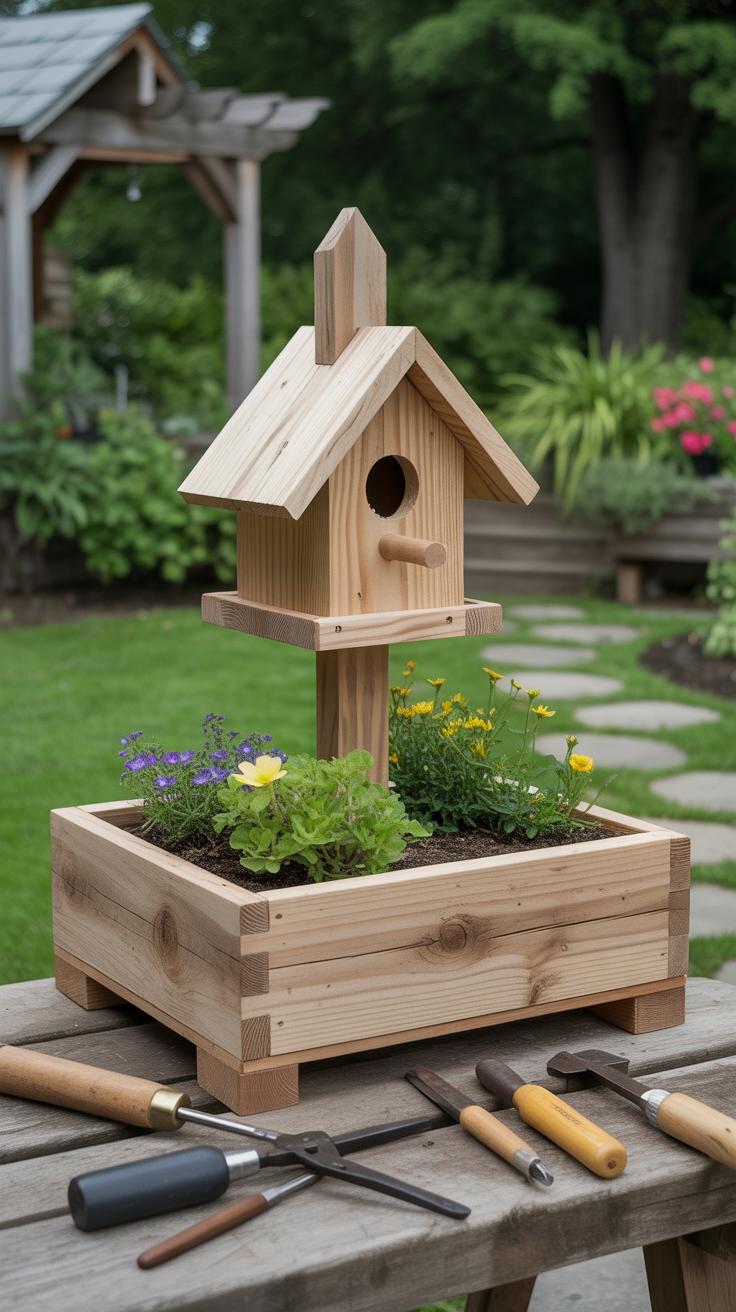
Building Birdhouses to Attract Wildlife
Birdhouses built from scrap wood bring life to your outdoor space. Choose pieces thick enough to insulate birds from heat and cold. Basic designs are easy: a simple box with a slanted roof to shed rain and a small front hole for entry. Make sure the entrance hole is sized right for the birds common in your area—or risk having uninvited guests.
Ventilation is key, so a few tiny holes near the top can prevent overheating. Don’t forget to keep the floor raised slightly above the ground when placing it, to keep predators away. Painting or staining isn’t necessary but can help your birdhouse last longer if you don’t mind a less natural look. Personally, I appreciate the rustic wood look—it fits well and feels less intrusive.
Designing Rustic Outdoor Storage Solutions
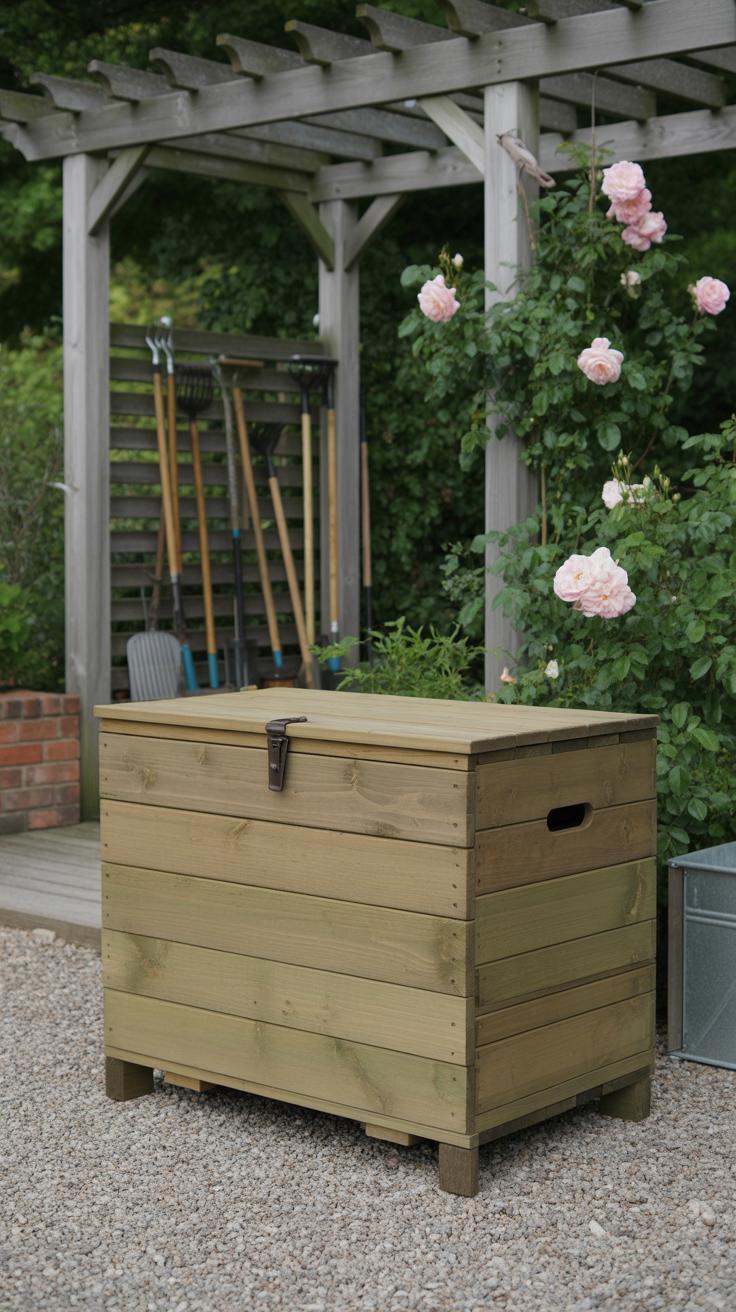
Simple Wood Bins for Outdoor Use
Building wood bins from scrap wood is a manageable project that brings practicality and rustic charm to your outdoor space. Aim for bins about 3 feet long, 2 feet wide, and 2 feet tall—good for stacking firewood or storing garden supplies without taking too much room. You’ll want to reinforce corners with small angled braces or extra blocks of wood to keep everything solid, especially as outdoor moisture and weight can make joints loosen over time.
Don’t fret too much about perfect cuts; scrap wood often varies, so fit and adjust pieces as you go. Leaving small gaps between slats helps with airflow—important to keep firewood dry and prevent mold. Just make sure the base is sturdy and off the ground, perhaps on small feet or pallets, to avoid water damage from sitting directly on damp soil.
Constructing Small Sheds for Tools
Small sheds can be surprisingly easy to build with scrap wood, offering a bit of rustic flair plus useful shelter for your tools. Consider a compact footprint—something like 4 by 6 feet will suffice for most garden tools without overwhelming your yard. Plan some simple wall studs using leftover lumber and nail together sheets or boards for siding.
Ventilation is critical here. Don’t seal the shed up completely; leave gaps near the roofline or install a small louvered vent so moisture doesn’t build up inside. For the roof, a basic slanted design using corrugated metal or even recycled shingles works well, allowing rain to run off easily. And yes, weatherproofing is a must. A coat of exterior-grade paint or wood stain will extend the life of your shed, even if the scrap wood isn’t originally meant for outdoor use. You might wonder if all this effort is worth it. In my experience, having your tools close at hand, protected, and organized changes how you approach outdoor work—makes it a bit easier, actually.
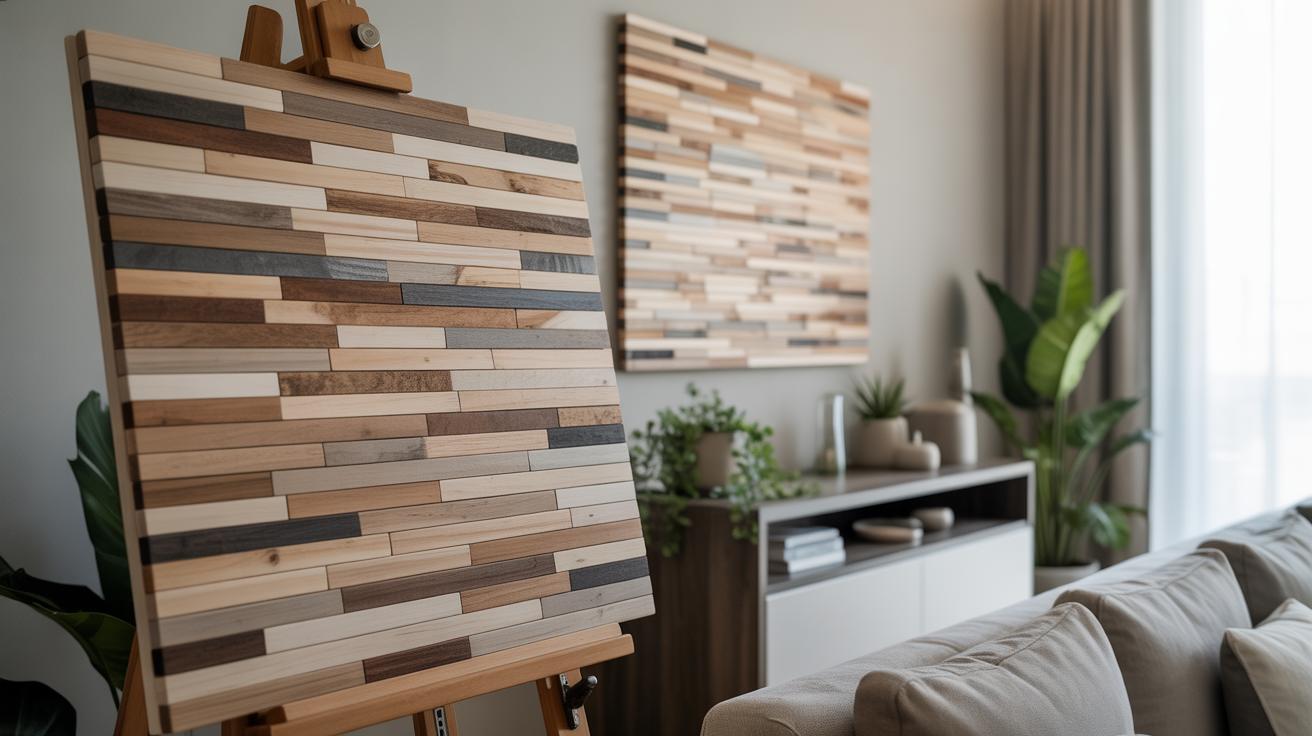
Adding Rustic Charm with Scrap Wood Decorative Elements
Scrap wood can do more than just hold your garden tools or hide your mess—it’s a perfect way to add personality and a bit of rustic charm to your outdoor space. Small decorative pieces like handmade signs, photo frames, or unique garden art can become focal points that catch the eye—and maybe even start conversations. The beauty of using scrap wood here is that each piece tells a little story. You can let your creativity flow freely; no need for perfect cuts or flawless finishes. Sometimes those rough edges make the whole project feel more authentic.
Creating Wooden Signs for Your Garden

Making wooden signs is straightforward, and you don’t need fancy tools. Start by picking a flat scrap wood piece, something with character but not too warped. Sand it lightly if it’s too rough, or leave it a bit weathered for extra charm. Then you can sketch your design—maybe a simple message like “Herbs” or “Welcome,” or even just your family name. Painting can be bold or subtle; I often think a bit of distressing after painting brings out the rustic vibe nicely. Finish with an outdoor sealant to protect against rain and sun. You might glue a small stake on the back to push into the ground or hang it from a tree branch. It’s simple but adds a personal touch that feels welcoming.
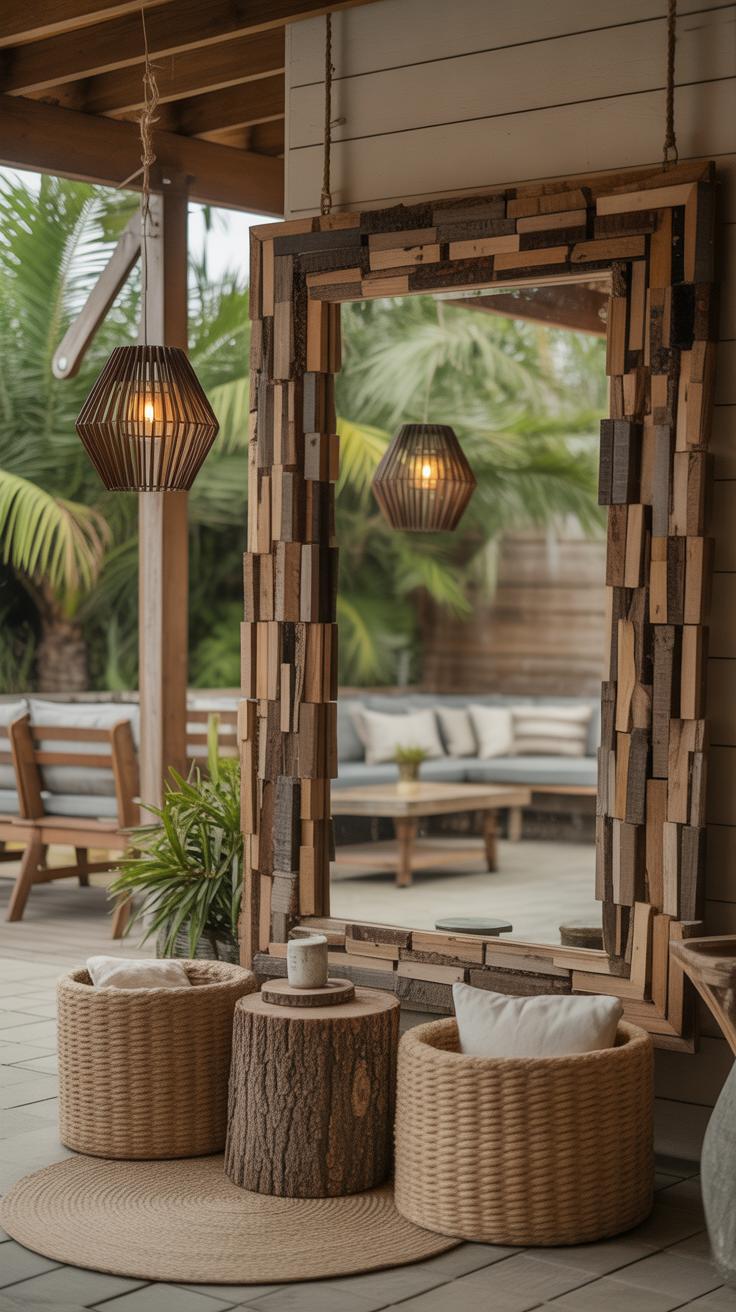
Making Photo Frames from Scrap Wood Pieces
Photo frames are another great way to put scrap wood to use, especially if you want to display outdoor memories or garden-themed prints. Take narrow scrap strips, cut them to size, and screw or nail them together at the corners. Rusty nails or uneven cuts? Don’t worry—they add character here. For decorating, you could carve simple patterns, use wood-burning tools, or even add small painted accents. Since these frames will face weather, apply a protective varnish or outdoor polyurethane to keep moisture at bay. You might hang these frames on a fence or prop them up on a garden shelf. They’re subtle, personal, and a nice balance between practical and decorative pieces.
Using Scrap Wood to Build Outdoor Dining Areas
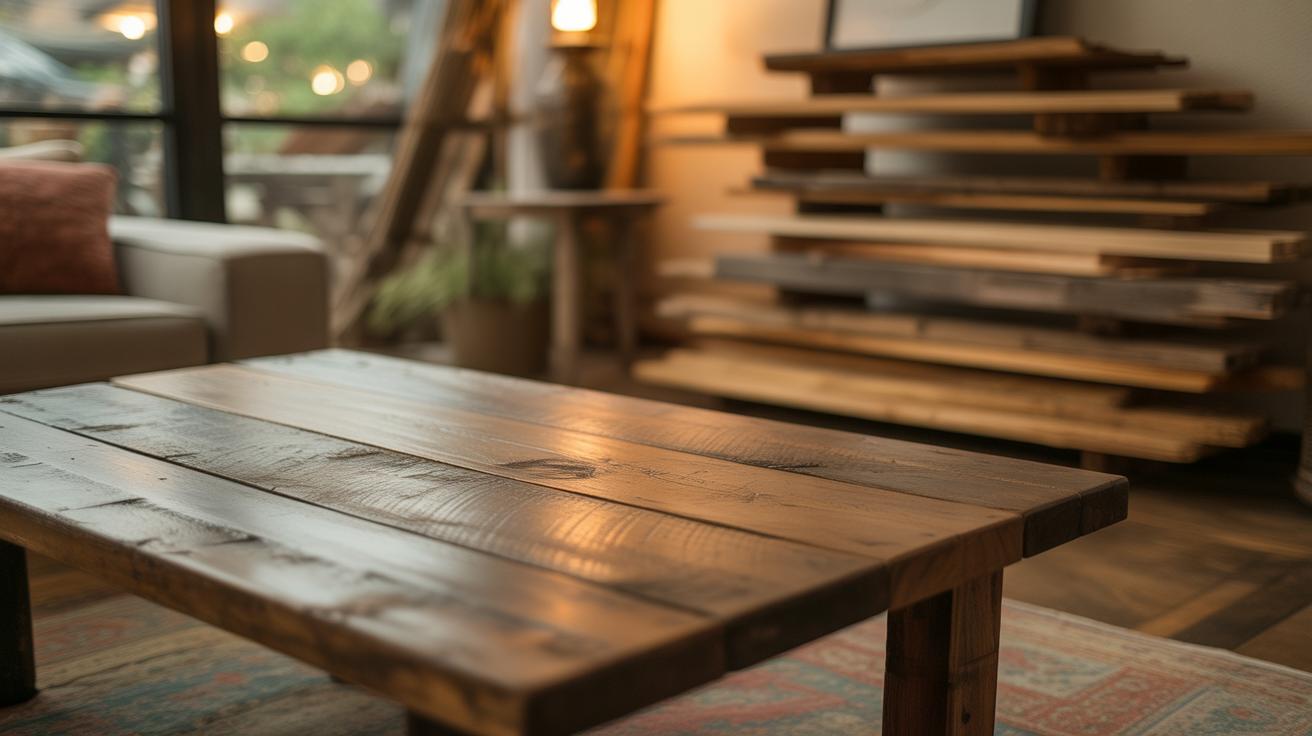
Building dining tables and benches from scrap wood can be rewarding, especially when you focus on durability and comfort. The key is keeping the design simple enough to avoid frustration but solid enough to last through outdoor conditions. Think about using thick, flat boards for the tabletop and sturdy legs that resist wobbling. You’ll want the surface smooth but not overly polished—some texture adds character, and it hides minor imperfections in scrap wood.
Start with measurements that fit your space and usual gathering size. A table about 6 feet long works well for most families, with a width around 30 inches. Benches should match the table’s length or be slightly shorter. When assembling, screw pieces firmly and consider adding cross supports beneath the table to improve stability. It’s surprising how much these small details can affect the table’s sturdiness.
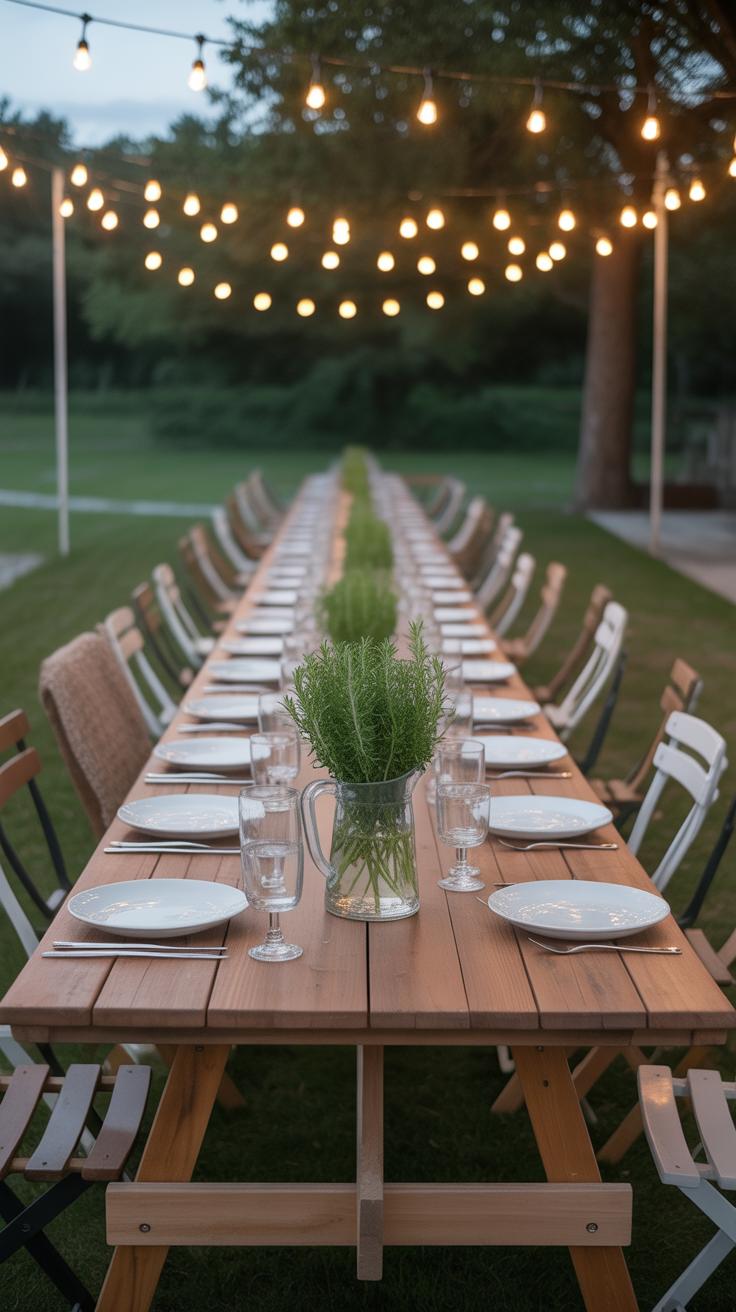
Constructing a Scrap Wood Picnic Table
Picnic tables have a classic charm and can be pretty straightforward to make with scrap wood. You’ll need wide planks for the tabletop and seats, plus strong legs and braces. Start by building the tabletop frame—ensure it’s perfectly rectangular, or you’ll face problems later. Attach legs angled outward to prevent tipping. Cross braces are essential here; they keep everything rigid, especially if kids or heavier adults frequently use the table.
Size does matter; a 6-foot length and around 28-inch width is manageable but still comfortable for several people. The bench seats should sit roughly 17 inches from the ground, giving enough legroom and a comfortable seat height. Don’t forget to sand edges to avoid splinters, a detail that’s easy to skip but affects the final feel a lot.
Making Comfortable Outdoor Seating
Benches and chairs that go with your dining table shouldn’t just look good; they need to invite people to sit longer without discomfort. Consider seat depth—too shallow and it feels skimpy; too deep and folks might slump. I usually aim for about 15 to 18 inches deep for benches, with a slight backrest if possible, made from narrower, horizontal slats. This gives support without making it overly complicated.
Using scrap wood for seating means paying attention to joinery and reinforcing connections. Loose boards or shaky legs can ruin the whole experience. A bit of cushioning—outdoor cushions or even a thick fabric cover—can change your seating from functional to inviting. You might think it’s just wood, but comfort often comes down to thoughtful design over fancy materials.
Finishing and Maintaining Your Scrap Wood Projects
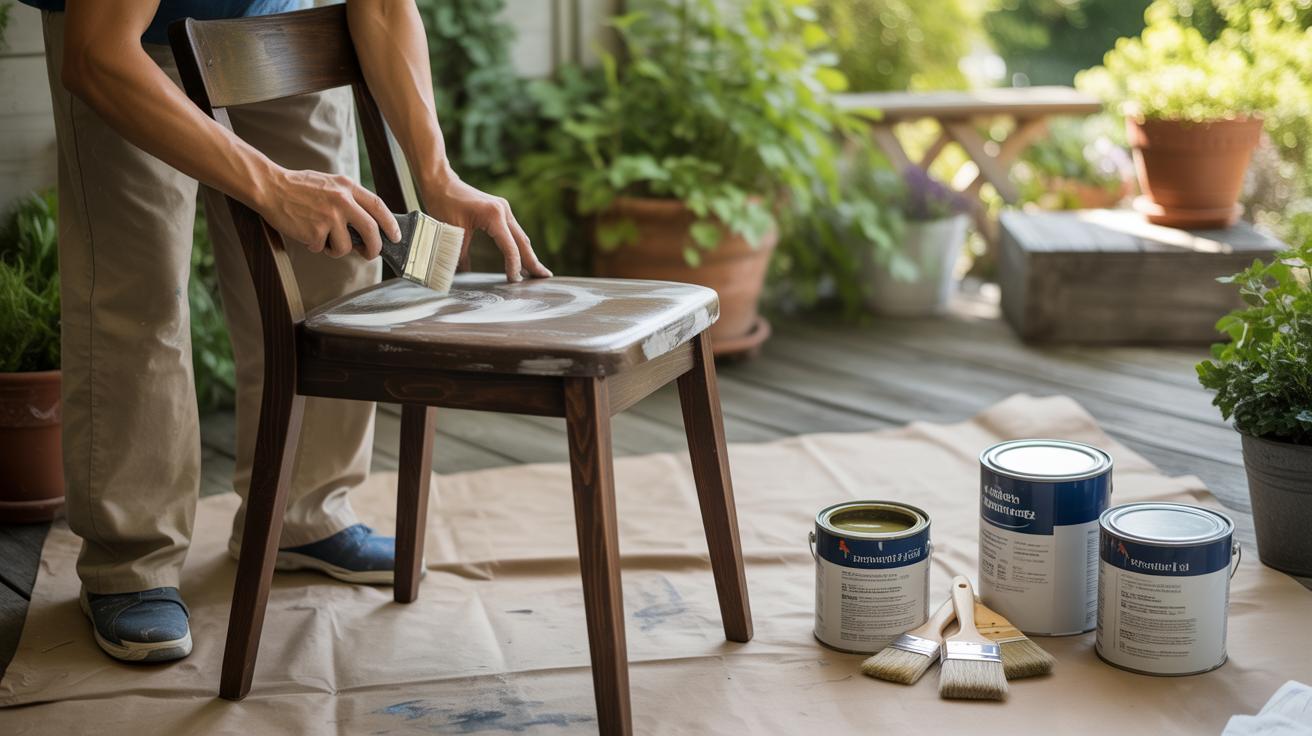
Choosing the right finish for your outdoor scrap wood projects can feel a bit like guessing sometimes. There are stains, paints, and sealers—all offering different kinds of protection and aesthetics. Stains soak into the wood, enhancing the grain and leaving a natural look, which might appeal if you want something less flashy but still weather resistant. Paint provides a solid barrier and lets you bring in color, but it can chip or peel with time, especially if the wood wasn’t prepped well. Sealers are more transparent, designed to lock out moisture and prevent cracking without altering the wood’s look much.
The choice isn’t always straightforward. Stains might fade unevenly, and paint needs occasional touch-ups. Sealers alone don’t add color but are easier to maintain. Sometimes I find myself mixing approaches—stain first, then a clear sealer on top for extra protection. Sometimes it works, sometimes it just adds an extra step.
Keeping your projects looking good isn’t just about the finish. Small maintenance habits go a long way. Clean dirt off with mild soap and water rather than harsh chemicals. Inspect your work for rough spots or peeling finishes and give those areas a quick sand and fresh coat when necessary. Even covering your pieces in bad weather can extend their life. It’s not complicated, just a bit of regular care that can save you redo work down the line. Are you ready to try a simple routine that might keep that bench or table looking fresh for years?
Planning and Organizing Your Scrap Wood Projects
Gathering and Storing Scrap Wood Safely
Collecting scrap wood can feel a bit random if you don’t have a clear approach. It’s tempting to grab everything that looks usable, but that can lead to clutter and even some hazards. When picking pieces, watch out for nails, screws, or splinters—sometimes those old scraps aren’t as harmless as they seem. I found that using a metal detector or just tapping the wood surface can help spot hidden nails before you bring it home.

Once you’ve gathered wood, where you keep it matters. Storing scrap wood outdoors? Cover it with a tarp, but don’t seal it too tightly—moisture needs a way out, or the wood will warp or rot. Inside, try stacking pieces by size or type. Organizing by length or thickness saves time when starting a new project and helps you avoid sifting through piles.
Designing a Project Plan That Works
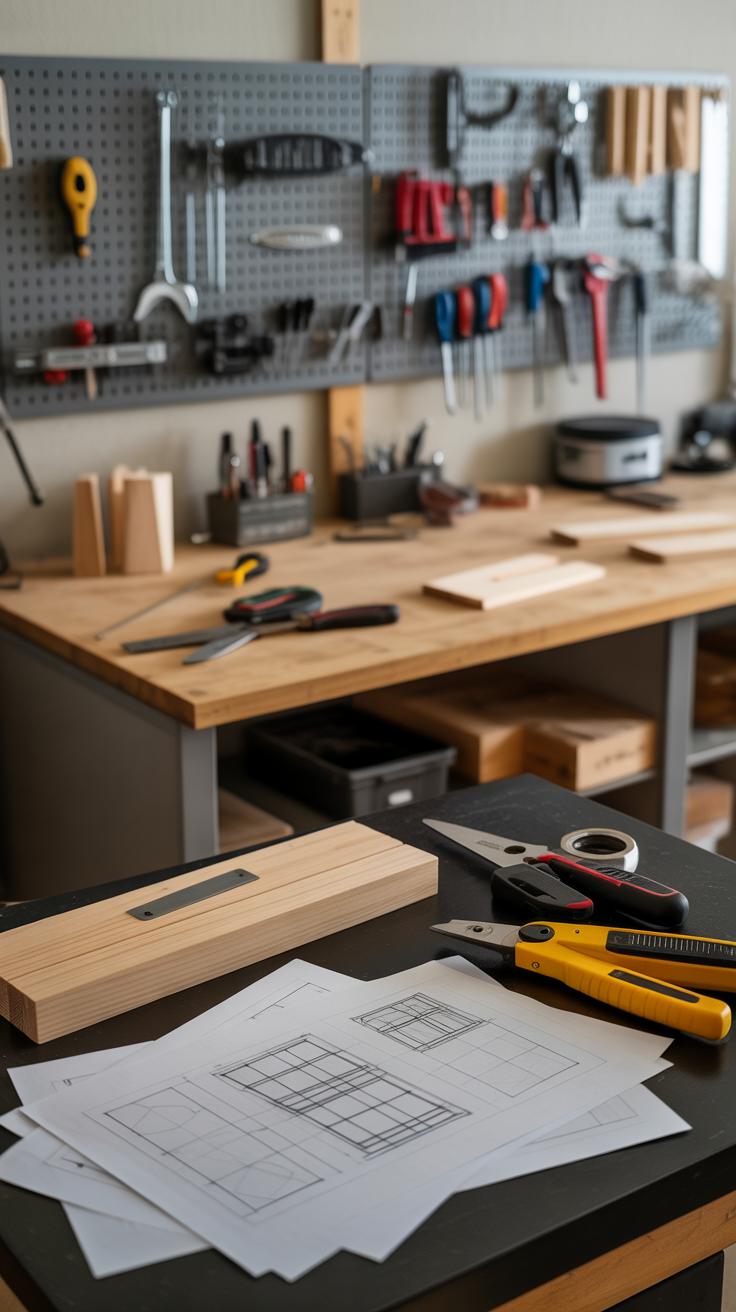
Before jumping straight into building, take a moment to plan. Think about what you want to achieve. Are you aiming for a quick decorative piece or something more substantial like outdoor furniture? Setting clear, achievable goals makes it easier to stay on track.
Break your project into smaller steps. For example: cutting, sanding, assembling, finishing. That way, you can tackle the work bit by bit without feeling overwhelmed. It’s okay to adjust the plan as you go along; sometimes scrap wood projects surprise you, for better or worse.
Sketch a rough design—even a simple drawing helps. It’s surprising how often ideas feel clearer once you see them on paper. If you’re unsure about measurements or techniques, don’t hesitate to research or test on smaller scraps first.
Lastly, schedule your work sessions realistically. Don’t expect to finish a bench in one afternoon if you only have limited time. Spread out tasks and leave room for unexpected delays—better to under-promise than overreach on a weekend.
Have you found particular ways to keep your workspace orderly? A well-arranged area can cut downtime and make the whole process more satisfying.
Involving Family and Friends in Scrap Wood Projects
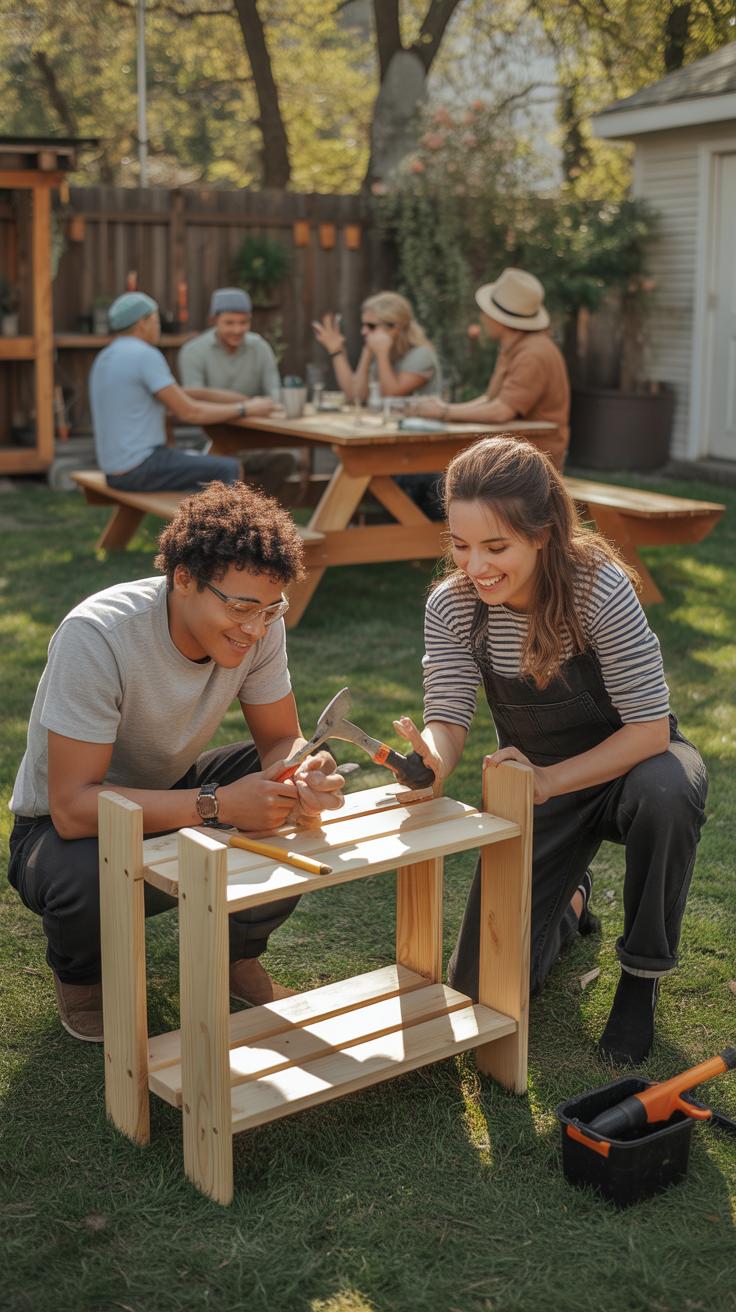
Working on scrap wood projects can easily become a shared activity that brings people together. When you involve family or friends, you get different perspectives, a mix of skills, and a chance to bond over something tangible. Some might enjoy measuring and planning, others sanding or painting. It’s not just about building—it’s about learning and teamwork, often in ways you don’t expect.
Think about simple projects that match each person’s comfort level and experience. For younger kids or beginners, small crafts like wooden picture frames, bird feeders, or even painted stepping stones using scrap wood bases are great starters. These require minimal tools and offer chances to practice basic skills under supervision. You can let the kids decorate and you handle the cuts.
For larger projects, group effort is key. Assign tasks based on strengths—maybe someone handles design, another cuts, and a third assembles. This way, everyone stays involved and the project moves along without much frustration. It also helps if you encourage asking questions and offering ideas throughout. Sometimes the best solutions come from the most unexpected voices around the table.
Whether you’re passing a sander back and forth or puzzling over how to fit pieces together, these projects create moments to share. So why not turn your scrap wood work into a team effort and see what you all build together?
Conclusions
Using scrap wood lets you transform unused materials into valuable outdoor pieces. These projects are not just cost-effective; they also give your space a distinctive rustic feel that mass-produced products cannot match. By following the practical advice and examples shared, you can create furniture and decor that fit your personal style and needs.
Think about your outdoor space and the small improvements that could make it better. Start gathering scrap wood and plan your projects with confidence. You will see how working with wood connects you to your space and allows you to express creativity in a useful way.