Introduction
Recycled crafts let you turn old things into useful and beautiful items for your home. You can use stuff that might otherwise be thrown away — like paper, glass, plastic, and metal — to create new decorations or household helpers. This helps reduce waste and gives your living space a unique touch.
In this article, you will find ideas and practical steps to make recycled crafts. We explore simple ways to start recycling through crafting, how to pick materials, and what projects can brighten your home while being kind to the planet.
Understanding Recycled Crafts
What Are Recycled Crafts
Recycled crafts are projects where old or used materials get a new life by being turned into something useful or decorative. Think of it like giving everyday items—like worn-out jars, old magazines, or scraps of fabric—a second chance instead of throwing them away. It’s about seeing potential where most people see trash.
You might make a pencil holder from a tin can or create wall art from pieces of broken wood. The idea is simple: take things that would usually be discarded and shape them into something fresh and often practical. It’s a hands-on way to be creative while also being mindful about waste.
Why Use Recycled Materials
When you use recycled materials for your crafts, you help ease the strain on the environment in several ways. For one, you save resources—making new stuff from scratch often demands water, energy, and raw materials. By reusing what’s already available, those demands shrink.
There’s also less waste ending up in landfills, which can be a huge problem, especially in densely populated areas. Plus, producing new products can cause pollution—like emissions from factories and leftover waste—so working with recycled things actually lowers that impact.
Sometimes I wonder if just a few small recycled projects around the house would really make a difference, but it adds up, right? Even if it seems minor, each piece prevented from becoming garbage helps, and it can inspire others to think differently about waste too.
Choosing Materials for Your Projects
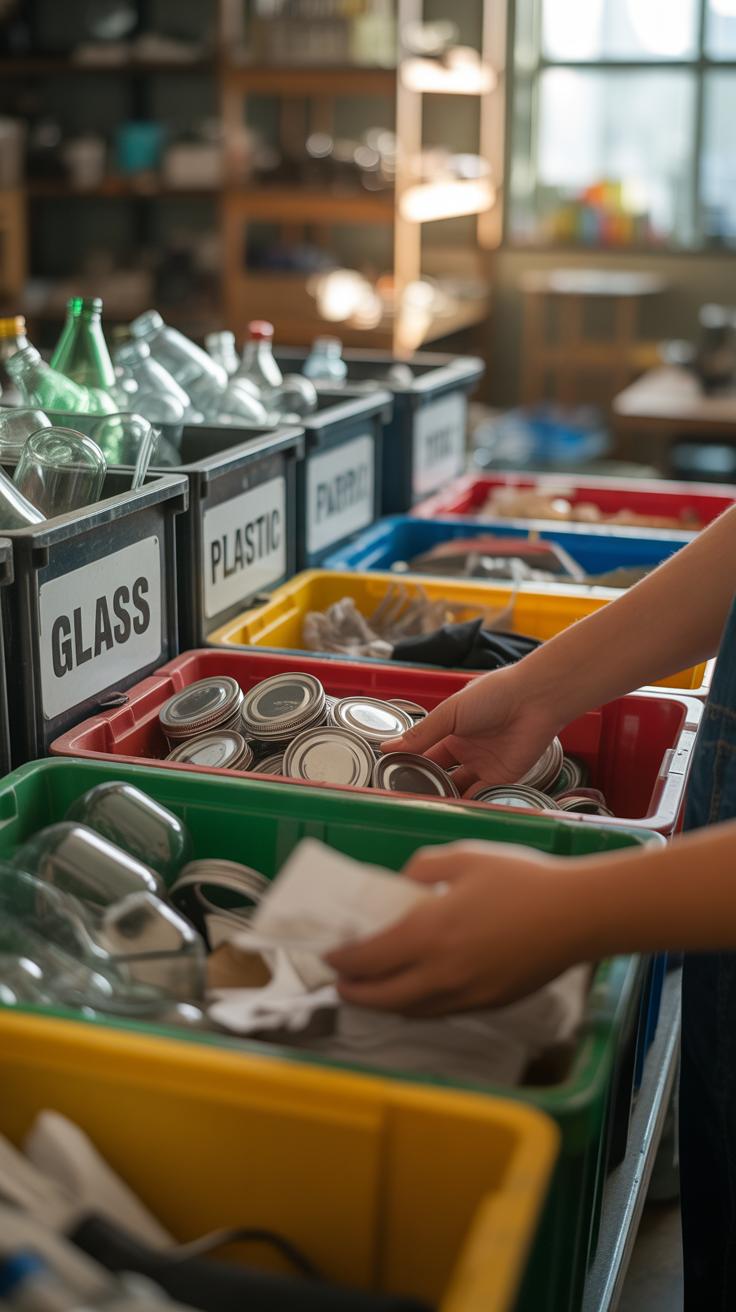
Picking recycled materials for your crafts can feel a bit overwhelming at first. You might wonder what really works or which items are safe and manageable. Honestly, the best starting point is to focus on materials you can easily handle—things like paper, plastic bottles, glass jars, fabric scraps, and metal pieces. These are common, generally safe, and you probably have them lying around without realizing it.
For example, think about those empty plastic soda bottles; with some cutting and painting, they turn into planters or lampshades. Fabric scraps, even small ones, are perfect for patchwork or simple wall hangings, and jars can be cleaned and reused for storage or decor. But always double-check that metal bits don’t have sharp edges and that glass is clean and intact.
When you begin, ask yourself: does this feel manageable? Is it safe for my space? What might I realistically transform without too much hassle? Sometimes simpler is better. You can always try tougher stuff later.
Common Recycled Materials to Use
Here’s a quick list of tried-and-true recycled materials, with a bit about prepping each:
- Paper and Cardboard: Newspapers, old books, boxes—flatten cardboard, remove staples and tape. Great for découpage, paper mâché, or decorative crafts.
- Plastic Bottles: Rinse well, cut carefully with scissors or a craft knife. Often used for containers, organizers, or garden accessories.
- Glass Jars: Wash thoroughly, remove labels (soaking in warm water helps). These become candle holders, vases, or storage jars.
- Fabric Scraps: Collect leftover cloth from old clothes or sewing projects. Wash and iron before use, especially if you plan to glue or sew.
- Metal Pieces: This can mean bottle caps, old hardware, or tin cans. Smooth any sharp edges before crafting, and keep smaller parts organized.
Preparing materials is often the step people overlook but is honestly what keeps crafting smooth. A clean, safe, and ready material is way more inspiring than a pile of clutter.
Where to Find Materials
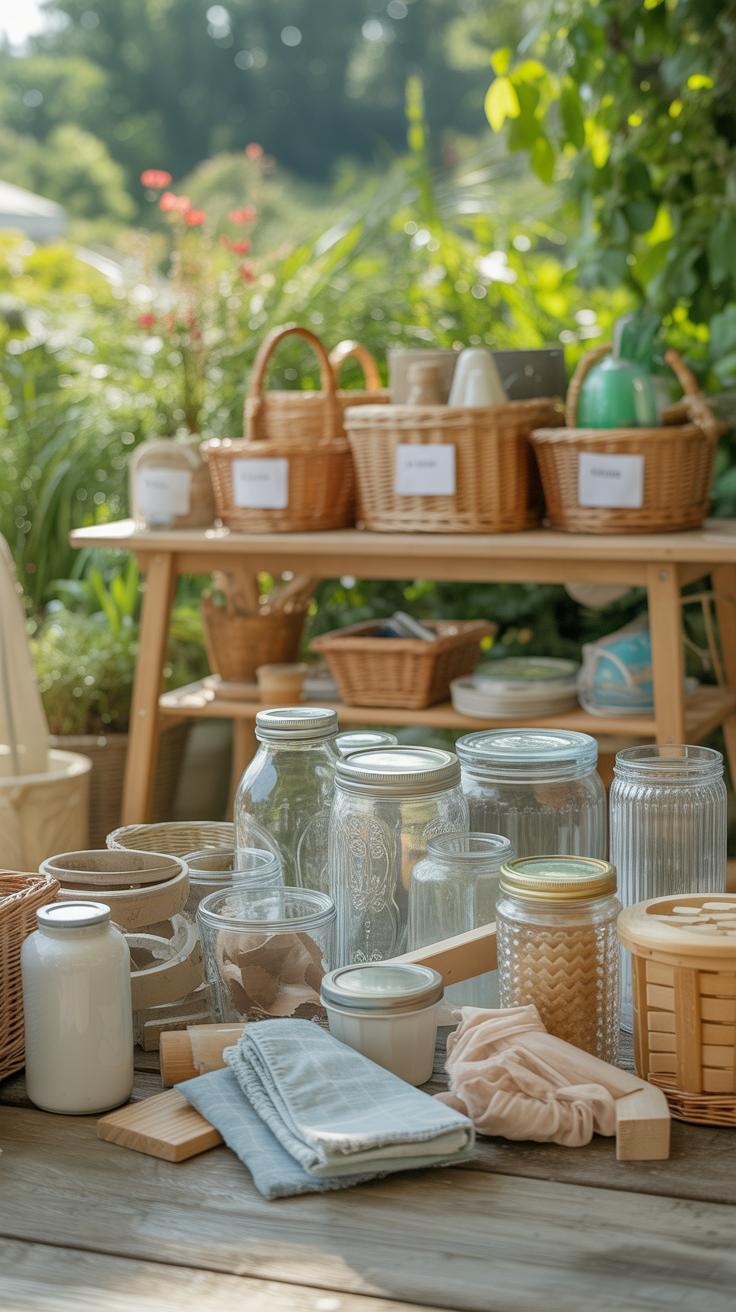
You don’t need to go far to find materials. Your own home is a treasure trove—look in the recycling bin, drawers, or closets. Have you ever taken a second look at that pile of empty jars waiting to be tossed? They could become something interesting.
Local recycling centers sometimes let you take home sorted materials—think about stopping by and asking if there’s anything suitable. Also, donation spots or community swap groups often have fabric scraps or odd craft bits—people give away what they don’t need anymore.
Sometimes it’s surprising how willing neighbors or friends are to part with small craft items. You might just ask around. After all, one person’s trash is another person’s project.
Tools and Supplies Needed
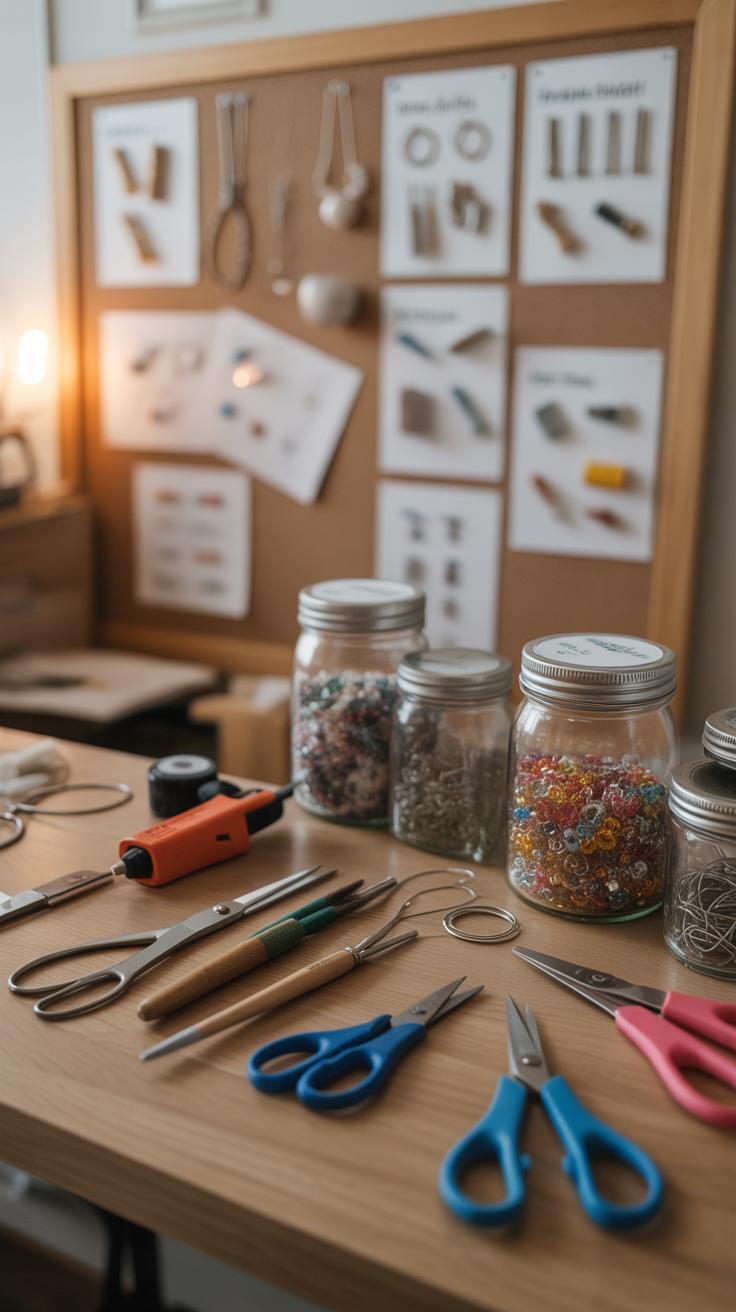
When you’re starting recycled crafts, the tools you need are usually already around your home. You don’t have to buy fancy equipment. Basic scissors are a must—sharp enough to cut paper, fabric, or thin plastic. Sometimes, an old pair from the kitchen drawer works fine. Glue is another staple; school glue or a glue stick works for most lightweight materials. For heavier stuff, tape can hold things together fast. Clear tape, masking tape, or even duct tape can come in handy depending on the project.
Paint and brushes add a lot of life to recycled items. You might only have leftover craft paint, but that’s often all you need. Brushes don’t have to be perfect—old ones from previous projects or even a sponge can do the trick. I’ve found that sometimes uneven brush strokes give character, so don’t stress much about being neat.
Essential Tools for Crafting
Besides scissors, glue, paint, and brushes, you’ll want a few other basics. A ruler or measuring tape helps with precision when you want clean lines—though sometimes eyeballing works just fine for casual work. A pencil to mark cutting lines or designs is handy too, especially on tricky materials like cardboard. If you don’t have a craft knife, a utility knife from a toolbox can substitute, but only if you’re comfortable using it.
Something I keep close is a pair of tweezers or small pliers, especially when handling tiny beads or metal bits for decoration. Even a needle and thread might come in handy if your project involves fabric scraps, which, by the way, often don’t require anything fancy to start.
Optional Supplies to Enhance Projects
These are things that aren’t necessary but can push your creations further. Decorative paper—like scrapbooking paper or even parts of old magazines—can add color and texture. Beads, buttons, or bits of fabric can make your crafts stand out. Sometimes I’ll use old jewelry pieces or broken accessories, just for extra flair.
Fabrics, especially scraps from clothing or linens, are great for adding softness or pattern. You might also want glitter, ribbons, or stickers for flair, but it depends on your taste and project style. Don’t feel pressured to gather all these extras before starting—sometimes simplicity works better, and minimalist designs can have unexpected charm.
Simple Recycled Craft Ideas to Start
Working with old newspapers or magazines can be surprisingly satisfying. You might start by making paper beads. Tear strips about one inch wide from the paper, then cut them diagonally to create long triangles. Roll each triangle tightly from the wide end to the point, gluing the tip to keep it neat. String these beads to create colorful necklaces, or even curtain tiebacks. It’s a small project, but the texture and colors add a unique vibe to your space.
Another easy option is weaving a basket from rolled paper tubes. Roll several strips tightly and arrange them side-by-side to form the base. Then start weaving more tubes around the base, securing with glue as you go. It takes some patience, sure, but in the end, you get a lightweight, quirky container to hold keys, remote controls, or craft supplies.
Now, plastic bottles—don’t toss them just yet. Cut a bottle in half horizontally to use the bottom as a planter. Drill or poke drainage holes in the base, fill with soil, and plant herbs or succulents. It’s a quick way to create mini indoor gardens without buying pots.
Bird feeders are another practical plastic bottle reuse. Cut a small hole or two near the neck, insert wooden spoons or sticks through the bottle for perches, fill with birdseed, and hang outside with some string. Watching birds feed close up can be oddly calming.

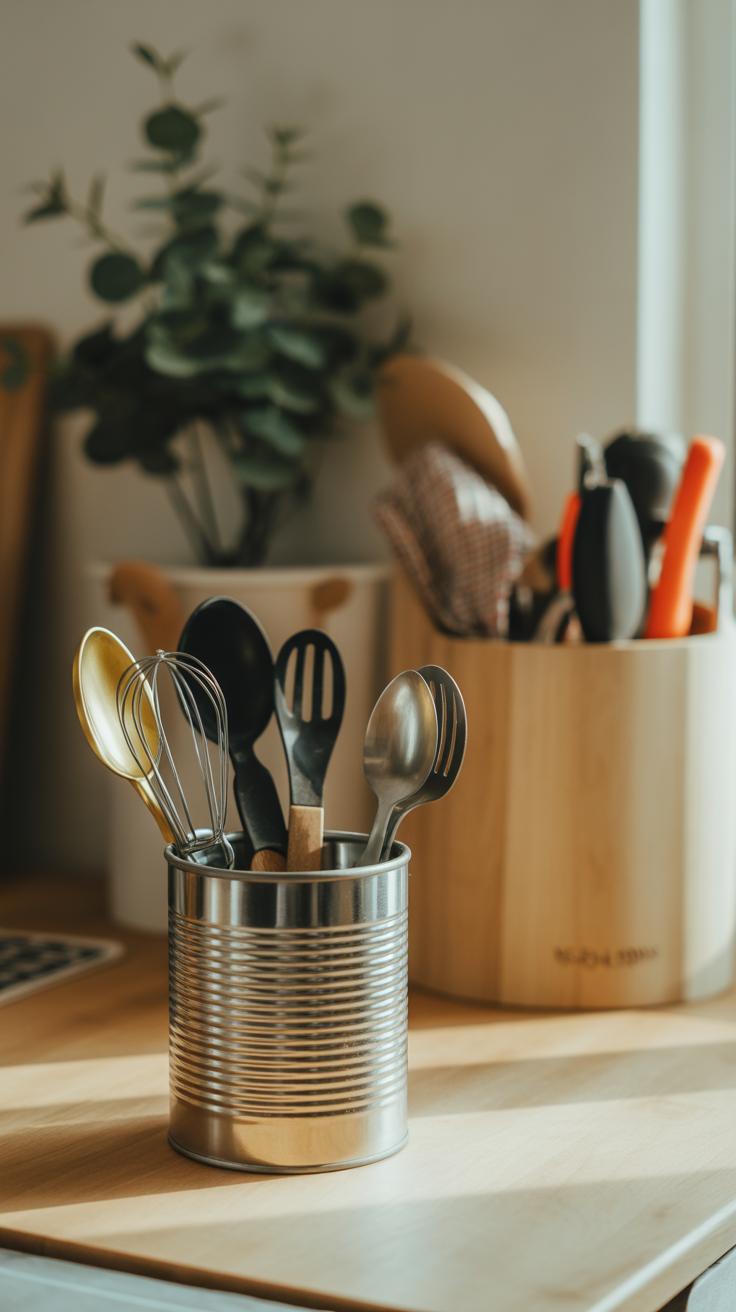
For simple storage, cut the tops off larger bottles and smooth the edges with sandpaper or tape. These open containers work well for pens, brushes, or even loose hardware. You get to organize and recycle at once, which feels kind of rewarding, doesn’t it?
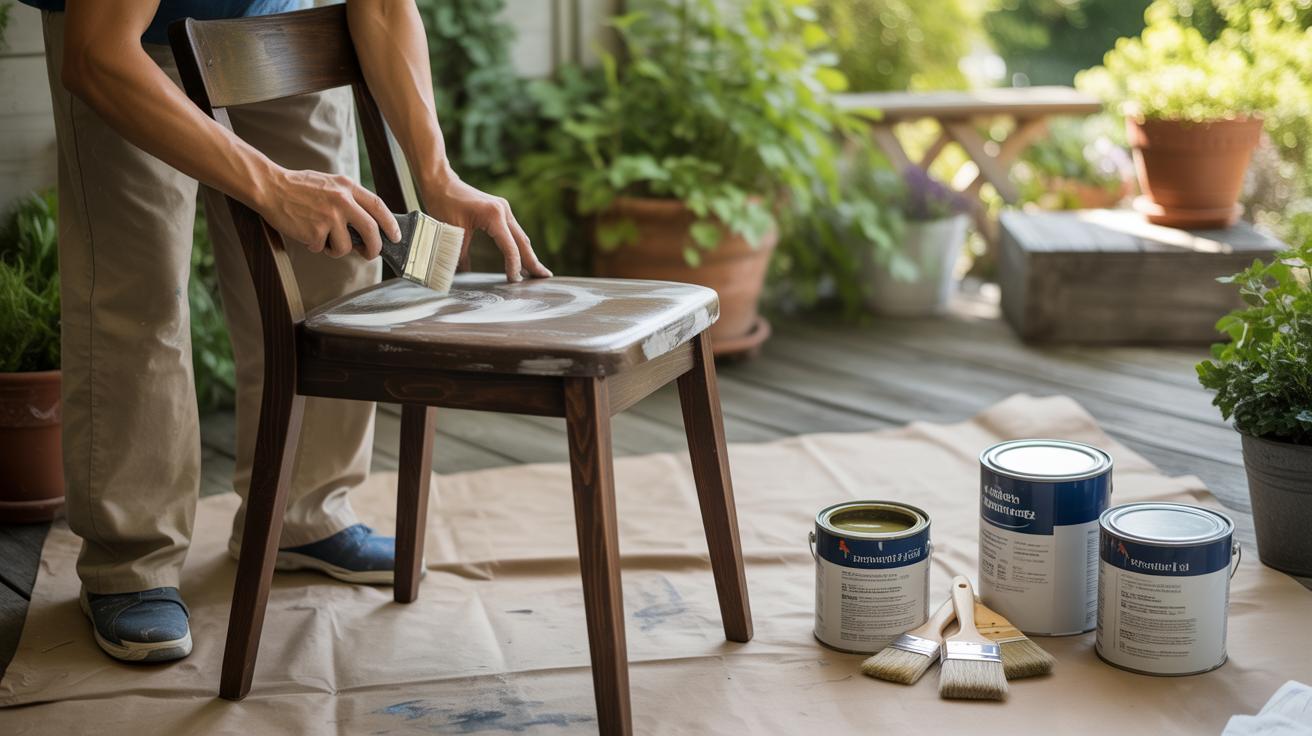
Recycled Crafts for Home Decoration
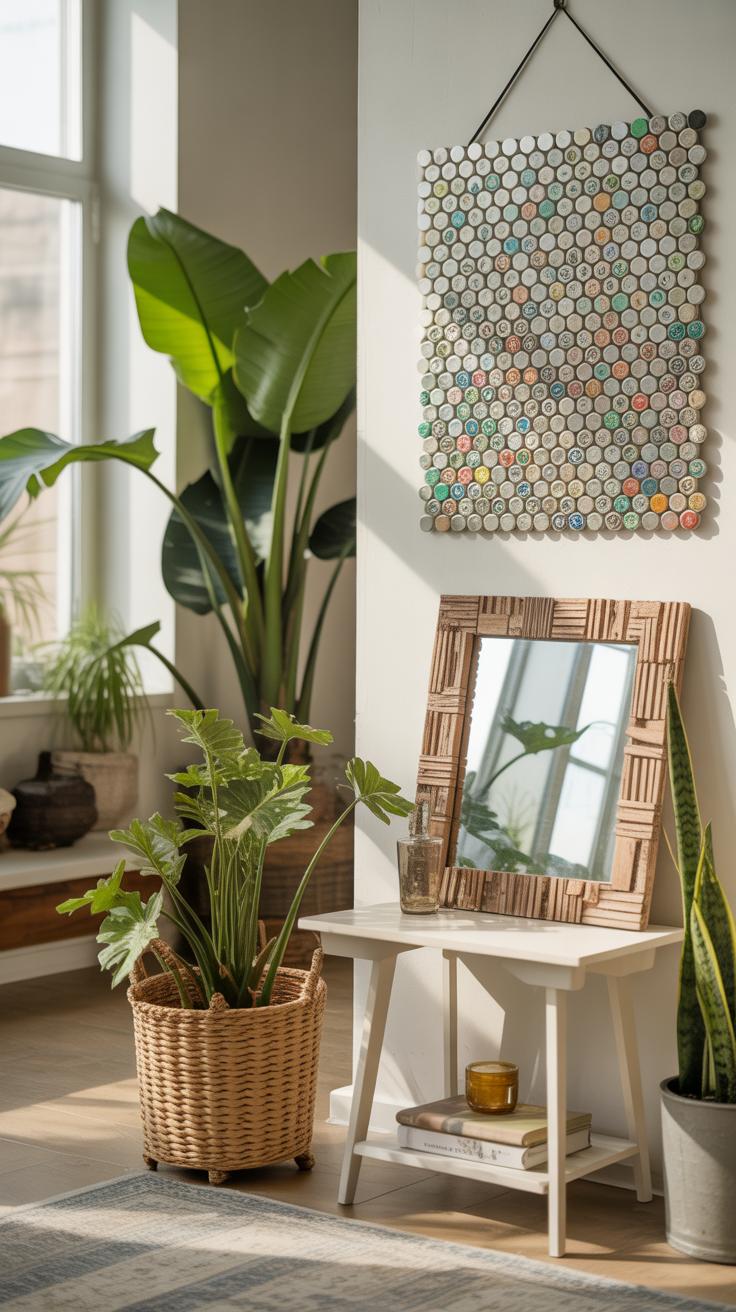
Using recycled materials for decorating your home can add a truly personal touch that stores just don’t offer. It’s not only about saving resources; it’s about turning objects with a past into something meaningful. For example, wall art made from unexpected items like bottle caps or fabric scraps invites curiosity—people often ask how you made it, sparking conversations you might not have expected.
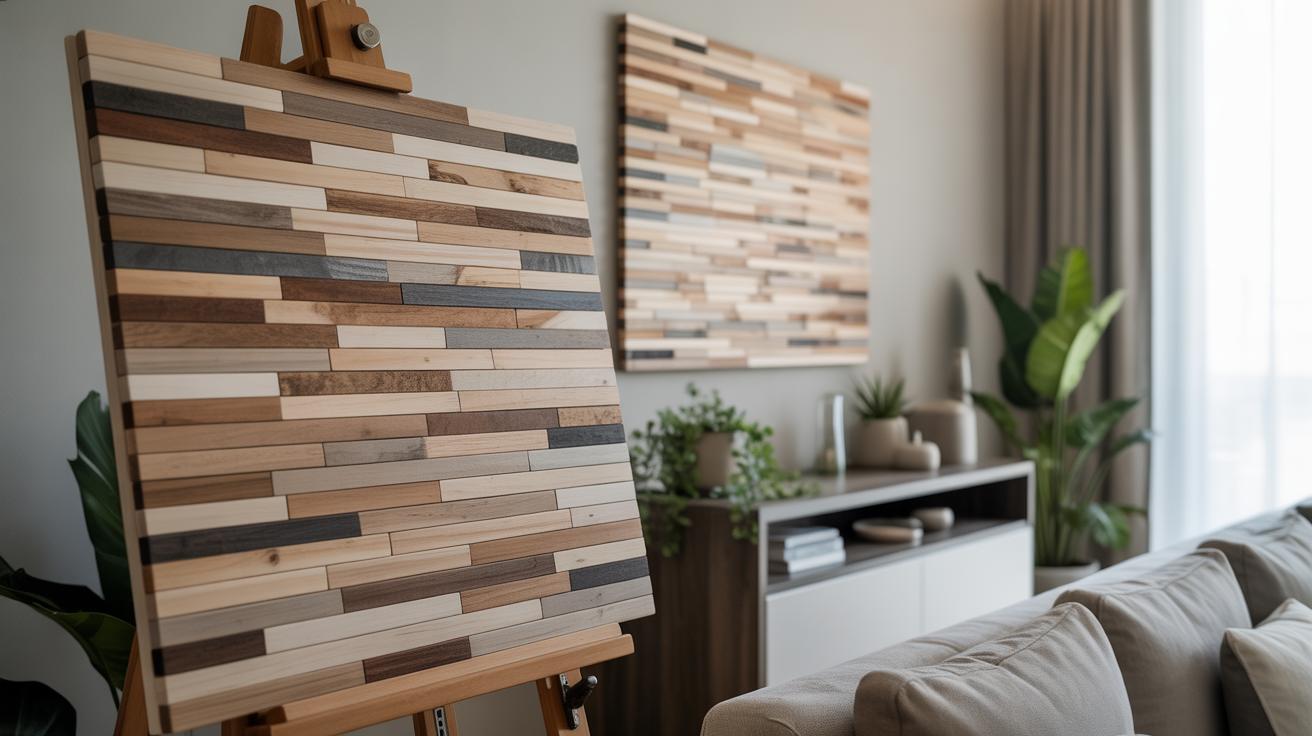
Making Wall Art from Recycled Materials
Try collecting small items such as metal pieces, bottle caps, or leftover fabric patches to create interesting textures and color patterns on a canvas or wooden base. You could glue bottle caps in a mosaic pattern, forming abstract shapes or even recognizable images. Fabric scraps layered and stitched together create soft, tactile works that bring warmth to plain walls. Metal fragments could be arranged into geometric designs, adding a bit of industrial flair. Sometimes, mixing materials—like fabric with metal or wood—gives your piece a unique edge that flat paintings just can’t achieve.
Working on these can be surprisingly meditative, though frustrating when pieces don’t fit as planned. I’ve found that embracing imperfection often leads to the best results. Would you want art that feels too perfect or something with a bit more character?
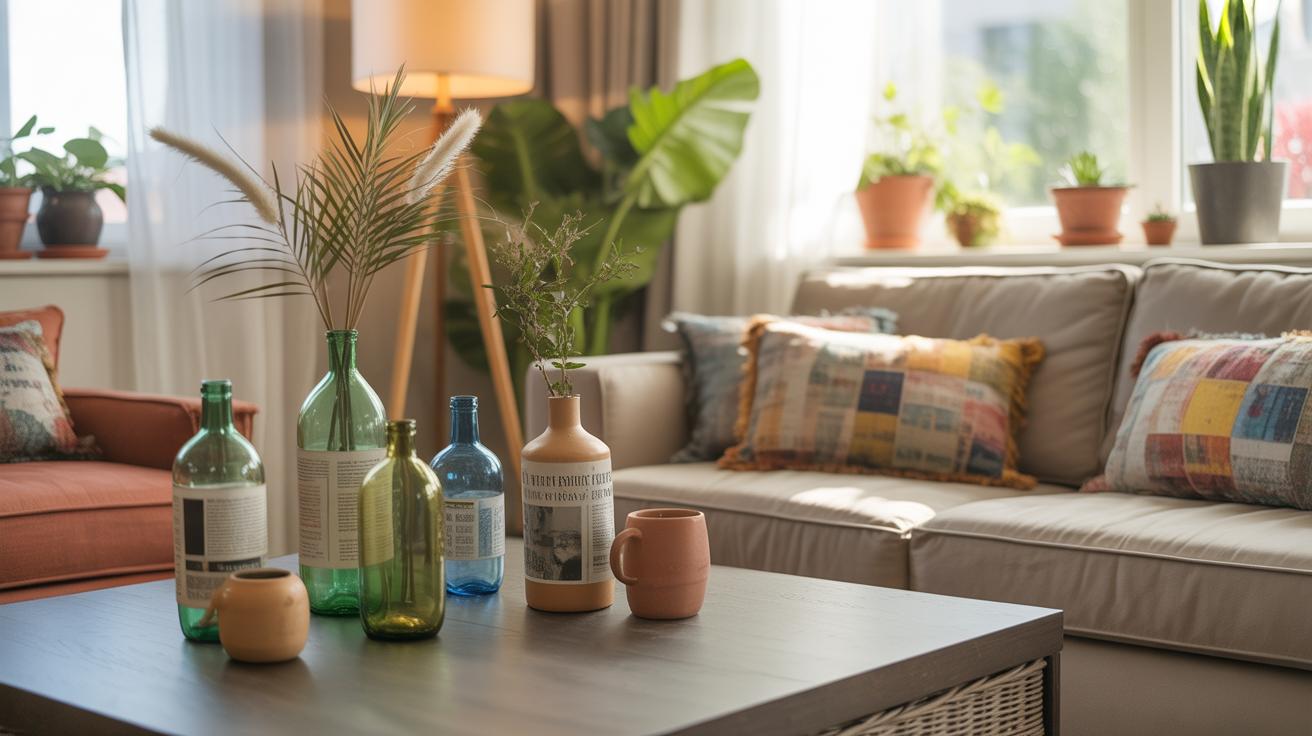
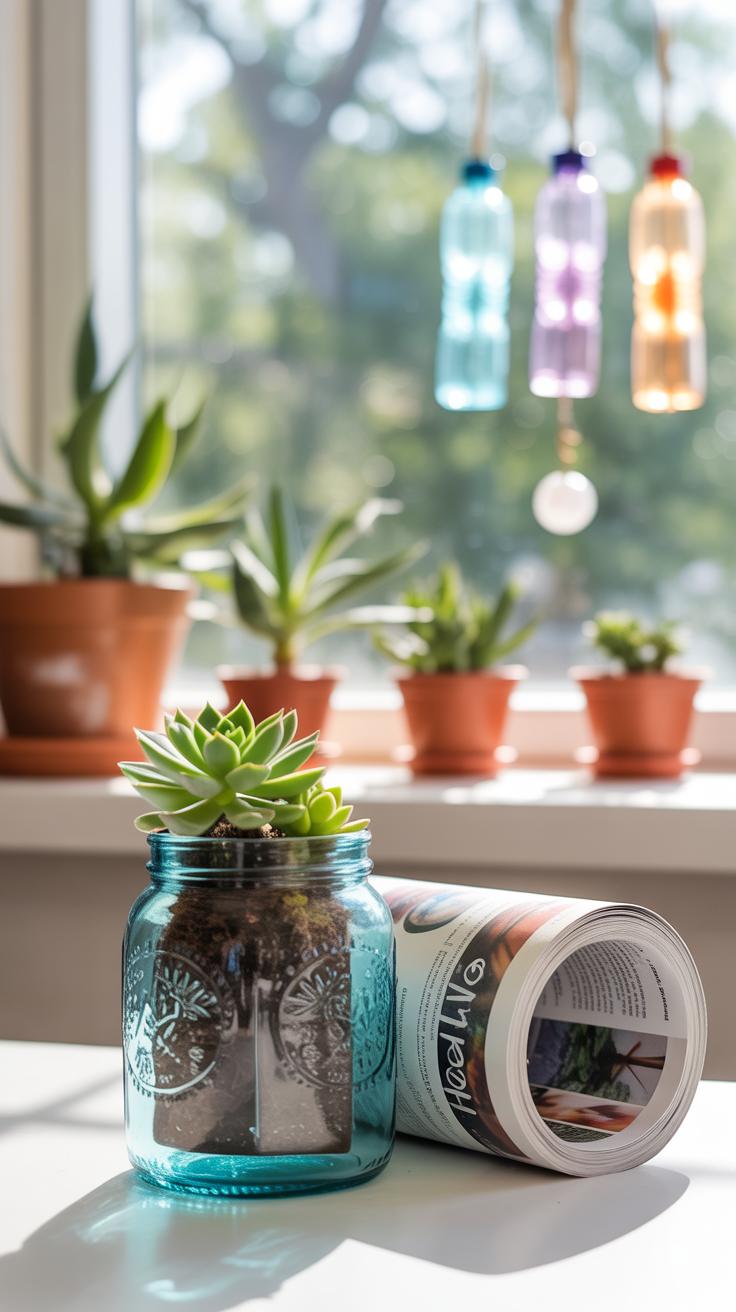
Crafting Decorative Vases and Containers
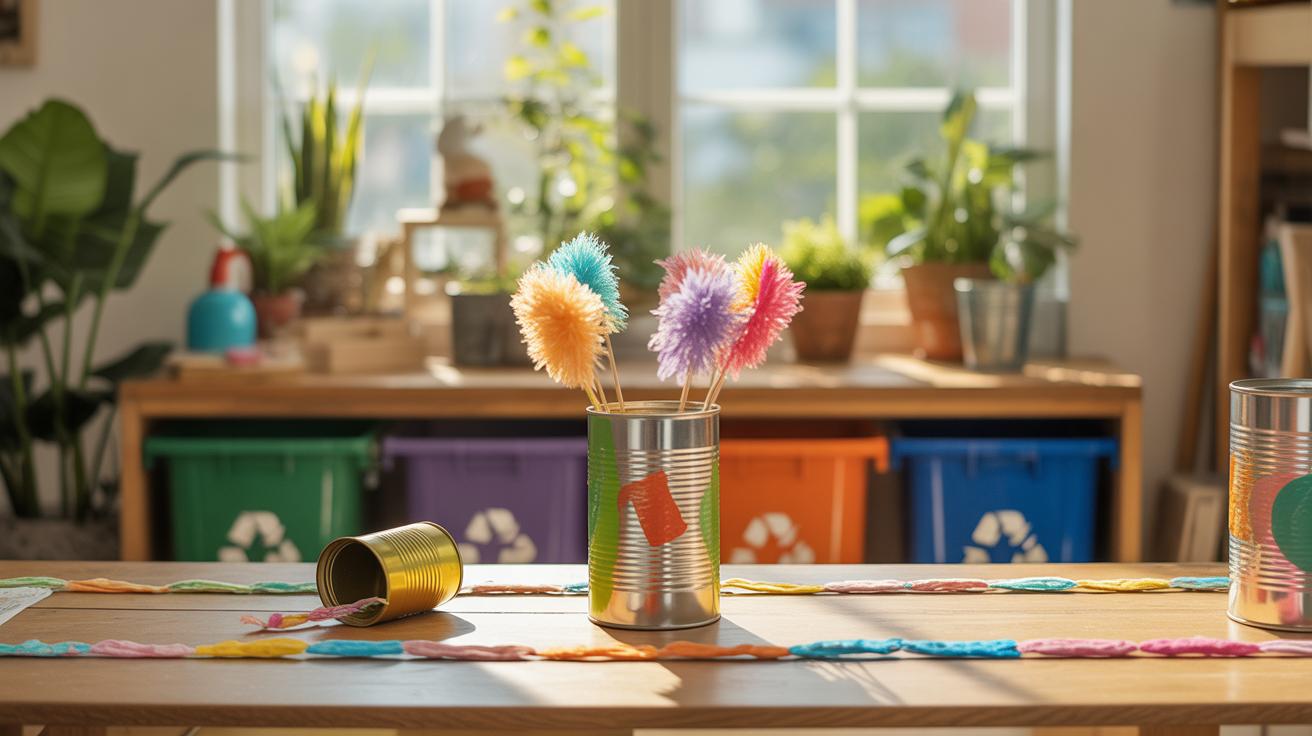
Old jars, cans, and bottles make excellent bases for decorative vases or holders. You don’t necessarily need fancy supplies—sometimes a little paint or twine can completely transform a plain glass jar into a focal point. For instance, wrapping twine around a jar creates a rustic look, while painting cans in bold colors brings energy to a shelf. Removing labels carefully leaves a clean surface, making it easier to work with.
Consider adding small details like buttons, beads, or pressed leaves to jazz up containers. They can hold flowers, but also pens, kitchen utensils, or makeup brushes, making them practical decor pieces. Personally, I’ve kept a collection of mismatched jars for months before realizing they could look great grouped with different heights and styles. Mixing these up breaks monotony and grants your space a quirky but inviting vibe.
Functional Crafts Using Recycled Goods
Not every recycled craft has to be purely decorative. Some of the most satisfying projects are the ones you actually use every day. Imagine turning old boxes, jars, or scraps of wood into something practical—like organizing your desk clutter or tidying up your kitchen space. It’s not only about saving materials but creating things that fit your daily needs, which, I think, makes the craft more meaningful.
Creating Desk Organizers
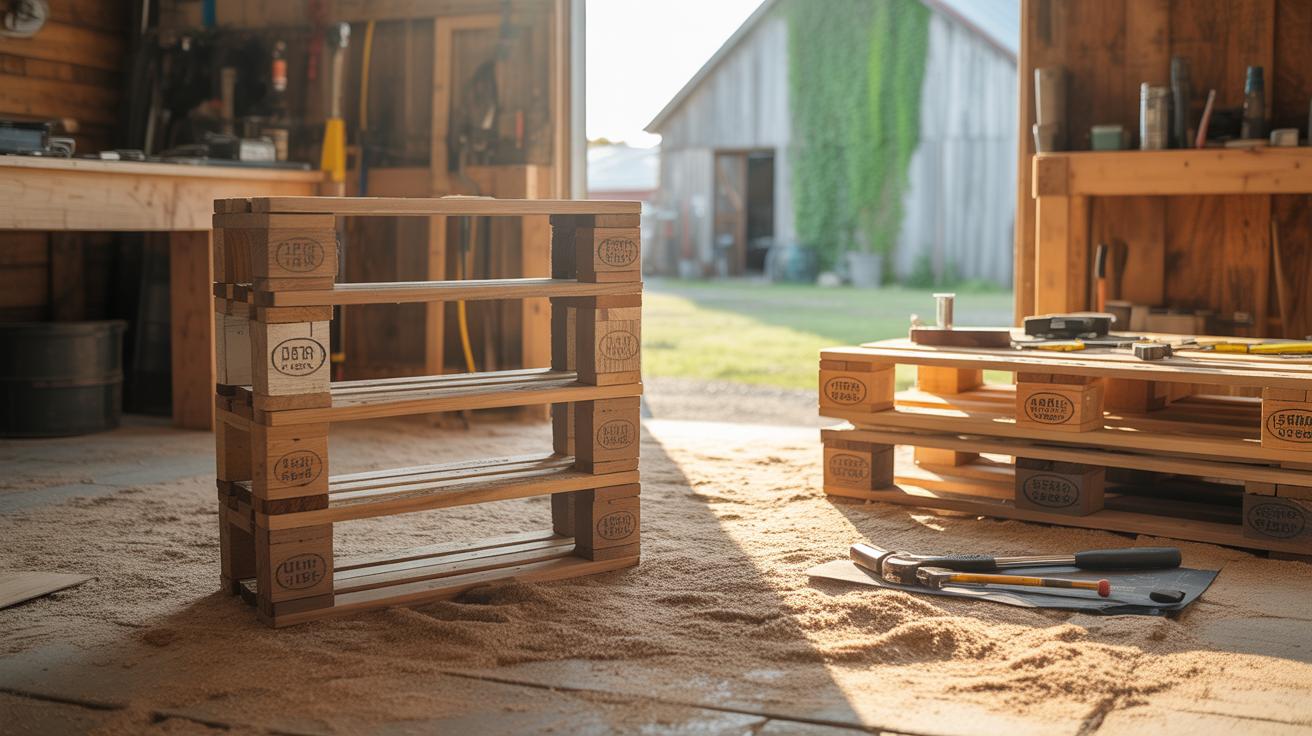
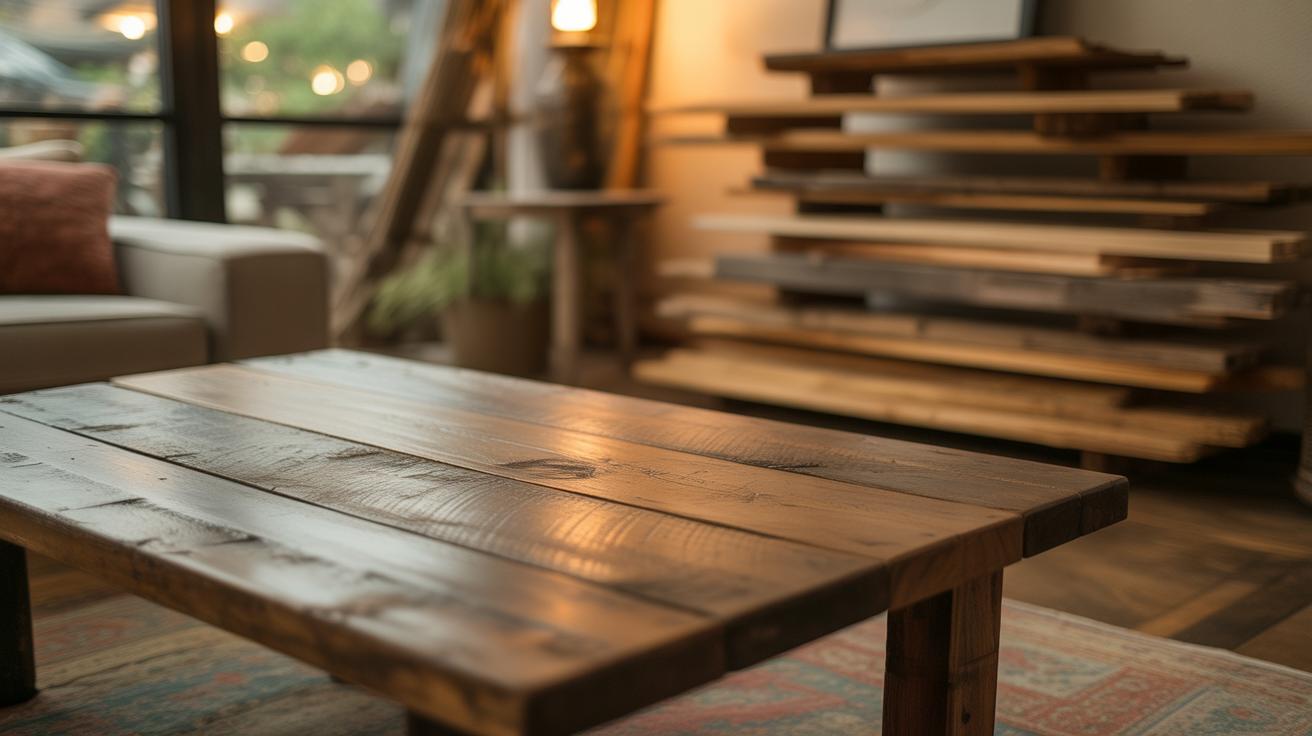
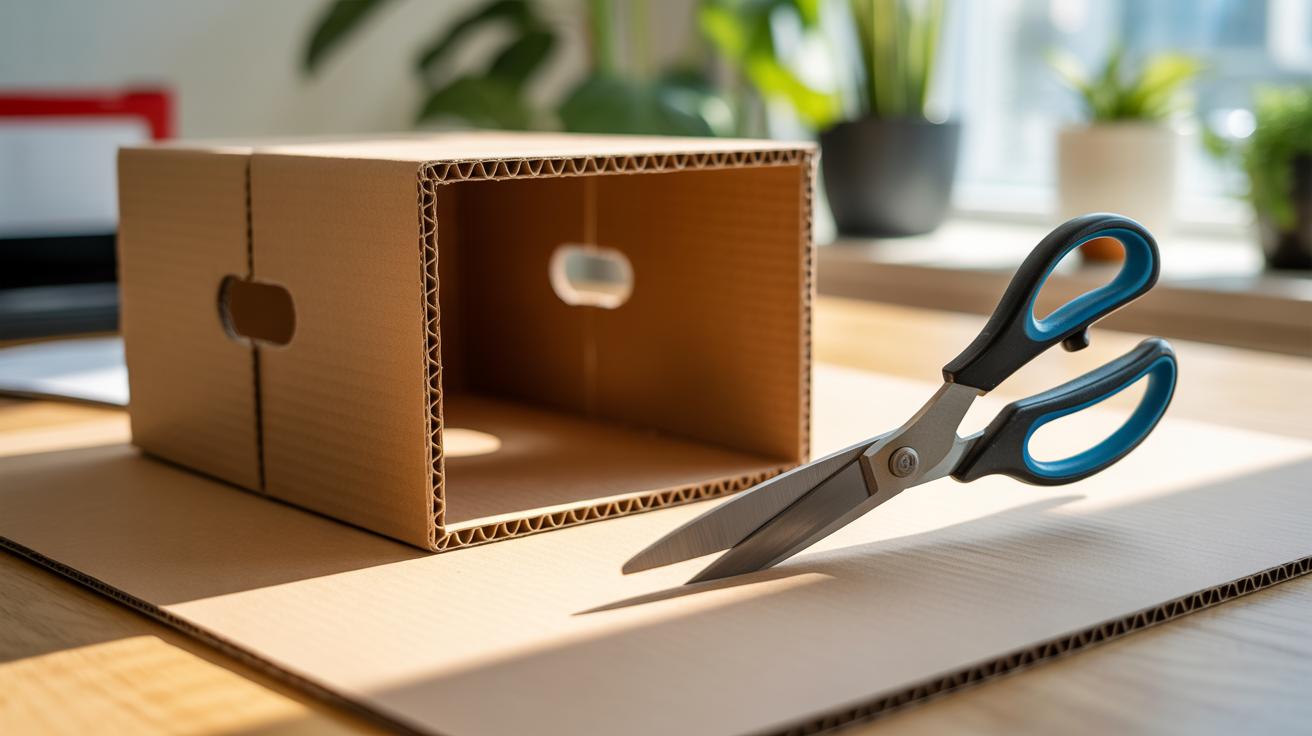
Old cardboard boxes or empty containers often get tossed without a second thought. But these can become excellent pencil holders or small file organizers with just a little effort. For example, cut boxes to different heights, paint or cover with fabric scraps, and stack or glue them together. It doesn’t have to look perfect—sometimes, the rough edges add a certain charm. Even small shelves can come from wooden crates or leftover wood pieces fastened together. These organizers not only keep your workspace neat but remind you that something old can find new life in a simple, useful form.
Kitchen Crafts from Recycled Materials
The kitchen offers plenty of opportunities to craft useful items from recycled bits. Glass jars become spice racks when mounted on walls or fitted with labels. Recycled wood can turn into utensil holders or even simple racks for towels. Plastic containers—cut and reshaped—work well as drawer organizers or counterside bins for scraps. You might wonder if reused items can really handle kitchen wear and tear. Well, they often do, as long as you clean and prep them well. Working with these materials sometimes requires a little patience but creating functional kitchen pieces feels quite rewarding, especially when everything has a story behind it.
Tips for Safe and Clean Crafting
Cleaning and Preparing Materials
When you bring recycled materials into your crafting space, one of the first—perhaps most overlooked—steps is cleaning them properly. Dust, oils, and even bacteria can linger on items like glass jars, plastic containers, or old fabric. A thorough wash with warm, soapy water usually does the trick. Sometimes, a little extra disinfecting with a diluted bleach solution or vinegar helps, especially for things that have spent time outdoors or in less-than-clean places.
Don’t rush this part. It might feel tedious, but skipping it could lead to sticky fingers or worse, allergic reactions. Dry materials completely before starting any project; moisture can weaken glue or paint adhesion. If you’re using paper or cardboard, flatten and press them under heavy books after drying to avoid warping during crafting.
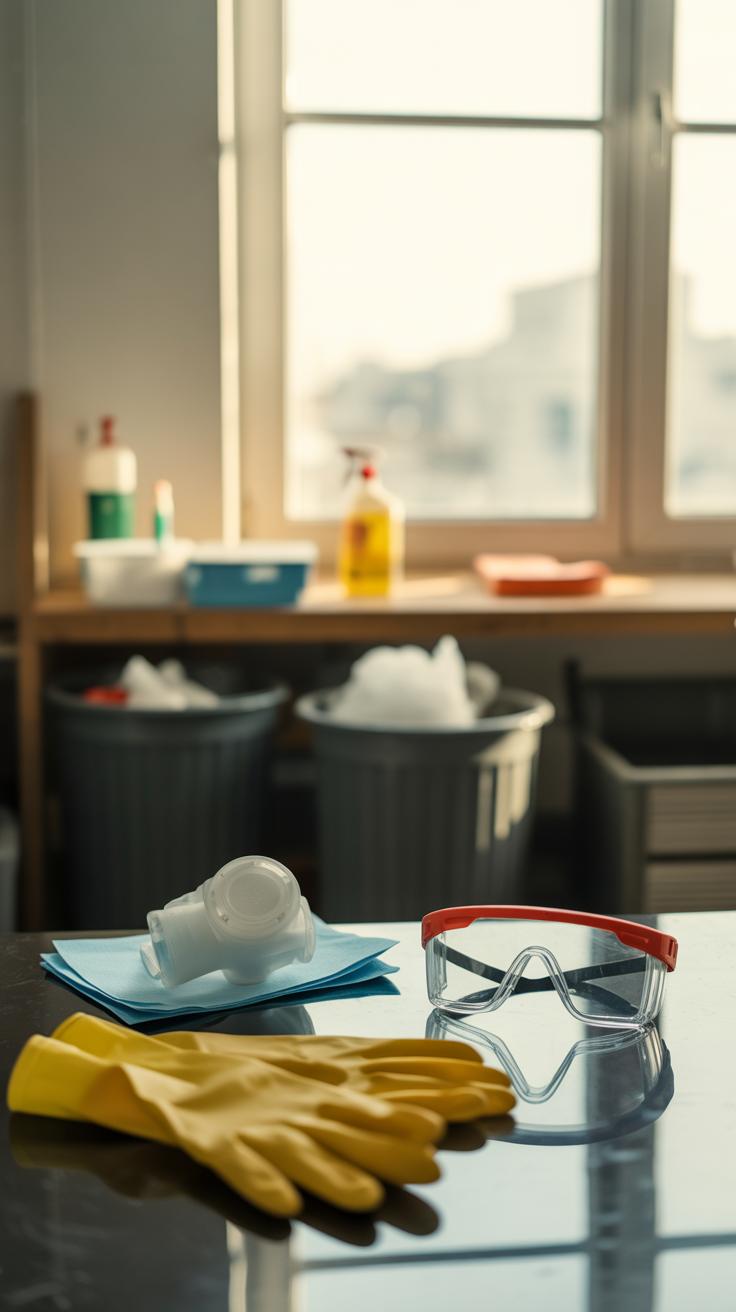
Crafting Safety Guidelines
Safety often feels like a dull reminder, but it’s what keeps your creativity flowing without accidents. Always keep sharp objects like scissors or box cutters stored safely when not in use. For kids, child-safe scissors make a big difference—yes, their cuts might be slower but the risk just isn’t worth it. Personally, I’ve seen a small nick turn into a hassle that kept me away from projects for a week.
Wearing gloves can be a simple way to protect your hands when dealing with rough edges or splinters from wood and metal. It’s a small inconvenience, maybe you’ll feel less in control at first, but your skin will thank you later. If you have little helpers, supervise closely and set clear boundaries about what tools they can handle. Sometimes, it’s better to assign them safe tasks like sorting materials or painting.
Finally, keep your work area tidy. Sharp bits, scraps, and stray glue drops can turn any craft session into a mess or hazard. Clean as you go, and take breaks to assess your space. Does the idea of all this prep feel frustrating sometimes? Sure. But safer crafting means less stress, and probably better results in the end.
Encouraging Creativity and Personal Style
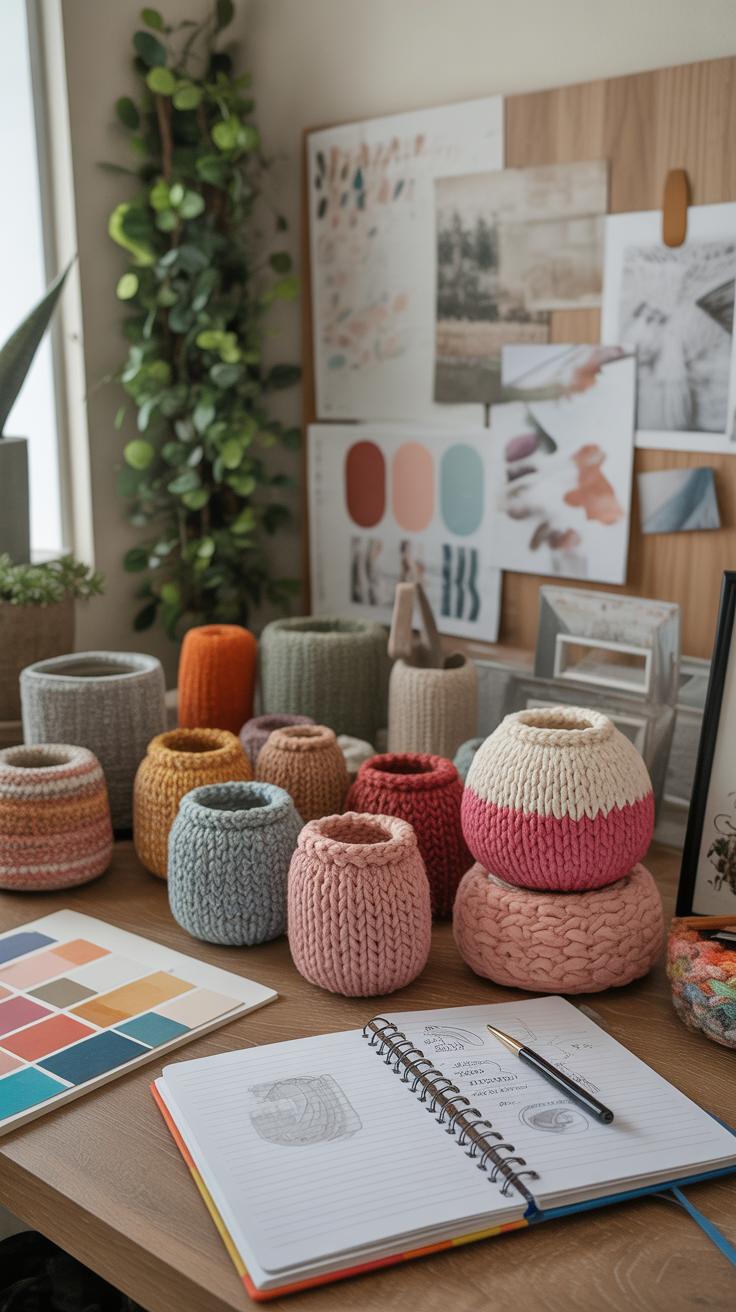
When working with recycled crafts, one of the most rewarding parts is making something that truly feels like yours. It’s easy to get stuck trying to follow examples exactly—but don’t be afraid to try your own ideas, even if they seem a little unconventional. Maybe you prefer a calm, neutral palette, or perhaps you’re drawn to bold, contrasting colors. Your tastes matter here. The materials themselves often suggest combinations you wouldn’t normally think of. For instance, old fabric scraps mixed with painted glass bottles can create surprisingly fresh vibes.
Mixing materials and colors can feel daunting, but consider these simple approaches that encourage experimentation:
- Combine rough textures with smooth surfaces, like burlap paired with glossy recycled plastic.
- Try layering different shades of the same color for depth, or throw in a pop of an unexpected hue.
- Pair natural materials—wood or paper—with synthetic ones for an interesting contrast.
Customizing each piece is where you really bring your personal touch into the mix. Painting, adding patterns with stencils, or even gluing on textures like sand or fabric scraps can make any recycled item stand out. I once painted a plain glass jar using leftover nail polishes and it became a centerpiece—yet it all started as a simple experiment.
What’s relaxing about this process is that there’s no right or wrong way to do it. If something doesn’t work the first time, that’s part of discovering your style. Does a color clash bother you, or could it grow on you? Playing around teaches you what suits your space and mood—maybe you want something cheerful, or maybe something subtle that just whispers its presence.
Sharing Your Recycled Crafts and Inspiring Others
When you share your recycled crafts, you’re not just showing off a project; you’re opening a door for others to see what’s possible. Family, friends, neighbors—they might not think twice about turning old items into something new until they see your work. That little spark can lead to bigger changes. Have you noticed how a single post or conversation can inspire someone to try their hand at something? It’s interesting how contagious creativity can be.
You can share your projects in ways that are simple and straightforward:
- Post photos and videos on social media with brief stories about the materials and process.
- Write quick tips or the challenges you faced to make it relatable.
- Join online groups focused on recycled crafts to exchange ideas and get feedback.
This kind of sharing creates not just connections but encourages a mindset shift—away from throwing things away and toward making something new. It’s more than just showing a finished piece; it’s about sharing the journey, and sometimes the messiness helps others feel less intimidated.
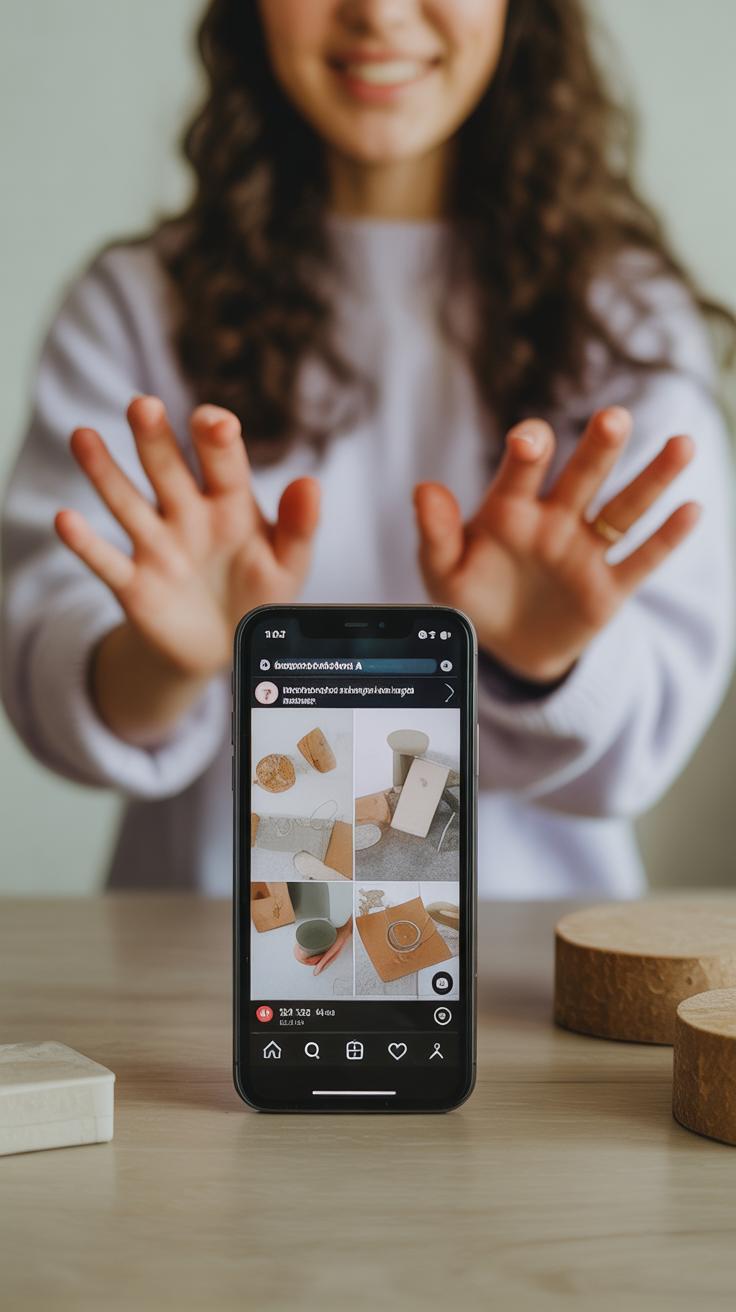
Using Social Media to Share Projects
Social media seems obvious, but it’s actually pretty easy to get started even if you feel shy or unsure. You don’t have to be perfect or have professional photos. Just grab your phone, snap a picture in natural light, and add a few sentences about what inspired you or what materials you used. Platforms like Instagram and Facebook have craft communities where people appreciate humble, honest posts.
Try tagging groups or pages that focus on eco-friendly crafts. You might stumble on tips or techniques you hadn’t thought of. Plus, unexpected comments or messages can push you to try new ideas. Sometimes, it’s about finding the right circle where your work fits—and you might be surprised how quickly that happens.
Hosting or Joining Craft Groups
Being part of a craft group—whether local or online—adds a whole different feel to recycled crafting. Workshops and meetups offer instant feedback and hands-on learning. I once joined a weekend workshop where we all used scrap fabrics, and the energy was infectious. Sharing tools, swapping materials, or just chatting about mistakes made me realize everyone’s process is a little different. That’s comforting, really.
For those who want to go further, hosting a small group at home or in community spaces can empower others. You don’t have to be an expert. Sometimes, just getting the conversation going and showing your projects is enough to light a fire. Plus, watching others create can give you fresh perspectives. It’s a cycle—the more you share, the more you learn and grow.
Conclusions
Recycled crafts offer you a way to improve your living space without buying new stuff. They help protect the environment by cutting down waste and using resources smartly. When you make these crafts, you get to personalize your space with items that tell a story and show your creativity.
By starting with small projects using recycled materials, you can enjoy your home more and feel good about helping the planet. Explore the ideas here and think about what you can create from your own collection of recyclables. Your living space can be both inspiring and eco-friendly.