Introduction
Using a food dehydrator can transform your backpacking meals. It helps you prepare lightweight, nutritious options that last long on the trail. Dehydrated foods save space and weight, making your hike easier and more enjoyable.
This article shows you the best dehydrator recipes for backpacking. You will learn how to prepare meals with simple ingredients that keep well and taste great. Let’s explore how to make your backpacking food smart and tasty with these essential dehydrator recipes.
Benefits of Using a Food Dehydrator for Backpacking
When it comes to packing meals for backpacking, a food dehydrator can change the game in ways you might not expect. First off, the biggest win is cutting down the weight and bulk of your food. Water is heavy—really heavy—and removing it leaves you with lightweight, compact meals that free up space in your pack. Imagine carrying a bunch of fresh vegetables versus their dried versions; the difference can be surprising, even a little shocking if you’ve never tried it.
Then, there’s the shelf life. Dehydrated foods last a long time without refrigeration, which means you can prepare your meals well ahead and stash them for future trips. I once left a pack of homemade dehydrated stew mix for months and it was still perfectly edible, no fuss. That’s a relief when you want to keep your options open or avoid last-minute scrambling.

Another thing I appreciate is how dehydration, when done right, manages to hold onto much of the food’s original nutrients. You might guess that drying it out would sap the vitamins and minerals—but studies and experience show that key nutrients stay intact. The flavor, too, doesn’t vanish as some might think. In fact, concentrating flavors often makes trail meals more satisfying, which is a big deal if you’re relying on your food to keep your energy up all day.
So, with weight, storage, and nutrition, a food dehydrator isn’t just a convenience—it’s a practical tool you’ll soon wonder how you managed without. But depending on what you choose to dehydrate, those benefits can vary slightly, which is why picking the right ingredients matters a lot.
Choosing the Right Foods to Dehydrate
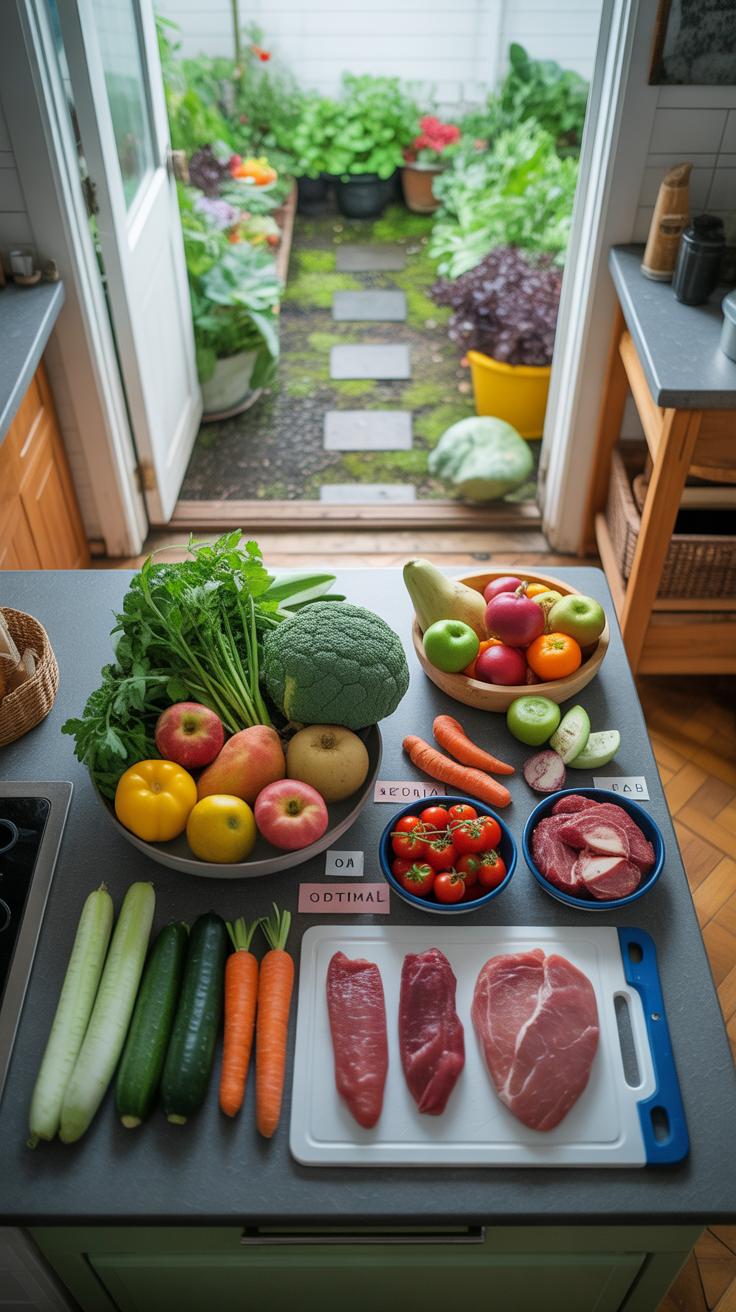
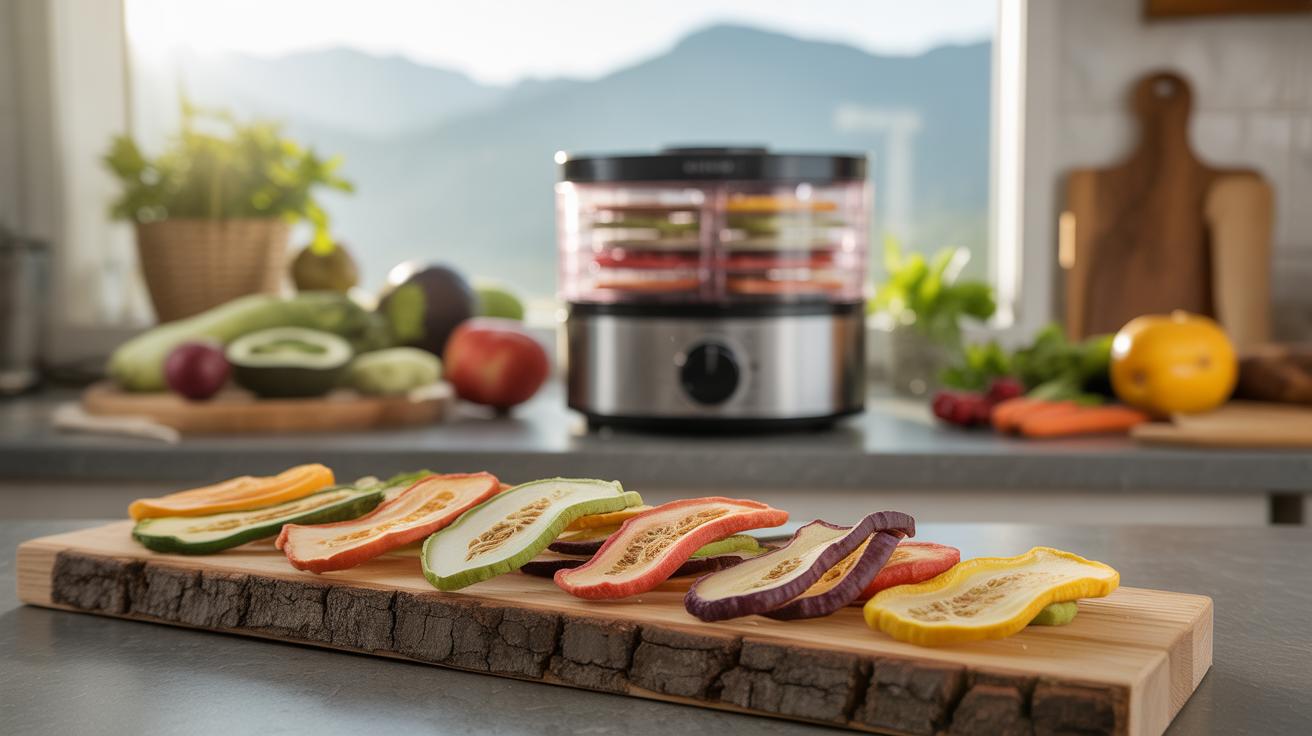
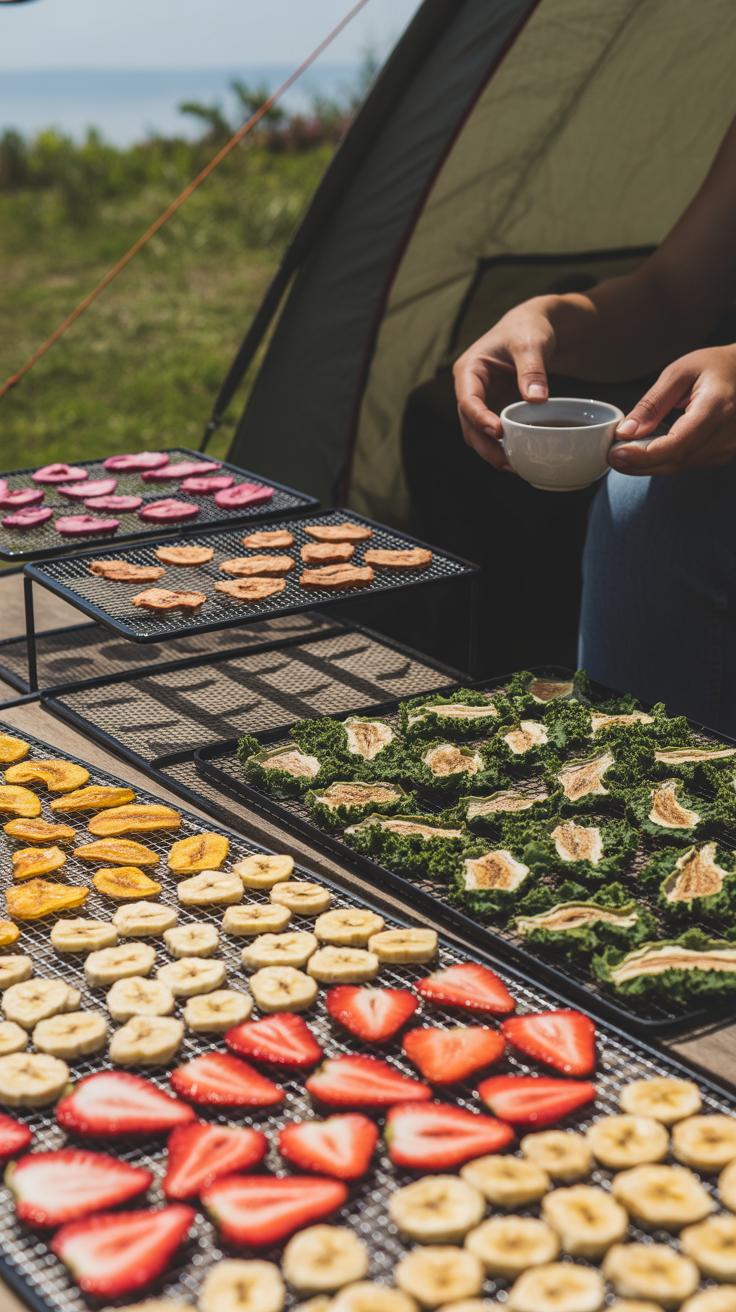
Picking the right foods to dehydrate can really shape your backpacking meals. Some ingredients hold up well after drying, keeping flavor and nutrition intact, while others become mushy or lose their appeal. Fruits like apples, bananas, and berries stand out because they shrink down light and sweet, perfect for quick energy bursts on the trail. Vegetables such as carrots, bell peppers, and green beans tend to retain a decent texture and rehydrate well, making them a solid base for soups or stews.
When considering proteins, jerky is a classic choice. Beef, turkey, or even fish jerky offers dense calories and a long shelf life. You might want to experiment with marinating your meats before drying to add some flavor depth. Grains like rice and quinoa also work when pre-cooked and then dried, but they require some planning ahead. They rehydrate quickly and add much-needed carbs, though packing them raw isn’t ideal—they take too long to cook on the trail.
So, what foods actually survive dehydration without turning into bland shreds? Generally, those low in water but sturdy in structure perform best. It’s tempting to try everything, but focusing on these crowd-pleasers makes packing lighter and meals tastier. Have you noticed how some dried strawberries turn tough, while others stay pleasantly chewy? That’s the kind of nuance you get with a bit of trial and error.
Preparing Foods Before Dehydration
Getting your ingredients ready before dehydrating can make a big difference in how well they dry and how good they taste later. Start by washing your fruits and vegetables thoroughly. Dirt and pesticides won’t disappear during drying, and even a little leftover grime can affect flavor or shelf life. For meats, trim off excess fat where possible to avoid spoilage.
Cutting is more than just chopping—think about thickness and uniformity. Thin, even slices dry faster and more evenly, reducing the chance of mold forming later. For example, slicing carrots into 1/8-inch strips will speed drying compared to thick chunks. I usually find that somewhat irregular pieces dry okay, but if you want consistent results, take a bit more time to slice precisely.
Blanching vegetables before drying can feel like an extra step that takes time, but it pays off. Briefly boiling or steaming veggies stops enzymes that cause color loss and nutrient degradation. Leafy greens, green beans, and broccoli benefit from this—their color and texture hold up far better. Still, it isn’t required for every vegetable, so you might skip blanching for things like peppers or tomatoes and get acceptable results.
Seasoning before drying is tricky but worth experimenting with if you want your meals flavorful on the trail. Lightly tossing your sliced ingredients with salt, spices, or herbs can add an extra layer of taste. I find that seasoning too heavily sometimes overwhelms the natural flavors once dried. Maybe start mild and adjust with seasoning when you rehydrate during cooking.
- Wash thoroughly to remove dirt and chemicals
- Slice evenly and thinly to speed drying and ensure consistency
- Blanch vegetables like greens and beans to preserve color and vitamins
- Season lightly to enhance flavor, but be cautious not to overdo it
Have you noticed your dried foods sometimes taste bland or odd? Maybe tweaking these prep steps could make a surprising difference. It’s all about balance and finding what works best for you and your backpacking meals.
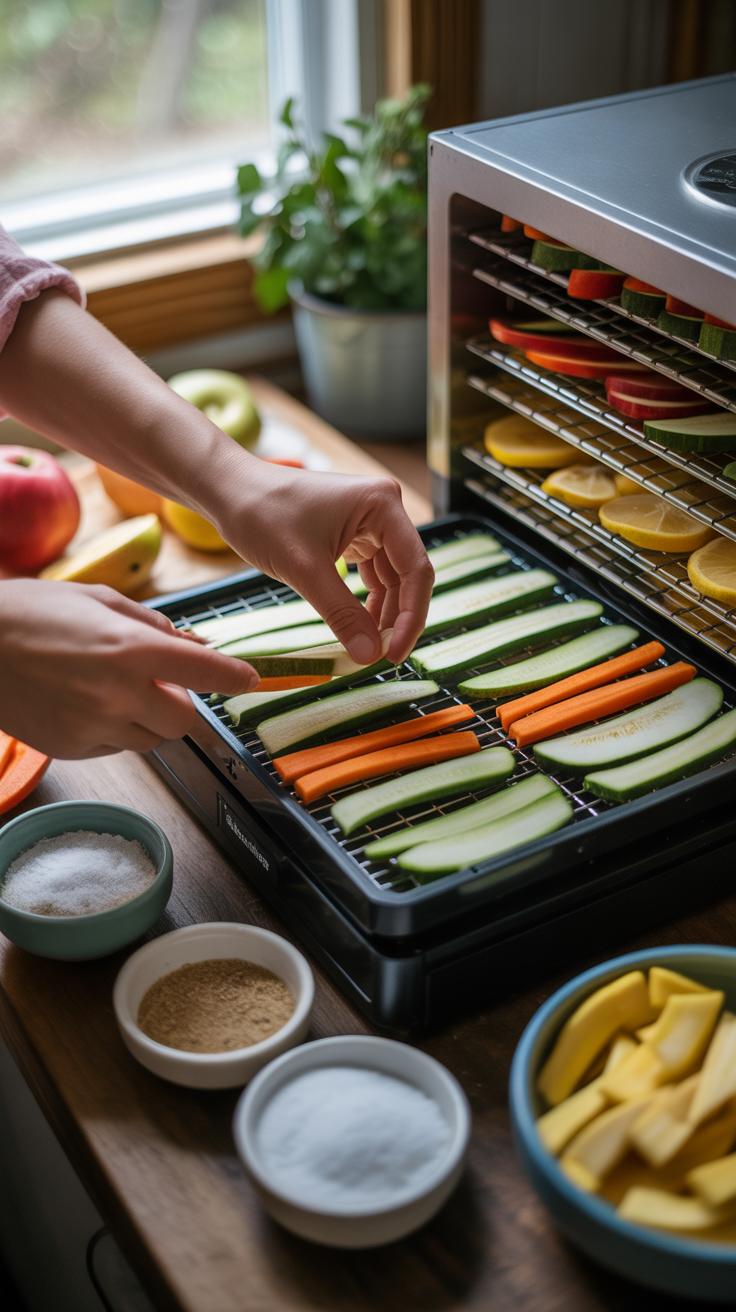
Operating Your Food Dehydrator

Getting your food dehydrator up and running is straightforward, but it takes some attention to detail. First, place your prepared foods—ideally sliced uniformly—on the drying trays, ensuring they don’t overlap. Leaving enough space helps air circulate around each piece for even drying. Plug in the machine and set it according to what you’re drying.
Fruits tend to need a bit higher heat, say around 135°F, whereas vegetables generally dry well near 125°F. Meats—like jerky—need to reach 155°F for safe drying. These temperatures aren’t rigid rules; sometimes you might experiment based on your dehydrator model or food thickness.
Timing varies considerably. Thin fruit slices dry in 6 to 10 hours, denser vegetables might take 8 to 12. Meats usually require closer to 6 to 8 hours. Check in every now and then. It’s tempting to open the door repeatedly, but each time you do, you lose heat and extend drying time.
Setting Temperature and Time
Most dehydrators let you control temperature precisely. Use these general guidelines:
- Fruits: 130°F to 140°F, 6–12 hours depending on water content
- Vegetables: 125°F to 135°F, roughly 8–14 hours
- Meat (Jerky): 155°F to 160°F, 6–10 hours
- Herbs: 95°F to 115°F, 1–4 hours (since they dry fast)
Remember, thickness and moisture level matter. Thinner slices dry faster; thicker ones take longer. For example, thin apple slices might be done in 7 hours, whereas denser potatoes could linger close to 12. If your dehydrator lacks a timer, setting a reminder helps.
Checking Dryness and Storage Tips
Knowing when your food is done isn’t always obvious. You want it dry enough to prevent spoilage but not so brittle that it loses all chewiness. Here’s what I do: test by bending or tearing pieces.
- Fruits: They should be pliable and leathery, not sticky or tacky.
- Vegetables: Typically feel crispy or brittle; no leftover moisture inside.
- Jerky: Breaks without crumbling, no visible moisture when torn.
If food feels cool or damp, it needs more time. Sometimes air circulation inside the dehydrator isn’t perfect, causing uneven drying. Rotate trays periodically, especially during long sessions.
For storage, use airtight containers or vacuum-sealed bags, and keep them in a cool, dark spot. Oxygen absorbers can prolong shelf life, but they’re not a must for short trips. I’ve found that simple zip-top bags work fine for a weekend hike, but longer trips demand better sealing. Moisture is the enemy—you want to avoid it at all costs.
Easy Dehydrator Recipes for Breakfast
Oatmeal Mixes and Fruit Chips
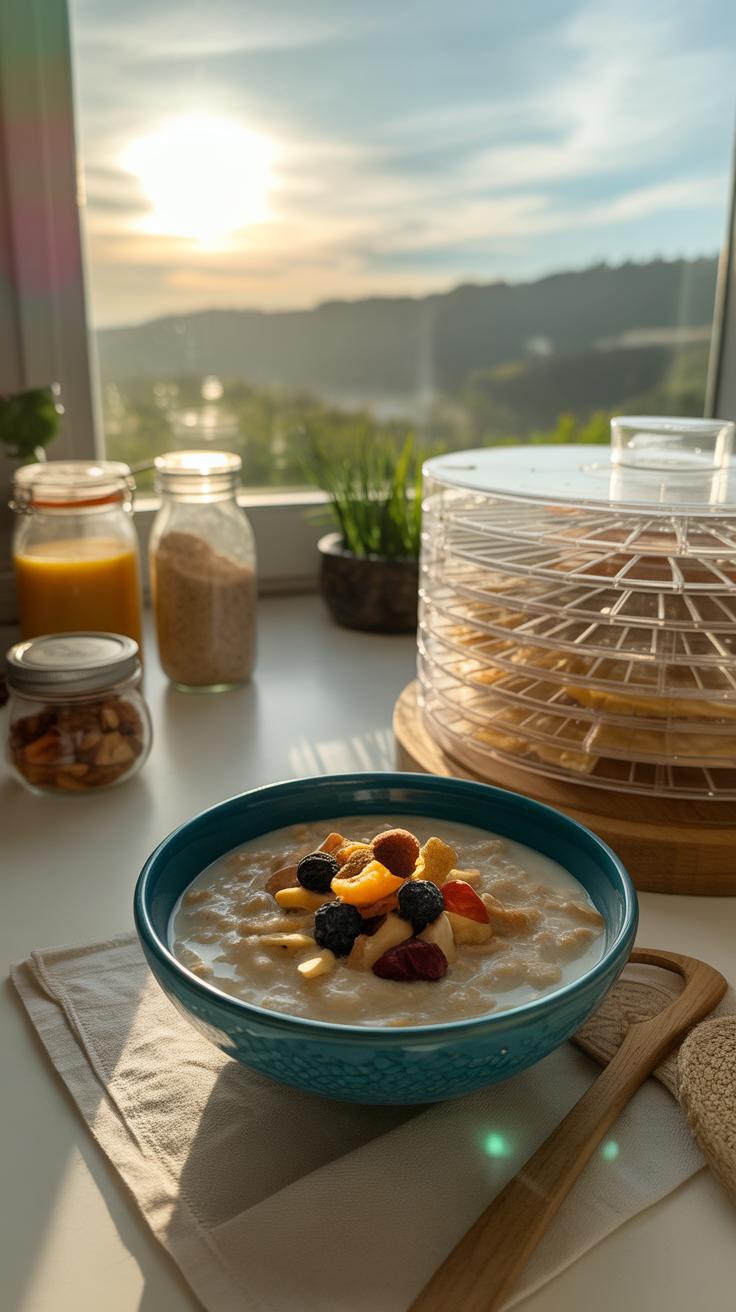
If you want a quick breakfast on the trail, oatmeal mixes with dried fruit are a solid option. Start by blending rolled oats with powdered milk or protein powder to add some extra fuel. Toss in chopped dehydrated apples, blueberries, or raisins for sweetness. Carry a little brown sugar or cinnamon in a separate packet—adding it after rehydration keeps flavors bright.
For fruit chips, slice apples, pears, or bananas thinly and dehydrate them until crisp. They don’t just add texture; they satisfy that need for something fresh. I usually pack a mix of these chips and oatmeal—makes mornings feel a bit less rugged.
Homemade Granola Bars
Granola bars made from dehydrated ingredients save space and weigh less than store-bought ones. Mix oats, chopped nuts, and dried fruit, bind it lightly with honey or nut butter, then dehydrate until firm but still chewy. You can break them into chunks or keep them bar-shaped for convenience.
What I find tricky is balancing dryness and chewiness—too dry and they’re hard to enjoy, too moist and they won’t store well. Still, the control over ingredients makes homemade bars worth the effort. You can even throw in seeds or coconut flakes for variety. These bars keep you fueled with sustained energy, better than just sugar rushes.
Simple Dehydrator Lunch and Dinner Recipes
When it comes to lunch and dinner on the trail, soups, stews, and rice dishes are great options. They rehydrate quickly and provide the comfort and fuel you need after hours of hiking. Think about packing lightweight, dehydrated mixes that only require hot water—no mess, no fuss.
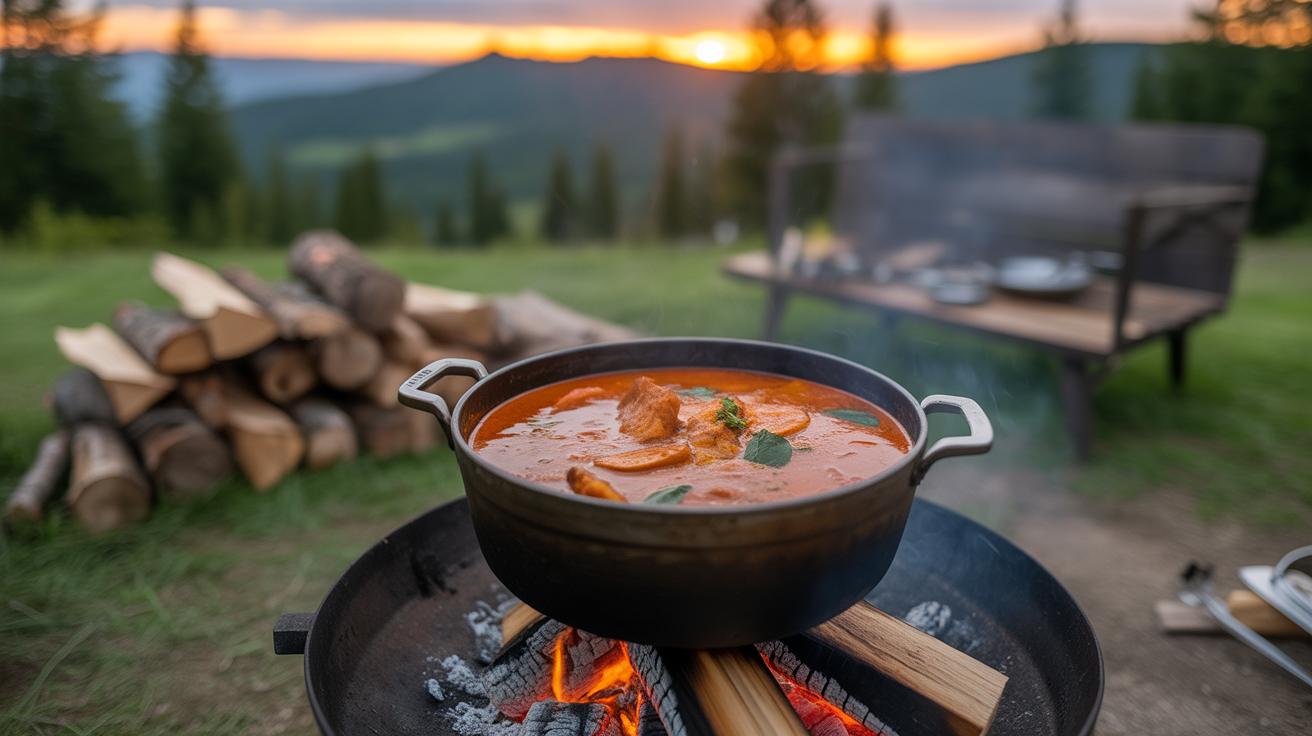
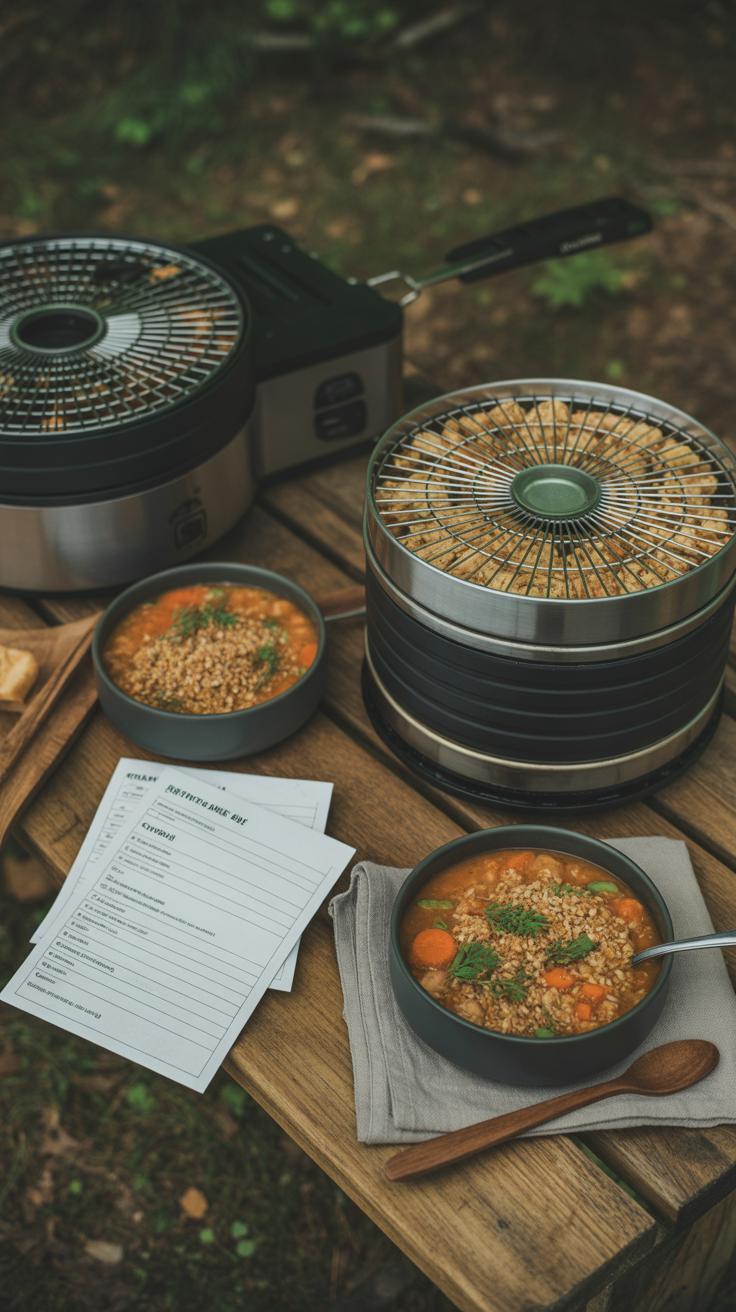
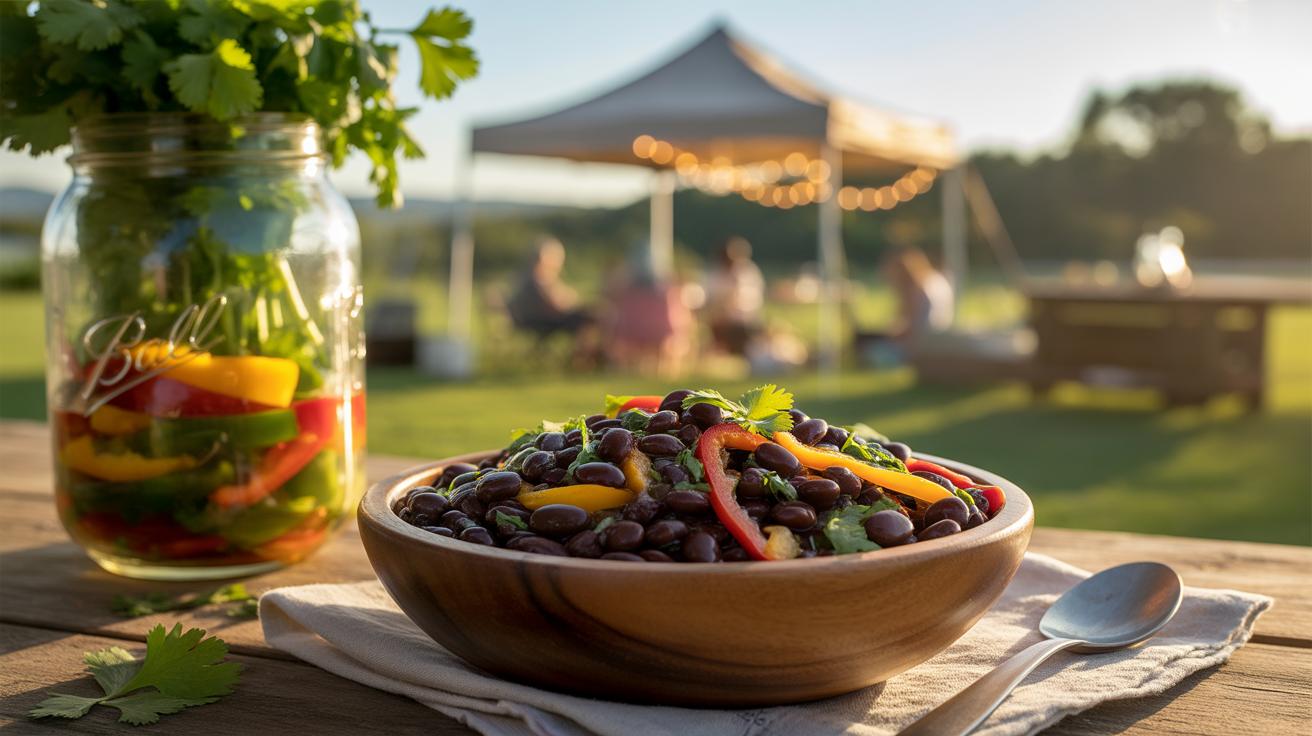
Hearty Soups and Stews
Dehydrating vegetables like carrots, onions, and celery works well for soups. Toss in some freeze-dried chicken, beans, or lentils for protein. One recipe that’s easy and filling: a classic vegetable and bean stew. Just mix dehydrated veggies, spices, and your choice of dried beans. Carry the right seasoning, like smoked paprika or thyme, to punch up flavor. On the trail, pour boiling water over the mix, let it sit, and you get a surprisingly rich meal. Not every stew needs meat to feel satisfying—you might prefer vegetarian versions, and that’s fine.
Rice and Grain Meals
Rice and other grains like quinoa or couscous are staples for lightweight meals. Preparing them ahead with dehydrated veggies and bits of cooked, shredded chicken or tofu means less weight and faster cooking times. For example, a curry rice blend made from dried peppers, snap peas, and spices can brighten up plain rice. Pack individual portions mixed and sealed. When you’re ready, add boiling water, stir, cover, wait about 10 minutes, and voilà—hot, tasty rice meal. These dishes hold up well, but sometimes rehydrating completely can be tricky, so you might want to test your recipes at home before hitting the trail.
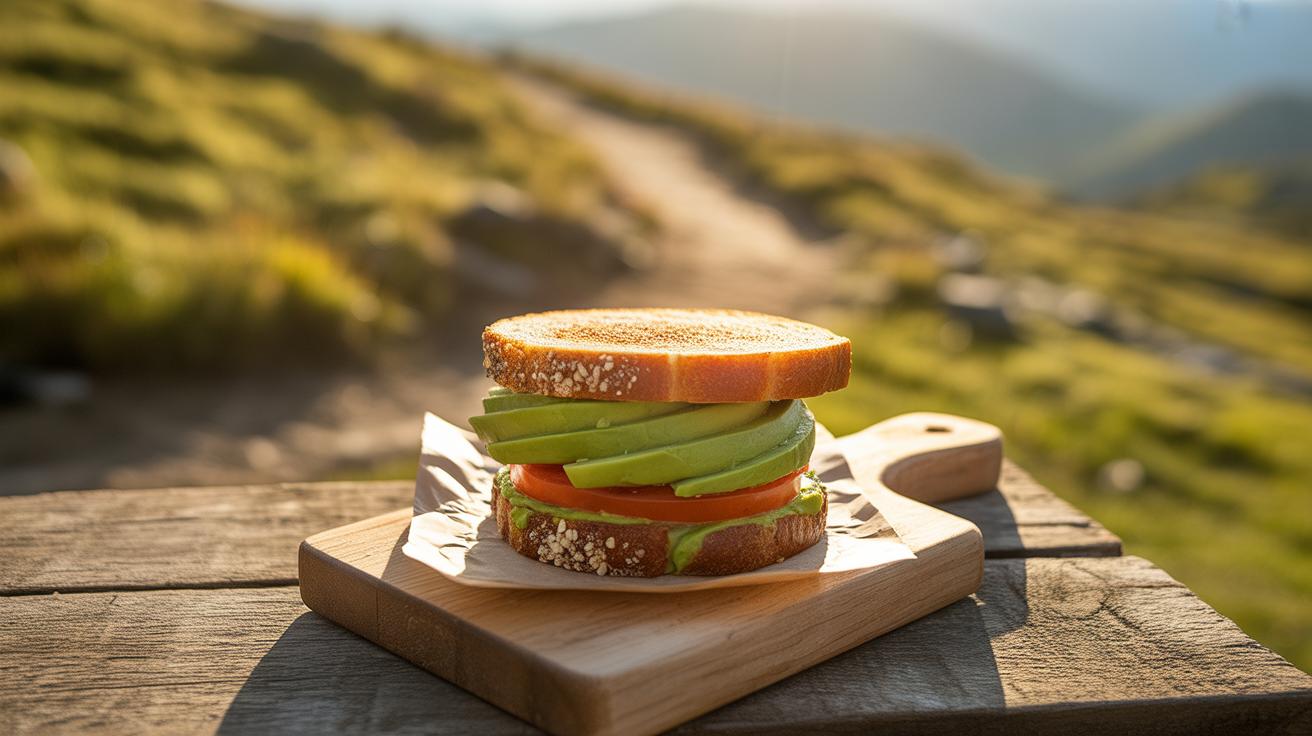
Snacks and Treats to Dehydrate for Backpacking
When it comes to lightweight backpacking, snacks play a surprisingly big role. They’re not just fillers—they keep your energy steady between meals and often lift your spirits after a long day. Dehydrating snacks at home can save weight and offer better taste than store-bought options, which sometimes feel too processed or bland.
Making Fruit Leathers and Chips
Fruit leathers are probably the easiest sweet treat to make. You just puree fresh fruit—it could be berries, apples, or even mango—and spread it thinly on your dehydrator trays. Patience grows here since drying takes several hours; yet, the final sheet peels off like edible tape. I’ve found a touch of lemon juice brightens the flavor and helps preserve color.
Vegetable chips offer a crispy alternative for those craving something savory. Slice root vegetables like sweet potatoes, beets, or carrots as thin as you can manage. Pat them dry before drying to avoid sogginess. The key? Check often because drying time can vary a lot. The last batch I made was almost burnt on one tray but perfectly crisp on another. It’s a little trial and error, really.
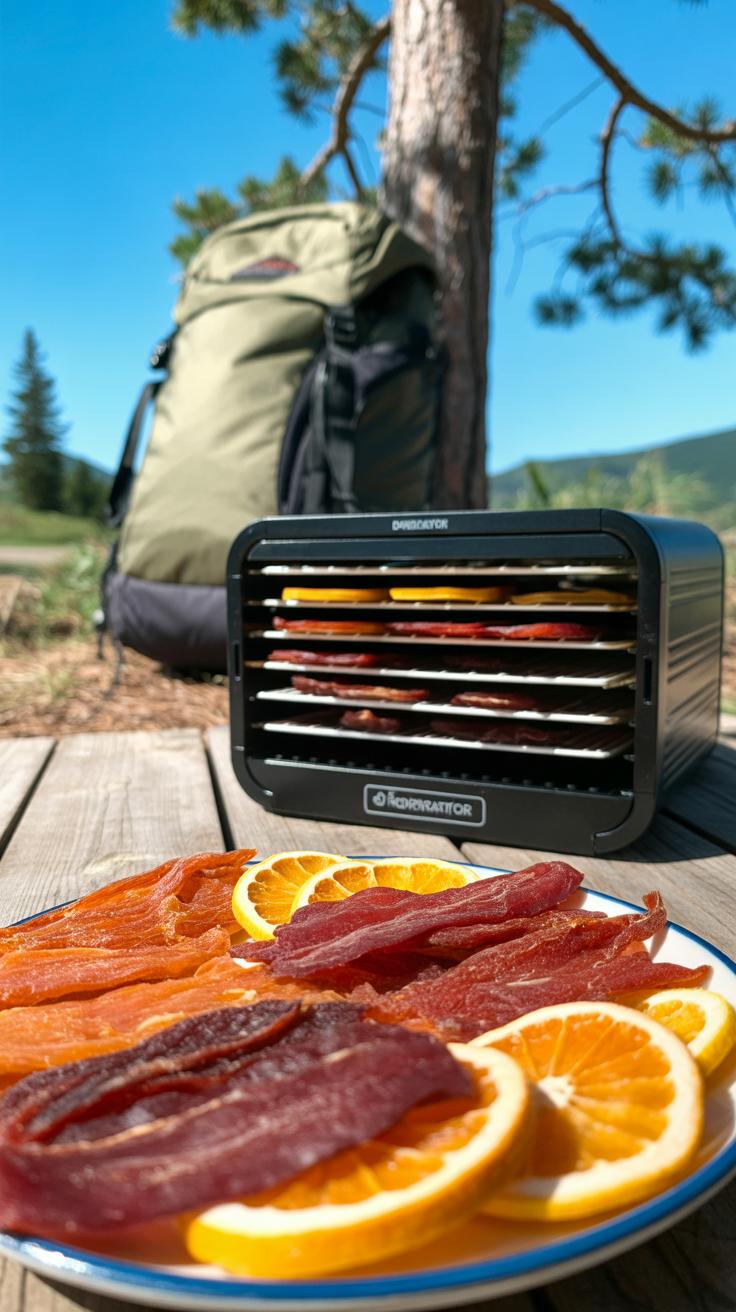
DIY Jerky and Meat Snacks
Making jerky with a dehydrator is rewarding but does call for care. You need lean cuts—fat slows drying and leads to spoilage. Marinate your meat overnight to add flavor, then slice it thin. Always pre-cook or briefly heat strips to 160°F to kill bacteria; the dehydrator will dry them safely afterward. Patience here pays off. Drying times can be unpredictable depending on humidity and meat thickness, so testing your batches to avoid toughness is key.
Dehydrated meat snacks are surprisingly light yet satisfying. They’ll keep you fueled well on the trail without needing refrigeration. Though, if you’re nervous about safety, you might want to stick with store-bought jerky or focus more on fruit and veggie snacks for now. It’s always better to be cautious when dealing with meat preservation.
Storing and Packing Dehydrated Meals

Packaging Materials and Methods
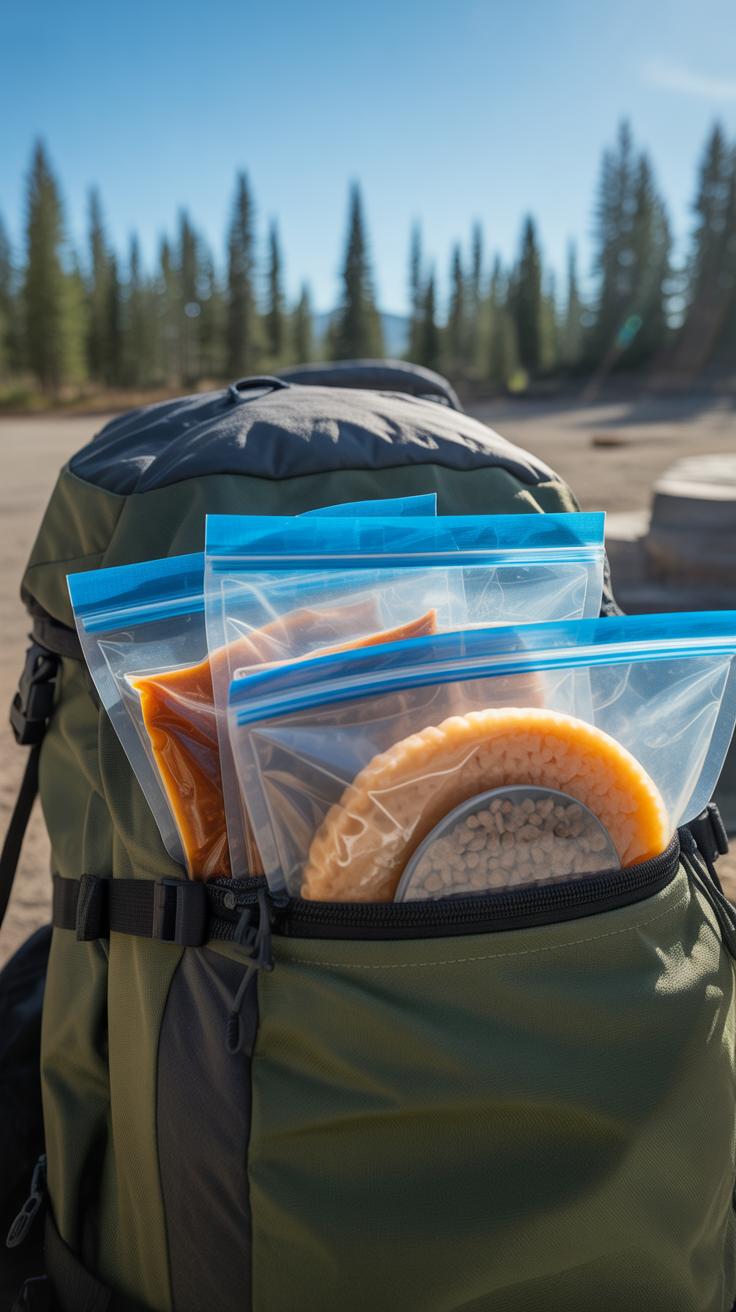
Keeping dehydrated meals fresh and dry on the trail often depends on your packaging choices. Many backpackers rely on resealable mylar bags with oxygen absorbers—these seal tightly and keep air and moisture out. Although these bags work well, they can be fragile if handled roughly, so a backup plan might be wise. Some prefer lightweight plastic containers or durable ziplocks inside a waterproof pouch. That way, if one layer fails, the food still has protection. I’ve seen hikers simply double-bag in heavy-duty freezer bags and it often does the trick, but it’s less reliable with very humid conditions.
One little trick is using vacuum sealers, which compress the food and exclude air entirely. That said, vacuum packs can be bulky or awkward when you’re dividing meals. It’s worth experimenting with different methods before your trip. Think about weight, durability, and space—not all options fit every style of backpacking.
Organizing Meals for Trail Use
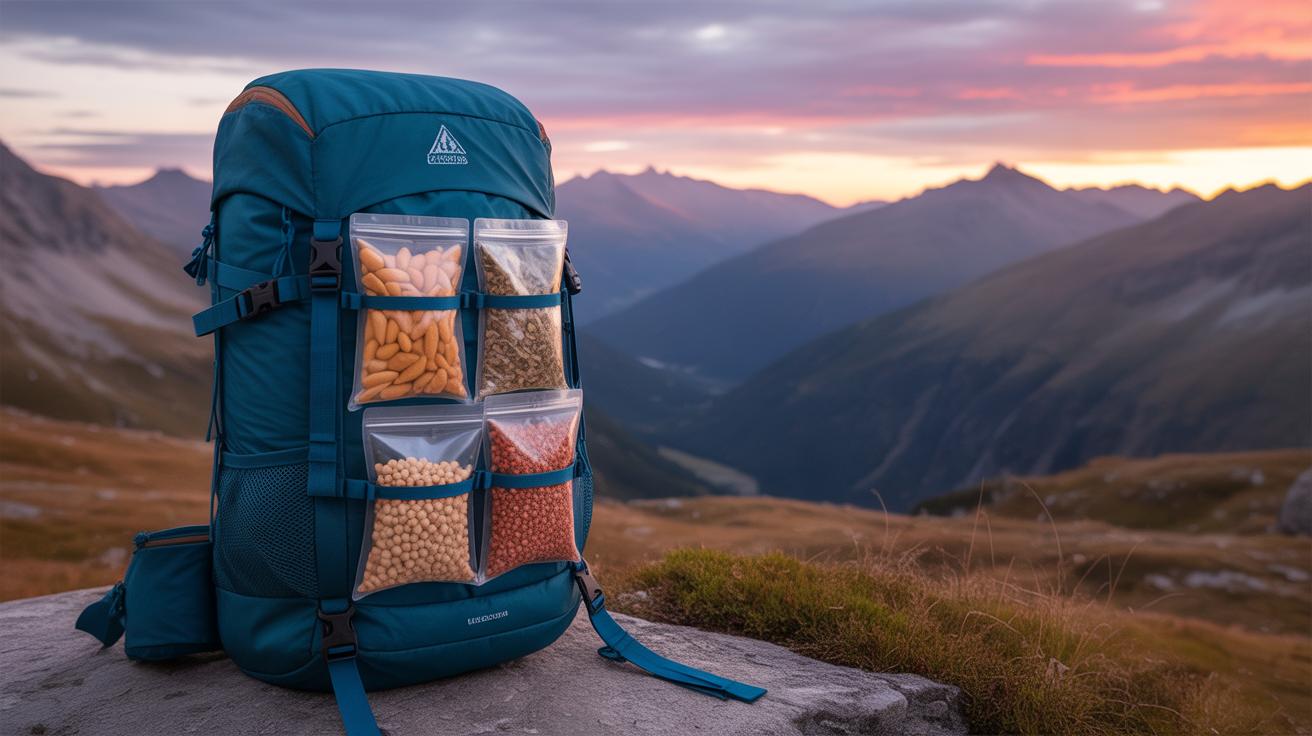
Portioning meals before you hit the trail saves you from fumbling with food or making a mess while on the move. Some backpackers measure each meal into single-serving bags and label them with meal and day. This makes grabbing what you need quicker, which can matter when it’s cold or rainy. I find that folding bags flat and stacking them neatly inside a small stuff sack helps keep things tidy.
Another idea is to group meals by type or time of day—breakfasts in one bag, dinners in another. This adds an extra step before packing but can reduce confusion during hikes. You might leave snack bags separate so they’re easy to reach without unpacking your entire food stash. How you choose to organize depends on your rhythm—some like quick access, others don’t mind a small shuffle. The key is to find a system that feels natural, so you won’t hesitate when you’re tired or hungry on the trail.
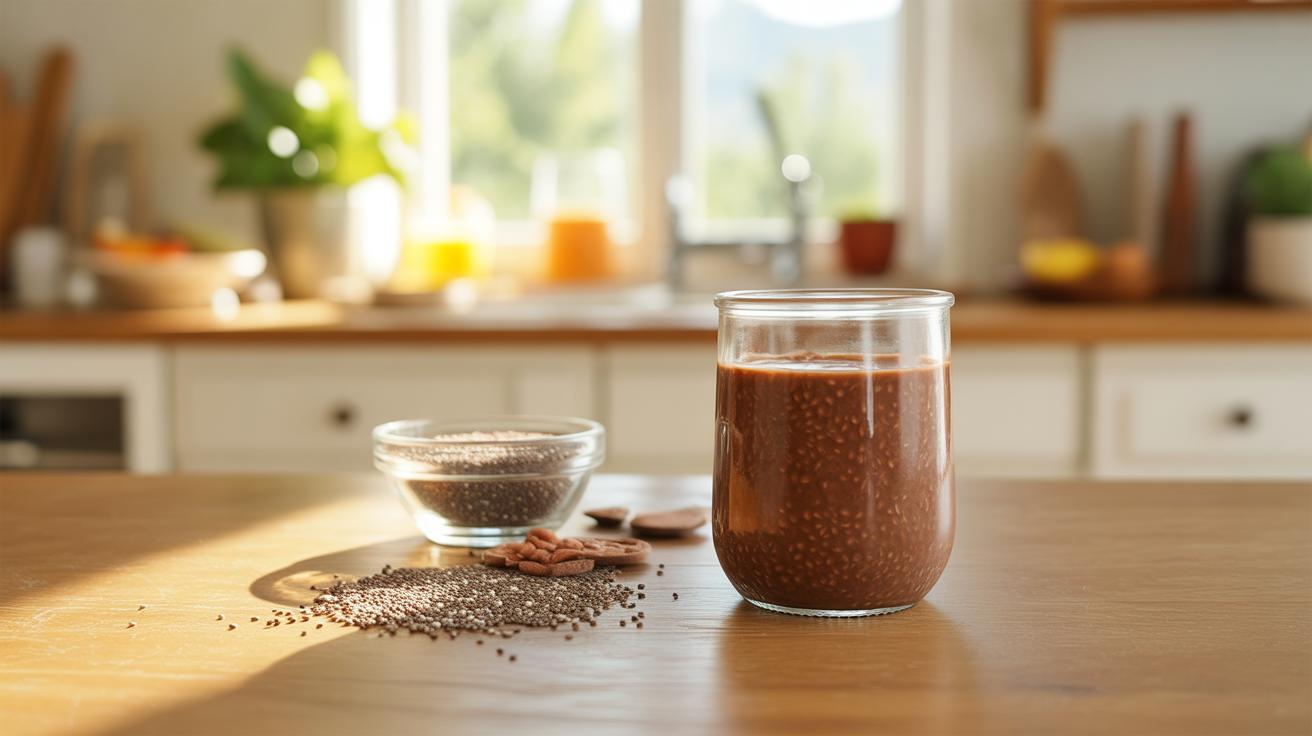
Rehydrating and Cooking Dehydrated Foods on the Trail
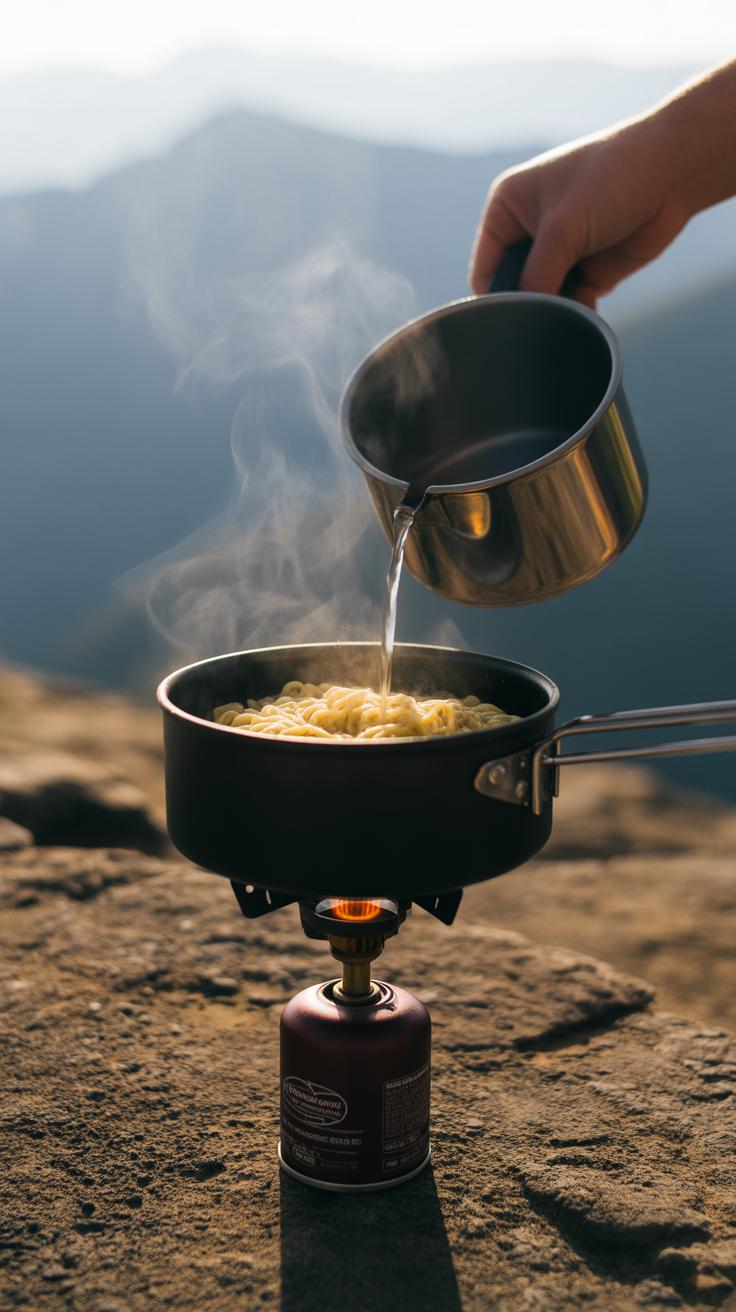
Getting your dehydrated meals back to life on the trail can be a bit tricky at times. The temperature of the water you use really changes how quickly stuff soaks up moisture. Warm or hot water usually speeds things up—you might only need 10 to 15 minutes for many veggies or grains. But cold water? That’s slower, often taking up to an hour or more for beans or heavier ingredients. Sometimes, I’d just soak while setting up camp, letting time do the work.
Different ingredients soak differently. For example:
- Leafy greens and herbs usually rehydrate fast—around 5 to 10 minutes.
- Rice or pasta might take 15 to 20 minutes in warm water.
- Harder foods like beans, lentils, or root veggies often need soaking for 30 minutes or longer.
Experiment a little—sometimes you might want to start with cold water for extra flavor and texture, then add heat to finish. It’s not an exact science.
Once your meal is rehydrated, heating it isn’t complicated. Camping stoves are the go-to—whether it’s a simple canister stove or a wood-burning setup. Popping your food into a pot, adding a little water, then heating gently can warm the whole meal without much effort. If you’re feeling a bit lazy or just want to save fuel, just letting your food soak in hot water and eating it warm enough works too.
Another trick some backpackers use is a cozy or insulated container to keep the heat in after boiling water is added. It slows cooling and can finish softening your food without cooking at the stove again. I think that method saves time and fuel but can test your patience a bit.
So, how long are you willing to wait out here? Sometimes fast hydration and heating is the goal. Other times, focusing on taste and texture might mean a longer soak or simmer. Trying different approaches adds a bit of variety to your trail meals and might keep things from getting dull.
Conclusions
Dehydrating your own backpacking meals gives you control over ingredients and nutrition. It reduces weight and adds convenience to your outdoor adventures. With simple recipes, you can prep your food ahead, making your trips smoother and more enjoyable.
Try these dehydrator recipes to fuel your next backpacking trip. Experiment with flavors and combinations to find what works best for you. Your journey will be lighter, and your meals will be satisfying and nourishing every step of the way.